Yes I noticed this too , if I polished a lot with the 0.5um diamond paste, it would yield a black coat of something - which was the surface material coming off as the polish worked its magic.
I got this as well with 0.5um but not this much. I cleaned and tested one of the polished switch and result was comparable to 0.5um. So I think Pepto Dismal is a failure. 0.um + 1um may be OK but I think 3.5um eats POM too much.
That’s some significant wear for sure. Would this mean that for best results you should always try to keep the stem and housing together for each switch, since they share a unique wear pattern?
1 Like
Keeping the pair together is ideal but I don’t think the reward for the extra trouble is worth the effort. Just my opinion.
UPDATE: As to why I think the differences between switches are insignificant, it’s because all the switches went through same amount of wear unlike vintage switches where keeping each switches together makes a lot of sense because switches don’t get same amount of wear.
UPDATE2: Unless you’re polishing vintage blacks that is. They already had some wear so keep them paired. I’d also use only finest abrasives to avoid keeping unnecessary wear to minimum.
UPDATE3: I tried more switches and concluded that they were not as well polished as other methods. I think it was because thicker fillers in the coarser diamond pastes need more direct force against the surface to work. As is, it was like pushing fingers over top of cream cheese covered bagel. Pepto Dismal indeed.
2 Likes
@donpark this is a fundamental work of research, but I am a bit lost, if u could summarize, based on your experiments, what polishing materials and method should be used for what switch?
My current recommendations are:
- If switch is very scratchy, use diatoms + toothpaste.
- If switch is mildly scratchy, use diamond paste (0.5um) + toothpaste.
- Ideal viscosity is that of toothpaste. Add a drop or two of PG (propylene glycol) or water if too thick.
- Avoid using toothpaste-only as it be hard to remove once dried.
- Soak for a few hours in warm soapy water before cleaning.
- Do not polish JWK. I don’t think polishing can make JWK smoother.
- Use mildly abrasive non-gel toothpaste.
Note that I’ve polished only Cherry blacks (nylon) so can’t make general recommendations. Try polishing a few first to avoid ruining the whole batch.
Polishing method: I just fill a hot-swap board with switches without keycaps and step on it for a day or two while working. Occasionally, I’d roll squash balls over the switches for a while to ensure corners get polished.
7 Likes
Have anyone tried using a massage gun for breaking in switches?
Looks like it is a relatively affordable option, and you can manually control angle, so that you can cover various directions.
Like this one: Amazon.com
1 Like
If its vibrating motion spans 4mm, I don’t see why not.
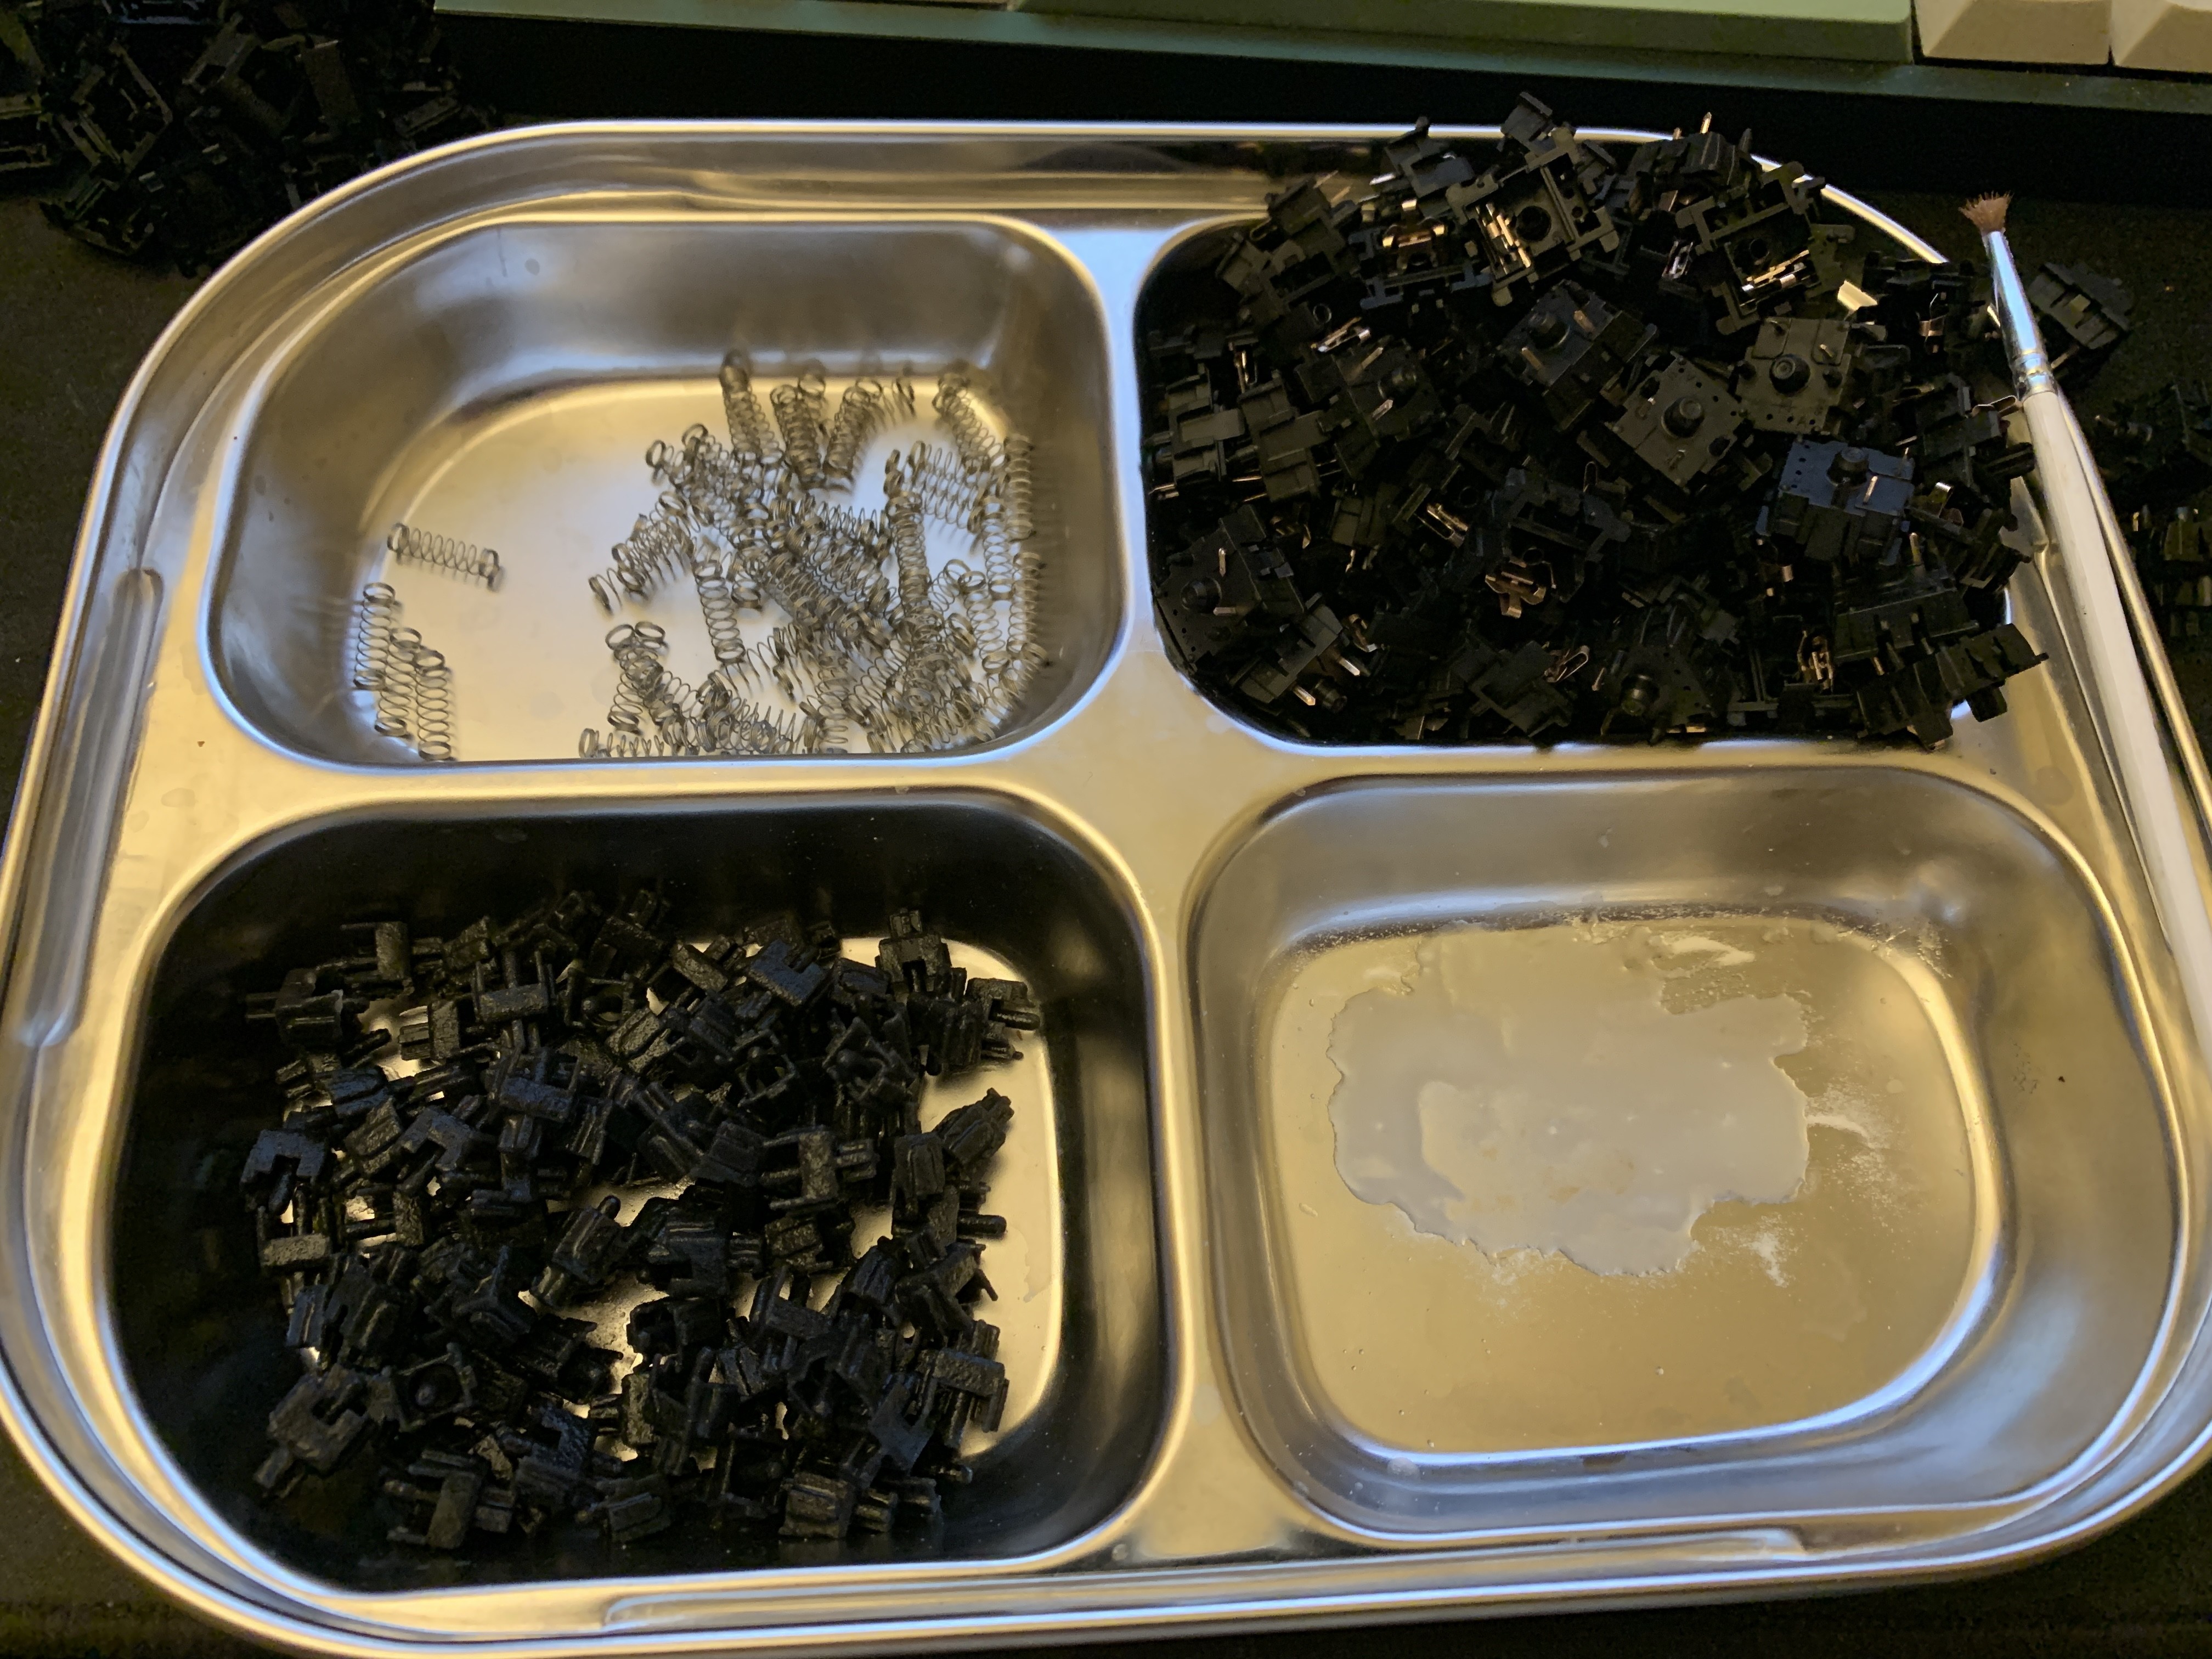
Polished rest of the batch I got end of April, this time using just 0.5um diamond paste. That’s well over 200 polished Hyperglides I added to my hoard this month.
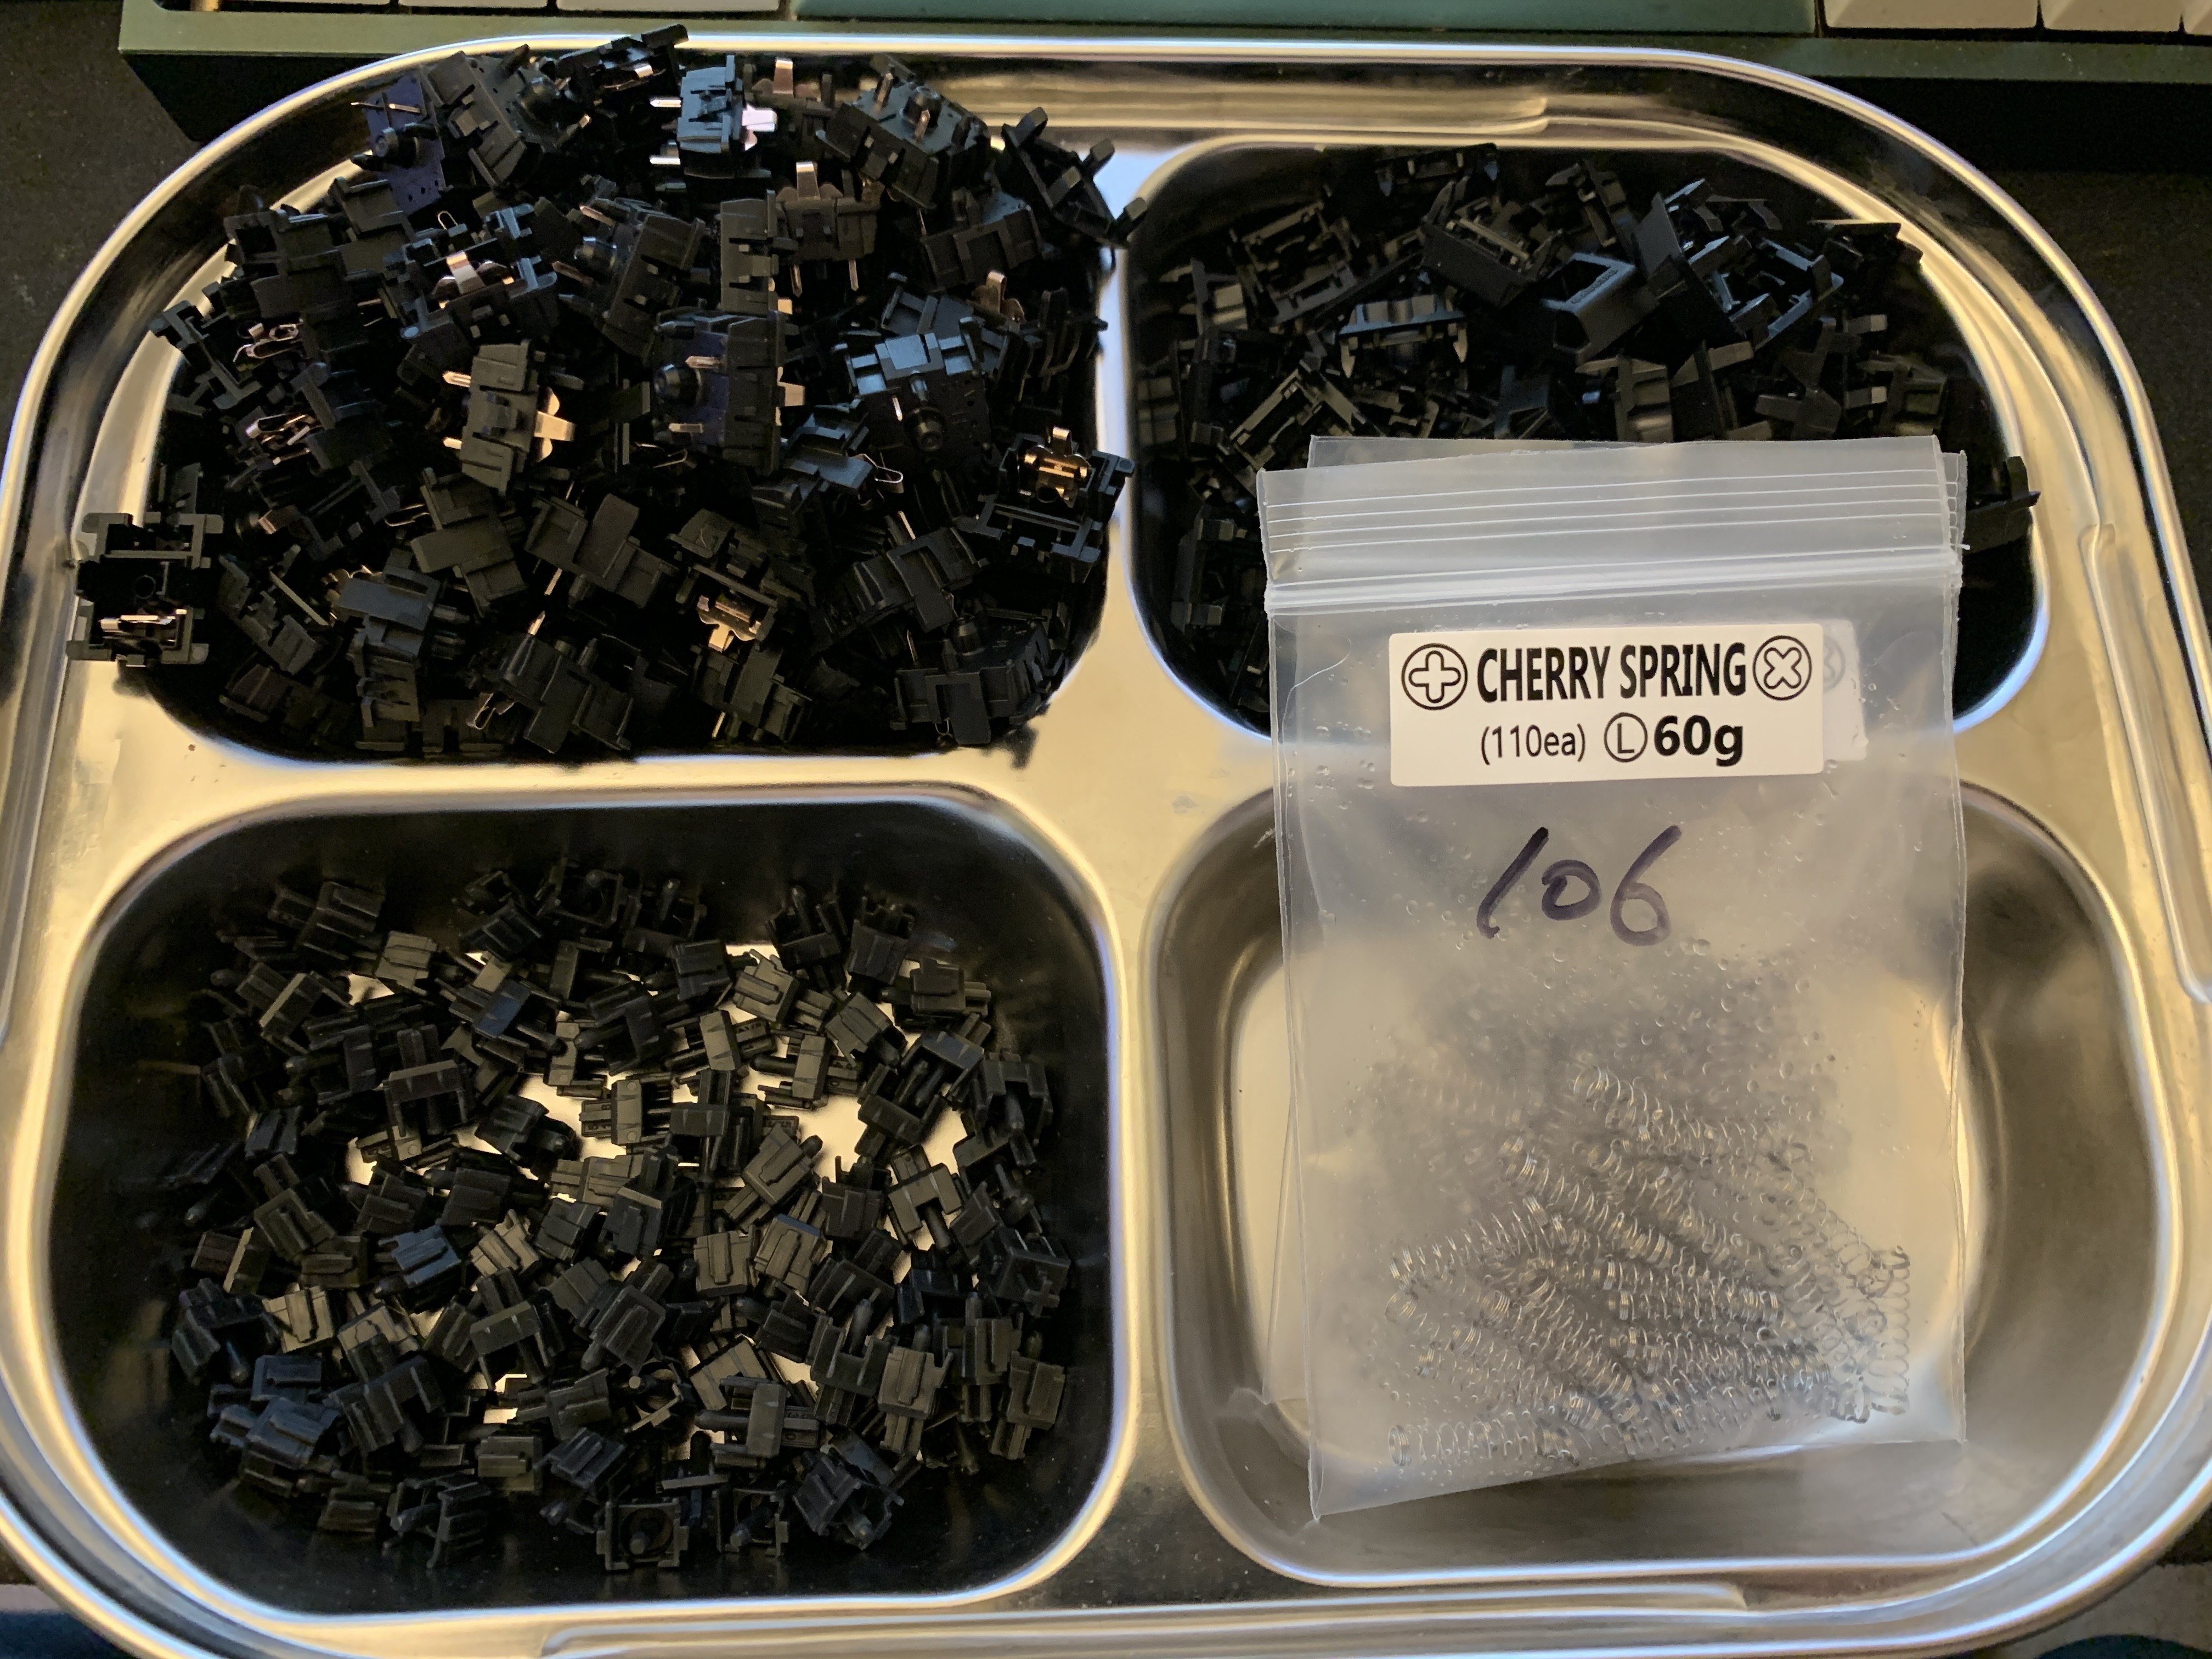
NOTE: Used 106 to bag lube the springs because I ran out of 105.
6 Likes
Could I substitute GP for something else? or do I have to make KPS with GP
I needed to change viscosity and PG is what I had so that’s what I used. Experiment away to find what works for you.
Hello, I just wanted to share my experience with polishing switches. I recently acquired an old wyse terminal board with vintage mx blacks. I got it for around $40 which I thought it was a steal until I actually received the board. The vint blacks that it came with were the most scratchy switches I have ever used. I suspect that it was a combination of it being a bad batch of switches and also that the board appeared to be barely used as there was practically zero shine on the abs keycaps.
I was a little disappointed at first and then I thought to myself that maybe I should try breaking them in. While doing some research on breaking in switches I stumbled upon this page. I was skeptical at first but I said screw it and gave it a try. I followed @donpark’s methodology and made some minor adjustments of my own as well. After completing the polishing process and cleaning them, I let them dry for a few days and I reassembled them today with some tx films but no lube yet. All I have to say is WOW what a difference. Much smoother now. I’d say the smoothness is about on par with gateron yellows which is a massive improvement. There is still a little bit of scratch left but it’s not as audible and obnoxious as it was before. I haven’t lubed them yet as I’m considering repeating the polishing process but I’m still very happy with the result. Thank you to everyone on here!
6 Likes
That’s great, particularly making adjustments as I think it’s a method that with room for further improvements. Extra care is also needed when working with vintage blacks as they’re not readily available like non-vintage blacks.
If you need ideas for the second polish, try experimenting with mild abrasives, like baking soda in powder form. But I wouldn’t risk more than one vintage in the trial.
1 Like
Finally getting to polishing my scratchy vints, did a couple of test ones and they came out butterrrrr… I also tested out polishing a hyperglide and that one didn’t come out as smooth, strange. Anyways, I’m not using KPS cause I don’t have PG and wanted to polish these right away. However, my method is beyond good enough. I’m using about a 2:1 ratio of 0.5 diamond polish to diatoms. Don’t know if anyone has done this before, I wouldn’t be surprised. Might test some more on those hyperglides when I’m finished with my vints
2 Likes
Cool. As for me, I’m now wary of using Diatoms after noticing an over-polished switch with rough scratch marks. Diamond paste also leaves marks behind but they’re not rough. Short of accurately keeping track of polish time, I’m going to stick with diamond paste, toothpaste, and baking soda for now.
Interesting that Hyperglide didn’t come out as smooth. Try repolishing with mix of diamond paste and toothpaste, no Diatoms. It’s not clear why but toothpaste and baking soda adds a feathery feel to the surface that I like.
2 Likes
Good to know, I’ll check up periodically on my vints to make sure they aren’t getting rough. I’ll test out that other method with the toothpaste and baking soda you mentioned later today.
2 Likes
Repolishing the last unlubed batch with Baking Soda + PG mix. Started brushing it on but shifted to bag-method to hasten the process. This is now what I do when I’m not fully happy with a polish. Finishing touch if you will. Leaves a feathery feel behind although it’s not clear how long that lasts as I usually lube right after a day or two.
FYI: Unless properly cleaned PG will leave behind squeaky feel that I mentioned while back that I couldn’t find the cause of. Soapy warm water removes the residue.
FYI2: You’ll need the original Cherry black spring with this mix. It’s a disruptive mix.
1 Like
Forgot to mention that it’s easy to have residues trapped inside the hole for stem pole that’s difficult to get out even after soaking. Once dried, residue powder inside the hole will make the switch feel scratchy. An easy way to check is looking at the stem pole to see if there are any powder on it.
1 Like
Yup, made sure that wasn’t an issue. However, after lubing with a light coat of 205g0 on the stem, the hyperglide turned out to be slightly smoother than the vint. I don’t know why, maybe there’s some sort of science behind that lol.
2 Likes
If I had to guess it’s probably a difference in the nylon & POM mixes Cherry uses now, vs what they used to use back in the day.
2 Likes