Dude. Same. My sentiments exactly.
3 Likes
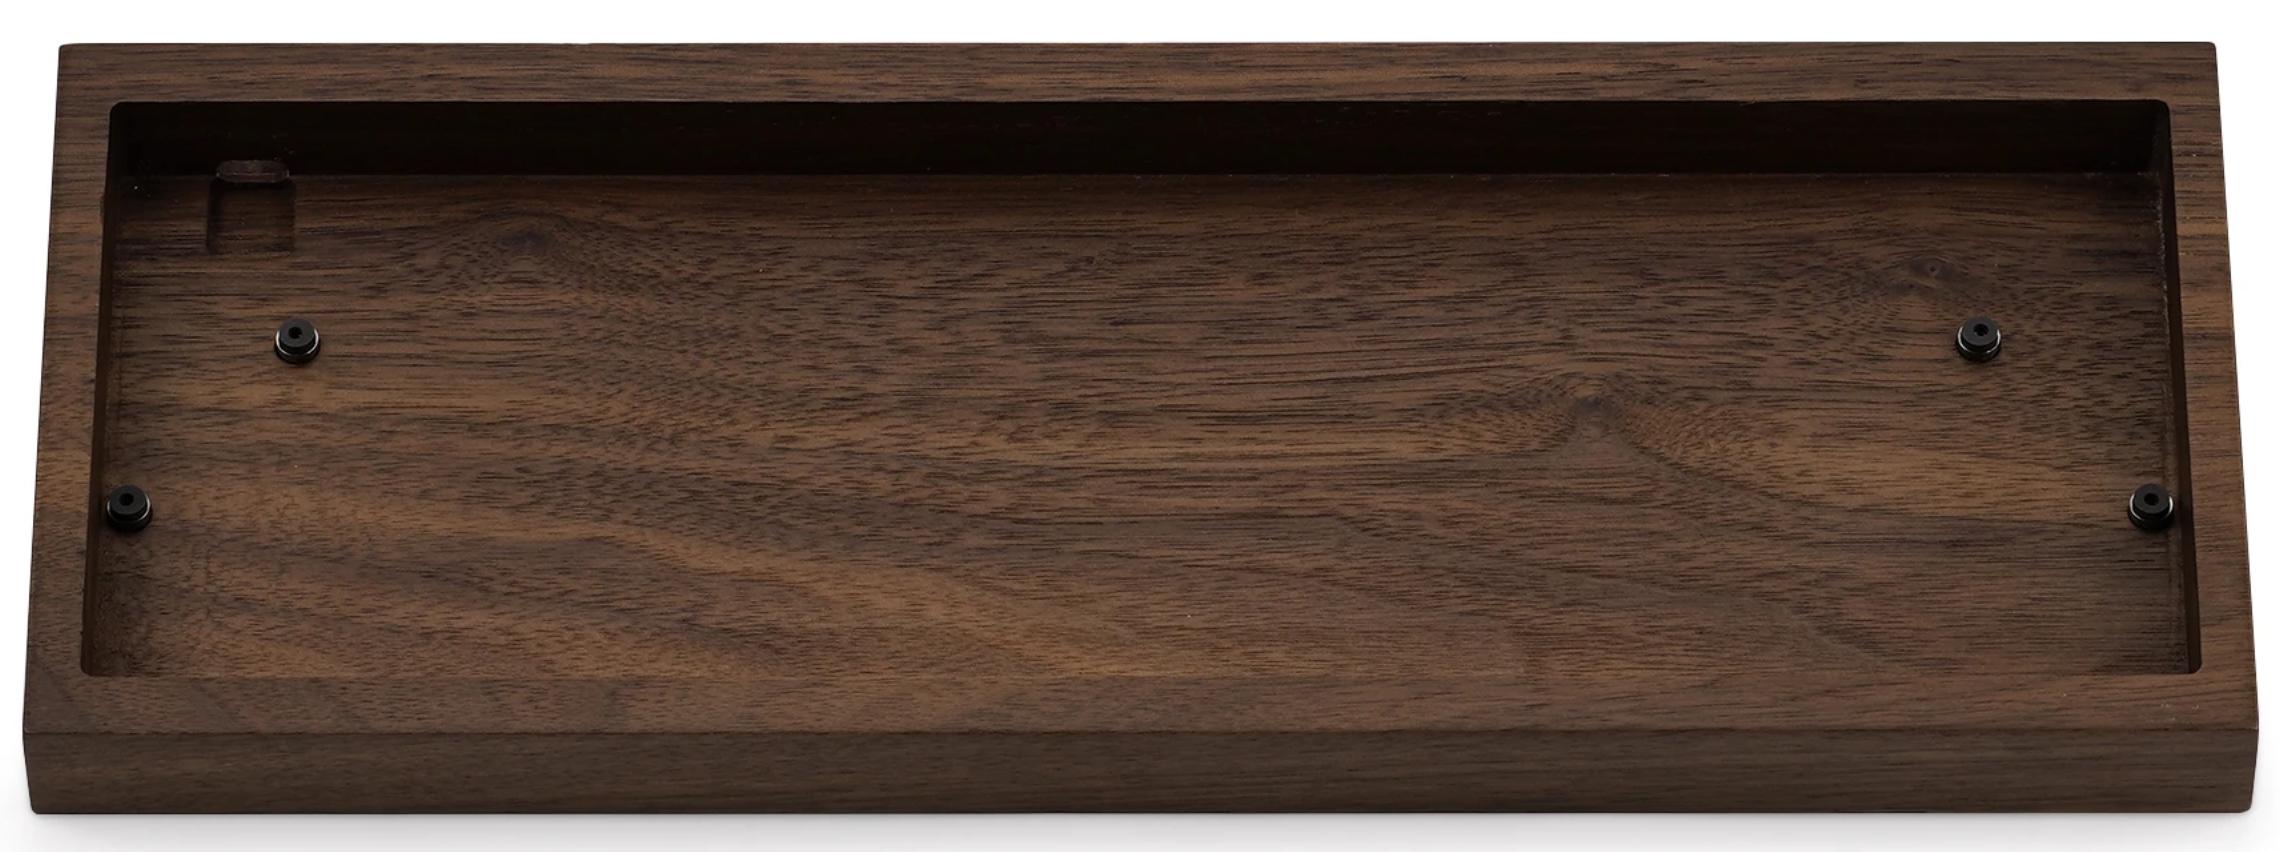
The only downside to wood, that I can see, is the propensity to swell and contract with moisture.
I only mention that because I have a wooden 60% case that was an absolutely bear to get the PCB into and I’m pretty sure it’s not coming out without some violence. Which may just be a manufacturing defect, but natural materials can be tricky.
2 Likes
You’re totally right. I suspected I ought to let the case acclimate to my part of the world before attempting any sort of build. I’m leaving it desk side for a week or so just to be sure.
2 Likes
How is PCB mount height? With wooden cases in the past, PCB sat too high which made typing difficult without a balm rest.
2 Likes
Hmm. That’s a super great question.
They look about the height you’d expect, but I don’t have a spare PCB to confirm.
4 Likes
No hurry. Let us know if they seem higher than usual after your build, whenever that may be. 
2 Likes
This set is so weirdly cool. Are the legends pad printed or?
Process is crazy: the caps are “dip-dyed, then dye-subbed, and then laser engraved to arrive at the final effect.”
1 Like
I kind of feel like those are out of order though. I would expect they were laser engraved first, then dye-subbed. Since the white clearly follows into the engraving.
1 Like
One of the guys behind the group buy, Ulliam, described the process in more depth in the GeekHack thread announcing the GB:
“The keycaps start off as a white base that are dip dyed (similar/comparable to sublimation) to the medium grey, they are then dye-sublimated black and etched back to smooth white using laser engraving.”

9 Likes
Neat!
Can you feel the legends? How do they compare to the usual home key bumps?
Oh that’s awesome and makes complete sense. I was a little confused what exactly the dip dying was even doing and now it’s all coming together. This is a super cool way to make a keycap. I hope there are more that take advantage of this approach.
@ajoflo yes, you can feel them, but it’s very subtle. The home keys are just dished more, but appear to have the same depth of engraving on them.
3 Likes
Right? Between this new process and reverse dye-sub, I’m excited that we’ll start seeing a lot more interesting PBT keycap legends and colors.
1 Like
Just so I understand the process fully; dip dying is chemically the same as dye sublimation but without a printed transfer paper, right?
1 Like

Oh, fascinating… that makes me really curious about the kind of laser they are using and how it’s set up. I used to operate a laser cutter and engraver in the signage business, and IIRC it takes some finessing to get a smooth, glossy finish like that on an engraved surface - it’s usually very rough, almost like a softer fine sandpaper.
Usually the engraving process itself essentially makes millions of tiny explosions in the material; vaporizing it one micro-pulse at a time - each of those pulses more or less is one “grain” in the grit of the surface. Whether it’s somehow in the same pass or with a subsequent pass, the laser appears to be melting the plastic back down into a melted-together surface.
I seem to remember that being technically possible with the unit I had been using, but accomplishing it was sort of a hack-y procedure that you kind of had to wing.
Say all that to say - that looks exceptional for a laser-engraved plastic surface.
3 Likes
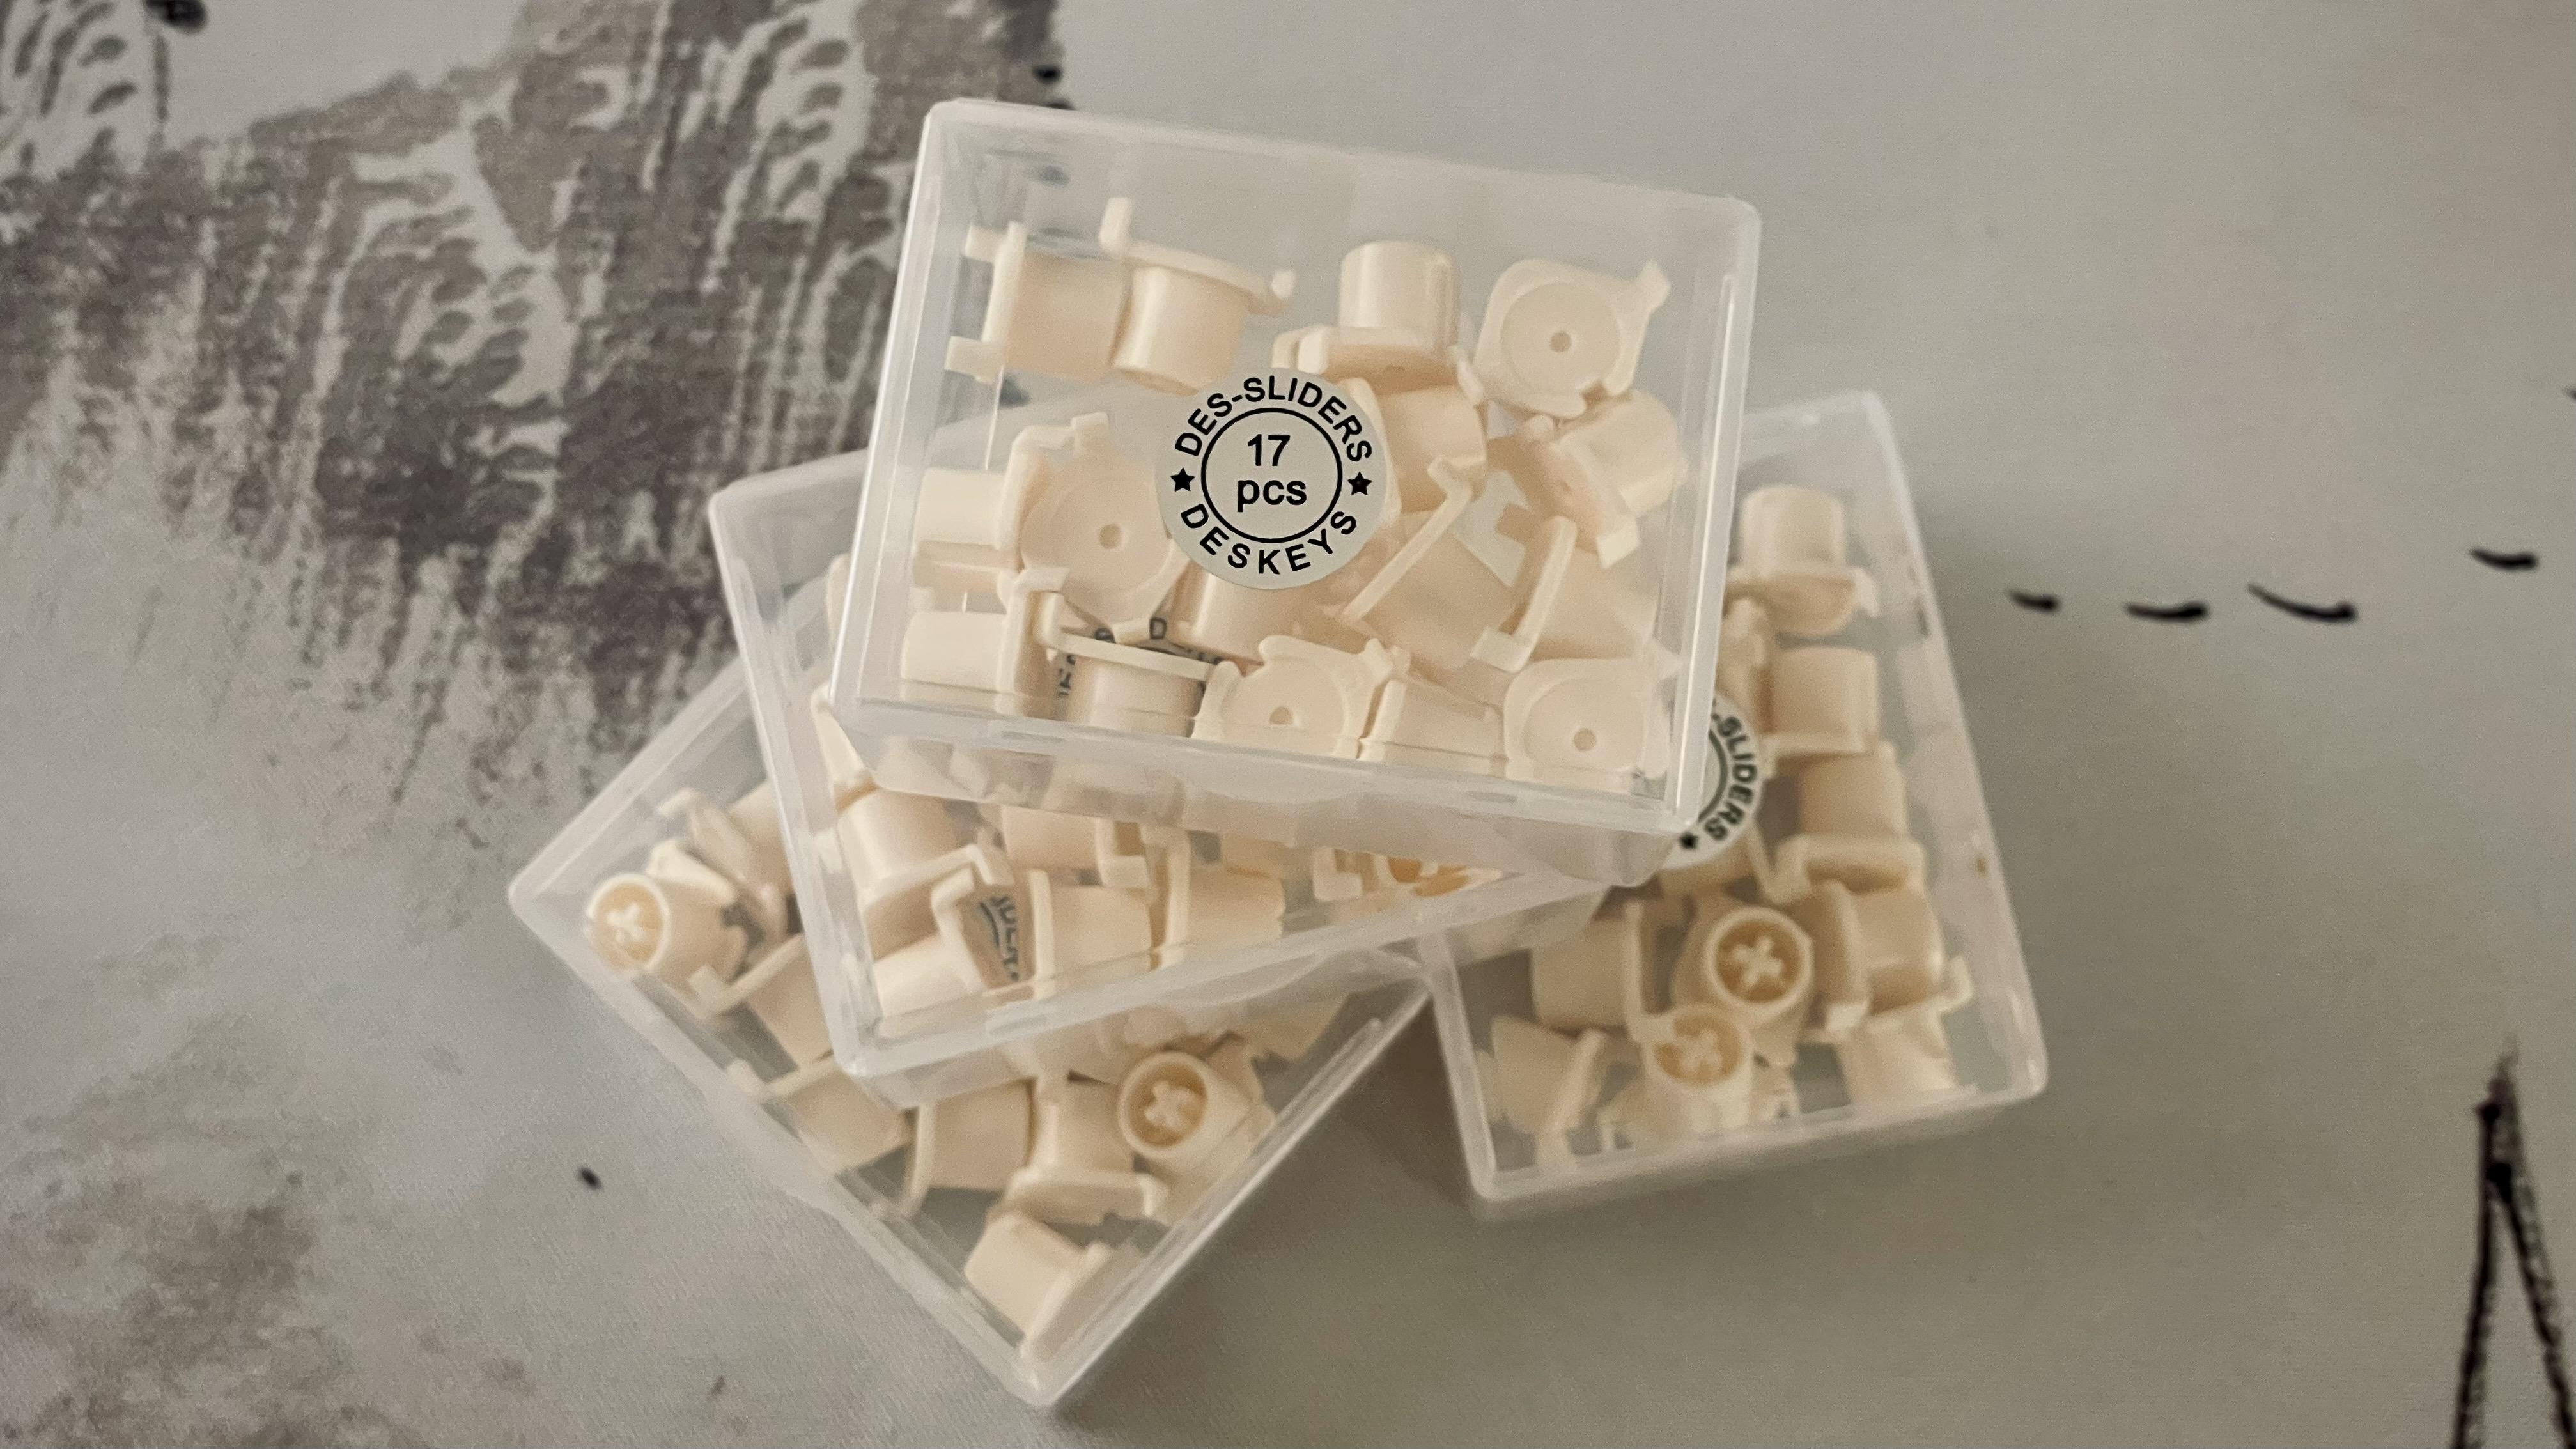
Ooo, I’m hoping to hear how these work versus the stock sliders. Lot’s of hopes pinned to these.
2 Likes
Same ![]() I’ll report back. But, this one word gives me hope:
I’ll report back. But, this one word gives me hope:
2 Likes
About time KBDfans got with the times on tray mount 60%s. Just the 4 side mounts makes a tray mount 60% feel so much more consistent & sound better. Add in a half plate with a super flexy PCB like the HADflex60 & you got a recipe for a tray mount that feels better than some customs IMHO!
7 Likes