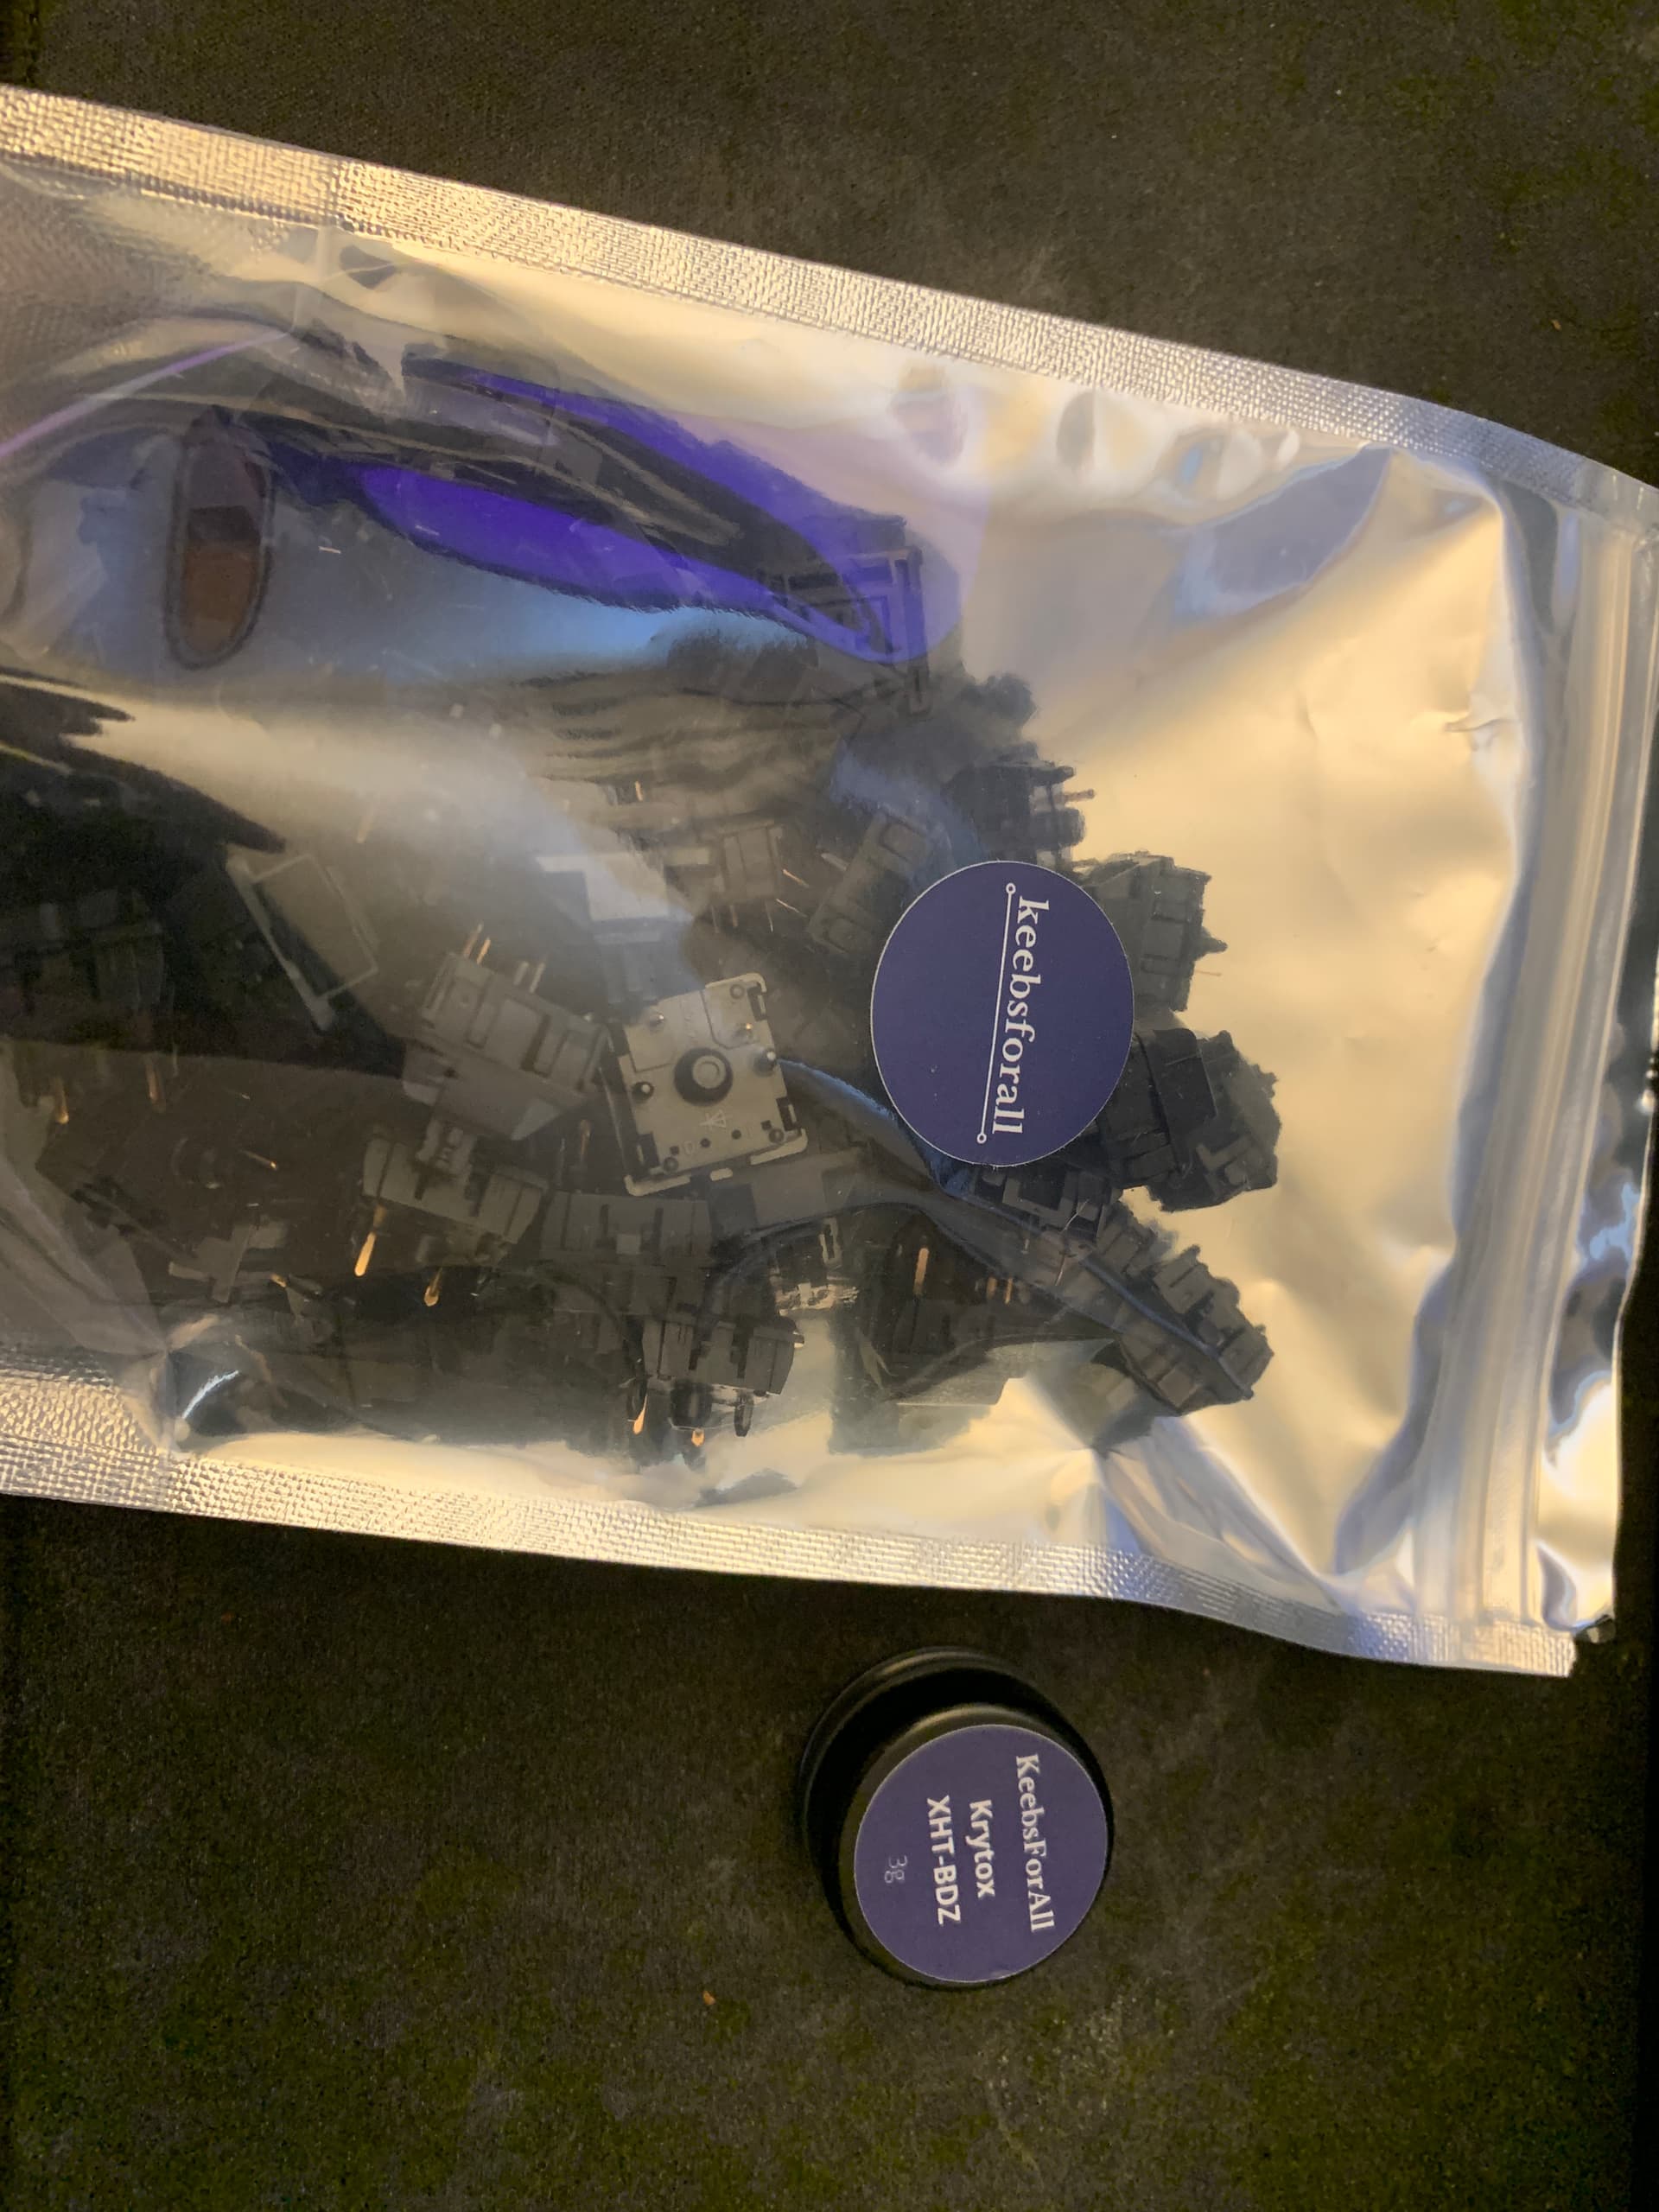
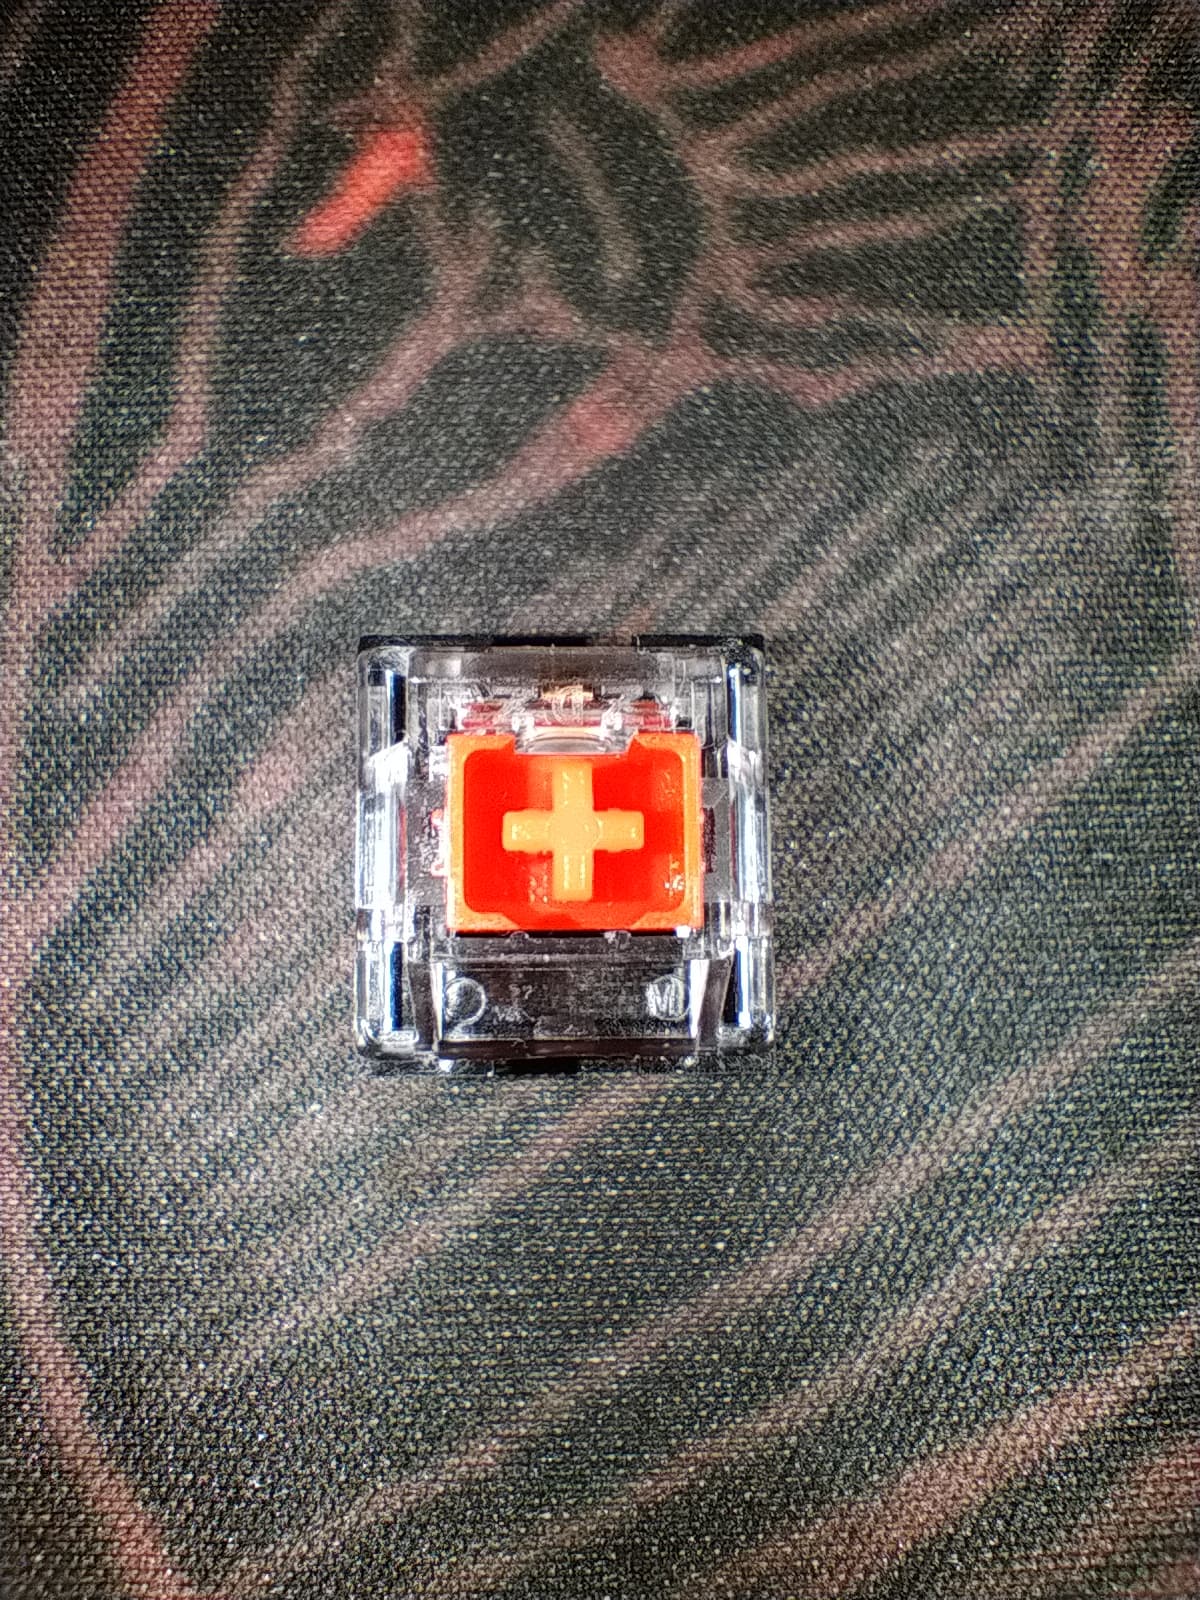
Just some Oil King switches and XHT-BDZ for stabs which I forgot to post about on the “What did you order today” thread (doh). More curiosity than informed purchase. Initial impression of Oil King is a meh. Expected more thock or clack but seems to be quieter than Gateron Milky Pro X. As to XHT-BDZ, I’m happy with 205g0 but need occasional ‘refill’ to keep the rattle away. Hope this lube will remove that need.
7 Likes
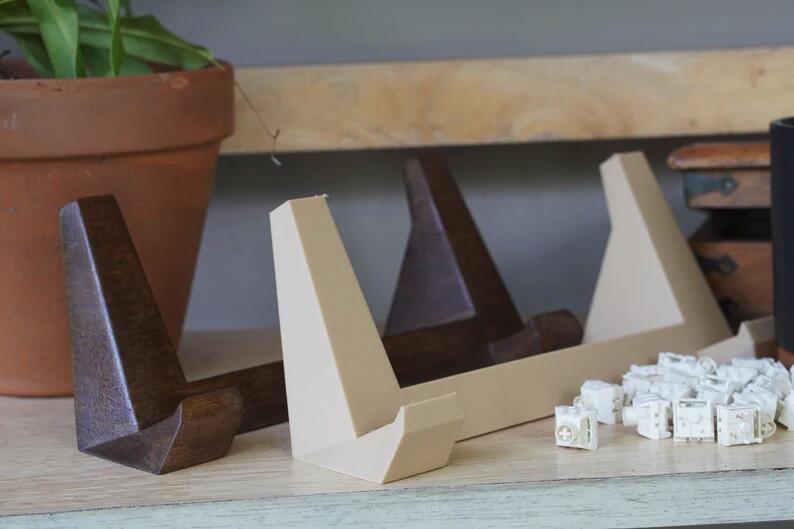
I love the fact that you can barely see the stands on these prints especially on the black shelves. I was clicking around that person’s store and found that they have 3D printed wood stands in the same shape. Pricing on these is great too!
11 Likes
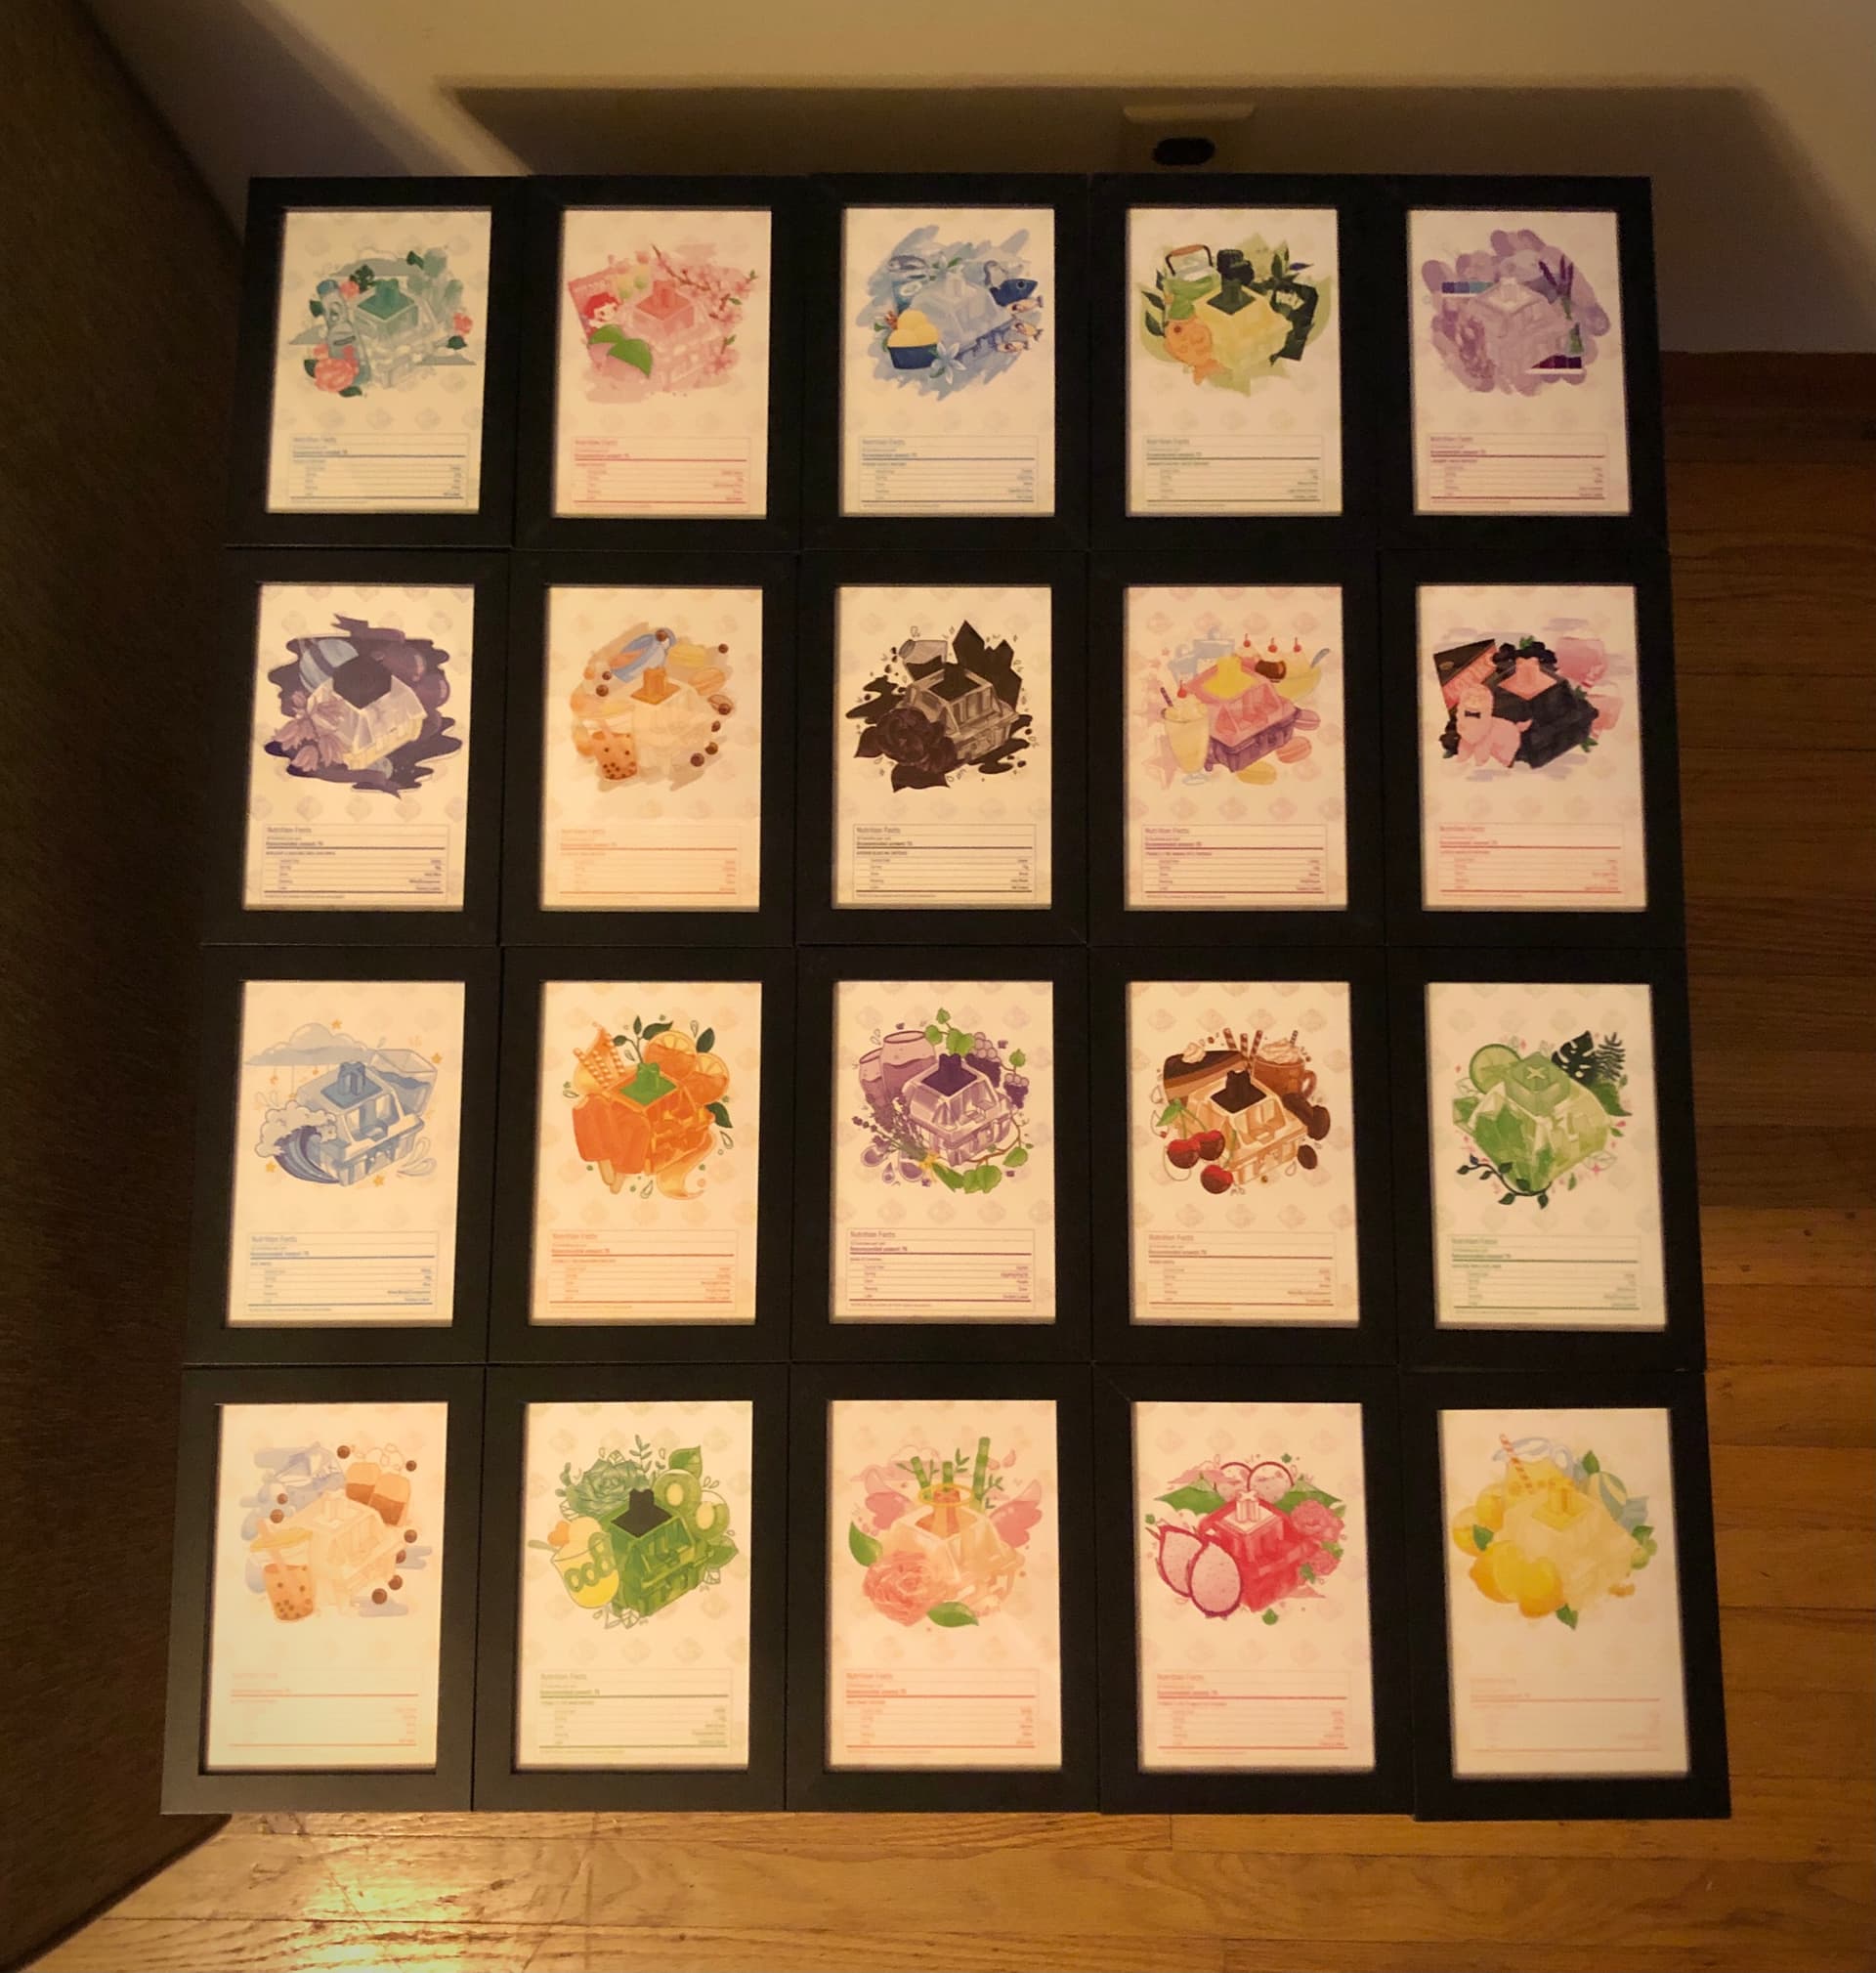
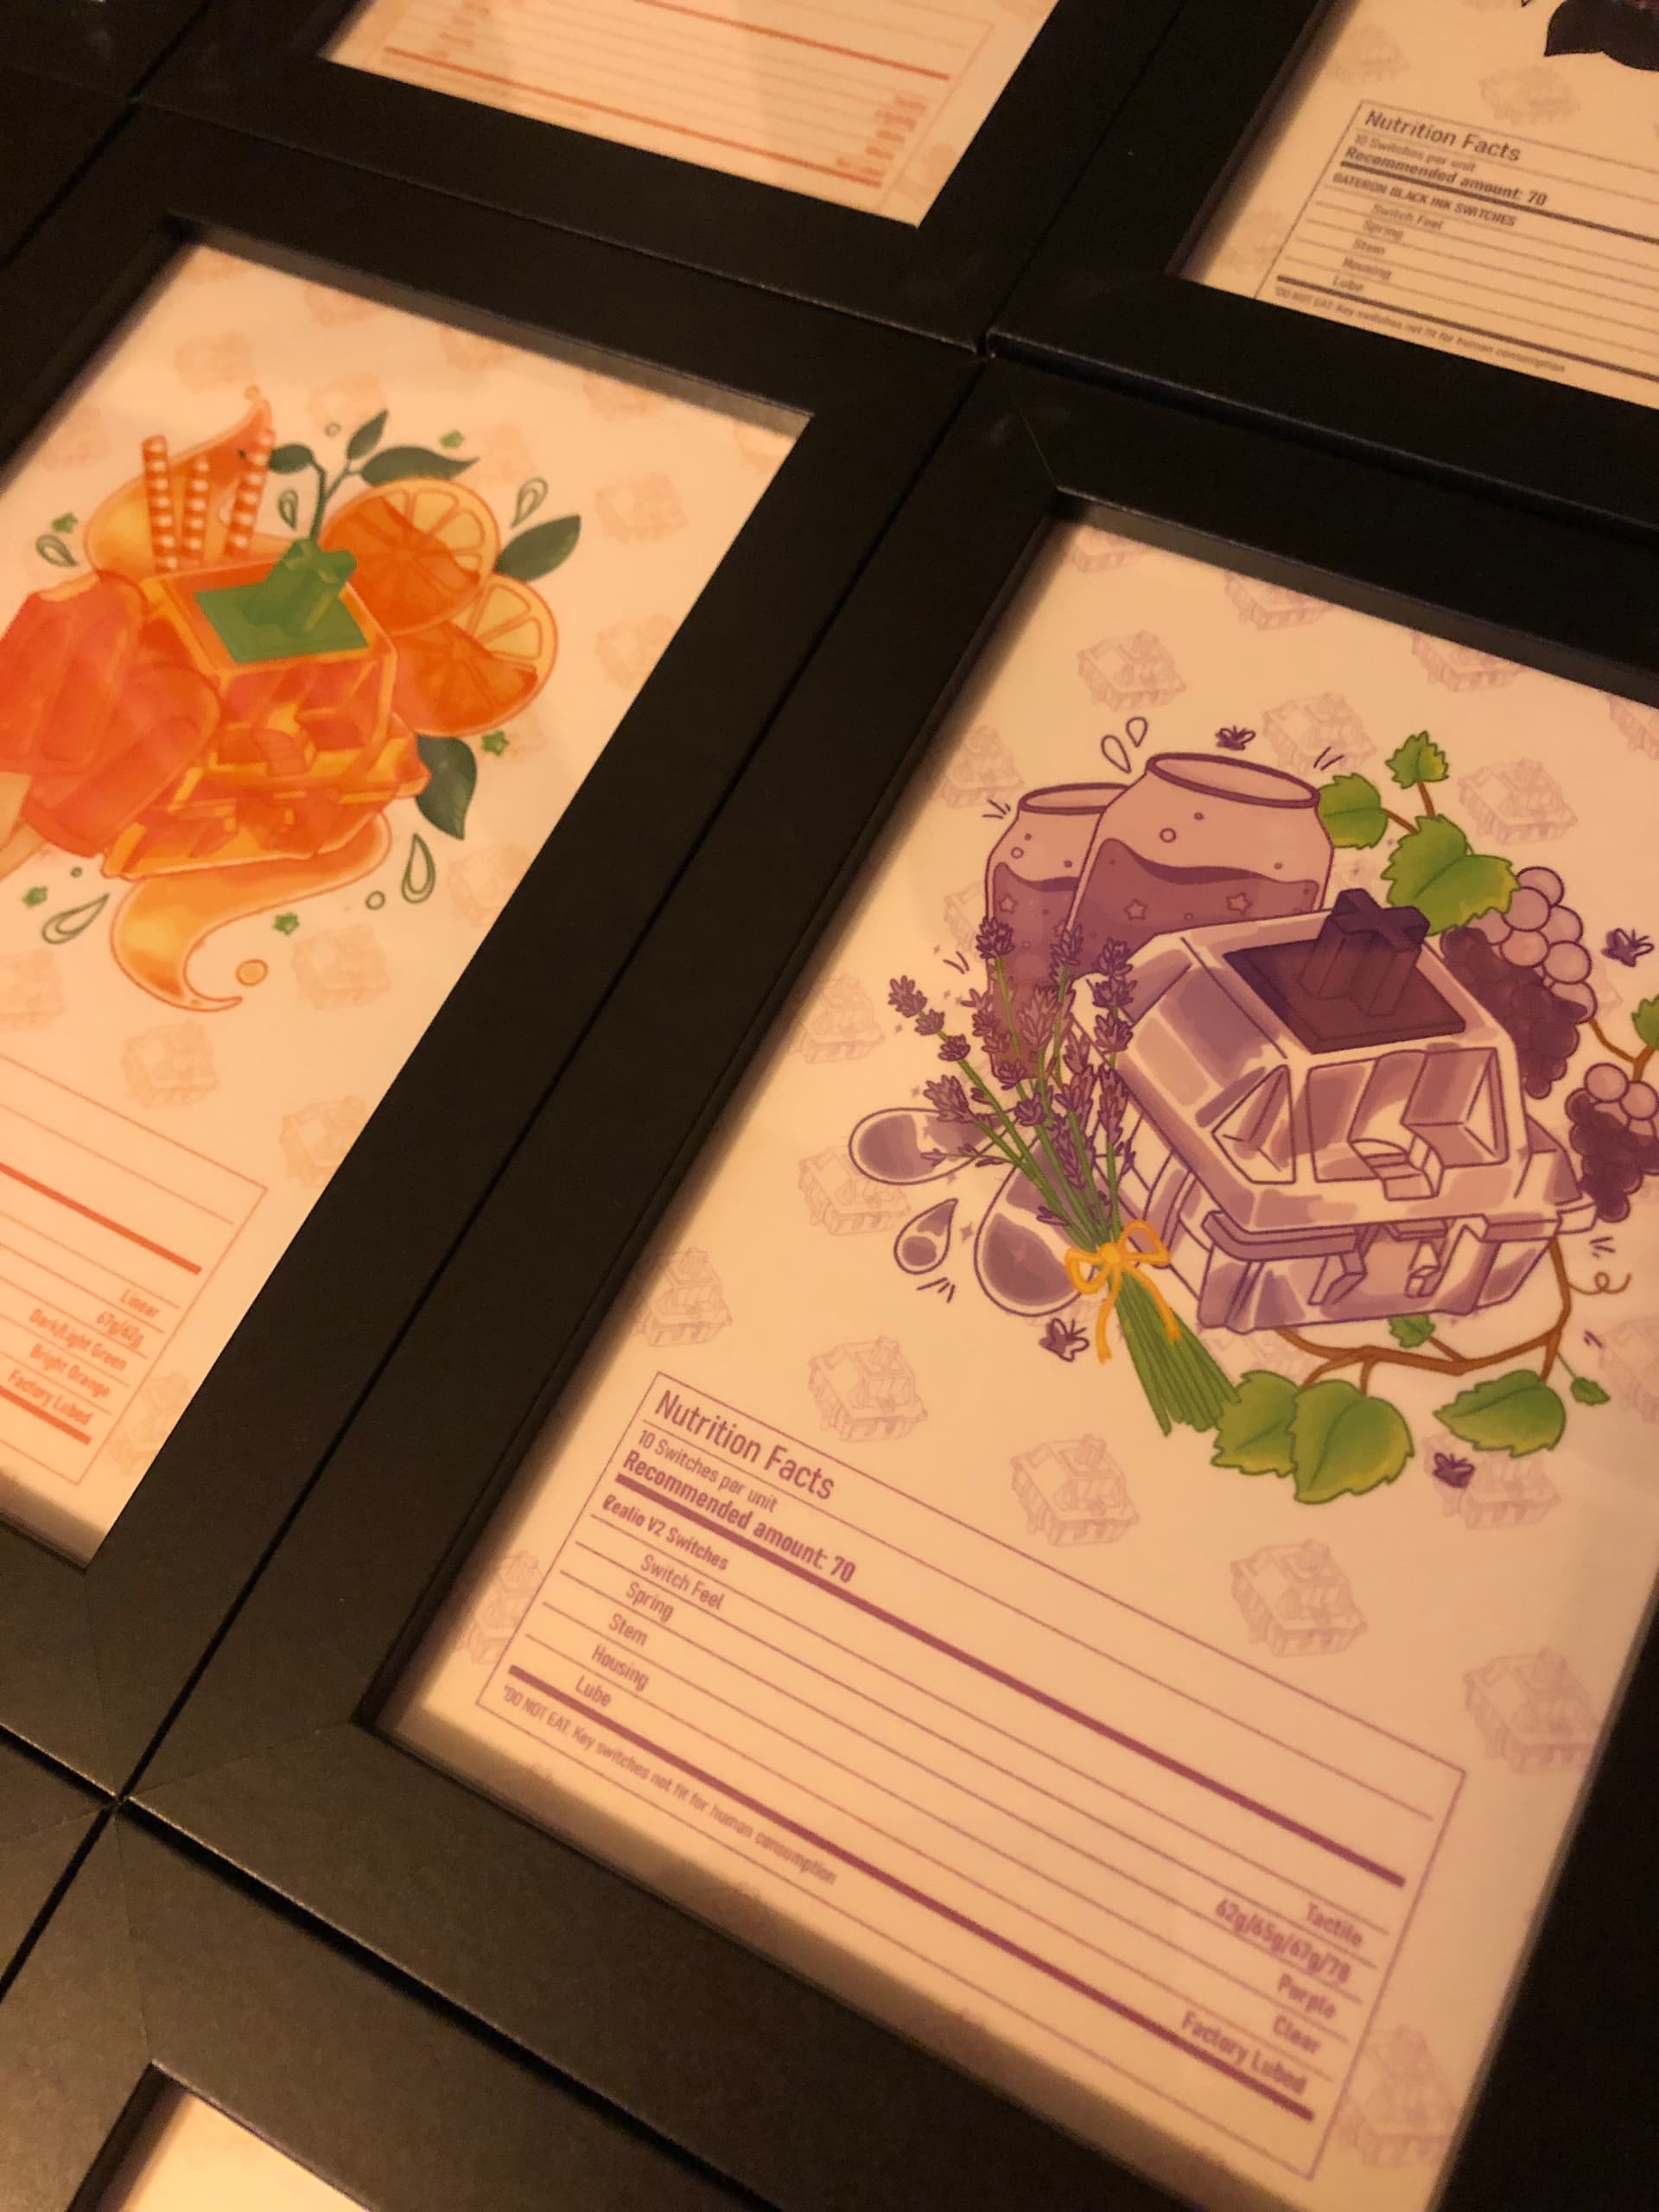
- 20 little 4 X 6 frames for @Seo_bun’s delightful switch cards
I’ve been wanting to display these for some time.
11 Likes
Love this! Looks great!
2 Likes
Update; hung them up in the kitchen:
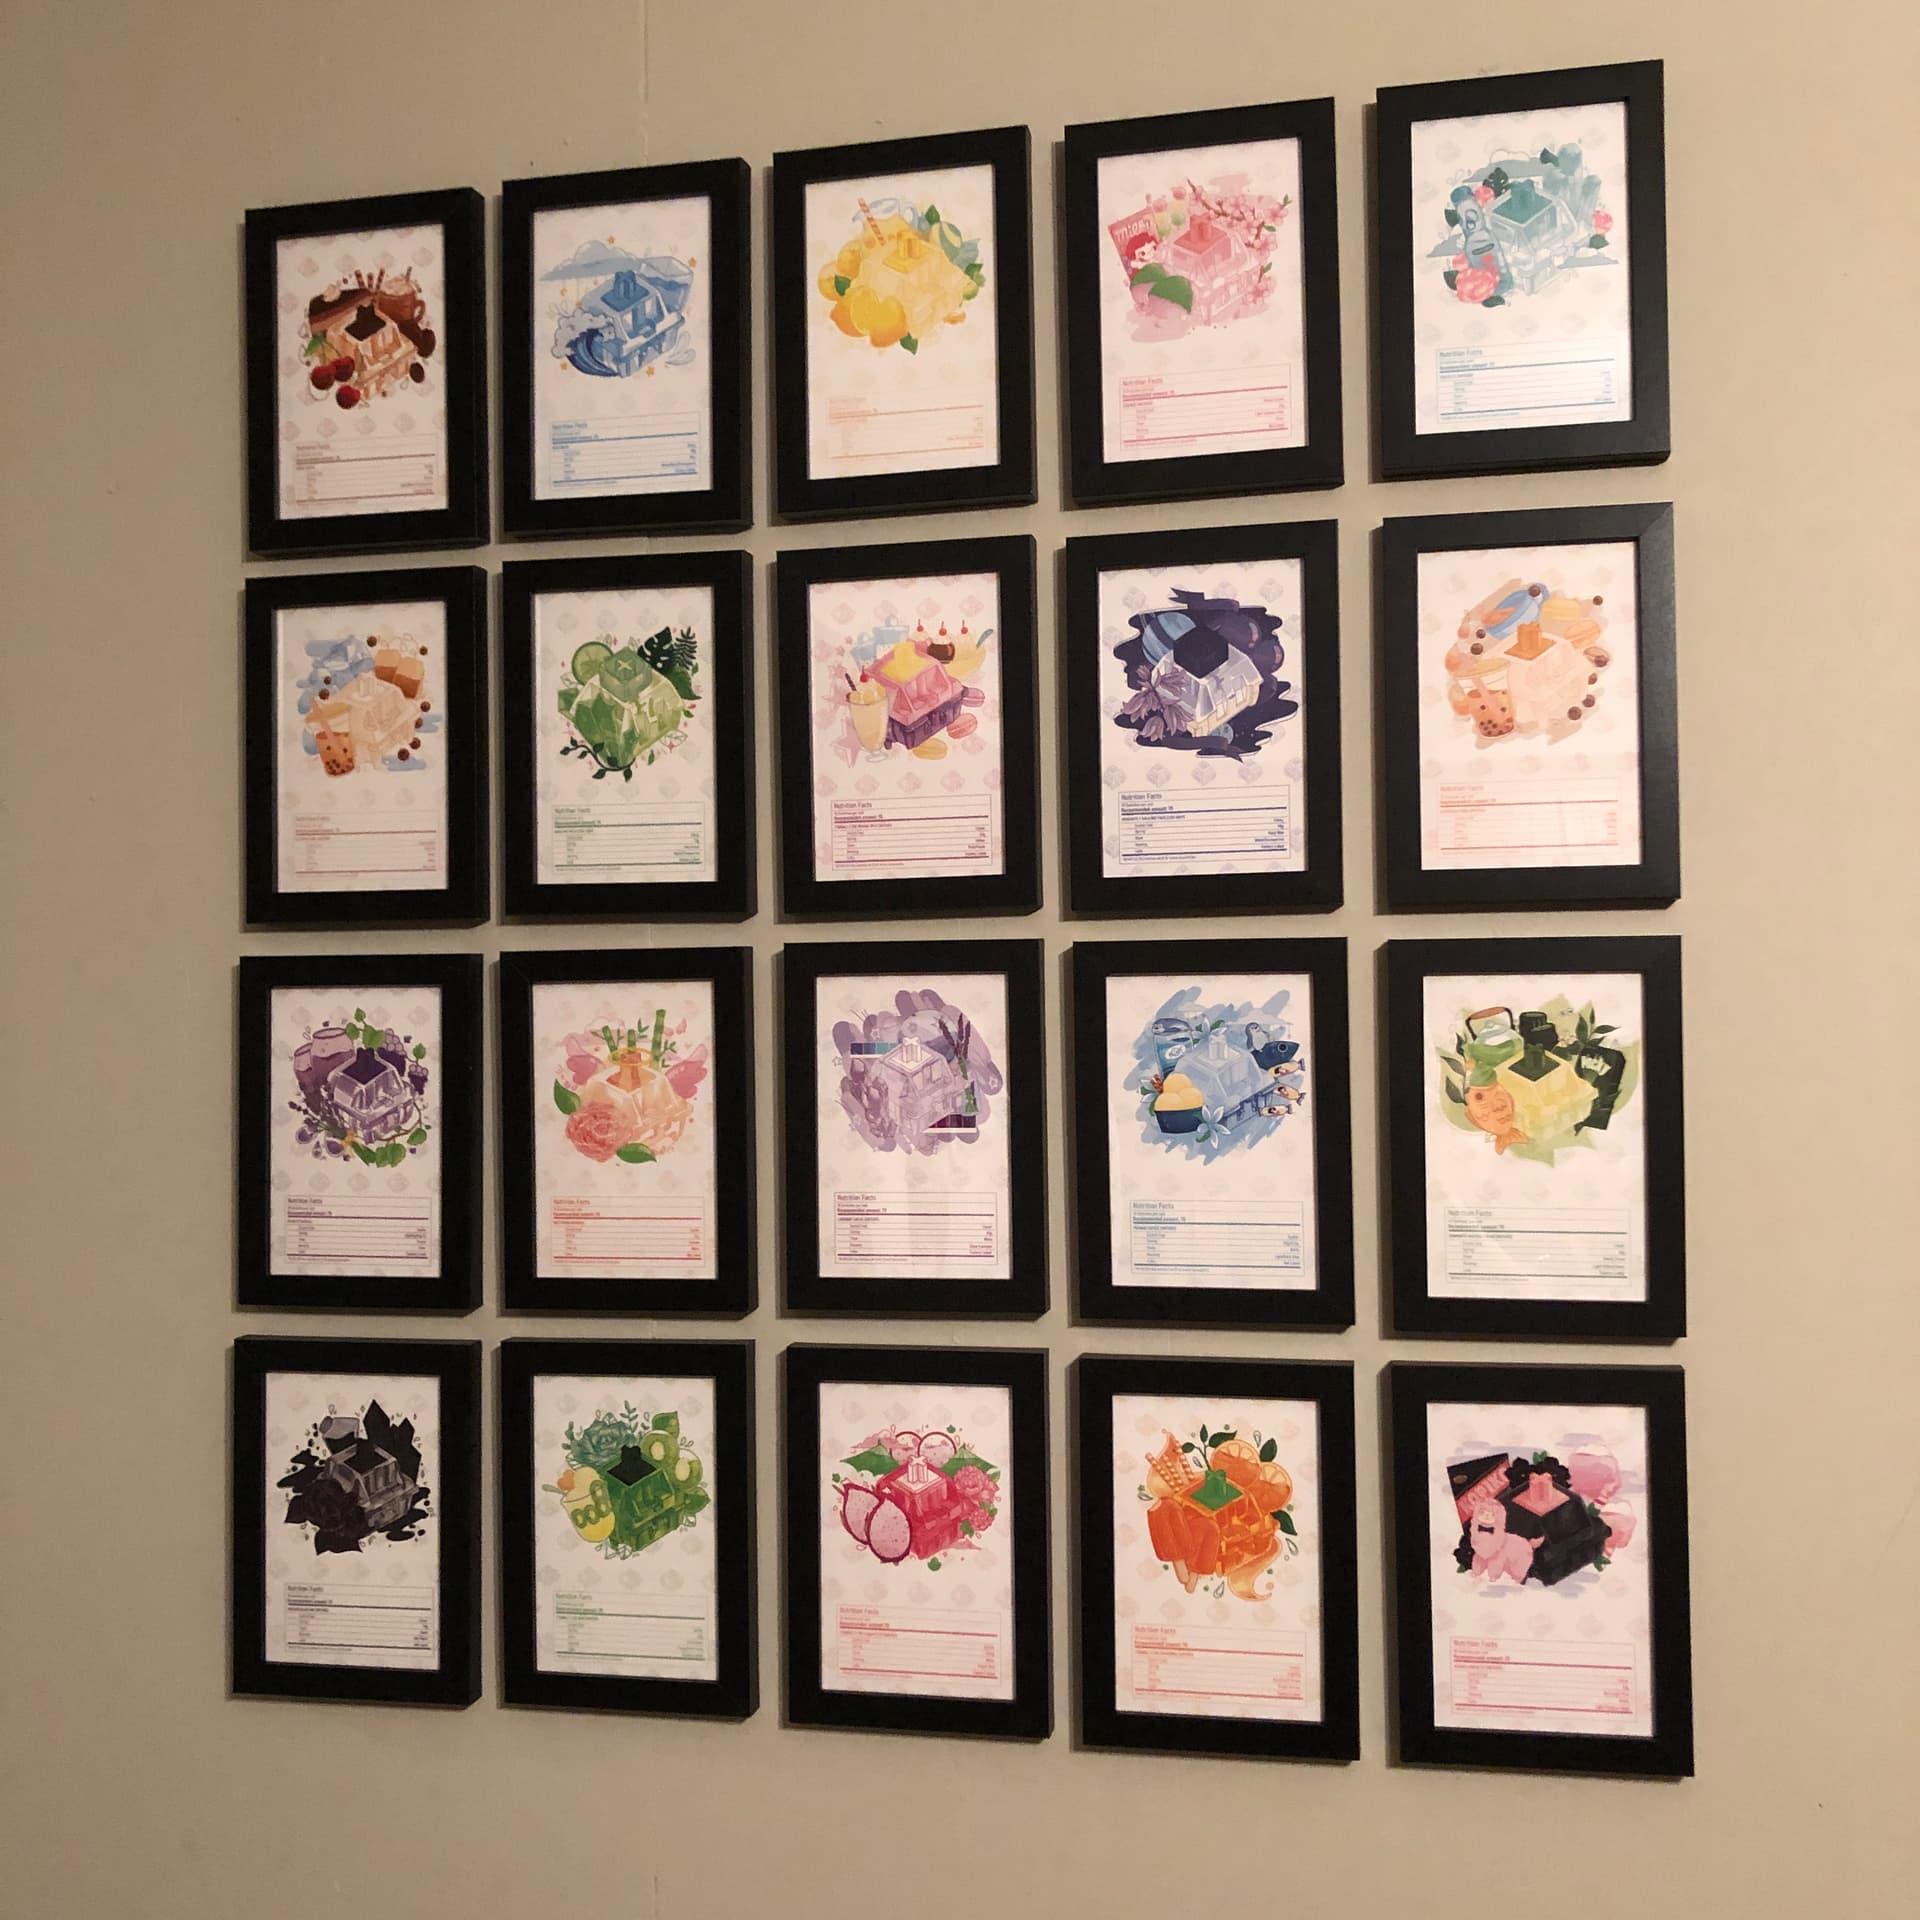
A perfect place for these “nutrition facts” cards.
I didn’t use a ruler, because there probably isn’t one true right angle in this house. 
16 Likes
yo good find! is this just simulated wood look?
1 Like
Actual wood fibers mixed with PLA! I’m just copying and pasting from the Etsy description but thought it was interesting enough to share here:
Made out of 3D printed wood which is a blend of saw dust and PLA plastic. This gives it the unique ability to be sanded and stained with wood stain to give the appearance of wood. Use any preferred wood stain to match. (Pictured is Minwax Provincial)
The item comes in the lighter brown as a raw 3D print and can be used as is. To achieve a ‘wood look’ use a heavy grit sand paper and sand every surface in the same direction. This will create the deep pockets for the wood stain to set in looking like grain. Once sanded apply wood stain liberally and let set, another coat may be needed. We recommend sealing with spray polyurethane after stain has dried to seal.
3 Likes
I can’t confirm, but from what I’ve heard BDZ and 205g0 don’t mix well so to add BDZ on a wire with 205g0 on it already might not have the desired effect. 
2 Likes
Dang. That’s a precious tip. Thanks. With that info, I’m going to use the only reusable part of NovelKey stabs I got: wires. F**K.
2 Likes
Some random budget keyboard with ZDZ branded switches. They don’t seem similar to any of the other switches in my collection so i will try and pester the manufacturer if they can tell me who the factory is that made these switches, just for peace of mind.
6 Likes

2 Likes

2 Likes
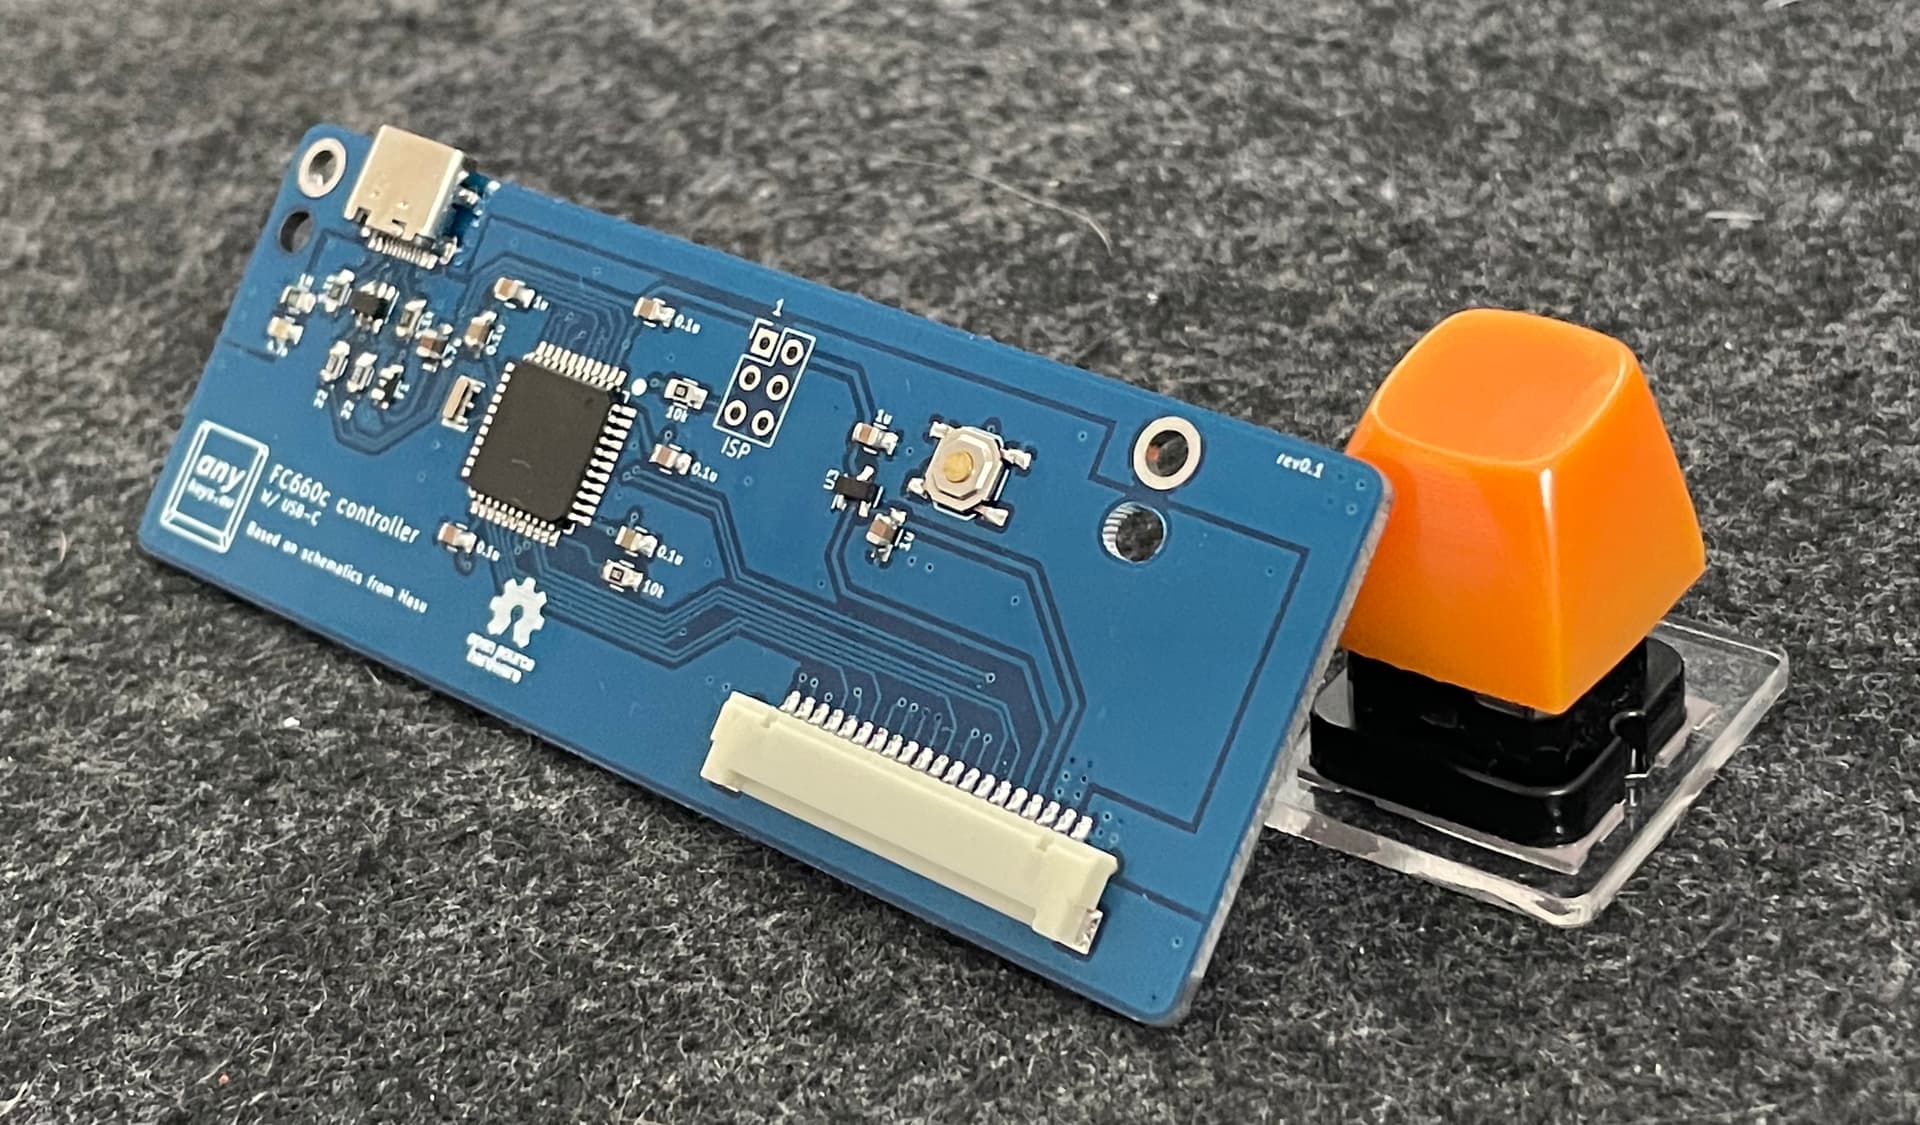
Got my aftermarket FC660C controller from Evelien@anykeys.eu
Thanks again to @Dave for pointing to Evelien in this thread.
9 Likes
I’m having trouble with this one.
Using the QMK configurator, I flashed QMK as well as TMK. The flashing procedure is successful and for a brief moment, macOS recognizes the keyboard and shows a dialog of a newly connected keyboard. But no key presses are sent. Even in Karabiner event viewer no key presses are recognized.
In the log of QMK configurator I can see the TMK startup process output saying Keyboard start.
So my guess is that the controller is running the firmware but the connection from the PCB to the controller board has an issue.
Any help is much appreciated.
Thank you.
Evelien is awesome glad she had an extra or made one for you!
Not sure off the top of my head but recommend trying one of these firmwares which are known to be working (they are for vial but doesn’t matter for debugging)
Other than that usually steps change usb port and cable just to be on the safe side.
1 Like
Oh man, that’s been on my want list so long. Nice score!
1 Like
She is indeed awesome — very helpful and responsive on her discord server. The non-functioning turned out to be a solder connection problem to the microcontroller.
I meditated with intense breathing exercise for an hour in order to gain enough confidence to get out the soldering iron. Packed with enough mojo, I swiped some solder over the pins in question… success 
This reply was typed with the upgraded FC660C.
Thank you, @Dave, for the quick response and link.
You all have a great weekend.
3 Likes

Soldering the mcu can be intimidating! So glad it worked out
3 Likes