What's on your workbench today?

Man, you really have a talent for pairing disparate bits in a way that makes them look meant for each-other. :pinched_fingers:

4 Likes

Disparate? You don’t think the pinto cruising wagon is an obvious choice for a space travel keyboard? :rofl: :upside_down_face: :rofl:

3 Likes

See that? Pretty clean matrix there (ignore the MCU… my thin gauge solid core has comically thick insulation). Unfortunately, I used too much heat on some very thin heat shrink. Had shorts everywhere because the tubing melted where the columns crossed the rows.

Had to completely redo the columns with a second layer of bulkier heat shrink to fit over the loops and solder, and I’ve still got a few gremlins to hunt down (two or three repeated key presses that migrate up the matrix if I disconnect a switch). It’s enough to make a fella want to take up PCB design.

Edit: Some of the gremlins worked themselves out on their own. By the morning, after resoldering, just a couple of bum keys. One short, and one cold joint that came loose (as opposed to all the other cold joints that are holding, LOL). This one is basically done.

9 Likes

Mr Bump my Kailh Big Switch had a very noisy spring, so a couple of days ago I opened it up.

This was a bit of a challenge because my switch opener is 4x too small, and the clips on the Big Switch are very stiff. Eventually managed to separate the top and bottom with some care and brute force.

I applied a generous coating of lube to the shaft and sides of the stem and the matching surfaces of the housing, and the outside of the shaft in the bottom housing. I didn’t lube the spring directly because it picked up enough from the shaft.

Curiously, the only sign of factory lube was on the contact leaf and around the tactile bump on the slider.

Anyway, Mr Bump complains a lot less now, and is much nicer to press.

3 Likes

Now I’m imagining Glarses with a comically large acrylic switch-lube station and house painters’ brushes to do that entire keyboard he made. :rofl:

4 Likes

Decided to try a different route to try to infill rather than try my shaky hand at @JucheCatgirl’s method described here.

I decided to attempt to color match the N9 color on my GMK Nines set into an infill in the logo on my Neo70. After finding the hex code, I was able to get the RAL color code and pick up a little bit of powder. Since the piece the logo resides on is a removable piece, I figured I could just fill the logo with powder, scrape off the excess, and then let an old toaster oven I have lying about do the rest of the work.


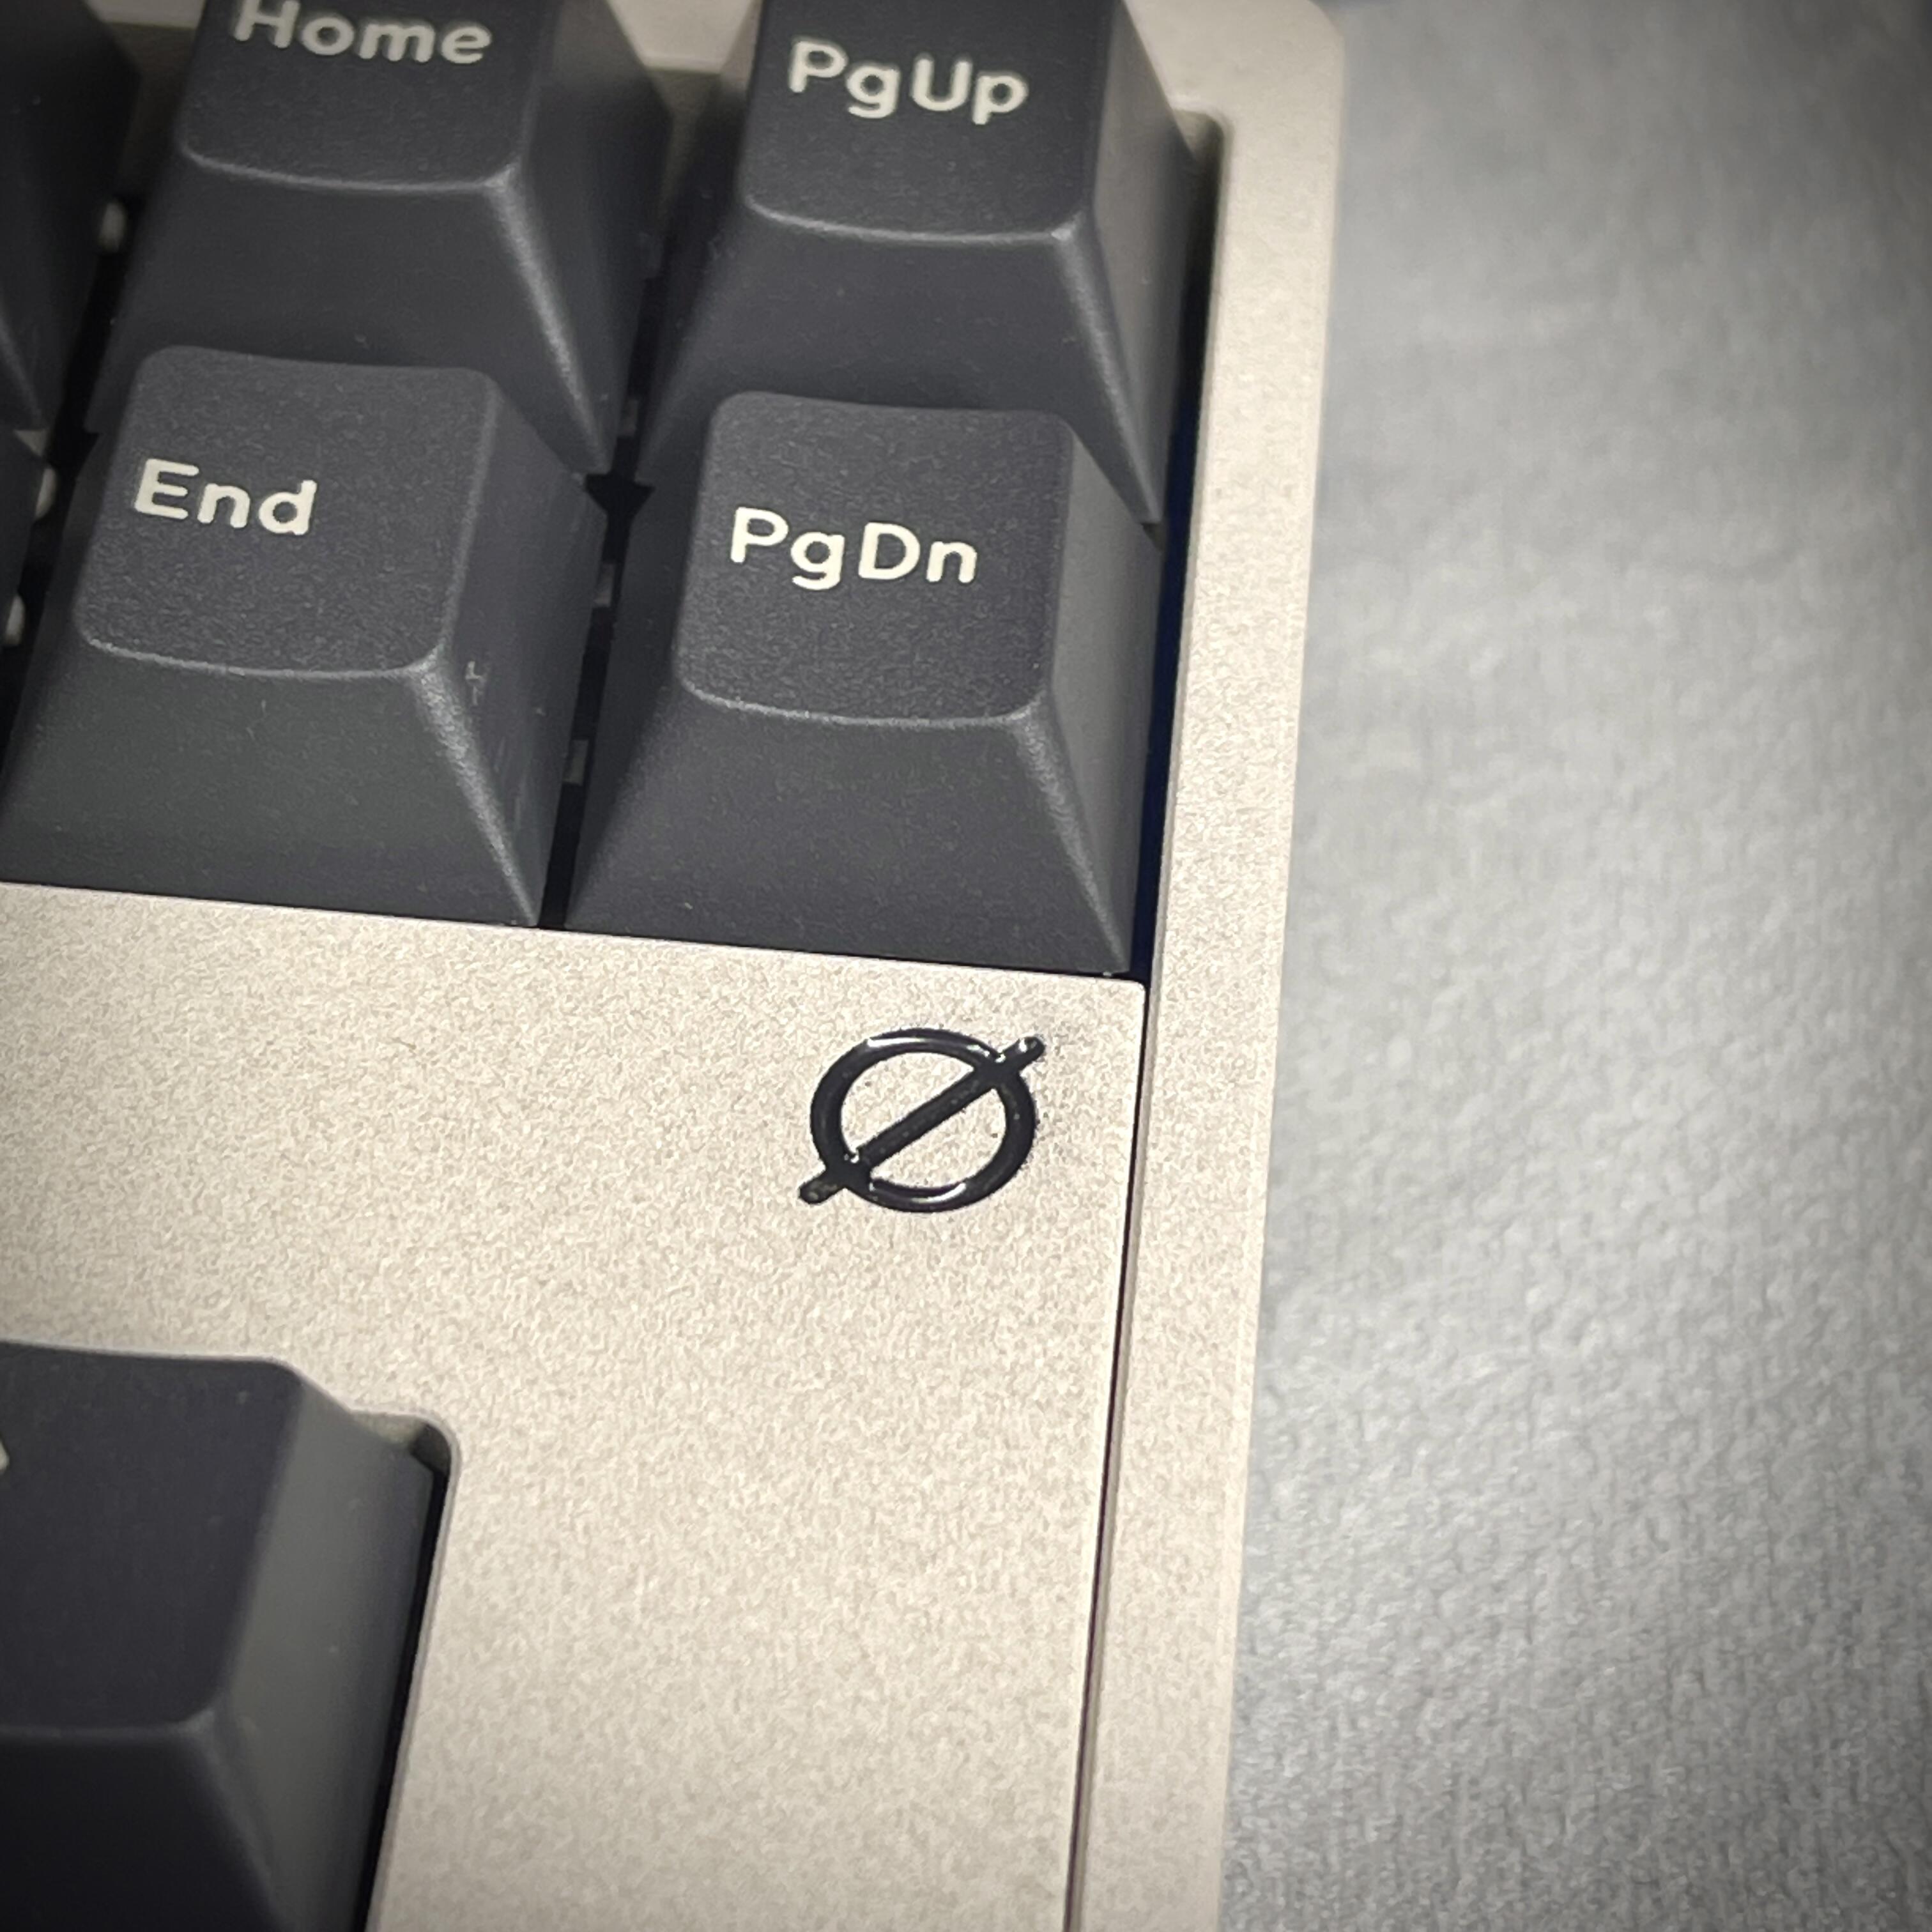
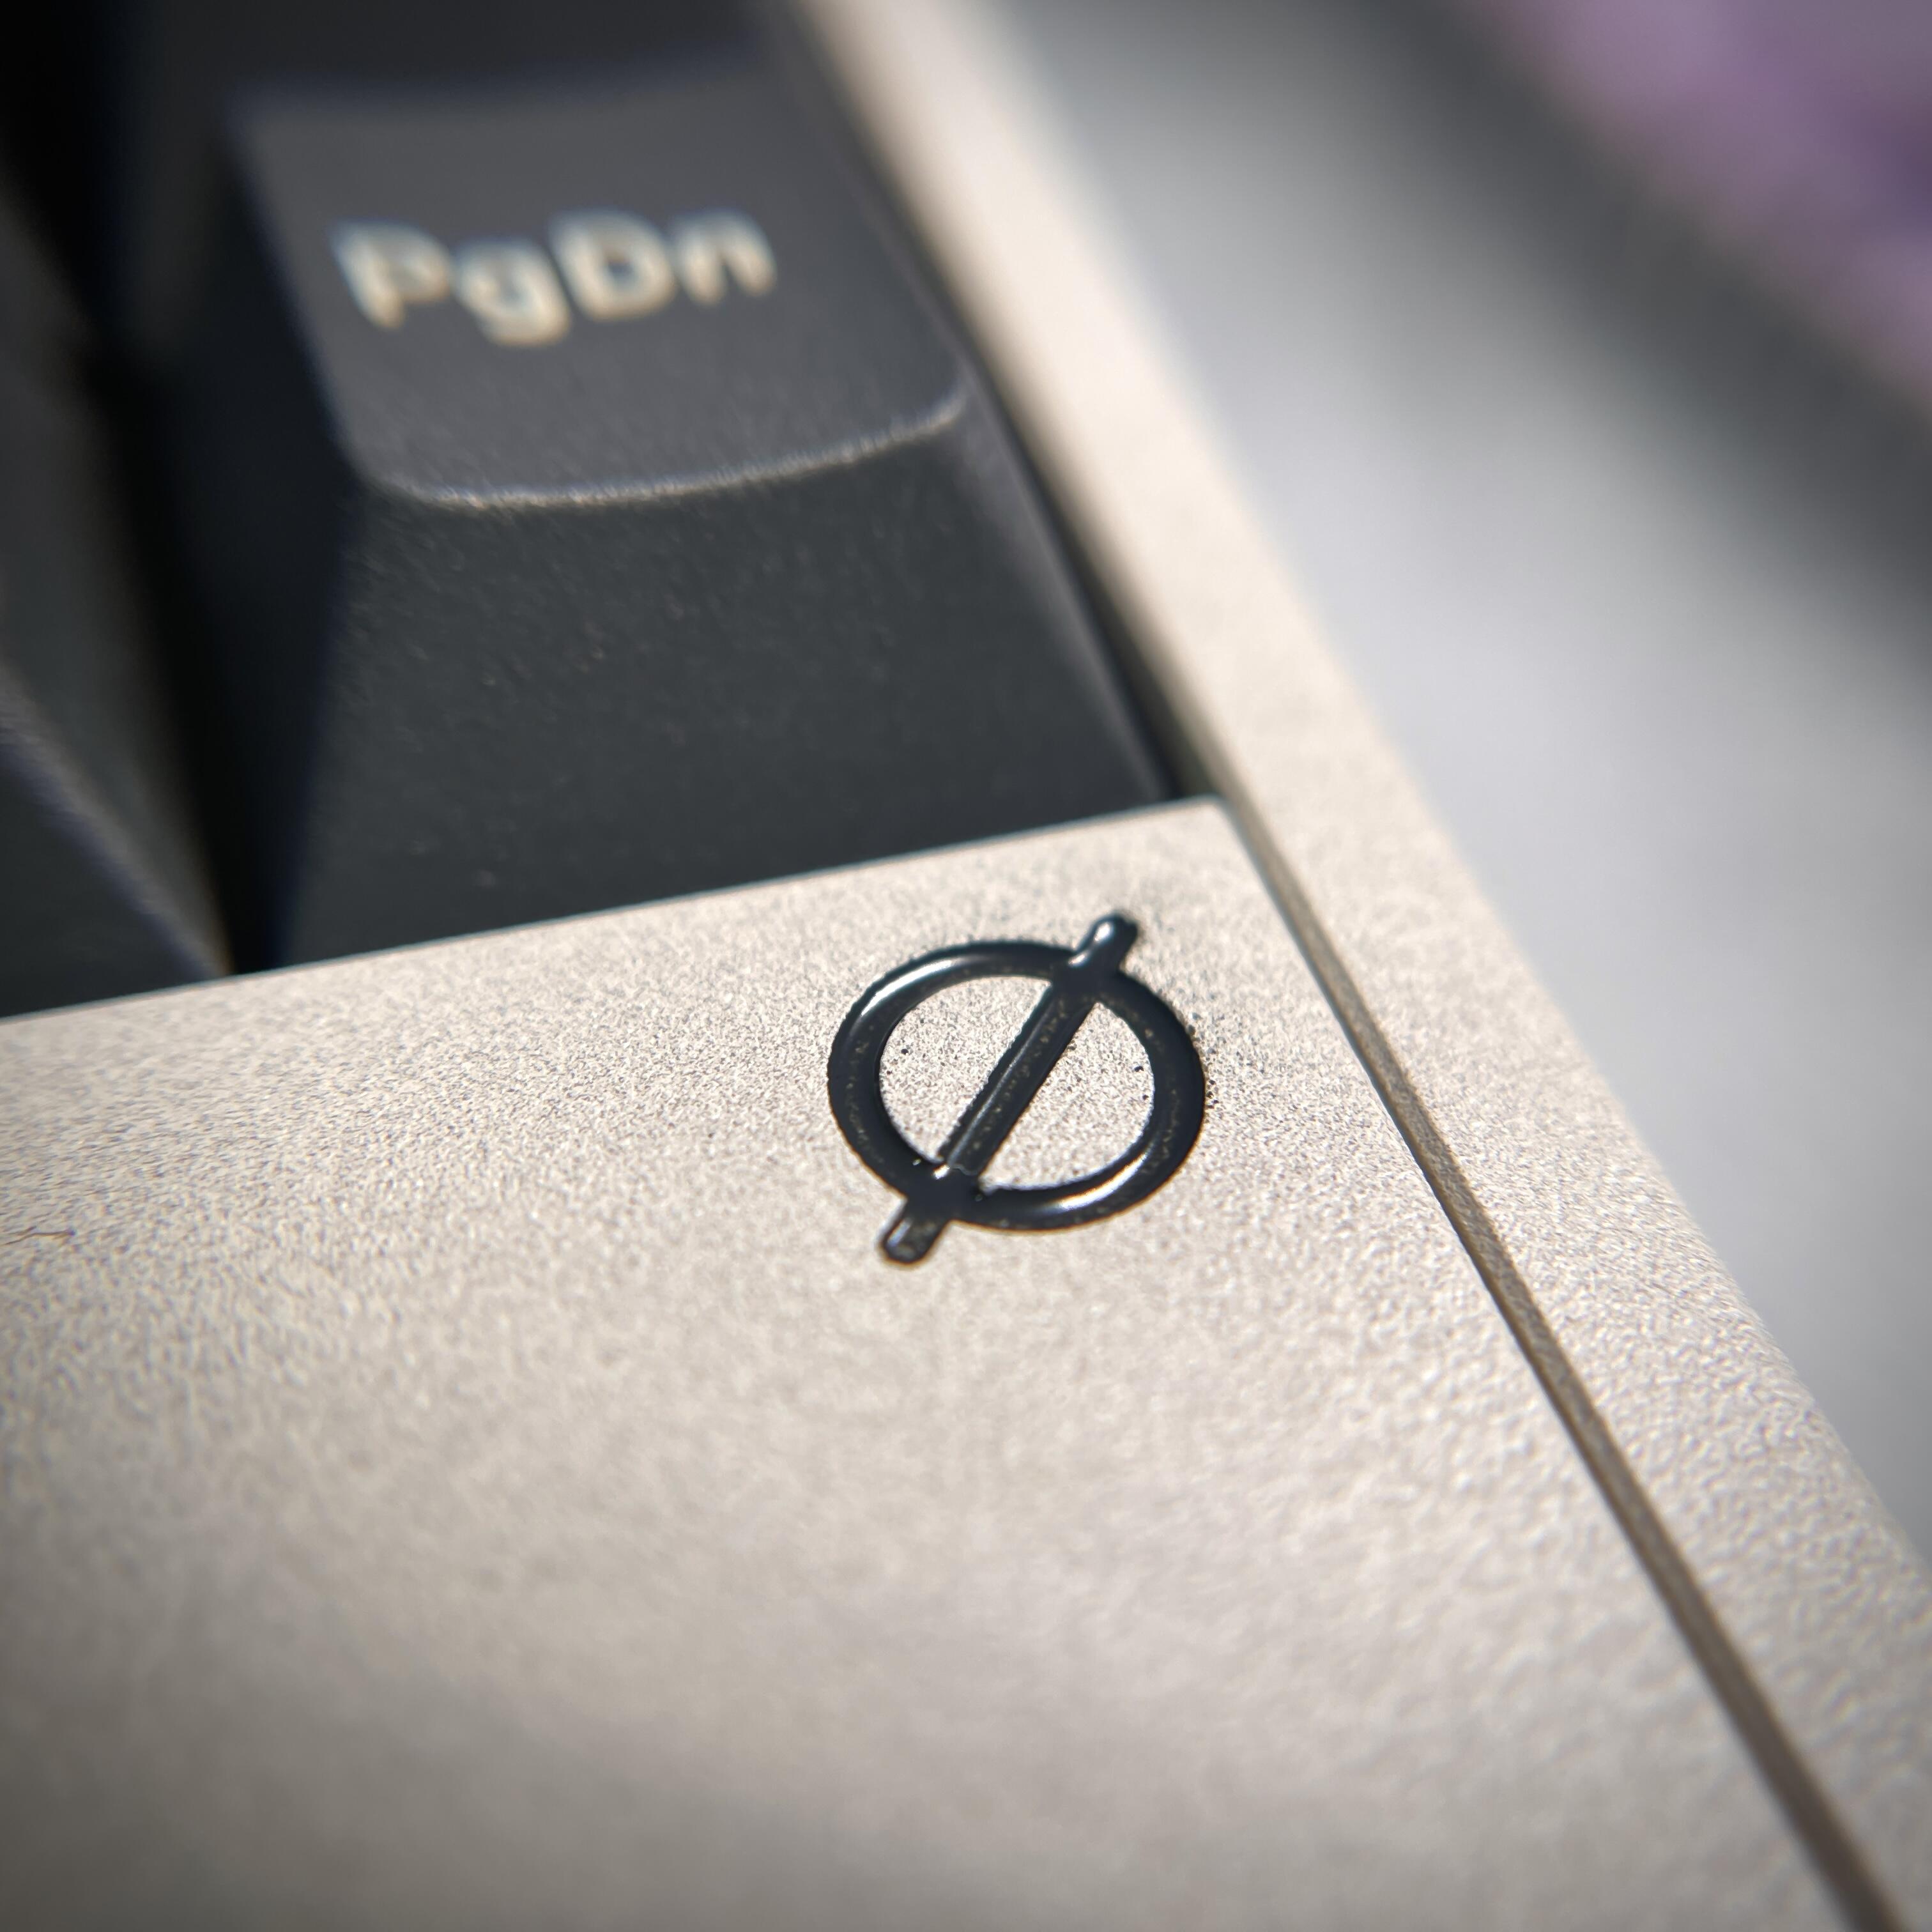
While the color came out a little darker than I was hoping, under the right lighting you can almost tell what I was going for. It seems to matched the artisan from this set better than the ABS. Still, not bad for a 15-minute project.

The only downside is now I have the rest of the bag of powder with nothing to do with it as they seem to only sell it by the pound… :person_facepalming:

8 Likes

I’m still doing something.
This is all a game with a different board from a different clone.
In the original Weikav Spring there is no such obvious problem.
The hum or empty sound of the body resonance can be corrected using the methods that I did above.
But I have a problem that another PCB board from another spring clone has two problem areas.

Summary


PCB Weikav does not work with VIA.
But I just need it to be with VIA.
Another board has VIA support. But it is the bottom edge on the left and right, the very edge is a little larger in size. This results in the edge of the board hitting the corner of the case.
I thought it was the plate’s fault. I took a plate from Weikav. But no.
Only a metal file will help here. To saw off either the case or the board. :smiling_face_with_tear: :smiling_face_with_tear:

Download the driver zip file from mechkeys, it contains the via json required for using the original record pcb with the via software WEIKAV RECORD Wired Alice Gasket Kit – mechkeysshop

I probably didn’t write the last message.
But I just wrote it as a fact. VIA does not work.))
Yes, there is VIA. Yes there is a file. Yes, VIA sees the keyboard. But that doesn’t mean anything. It just doesn’t work. You can’t change anything, it just shows critical errors and doesn’t change anything.
I have 3 files. 2 firmwares. And the native Chinese program.
I’ve tried everything. That’s why I wrote that there is no via here.

2 Likes

Yeah, you are only able to change certain keys and you only get one extra layer that allows SOME rebinding to work.

4 Likes

Ah, I see, that is a bummer :confused:

I’ve been working on a stacked acrylic case design for keybird42, and it’s nearly done, I think. (More fillets are needed.)

I’ve been using build123d which describes itself as “pythonic parametric cad”. I’ve previously been doing 2D sketches in JavaScript (e.g. 1, e.g. 2) which is convenient and doesn’t require learning something new. The great advantage of build123d (apart from the 3d bit, which I think the old build123d logo illustrates better) is being able to get algebraic with my shapes: intersection, union, subtraction, what have you. The downside is that CQ-Editor, which I am using to visualize my model, can be horrifically slow. And I have not yet worked out how to make the parts appear in a colour other than yellow :person_facepalming:

Here’s a front view:

And an exploded rear view:

The design uses alternating layers of acrylic and POM; the switch plate needs to be POM because it’s less brittle than acrylic; the other POM layers avoid wasted vertical space. The height above the plate is 7.5mm, which avoids unsightly gaps around the keycaps without crawling halfway up their sides. The space below the plate is 0.5mm less than my LEGO sandwiches.

The left and right sides/ends of the case each have an inset vertical piece. This means the middle layers are just the front and rear side walls, so they can be cut with much less wastage than ring-shaped layers. I’m going to use an accent colour for the side pieces.

There’s another vertical accent piece along the back of the main block of keys. It’s like an IBM Model F pen rest, but more colourful.

Dunno yet what will be a comfortable height for the feet; fortunately the layers give me a lot of flexibility there :slight_smile:

7 Likes

Have you tried the dev build of CQ-editor? I heard that it is an improvement over stable, I haven’t used any of them but if you are running stable it may be worth a try

Thanks for the tip, yeah I should try upgrading, my install is getting old :mage:

2 Likes

Following up on this inspiration from @Deadeye, today I laser cut a wooden plate (library maker spaces are awesome, by the way):

Yes, I even copied @Deadeye’s idea of putting in f-holes.

Since it was just an experimental, proof-of-concept that I did not want too much invested in, I put it in an unassuming and modestly priced build:

Some key learnings from this project:

  • I used solid 1/16 inch basswood sheets, which wound up being too delicate. I had a few slight cracks, even while installing switches very, very carefully. I don’t think it would survive swapping out the switches. The wood is quite strong, when stressed against the grain, but will split and crack quite easily if bent along it.
  • In future wooden plate projects, I’ll go with plywood. Although, @Deadeye noted some delamination issues, it still seems more durable overall, and maybe applying a bit of epoxy on the working edges might help.
  • The plate file supplied by Keychron is slightly off. See further notes and image in the hidden details.
  • I recommend everyone to check if their local public libraries have maker spaces. You might find all sorts of useful tools and machines, like 3D printers, laser cutters, and maybe even soldering equipment.
More photos and comments

Here are a couple more photos of the cutting in progress. The whole cut went quite quickly, taking about 9 minutes.

Once I had an SVG file ready to go, the process of cutting was super easy, basically just opening a program, loading the file, and pressing print. A library worker was super helpful in guiding me through it.

One thing that you might be able to see from the cutting photos is that the wood is already starting to curl. The thin sheet of basswood warps quite easily from the ambient humidity, but it is also quite flexible and you can bend it back straight. Also, the software flipped the cut upside down by default. I thought that this was to make the top appear cleaner after cutting, however, the top (which was facing down during the cut) wound up much dirtier (maybe due to soot getting trapped underneath) as you can see in the next two photos:

Oddly, the box calls the Keychron C1 “A tactile mechanical keyboard”, even though this model came with linear switches (as noted elsewhere on the same box). Probably due to a marketing person not understanding that “tactile” has a specific meaning.

The photo above shows the plate mounted in the board, with switches having been carefully inserted. The actual cut is much crisper than it looks, as there are a bunch of soot stains that makes things looks less clean. Next time I do something like this, I’ll be sure to flip the cut right side up. You might also notice another slight difference between the mounted plate and the earlier pictures. This is because the plate file supplied by Keychron is slightly off, and does not exactly match the actual stock plate that I received with my recently purchased board.

Here is the stock steel plate laying on top of my wooden version:

Those extra bits of wood along the bottom edge makes it not fit in the board, so I manually cut those off with a utility knife. The horizontal cuts were much easier due to the material splitting readily along the grain.

Overall, I think this process went a bit easier than I expected. Cutting with the machine was very easy, and the only tricky issue, in the future for other boards, would be obtaining and preparing the SVG file to specify the plate. This time, I just imported the PDF into Inkspace, which immediately produced a usable SVG file (although the source PDF from Keychron was flawed). The library worker also mentioned that they had equipment to scan an existing piece to generate a file to work from. Maybe I’ll try that in the future, if working on a board without a plate file already available.

When looking for this post to reply to, I found an even earlier relevant post, which shows some commercially available wooden plates that are made of plywood.

8 Likes

Great learning experience and a beautiful plate! Yes, the nature of hardwood is such that it is strongest in one direction, and a soft “hardwood” (which is to say, it comes from the deciduous trees which are, on average, harder than their coniferous cousins) like basswood at that thickness will indeed “misbehave” Plywood consists of 3 or more even thinner sheets glued together, but with their grains alternating so that the tensions inherent in the wood counteract each other. Along with the glue itself, that makes it much more stable. Entire categories of woodworking features (e.g. “breadboards”) are meant to contain and manage the natural movement of solid wood.

If you have room, you could take inspiration from those f-holes and do a small-scale luthiery bracing. Or, you could just enjoy the plate for as long as it lasts and plan for the next one. :slight_smile:

5 Likes

This is so subtle but such a big difference. Nicely done. Any before/after pics of the whole board?

1 Like

Here is the post I made after the build.

Unfortunately, I didn’t take too many other pics because the board build went by so quickly.

The Neo70’s magnetic connectors and simple build design mean that this board just about built itself.

It really is a great beginner board, but sounds and feels so much better than anything else in it’s class and price range.

1 Like

Do you think it might worth while to try solid sheets of other woods? Are there others that could be better behaved at 1/16 inch thickness? Or should I just go with plywood options for future experiments?

In retrospect, I’m glad that I had only purchased the cheapest option (basswood) for this initial experiment. If I had been cutting more expensive woods (like cherry, walnut, or rosewood) only to see them immediately cracking, while being as careful as possible, I would probably be pretty upset.

So basswood is pretty soft, but it’s also considered pretty stable, often used for carving. 1/16 is right on the border of what’s a “board” and what’s a “veneer.” If you can get a good deal on a multi pack it could be good to try several species, as they’ll take to lasering somewhat differently, but I have a feeling they’ll all curl to some degree; temperature changes are a big part of wood movement, and… well… lasers :wink:. Some types might handle the stress of the switches better, and you can try little tricks like drafting your cad drawing the tiniest bit oversized (like literally .2mm) and using rounded corners as strain relief. Then, as you saw, even if the heat and cutting makes them curl, you can generally get them back into shape.

The more premium option, if you’re stuck with 1/16” plates, is hardwood veneer plywood from online or from speciality lumber suppliers. The top (and usually bottom) will be the hardwood, and the core will be poplar, softwood, or mdf, giving you the best of all worlds, though make sure the library is willing to cut mdf-core. Try to do small test cuts to see which side the laser leaves cleaner, and see what options the maker space might have to increase air flow at the laser’s beam, which can help with surface charring and smoke stains, since you won’t have much wiggle room to sand aggressively.

3 Likes