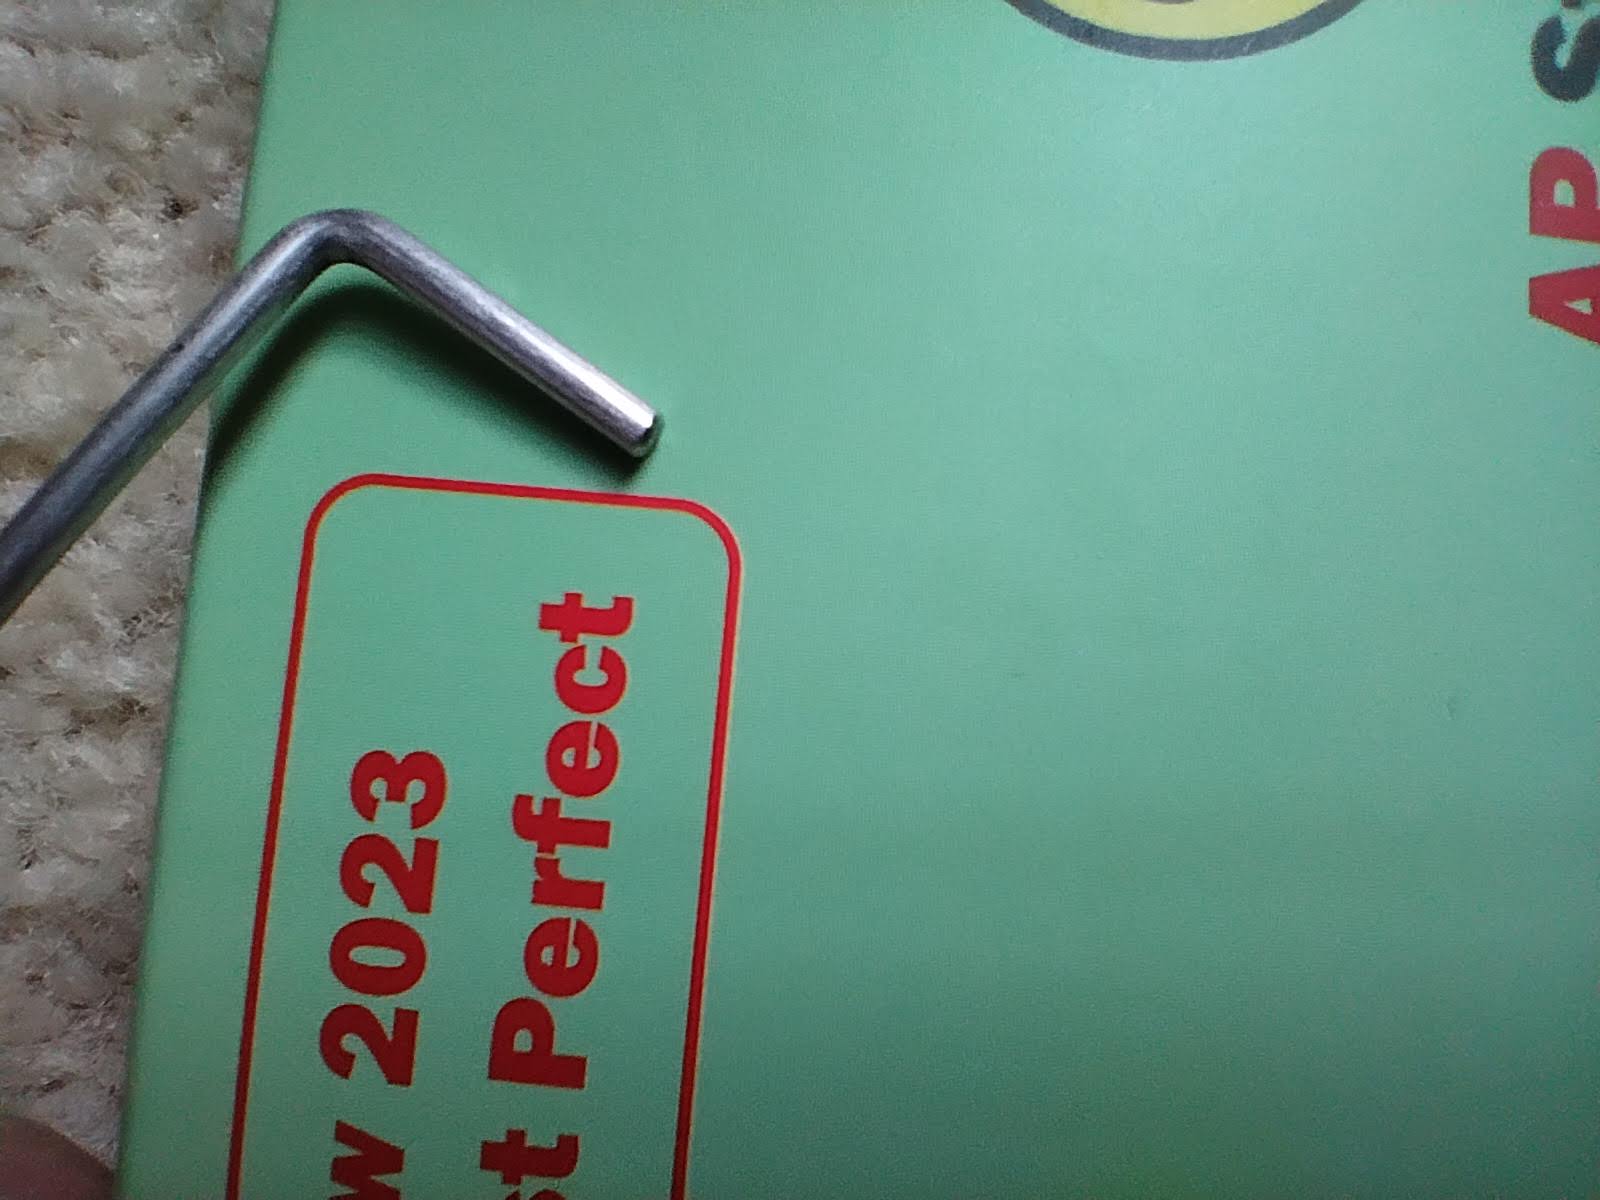
I haven’t had the chance to install them yet, but I did quickly check the wires. They all seem very straight, when checking against the screen of a smartphone. However, I noticed that none of my wires have the same sort of taper as seen in @d3L7r0n’s photo. Here is a photo of mine (sorry for the poor camera quality):
It’s hard to see, but there does seem to be a very small 45 degree bevel around the edge, but it is certainly quite different than the higher angle taper seen in @d3L7r0n’s photo.
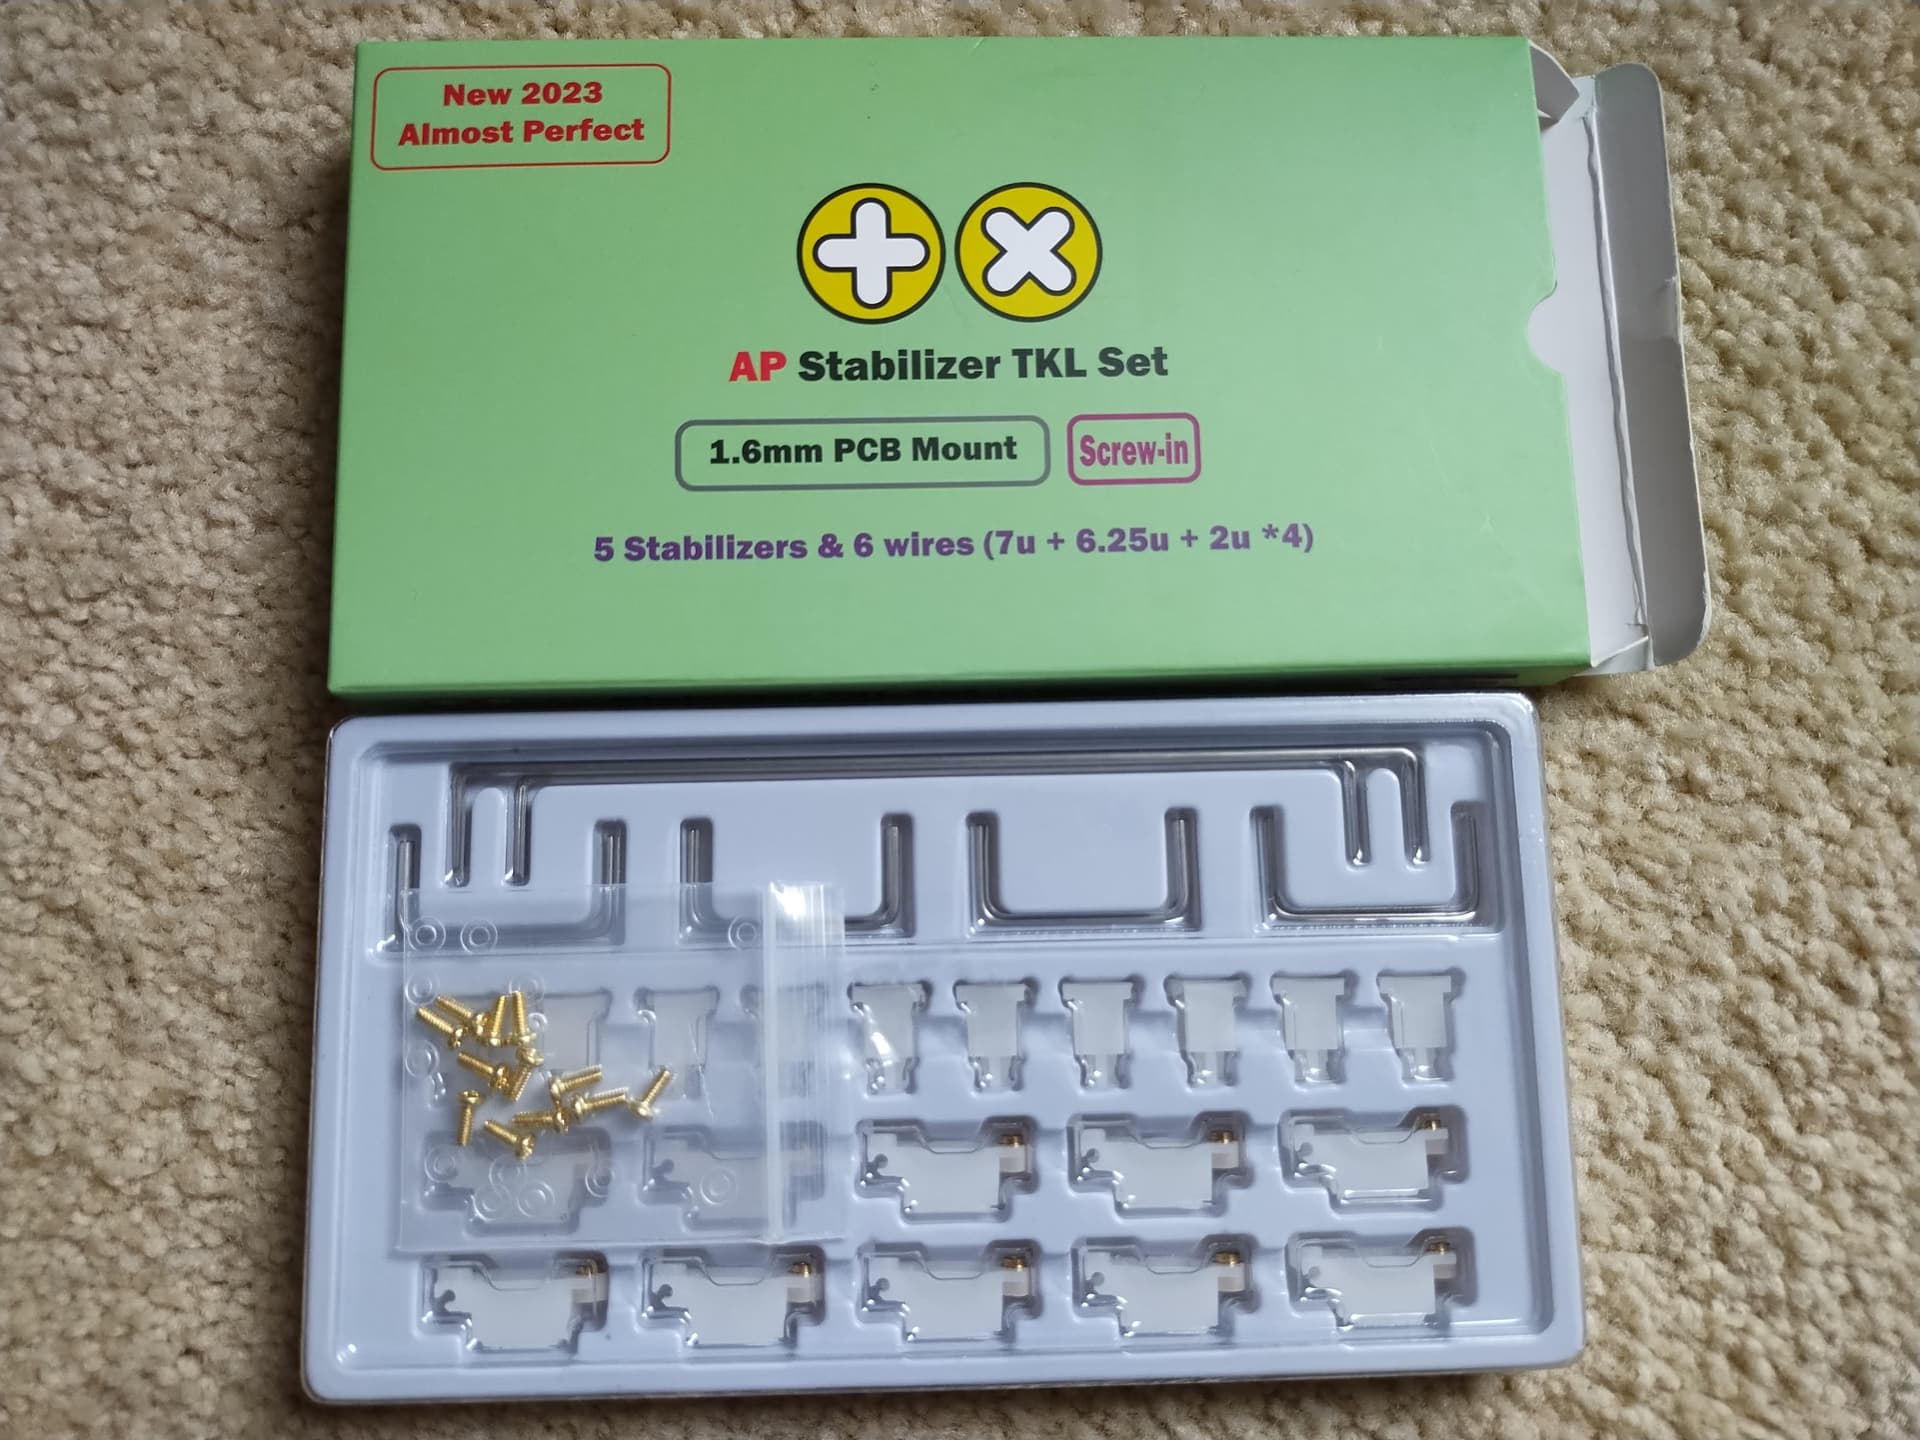
EDIT: oh wait, I should mention that mine should be the “long pole” version (according to what I ordered), but it doesn’t seem to indicate that anywhere on the packaging.
I still sand and polish mine, but I do that as to have one less thing to worry about.
I know that Staebies were different material between their different colors, but not sure about TX. I couldn’t tell the difference between the Staebies materials either, so not sure if it’s going to really make a difference.
Keep in mind that almost all other commonly used lubricants have similar warnings. I just looked into dielectric grease. It says always use gloves and avoid contact with skin.
Like… they just haven’t ever done toxicological or ecological studies on it? WTH.
I would say if you are worried about noisey stabilizers and want to stay away from carcinogens, it might be best to look into food grade safe lubricants (that don’t erode plastic), or just have rattle. If going with the rattle, definitely stay away from Cherry or Durock stabilizers.
I find it to be a little more viscous that Nyogel 767A, but it will stay put and dampen the same.
As always, buy from a reputable distributor, and always take adequate safety precautions. Rubber/latex gloves are great at keeping fingerprints off of your build until you are finished as well, so I try to always keep a box on hand.
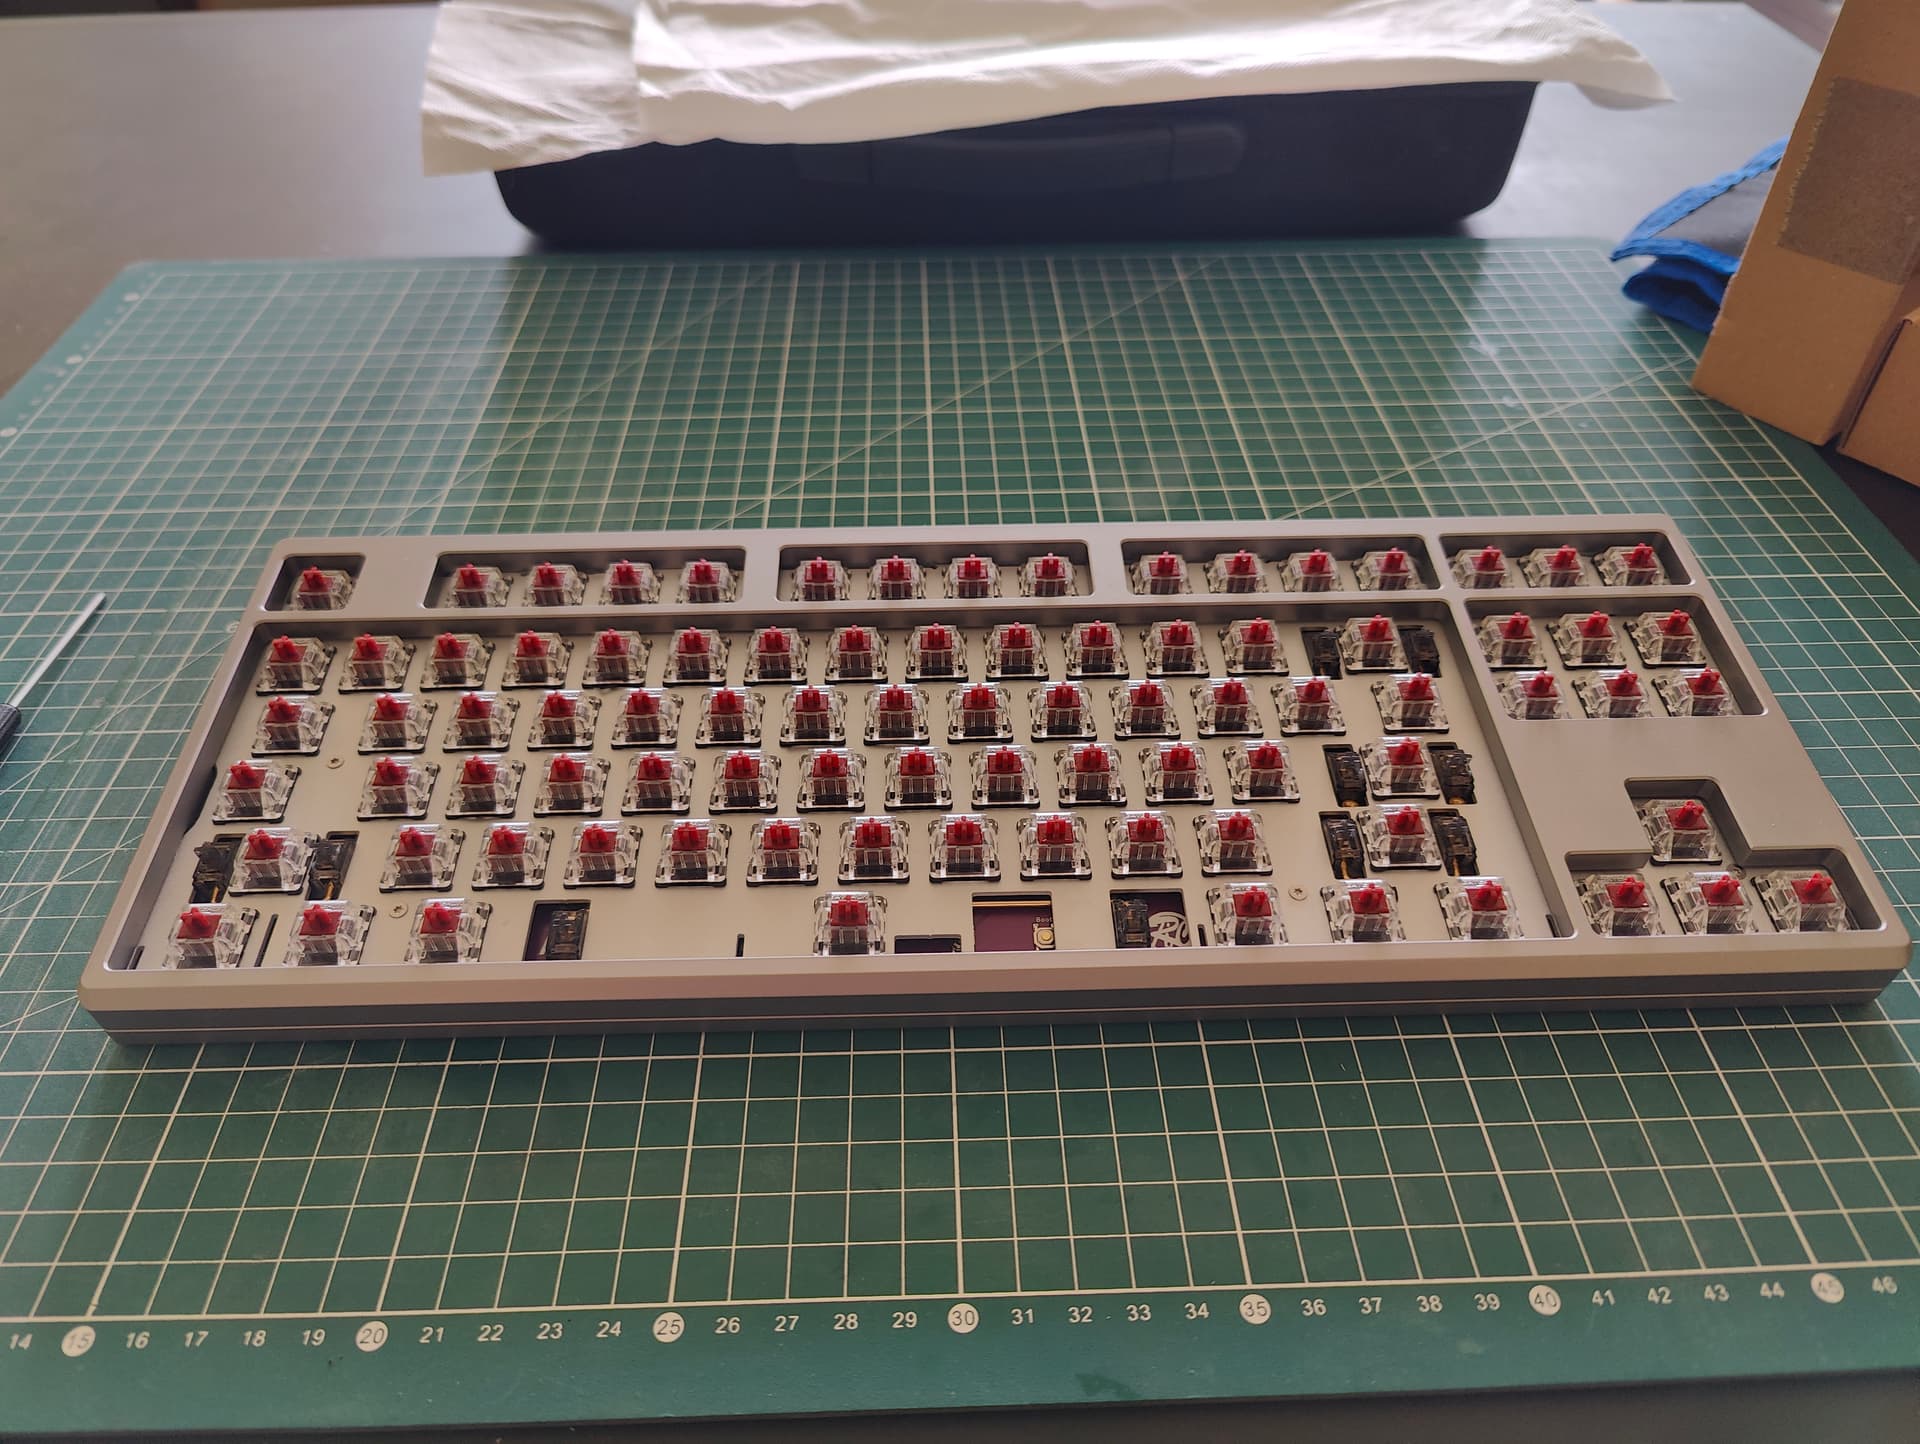
Finished the wiring on my 102-key no-stabs build. Closed it up before taking a final picture though, and I have no shorts so far so no immediate plans to open it back up. I used strands from an old cat6 patch cable to wire up the Pico. I erred on the side of slack and easy repairability with the mcu, so that part is not pretty,
I was fairly pleased with the “blister caddy” for the MCU. The “YD RP-2040” fit right in after cutting a gap out of the bottom plate and using double sided gorilla tape to mount the print. The tape leaves a bit of a gap, but I can plug and unplug confidently, not always guaranteed on a handwire. I reprinted the stick-on feet from an earlier build after making sure they were taller than the caddy.
The final gap between the two printed halves is mildly annoying, but very livable. There is a bit of flex, certainly compared to aluminum plates, but I don’t think it’ll be too much at all and may fall into the “kinda nice” range. Printing a third back foot would also reduce it if that seems necessary. The box jades seem nice, but maybe one more clicky switch that fails to displace Box Navies. KMK programming went smoothly.
Nothing left to do now except get on with designing keycap legends.
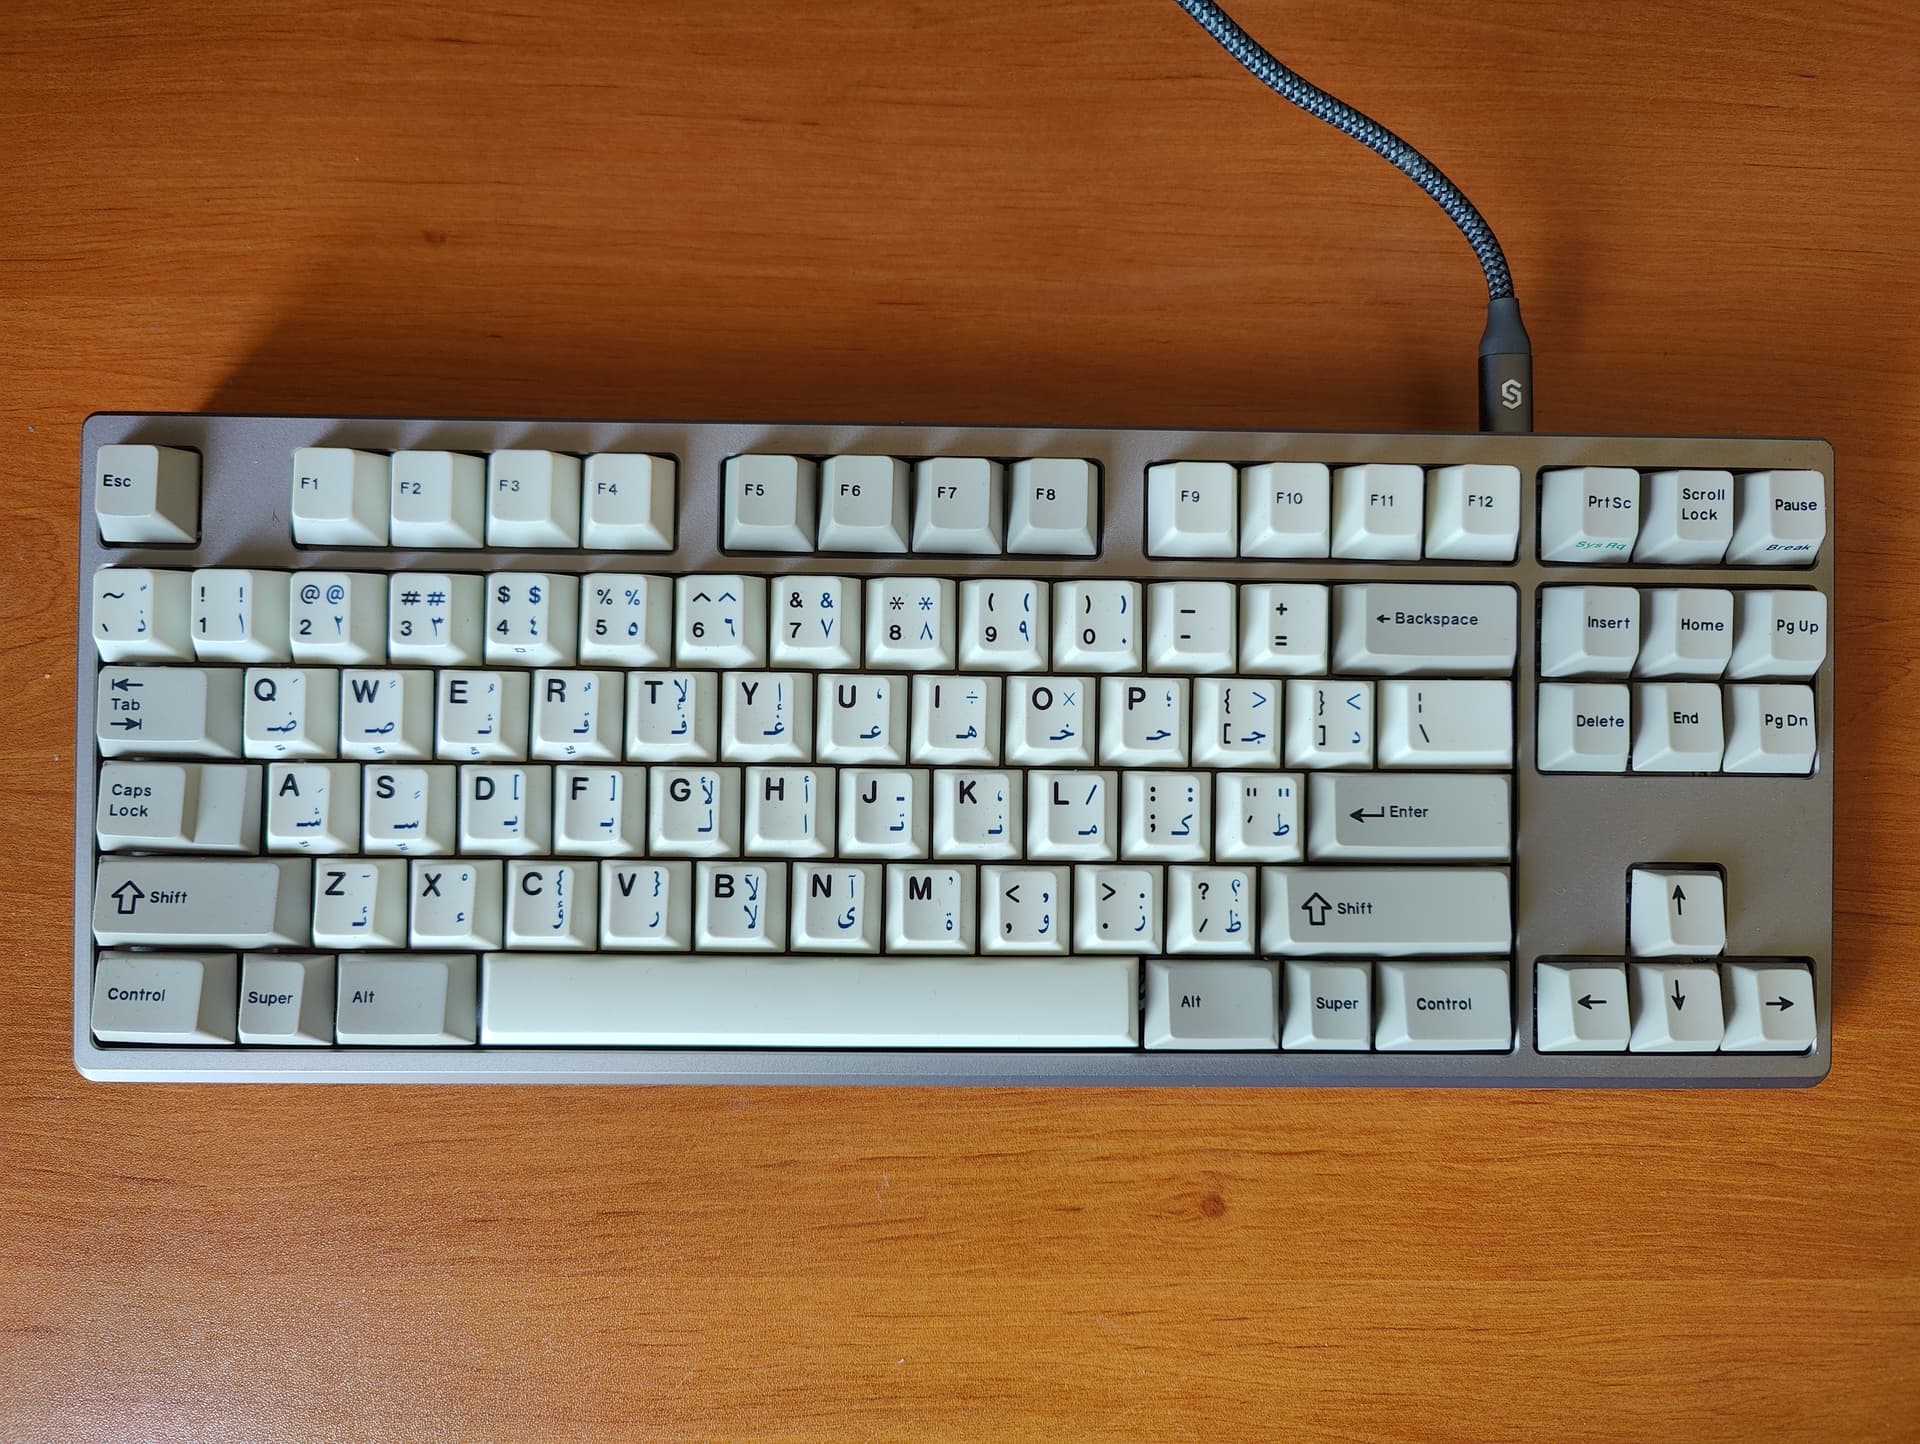
I’ve been working on trying to find the right set for this board - or at least one that I want to settle on for now…this is my third try! Built with green jacket tactiles on PC plate gasket mount no foams. I might put the thin layer of case foam in there because it sounds a little hollow. Also need to try sandwich mount soon! That’s the one I really want to hear.
I think I got that idea from your post! I don’t know if you tried other configs with the foam? I tried plate foam, but didn’t even finish installing it - it just didn’t feel necessary. Maybe it will be for the sandwich mount though.
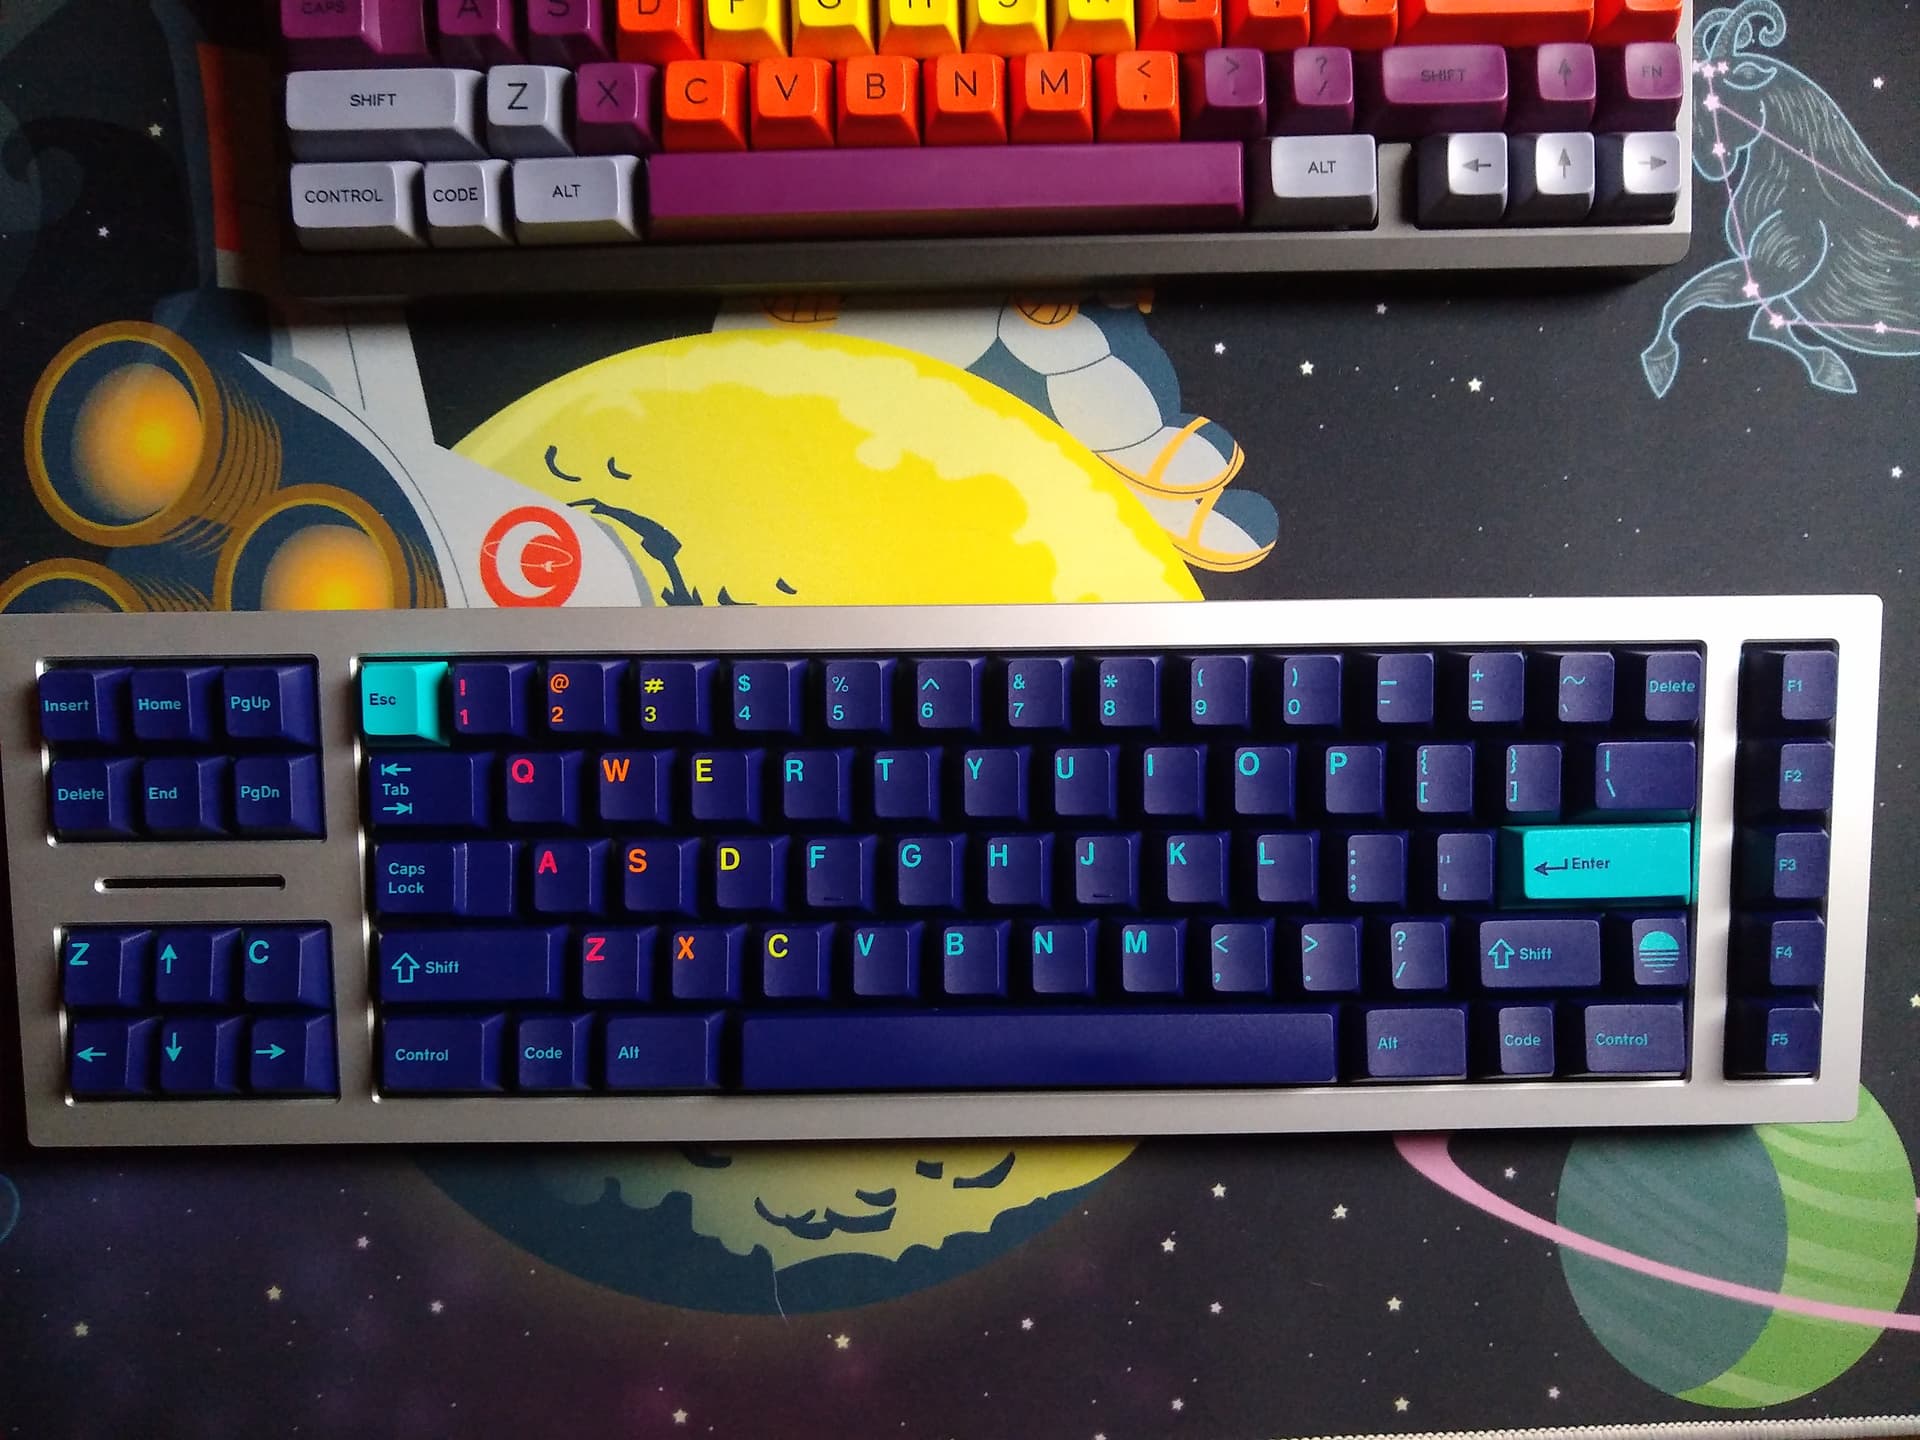
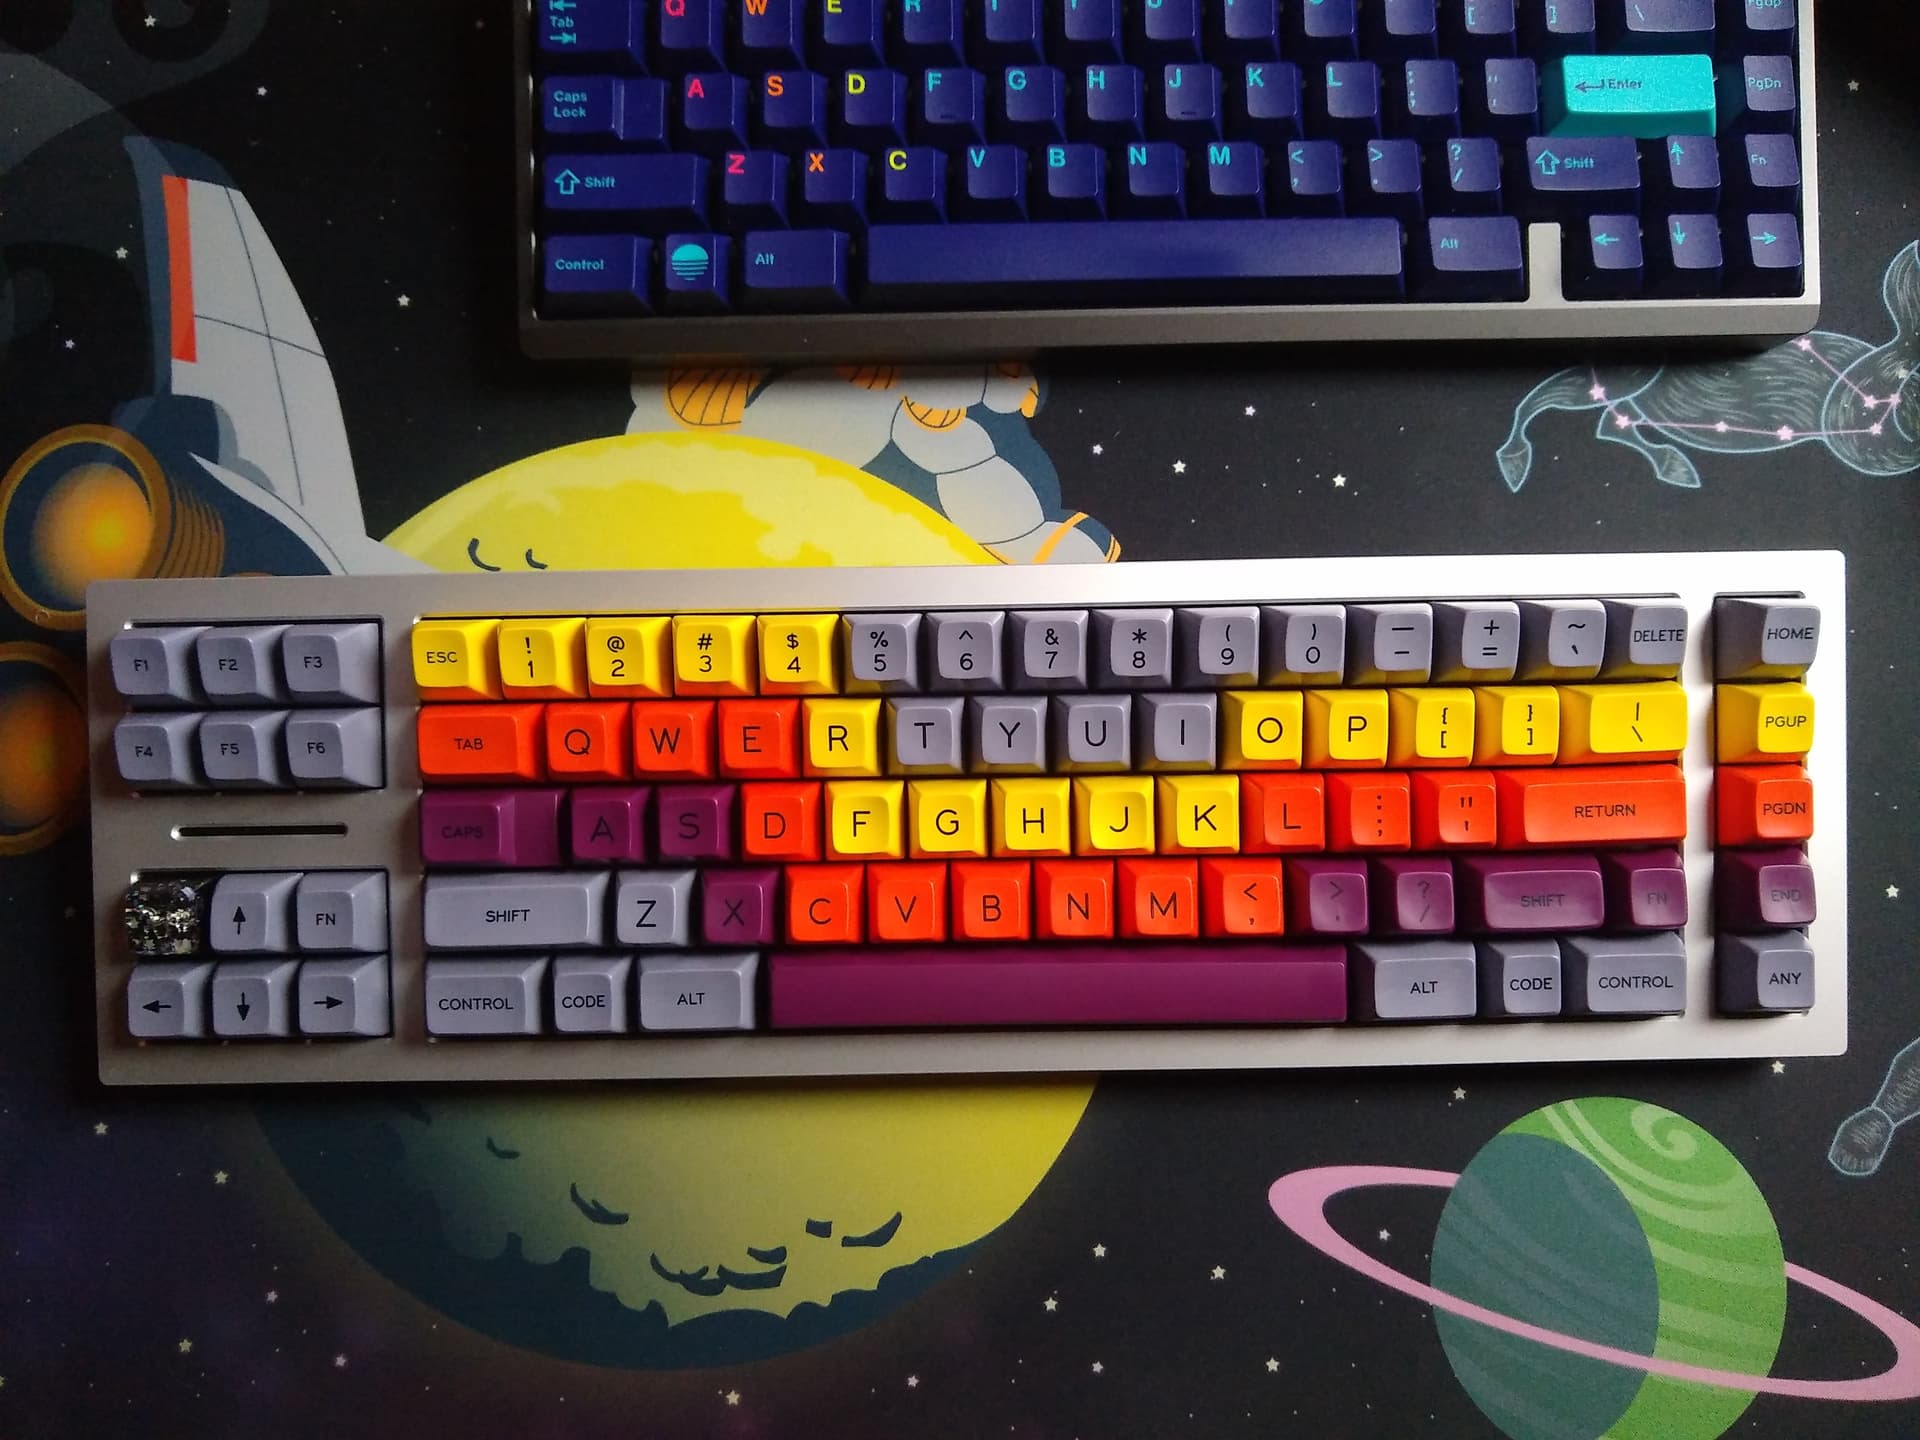
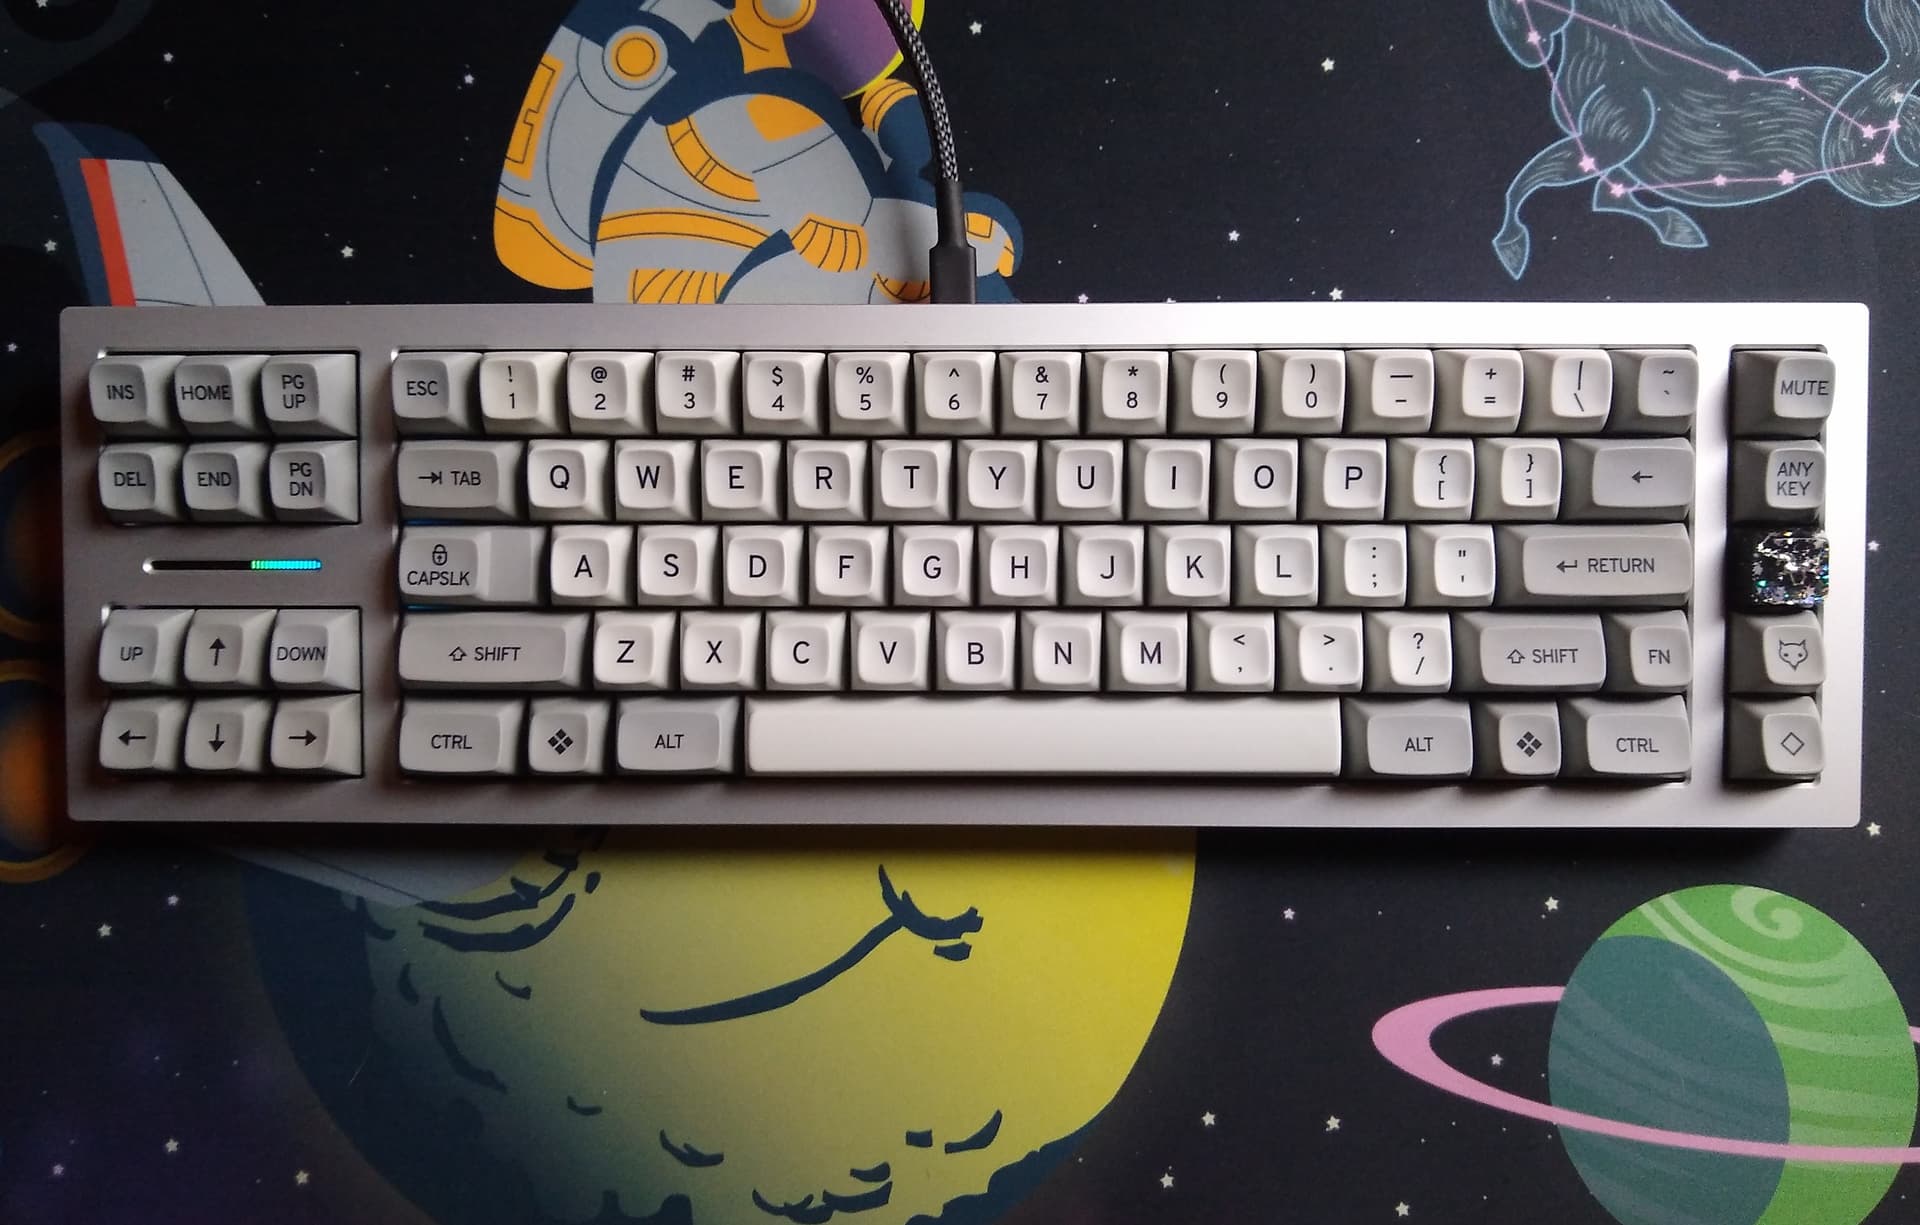
Thanks! /dev/tty was my largest kit so I started there, and it was fine, but yeah, I wanted more color and contrast. And, I didn’t love Synthwave on my dark grey board so double win!
Yep. Just a couple light coats of clear. It’s held up pretty good so far!
Definitely an easy way to make the board unique. Almost impossible to get it wrong, and you can let it go for as long as you need to get the look you want.