Damn, hearing that from another person I know is a really competent builder got me wondering if I should just trash the Staebies before I solder… ![]() Although I already got it all put together & just waiting for solder after I eat dinner here. I did test the stabs already & they seem to be working fine. No binding & smooth operation. I also tried to hit the keys from different angles just to be thorough, but working outside the case before solder & working when soldered + installed in the case with keycaps is two pretty different scenarios TBH. Gonna have to give this some thought while I eat. Thanks for the heads up bud!
Although I already got it all put together & just waiting for solder after I eat dinner here. I did test the stabs already & they seem to be working fine. No binding & smooth operation. I also tried to hit the keys from different angles just to be thorough, but working outside the case before solder & working when soldered + installed in the case with keycaps is two pretty different scenarios TBH. Gonna have to give this some thought while I eat. Thanks for the heads up bud!
1 Like
If you’ve tested them with a couple different Keycap profiles, you’ll probably be fine. Mine were trash right out of the gate so you would know now.
1 Like
Yeah they thankfully ended up fine. I did test with GMK, CRP, KKB, etc. so I believe they’re good! Lucked out there cause I did not want to lube up 6 more stabs ![]()
1 Like
Stabs are always the worst part.
2 Likes
I’ve had very mixed results with Staebies. I think it’s tight tolerances - when the stars align they do great and are super stable, but if something’s not quite right it might as well be all the way not right. Pickiest stabs I’ve ever used, but have had them work out well at least once.
QMX, though - I honestly can’t imagine them working out in any of my keebs >.>
1 Like
Also, if anyone happens to have a keyboard that is ruined from bad stabilizers and they come across this post… try one last thing before desoldering. If they are screw in stabilizers, try loosening the screws just slightly. It’s worked for me before.
5 Likes
Yeah I agree, anytime I have tried boards built with Staebies the stabilized keys at the very least felt a tiny bit more sluggish than they should IMO. That’s why I was hesitant to use the ones I had. Although I lubed these with GS2 since it’s a less viscous lube & I think that may have been the saving grace here. Well that & the fact I needed all 2u also. I probably would’ve just bit the bullet & used my good stabs if I needed a 7u. QMX I’m still not sure about. I got a set from the original release of them & have used them on a HS board without issue, but wasn’t really happy with at all so they went back into their box & have stayed there since LOL!
1 Like
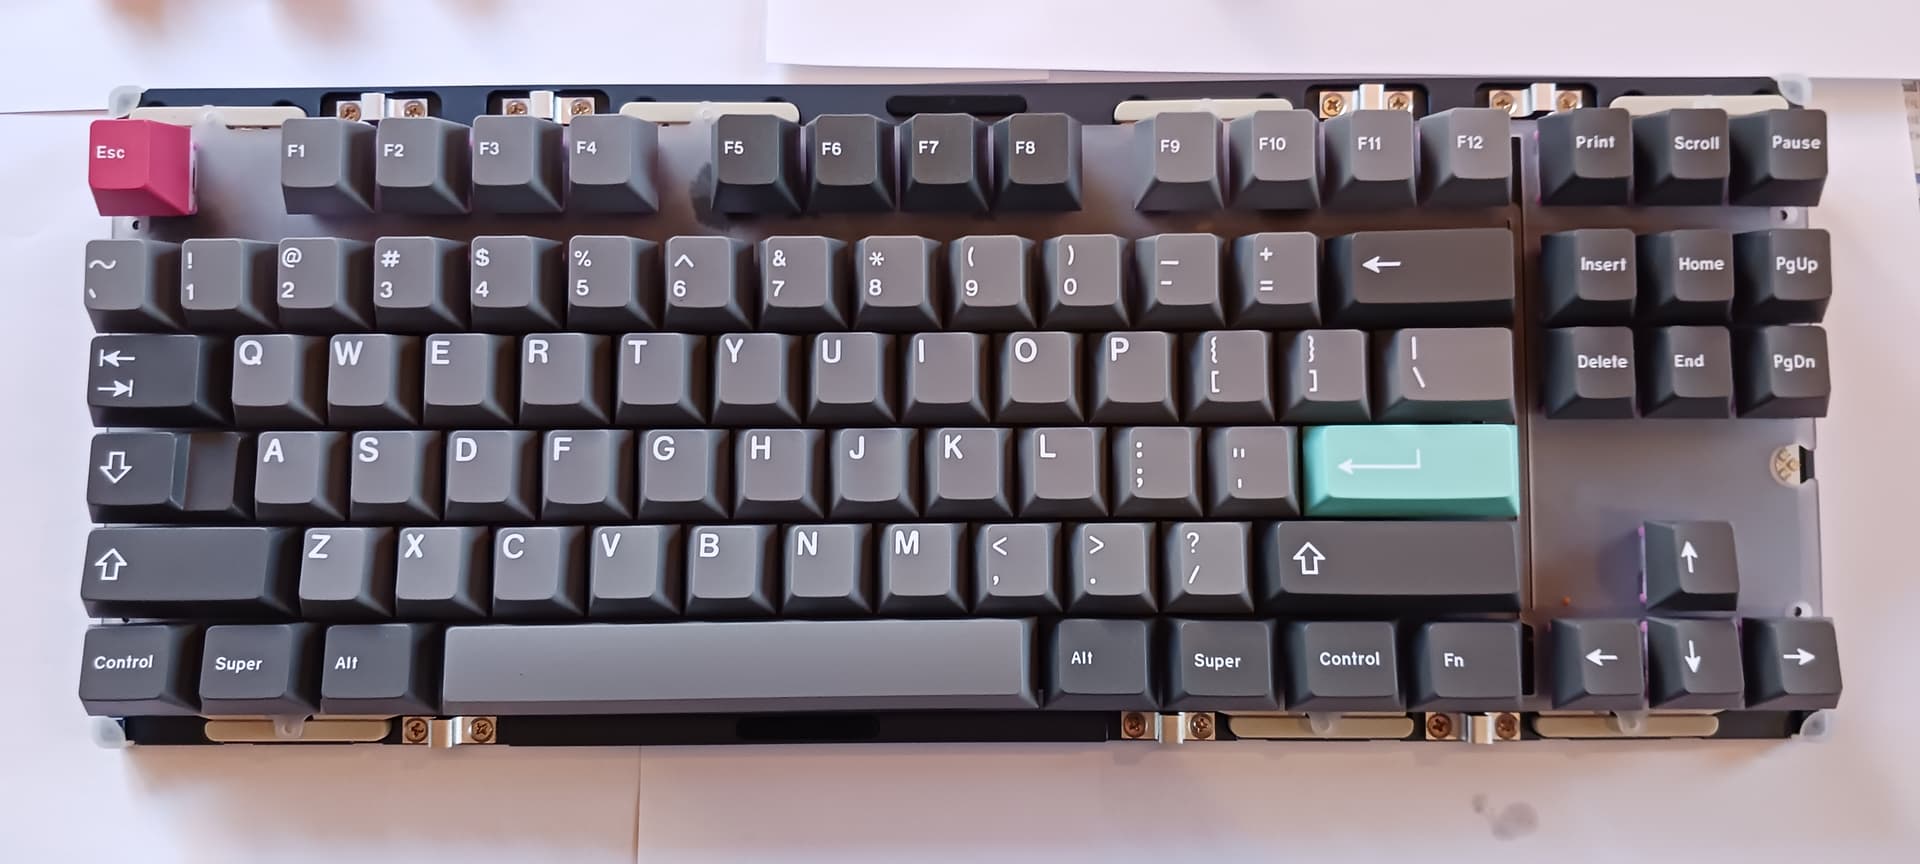
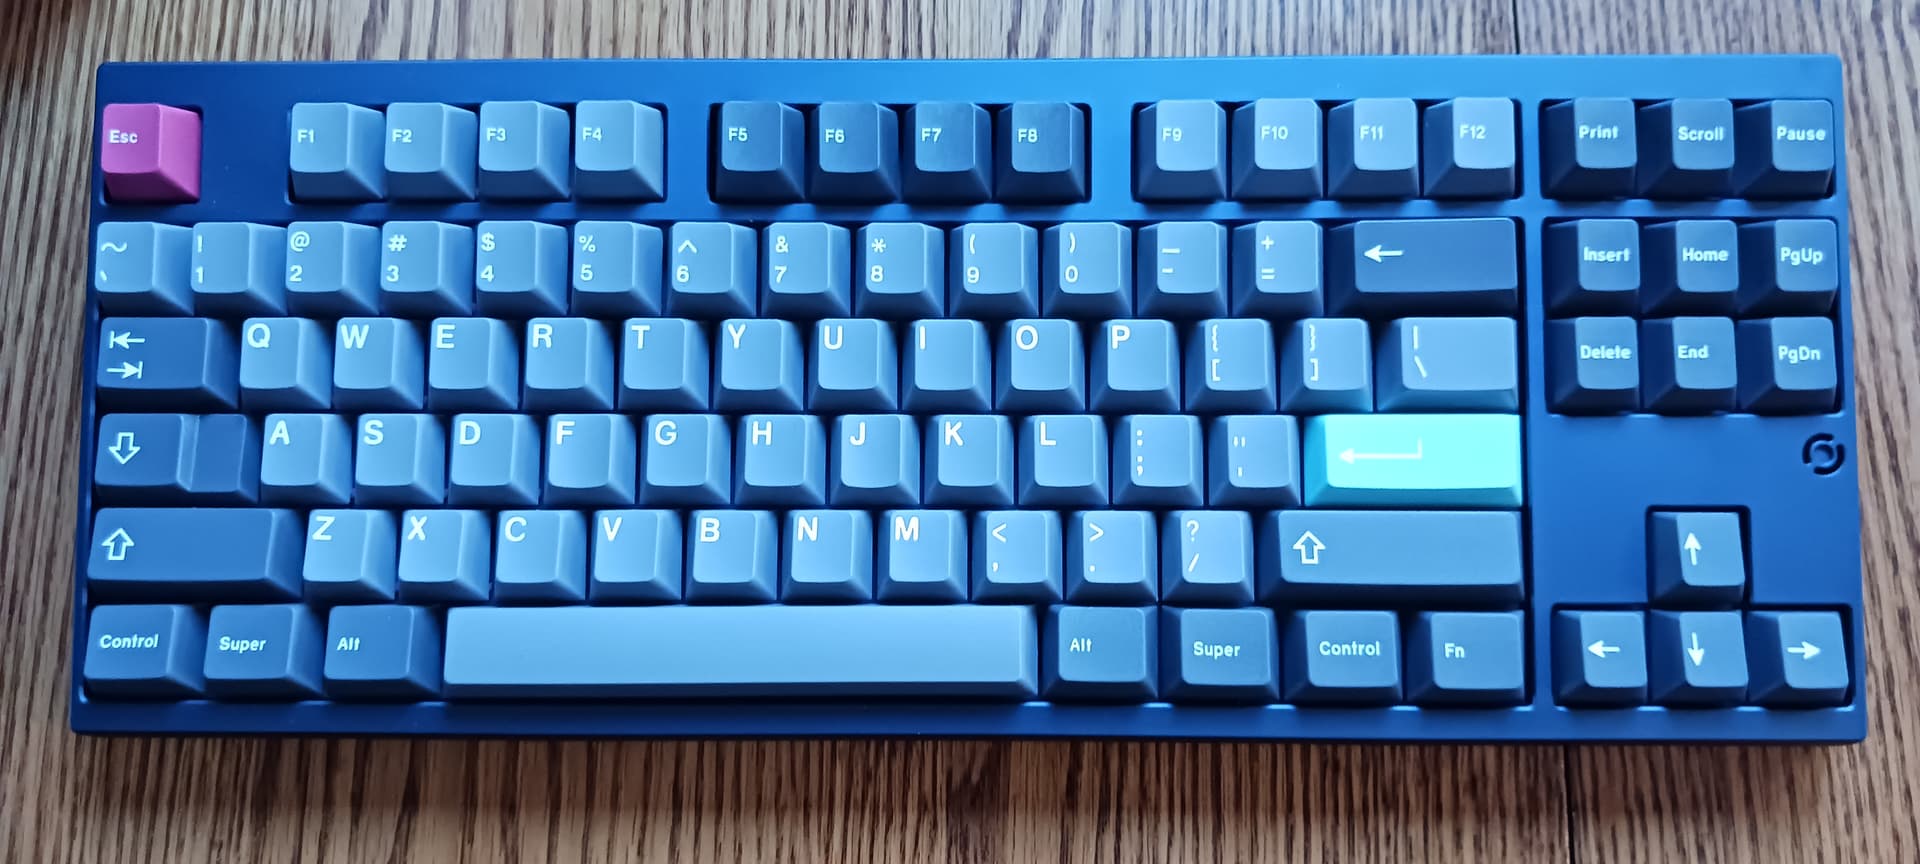
Just a very quick picture on my desk, but I picked up a Brutal V2 1800 during the CK Black Friday sales and have been really enjoying it for work use.
It’s got the lowest front height of all my boards so that makes it really comfortable to use even with the higher than ideal 6.5 deg angle. I’m down to two Mode Sonnets so I’m quite used to 5.5 degree angle by this point. Right now I’ve got FR4 and an old favourite of mine in Durock Medium Tactiles. Kind of funny that with all the T1 variants I’ve bought I still go back to the lighter ones for actual work related typing. And in my Sonnets I’ve got the Hojicha Reserves from Invokeys and Ergo Clears in the other one.
Side note regarding stabs since that’s been a recent topic - I’ve been using 203G2 in TX AP and its been working really well. Managed to buy a 2 oz tube from McMaster-Carr at no charge to me while at my old work and I find it to still be a hard enough grease to prevent displacement of wires, but the viscosity of the base oil isn’t something that leaves stabs sluggish.
6 Likes
As another addendum to the talk about stabilizers and grease, I think there can be a little confusion between viscosity and hardness of a grease.
Greases that are the same NLGI grade will have the same hardness in the grease but the viscosity of the base oil itself can be different. A higher NLGI grade means that more force is required for the grease to release the base oil, which is relevant based on the forces that are used. Grade 0 is definitely a good choice for switches considering the low forces in play.
IMO a low viscosity grease that’s NLGI grade 2 like 203g2 or 204g2 will be a better general purpose stabilizer lube than 205g0 is. Harder grease will restrain wire movement more effectively and when it does release oil, the lower viscosity oils mean it won’t feel as sluggish as 205 or XHT-BDZ.
2 Likes
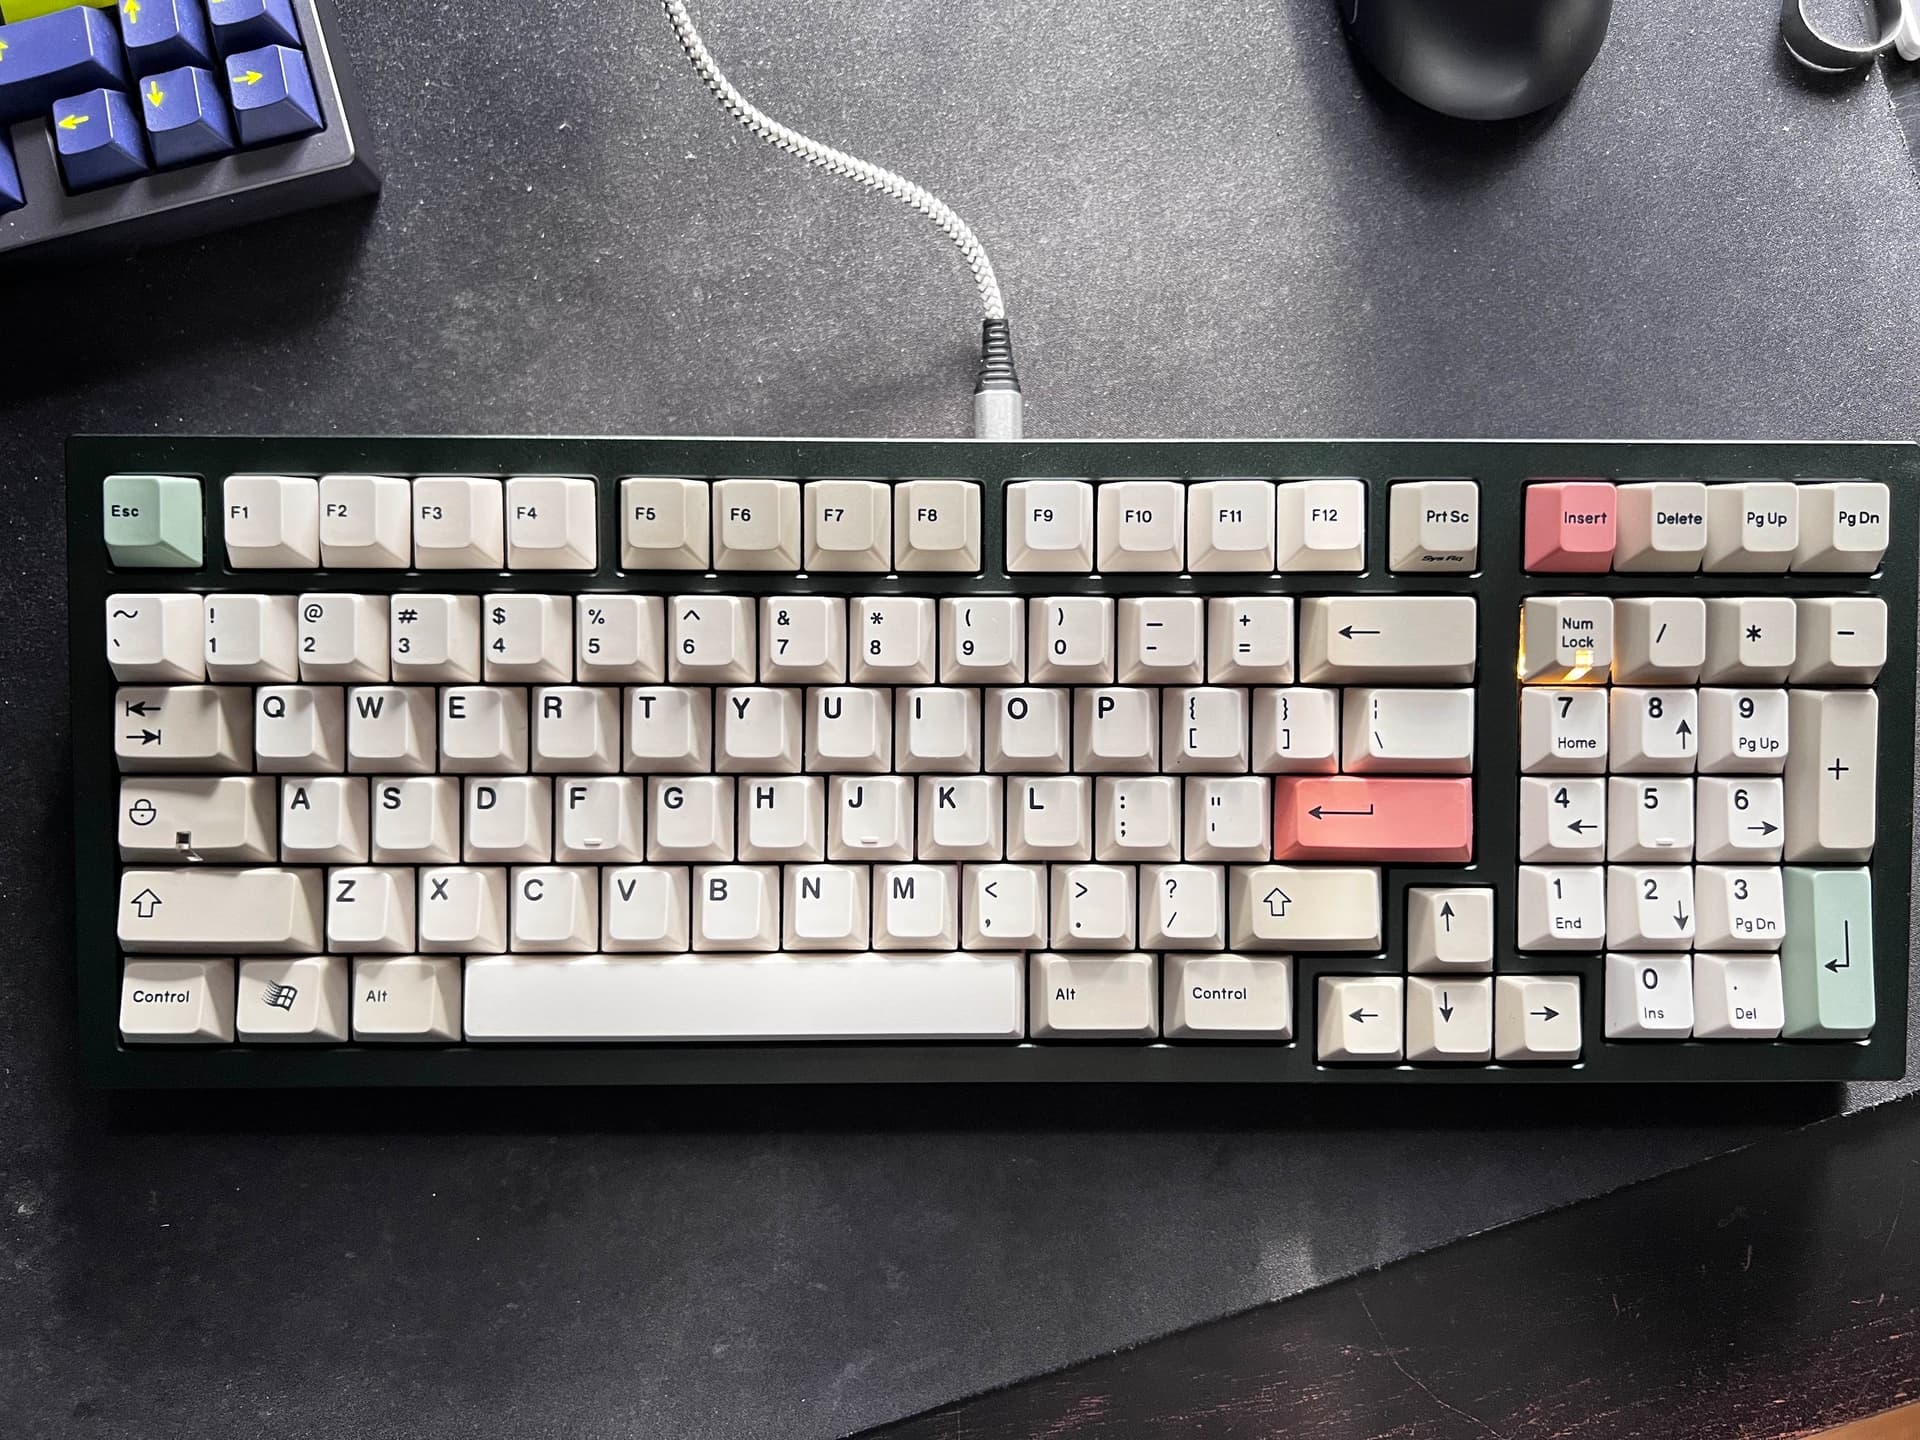
Rebuilt a Neo80 for the second time in 2 days.
The stock [soldered] PCB has hand-lubed Gateron Pro Brown 3.0 switches installed. They are smooth and consistent, but somewhat slammy. [The size of the tactile bump encourages you to bottom-out.]
So I replaced the stack with a new hotswap PCB and new polycarbonate plate.
The new Zuochi Litchi Milk tactiles seemed good at first. They didn’t ping or echo inside the PCB/foam/plate combination.

Above, you can see the partially-assembled stack, with mostly Zuoce Litchi Milk tactiles.
Zuoce Litchi Milk tactiles:
These come in a jolly pink milk-carton aesthetic, with the stem being a milk-coloured offwhite. In tactility, they are about as intense as a light-spring Ergo Clear. So light/medium. The bump feels as if it starts early, and feels as if it continues straight for a long period. Then, it slams at the bottom.
So it’s a very snappy light-medium, and sounds like it as well. The factory lube is enough to prevent most leaf or spring noise.
They ship in unique red transparent plastic cartons labeled “LITCHI MILK MADE ON 2024.” During sales, each carton of 35 switches can go as low as $12 CAD on AliExpress.
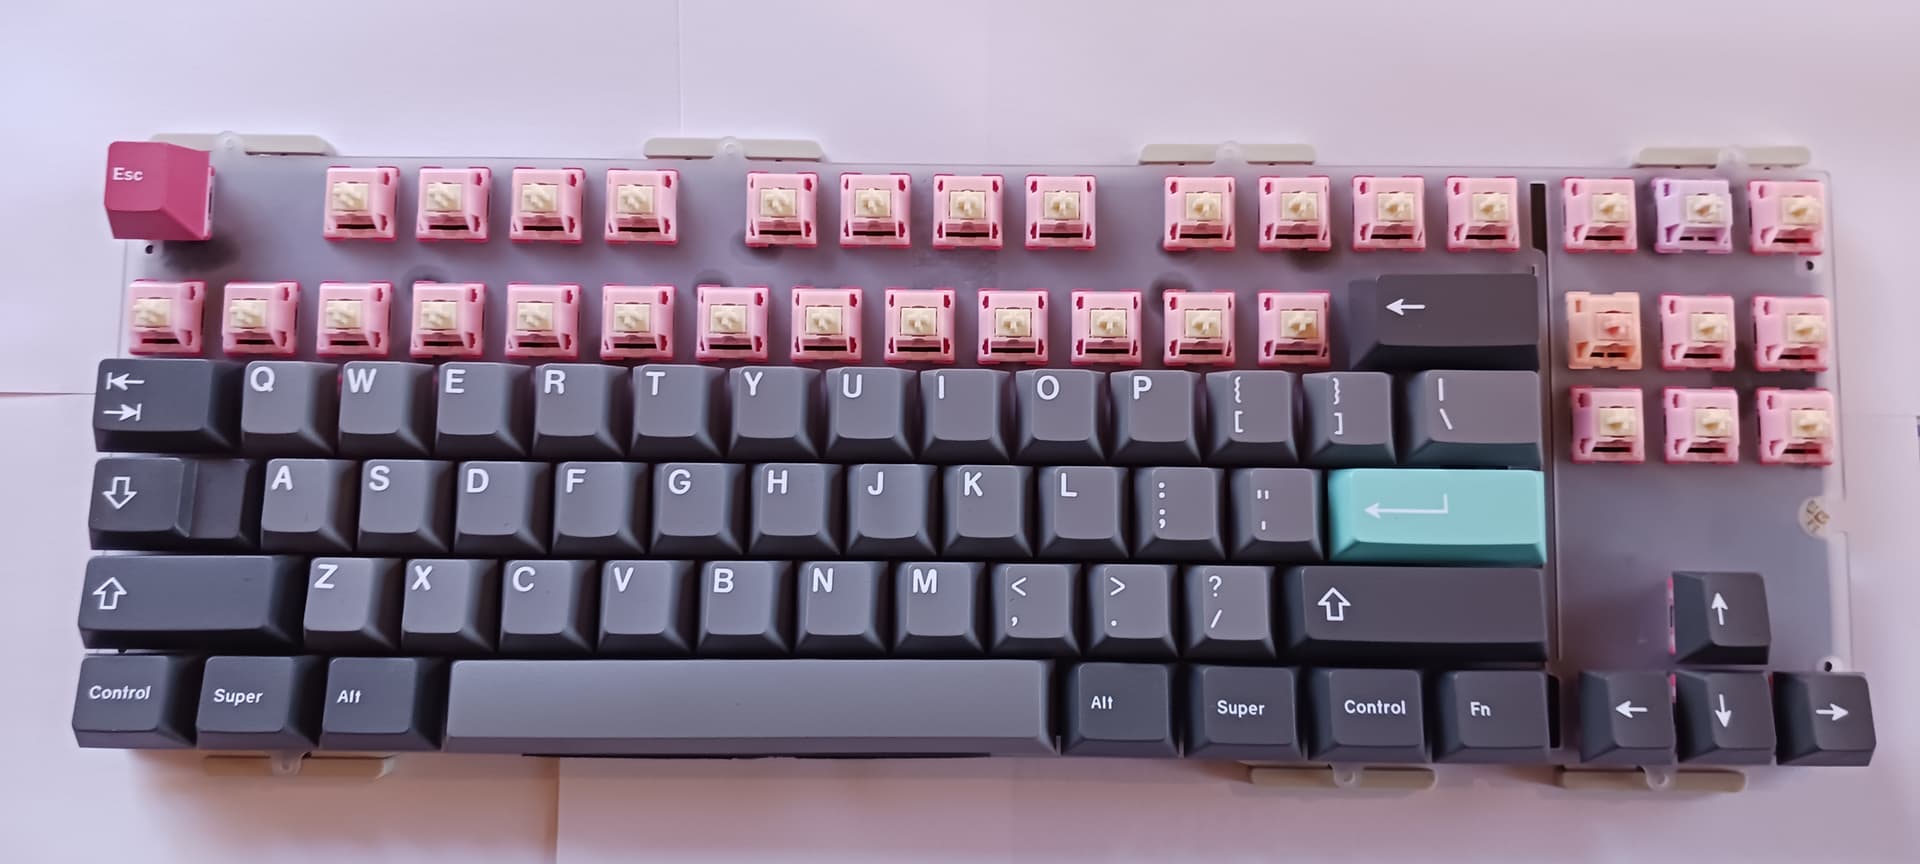
Below, you can see the PCB assembly minus keycaps, with the Litchi Milk ready to be removed.
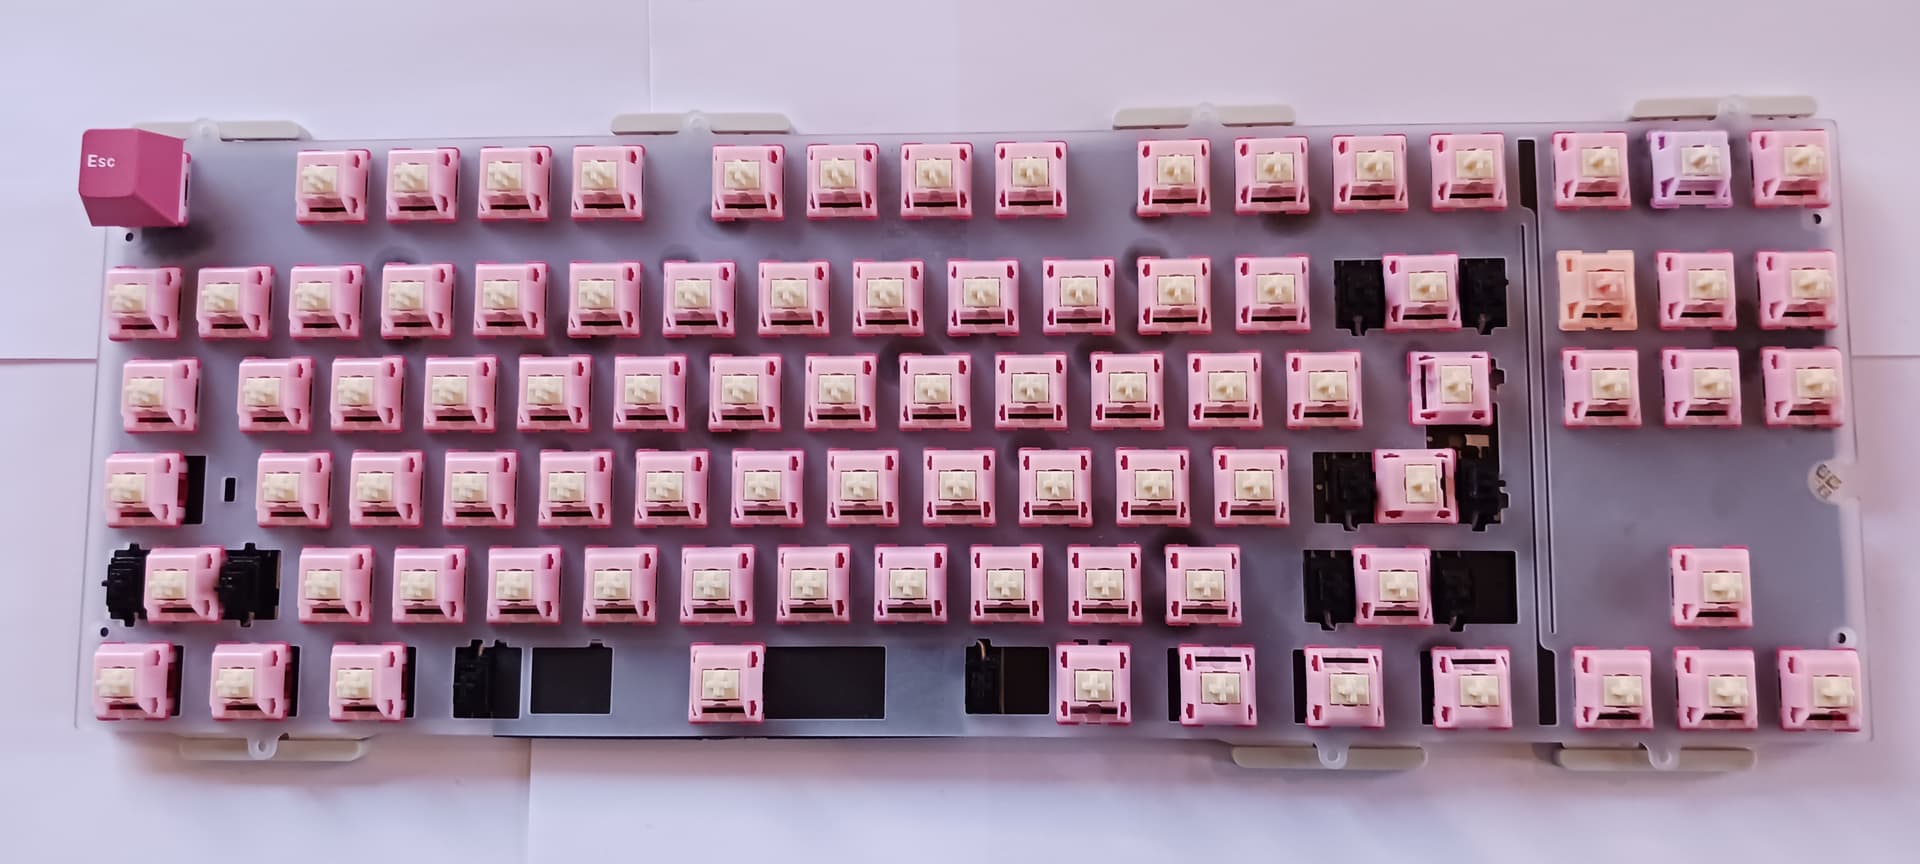
It should be said that the keycaps came easily off the stems, which was nice. The switches came out with the legs and prongs very straight, ready for re-use.
There is a KTT Macaron Orange on the INS key for testing, as well as an AKKO Creamy Purple Pro on the SCROLL LOCK.
Testing these switches together revealed that the AKKO Creamy Purple Pro may be the best fit for this board. They are comparable to the Litchi Milk, being a light/medium tactile where the bump starts near the top.
However, I found that the Creamy Purple Pro sounded more consistent, as did the spring weight. There is very little wobble in the Creamy Purple. And they were quieter. Probably lower-pitched, as well. Most important, I felt that the Creamy Purple springs were lighter at the top, and that the tactile event did not extend as long as that of the Litchi Milk.
I replaced everything with Creamy Purple Pro, and reinstalled the keycaps.
Then, it was just a matter of replacing the top case.
Overall, the board types very well, and this post is its typing-test. The reviews that indicated that the Creamy Purple Pro is a good switch for typing may be correct. The switch operates quickly, like Gateron Mini i, and moving between keys is very fast. Pressing the same key over and over does not feel so great, it’s slammy. But actually typing, it feels very responsive.
So it looks like this is the best configuration for my Neo80 so far. I just have to fix the / key, which is catching. I probably need to reinstall the switch. Otherwise, the Neo80 is the easiest keyboard to rebuild that I have ever seen. The ball or magnetic catch system means that it comes apart easily, and likewise is put back together. Since the PCB clips into the case, there is no need to deal with cords or cables.
5 Likes
Over the weekend, USPS delivered my new NK87 in Alien Green and I put it on the workbench. Folks, what I am about to tell you is the first experience I have ever had of this problem and I feel like an idiot.
While inserting switches, apparently I was supporting the wrong hotswap socket and an entire socket broke loose from the board, taking the solder pads and half of the traces with it. In my shock and horror, I made a very, very bad decision in trying to repair the board with my soldering iron. I should have known better, there is nothing to solder to, the pads are gone. But, I tried, failed and now the board locks up VIA when connected.
So, I have reached out to Novelkeys in the hopes they have an available replacement PCB to purchase. If they don’t, does anyone have suggestions on a hotswap PCB that will work with the case?
3 Likes
They do have a replacement for sale. But it’s not cheap. Crazy enough, it would be cheaper to buy another full keyboard. I wonder if they even know the PCB is still full priced. They might reduce the cost if you bring it up.
What did you do to that PCB to make it stop working though? ![]()
2 Likes
Well, I tried to make my own pads and traces but nothing would stick to the fiber. I only have resin flux, couldn’t get it to bond. I probably got my iron too close to other components attempting to make something stick. Technically it works but I can’t configure the layout to remap around the bad socket.
I did speak with Derek and he said there might be a chance of a price drop before the end of the year, fingers crossed. I really don’t want another frame that I probably won’t use so I will wait and see what happens.
2 Likes
Man that sucks, I’m sure we’ve all borked a PCB or two in our time though. If the PCB doesn’t get a price drop I can always take a look at the PCB for you. Assuming I can figure out what else is wrong with it that is keeping it from allowing VIA to remap keys, the busted socket could always glued in place & hooked up with some bodge wires running from the traces.
2 Likes
Its been a few days of using the Brutal V2 1800 and I’ve circled around to having Ergo Clears and the full Aluminum plate in this. Just something to be said about this classic combination. The Clears have (I think) 3204 and 60g 18mm springs with a 70g 18mm in the spacebar. They’re a little scratchy still especially on off center angles but there’s definitely some charm to it.
A very crisp typing experience, and I’m liking having aluminum plate in a board for once. I’m normally a soft plate on hard mount type of person so plastic plate top mounts usually work quite well for me - but this is one of the better gasket boards I’ve had in a while. It takes enough edge off the alu for me to be usable.
3 Likes
It hurts me so much to read that you write how badly they work ![]()
![]() , and how you refuse or throw away QMX stabilizers((
, and how you refuse or throw away QMX stabilizers((
For me, these are still the best stabilizers.
They are so good for me personally in all respects.
That these are the only stabilizers that I even use stock from the box - without lubrication.
All keycaps are “spacebar” in the end for me, when I do not test or stream, but made them for the shelf, for permanent work for myself. They all became with QMX stabilizers. Although initially there were others.
I just have not had anything better in long-term work.
You noticed that when I posted the photo “what’s on my desk” there were different switches and keycaps but the same keyboards.
This is what goes badly with the consequences of frequent keycap changes, so this is the work of the stabilizers afterwards. Almost all stabilizers with frequent replacement begin to forcibly require modification.
Again they need to be disassembled, pulled out, remove the grease, check and straighten the wire again, grease it and install it again.
This is the only place where I see a downside to QMX.
It can’t be lubricated if it’s installed. You can only lightly lubricate it with a brush. But you can’t do anything about the wire without completely disassembling it.
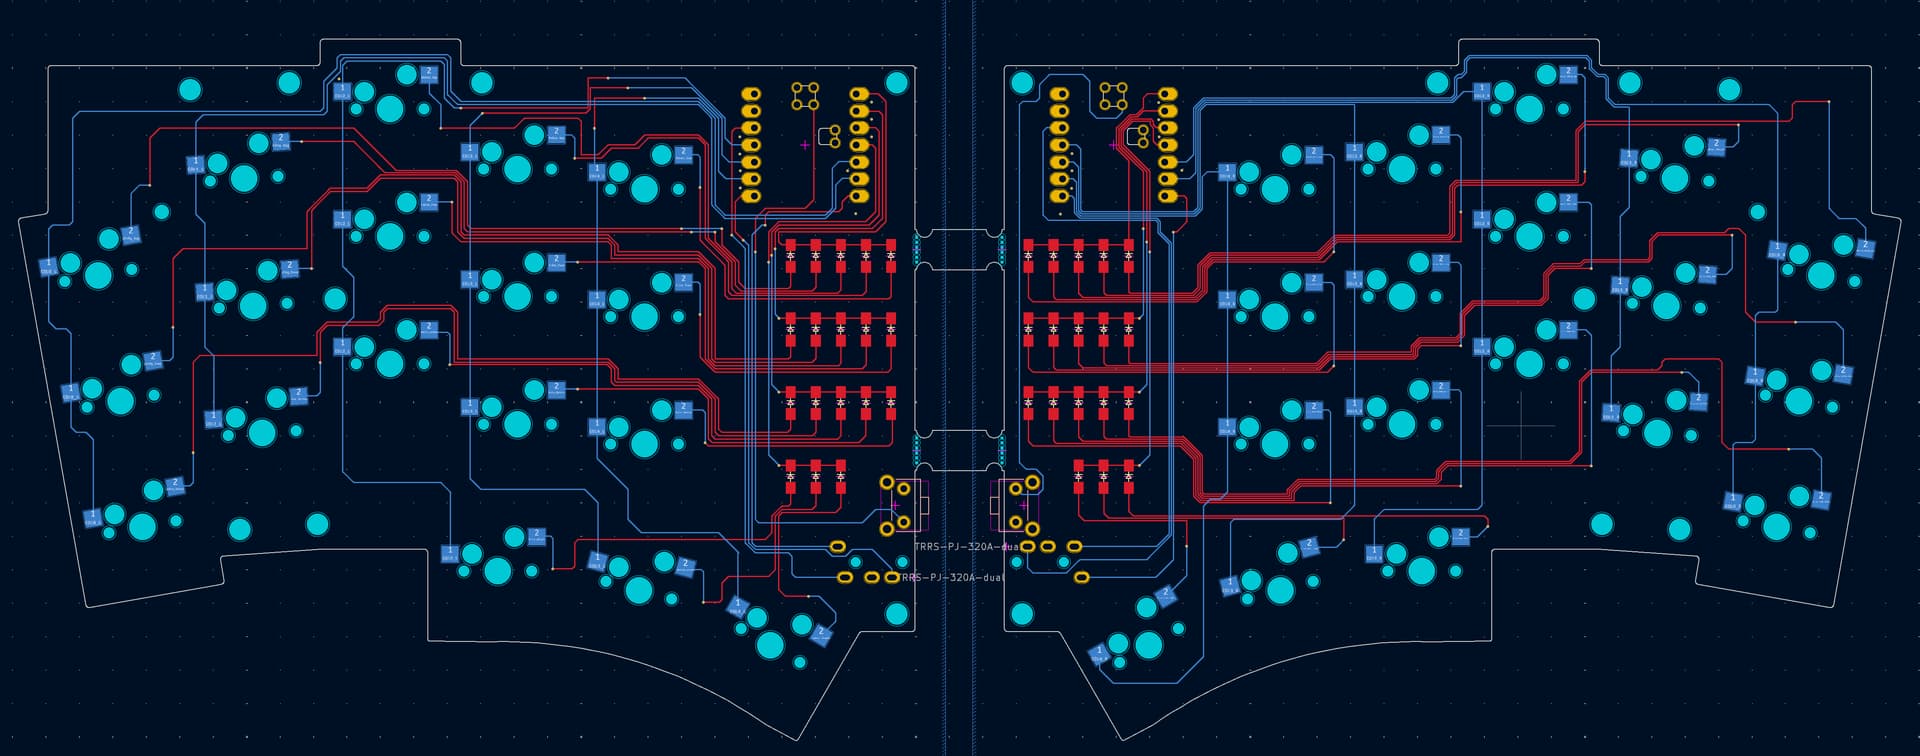
Biting off probably more than I can chew, but oh well. I need to completely rework my website at some point. Planning on making that the first project I complete using Ghostty once it is released because my entire dev workflow is in the terminal, and I’m excited for that project. I plan on documenting the process of creating a PCB for a board from the perspective of someone who has no idea what they’re doing… So, future blog post content below:
I’ve been in the custom mechanical keyboard scene for the better part of a decade, and I have really honed in on my tastes in that time as well as built a TON of keyboards. I recently built three Geist Totems, and I absolutely love them except for the fact that I’m limited to Choc switches and Choc keycaps. To remedy this, I have parts on order to build a Geist Klor, which is a very similar board to the Totem from the same designer except with MX switches.
I have noticed there are a few things I’m not that excited about with the Klor already…
- I am not planning to use the encoders or OLED screens.
- I don’t plan on using the LEDs.
- The switches are oriented for north facing LEDs, which causes interference on Cherry profile keycaps.
- I would much rather use a Seeed Xiao RP2040 microcontroller.
So, armed with absolutely ZERO knowledge of how to design a PCB, I am going to set out to create my own PCB to fit the Geist Klor case. The PCB will meet the following criteria:
- Start from near complete scratch aside from the layout and PCB footprint.
- Uses a Seeed Xiao RP2040 microcontroller.
- Has the exact same footprint as the Saegewerk Klor PCB without any breakaway pieces.
- The switches are oriented with south facing LEDs.
- No space on the board taken up for the encoder.
- No space on the board taken up for the OLED screen.
- Maybe move the diodes to the space that is now available where the encoder and OLED screen went. This would be similar to the Totem layout for the diodes.
- Have a working QMK setup.
- Have a working VIAL setup.
I’ll document this process as I go so that:
- I can help anyone else out starting out to see the process.
- Remind myself later of why I did something or how to do something I forgot.
- Give myself the ability to laugh at my lack of skill later.
- Share my love of bulleted lists with the world.
I hope you enjoy this journey, and I desperately hope that I have something functional at the end of this…
5 Likes
Ghostty looks great!
1 Like
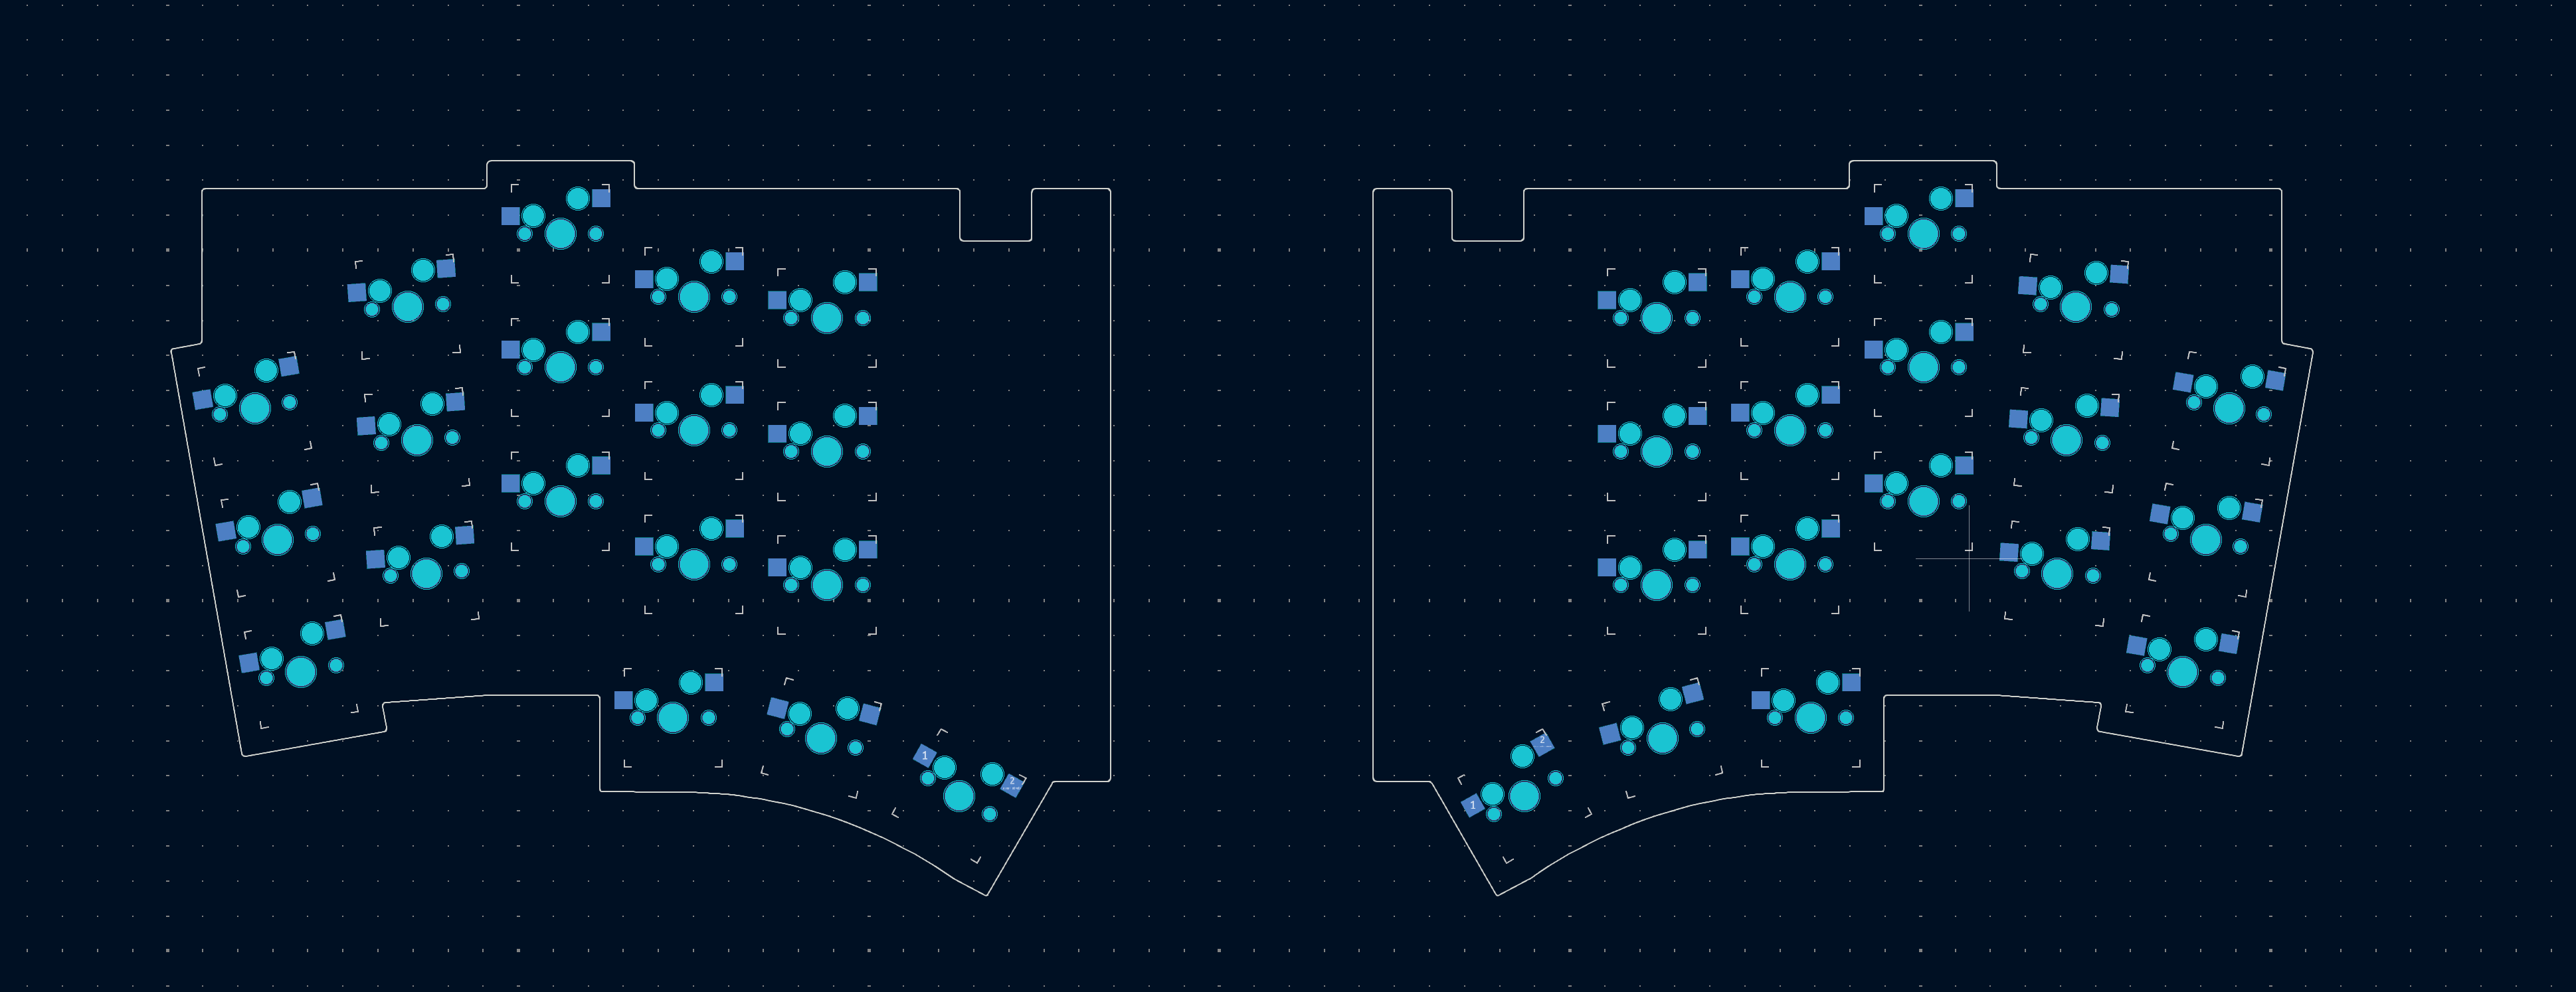
Been bouncing between Kicad and Ergogen a lot the past two days. Finally have switches exactly where they need to be and the outline of both sides nearly perfectly matched to the original footprint down to fractions of a mm. Some of this would be easier to directly work in Kicad because I’m doing this from scratch, but I really want a complete Ergogen file from this so that I can easily adapt this to whatever controller I want to use in the future if I choose to revisit this project or the Seeed Xiao stops being manufactured.
3 Likes