What's on your workbench today?

I haven’t worked with different cast materials like that idea!

For texture, fuzzy skin surface options in 3d printing are pretty interesting. Here is a cylinder cement cast with default fuzzy skin from a while back making the keyboard holders.

Textured surfaces are harder to remove the mold then smooth and it is easy to damage but leaves a neat finish. Hot air station (outside) might be the better way to extract from the mold

5 Likes

My PCBs have shipped from JLCPCB, after further assurances that if actual tariff is less than charged tariff then they will refund the difference. Not the end of the world either either way, but it’d be nice to get a few bucks back.

The other thing is, and pardon me for feeling so proud of myself over one of the simplest tasks one must complete to build a keyboard, but I managed to get QMK compiled and flashed with the complete custom layout and the keymap for the Tsangan version of this board onto a Pi Pico clone (I am not going back to Micro-USB ports). I only tested with a jumper wire, but it seems like every row works and every column works, so if the PCB is clean, then I should be in a good place to move on to soldering and woodworking, and I’ll probably still make the plate out of Masonite. I also prepped the “1800-ish” keymap that will be ready for whenever I decide to use up the spare PCBs.

Lots of potential hazards yet, but I’m cautiously optimistic.

7 Likes

Definitely keep us updated on that JLC order. I’ve been holding off on ordering some protos of this PCB revision I have because I’m not keen on paying double what it used to be…

2 Likes

Yea same I have also been holding off on ordering PCBs from JLC as it’s my first time doing so and don’t feel like messing something up while also paying too much for potential paperweights. So whenever you get them in @wjrii feel free to let us know :slight_smile: also I am just now realizing that the reason I mistake you guys for each other sometimes is because your usernames have similar looks lol.

3 Likes

It’s easy to tell the difference, @Wooden-Toilet. @skwrl builds lovely 60’s from all the best vendors and has excellent taste in components and a sophisticated custom PCB. I build boards from AliExpress bargain bins and literal garbage and would rather do something myself than do it properly. :rofl: We do share a fondness for nonstandard bottom rows and split spaces.

Anyway, the PCBs should be here today or tomorrow (I have been dragging my feet on designing the 2D file for the plate or even cleaning the Alps caps). If there’s anything interesting in the paperwork, I’ll let everybody know. When I asked JLC about it, they said, “We’re still trying to figure this all out. We promise we’ll refund if it ends up less.” They’re just so very much cheaper for this type of project than everyone else.

Edit: They’ve arrived. Visually they look fine. I made one screw up, forgetting to use rotated footprints for Numpad Plus and Numpad Enter. However, the structure of Alps switches and the location of the stabilizer holes should let me use a bodge wire on each one and keep it flush. Alps are “2 pin,” so they were never going to install without a plate anyway. I feel a bit silly, but honestly this is probably a one-shot for Alps, and any future builds will be MX, which looks fine. In particular, I seem not to have screwed up physical placement for the Pi Pico, though I’ll probably snip the contacts for the three switches it straddles, just to be safe. No obvious evidence of actual tariff amount. I’ve asked UPS to call me.

Edit 2: Per UPS, they charged $9.90 actual tariff, so 50% of the actual item cost basically, but also $17.00 brokerage fees, which were not on my invoice and which they say is not part of the shipping cost, resulting in a total of $26.90. My total charge on the invoice was $31.78 for “shipping,” and $32.22 for “Import Taxes.” I guess I can count on getting 5 bucks in JLC funny money at some point, but in the immediate short term, I’d recommend budgeting more or less what they quote you. Compared to my last board, which was roughly similar in size and complexity, I’ve ended up at about 3x the rate from the era of de minimis, epacket, and predictable trade policy. My situation, making very simple boards where the shipping was significantly more than the PCBs themselves, may not be quite what another person deals with.

5 Likes

You flatter me. But I’m just better at irresponsibly spending money than you.

Damn. I wouldn’t want 50% of the cost in tariffs because I always get my PCBs assembled. Before tariffs my orders usually were around $120-200. T_T
What do you do for MCU, assuming it’s a bare PCB?

2 Likes

So I’ve been having 99% success rate of desoldering and reusing 7305 sockets. I say 99% because I dropped one once and could not find it :joy: I’ve been changing my 2u spacebar layouts to 2.75u, basically just shifting sockets over.


I heat up the socket from the bottom and just push it out with the tweezers. Most of them hang on by a thread of solder which just a tad bit of heat from the iron loosens up.

Then you get sockets that look like this, with globs of solder on the bottom edge and around the base. But the solder is pretty easy to gently clip and scrape off with the flush cutters–at least remove the bulk so I can put them back in the through holes.

They look like this cleaned up.

And ready to resolder. All online content says you need expensive kapton tape because it’s heat resistant etc etc but why waste more money on consumables? 1/2" blue tape works perfectly, and any bit of residue comes off by just sticking the tape back down on it and pulling it off. The only time I’ve had more residue is when I left the tape on for several weeks and came back to solder–but even then just pulling it back up with the tape gets rid of it.
Then a flathead bit to chip off the rosin, hit it with 91% IPA and gently rub with a towel, and it’s shiny clean.

Anyway–I put this PCB in my TinyNeko with Monokai Material on some Clackbait/KNCKeys Clackbits. HMX Canglan V2 under the spacebar for a thicker pop.


The front gap and height of the PCB bothers me a bit on TinyNeko, I don’t like seeing the switches this much. Also still kind of struggling to find the forever home for Monokai. Feels like it needs a slicker looking case, but this feels okay for now :stuck_out_tongue:

5 Likes

Thanks again for the update good sir, I will prob pull the trigger soon on that order and I’m hoping my plan with the PCBs goes well.

I would guess that assembly is gonna be subject to the same tariff. I think in the near term we might reasonably hope for 30% actual tariffs. Then I would guess maybe shipping is gonna be about the same at around $30-$35, and processing shouldn’t be much more either, I would guess. So let’s say at a $150 order you’re looking at $45 to $75 in tariffs, and another $50 in shipping and fees.

I’ve only done two designs now, both old-school THT that are barely more than a matrix with places to solder an MCU and diodes. The original one just had a row of through-holes to wire to any MCU dev board with enough GPIO, which then serves as a sort of daughterboard. The new one is only slightly more complex. From our brothers and sisters in the ergo community, I learned you can juuuust squeeze a dev board’s pins between two or three ortholinear keys, at least if it’s on 17.78mm pin spacing, so I set this one up to use the default pinout on a Pi Pico and parked it in the numpad.

The MCU’s headers should provide enough clearance for the switch pins as-is, and definitely will if I bend or snip the switches after soldering (not sure if there would be enough after mill-maxing). The disadvantages are height in the back and the inability to adapt the design to most existing cases. On the plus side, it’s obviously very simple for a newbie and has a built-in repair path for ESD damage or other issues.

I ran through the continuity last night, and I am grumpy with myself again. In addition to the numpad Alps footprints I already mentioned, I found two spots where I just straight-up deleted a few mm of trace for no discernible reason. Both are glaringly obvious once you see that the connections don’t work, and both can be remedied by bodge wires. Still annoying AF. Don’t design circuits at midnight folks!

1 Like

Oof I’m terrified of that happening for me. Bodge wires could look cool though! haha

Don’t design circuits at midnight folks!

When else would you do it?!

1 Like

I swear, this is the death march project. Nothing is going smoothly, but nothing is stopping it either. I have been using a shiny “immutable” Linux distribution, but it does NOT like working from my storage drive, so in trying to migrate the Kicad project, I’m pretty sure I deleted everything except the gerber. Ultimately no great loss, but yet another WTF moment. Also…

  • I burned my finger when making a quick switch tester because…
  • My breadboard power supply is fried and just passes input voltage along unchanged. Fine for 5v USB input… not so much for the 12v wall-wart that’s supposed to be converted. RIP 100ohm resistor, we barely knew ye. You saved the life of the crappy yellow LED though. You will be a legend in the diode community. :rofl:
  • I have three yellow Alps with LED, but I only need two. This is good, because one of them has walked off somewhere.
  • To my knowledge, none of the plate generators do the Focus-style BAE with mixed stab types (Alps and Costar), but I was able to fish the bent-up steel plate from the donor board out of the circular file and get measurements that ought to be good enough.

So anyway, half of the switches have been tested and confirmed to work, the keycaps cleaned up, and the DXF for the plate generated. Need to laser out the plate and paint it and see if the stab inserts fit right. I can also start soldering the matrix diodes and going through my scrap-wood to see what I have enough of. I probably also need to tune up the woodworking machines.

6 Likes

@wjrii I really gotta agree with @skwrl here. While I fall into his camp as well, I have deep respect for guys like you that will real deal build from the ground up! I’ve found all your projects super cool, it’s always very interesting to watch the progress you upload, & you’re pretty good with describing issues you run into & your solutions to them to us laymen on PCB/case design. I mean if you think about it, a lot of innovation has come from you hardcore DIY guys. The community would be poorer without your type!

4 Likes

Well said. My financial ruin is built upon the innovative spirit and burnt fingers of those like @wjrii

You just reminded me it was you who’s got a laser toy and a bunch of scrap wood haha. Cool stuff.

2 Likes

I need to wrap up the repo on my last build and make it public, but the urge is already hitting me again….

Thinking wireless, low profile, case is a mix between Klor and Totem, diodeless, semi-sandwich (3d printed middle) with non-integrated plate, and based on nice!nanos. May actually accommodate batteries in this build too.

2 Likes

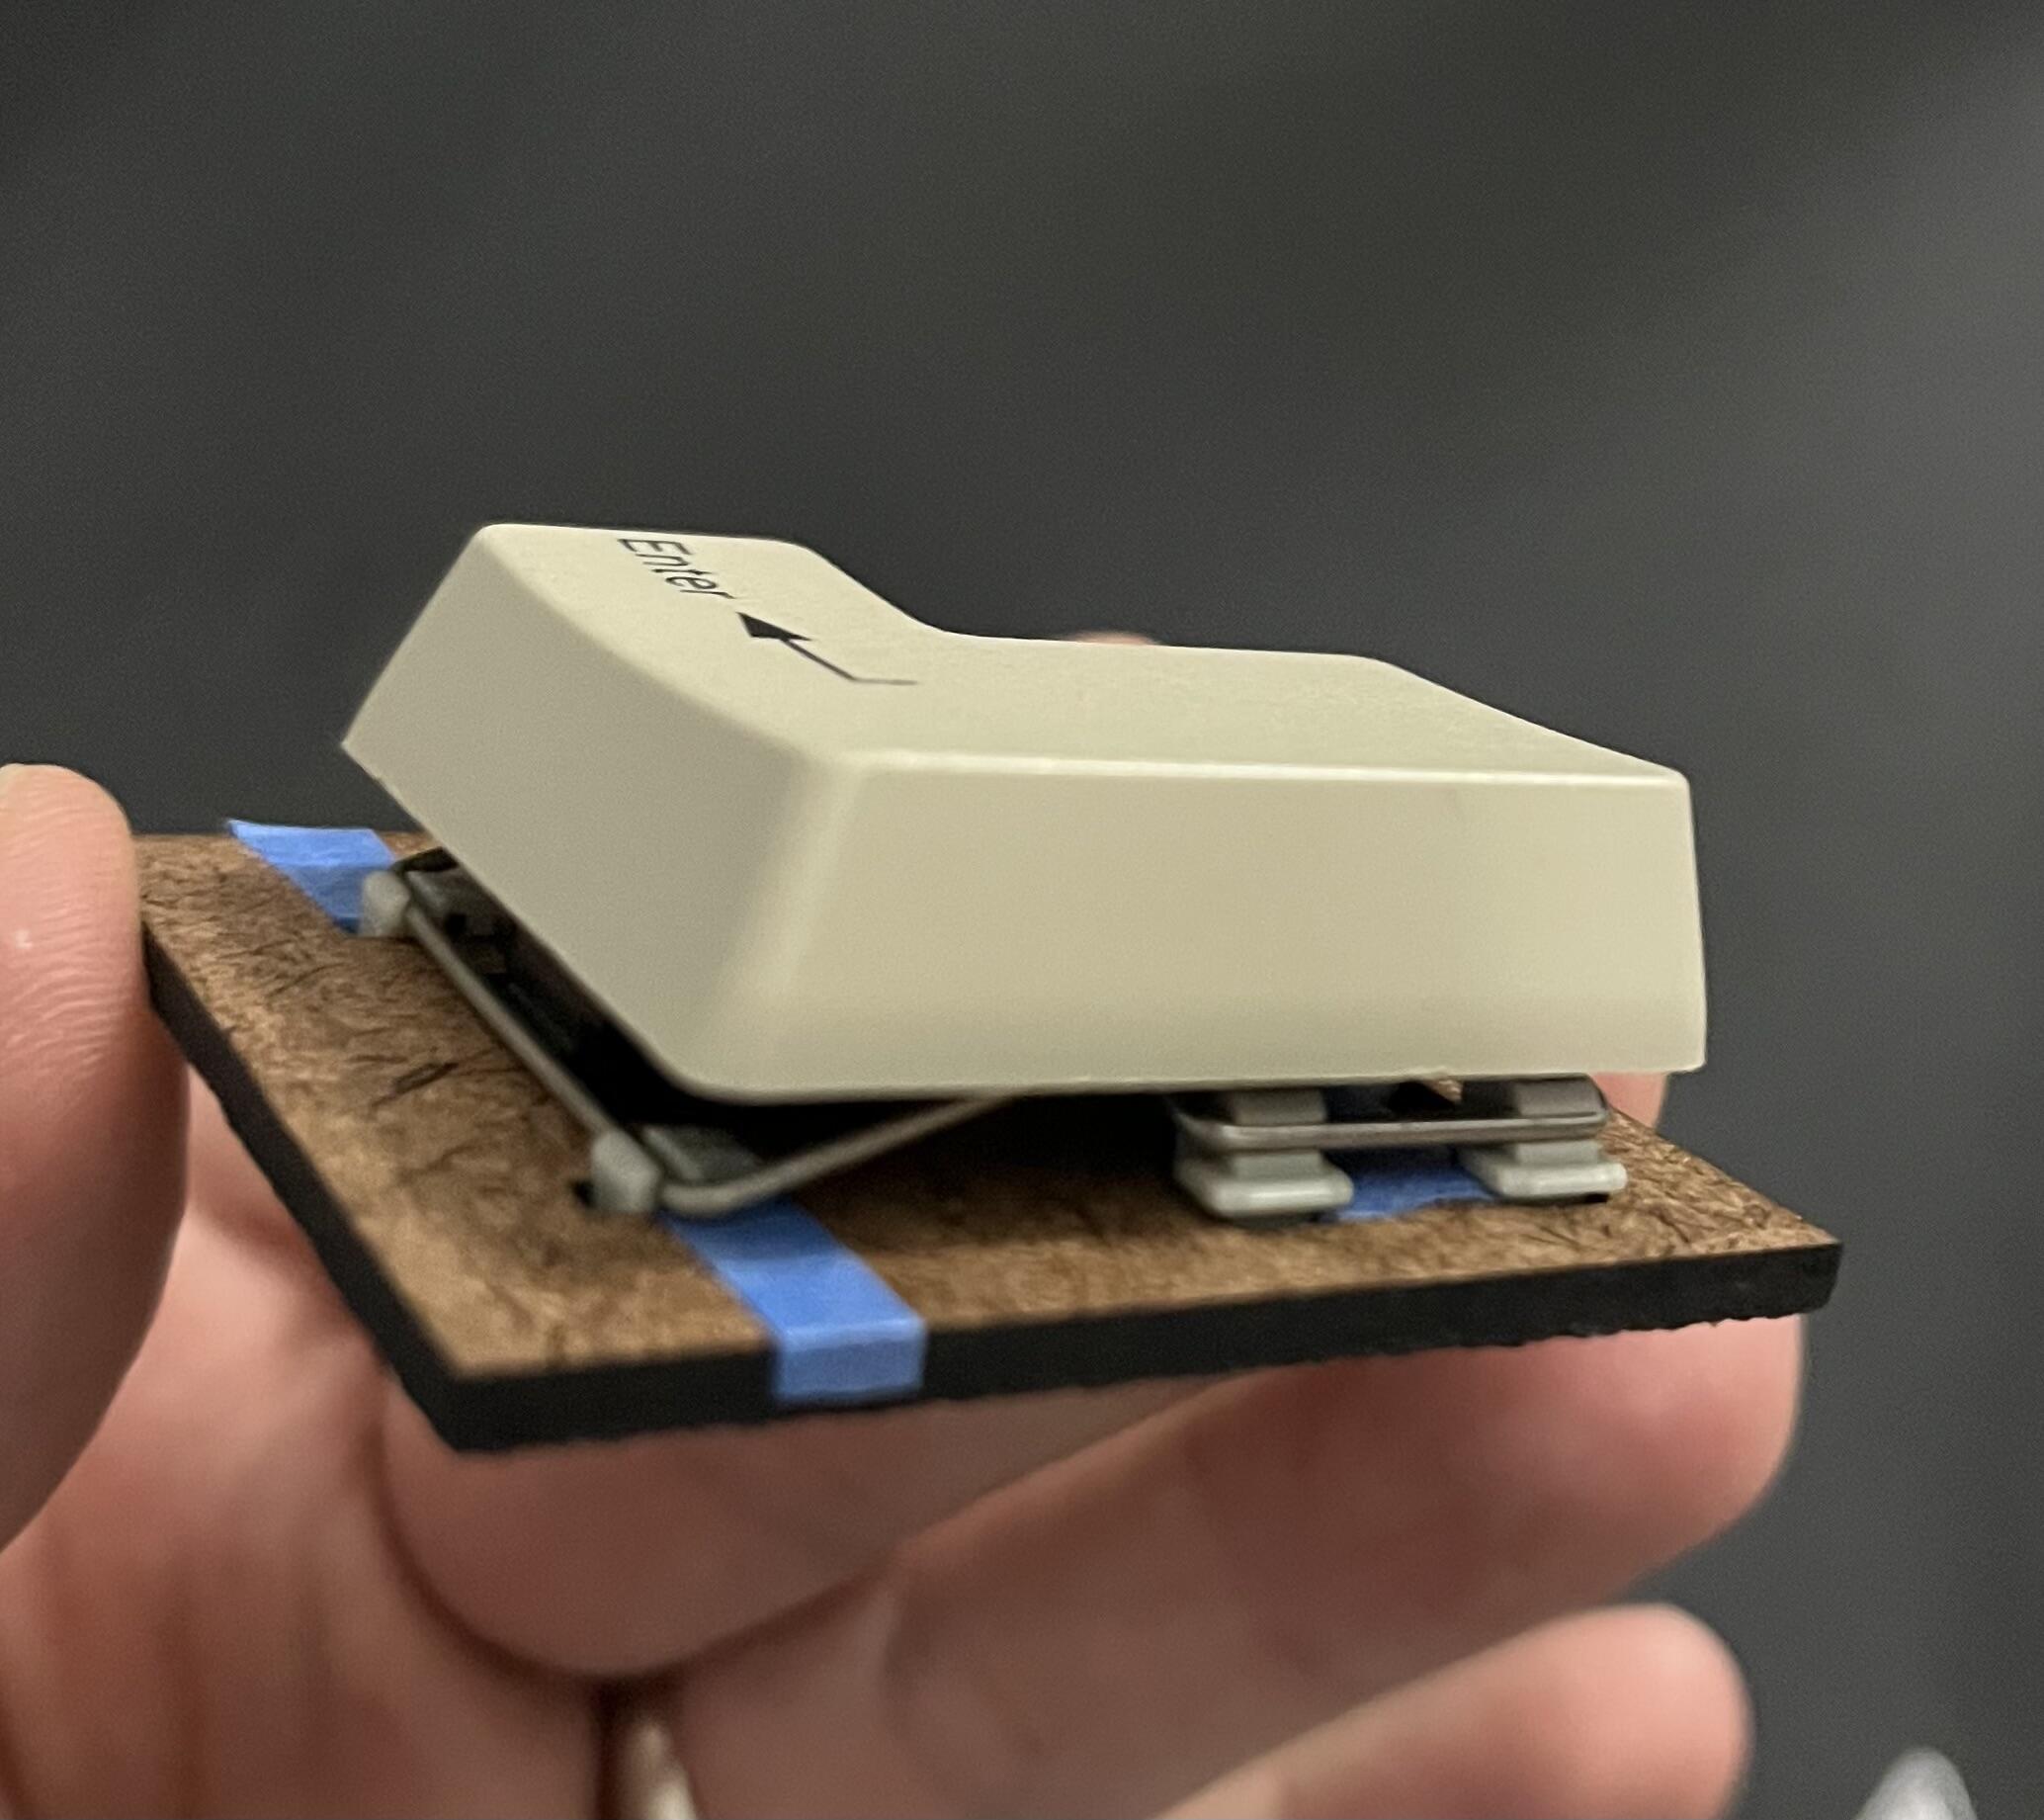
The Alps Wyse clone I won on eBay has been occupying more of my mindspace than it really ought to. I had to take it apart and then run FCC searches to see that it’s a whitelabel design made by Costar in the 90s. It has Alps blacks (bamboo era), which I will absolutely be linearizing, because even as someone who tends more towards clicky and some tactiles, these things are pretty scratchy; good weight though. It has a PS/2 plug, and while a few keys send odd scan codes and a couple aren’t registering on a simple Soarers layout, the board mostly already works fine and shouldn’t require a ton of work on the software front.

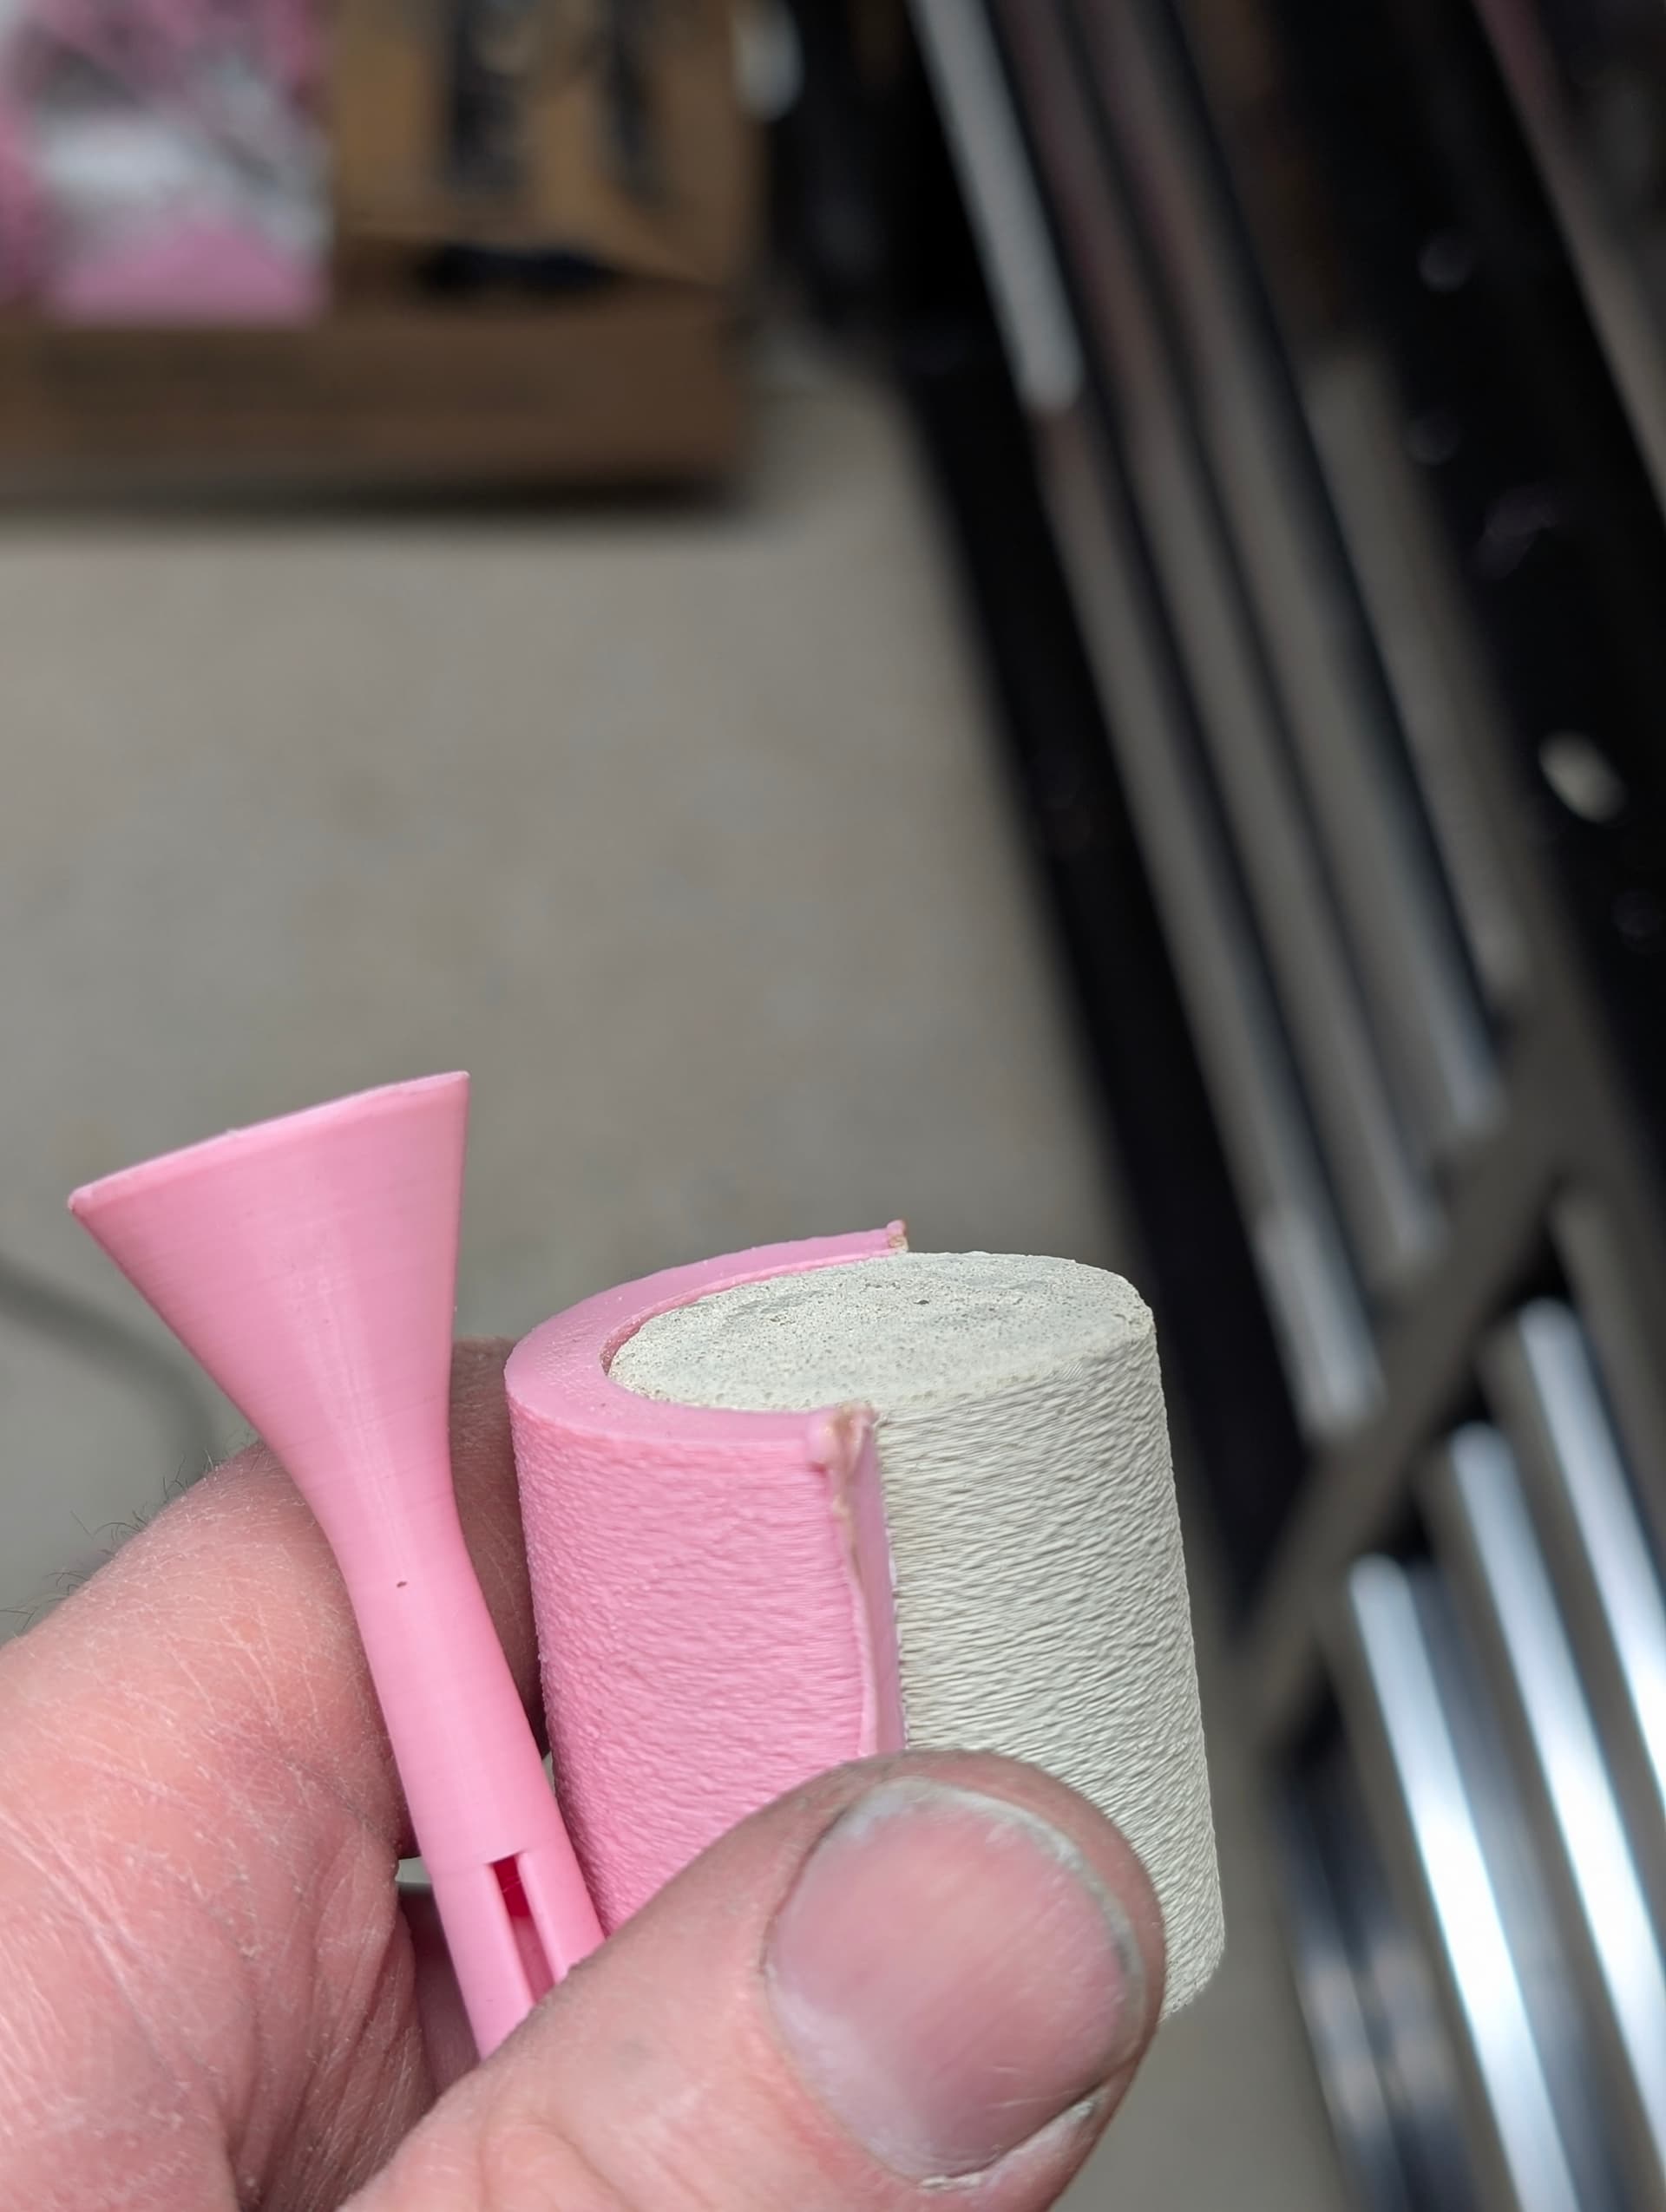
The bigger issue is the keycaps. They’re just so ugly. The ABS is a bit more yellowed than the case (and less consistently so, which may be worse), and whatever technique they used for the legends (early lasering, I think?) has resulted in a fuzzy mess. I have had up and down moments with my laser legends in the last year, but these are not better than what I can do with PBT. Unfortunately, there is no DCS SMRT for Alps mount, lol, nor do 9.75u spacebars grow on trees.

This is going to require either accepting what I can’t change, or a new level of stupid. While I will go easy on the existing caps so they’ll be there in their sad but usable state, a new level of stupid sounds like fun, at least after I’m done with the current Alps project. Eventually I think I’ll try printing the adapters that are out there, but pairing them with low-profile caps so the overall height doesn’t get away from me, then maybe experiment with some sort of internal riser or standoffs for the top case to make up some of the aesthetic difference. I’d also need to get pretty creative with wire-bending to try to get a geometry that allow Costar cap inserts to mate with Alps plate clips. As for the spacebar… well….

clone Wyse

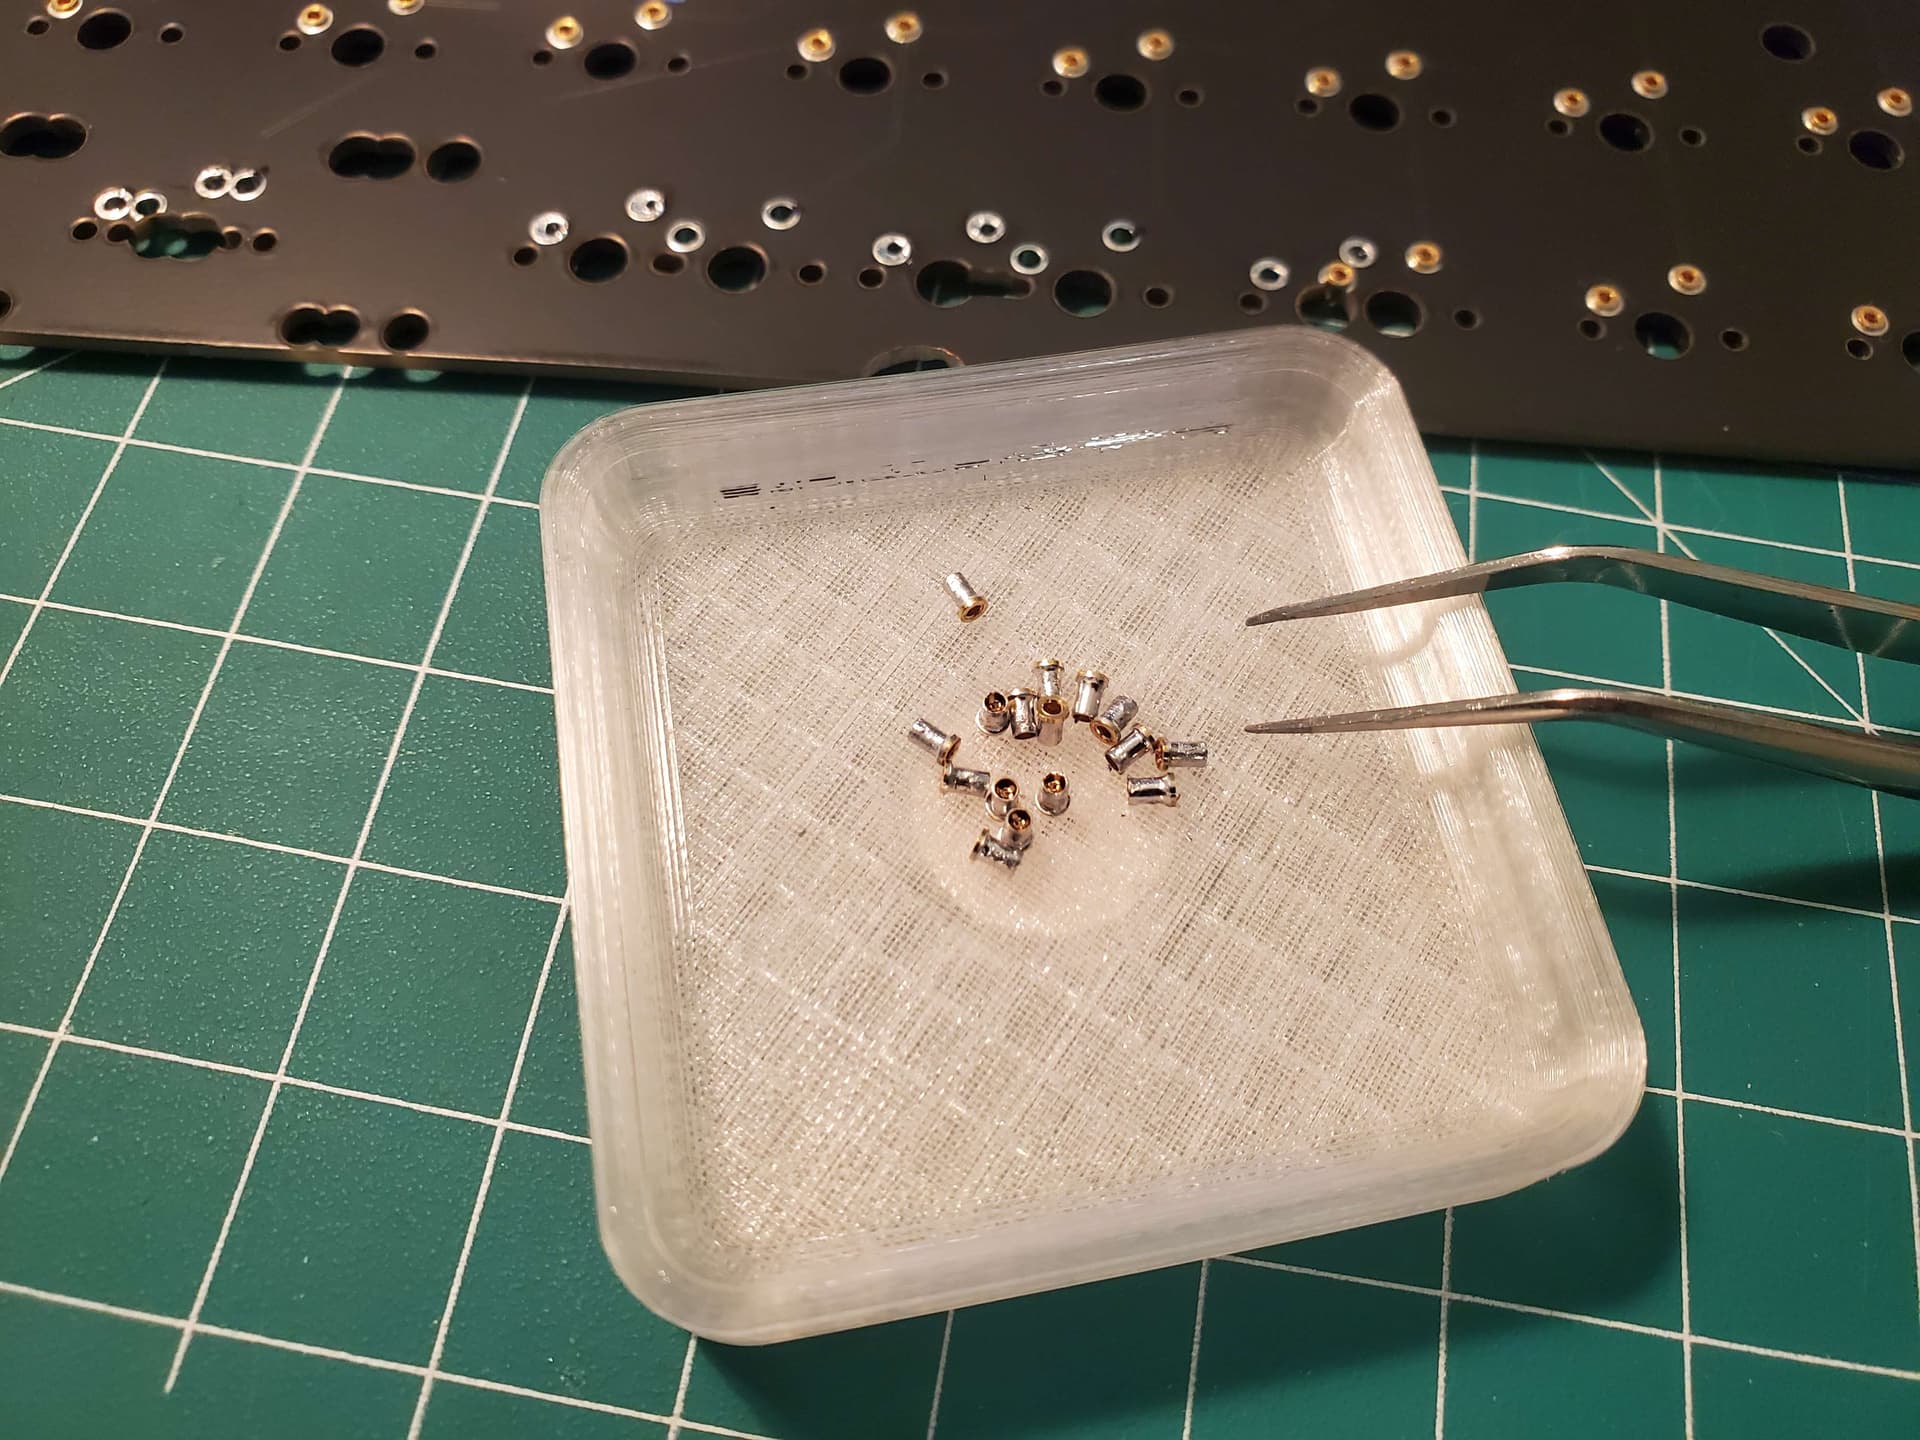
As for the wooden-case project, I’ve soldered all the diodes, resistors, and headers on, as well as the first of what I expect to be four bodge wires. Next is to cut the plate and make sure everything lines up. I will probably be firing up the ol’ glue gun to make sure the Alps stab clips stay where they need to be. If I ever do an MX version with my spare circuit boards, the PCB clip-ins are starting to feel like a mighty nice idea. It’s enough to make a guy wonder why he got away from no-stabs boards at all.

Solderin’

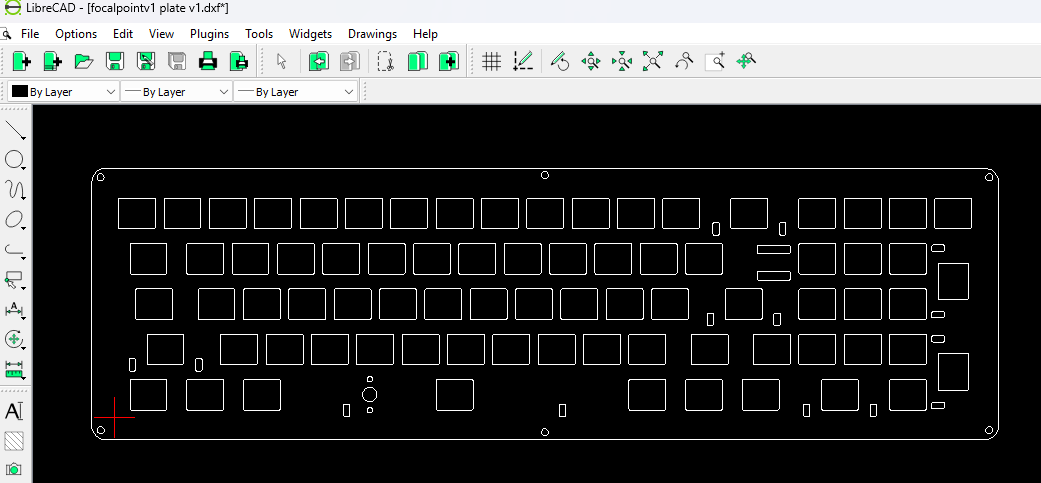
Speaking of no-stabs, I came up with a weird but potentially usable 70%-like layout for my older PCB design, and it still wouldn’t need true stabilizers. Did you know that the switches for two 1.25u keys are in the exact location as the mounts for a 2u stabilizer? This is not usually super useful, as 2u keycap won’t fit, and only a 2.5u cap (does this exist?) would slot in perfectly,. Anything else kind of jacks up the rest of the row by requiring it to sit on 1/8u spacing, but if you’re going for a vintage or type-writery feel with some pretty substantial blockers, both 2.25u and 2.75 are adequately stabilized by a dummy switch, and would allow one key on either side. My current build would be damn near unusable with a double-box-navy spacebar, but a lighter switch in a stable housing should work more than well enough as a “post style” stabilizer.

Cursed KLE

4 Likes

I am just beginning work on a potential Alps version of SMRT! Though it’s probably a ways off. (And unlikely to have 9.75u space)

2 Likes

I never noticed the funky layout on your Alps Wyse Clone the first time you posted about it lolol.

1 Like

Yeah, the layout matches the real thing, but the real thing is uncanny valley. 9.75u space, 2u Caps Lock to the left of it. Backspace is 1.75u with that mess of 1u and 1.25u beneath it. 1.5u RShift is not unheard of, but nor is it normal. Even the left shift that looks ISO has the 1 and 1.25 flipped.

Nothing that prevents usability, especially if you re-map a bit, but one starts to have a bit more understanding of why the Cherry models were stripped for switches for so many years. :joy:

Now all that said, if everything goes well (very big if), then I’m thinking a set of PBS blanks with some Gorton legends lasered on would do the trick. They’re unscultped and pretty low profile. I also saw that white SLK with gray legends are now an option at FKCaps.

2 Likes

I’d be 100% in on a DCS ALPS SMRT set!

2 Likes

@Rob27shred it’s been interesting to see where I’ve tasked myself with re-treading some of the same territory you and others were exploring 7 or 8 years ago. A lot of good ideas in the old threads, and a few cautionary tales too. :joy:

For the immediate build, the issue for me is going to be that my plate is 3mm thick, and my solution to stabilizer fitment on previous builds was simply to… not do that. I would prefer not to hack up these stabs, so I’ve done a test cut where I make the length based on the actual amount of plastic, not the dimension that would properly clip into a metal plate. I think I may slim them horizontally just a hair to see if I can get a usable friction fit without the tape in the picture, but there’s always hot glue and then IPA to release it, should I ever need to break down the build. Once I actually oriented the Costar half of the BAE properly, it actually seems to be working nicely as-is.


5 Likes