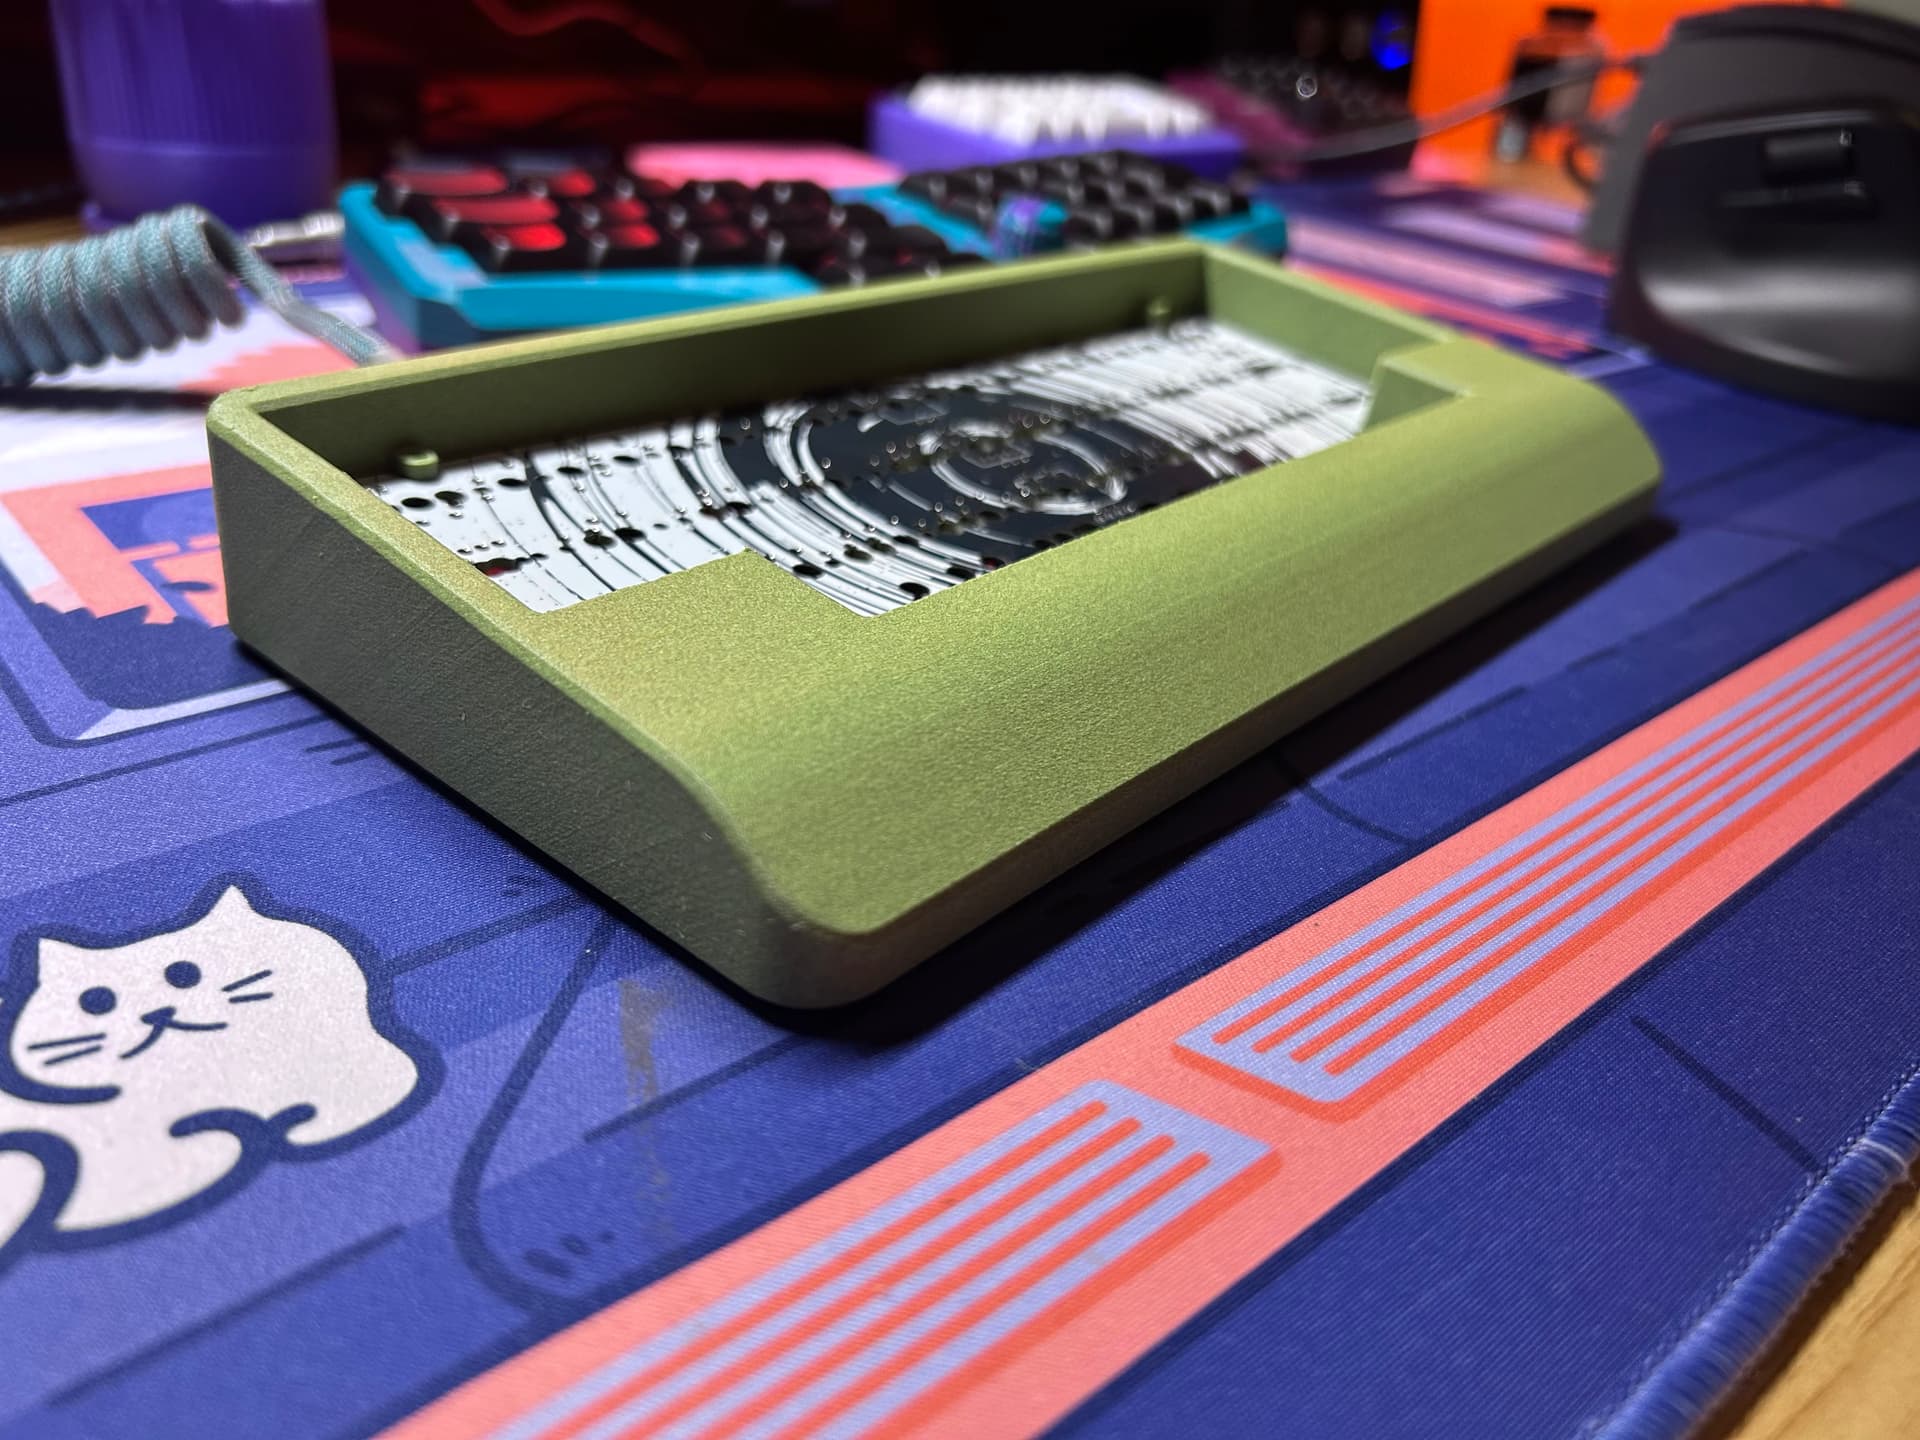
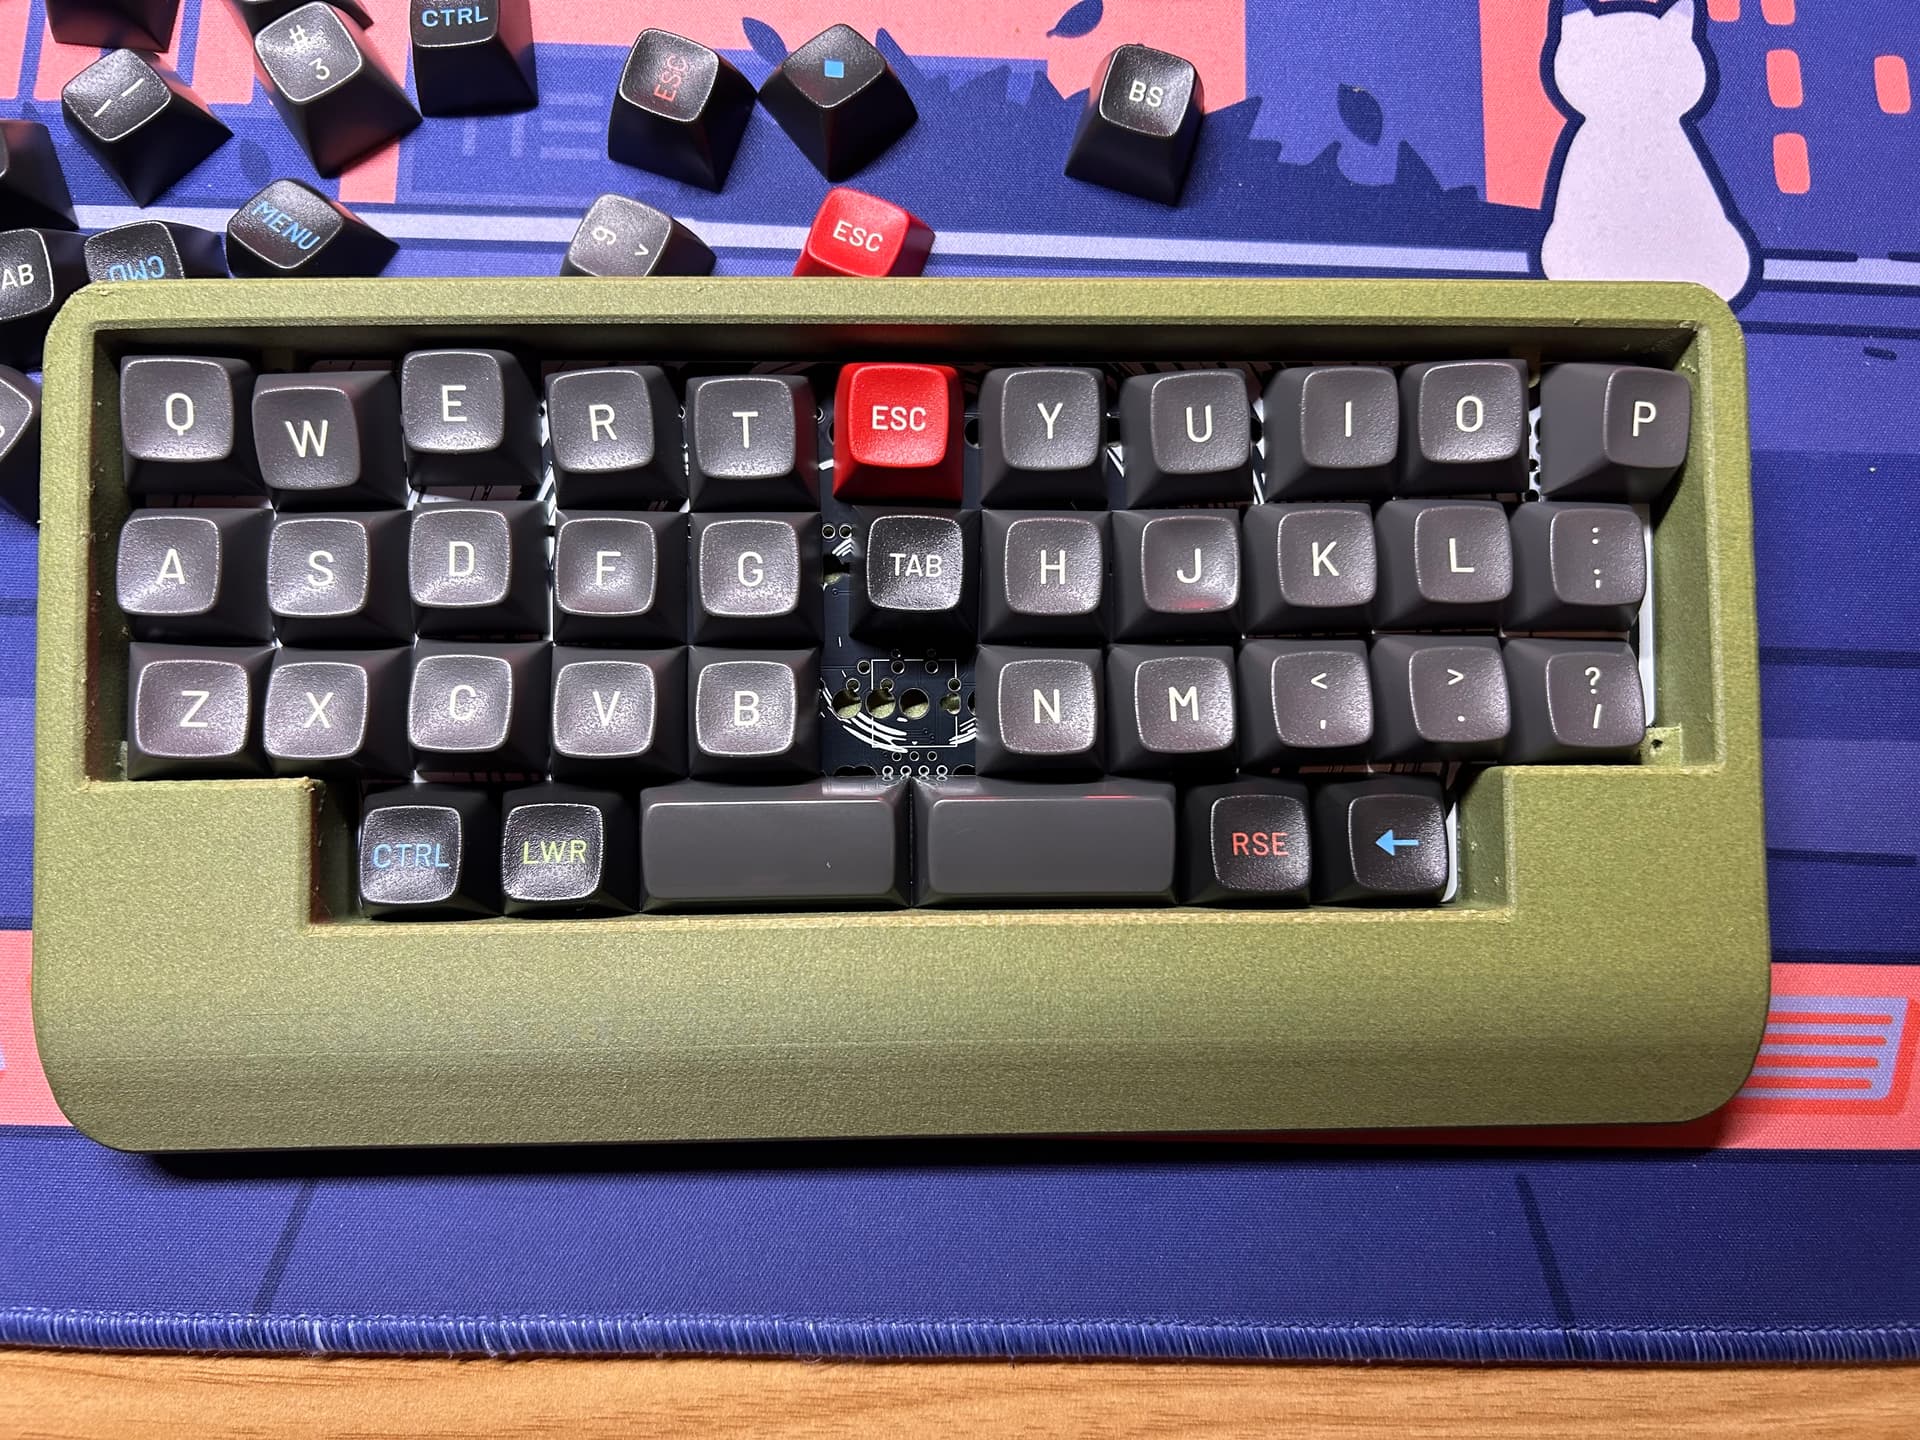
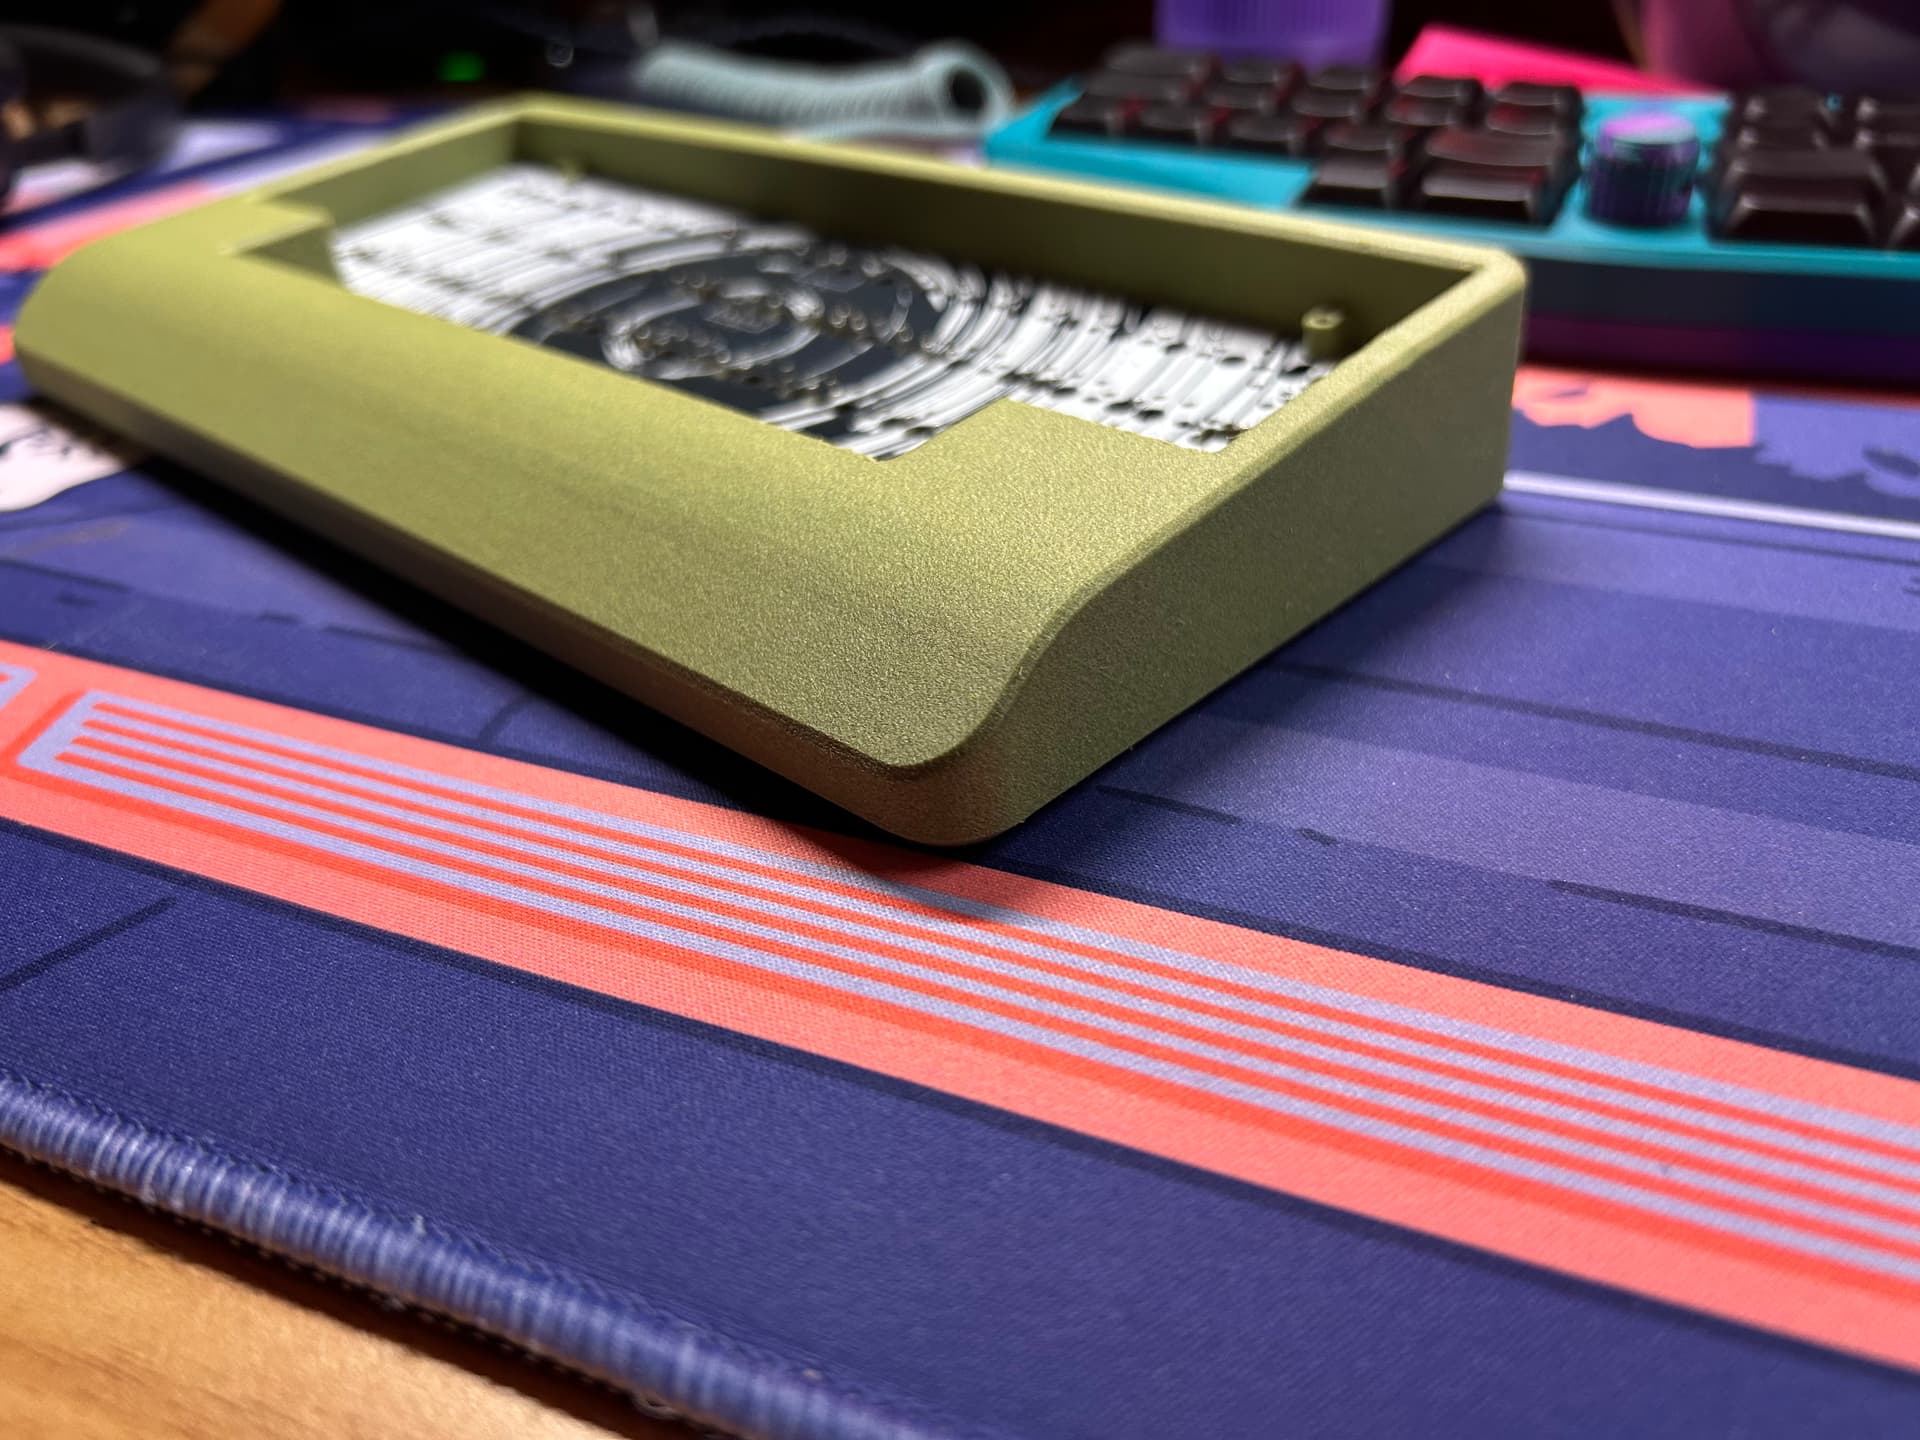
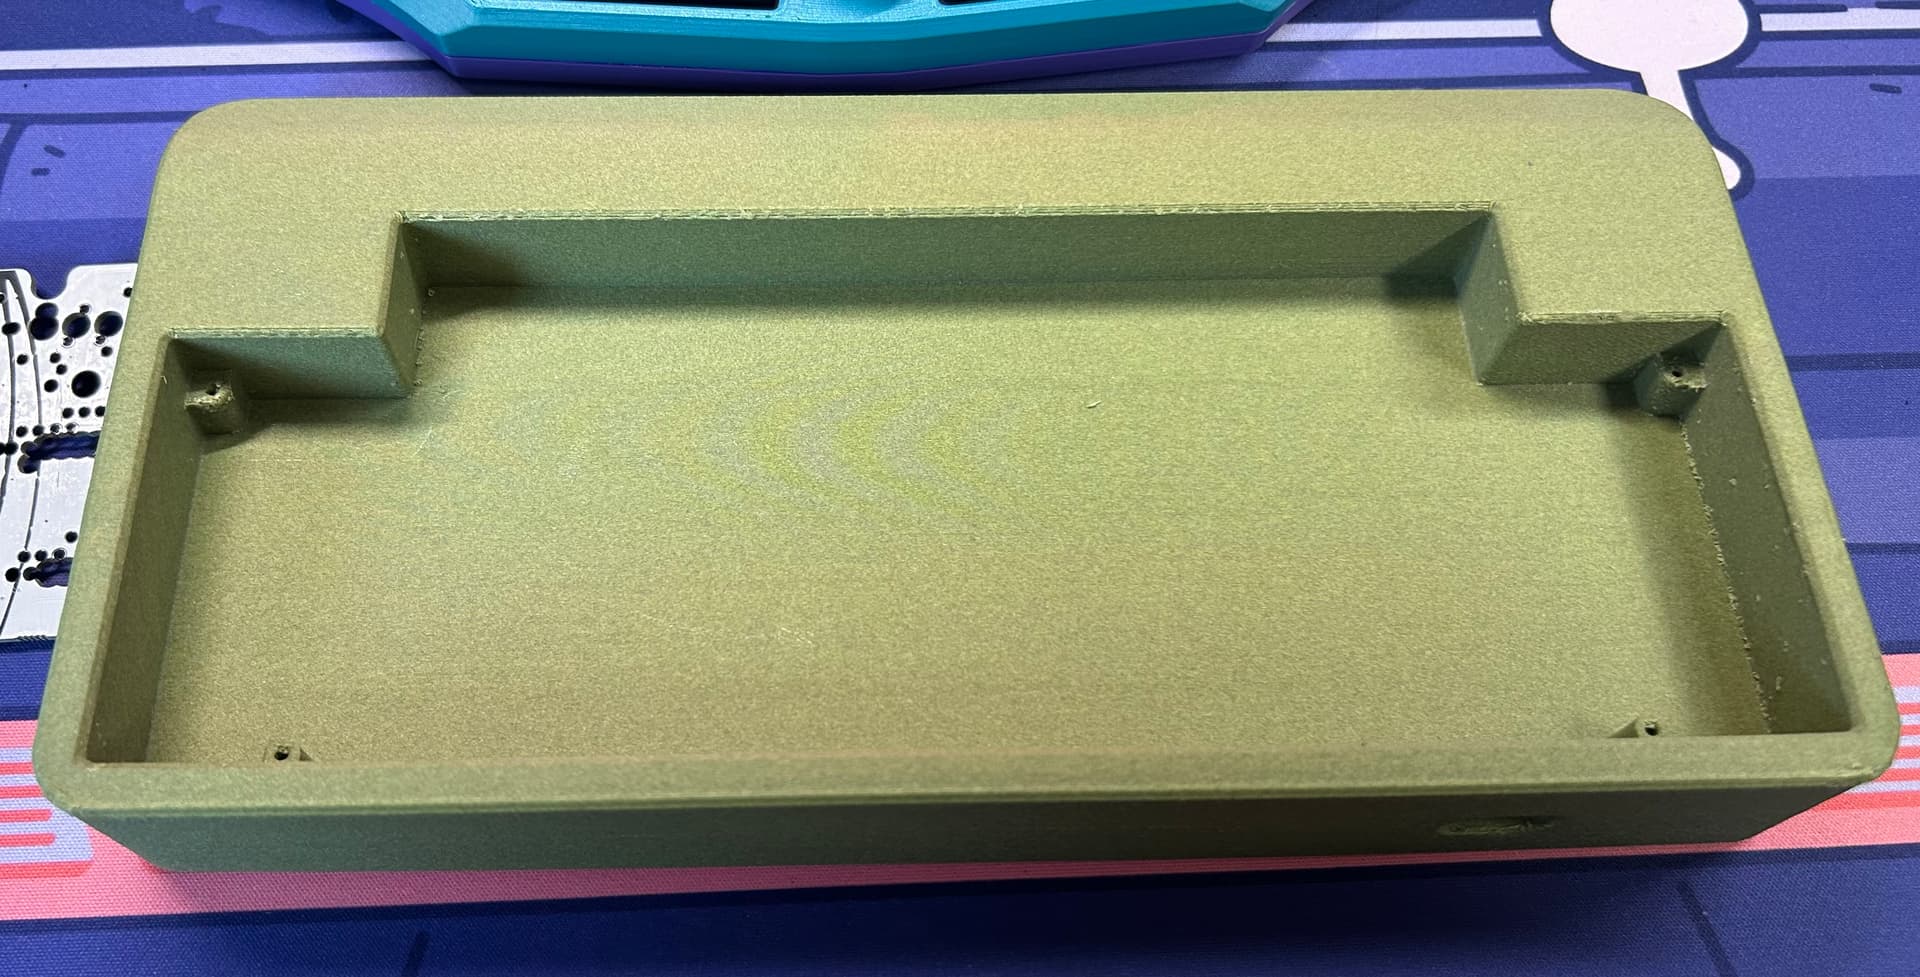
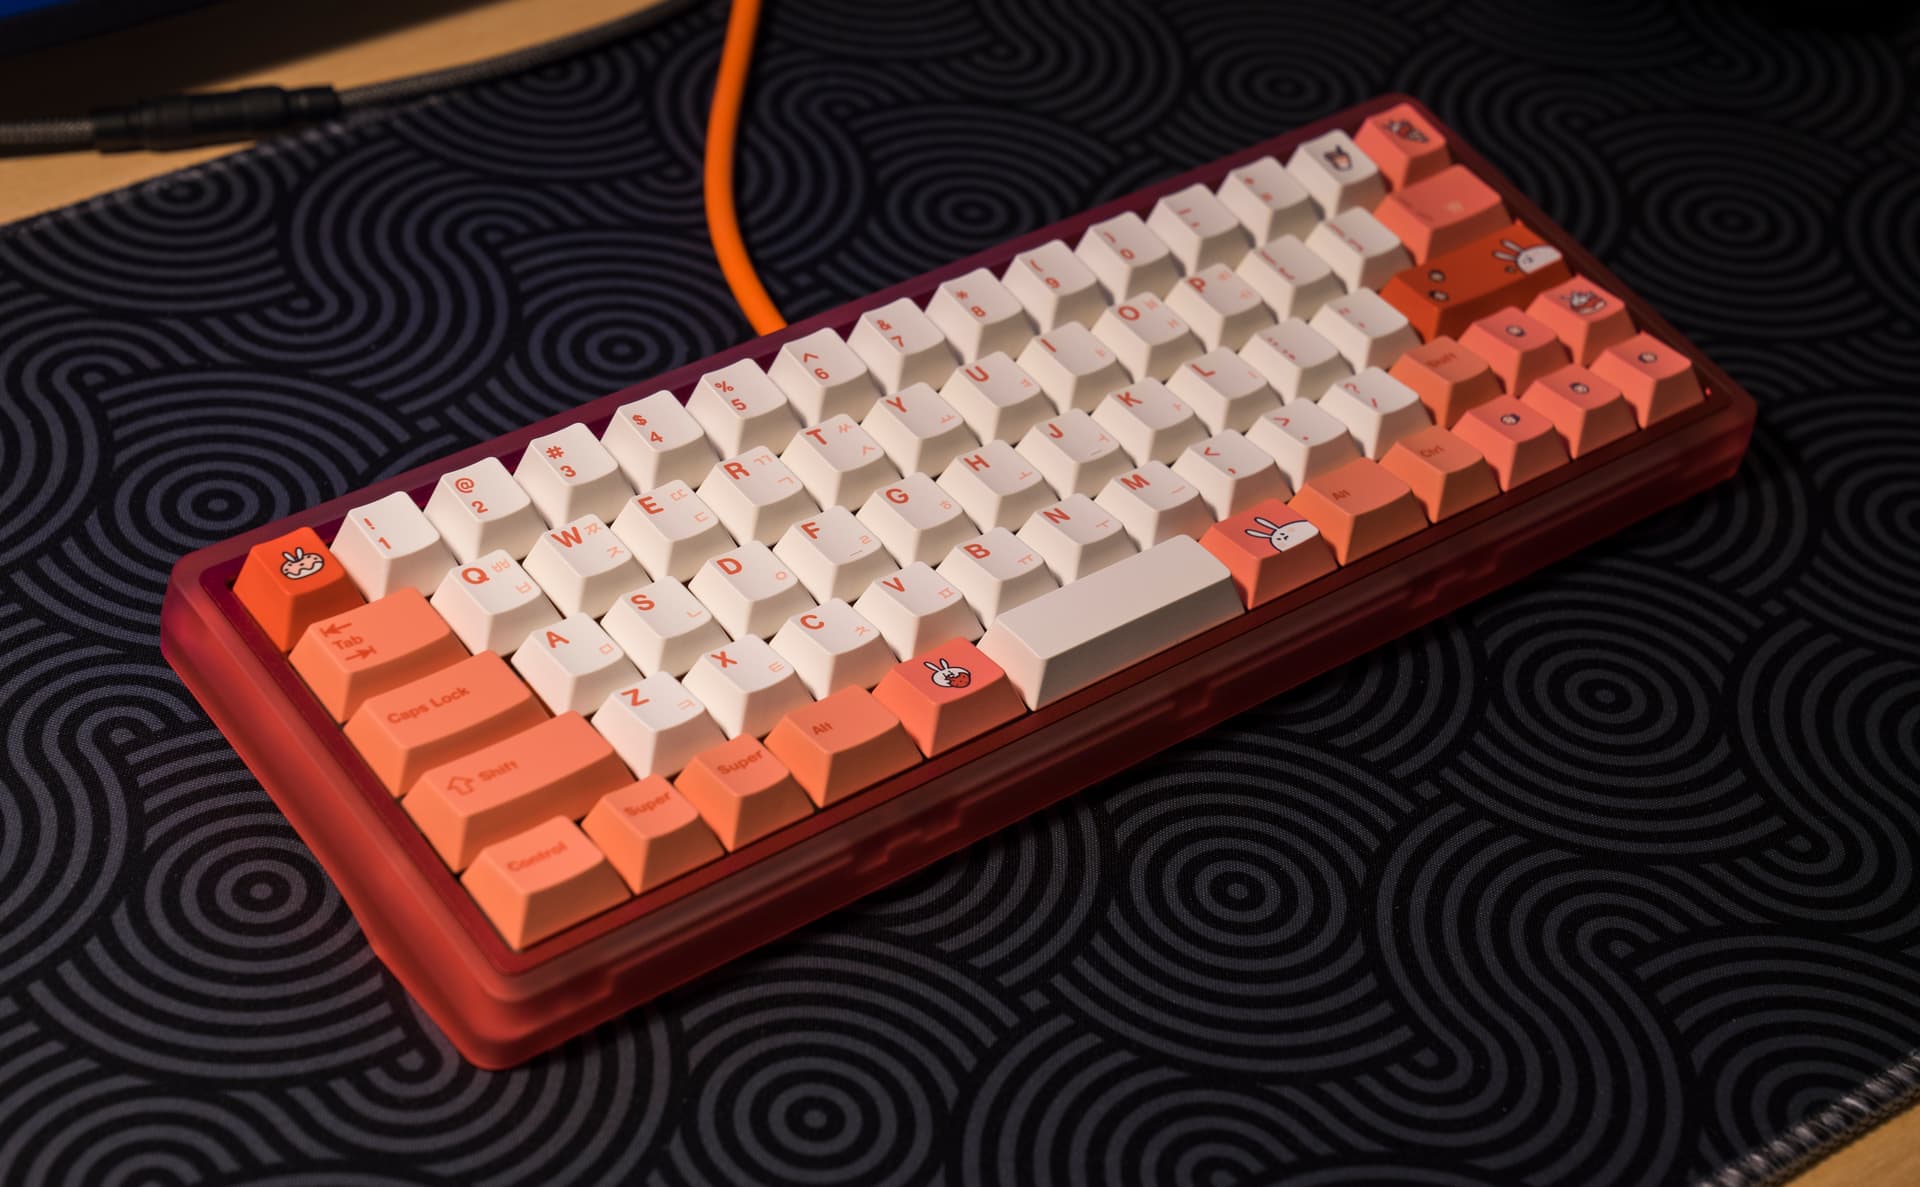
First Vault Case just printed, really satisfied with the result. Printed at not exactly 45° to get the „wrist rest“ part in a good finish. I was thinking about a few keycaps and my god does Susuwatari look good on there. Sadly I have no 1.25U caps for Treadstone, so Ortho with Knob it is. Thankfully I have two PCBs…
Plate will be printed tomorrow, so finished „soon“.
printed in 0.12mm layer height, filament is Eryone PETG-CF. Im still surprised that it didn’t warp at all, but my printer (Bambu A1) is in a tent now, that seems to help greatly. This was with 15% infill, I want to try one with 40% though and compare how much it affects the sound.
Whoa. I don’t know why that particular orientation never occurred to me. Put all the crud from the interface between the supports and the piece where it will never be seen by anyone. Fairly nice print time for a single piece with the orientation optimized for finish, as well.
The support interface surprised me the most, the angle seems to be magical. Supports inside the case show absolutely no signs at all, sadly the supports on the edges do a bit.
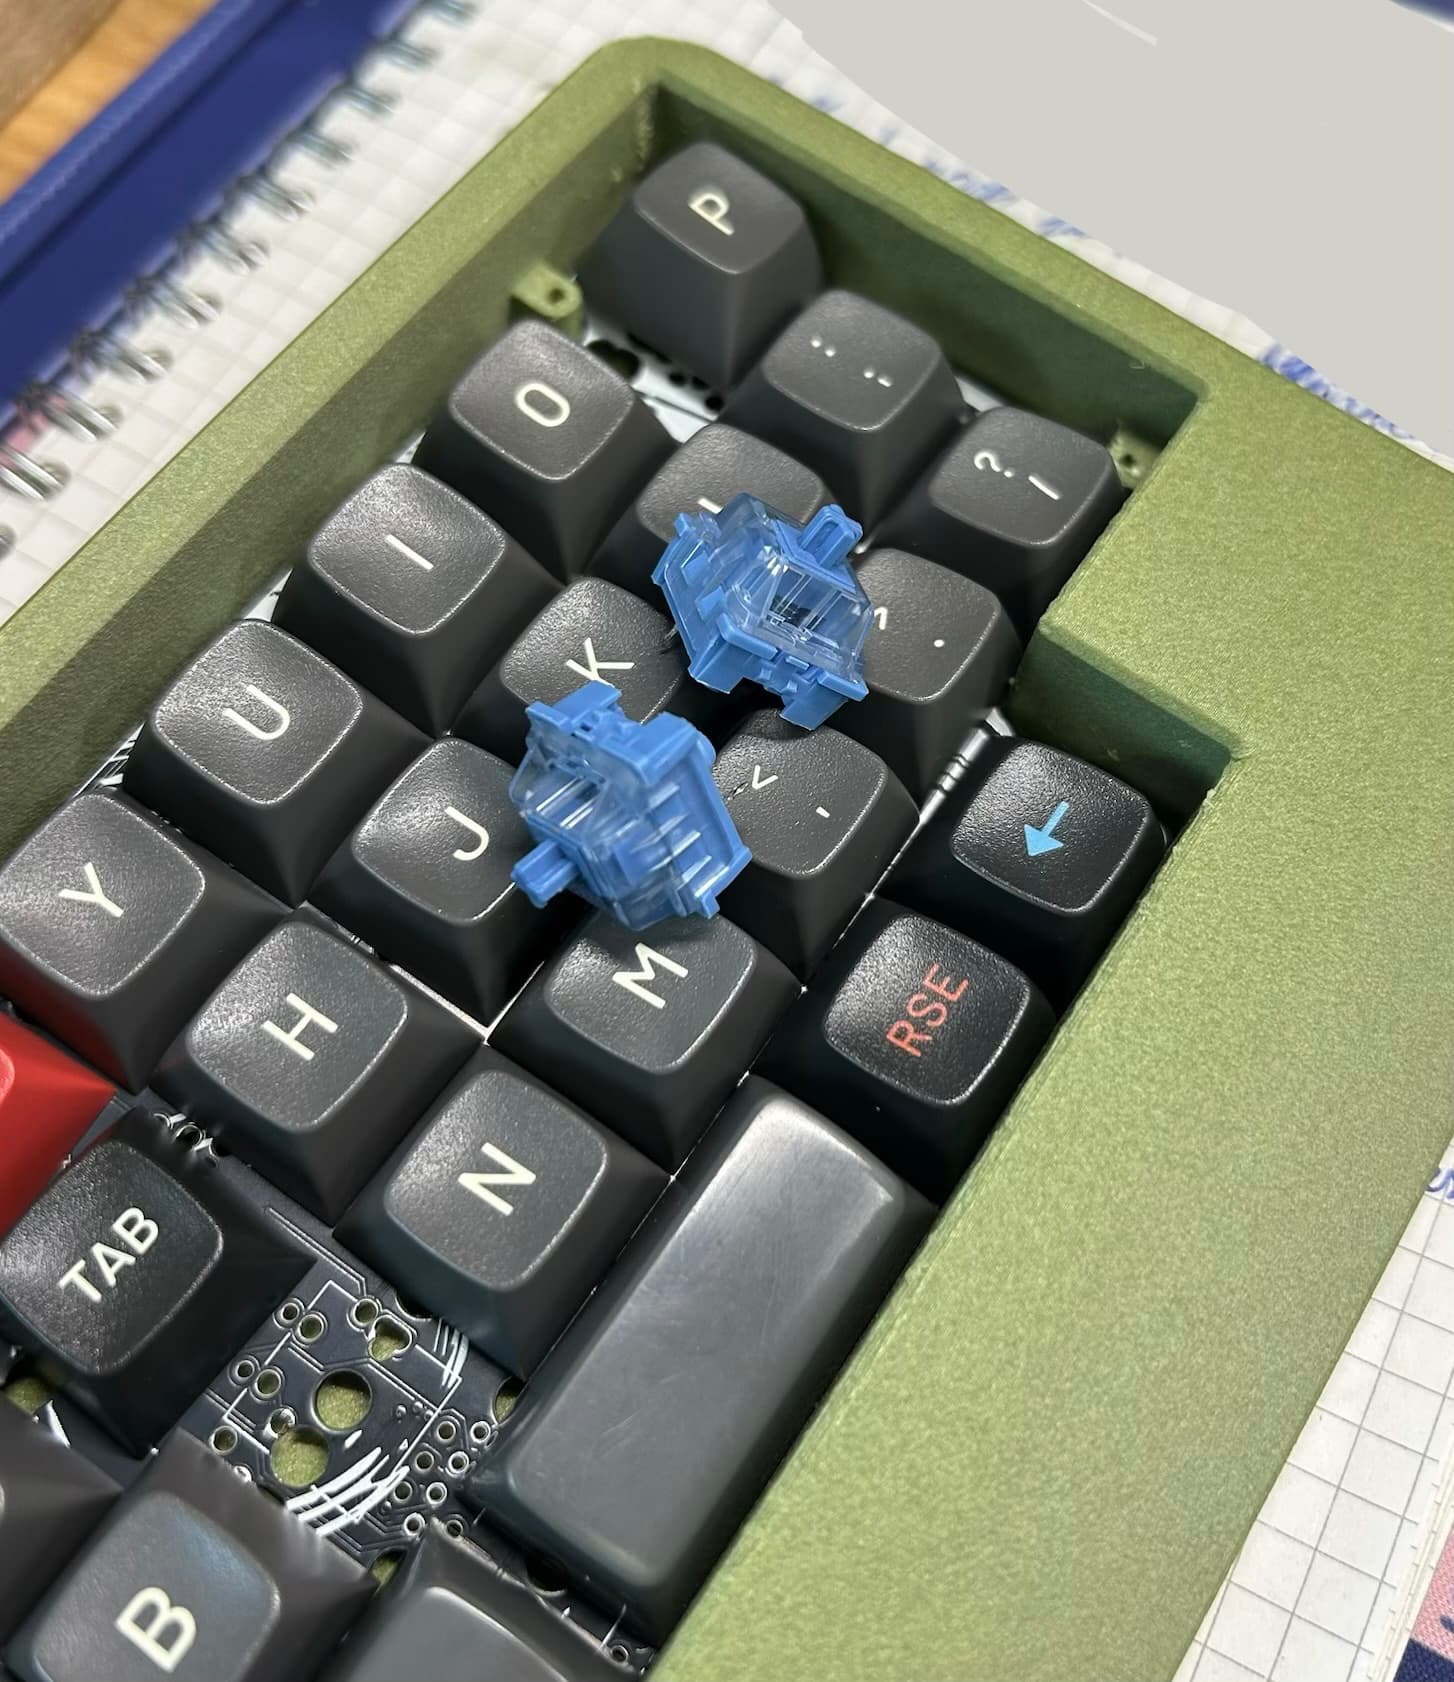
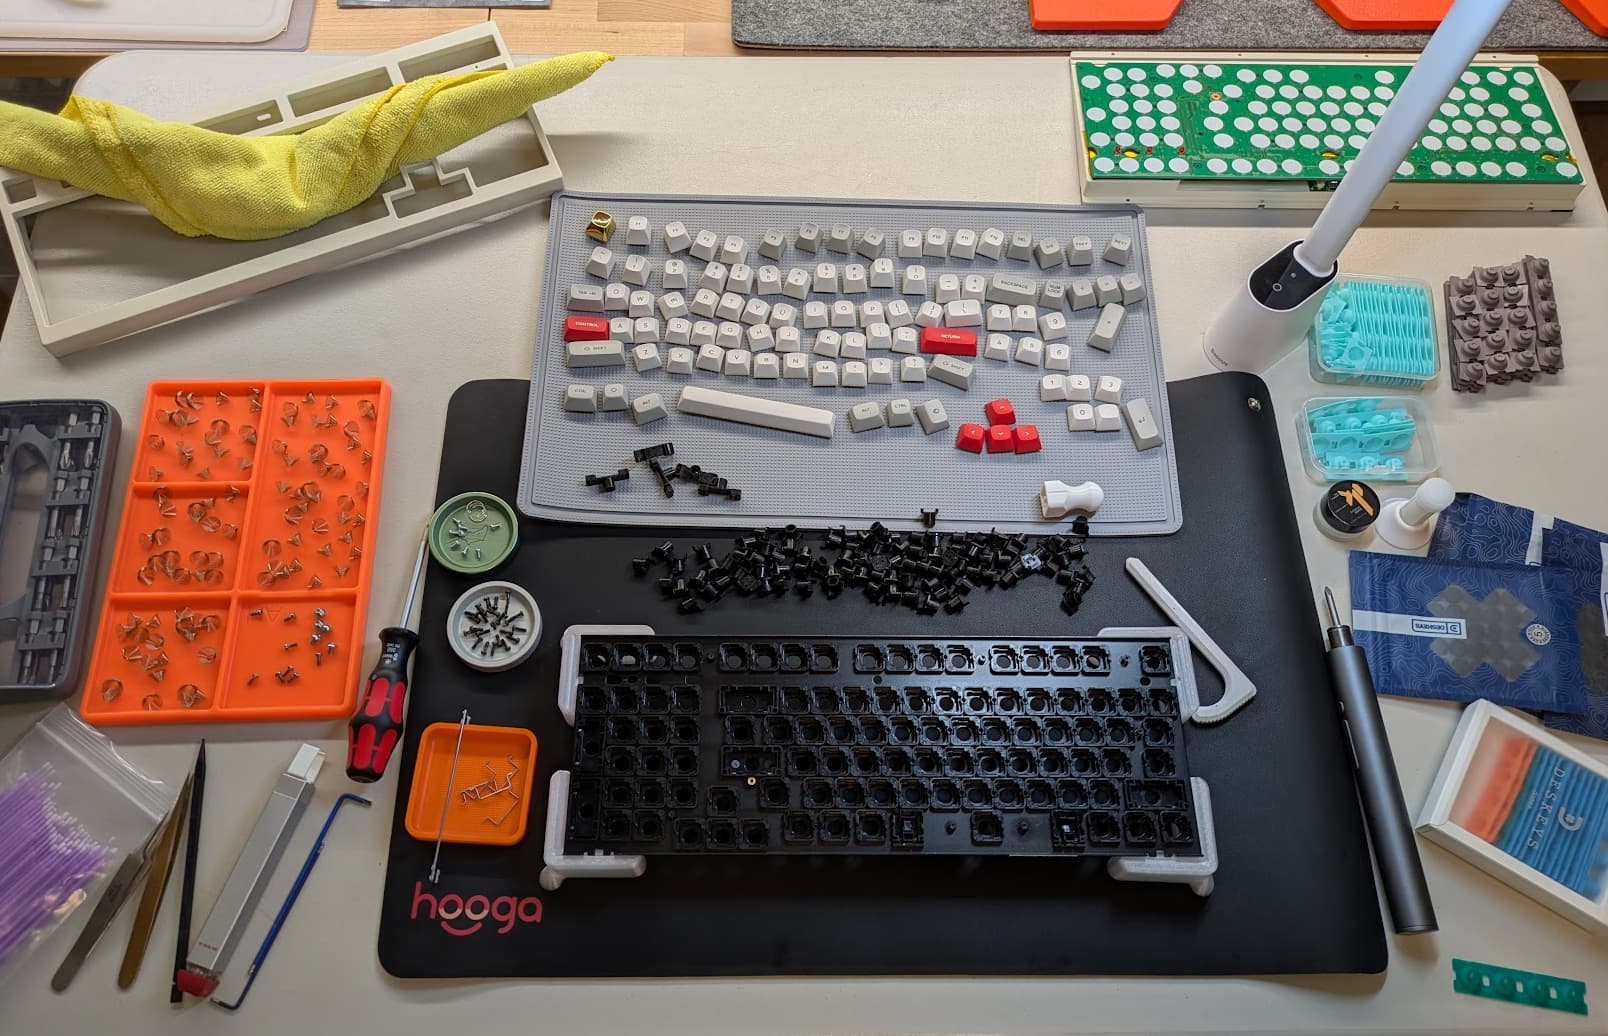
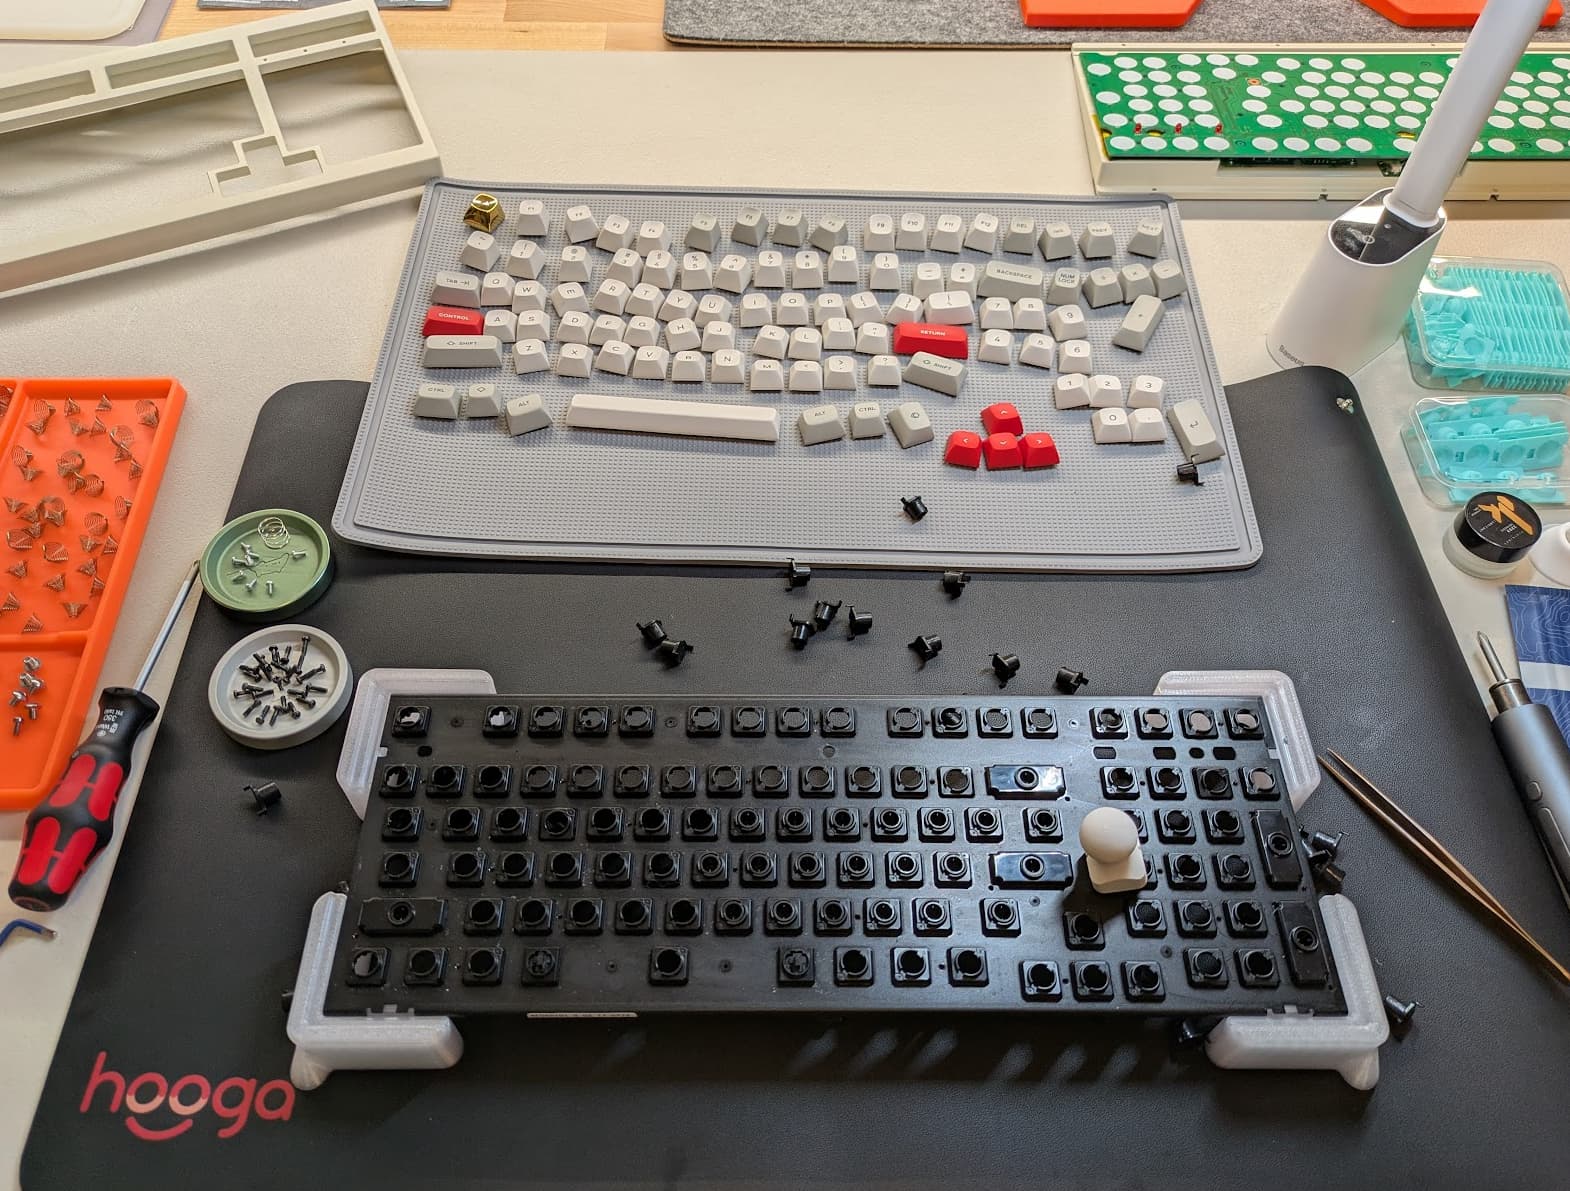
I was thinking about what switches to use, as it’s solder they have to stay (if possible). Also I didn’t want to order new ones to finish the build this year. The keyboard drawer reminded me thankfully of the first ever switches I ever bought and lubed, Akko CS Ocean Blue. They fit the blue of Susuwatari almost exactly, could not fit more perfect together. First switches ever bought and one of my favorite keycap colorways.
My clearance-priced SA Laser was still from Drop and SP’s “ziploc baggies” era of packaging, so I printed up another letter-sized keyboard tray, and I got within literally one keycap of properly storing the entire Alpha and TKL Mods kits in one tray. Curses! But, the lid still goes on fine as-is. My slicer program puts it at 160g of filament, so less than three bucks in raw materials cost. I’ve got seven of them now, and I’m pleased out of all proportion at how well they stack and how many caps the last revision holds. It’s the little joys, lol.
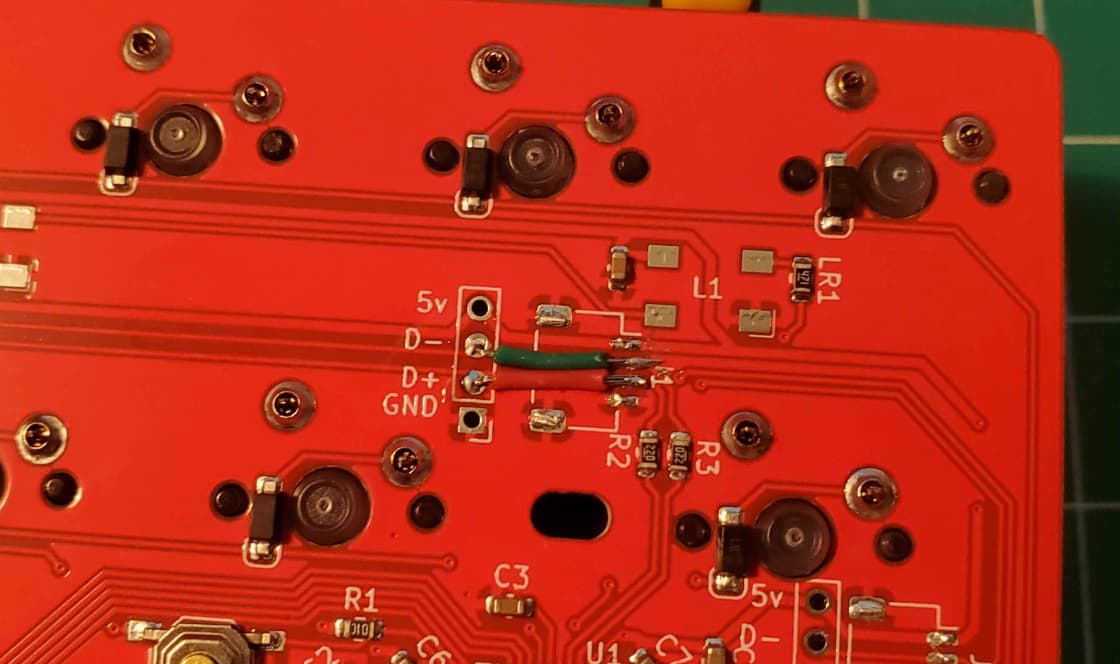
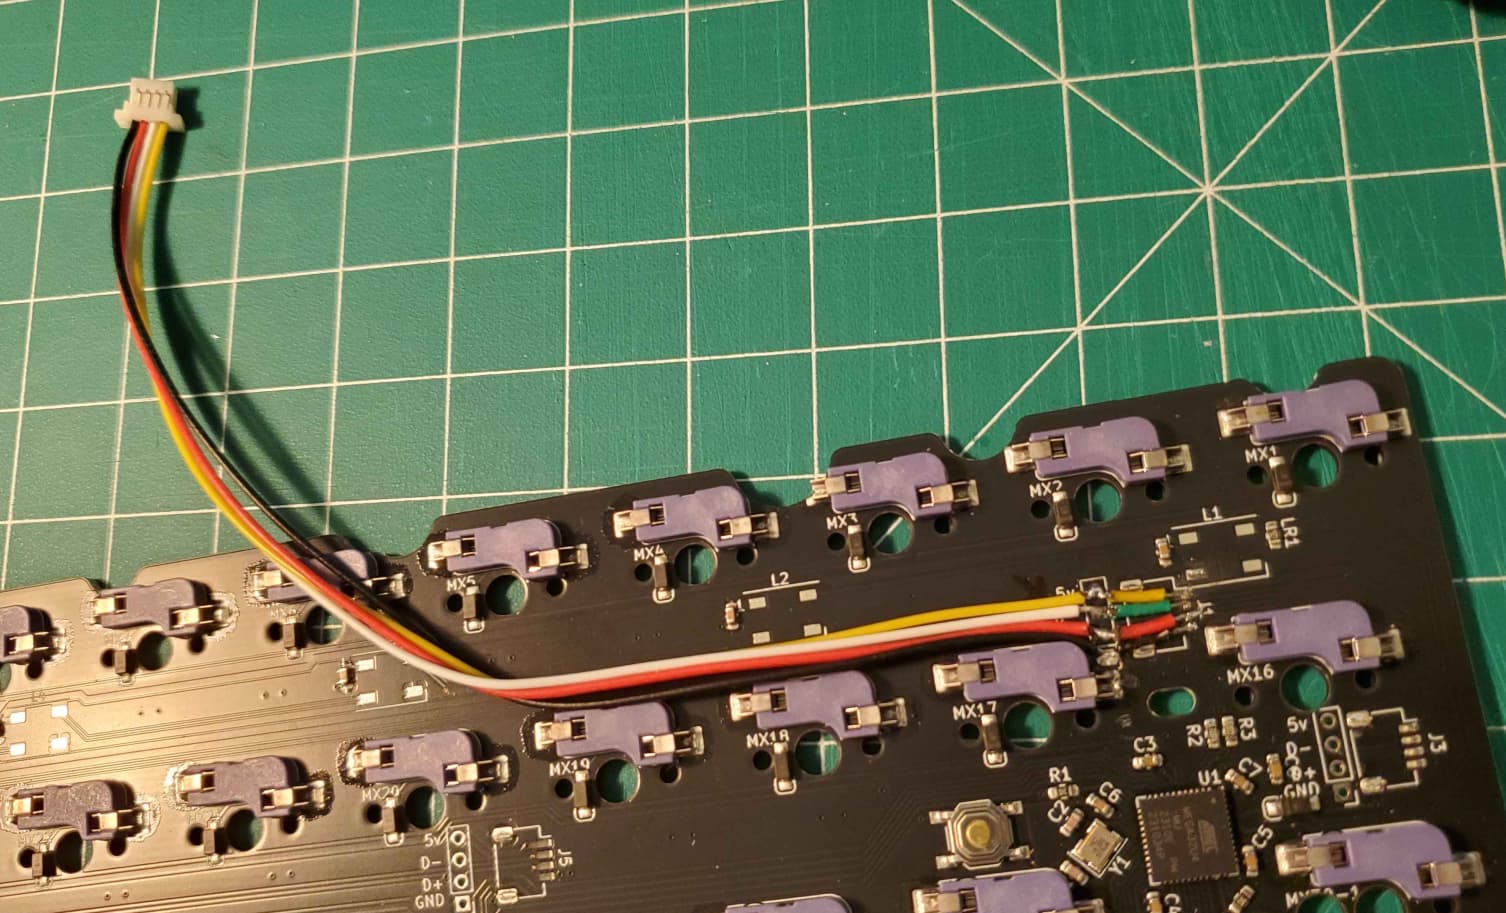
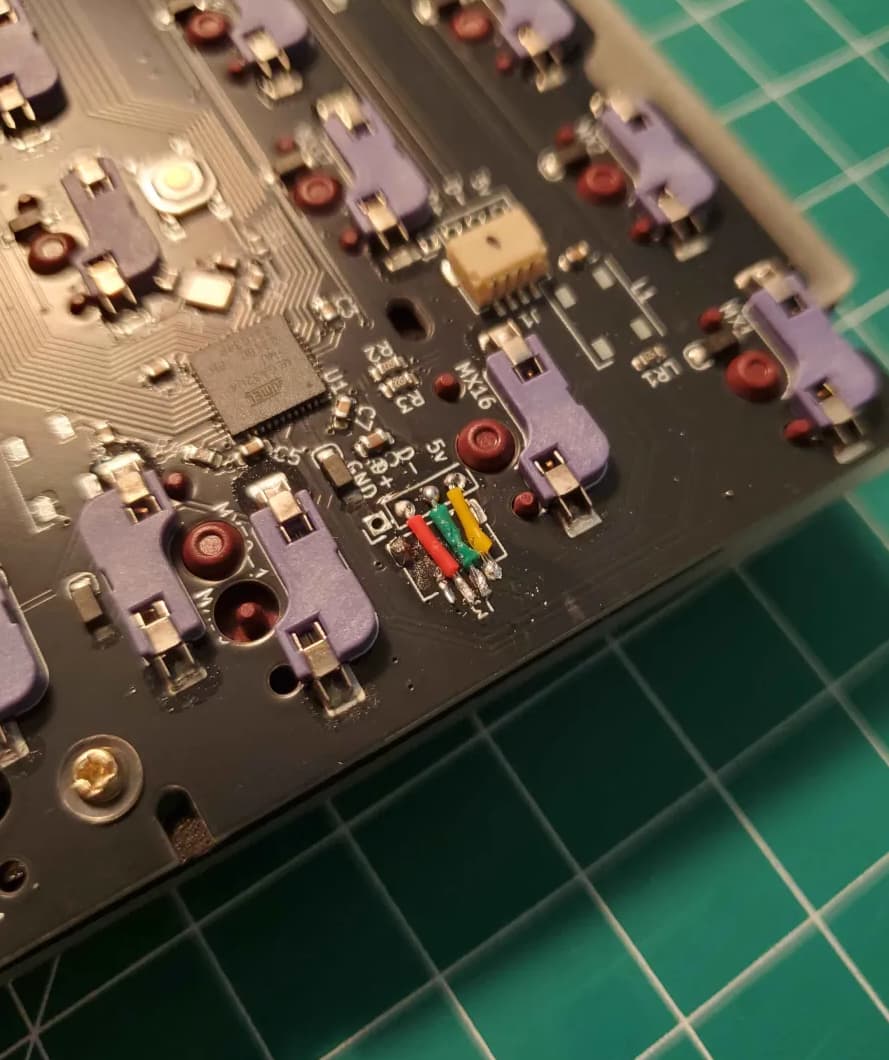
I’ve been tinkering with my PCB prototypes. They come assembled with JST connectors, but now I think the JST connectors should be left off and added where needed. I’m terrible at removing SMDs, hence all the ripped pads, and I can see how it can be an issue.
The headers are in different locations meant for different cases, but if the unused JST connectors are left on they can bottom out and interfere with typing feel and sound–so I’ve been removing the unneeded ones.
I think leaving the connectors off might be the move going forward–the through holes make for super easy soldering and it’s easier to solder on the SMD than trying to remove it without damage.
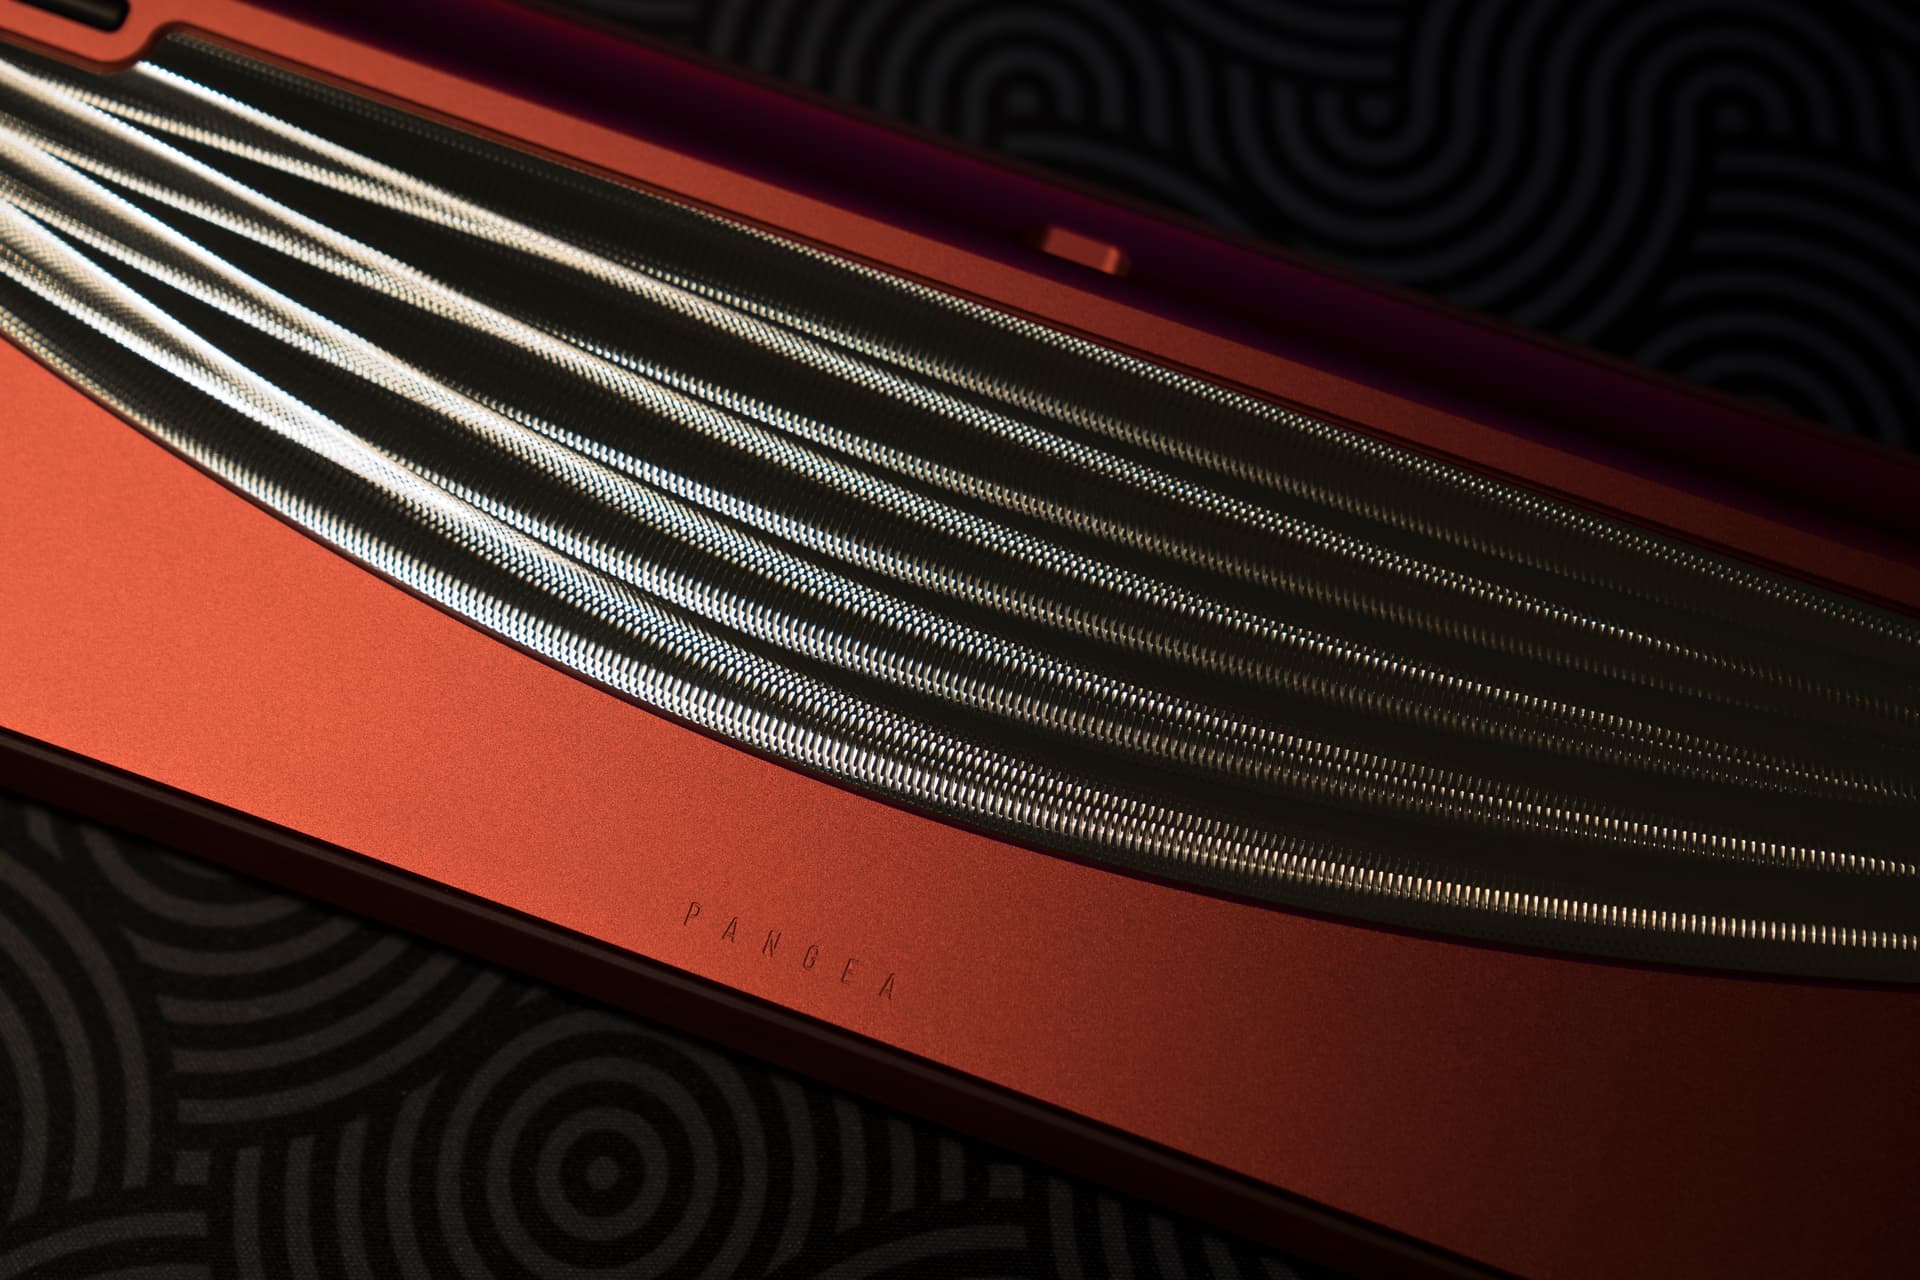
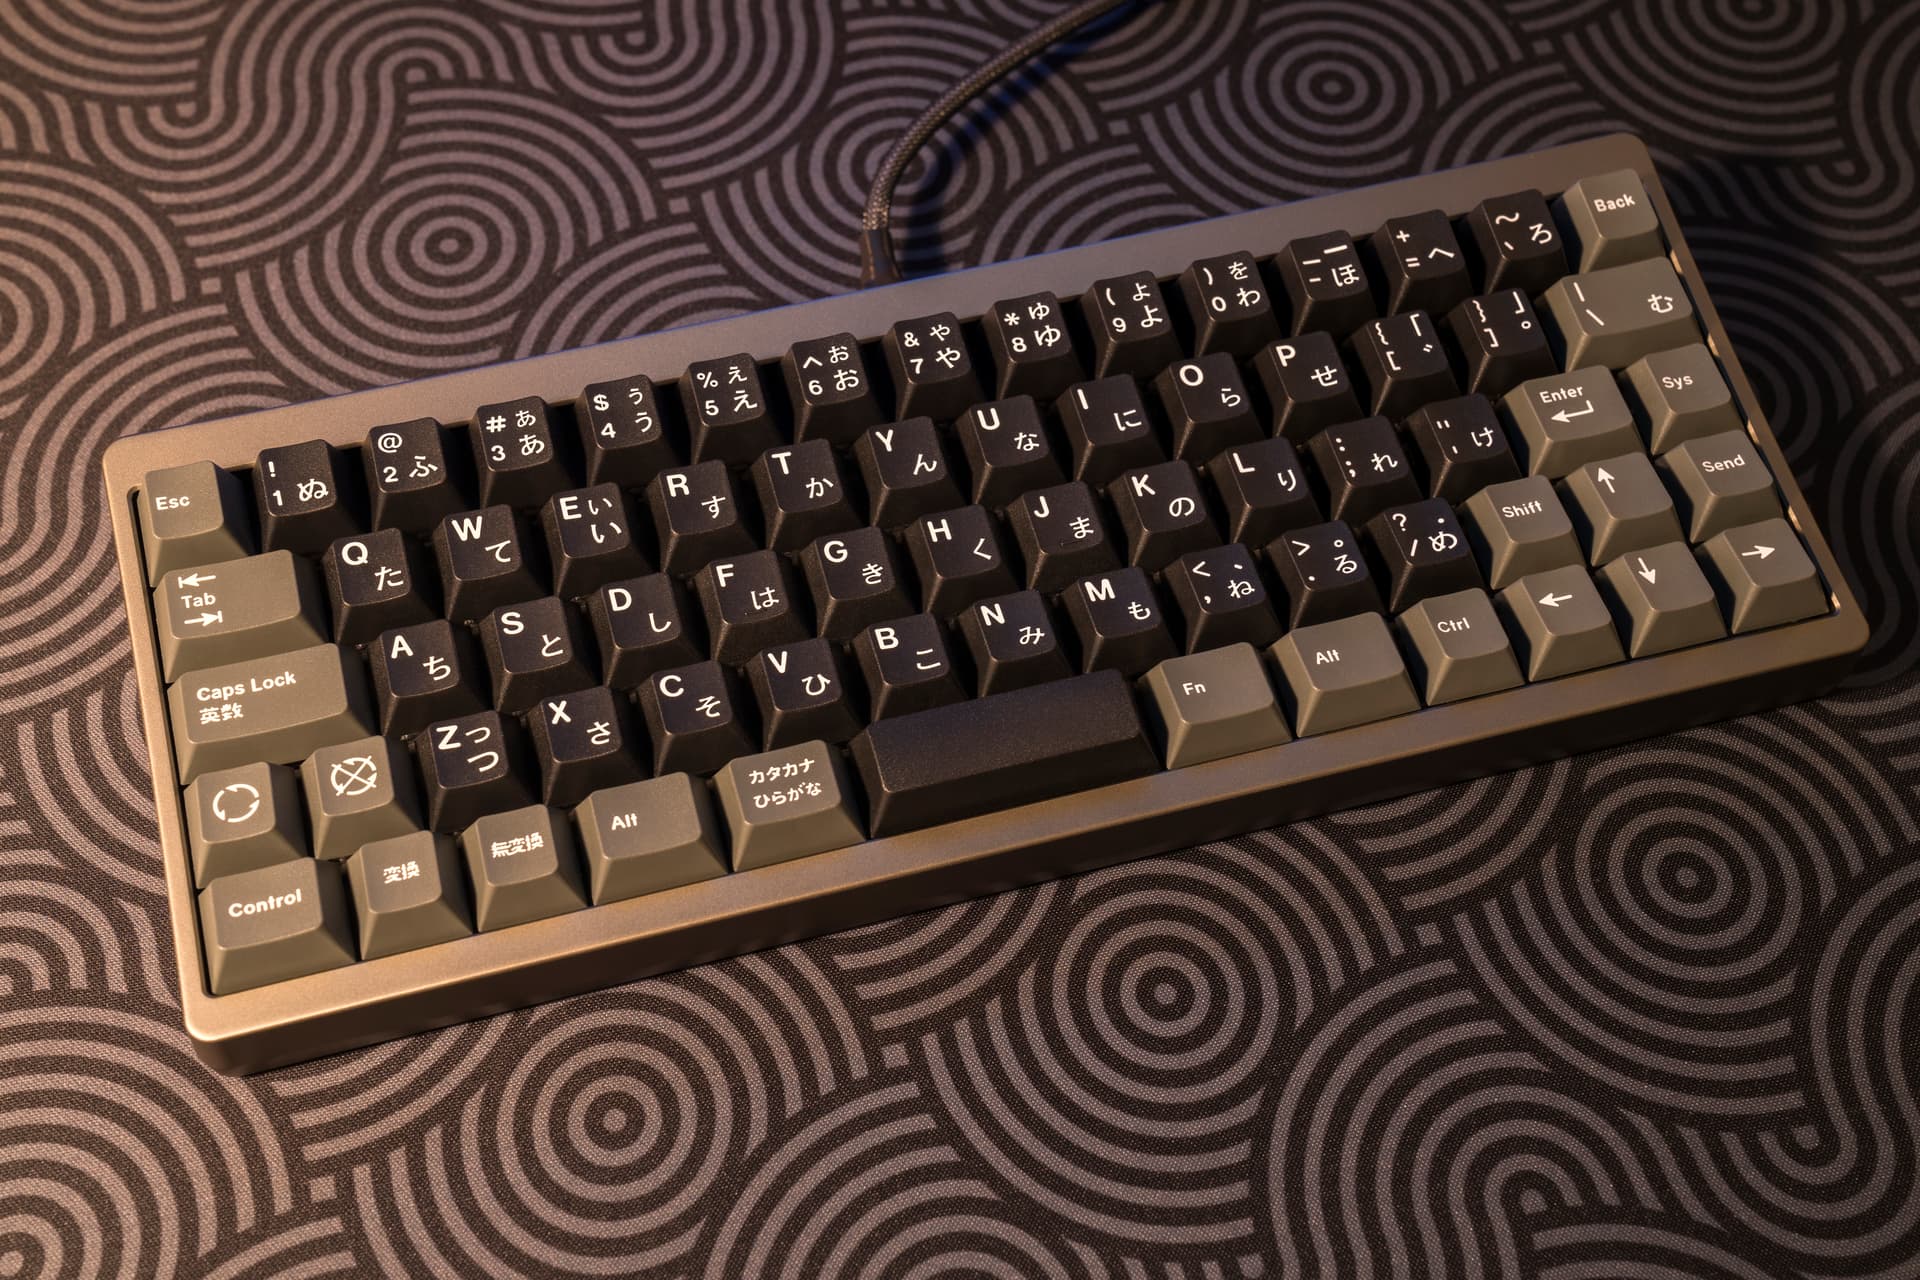
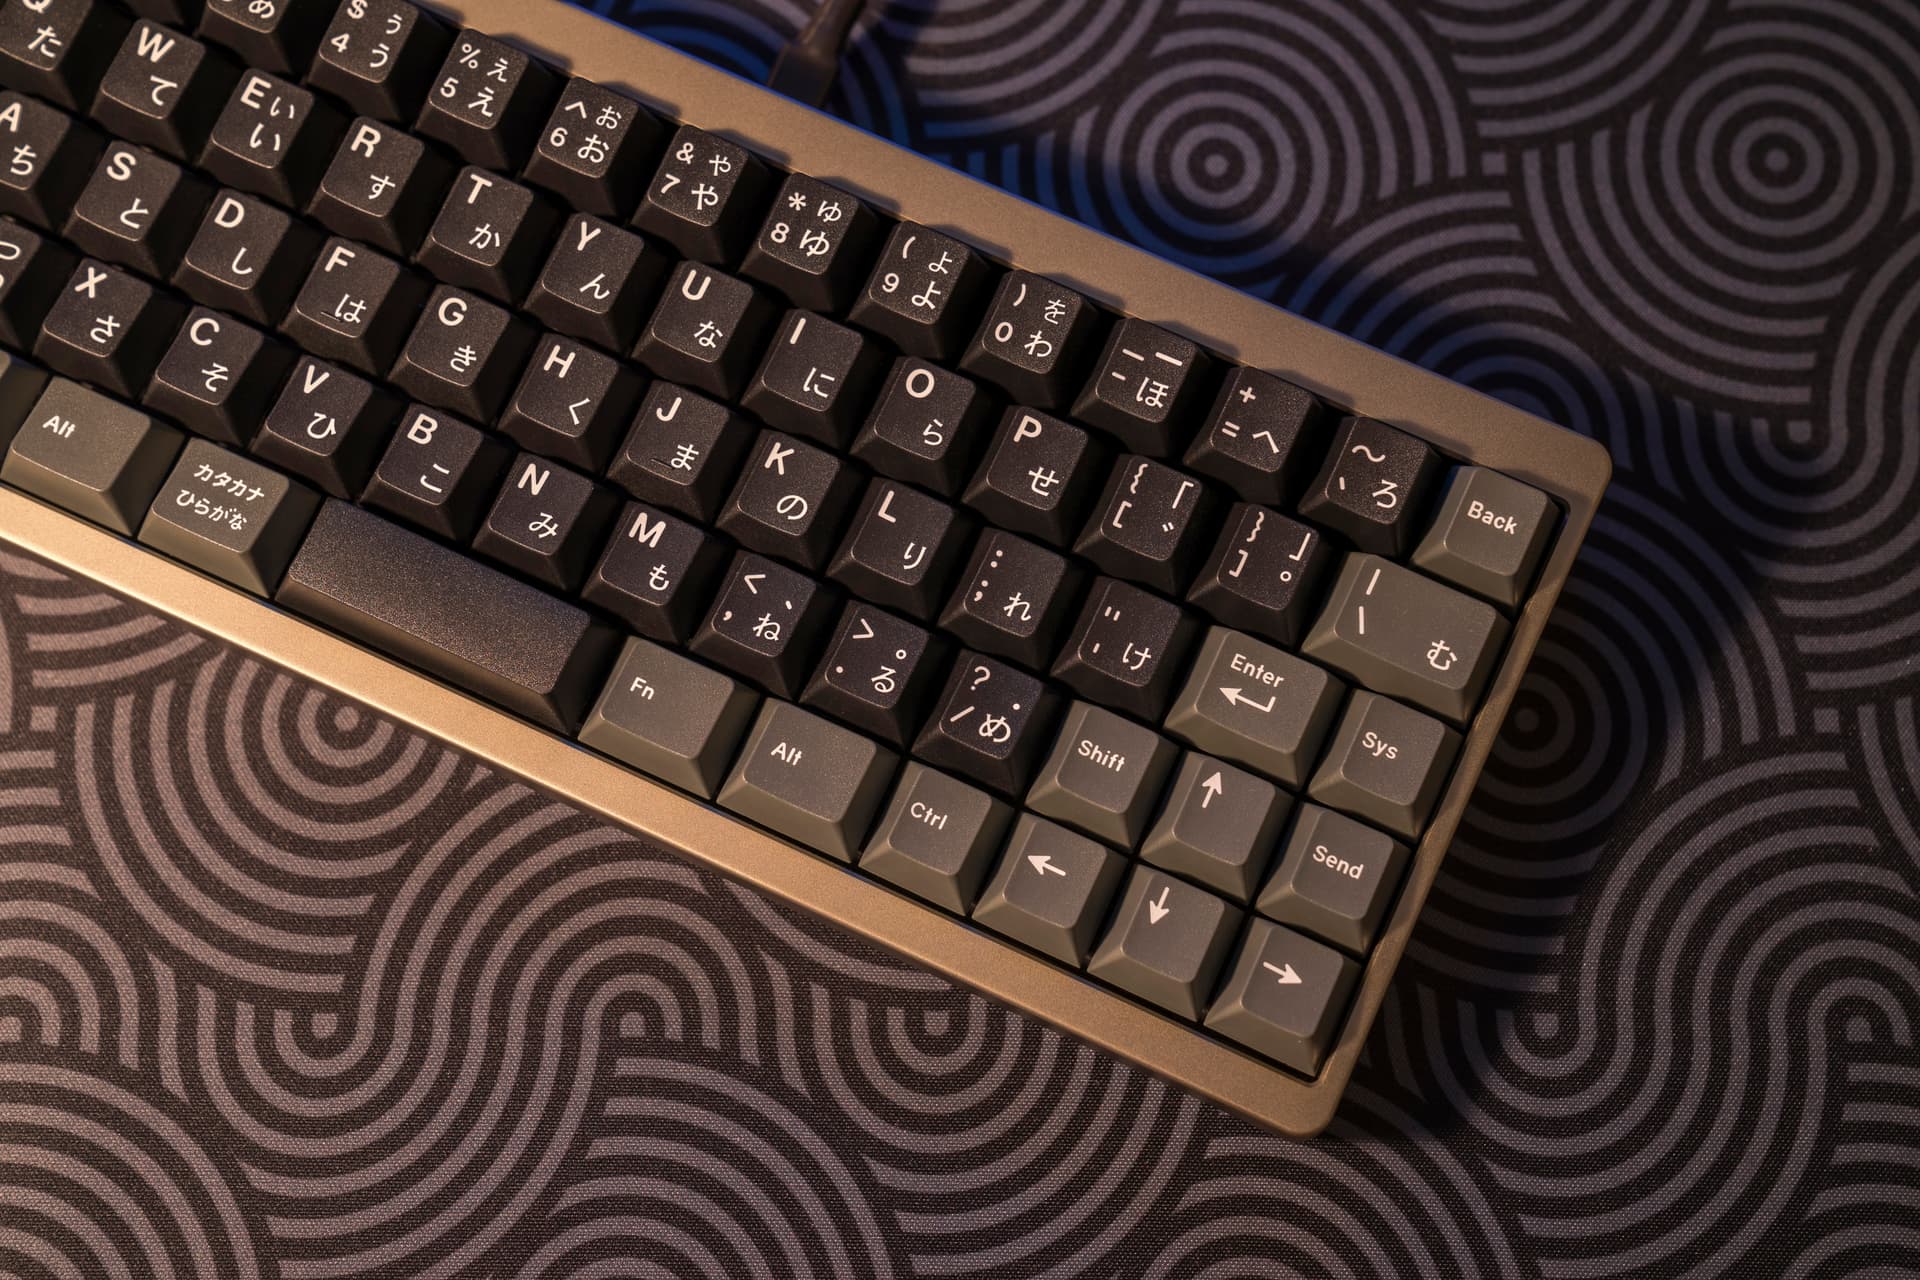
Apart from that, I finally got around to building the Pangea Mini last night.
Decided to split the Enter key. At this point I’m tempted to split the spacebar too. I like how the 2.75u space sounds but it’s the only thing left to split…
Yeah, removing them with just an iron and not hot air rework is a pain (and even the hot air can be tricky not to melt the plastic).
What I usually do is destroy the connector to save the pads: use flush cutters to clip the 4 signal wires at the back, then cut the two mounting connectors on the sides. Once the plastic bit is gone, you can then remove the remainder of the metal with an iron, wick, or solder sucker, since they’re all disconnected now and can be individually heated up.
Oo yeah that’s a good description. I’ve been clipping the side connectors, but then I didn’t really think about clipping the pins. I guess I could just snip the entire row of them instead of trying to fit the flush cutters in there individually. Probably a better way than ripping off all the pads in frustration
KLE has stopped letting me log in via github. In my search for what was going on, I ventured back into the Keyboard Atelier server on Discord for the first time in a few months, and saw that there is a very solid re-imagining of it that’s advancing very quickly. The matrix drawing with VIA export in particular is nice, and I understand there’s going to be preliminary PCB generation soon. It doesn’t let me log in either, best I can tell, but it at least lets me upload with the URLs of my layout “gists” instead of having to download and upload like OG KLE.
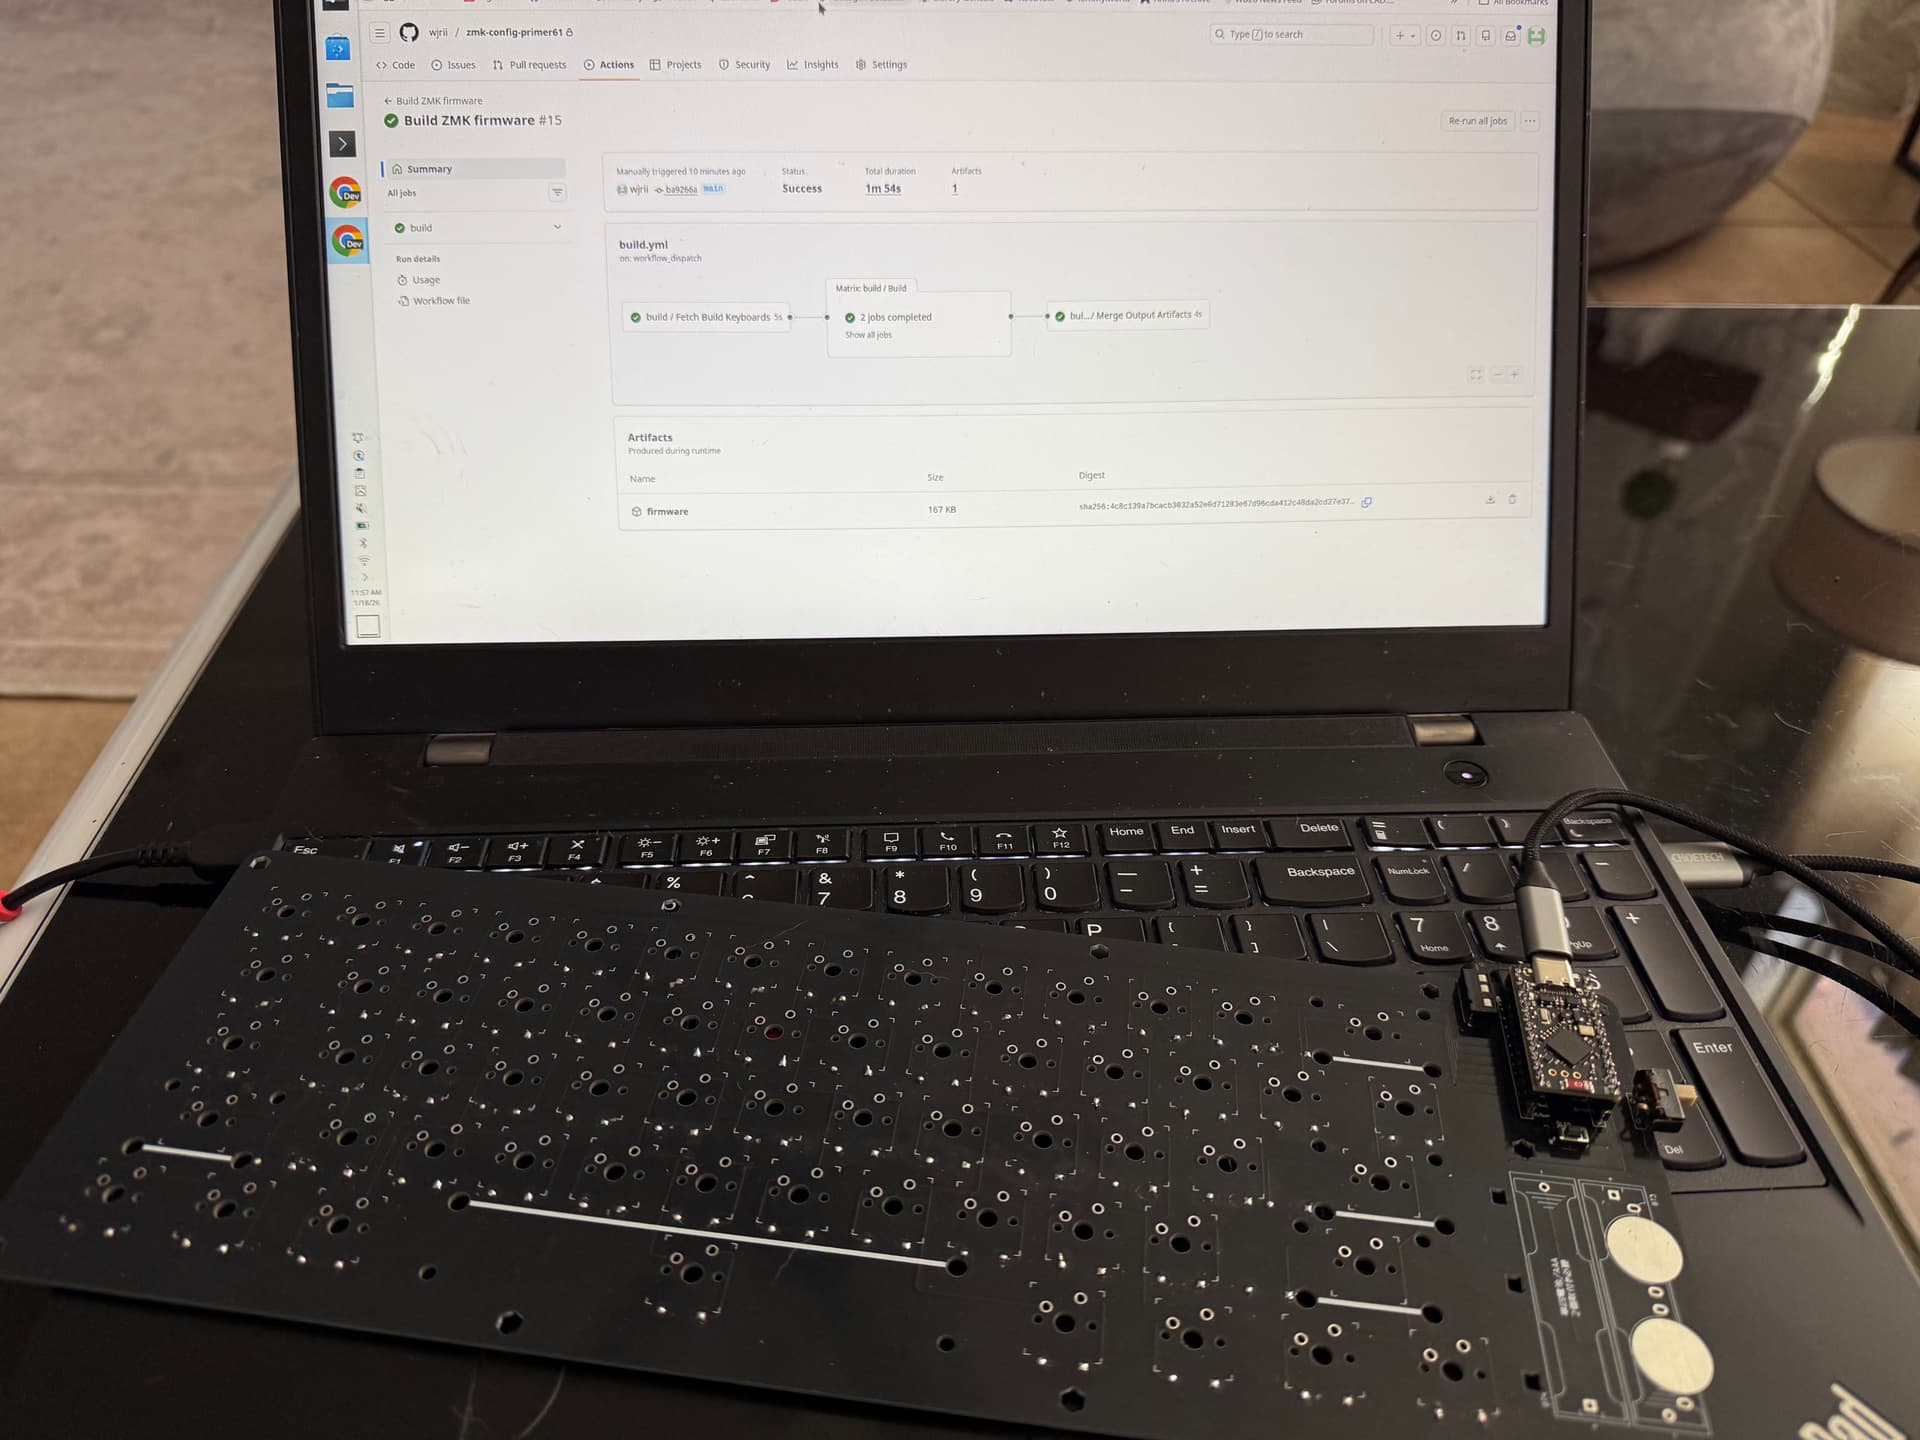
And continuing in the same vein, we now have Shield Wizard for ZMK which feels very promising. For non-coders doing from-scratch boards with dev-board MCUs (i.e. me), this may be a complete game changer. It is easier than both KMK’s POG or doing anything fully custom for QMK. I was able to get a compiled Nice!Nano (clone) ZMK build onto my Yusha Kobo Primer61 PCB and then manually go into it to convert the standard matrix to a Japanese Duplex using the Charlieplexing driver. Took some trial and error because I’m not so bright (let’s not dwell on how long it took me to realize that semicolon needed to be a comma), but I just got a vanilla firmware flashed that recognizes all the keys in the right spots.
Next steps are to enable ZMK Studio and then see if I can get Bluetooth working, or barring that getting the LED to stop taunting me. The N!N clones cost roughly the same as an Atmel Pro Micro, so even if it simply lets me save the Atmels for use as vintage converters, that’s something, and it’s been an interesting learning experience. Still, it would be nice to move things forward a little, instead of simply stopping at feature parity with the MCU that came in my kit.
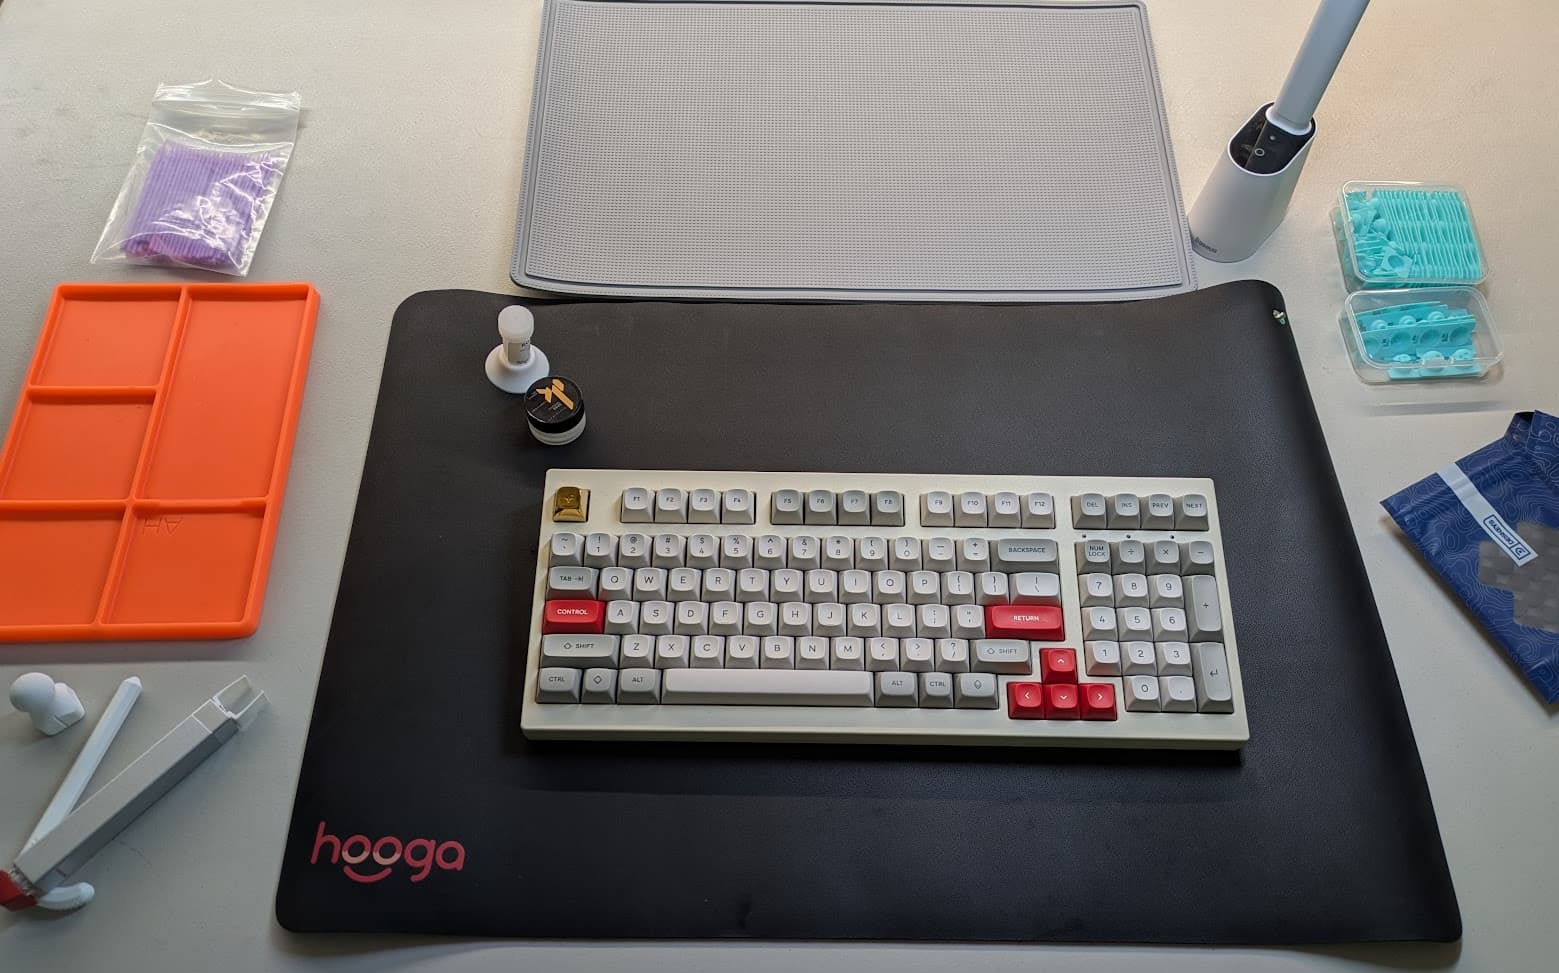
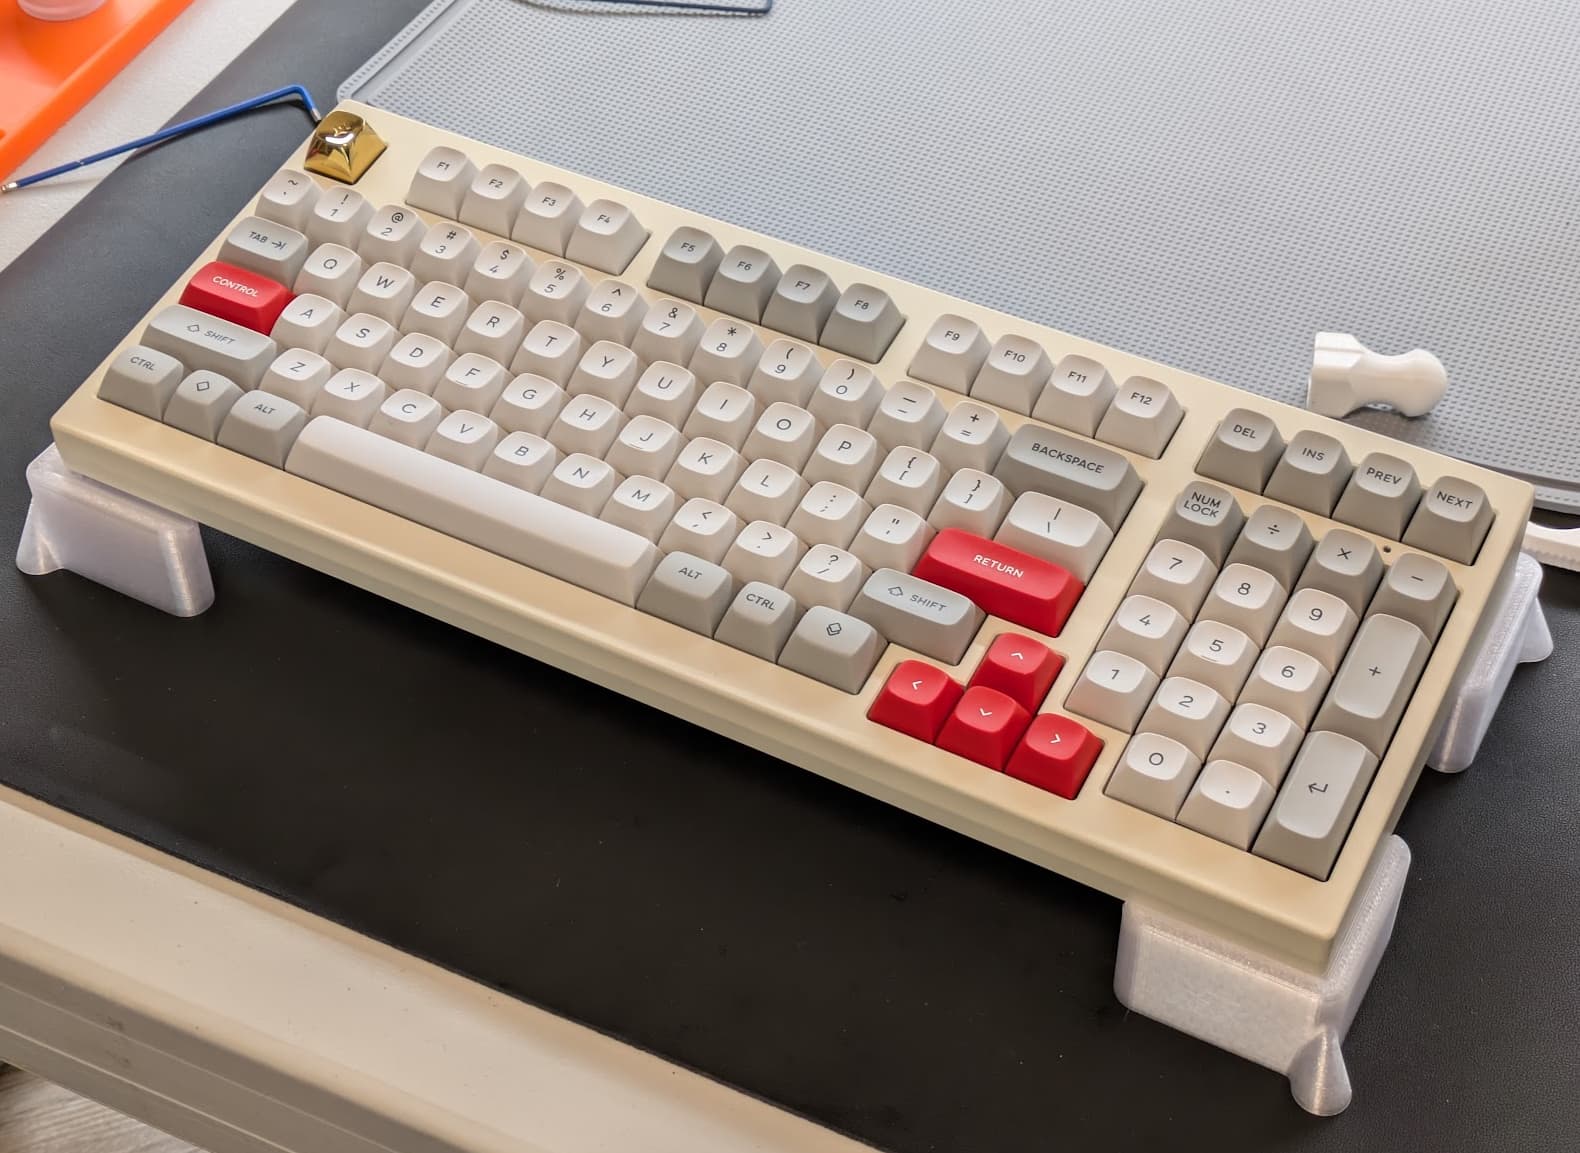
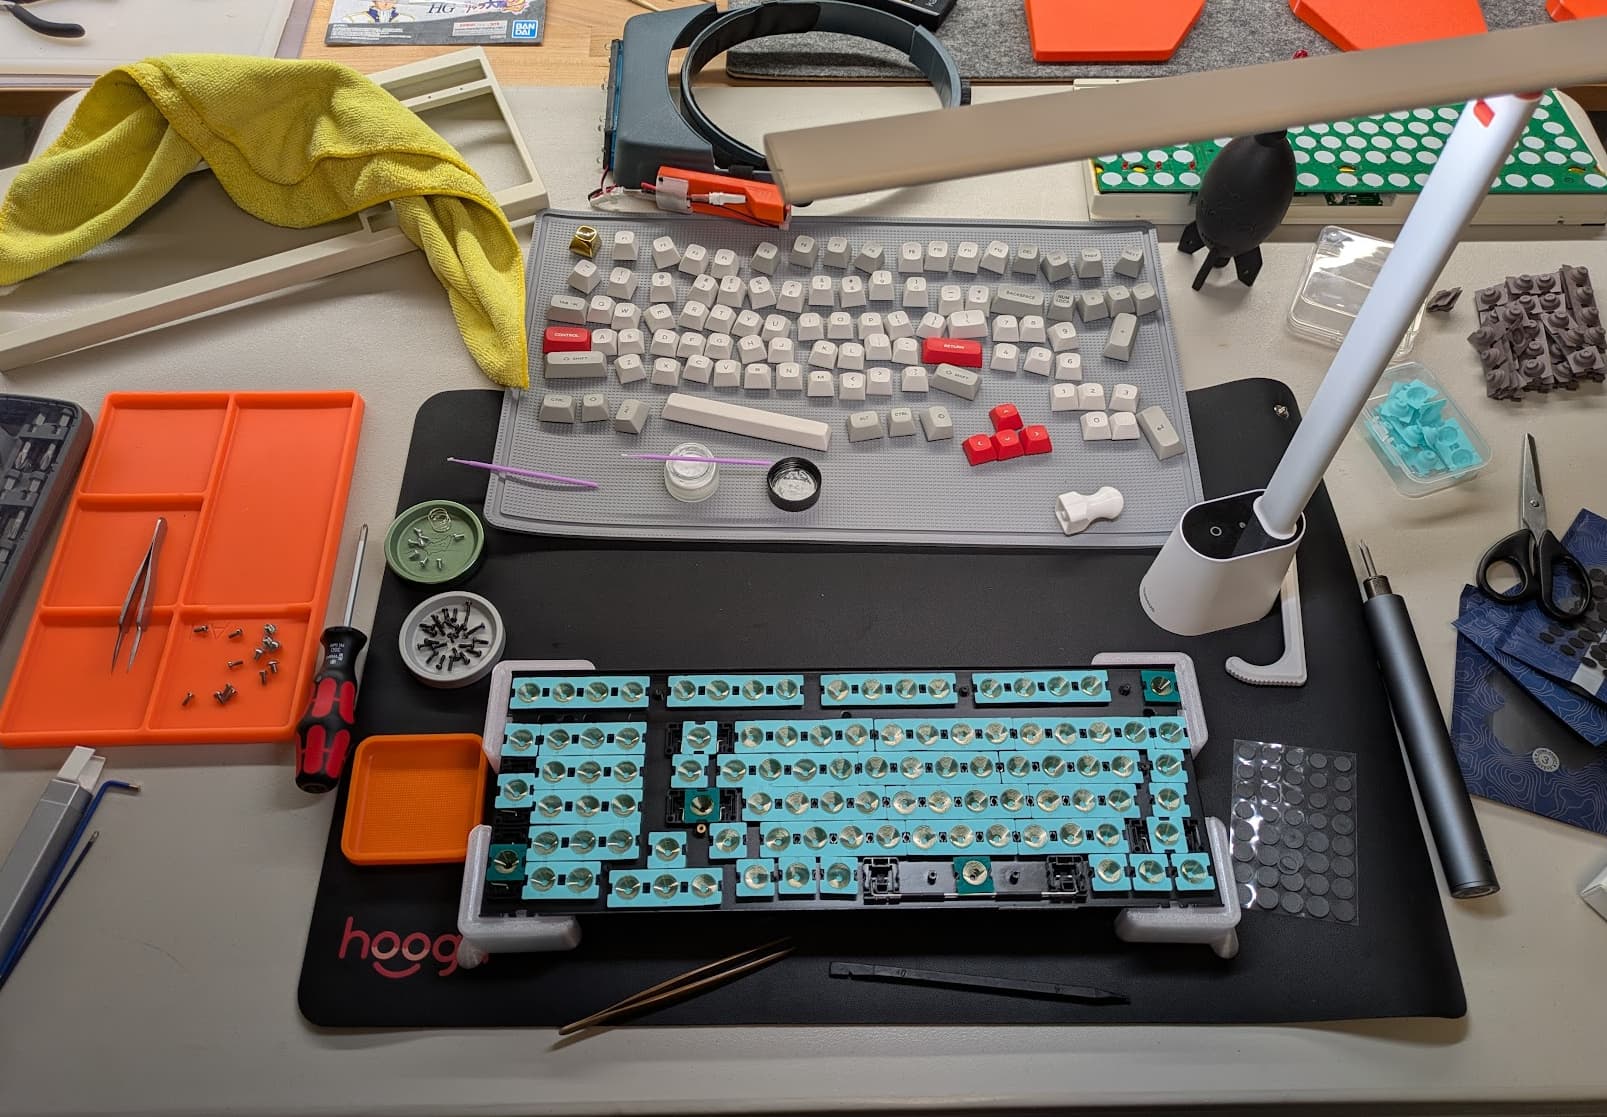
Now that the work is complete I’m happy to report it’s finally a quiet, rattle free board. It feels very nice to type on. The new domes are very satisfying and I don’t immediately feel the need to tear them out and put the OEM ones back in as I’ve done in the past.
Now, the thing with my 980C was that it rattled straight from the factory. I don’t know if Leopold ever offered a “Silent” version of this, but I couldn’t find one. The noise didn’t get any better with the aluminum case and while the URSA keycaps probably quieted it a little bit by virtue of being thicker than the OEM caps, it still made a lot of noise typing. So everything I did here was to to eliminate the rattle.
Latest Mods
DESKeys #5 Rings
I adopted a watchmaker’s approach to lubrication and applied the slightest whiff of Trybosis 3203 on the housing friction areas.
Metakeebs RS-40g domes with heavy weight greens in strategic locations.
Silicone o-rings around the space bar stabilizer sockets.
The spacebar probably could still use a little more work if I want it absolutely quiet.