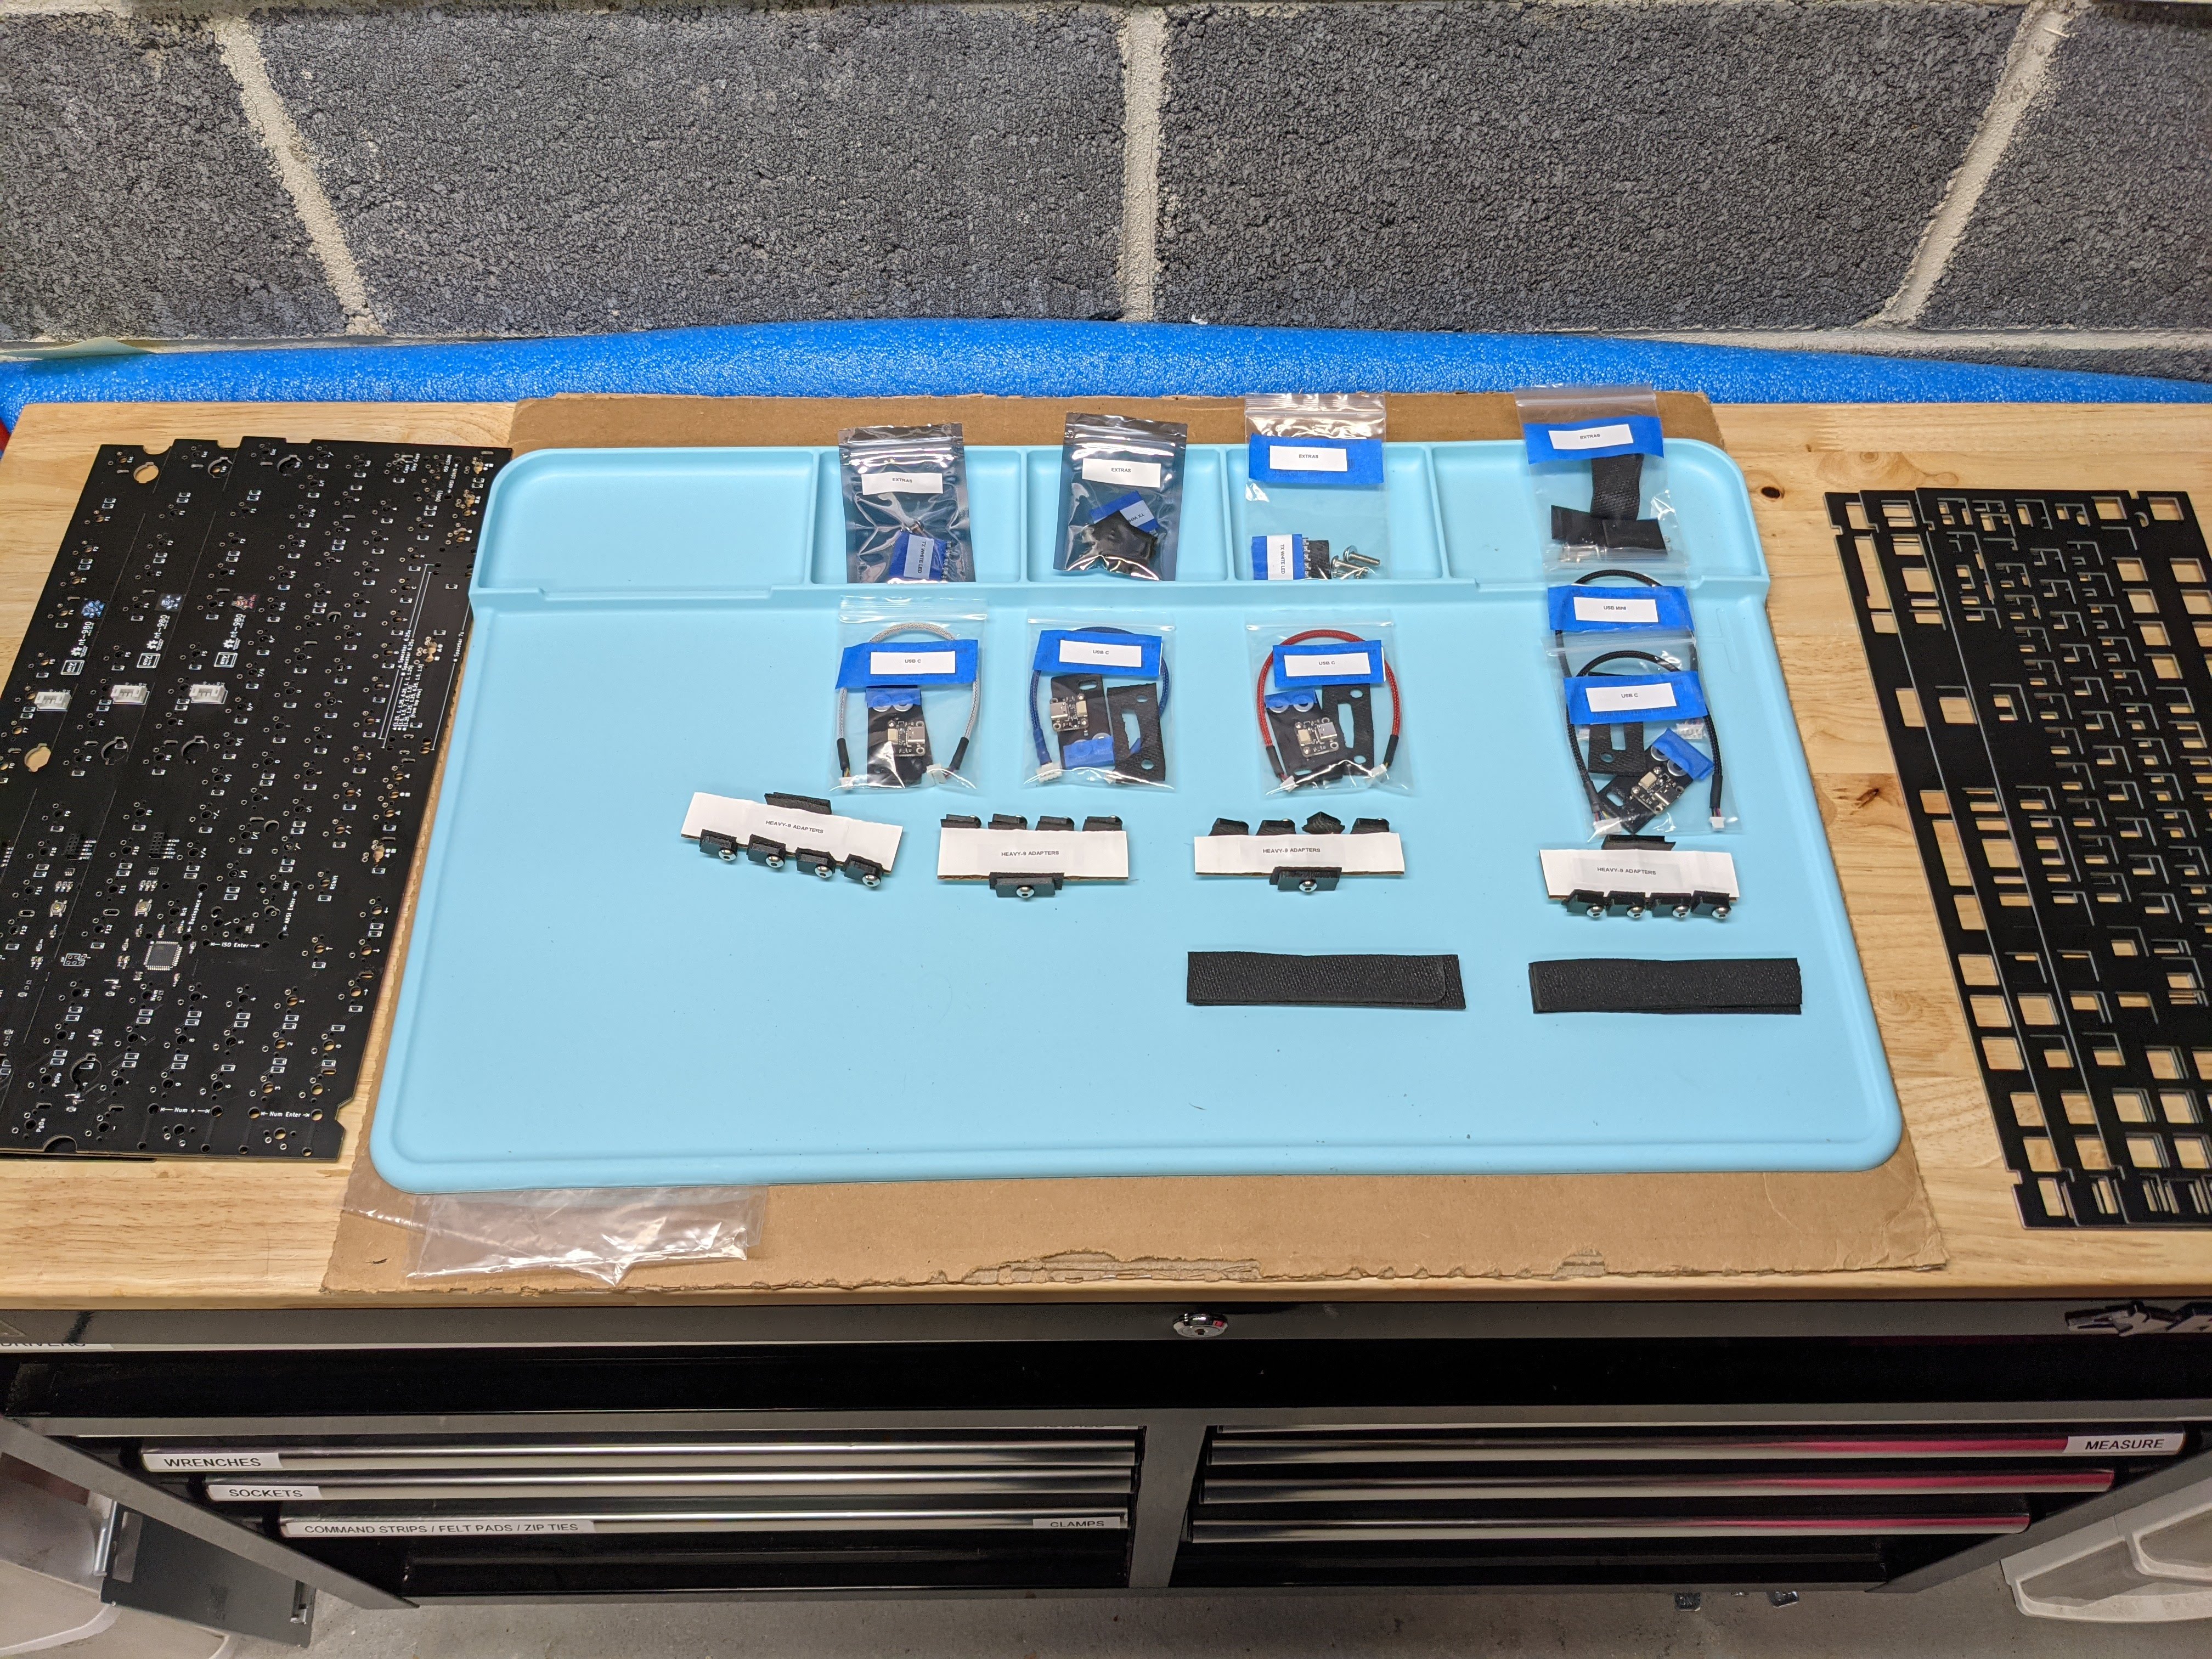
Finishing nt-980.dk PCBs and Heavy-9 adapter packages for peoples. Sent out a few already a few more to go. I did not anticipate how time-consuming and tedious this would be.
11 Likes
You da MVP
3 Likes
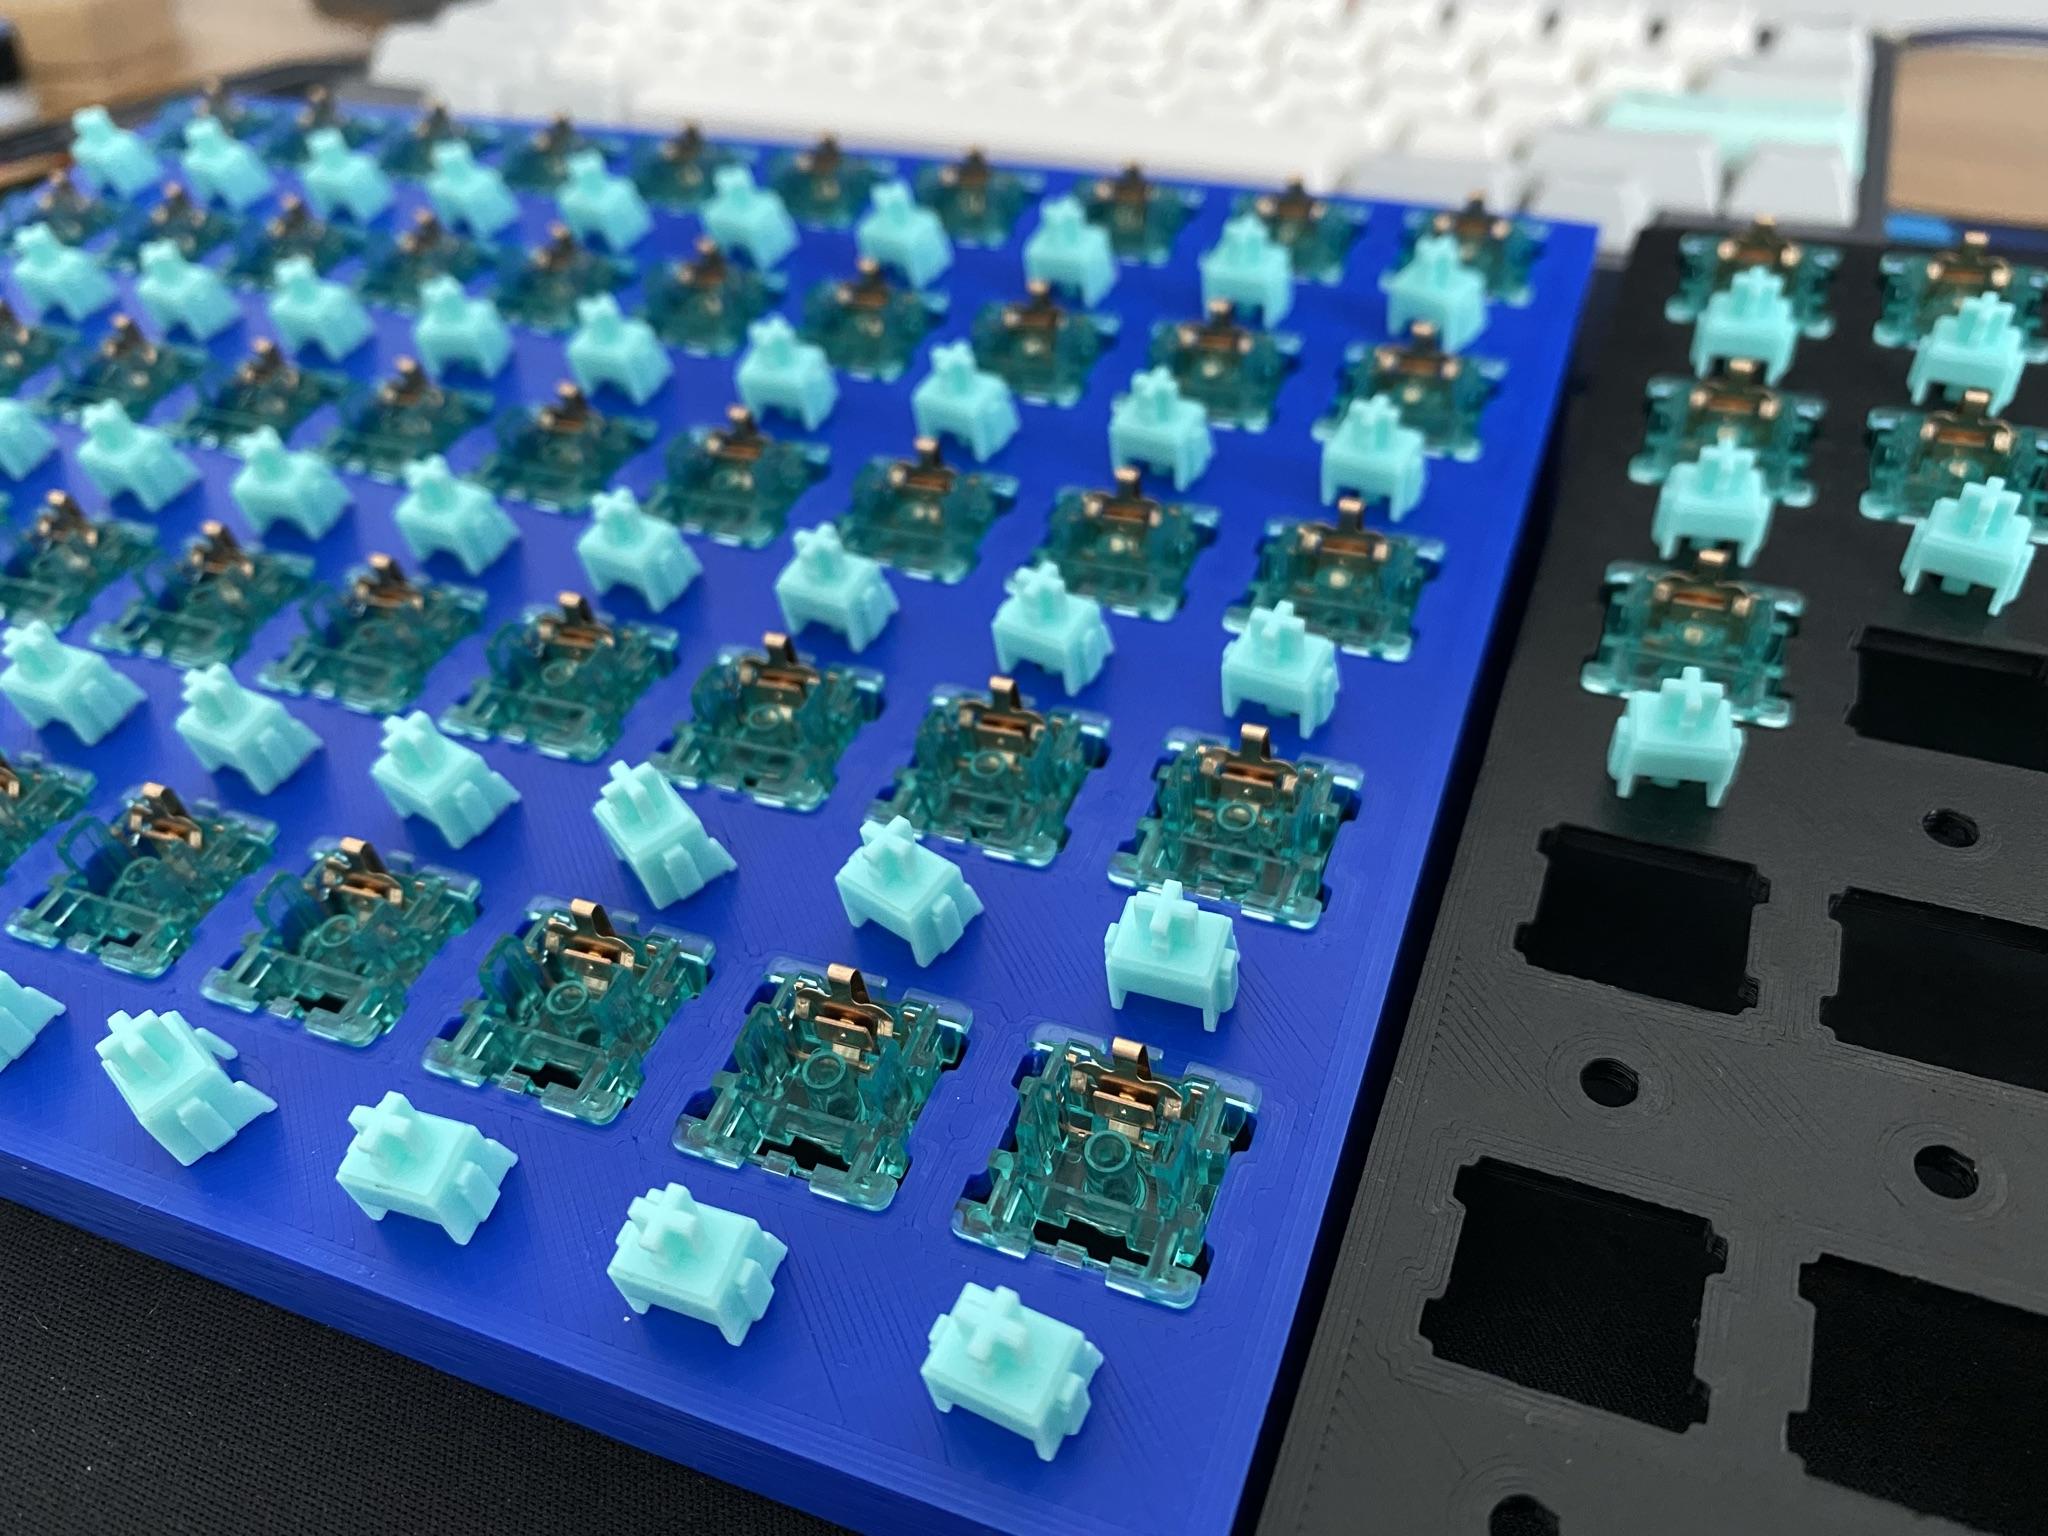
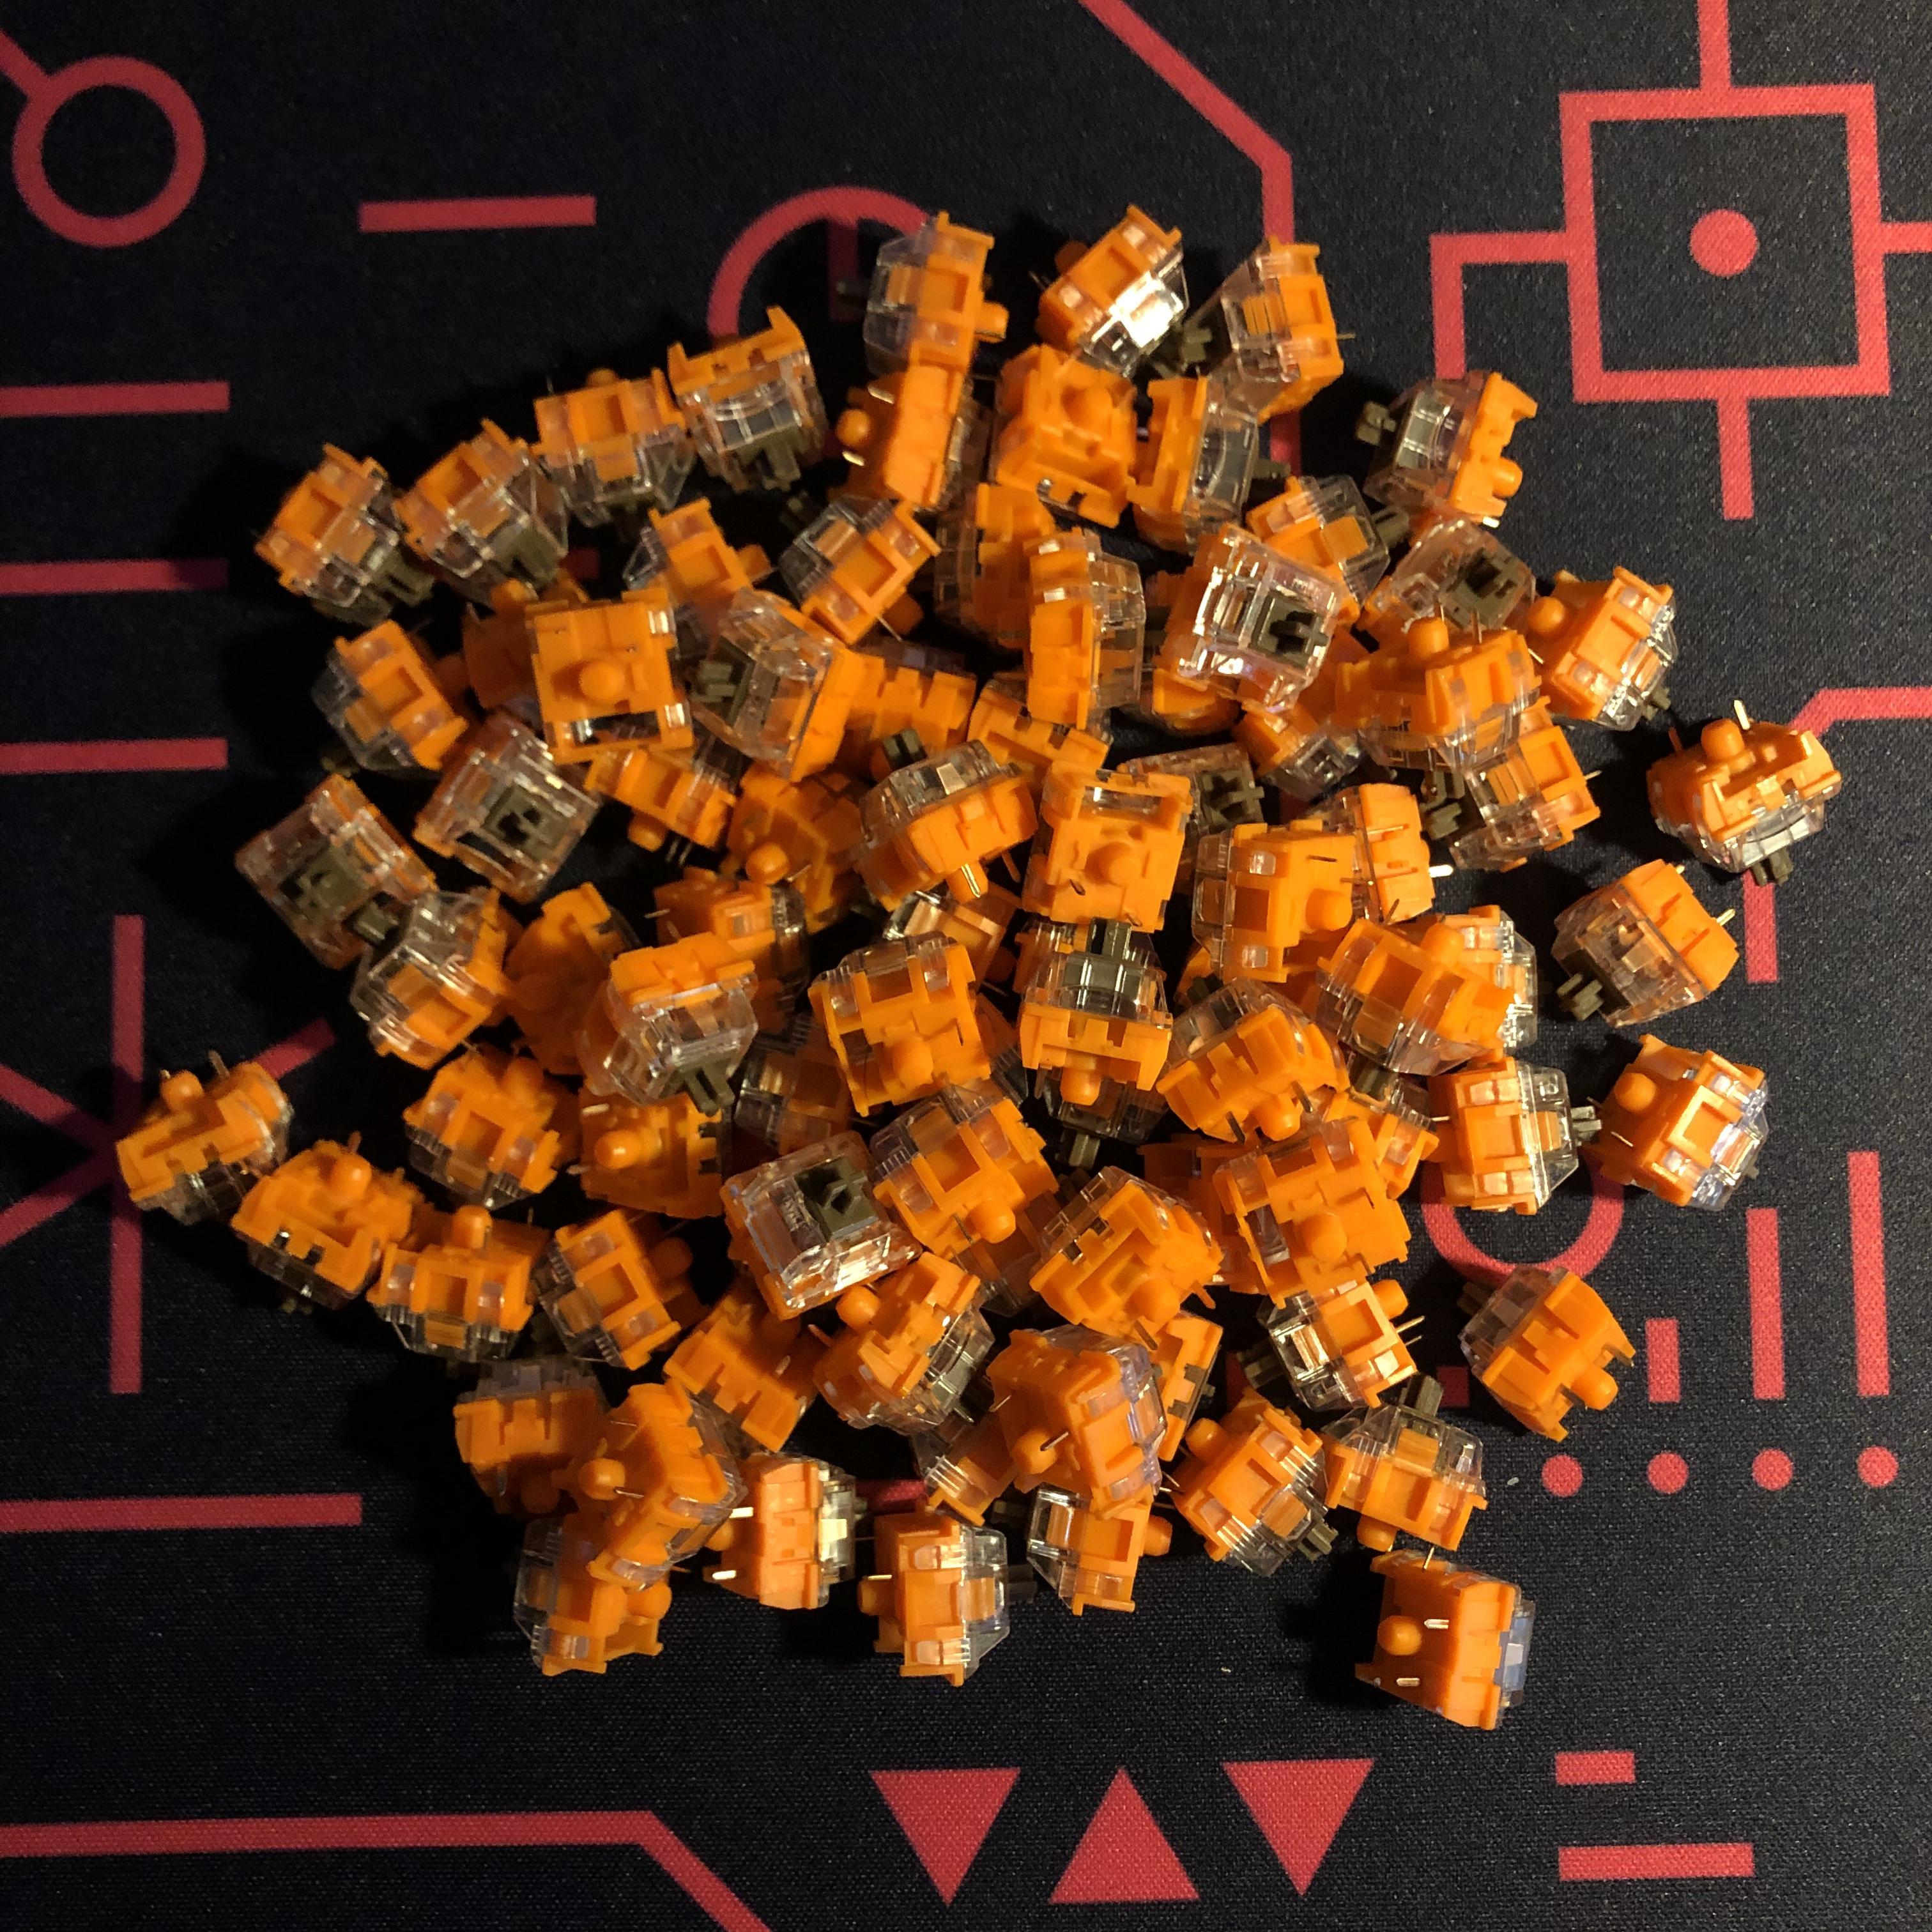
Lube and film Gateron Pro Yellows almost done.
Tops of pros are just a bit too loose and really need films to sound their best. They are almost too easy to open. A bit worrying. I used the smooshier deskeys films that seem to grab the housing better and allow the tops to close as good as possible.
8 Likes
Hmm, I’m gonna try to remove the films from the plastic like that next time 
1 Like
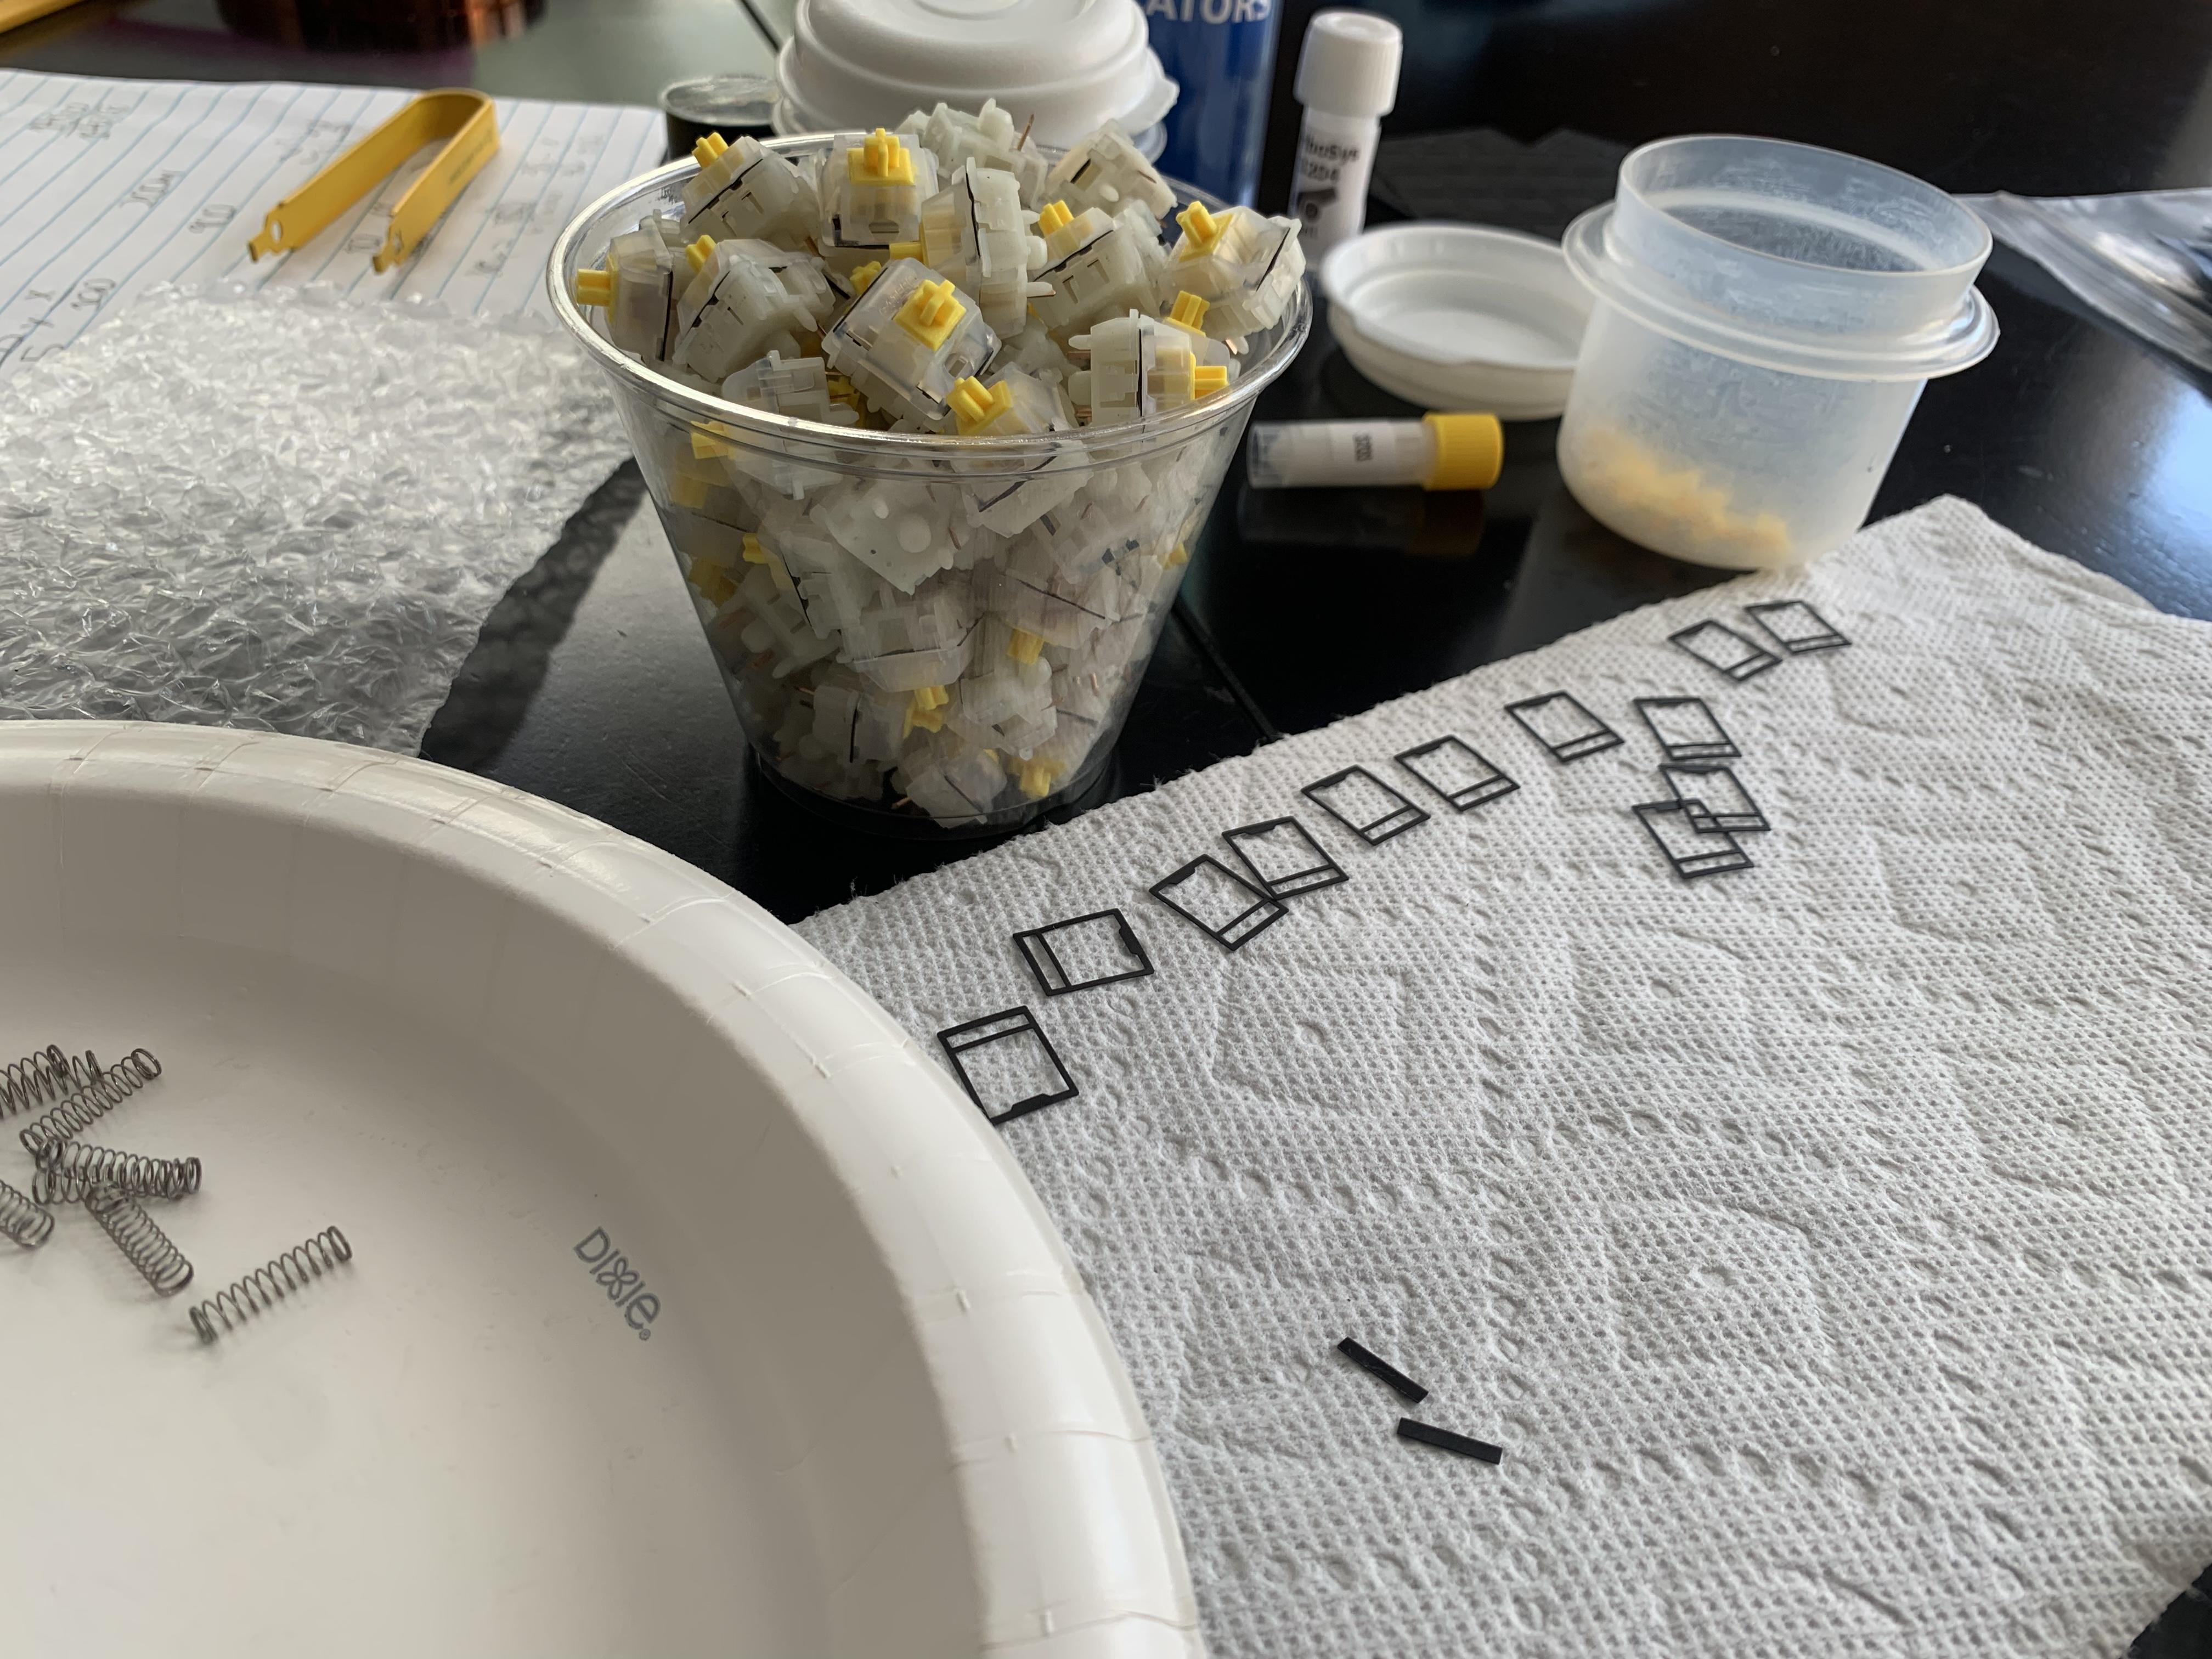
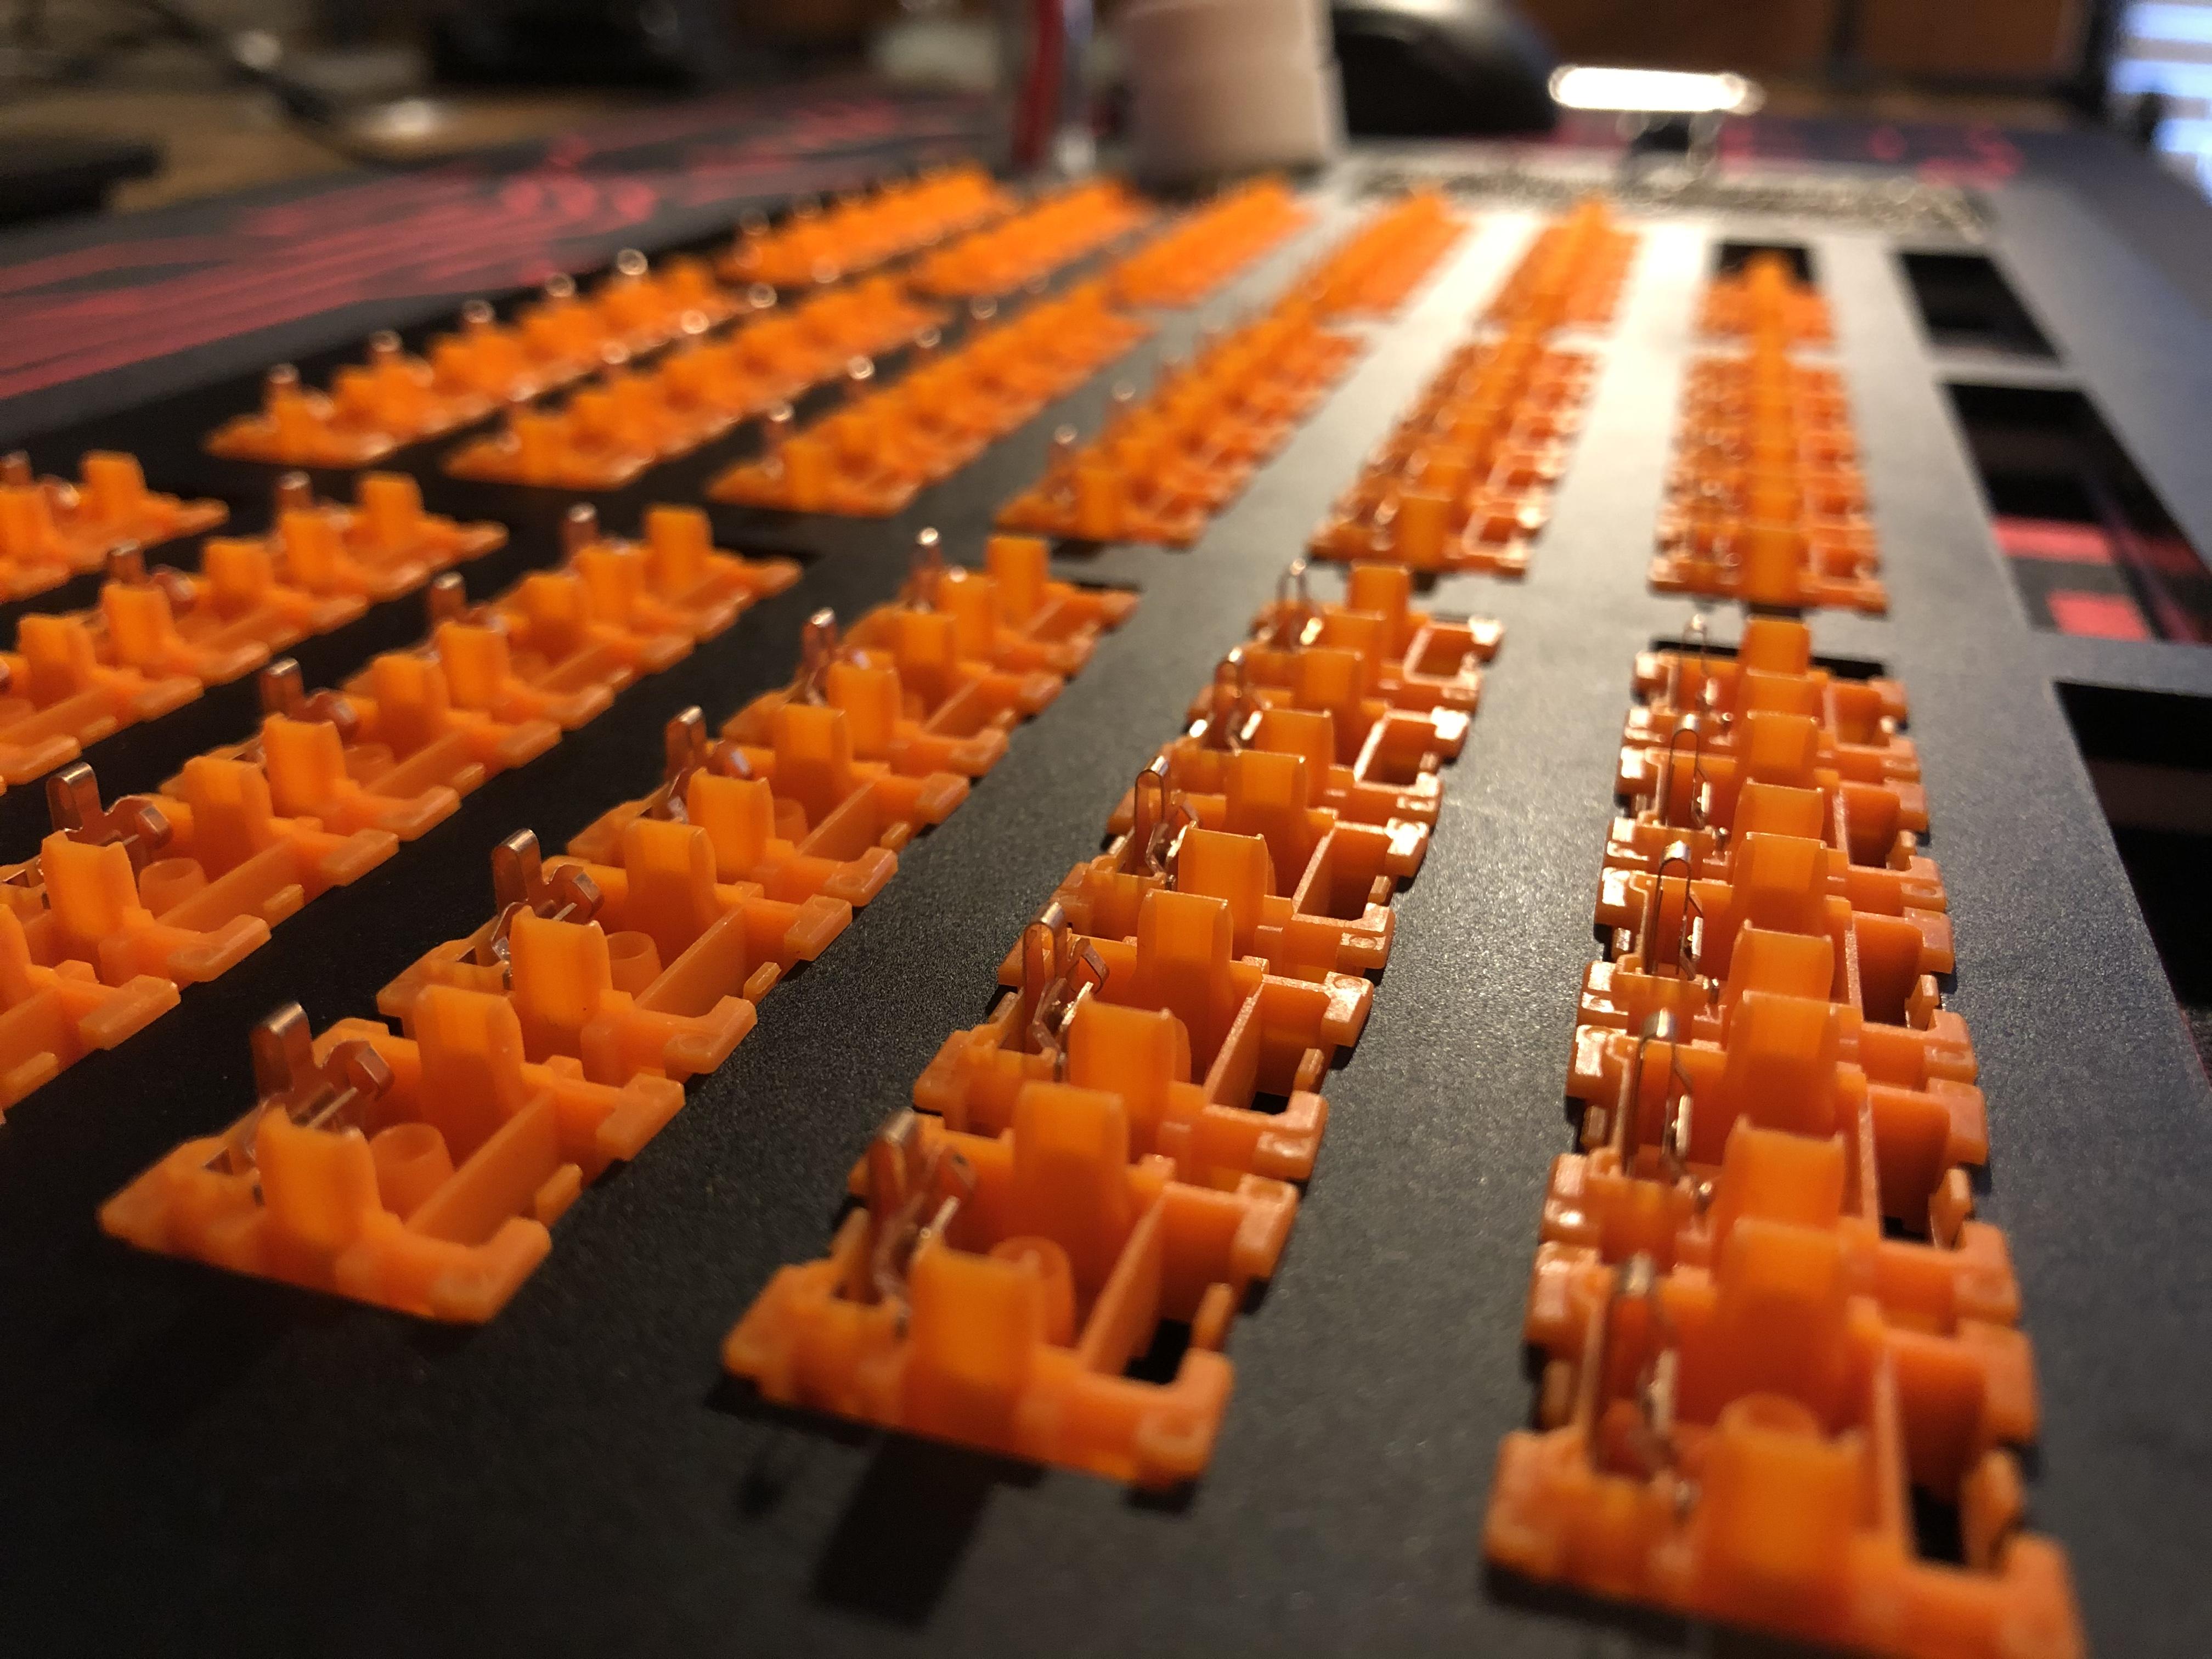
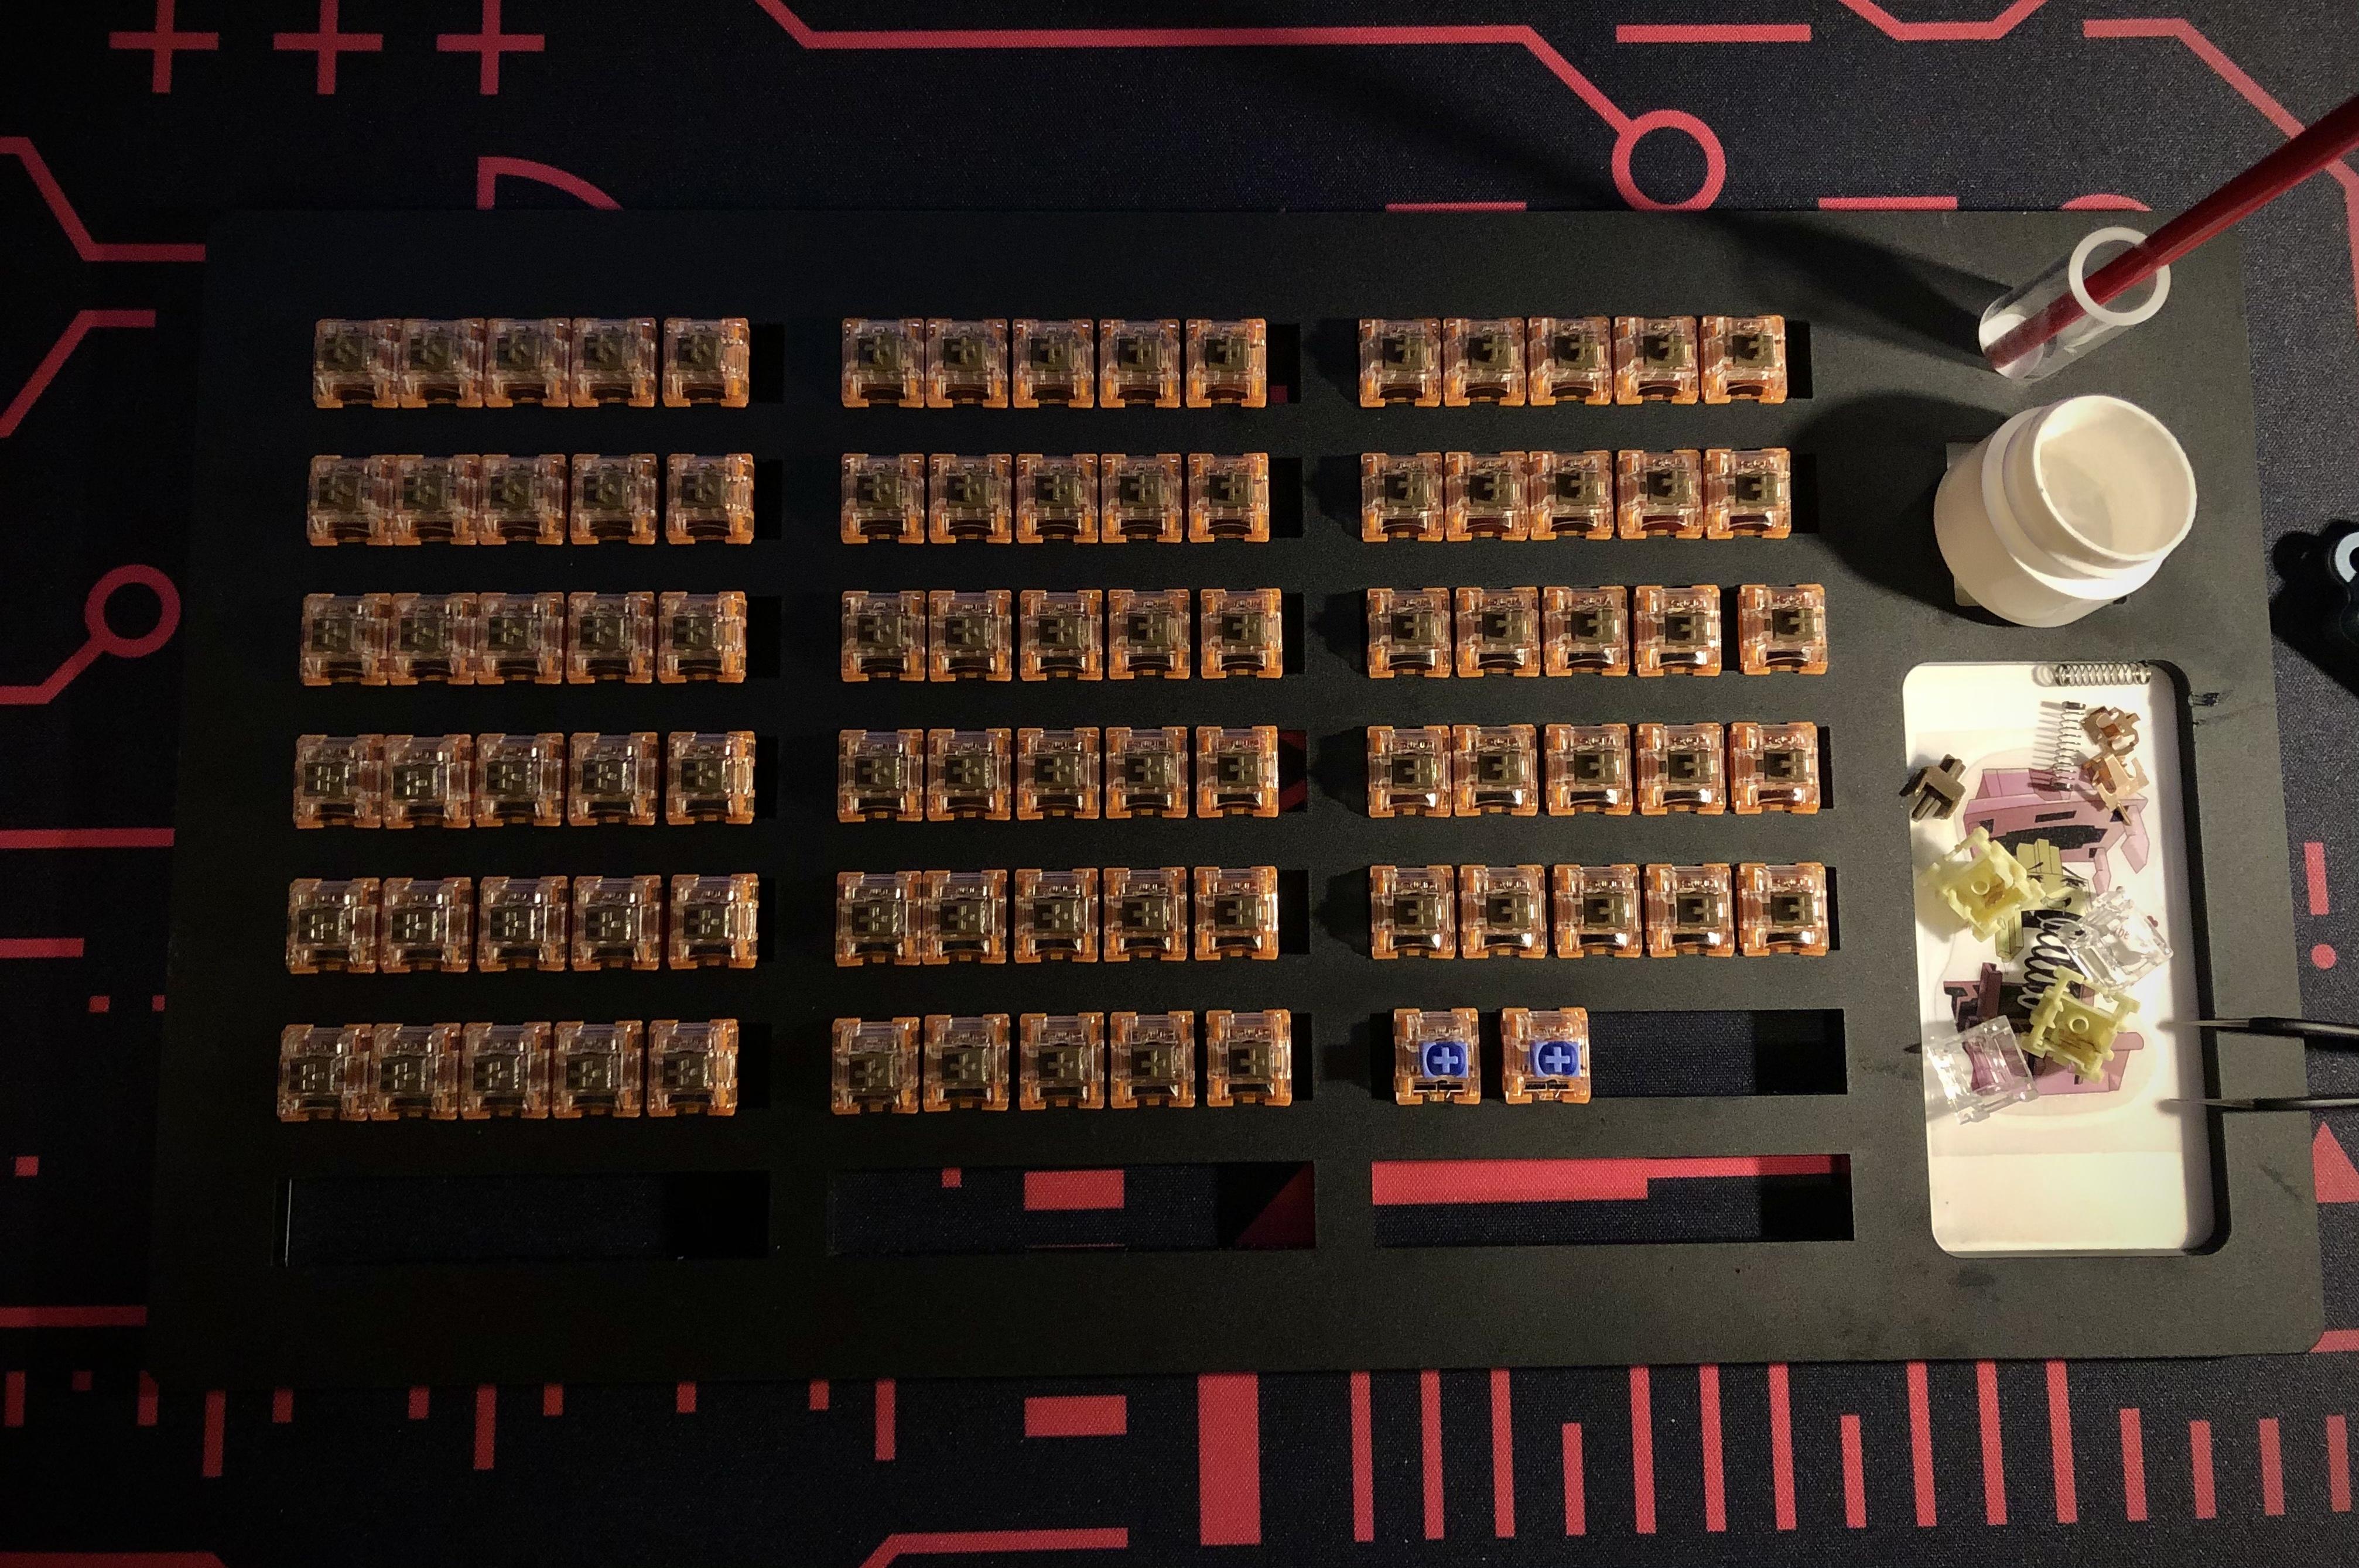
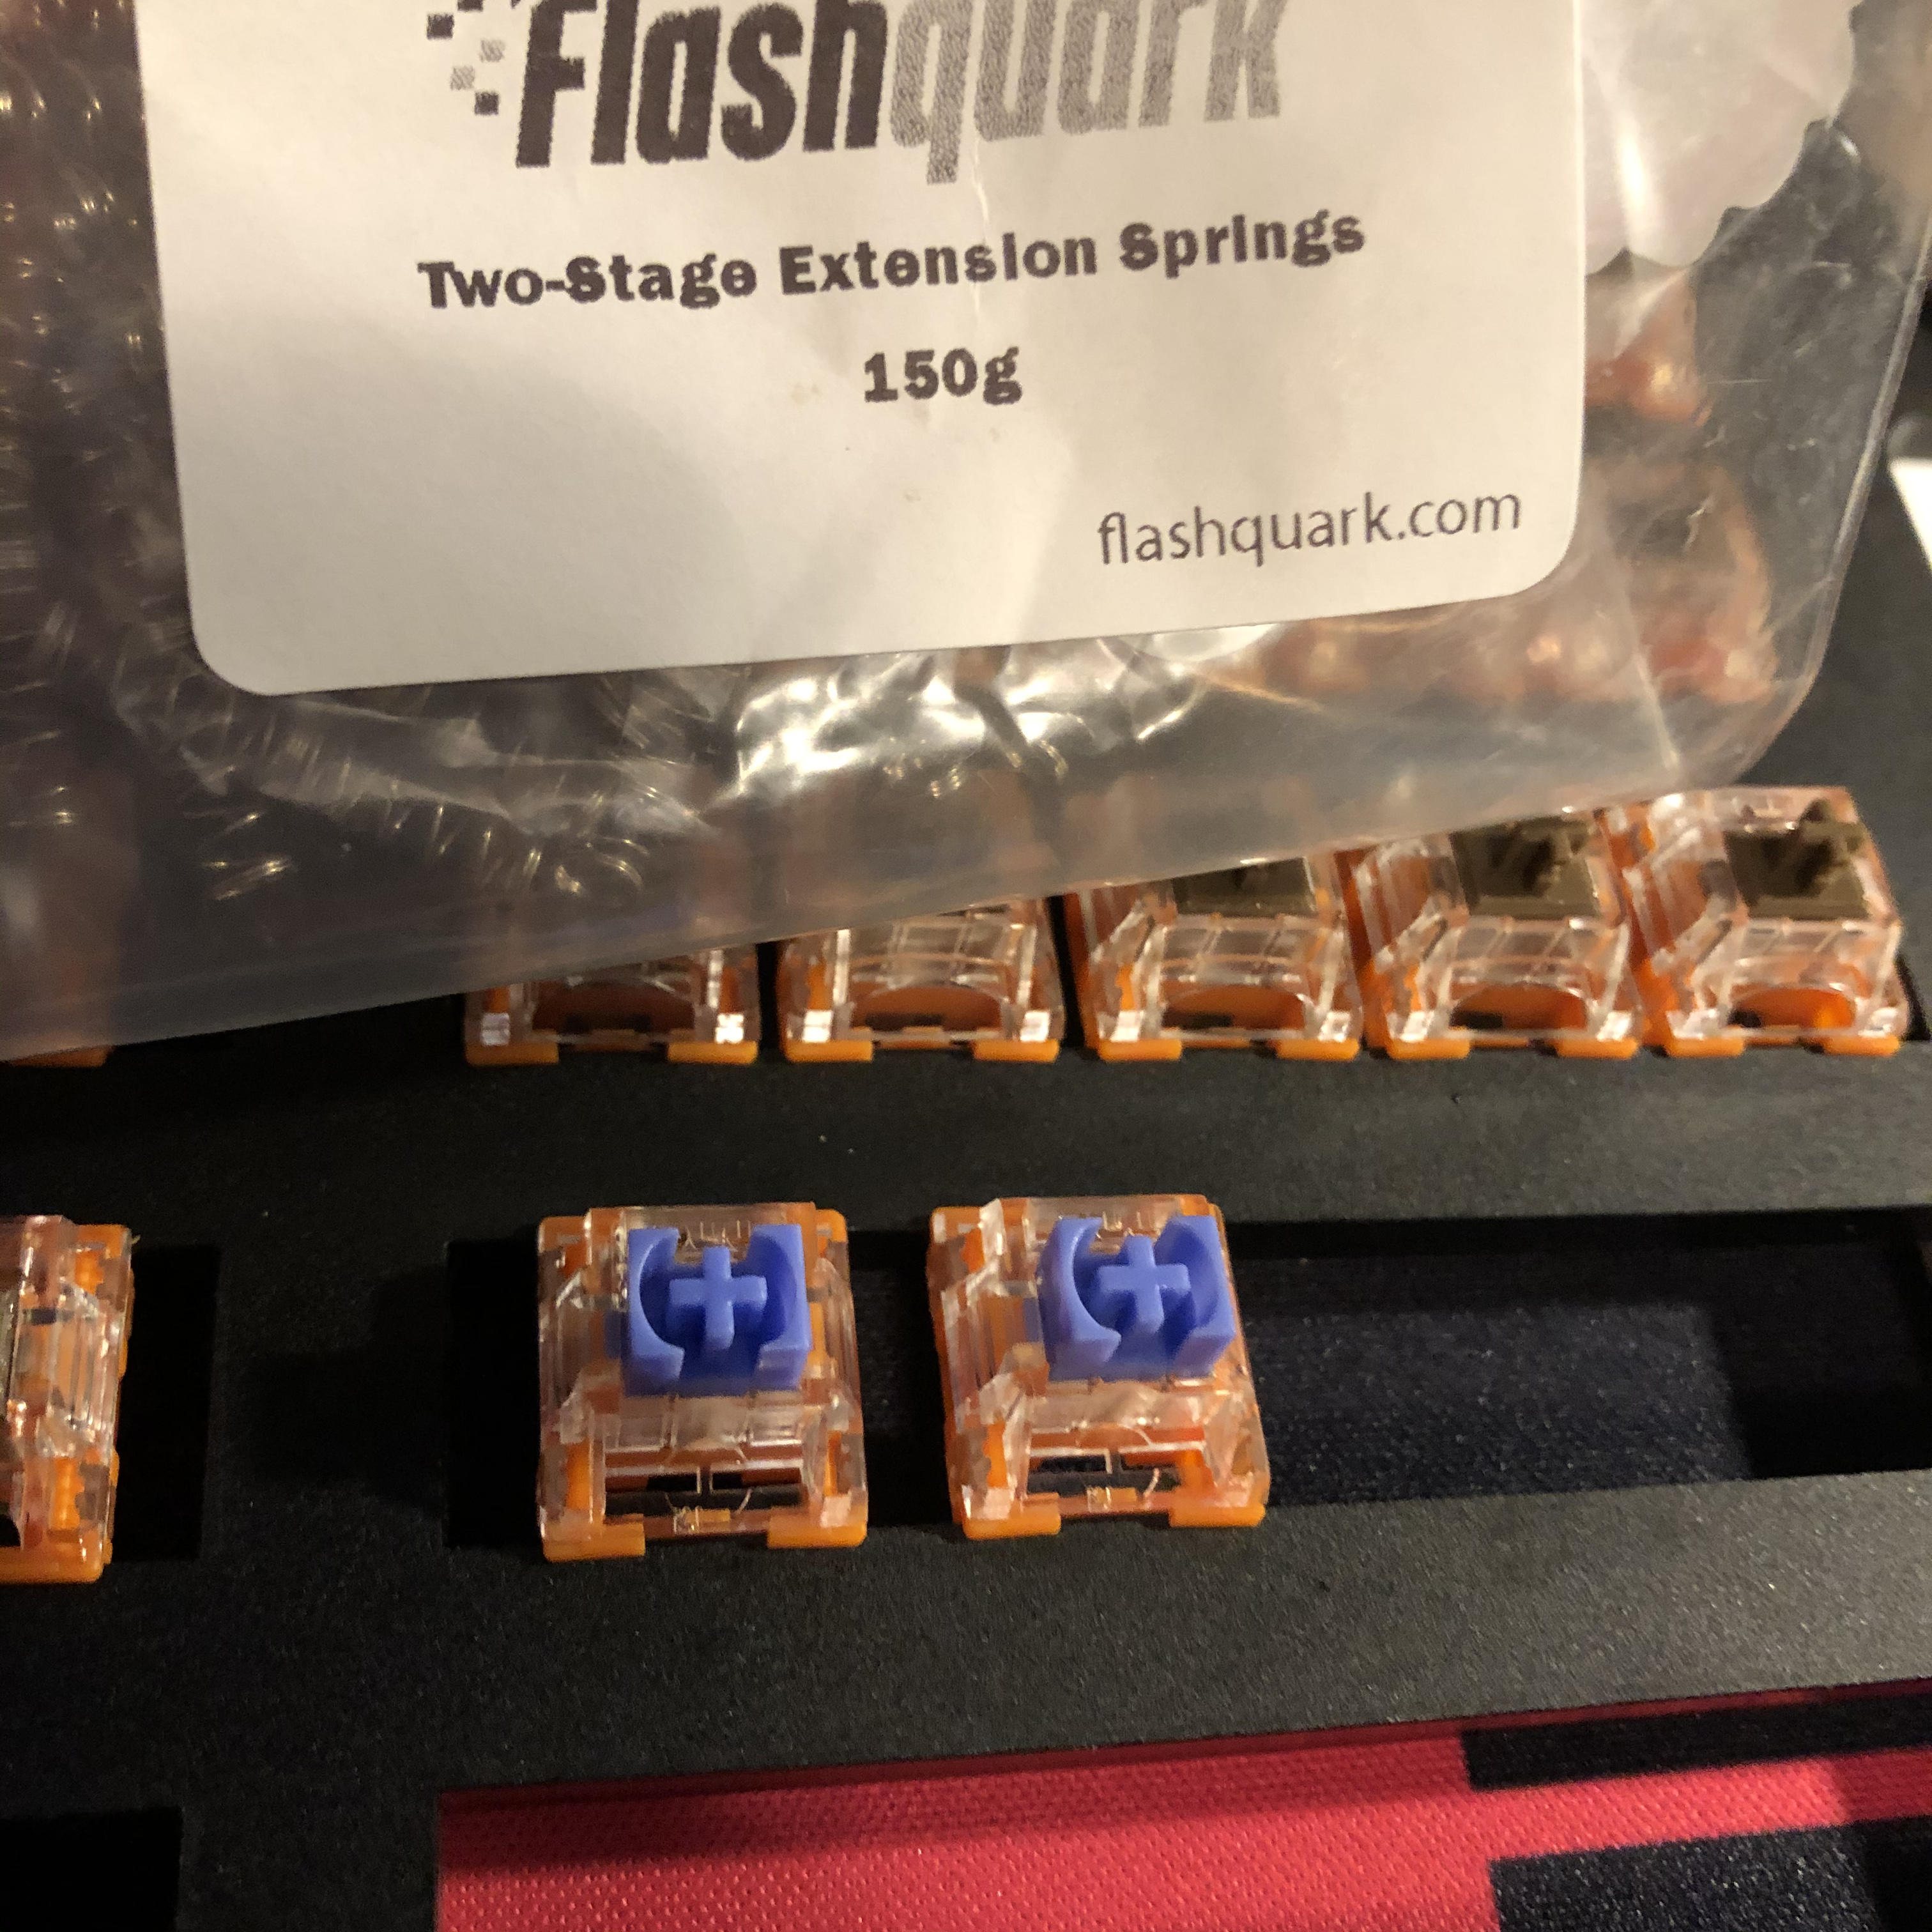
I try to batch process as much as I can. Getting all the films pulled off their sheet and laid out in advance seemed to make it go quicker. Same with springs. After I lube the springs, I separate them all out on a plate so that they are ready to grab and I don’t have to spend time to untangle them during reassembly.
2 Likes
Since I started to use a magnetic tray for springs, that haven’t been a big issue for me.
1 Like
It’s really nice when you take the switch apart, just drop the stem and spring in the mag-tray and when u done, you can just pore the stems in another bin.
Oooh. That’s why my desoldering iron was having troubles getting a good seal around the solder joint
(Left Well used, center and right only lightrly used)

6 Likes
Switches all done. TTC Gold Brown V3’s, rails and tops lubed with 205g0, springs with 106.
Stronk, slightly clicky variants for the lock keys.
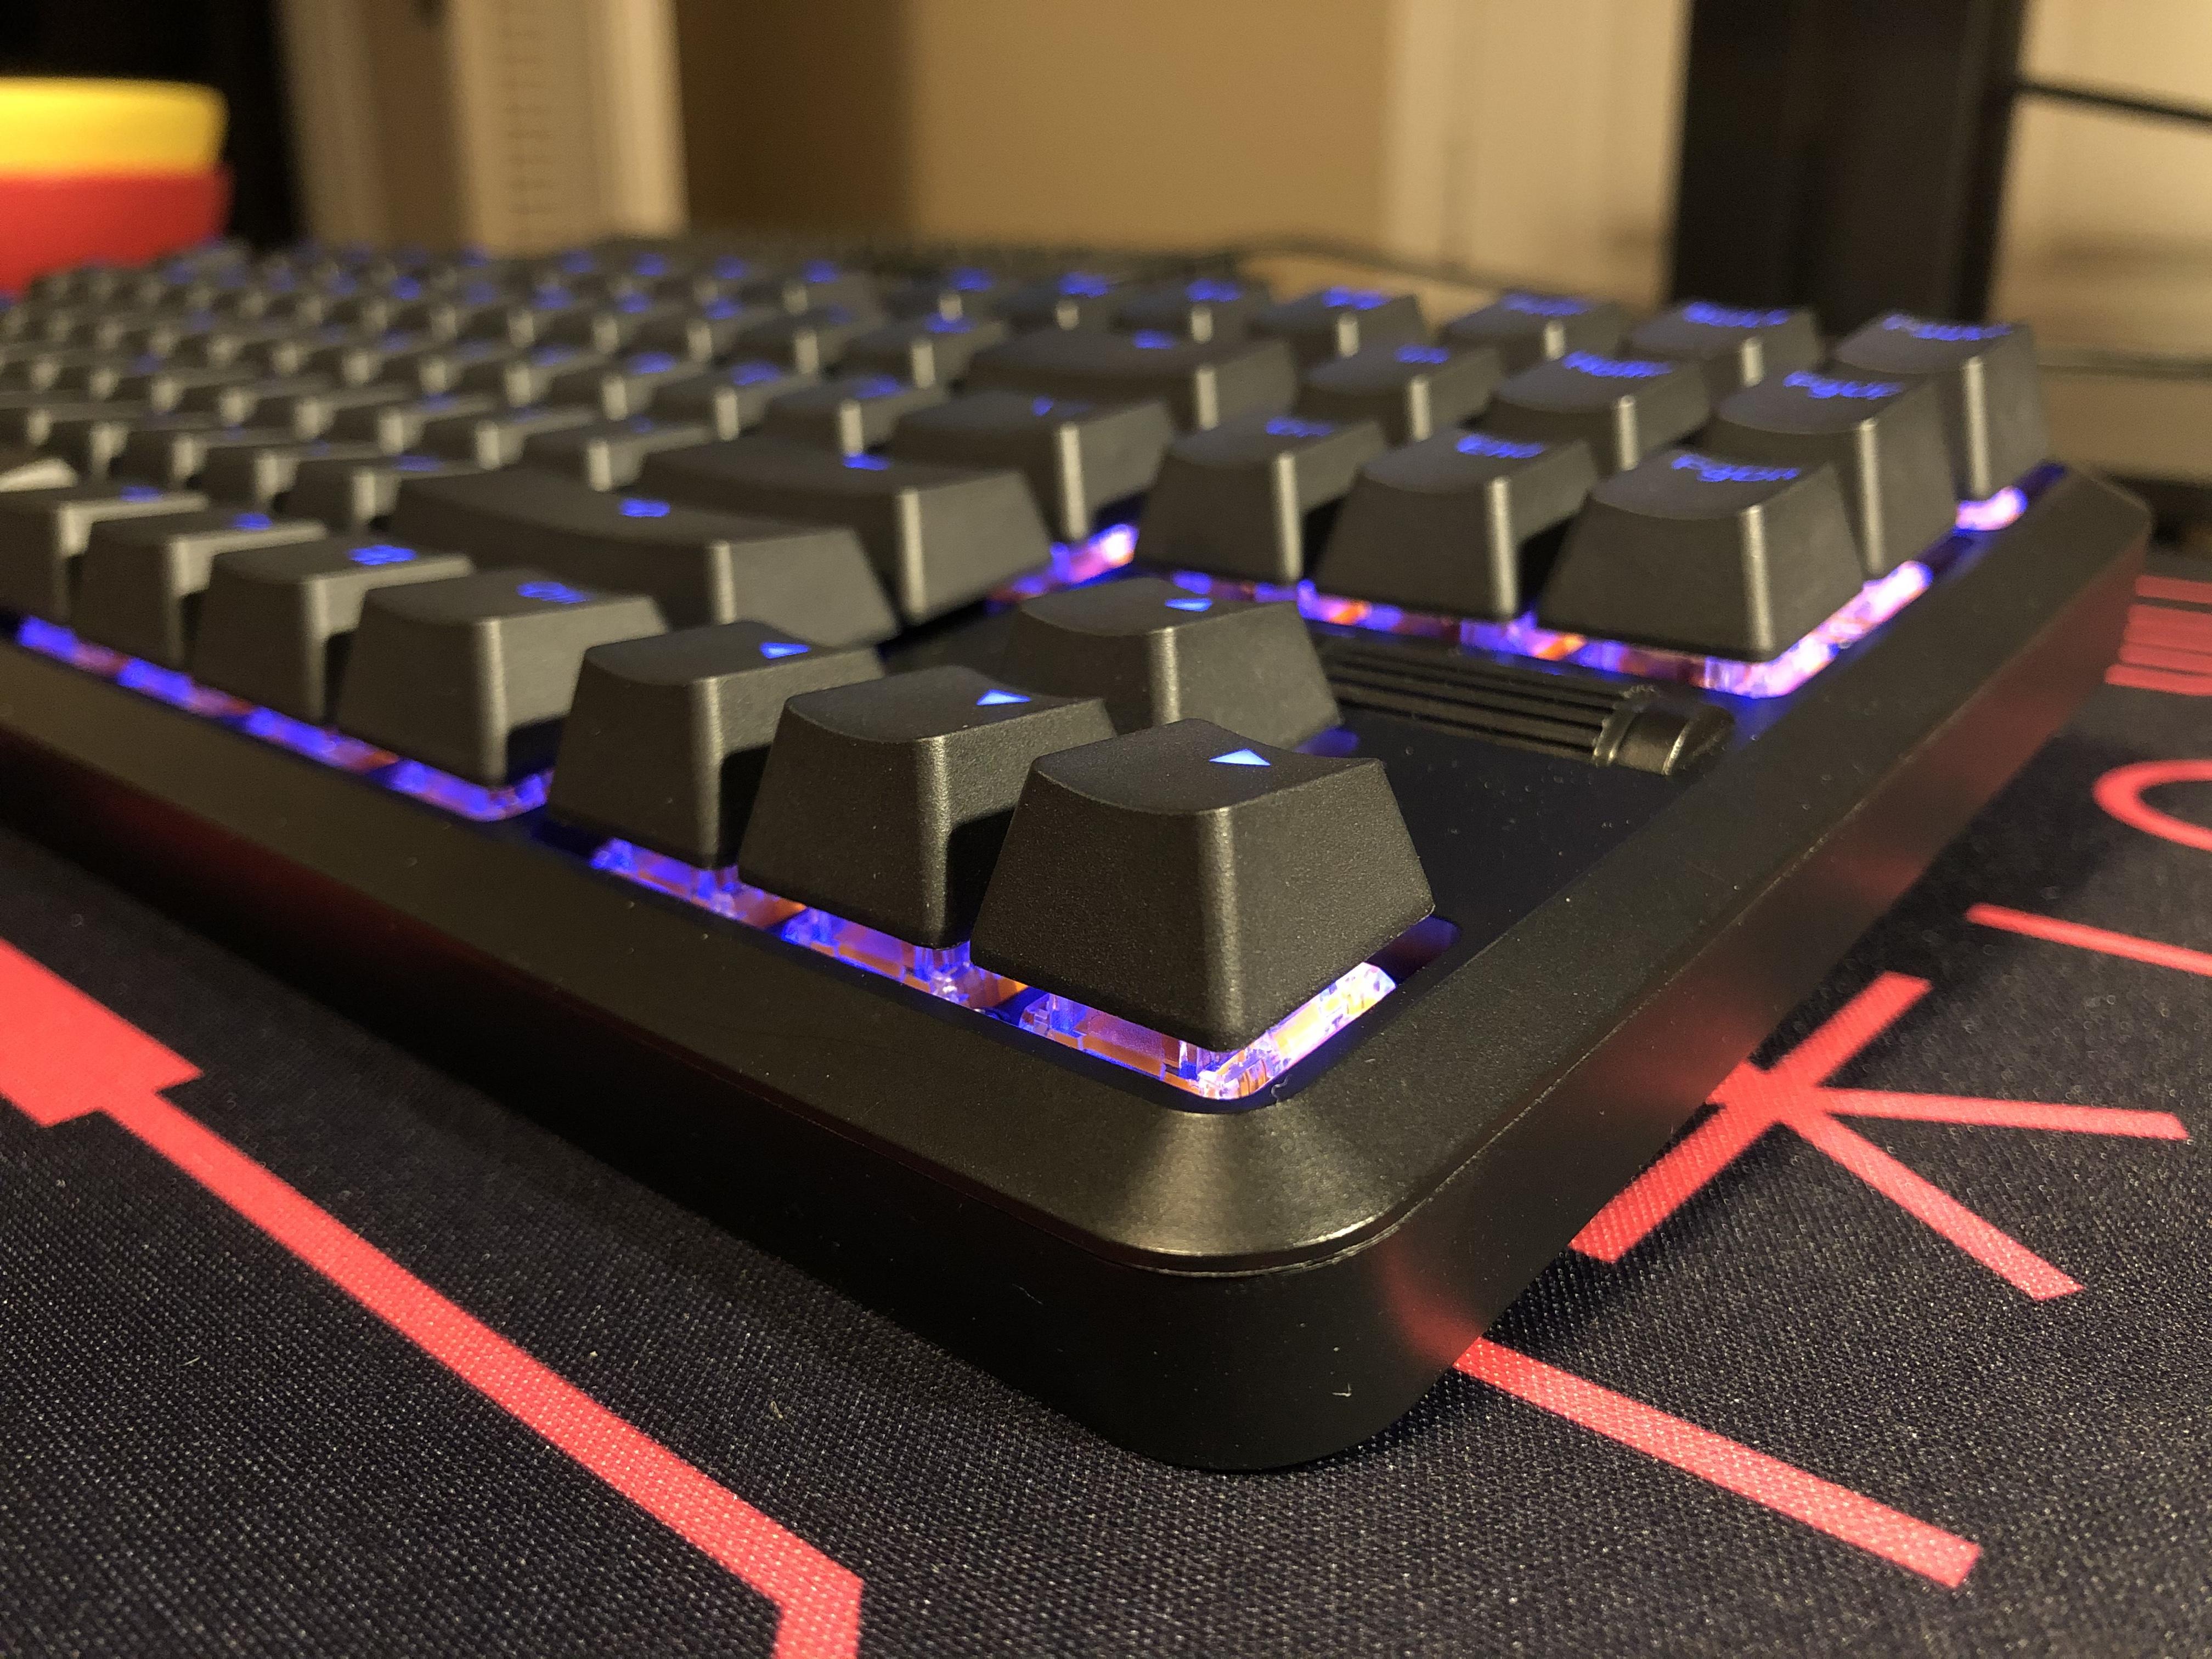
OEM Rakk Lam-Ang Pro dual mode TKL; lead weights and PE foam below the PCB, modular foam between it and the plate. Only the stab tuning remains, but I’ve had enough for today. 
I set the default light to blue because that’s my dad’s favorite color and this board is for him. I like the way the blue light looks coming through the orange plastic - reminds me a little of those retro taillights with the tiny blue dot in the middle.
I wish I’d recorded this completely stock… rattly-bones and very pingy. Now it has a nice, mild, muted clack to the switches - I’ll upload a typing test once those stabs are done. Suffice to say for now, I really enjoy these switches after tuning even though they underwhelmed me stock.
Browns really can be pleasant - even after being spoiled by all manner of enthusiast examples.
11 Likes
Now that I have the switches I want I’m finally putting together my MayPad.
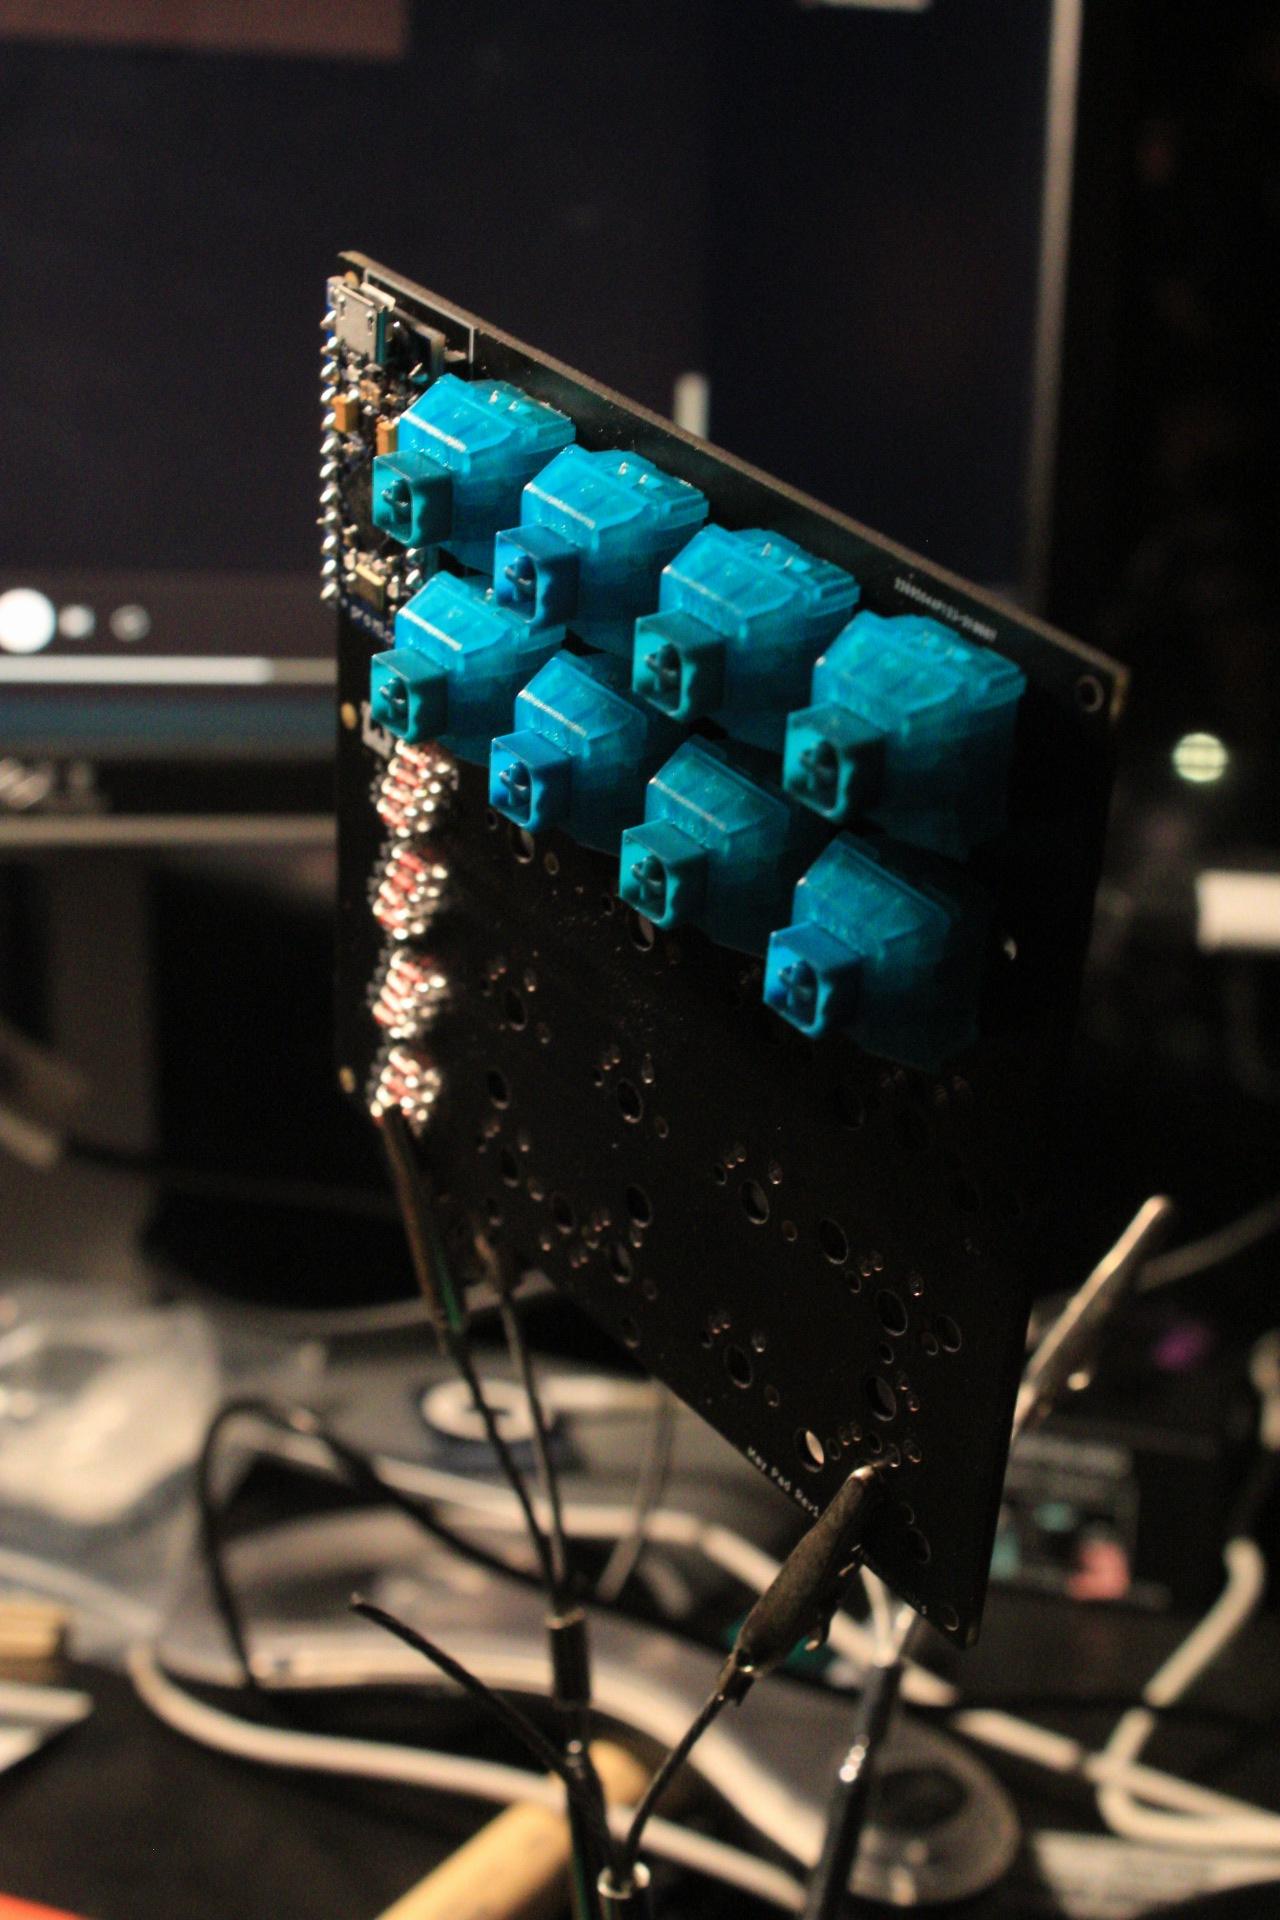
Plateless soldering is more difficult than I thought but I’ve got the technique down pretty well.
9 Likes

What are those keycaps ???
They look 3D printed. I believe @Andreas was working on a new keycap profile!
4 Likes
Oh, yes I remember now 
Looks pretty comfy. Something to look forward to.
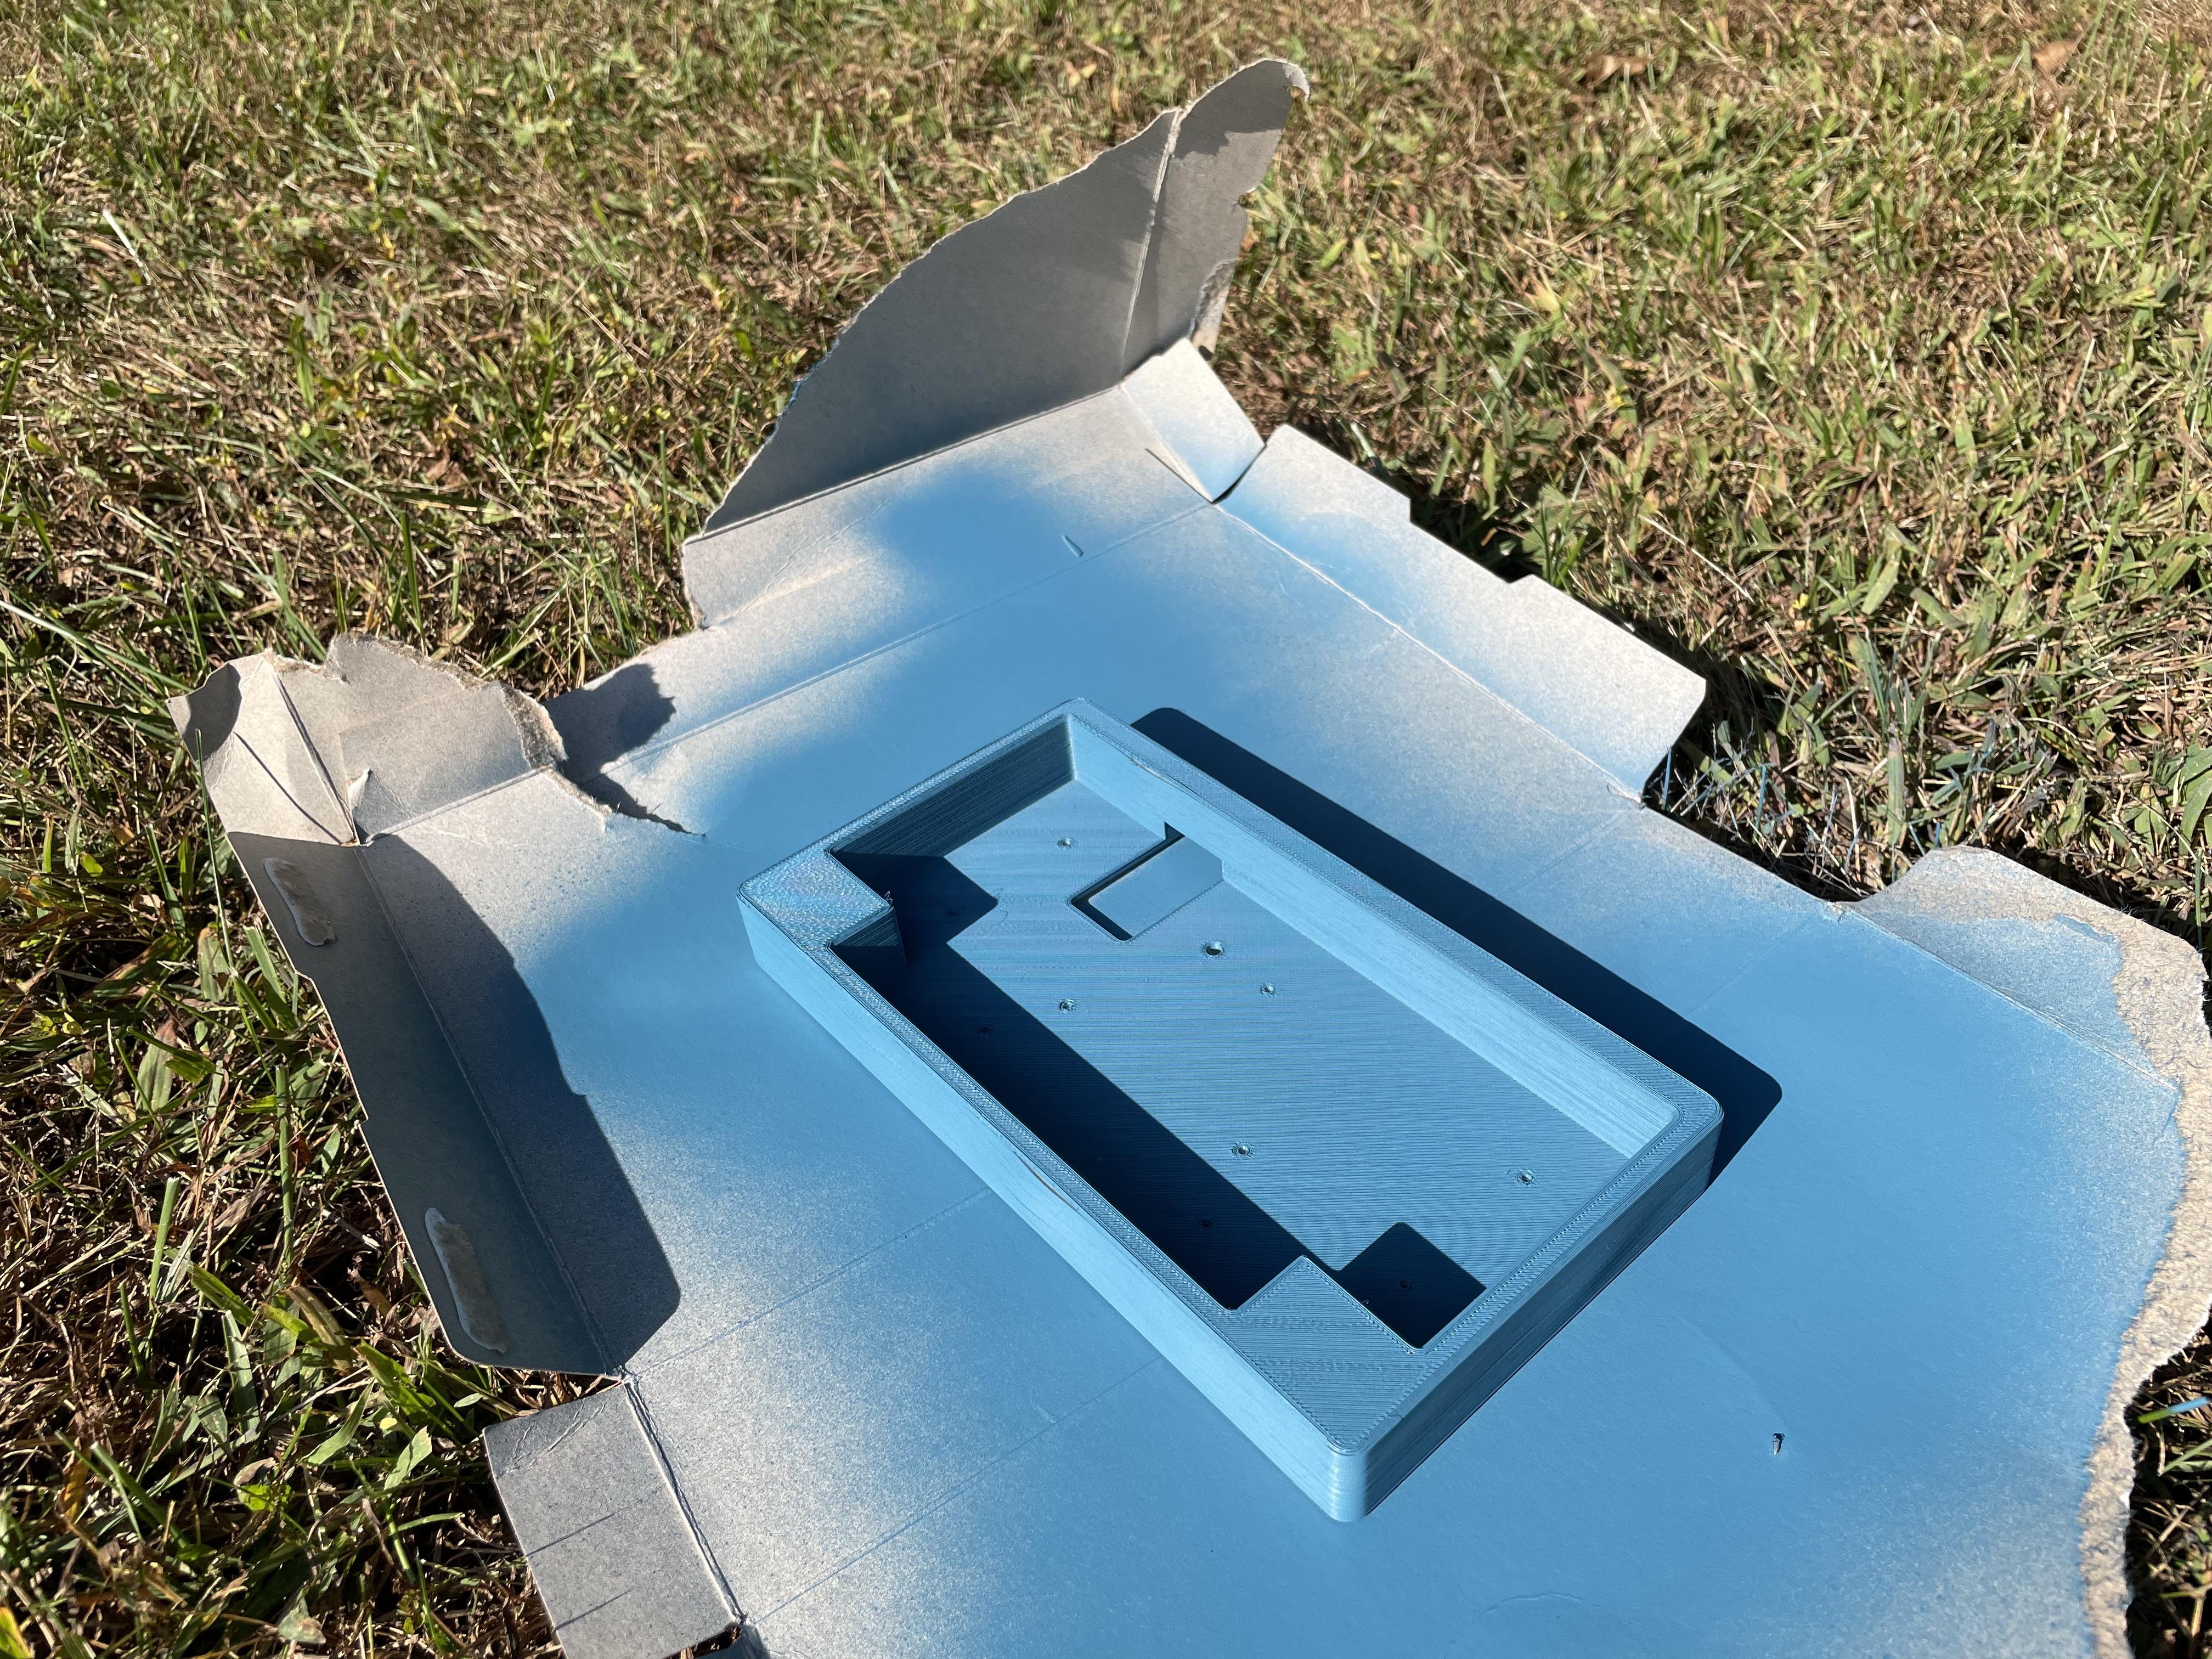
Spray-painting Brass
In the process of painting a brass plate I had laying around. Edit: Of course, first time painting something like this. I’ll keep this post updated with my mistrials and learnings and the final product.
Process
✅ 1. Wet sand plate with 400 grit sandpaper
✅ 2. Primer (2 coats)
✅ 3. Wet sand primer coat
✅ 4. Paint (2 coats)
✅ 5. Wet sand paint coat with 600 grit
✅ 6. Clear coat
✅ 7. Sand clear coat with 1500 grit
**I’m waiting 24 hours (ideal) between coats, because I’m not in a hurry. But the paint can says 1 hour is adequate.
Products
1. Brass plate (Mekanisk Solderable v1.0—I believe, but not sure)
2. Rust-oleum Painter's Touch 2X Primer
3. Rust-oleum Painter's Touch 2X Paint
4. Rust-oleum Painter's Touch 2X Clear
5. Wet/dry sandpaper: 400 Grit, 600 Grit, 1500 Grit
Painting Log
I setup a painting “workbench” by covering a spare plywood board in a garbage bag.
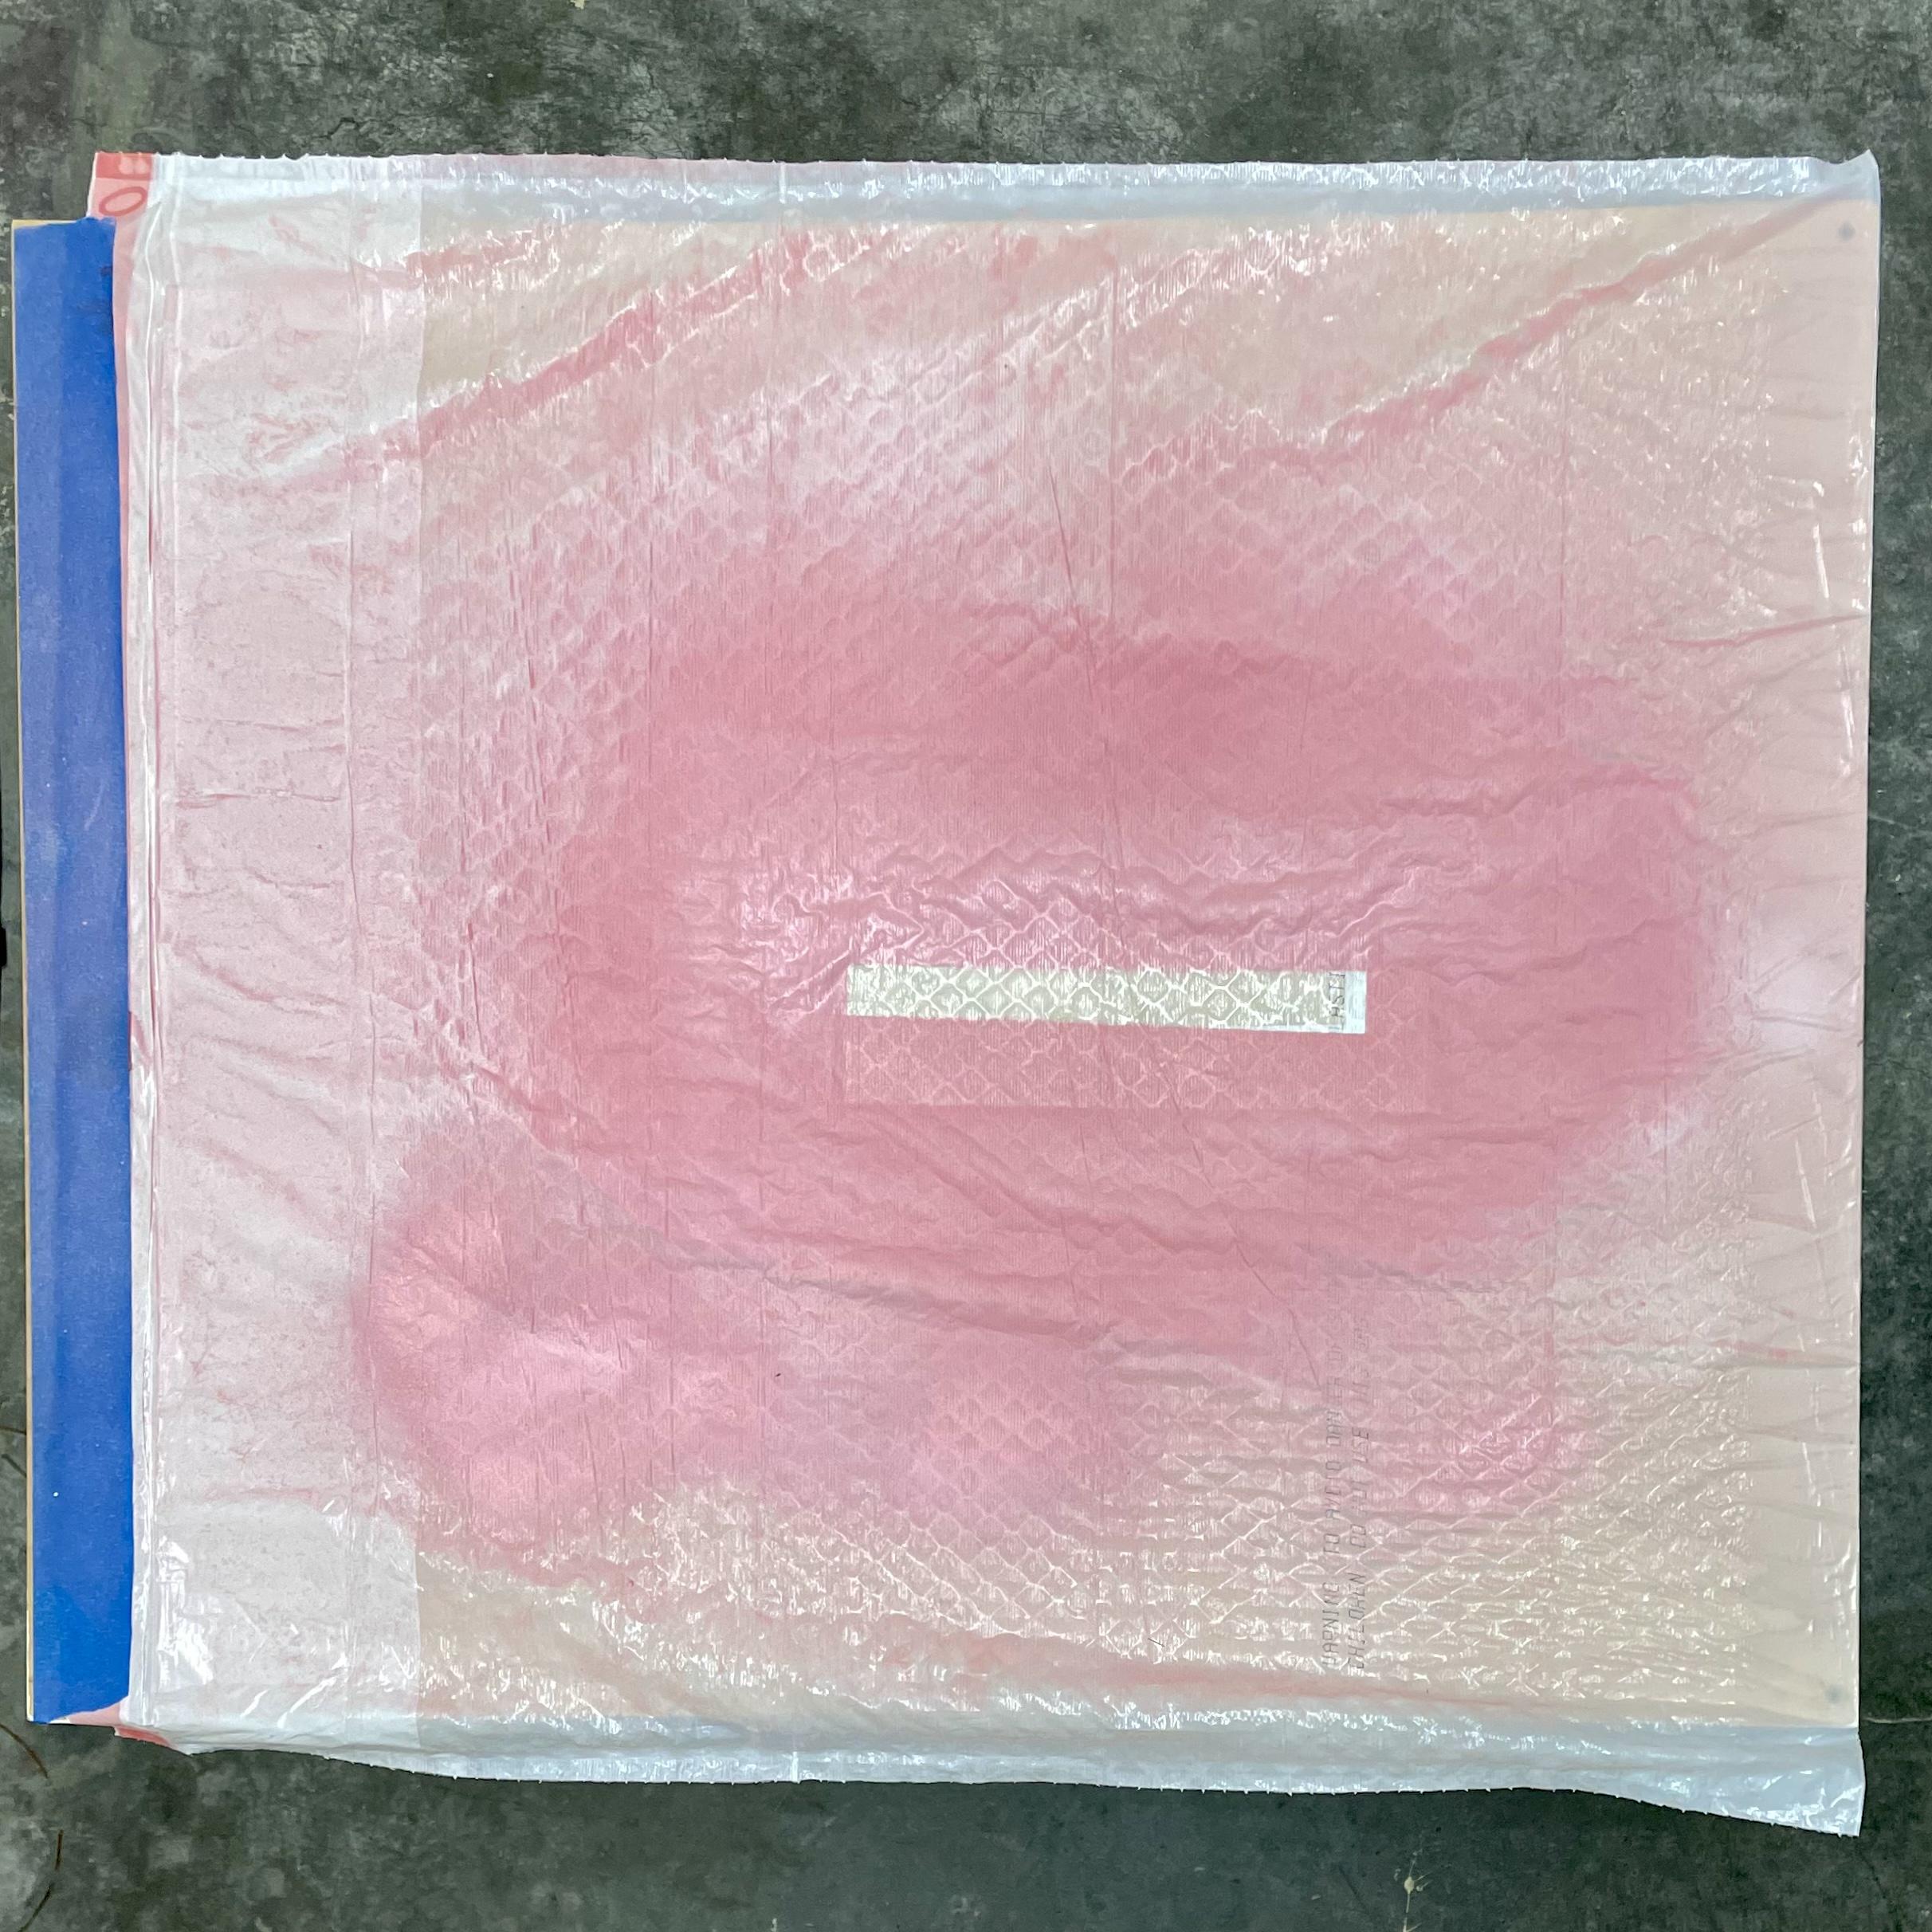
And I used a piece of product packaging wrapped in painter’s tape as a stand to keep the plate elevated above the board.
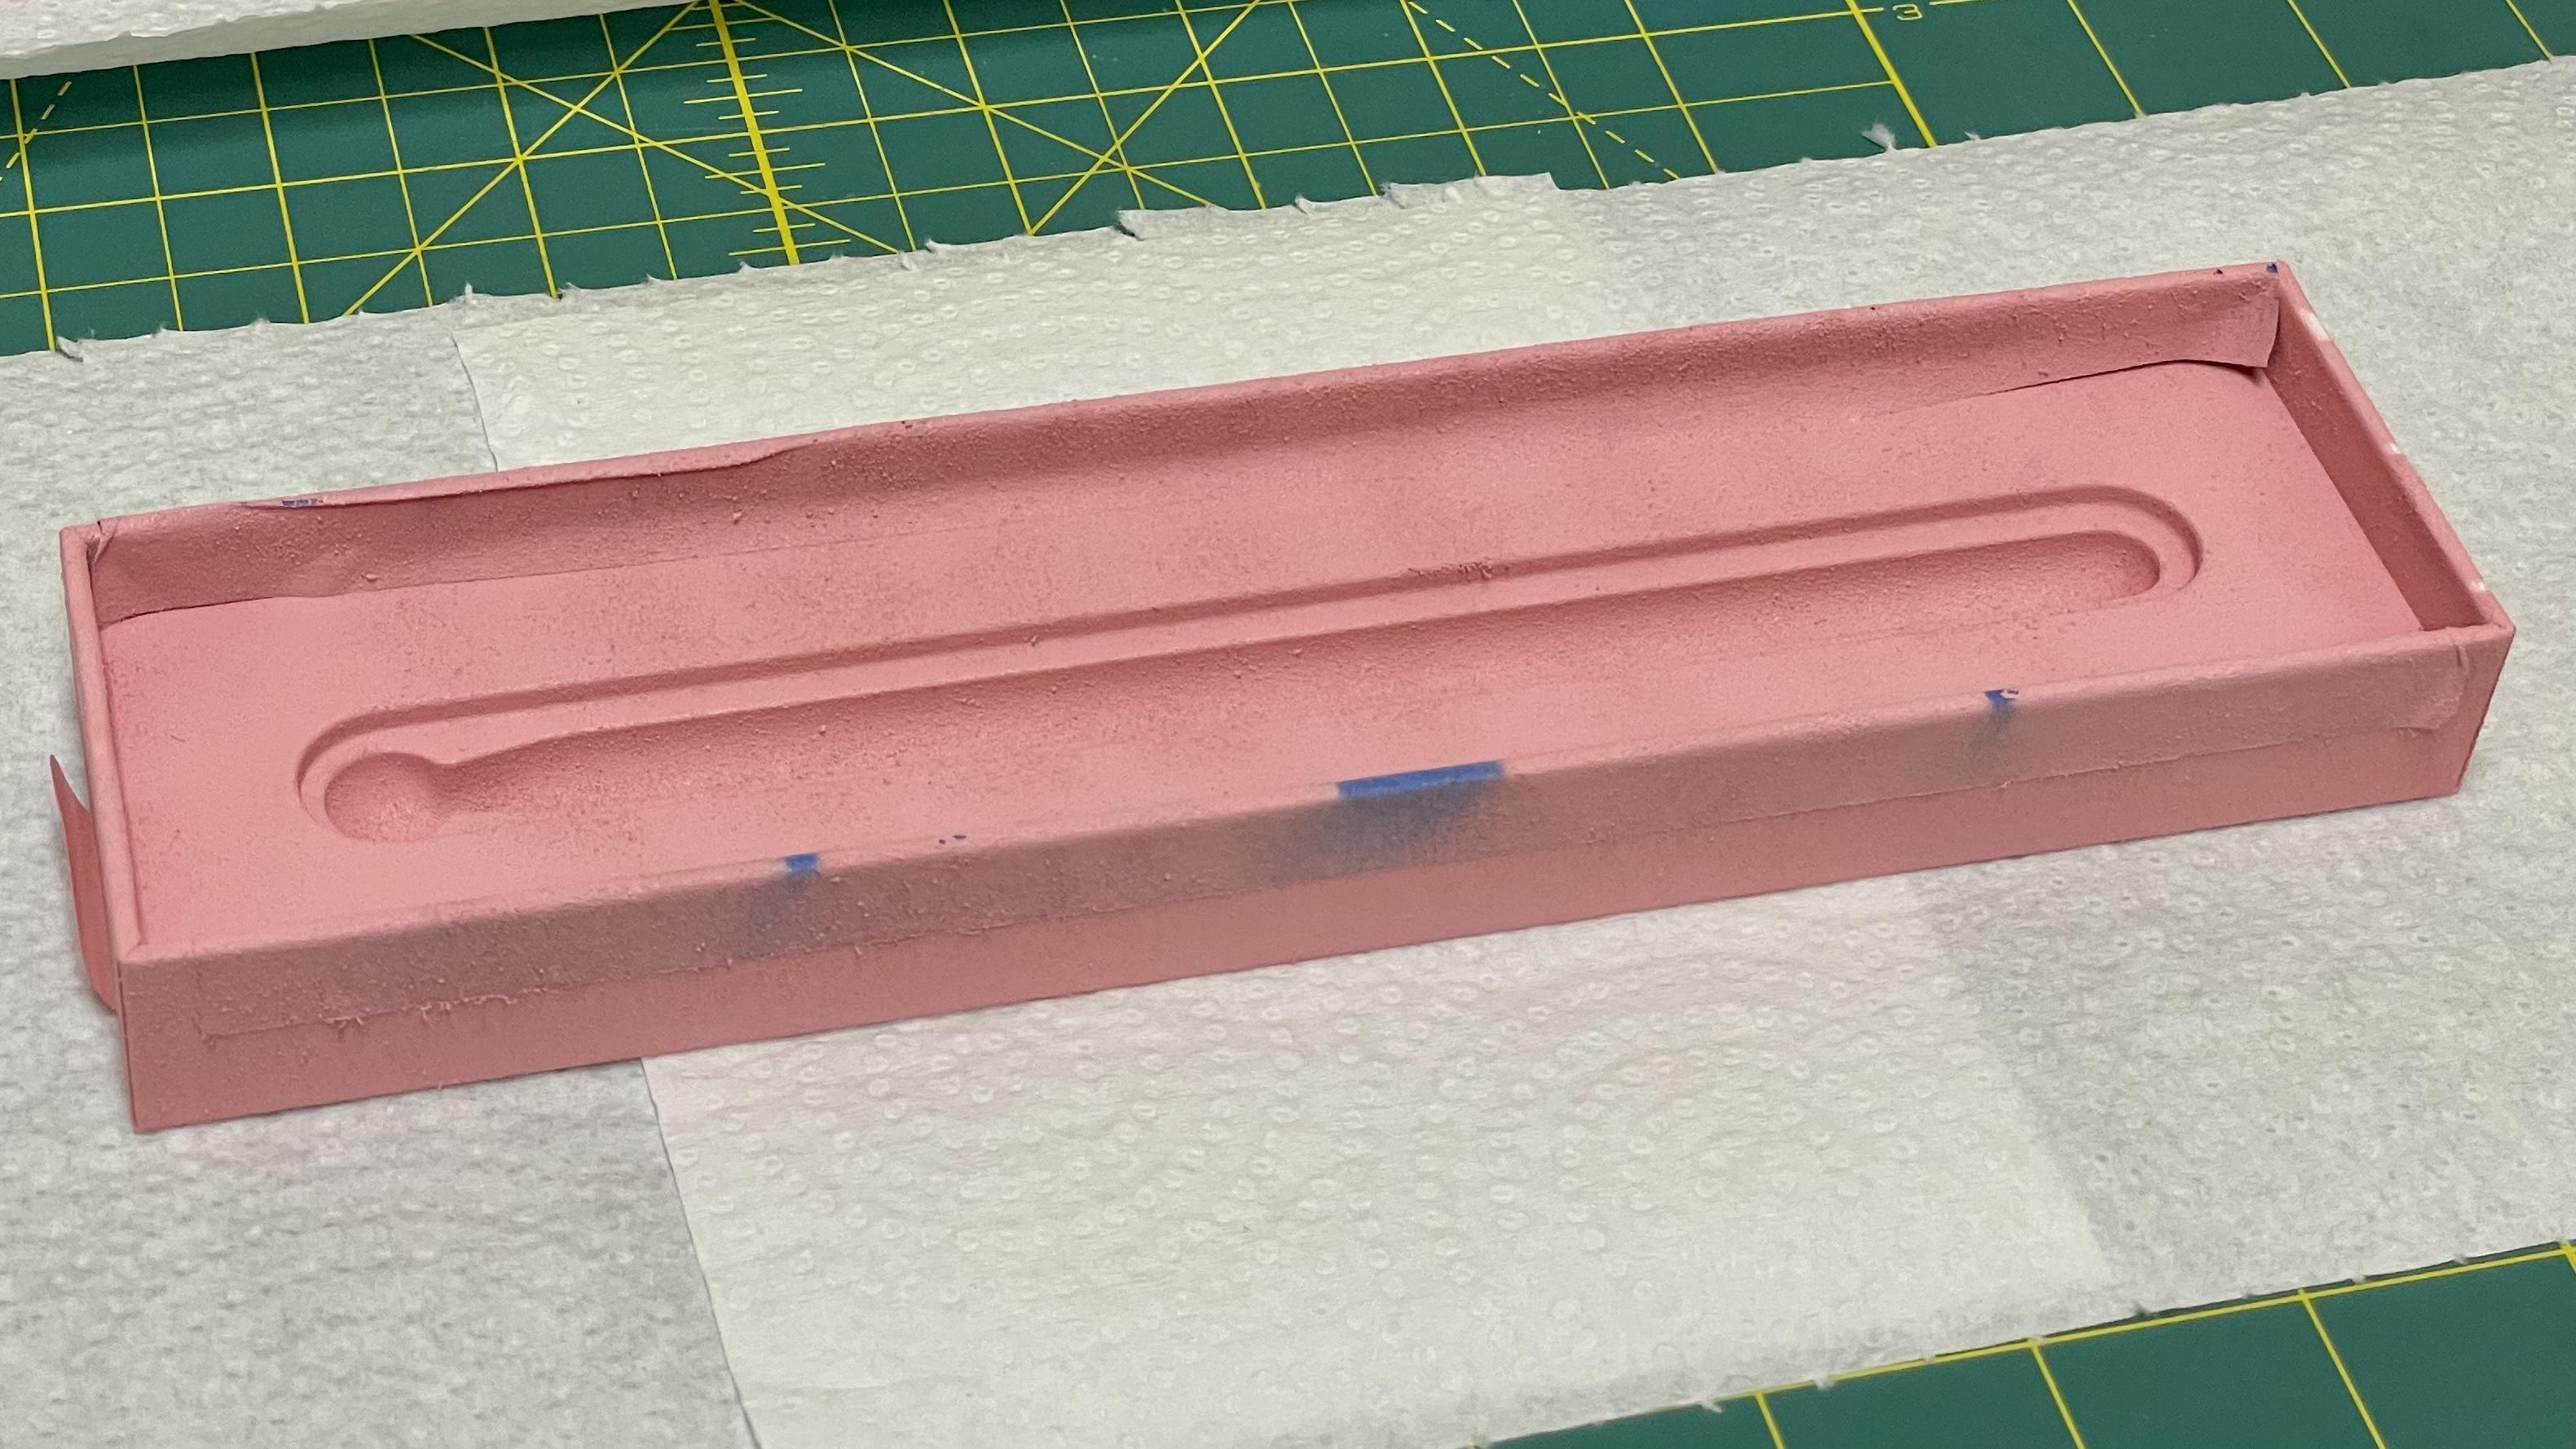
Spraying on the primer was straightforward. It produced a smooth finish and good coverage:

But when I sanded it down with soapy water and 400 Grit sandpaper (the recommended grit on the can), it did expose some of the plate underneath:
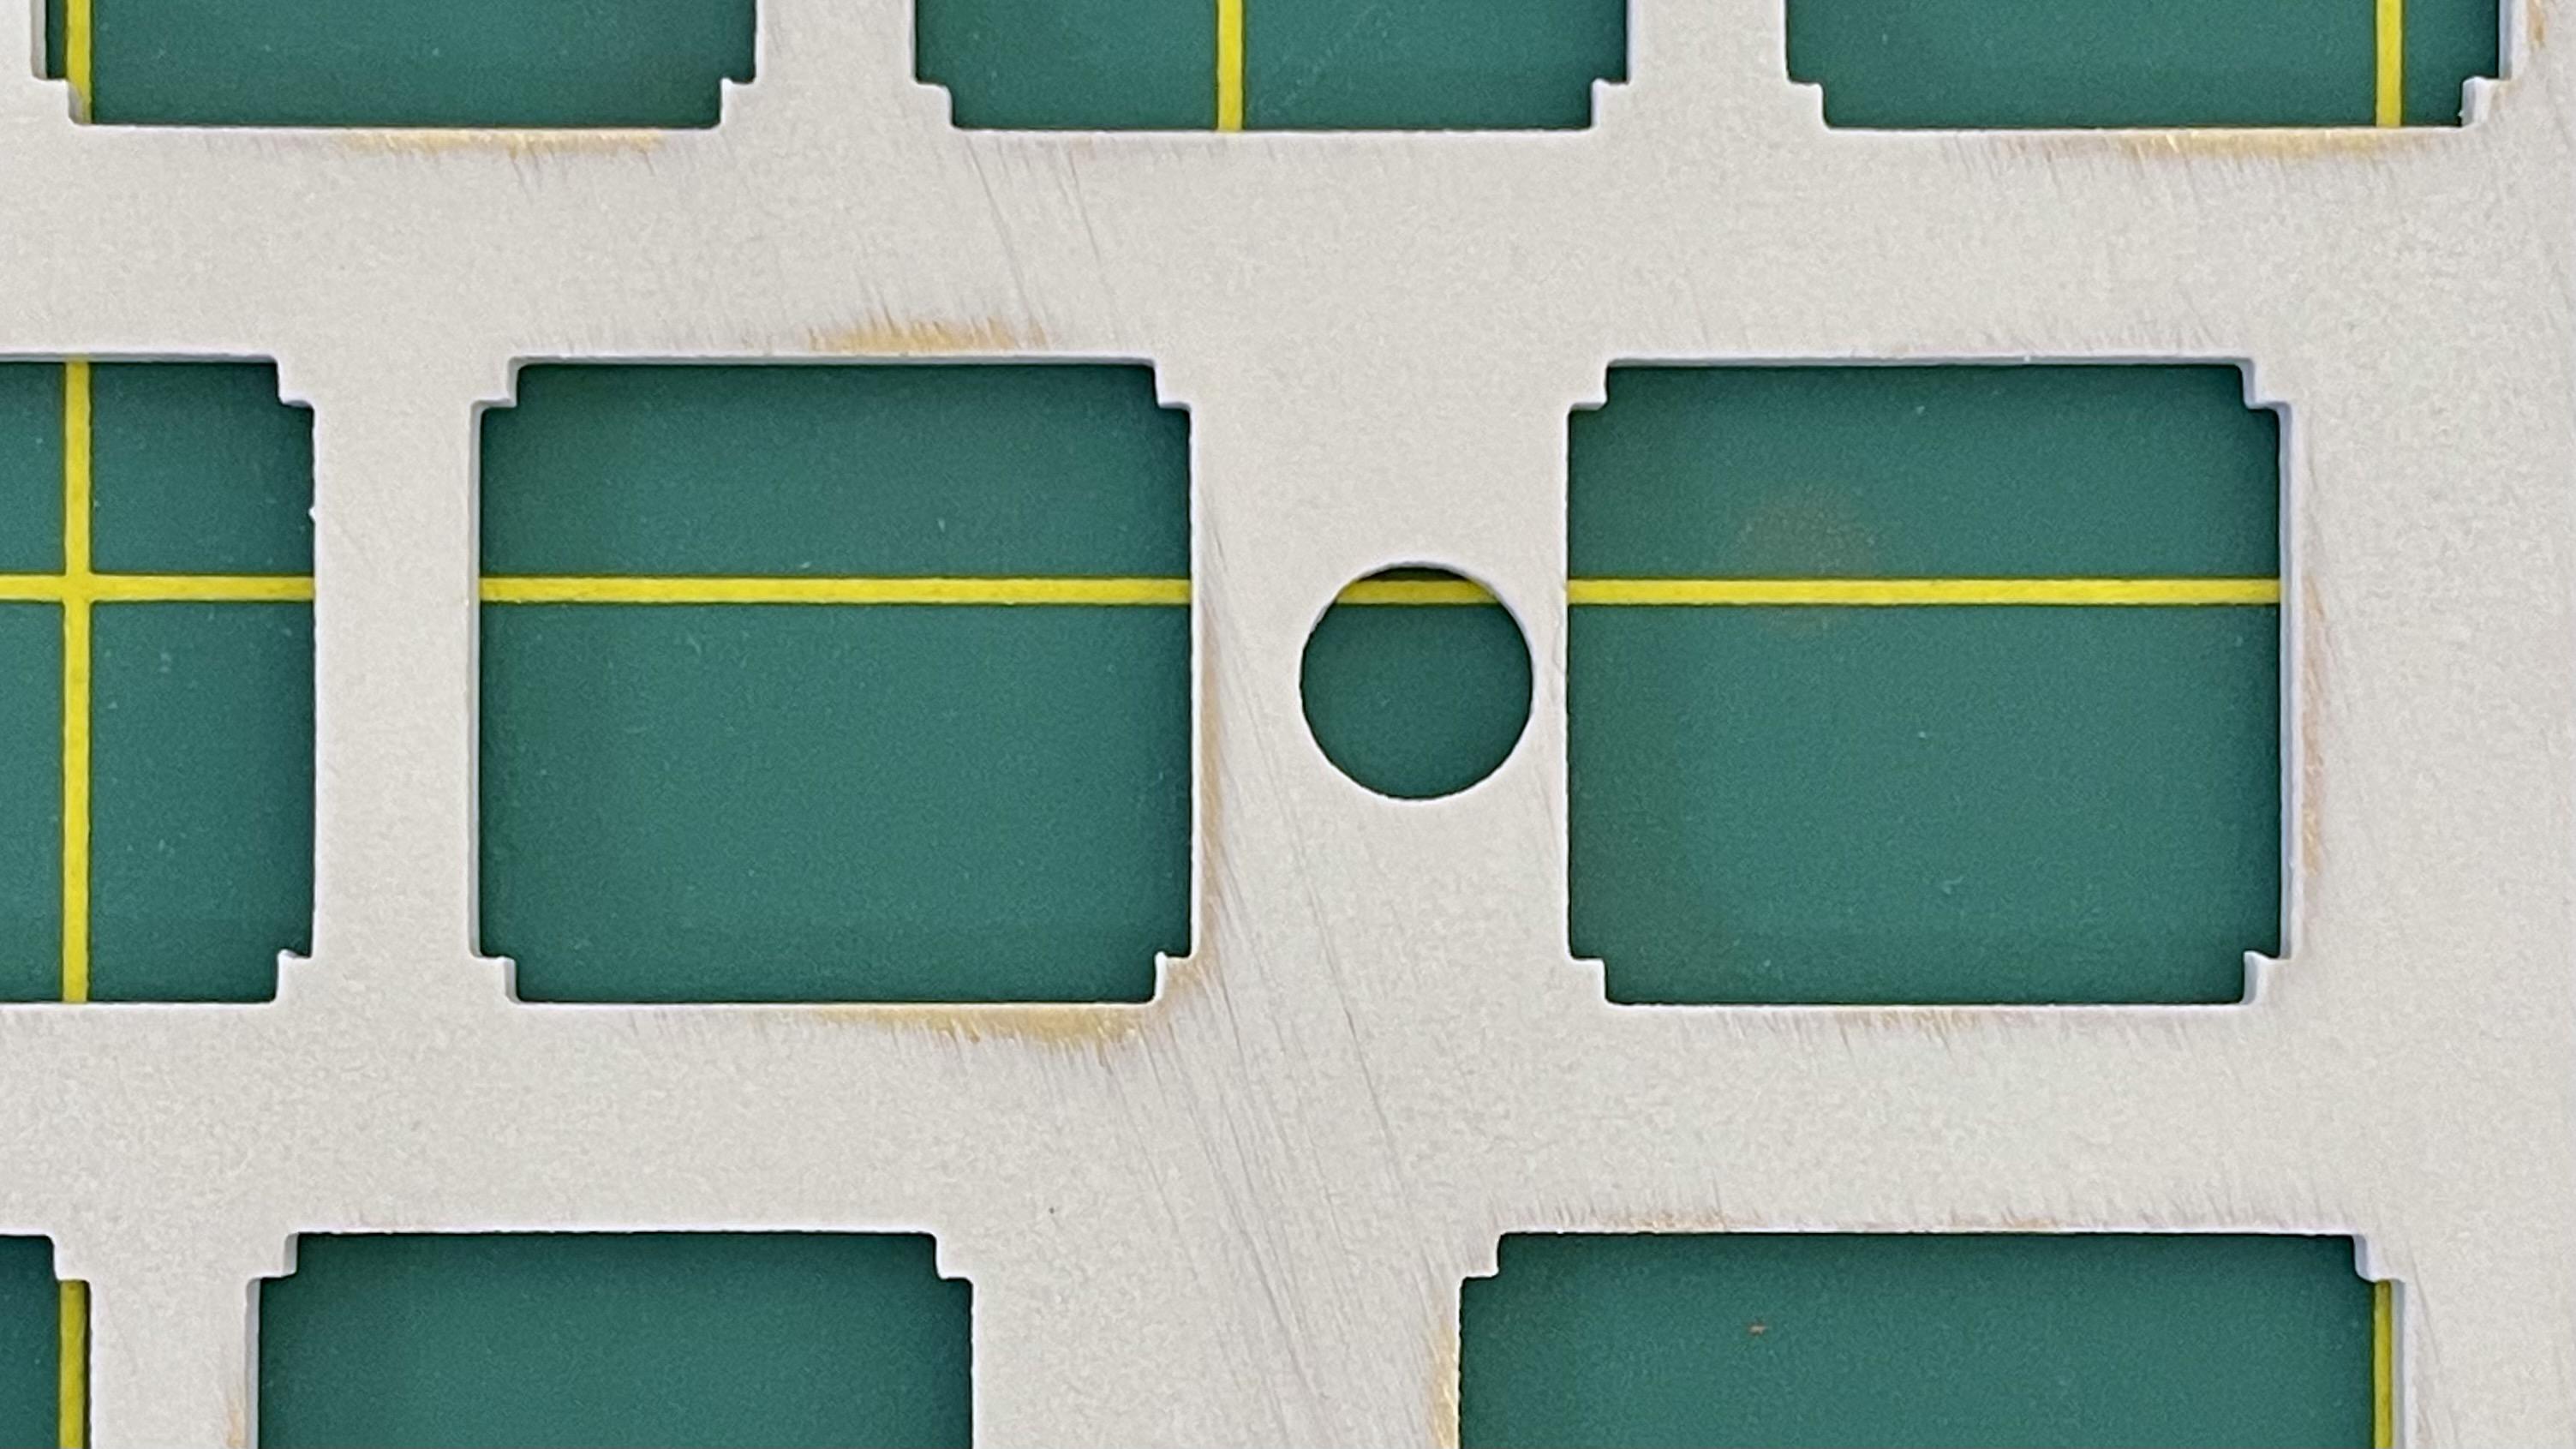
This only happened on one side of the of plate (the underside), so I just left it as is and I’ll paint over it.
Ah, even though I tested the paint on some metal scraps and on the side, it still ended up depositing chunks of paint when I painted the plate. You can see the rough texture here:
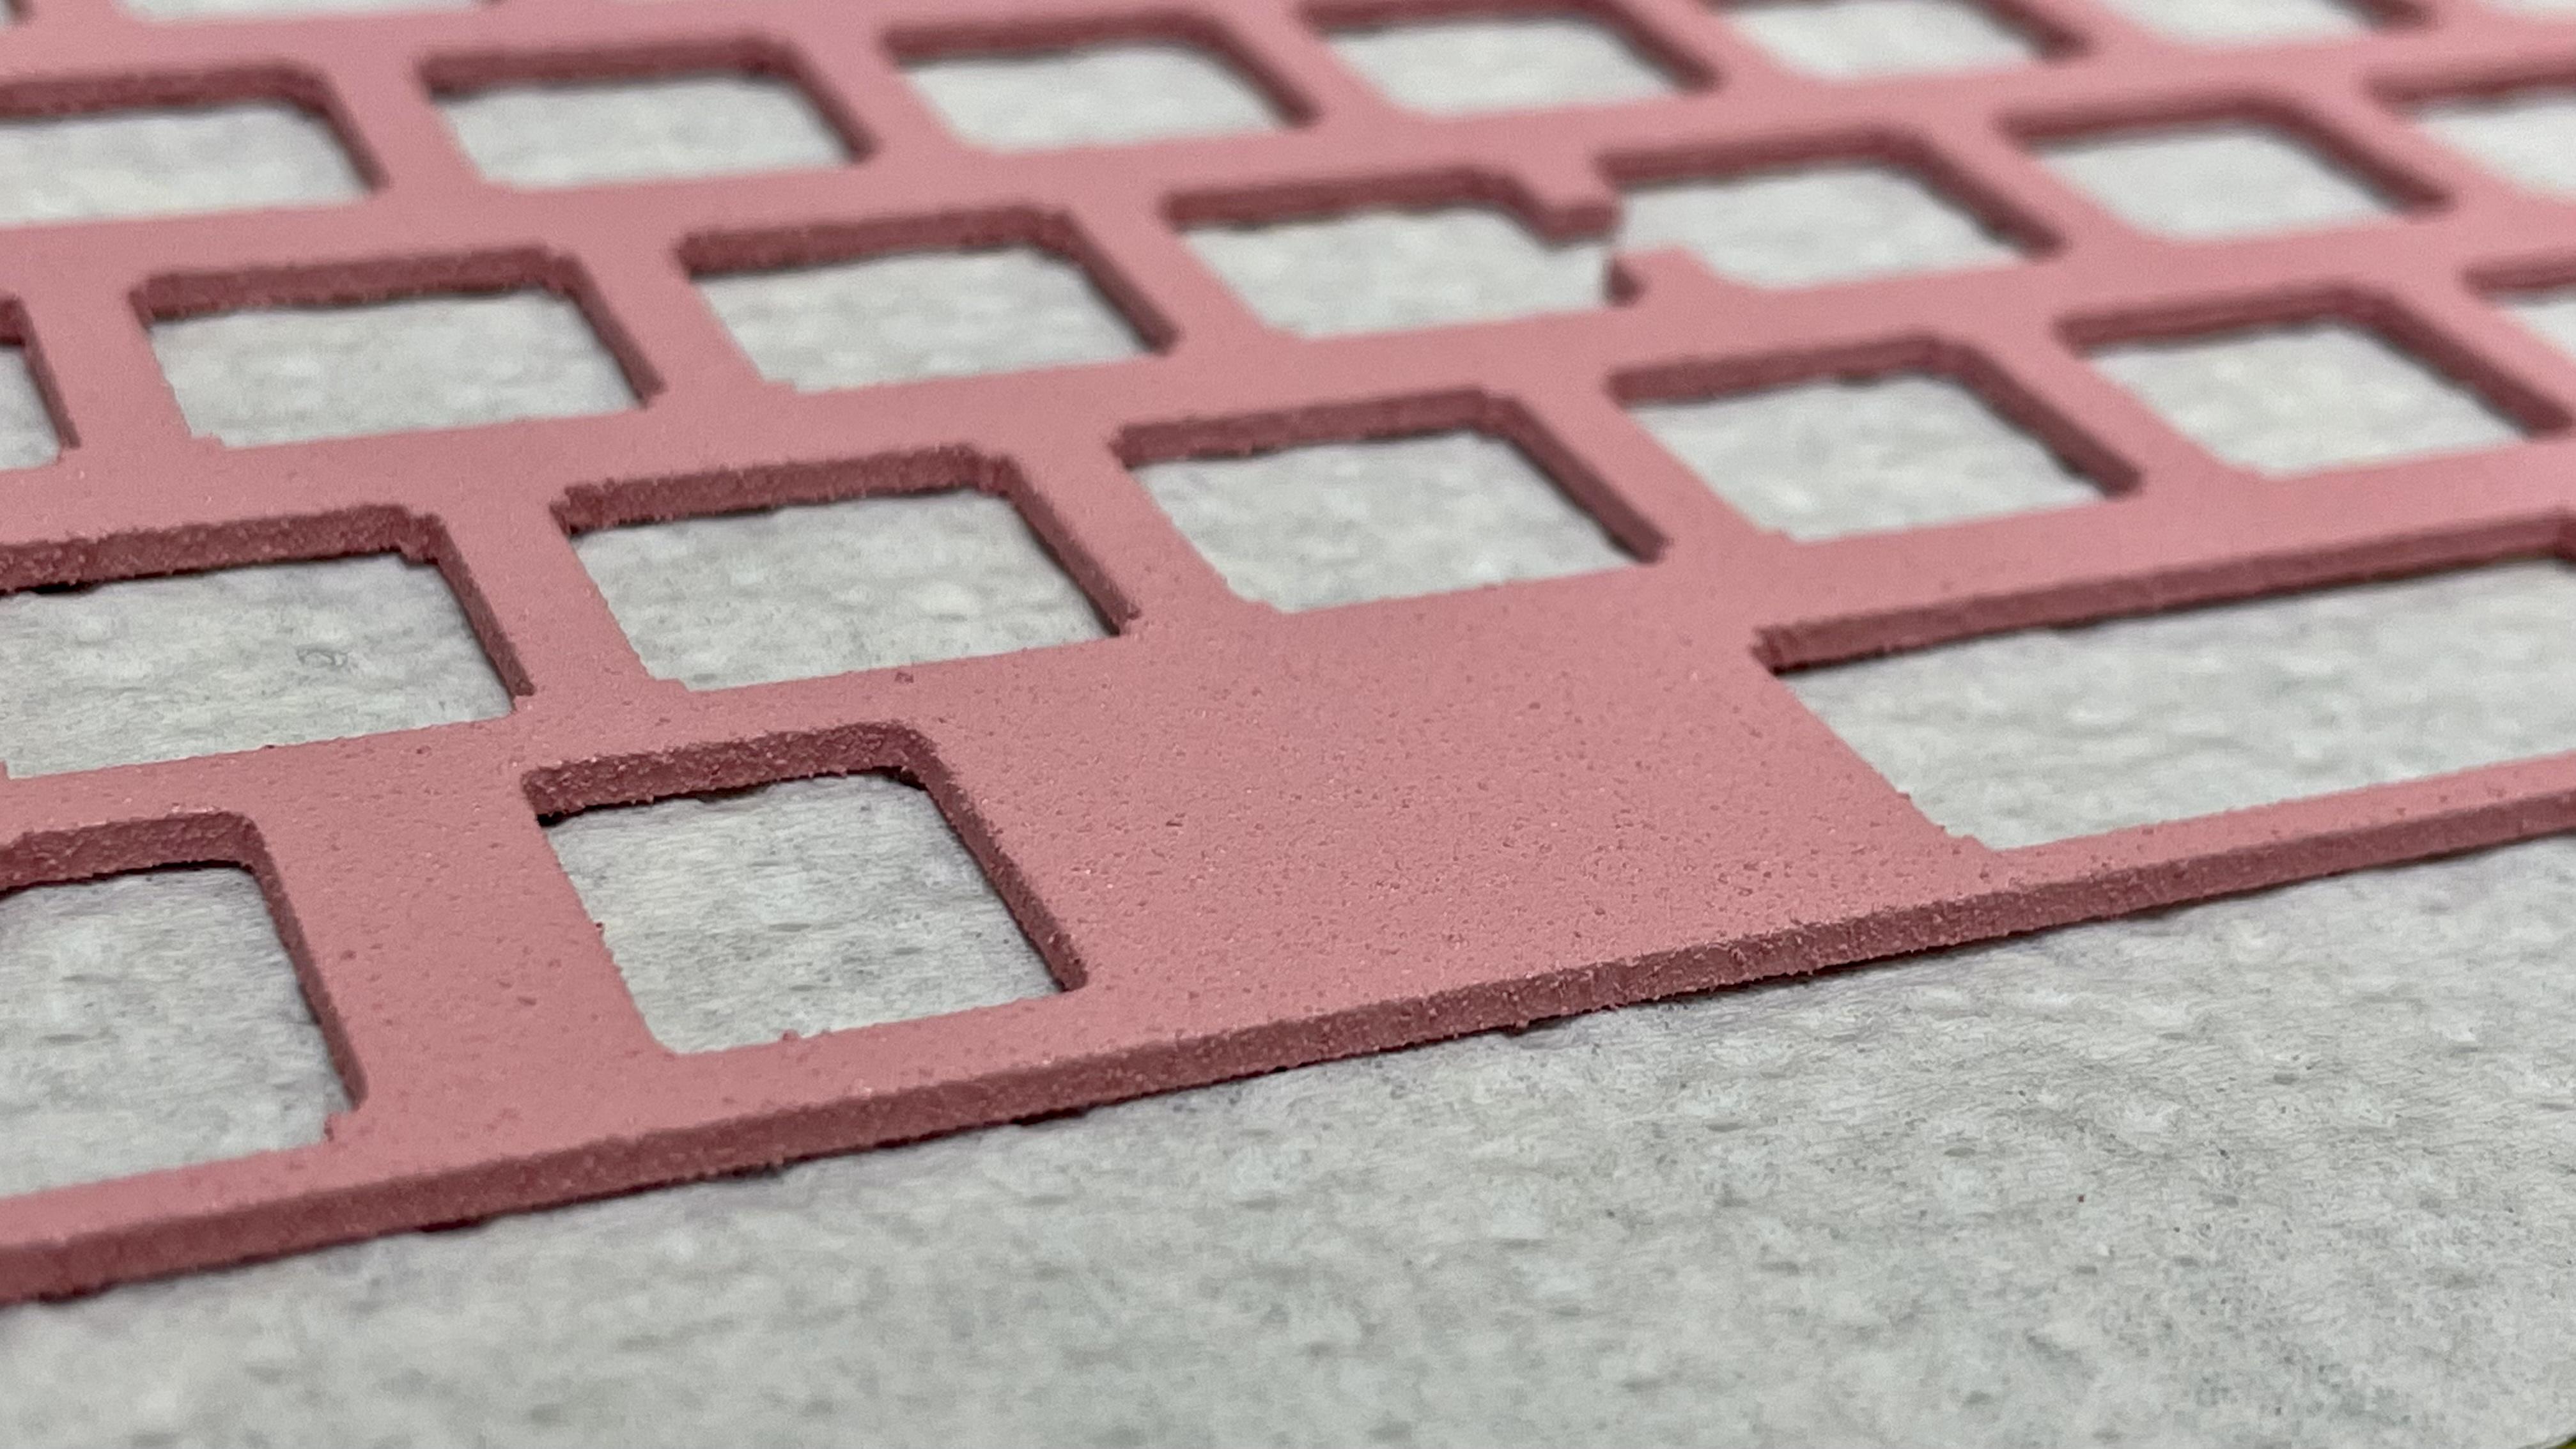
Fortunately, after wet sanding a small section with 600 grit sandpaper, it seems to smoothen just fine.
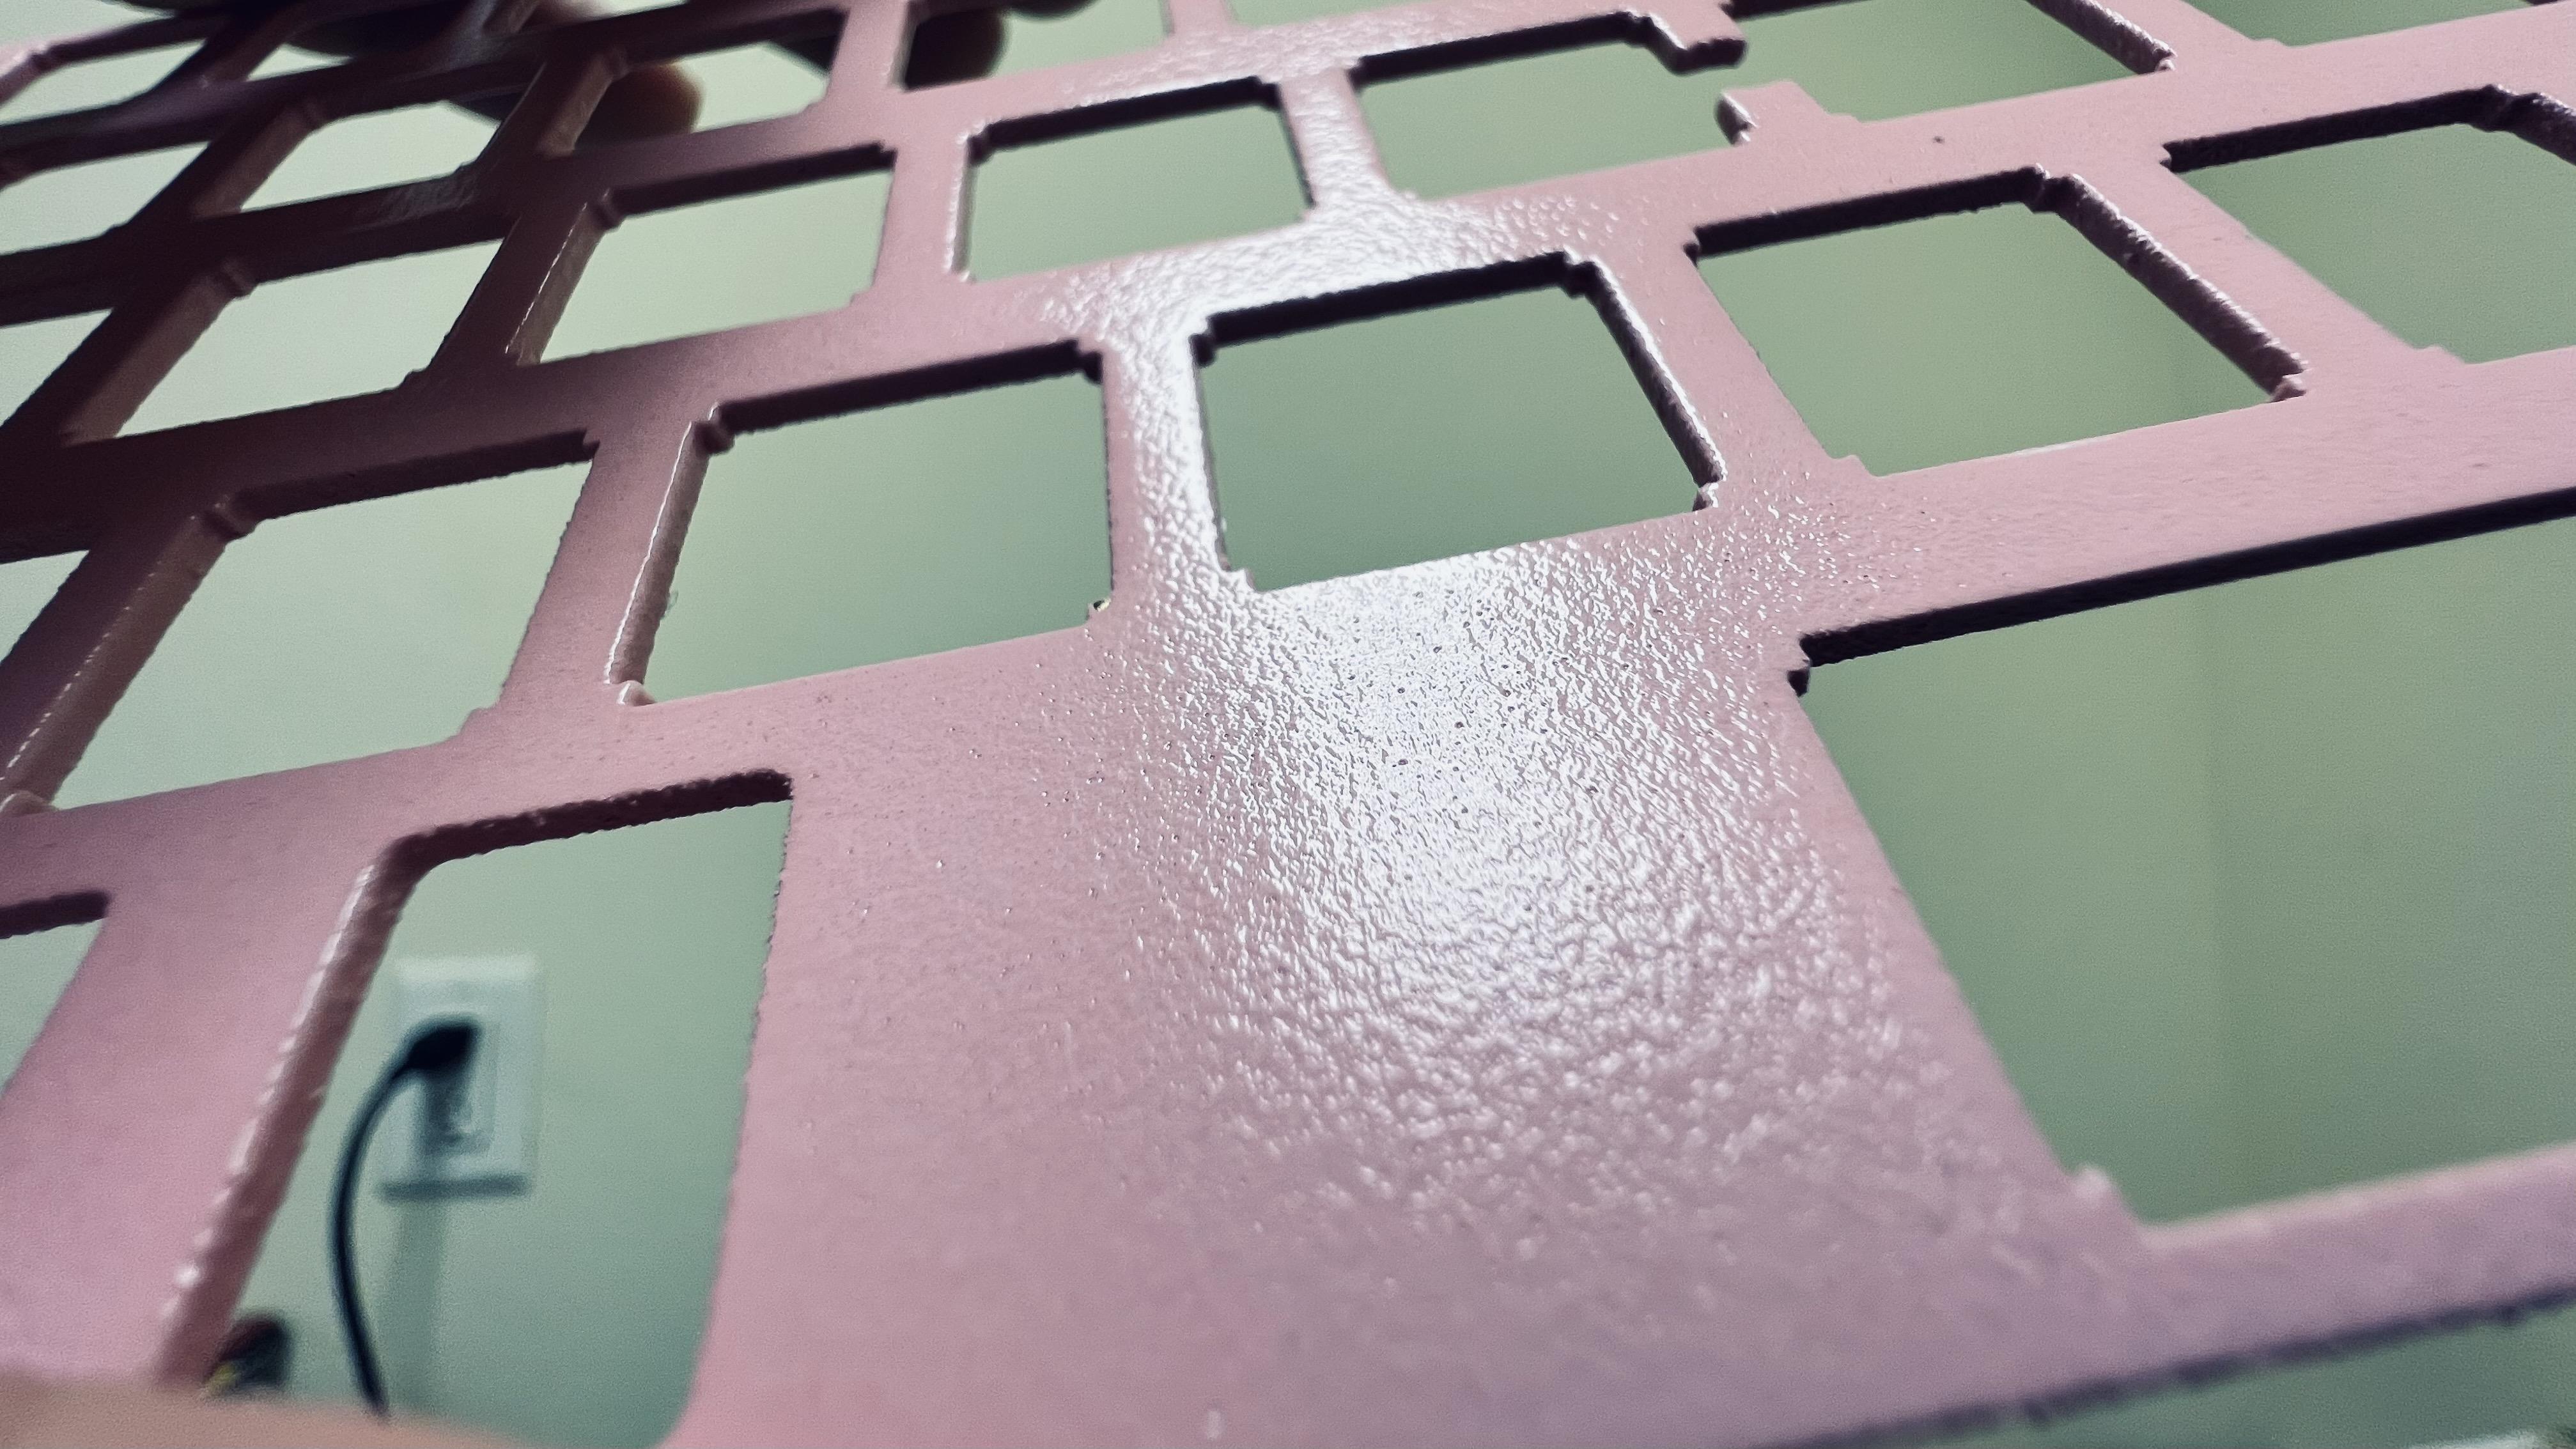
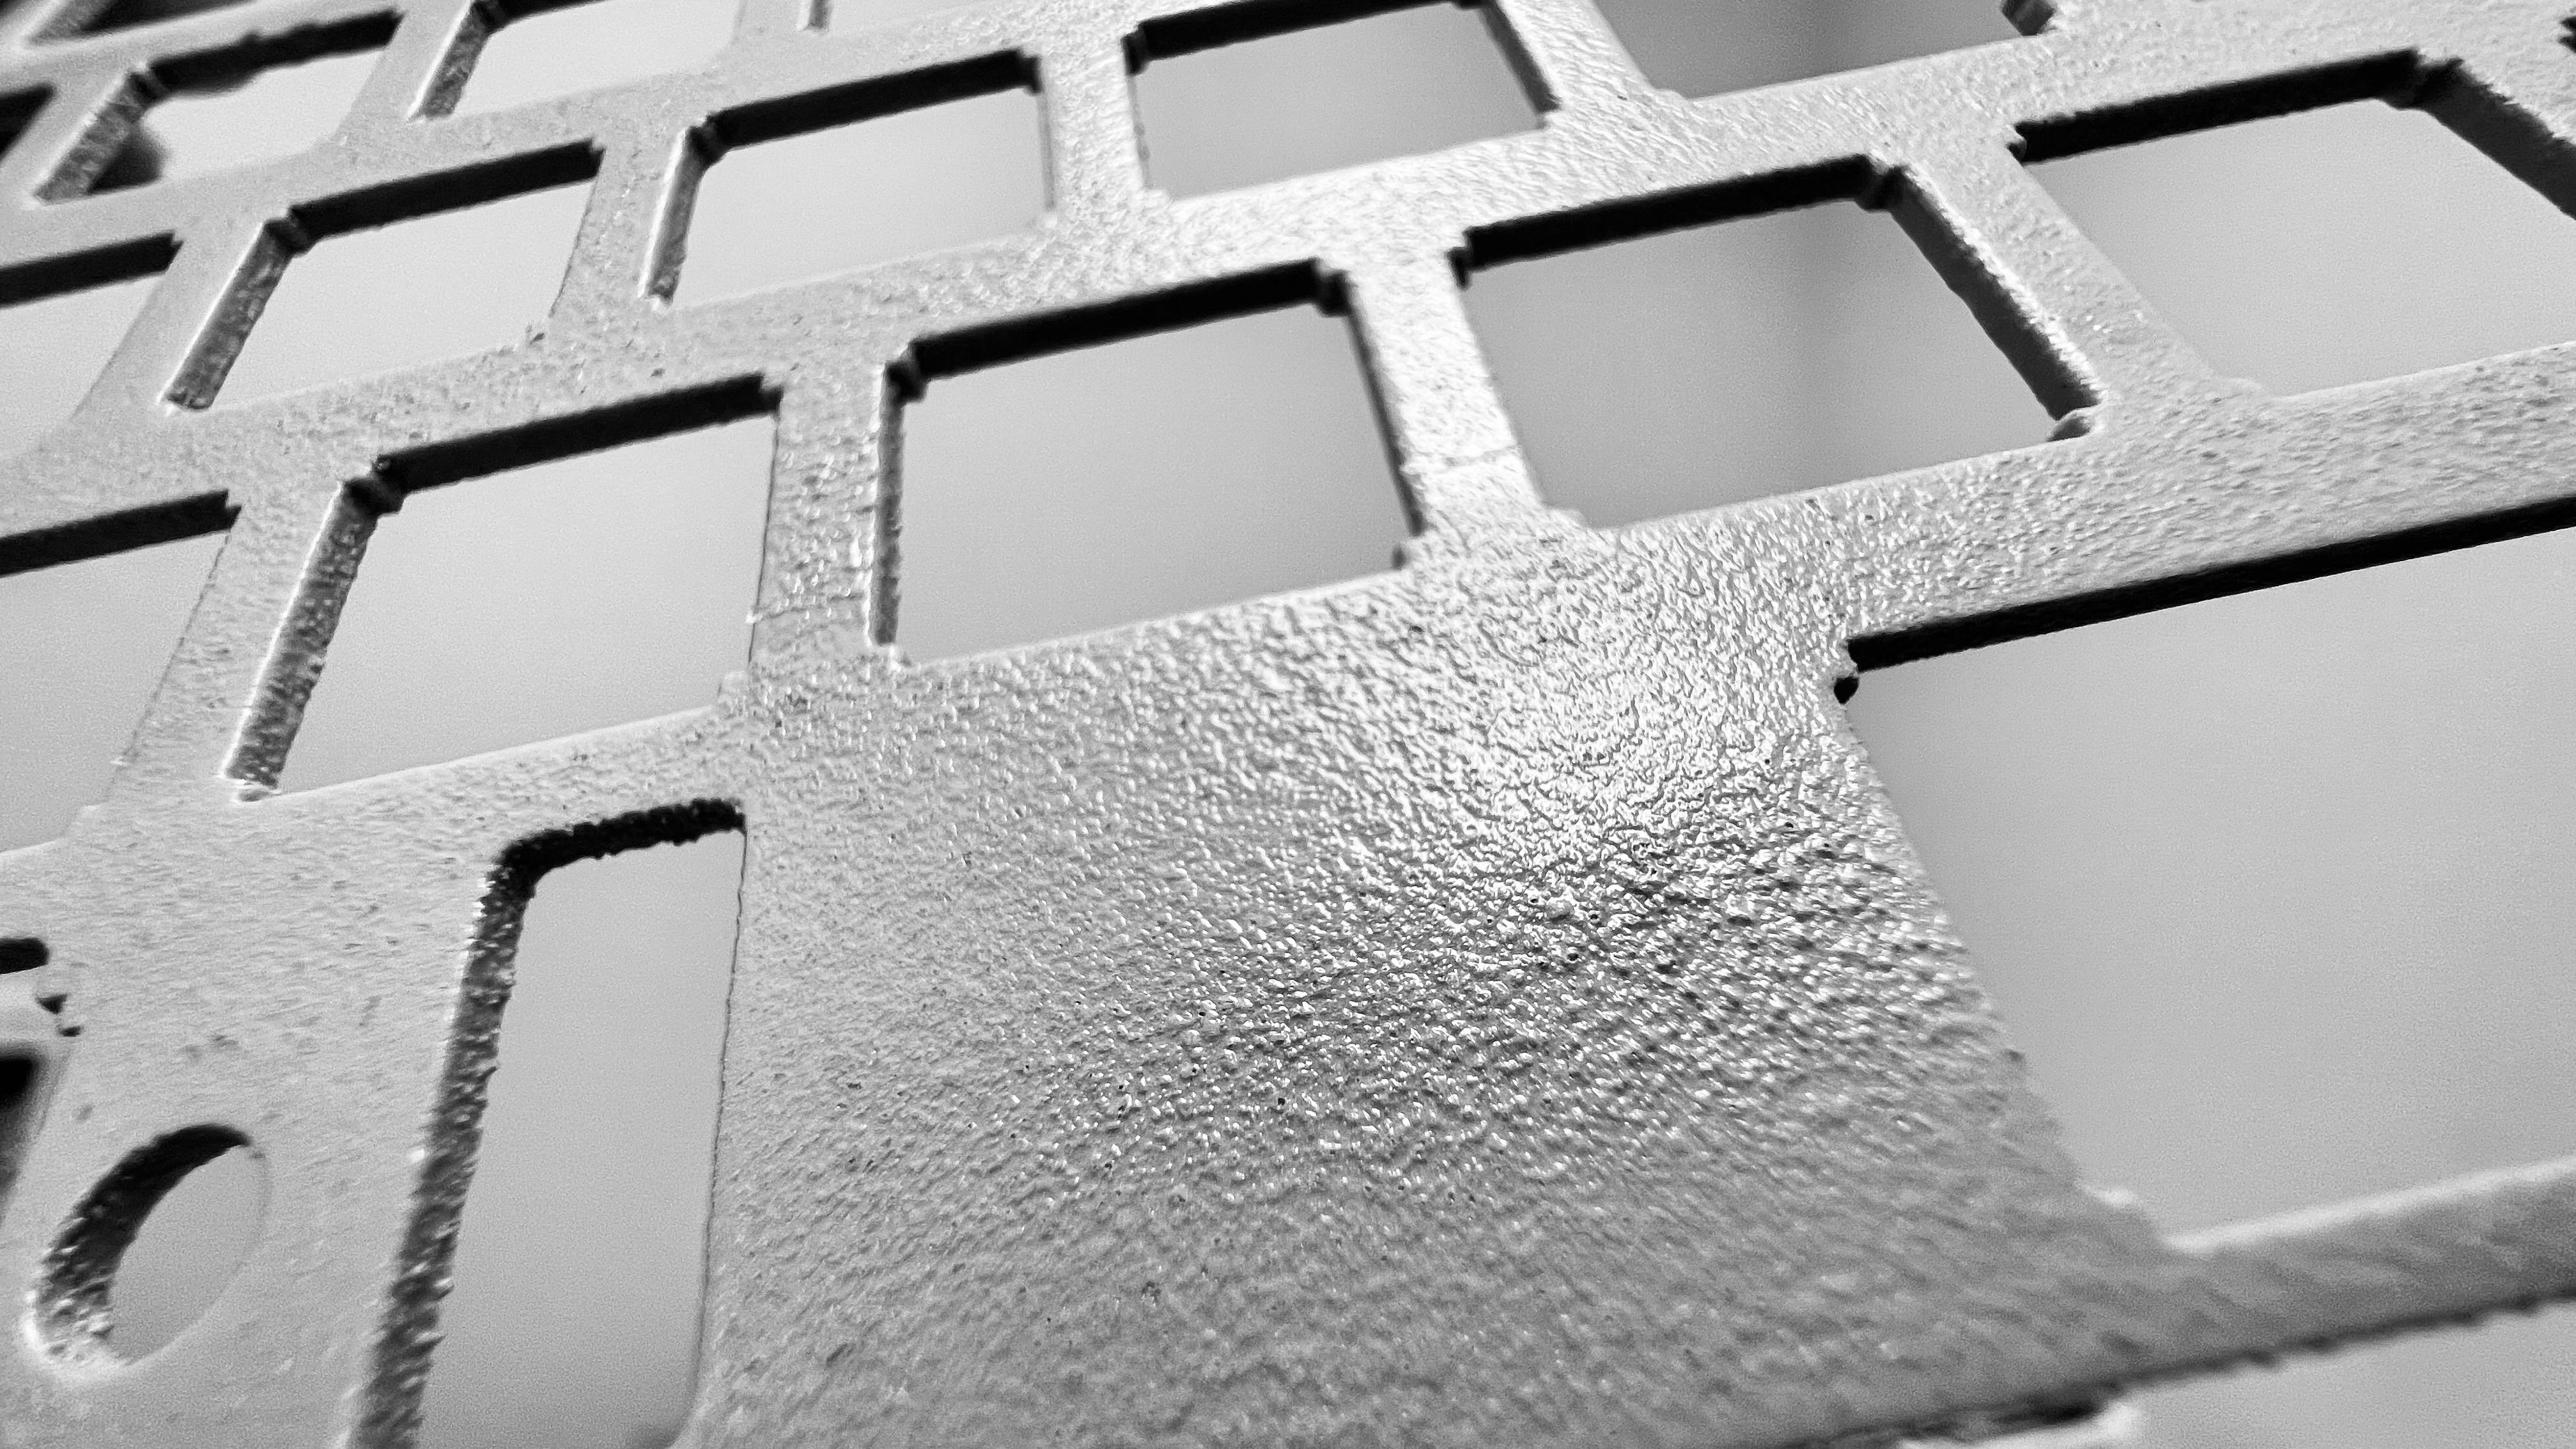
Here’s how it looks after sanding and clear coat. I sanded the top of the plate more and the bottom less to see if the texture is discernible through the clear coat…and it absolutely is. The colored picture is of the top of the plate (more sanded) and the grayscale picture is of the bottom (more textured).
7 Likes