Yep. This was the main reason I went with the route of harvesting them myself rather than ordering them online where they were already disassembled and chemically cleaned.
It’s been a tedious process, but I’m hoping it’s worth it. If nothing else, I have learned a lot.
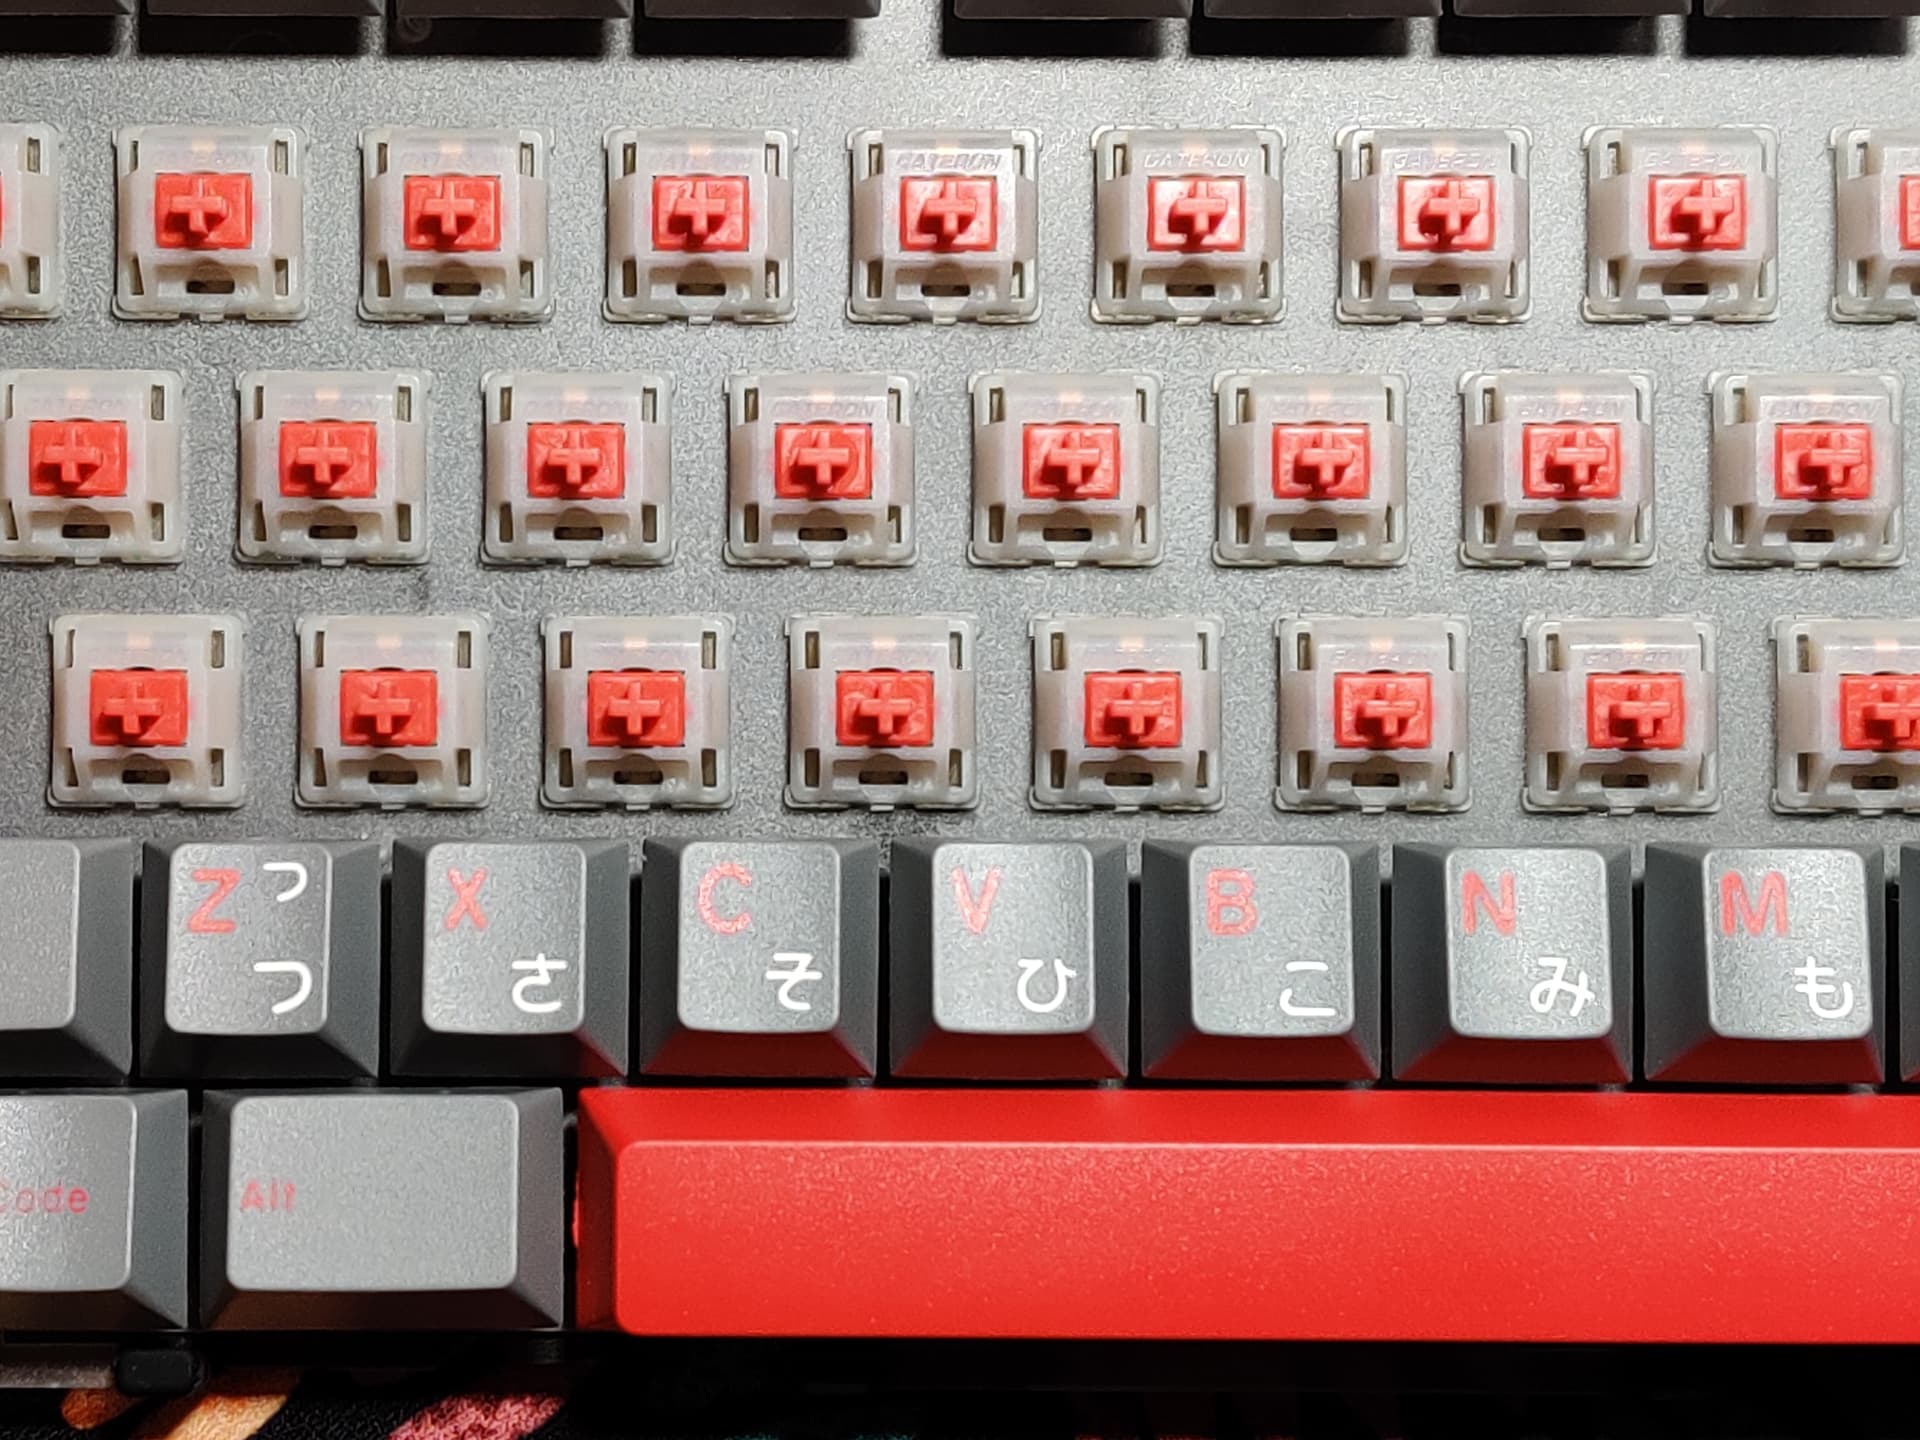
Probably not the best switch to look for results from with this method as the factory lube and tighter tolerances appears to have done their job and prevented any areas of excessive wear.
If anything, the breaking-in helped to evenly distribute the factory lube…
I’m sure the vintage Cherry Blacks will provide much more insight…
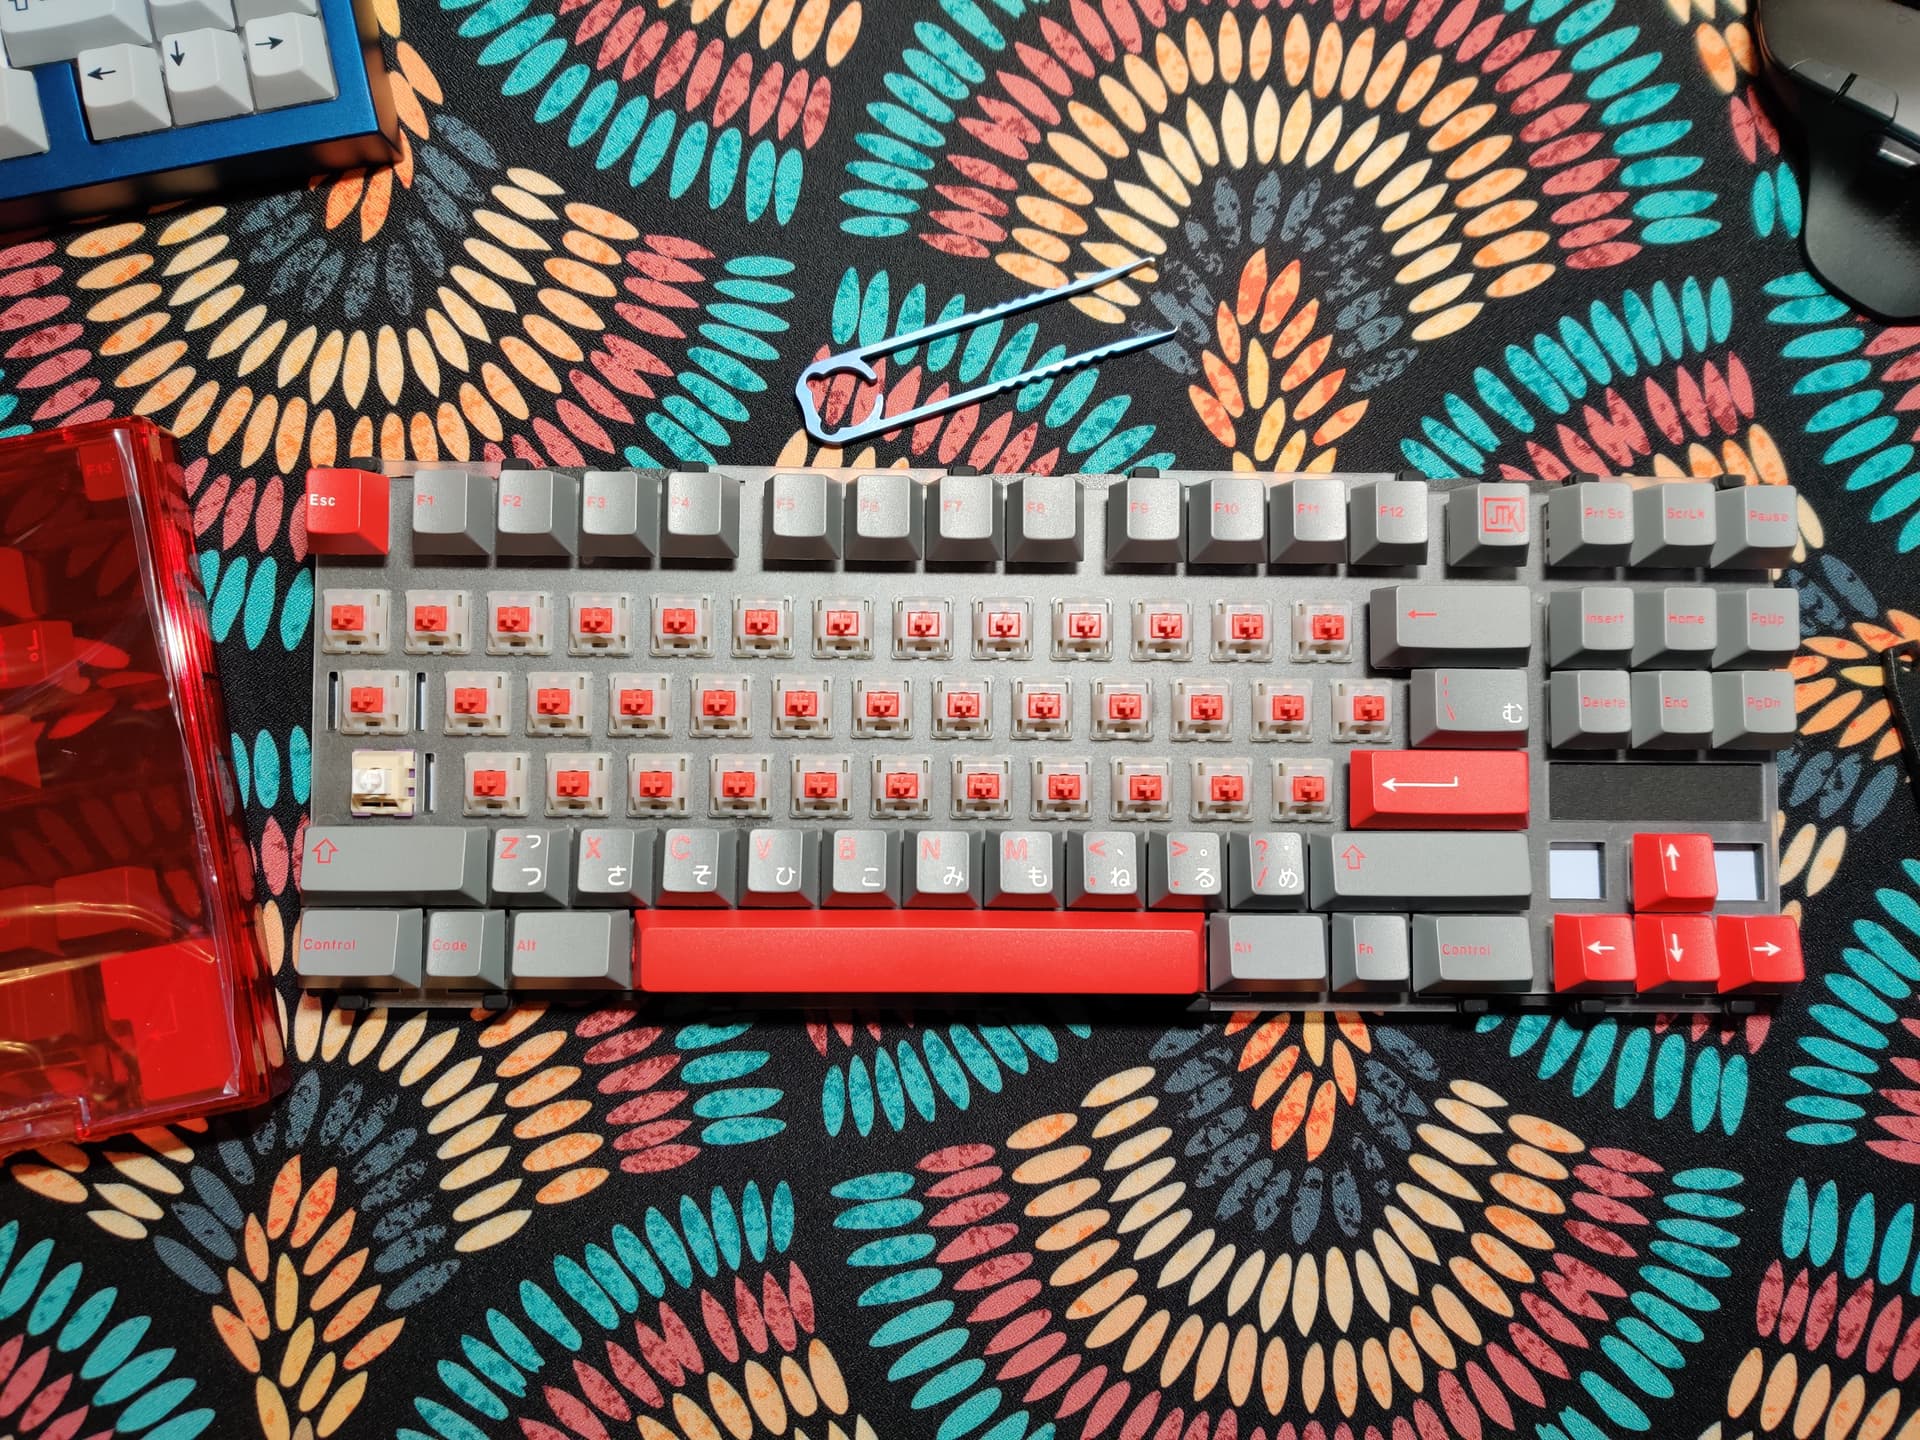
I had this theory that the (Rev 3) TX Stabs I have, have a tick caused by the stem hitting the housing in the North-South axis, due to loose tolerances.
Comparing it to [what I presume are genuine] Cherry stabs I had laying around, the Cherry stabs had just a tiny bit better tolerances, so I thought why not use that housing?
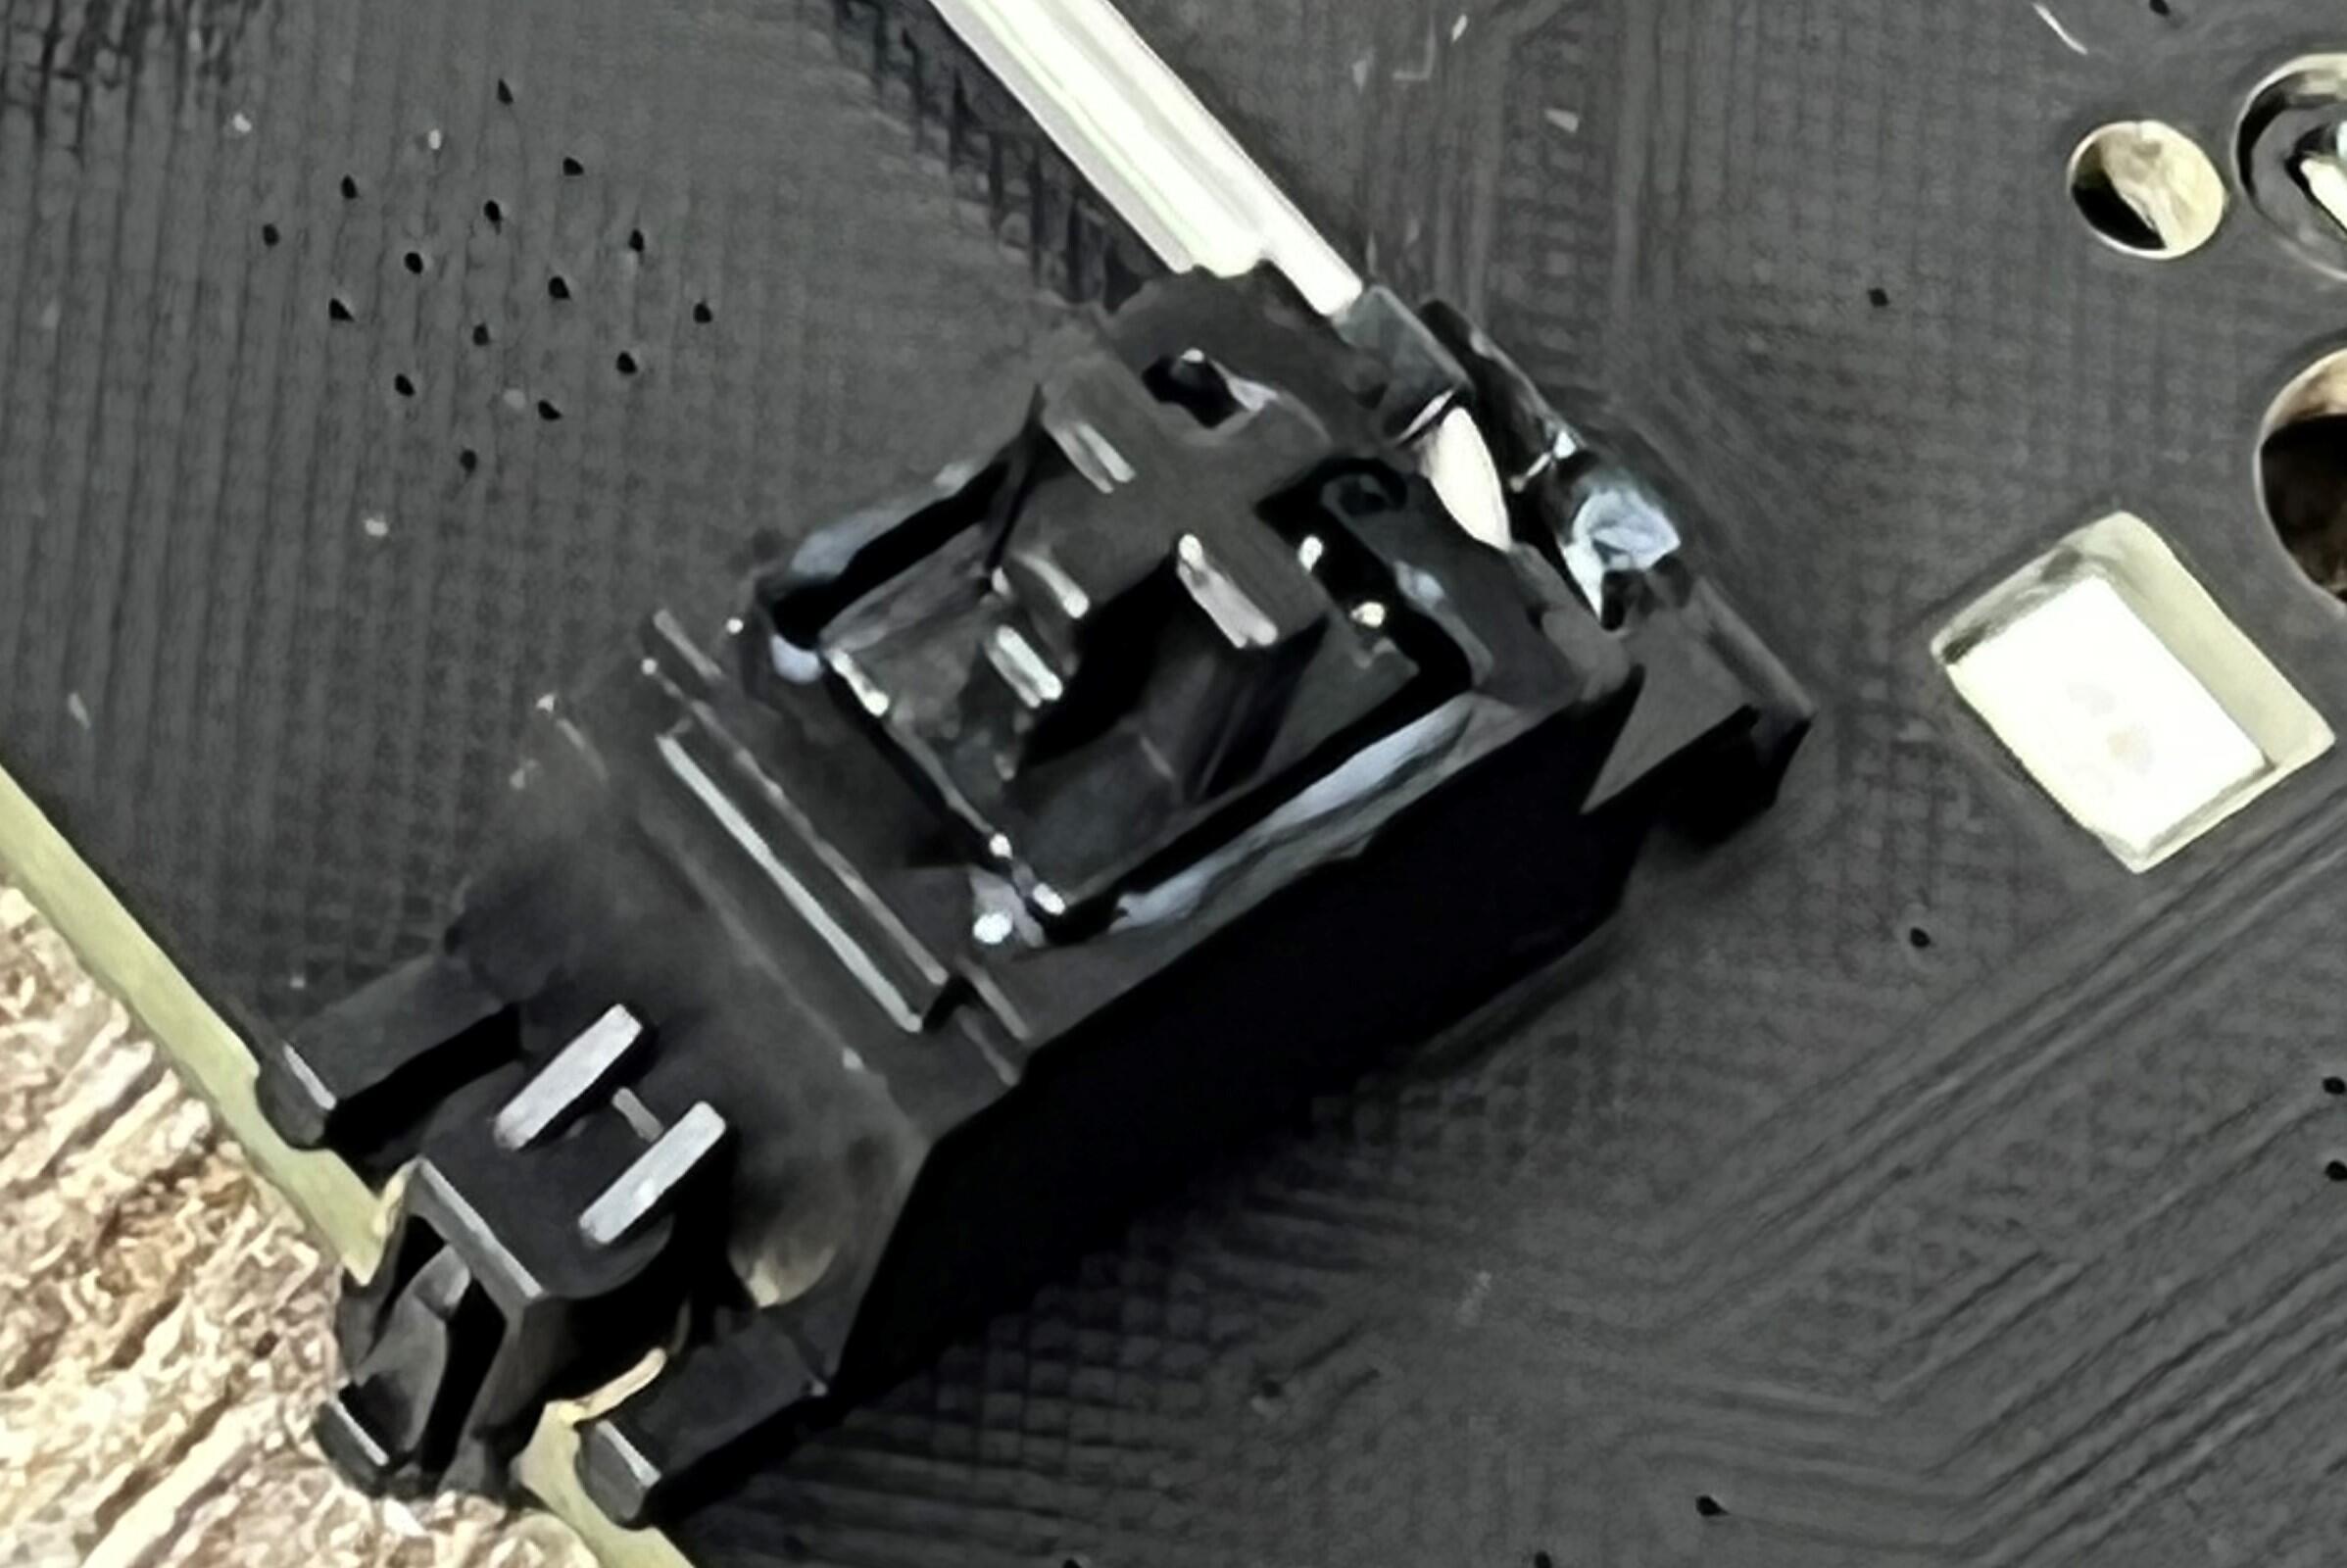
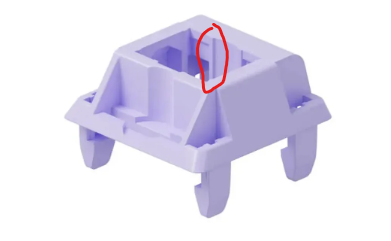
Well If anyone noticed the TX Stabs don’t have any prongs like those:
That’s because the unique shape of the stem causes it to jam on them, as I’ve discovered, after dis-assembling the board, removing the stabs and meticulously cleaning them.
The slighty better tolerances do make them better though, I’m looking for the next version after the AP verison.
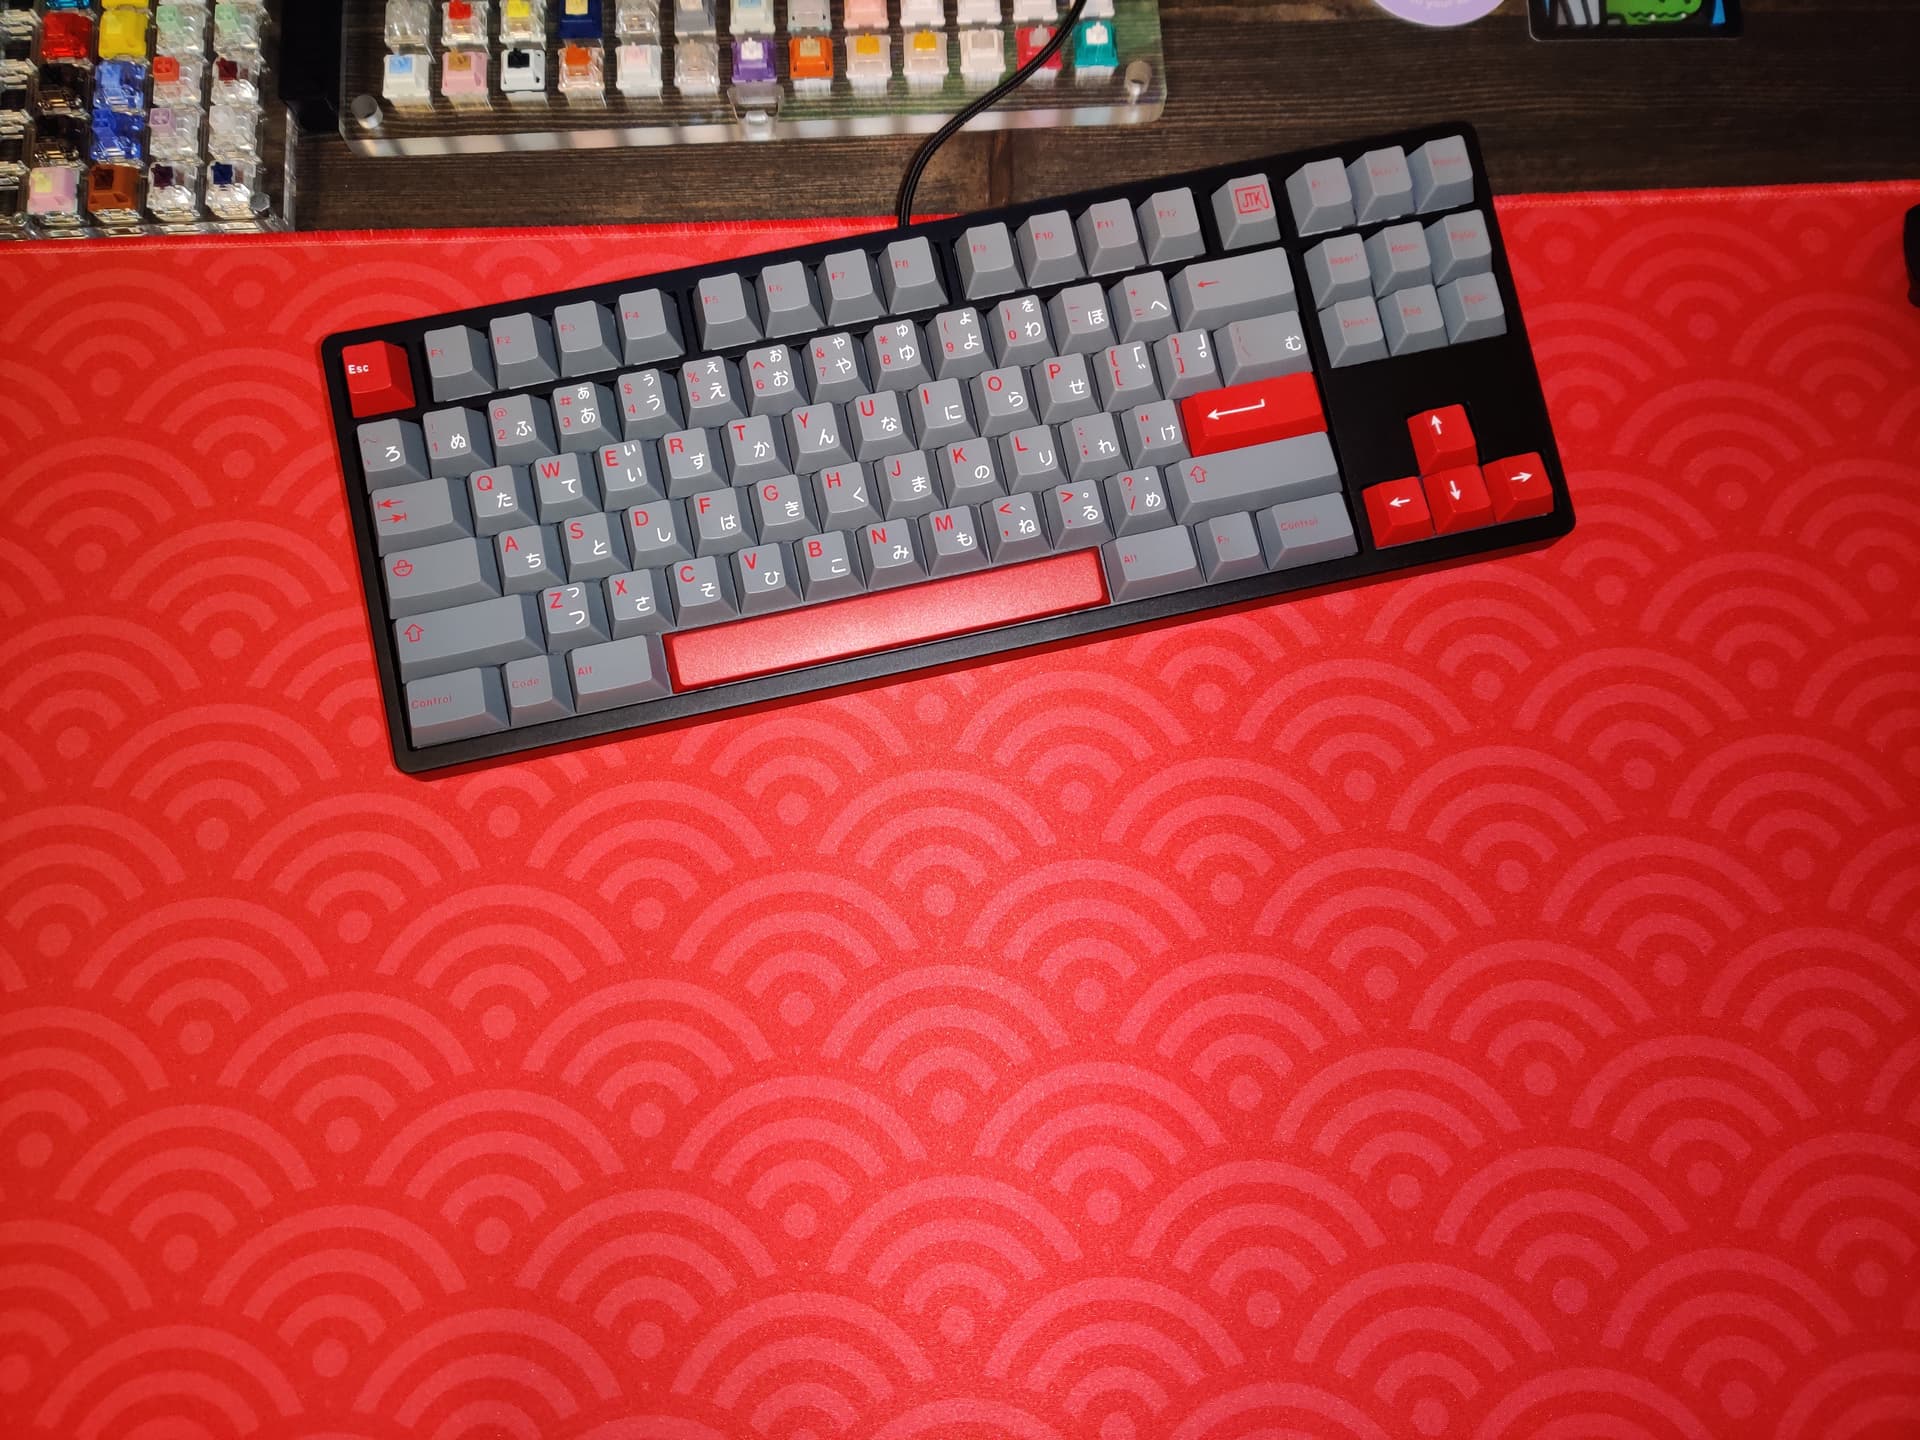
Finally decided to build a full TKL with cream+ switches. I used the titanium inserts for this one.
What a headache! Out of the needed 87 switches, I was able to get inserts to properly fit in 73. So 47 of the 120 supplied cream+ titanium inserts were undersized and fell out of the stem holes. For the remaining 14, I tediously cut and inserted teflon tape into the holes. Seemed to work, but it took me 30 minutes just to do the last 14.
Got them all installed in my U80 (hotswap). I don’t really like them that much. LOL. The spring feels way too light for me. Also, I’m hearing some squeaks and chirps occasionally. I’ll probably open them all back up and lube and spring swap some day. But today, these switches have pissed me off so much I don’t want to look at them again any time soon.
I thought about this when I first saw them, I figured they would undersize the holes to prevent this but I guess they either didn’t or manufacturing it is too hard.
I wondered if the inserts could fall/lower while typing and then rattle.
It’s strange to me how consistent the plastic is. The holes all seem exactly the same. Like a tight insert is the same in multiple stems, and a loose one falls out of them all. Weird how the inconsistency is in the metal.
That’s super annoying. I’m just running them without inserts now with Tecsee 62.5g dual stage springs (CannonKeys slow springs). They are plenty smooth and have a nice deeper’ish sound signature.
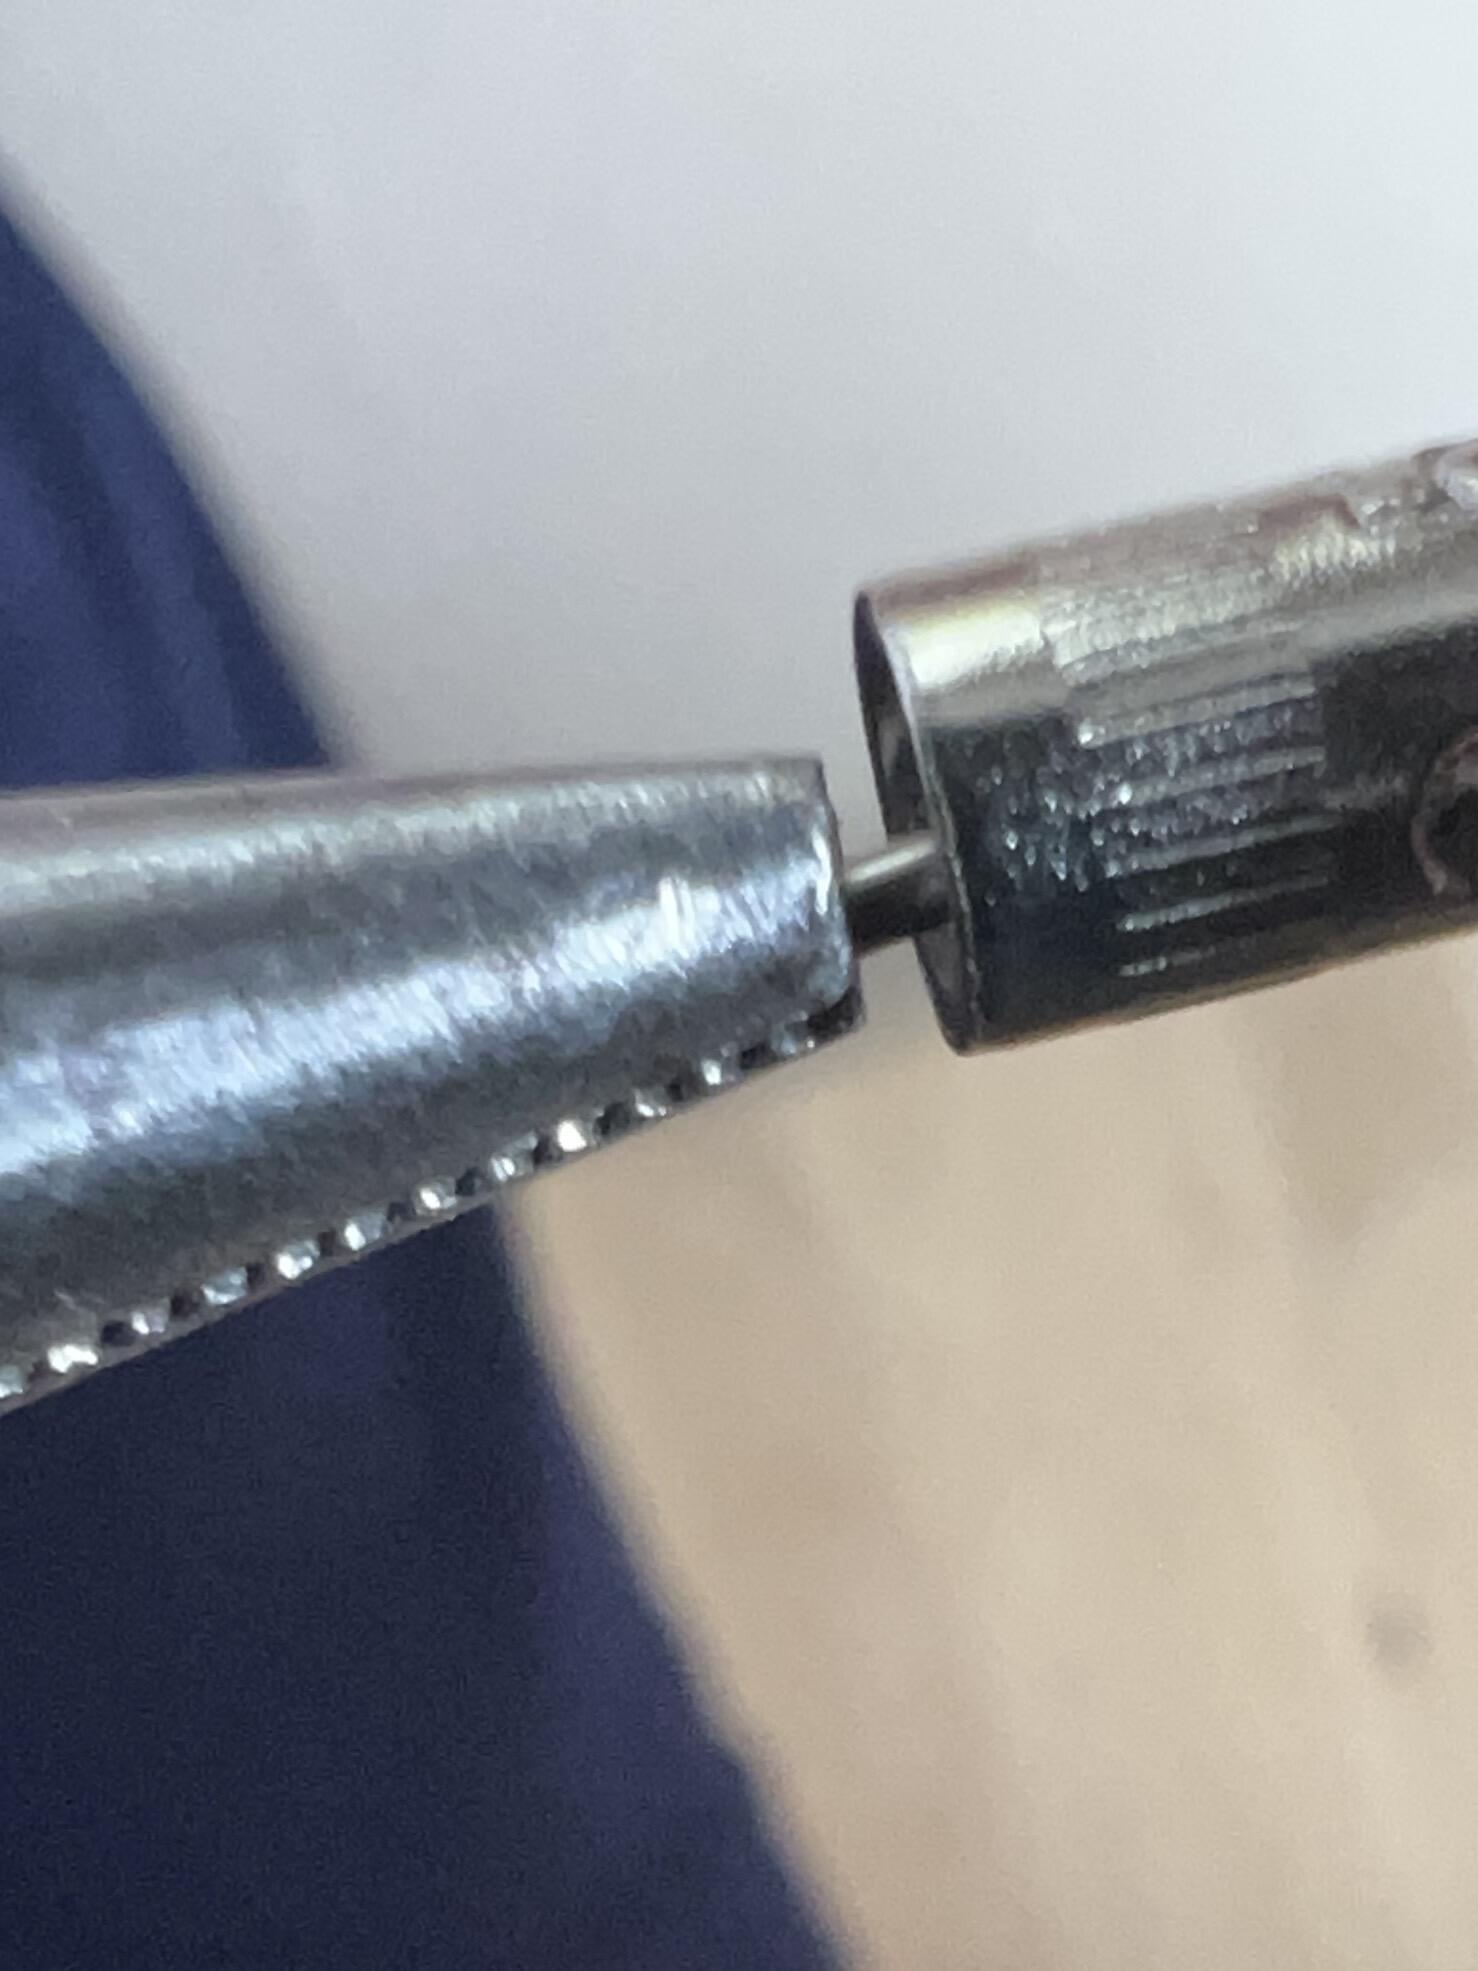
It does work to bend them, but the switch won’t function properly afterwards. I held the slim end with needle nose pliers and put the flat end in an ifixit socket attachment for leverage. This much of a bend causes it to just barely catch at the end of insertion. Easier than the Teflon tape.
BUT!! I reassembled the switch and the pole now catches in the housing slightly. I checked and the insert isn’t rough at the top. It must be the shape causing issues. Darn. This was easier by far.
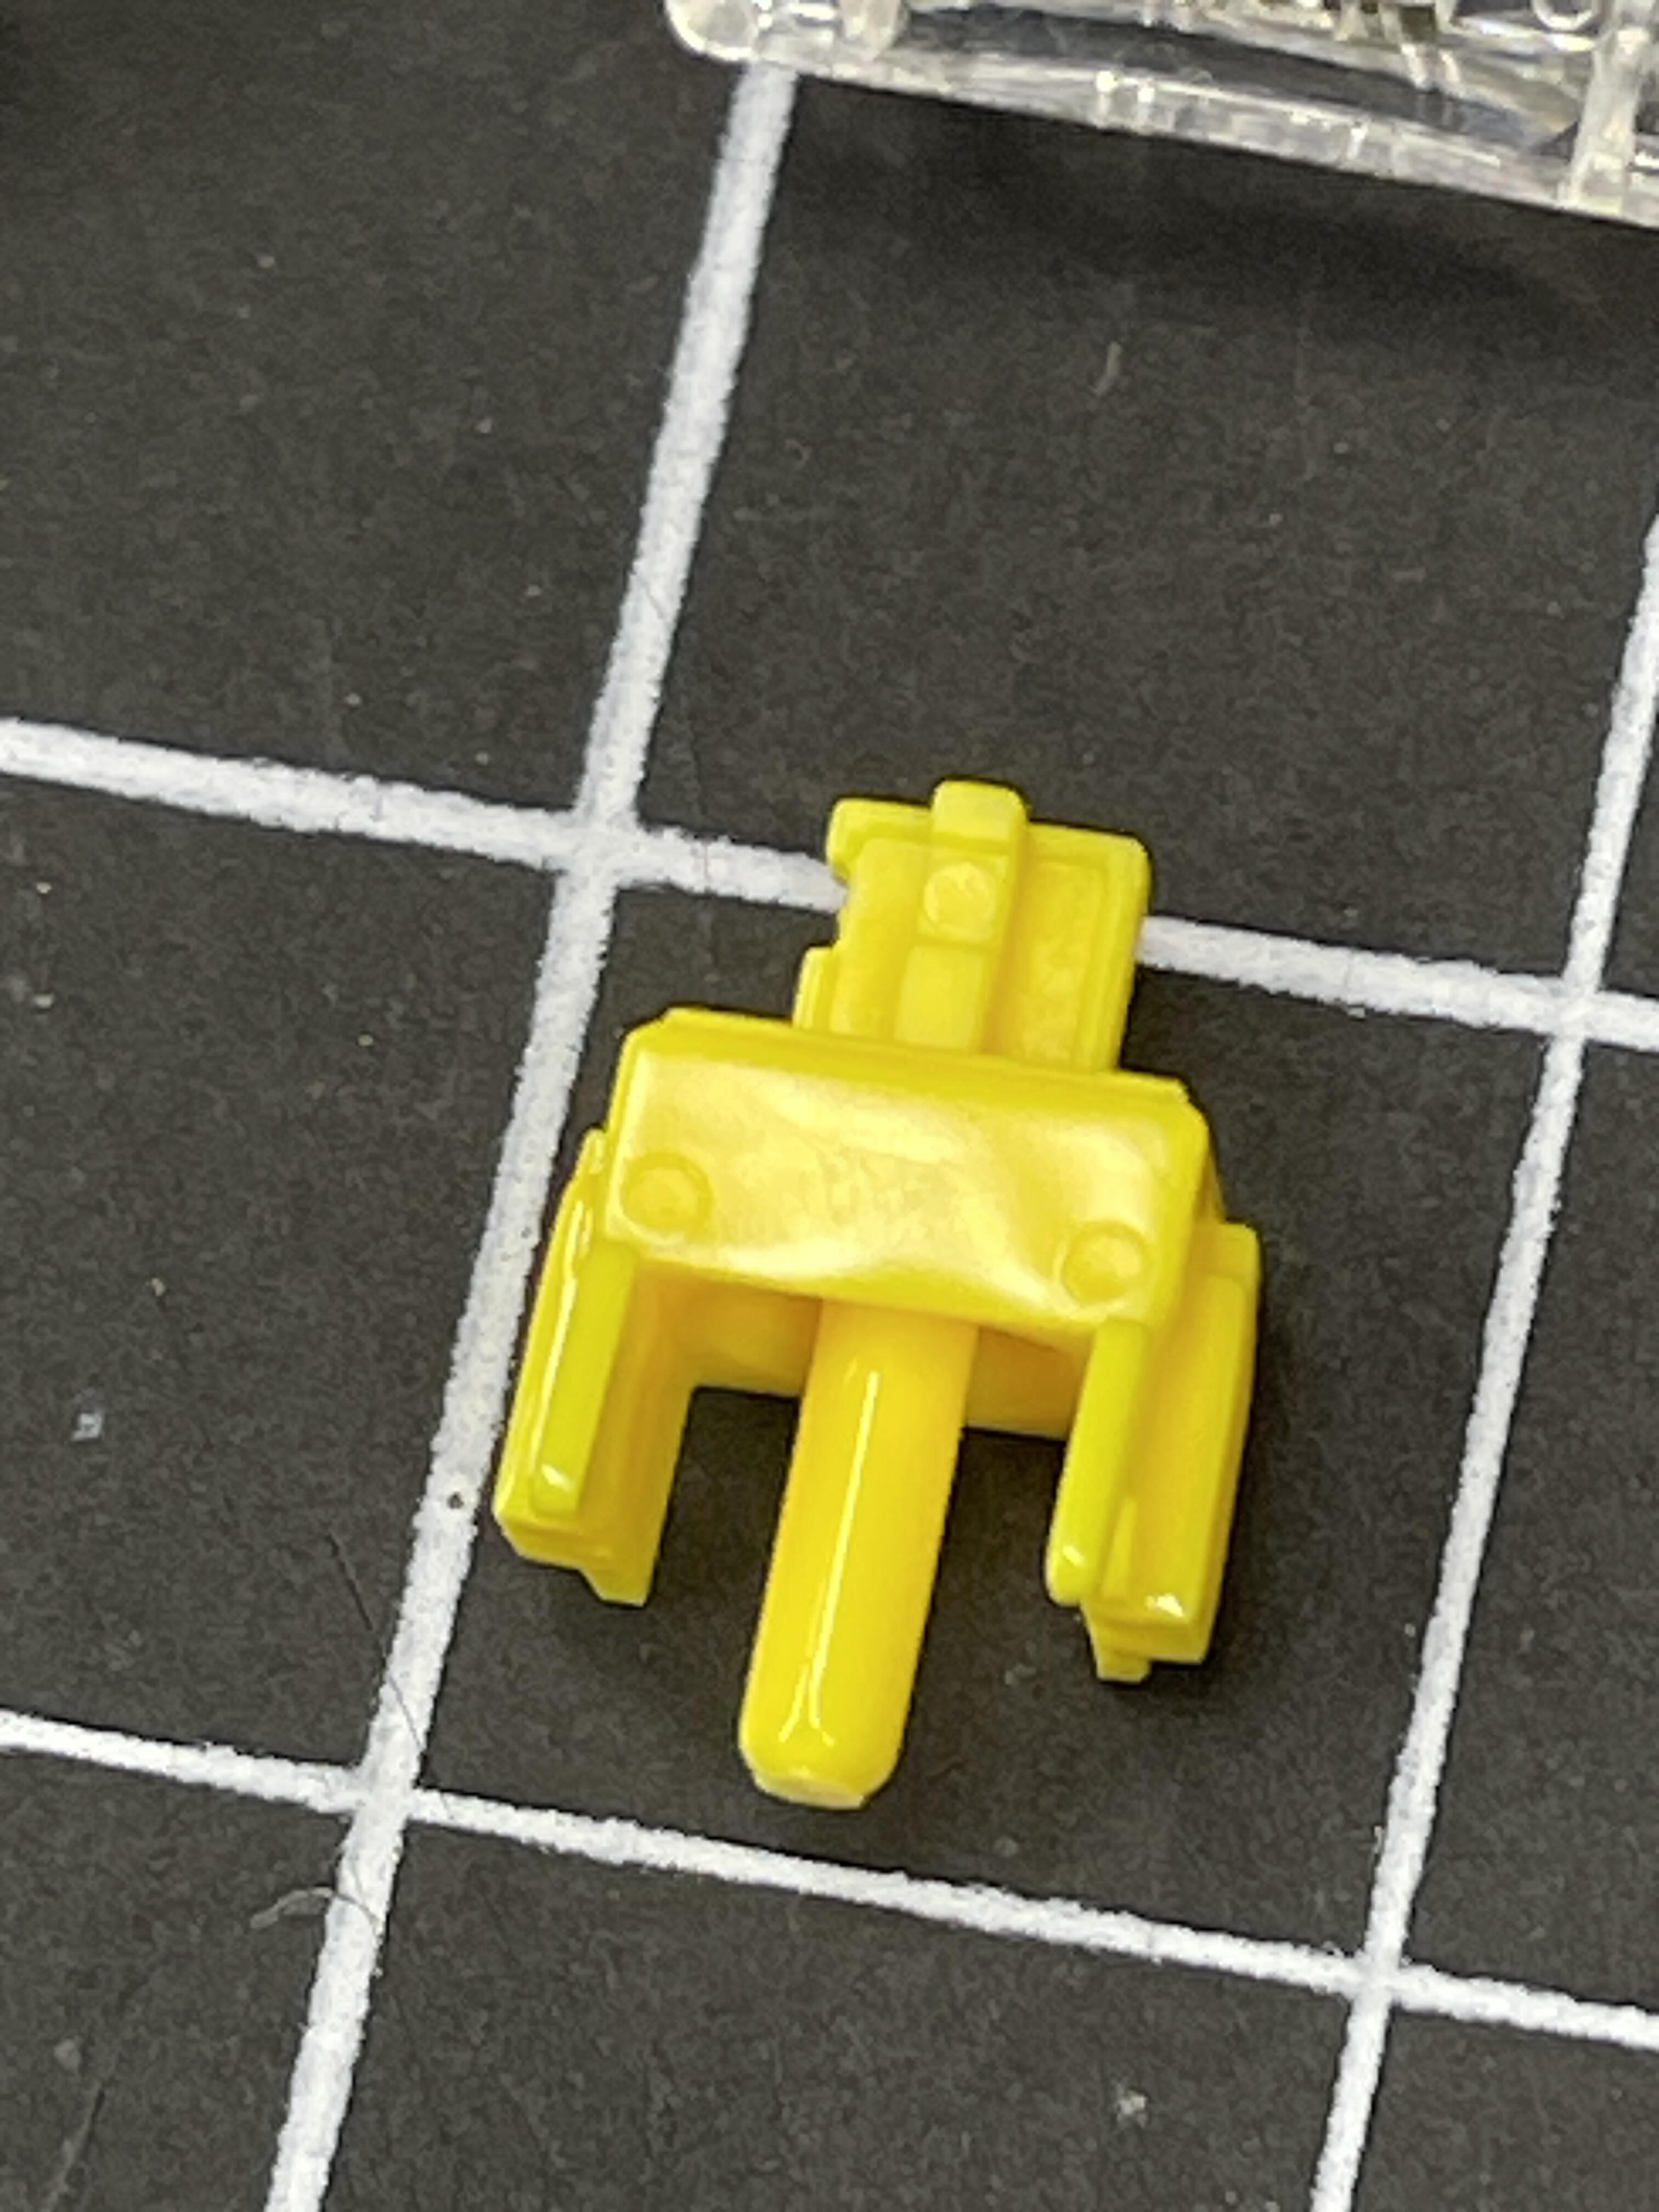
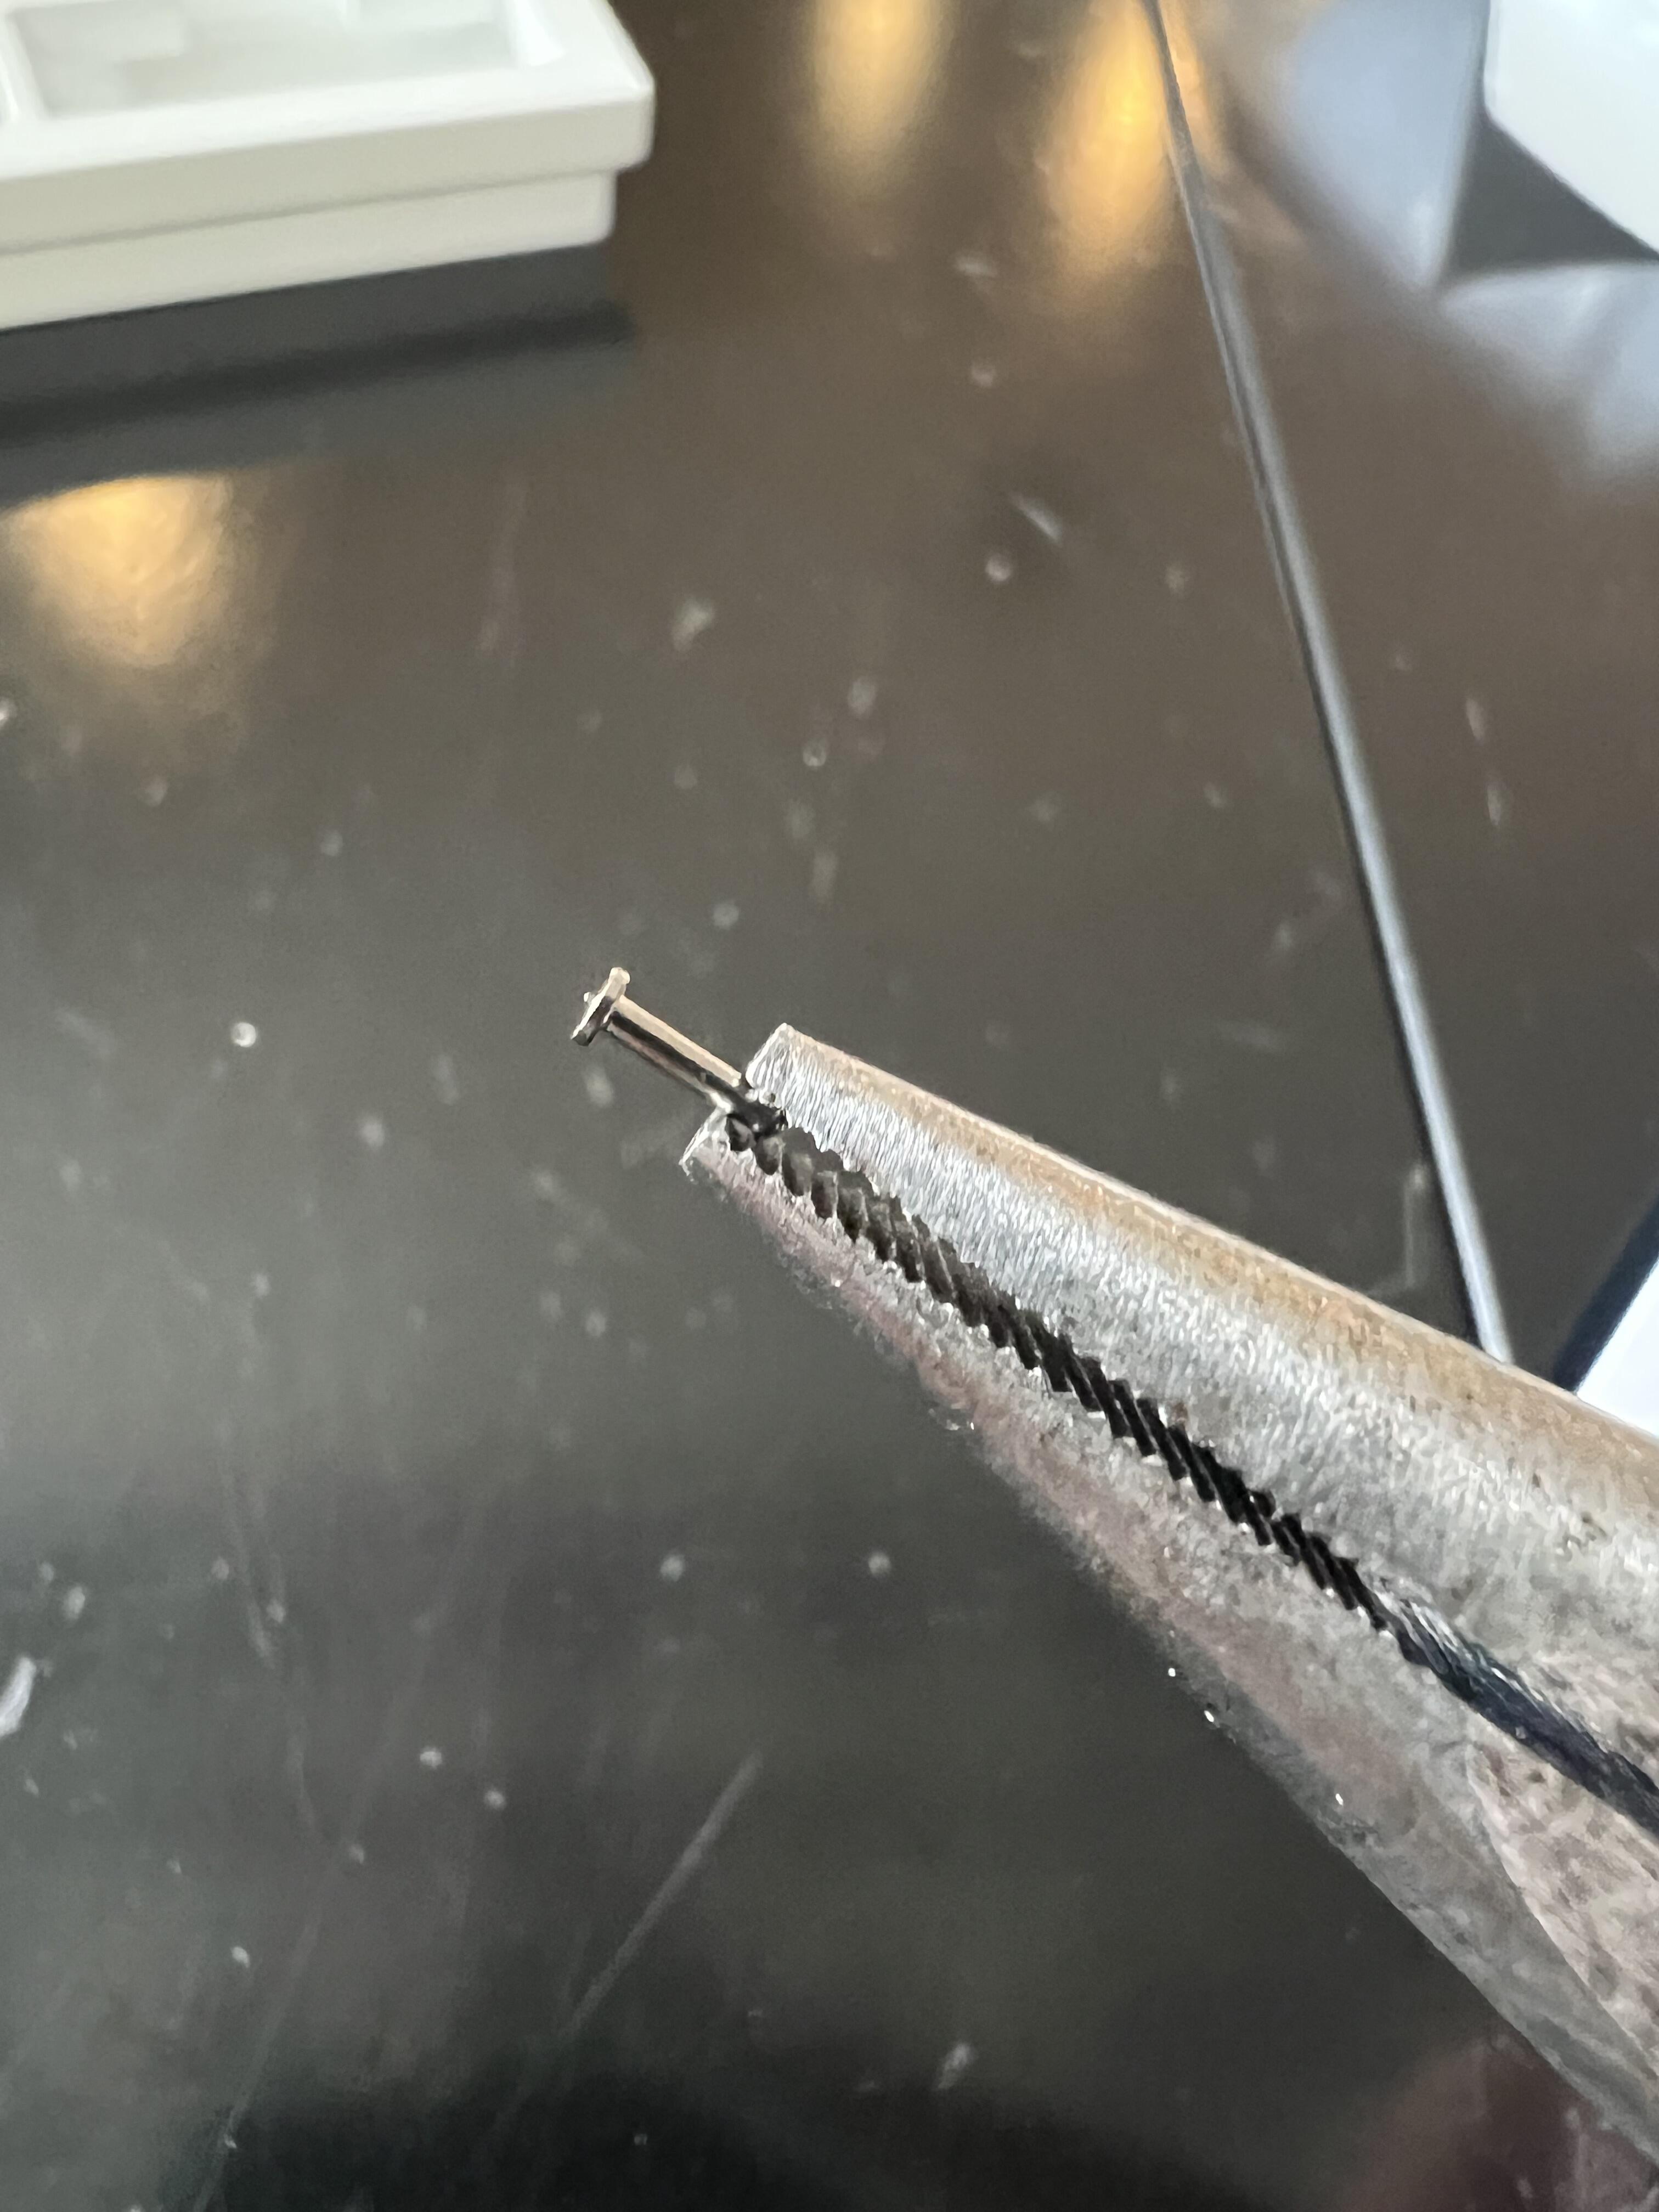
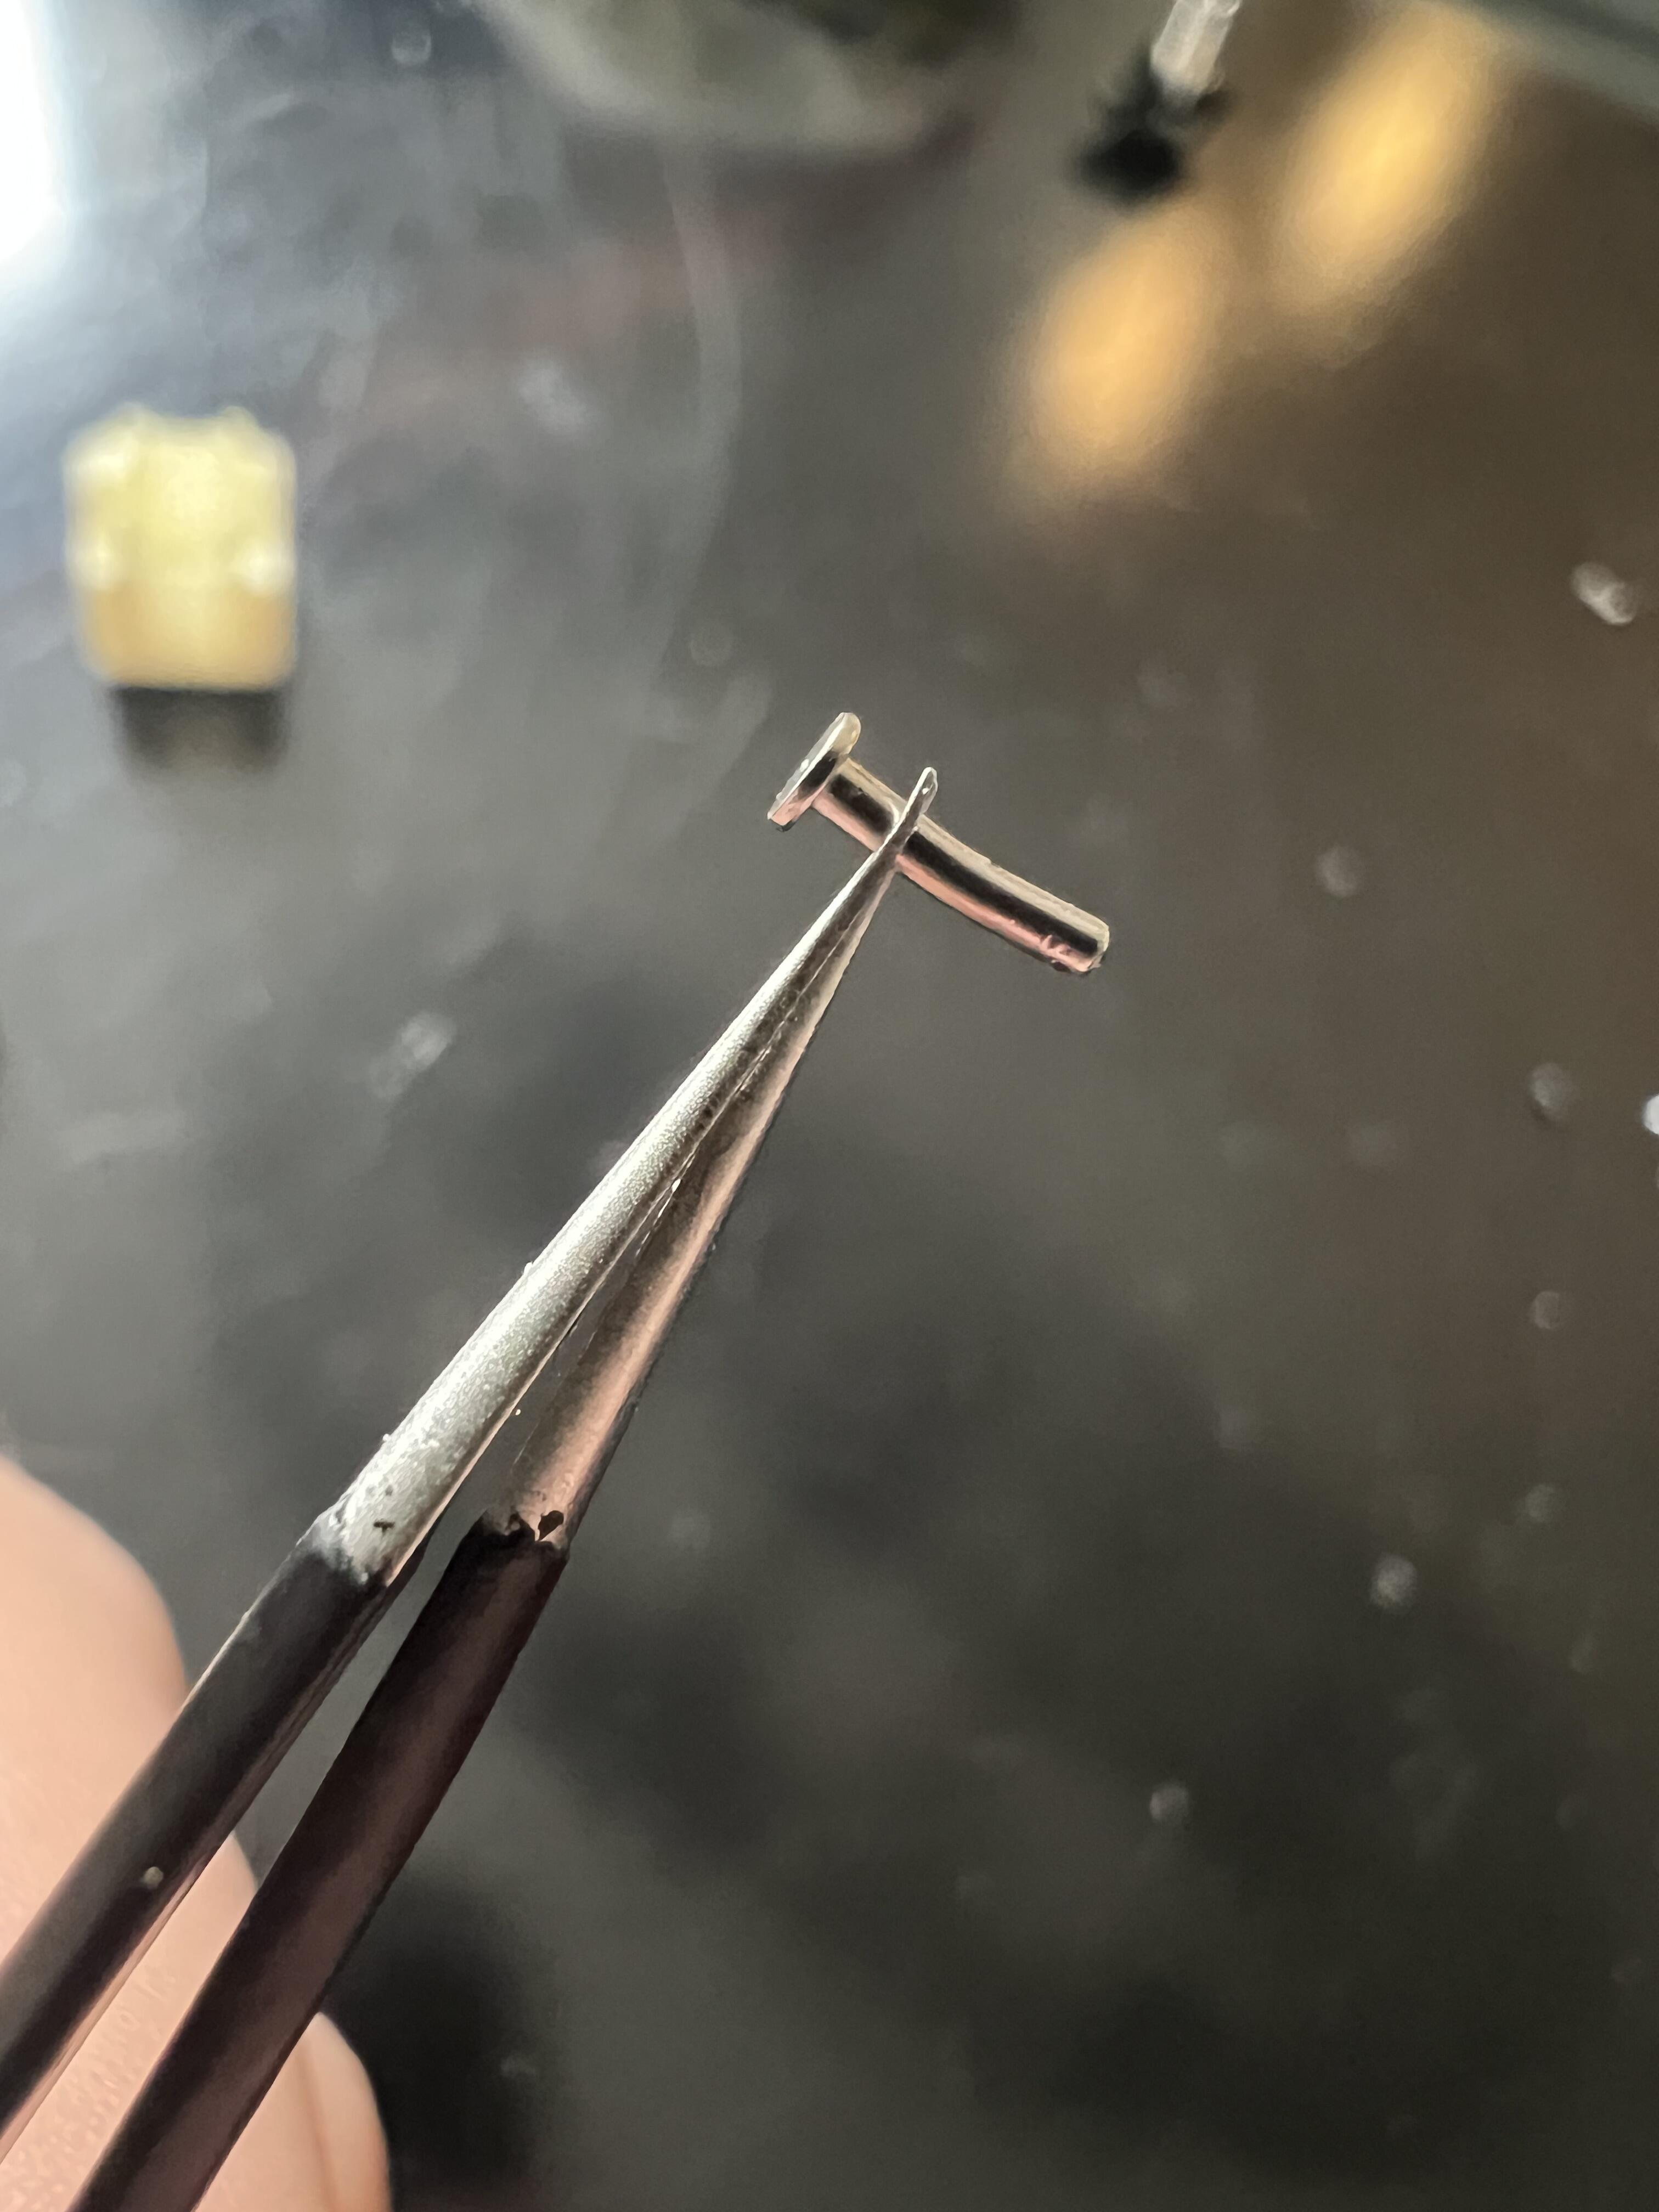
And here’s this one. I couldn’t figure out why this switch was getting stuck down. It’s a thumb tack apparently!
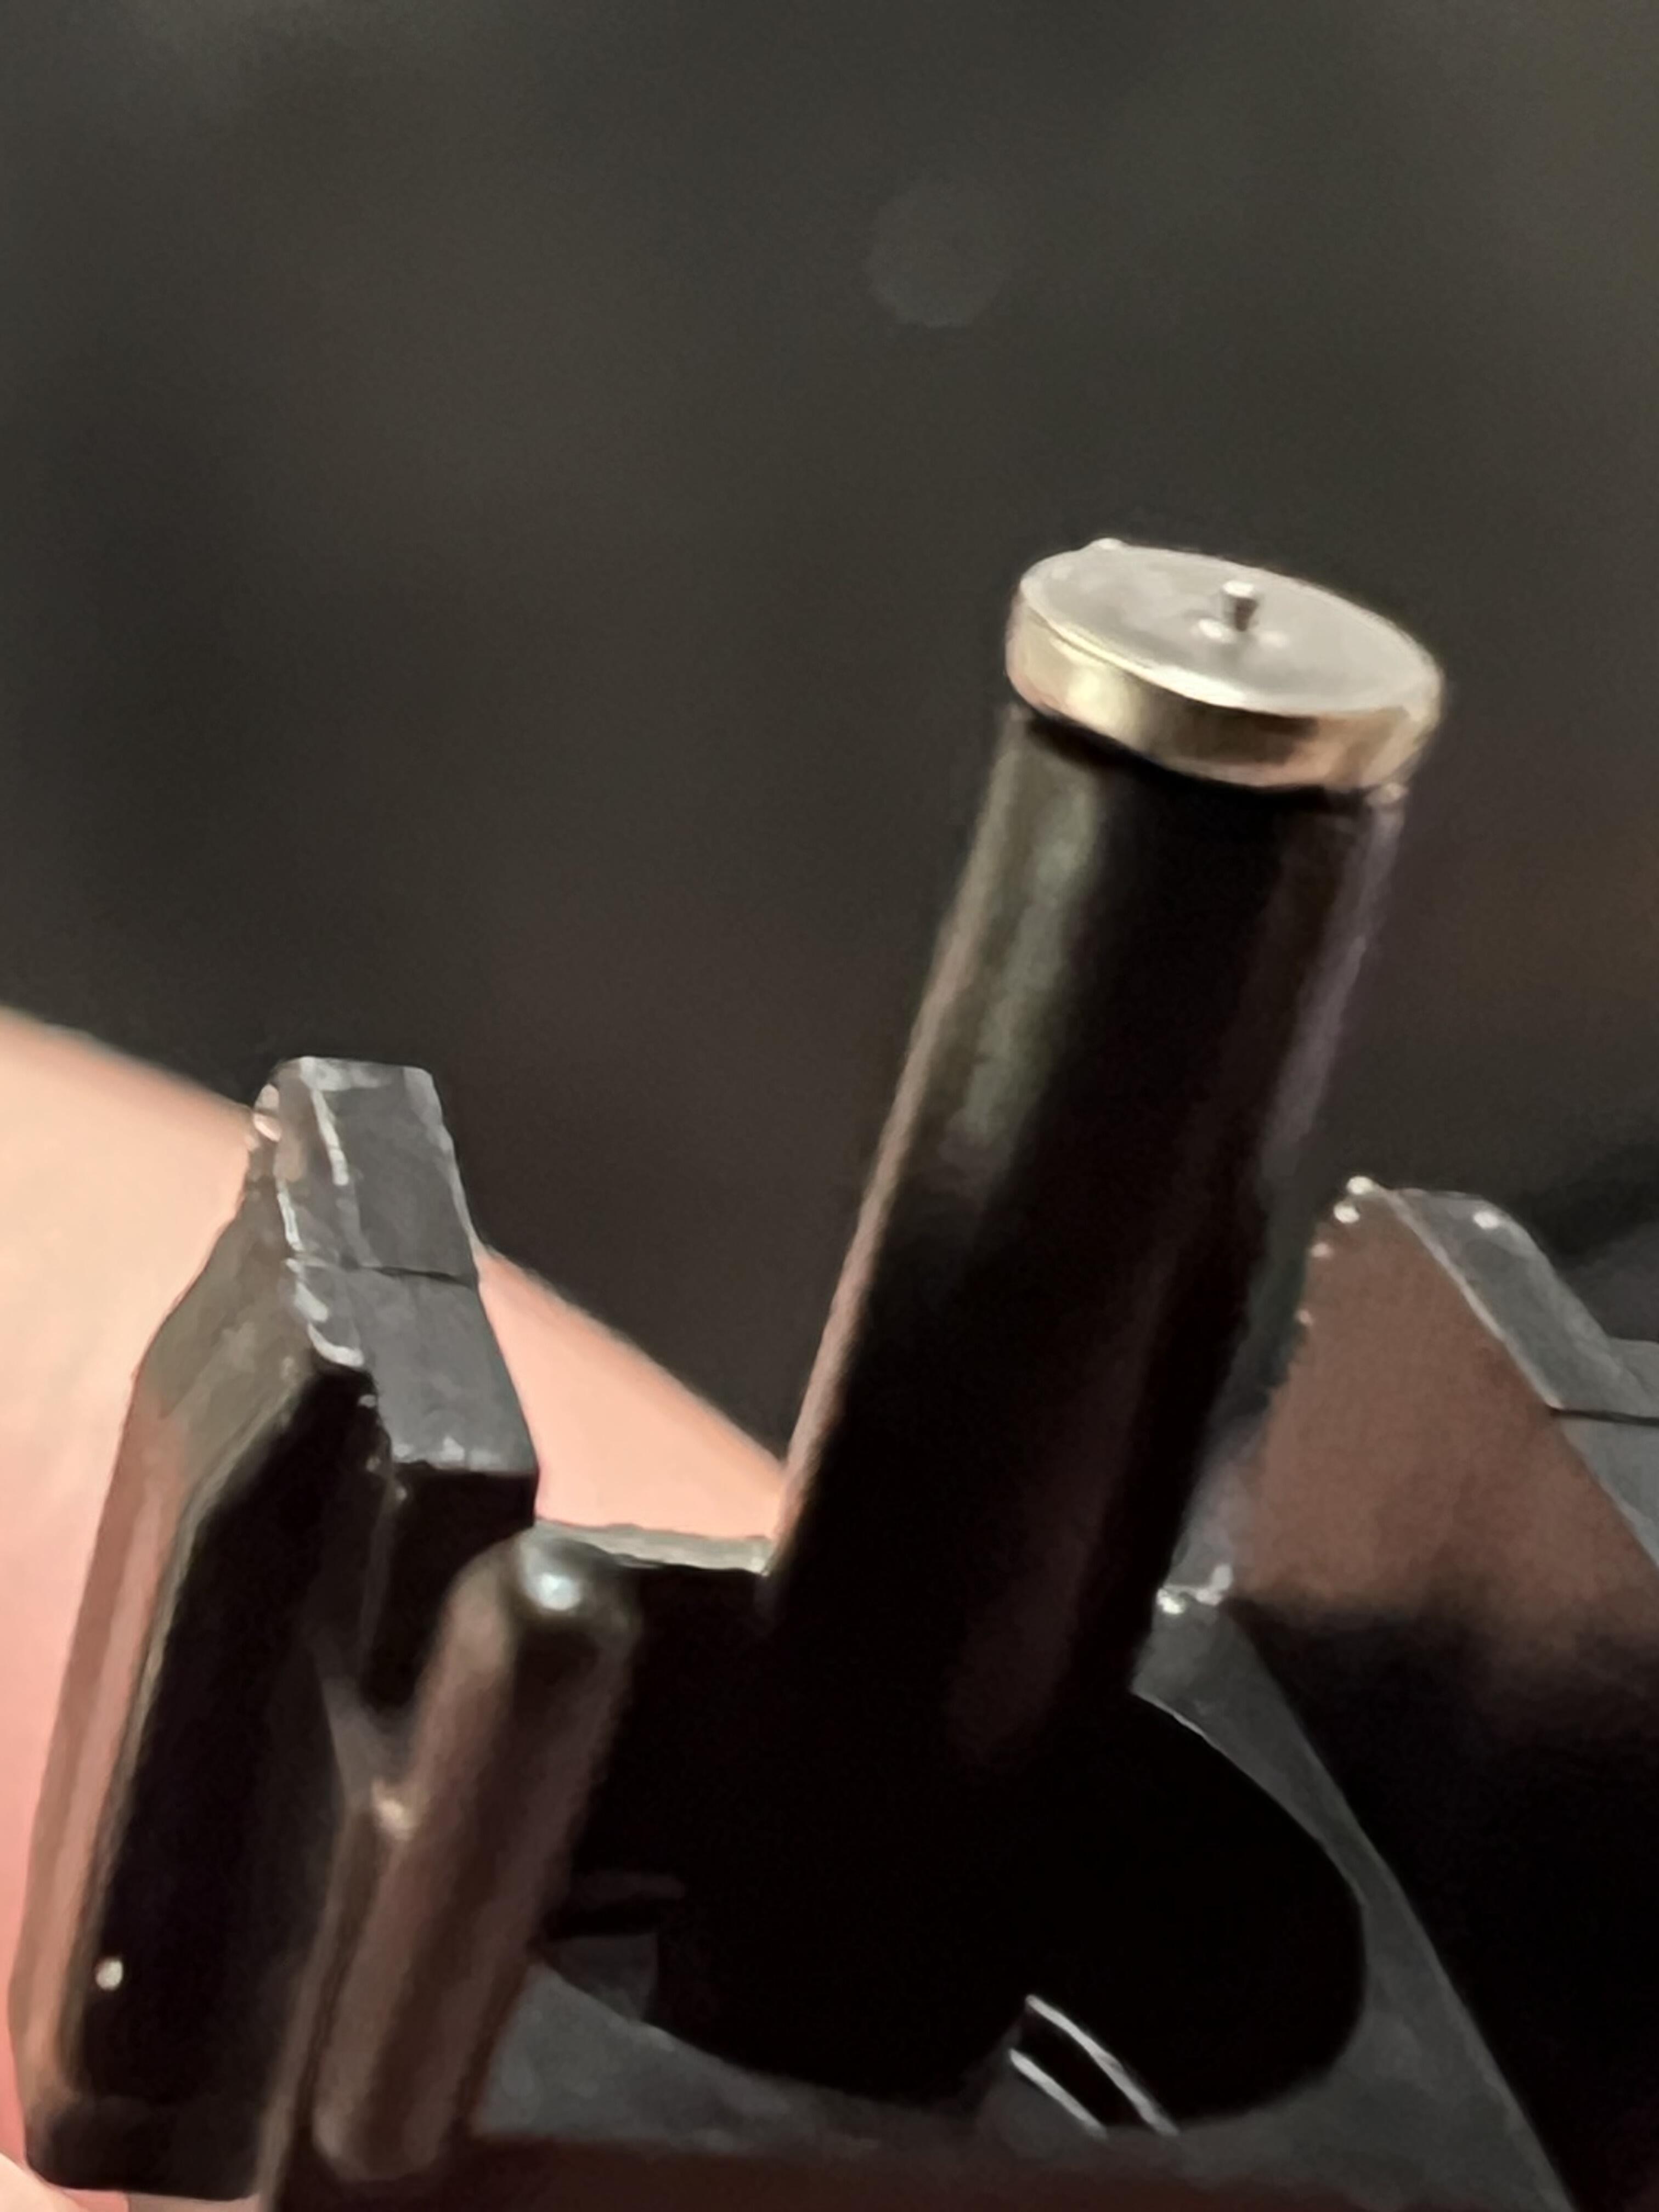
Couldn’t squeeze hard enough with pliers. This is probably much easier with copper. I got the vice grips and tightened them to a closed position. Opened, inserted titanium and closed.
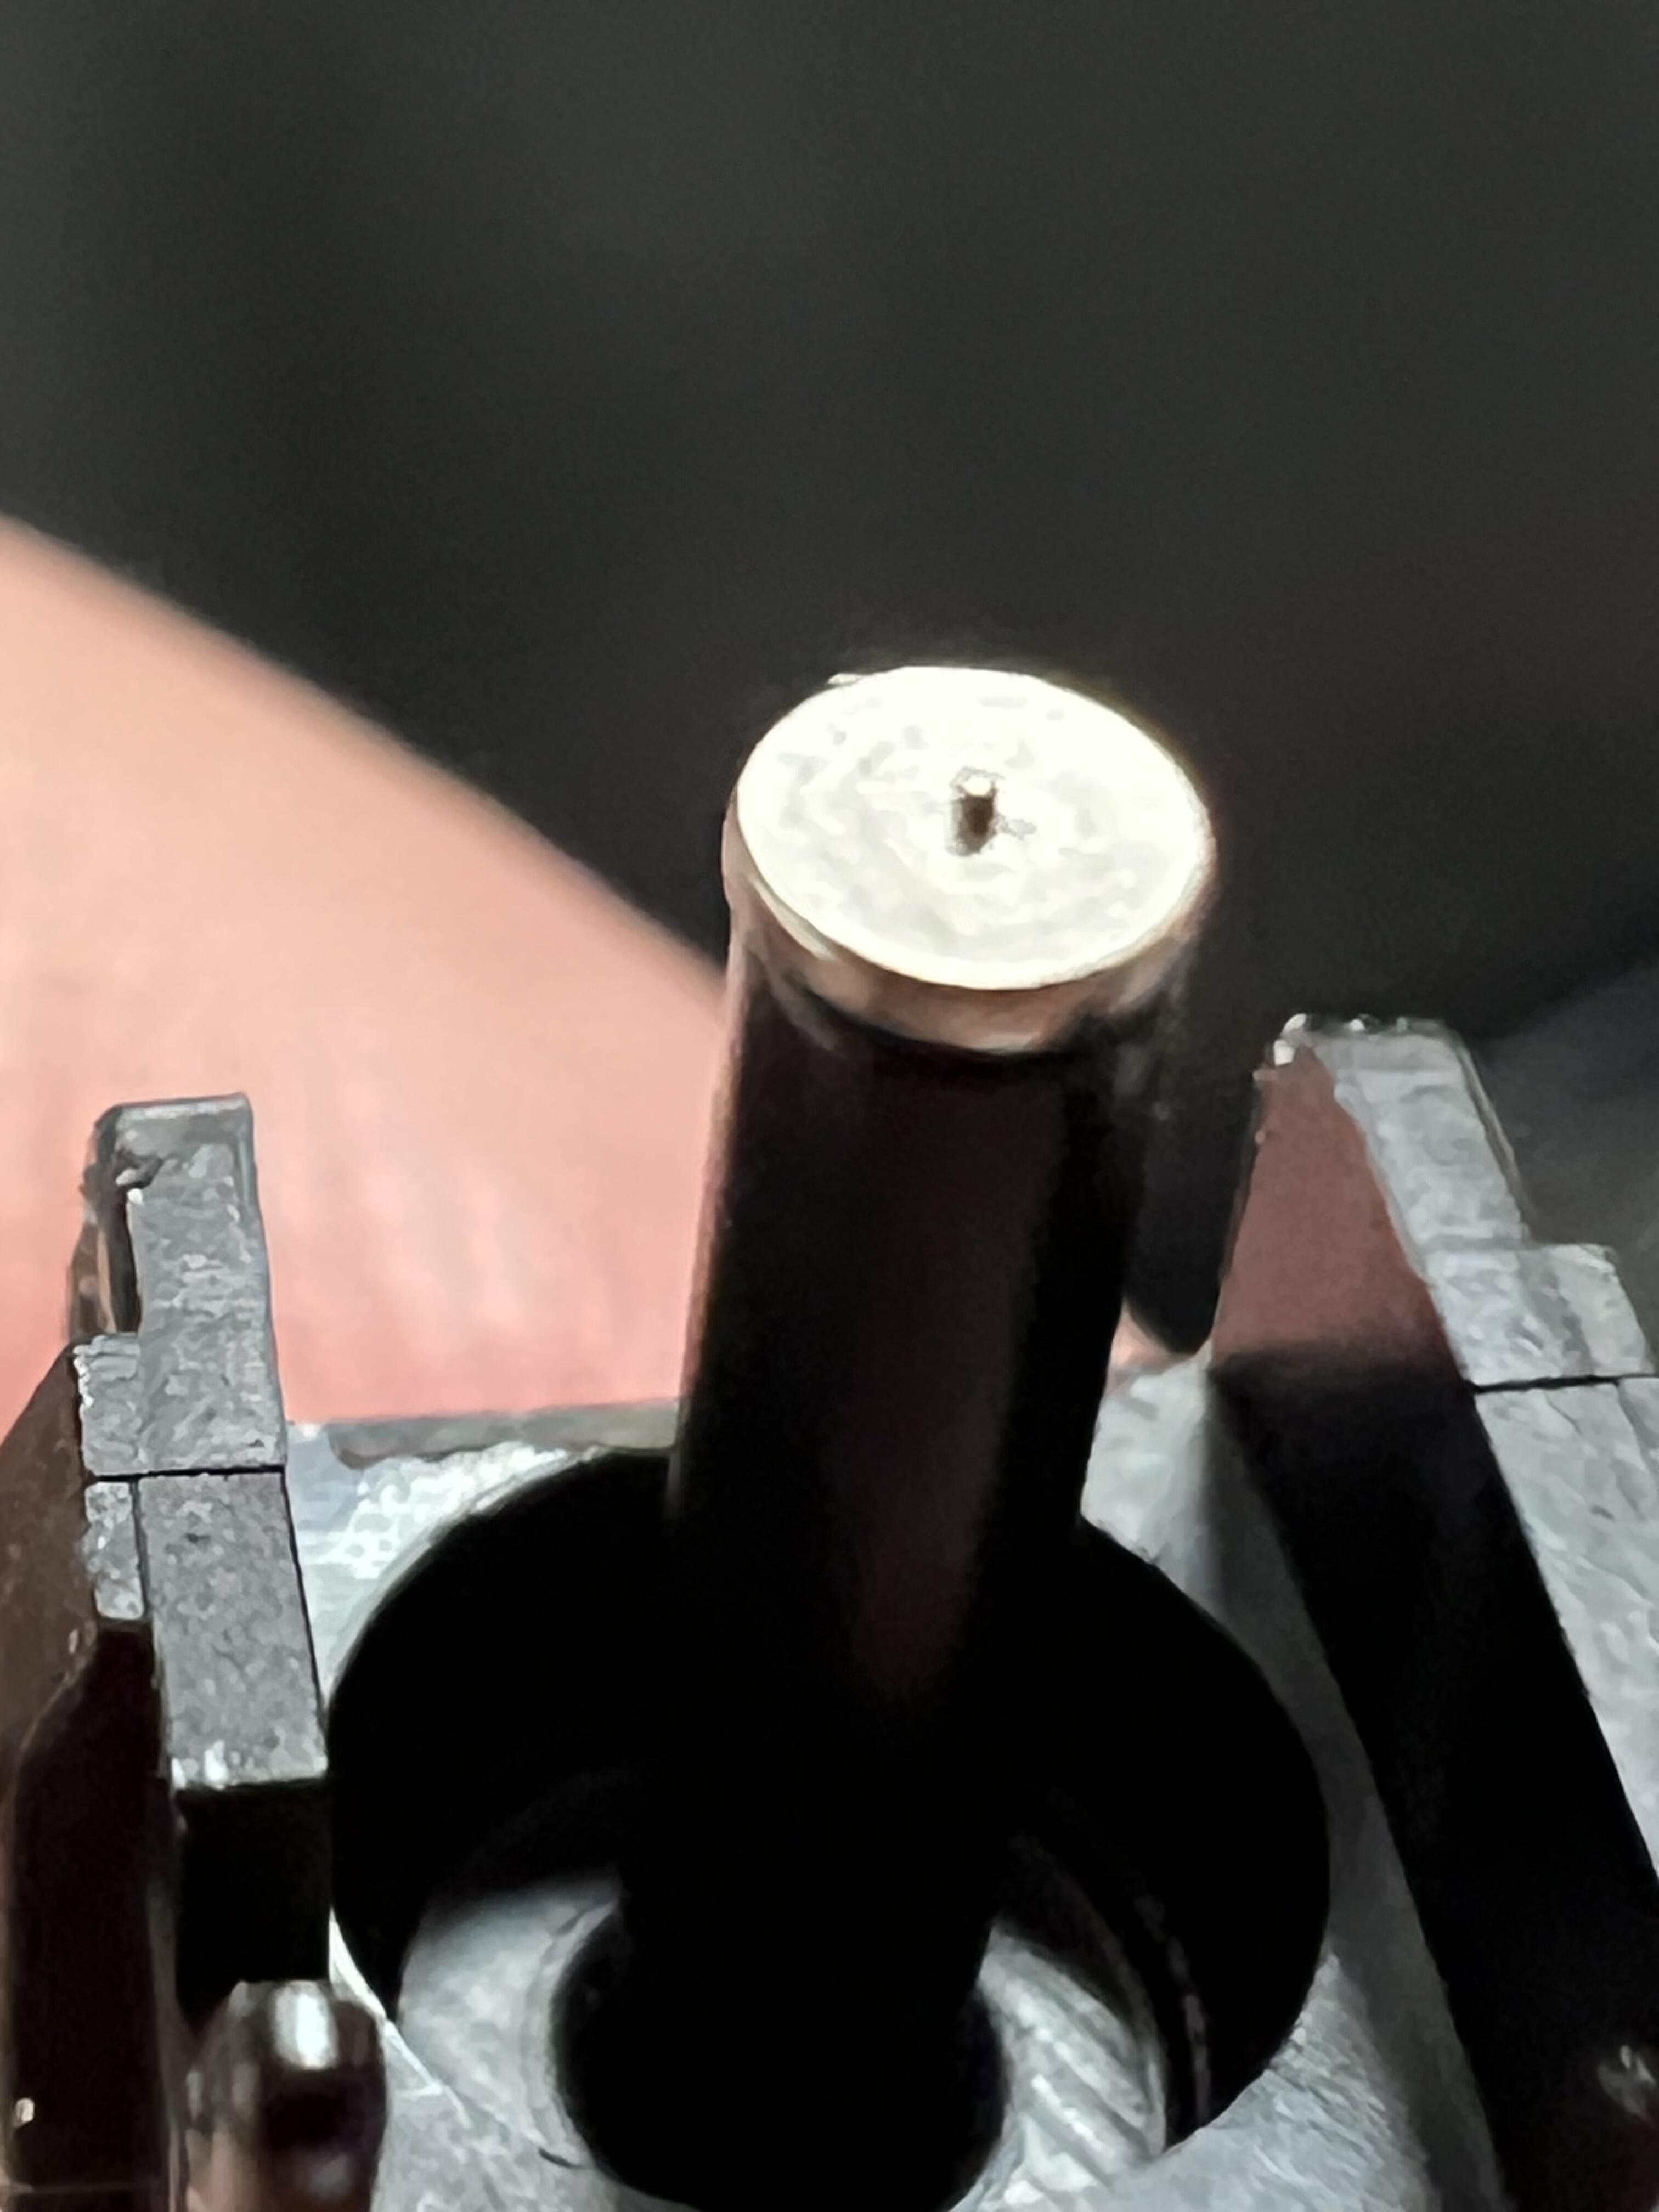
I was afraid it was going to cut, but it doesn’t seem to have squished as desired. And it’s ever so slightly bent now.
The switch won’t properly press and return because of pole friction. There must be extremely tight tolerances on the plastic.
I suppose you could experiment with exactly how much to squeeze the insert before it causes the plastic to bulge too much, but I don’t have the precision tools for that.
I think the easiest option is to purchase additional inserts. Costs a bit more, but it’s overall less time consuming
For the clueless like myself, who are missing some context:
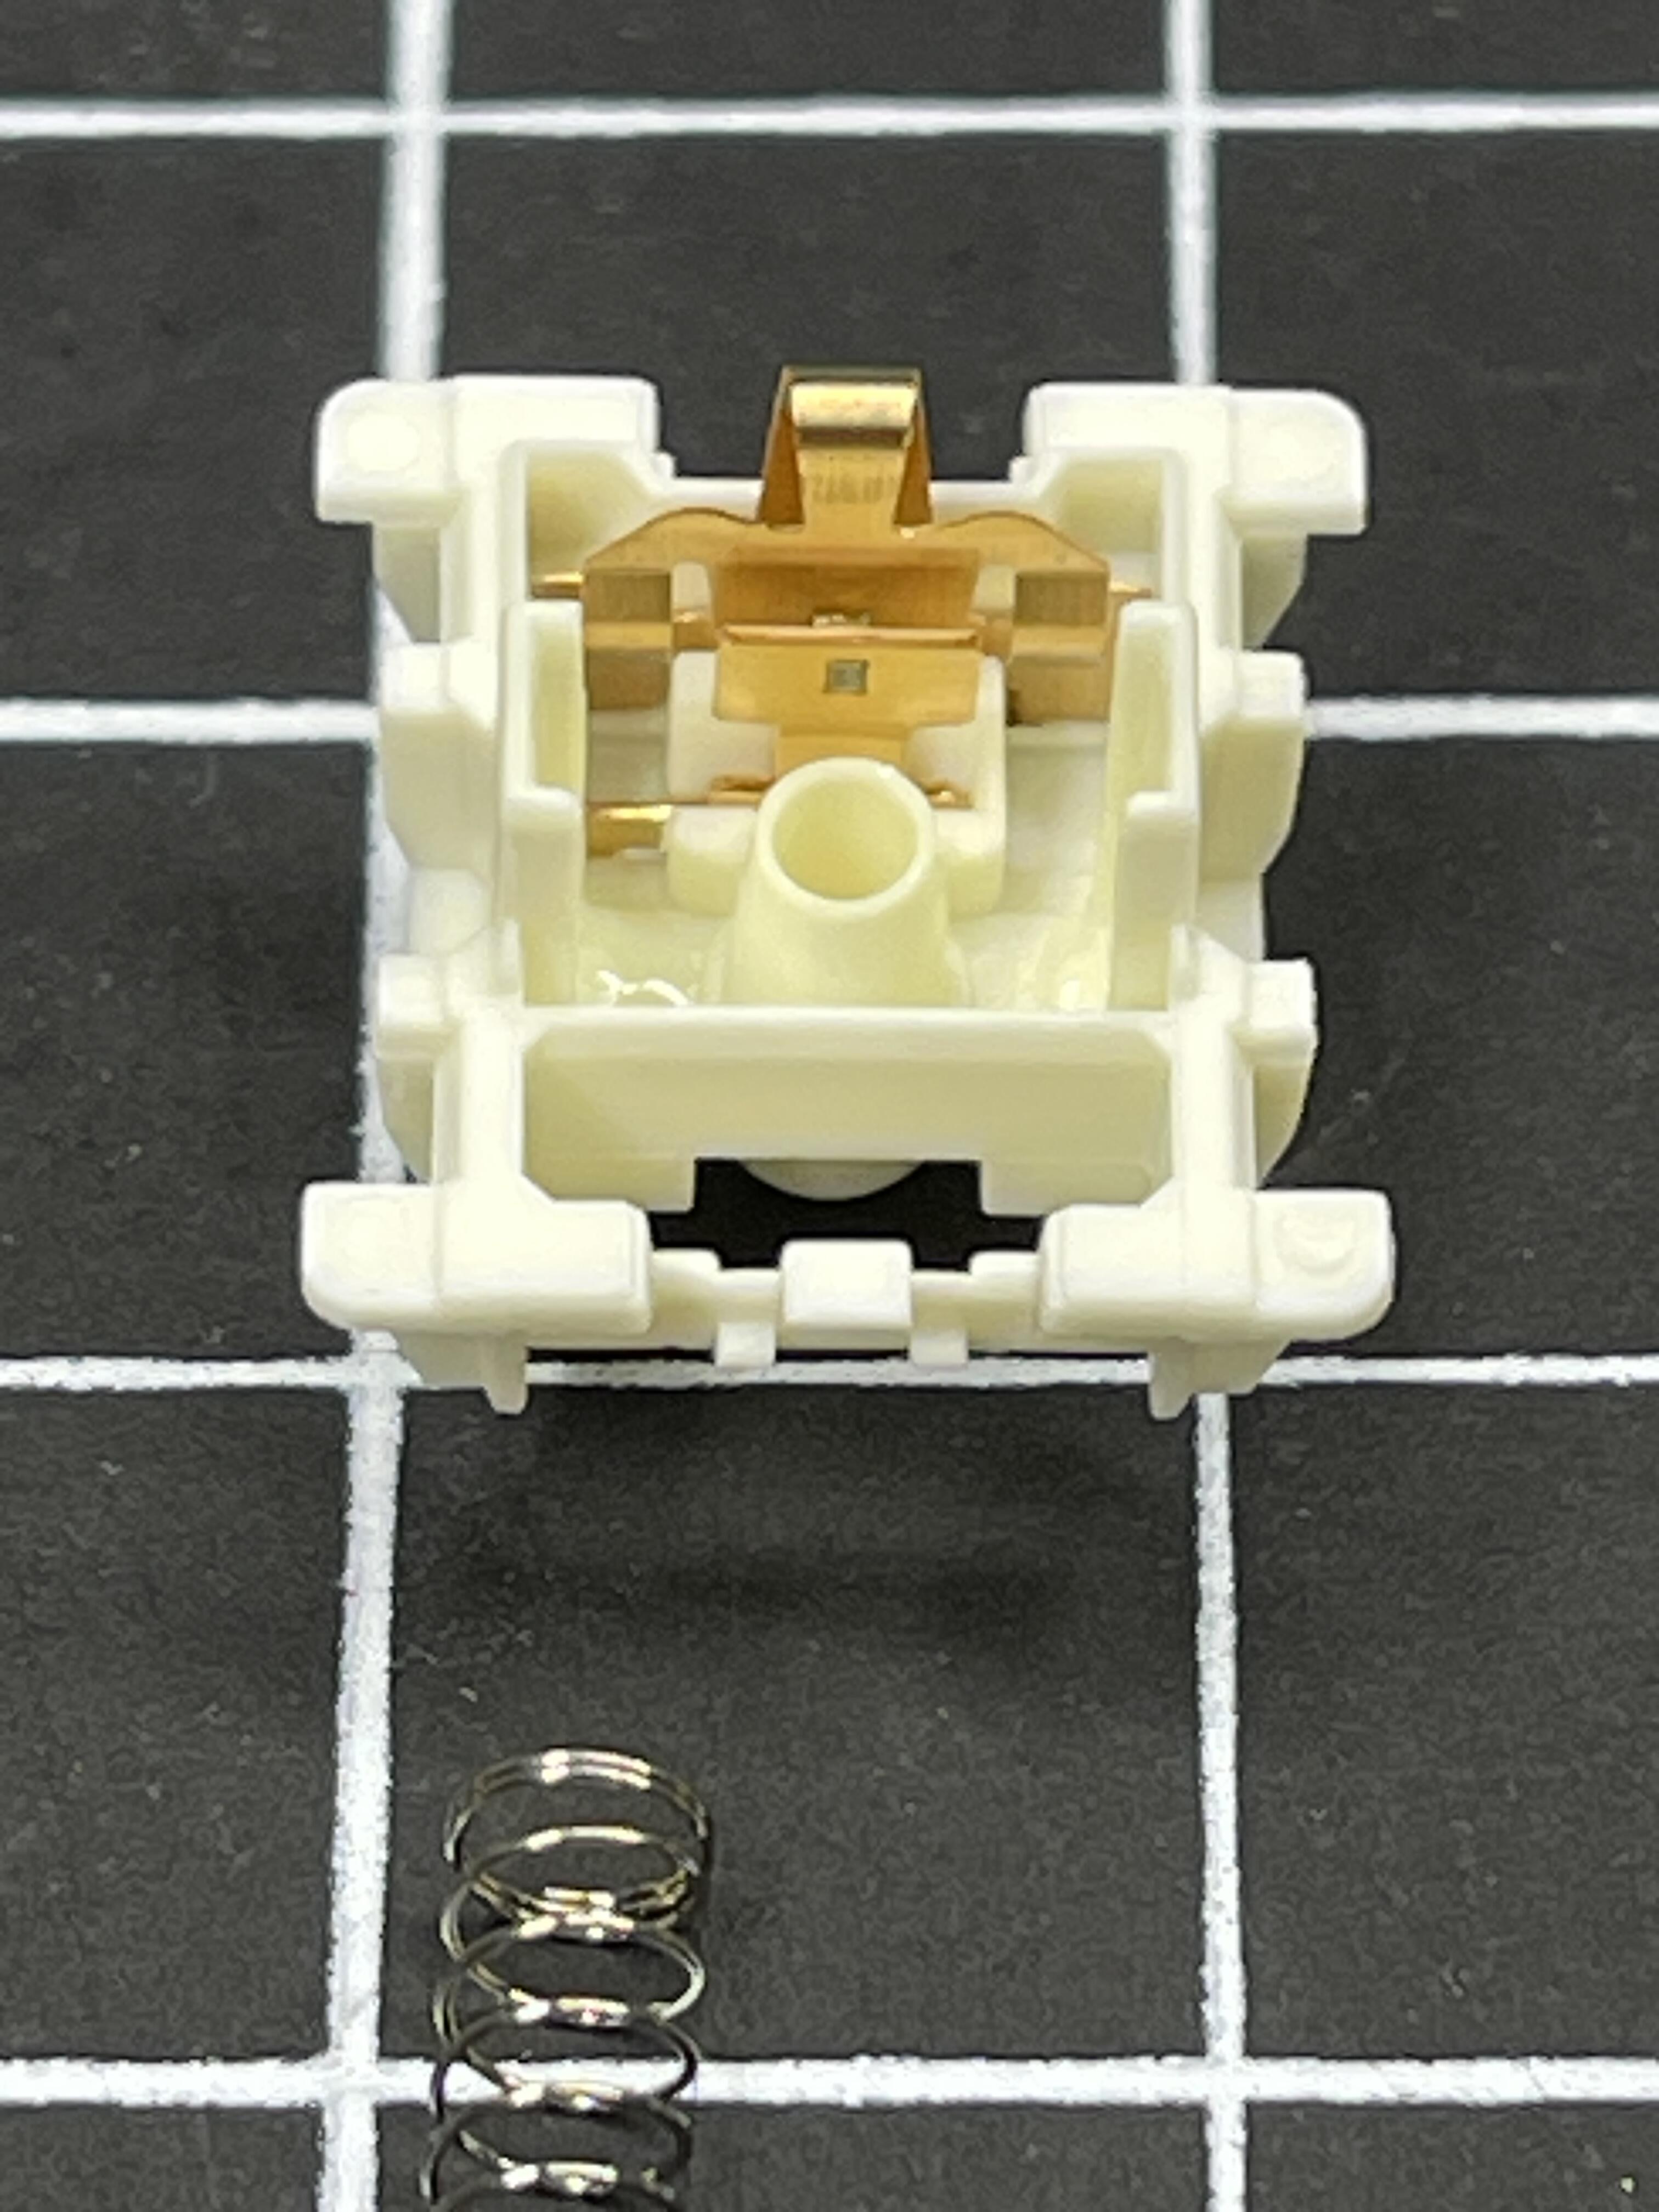
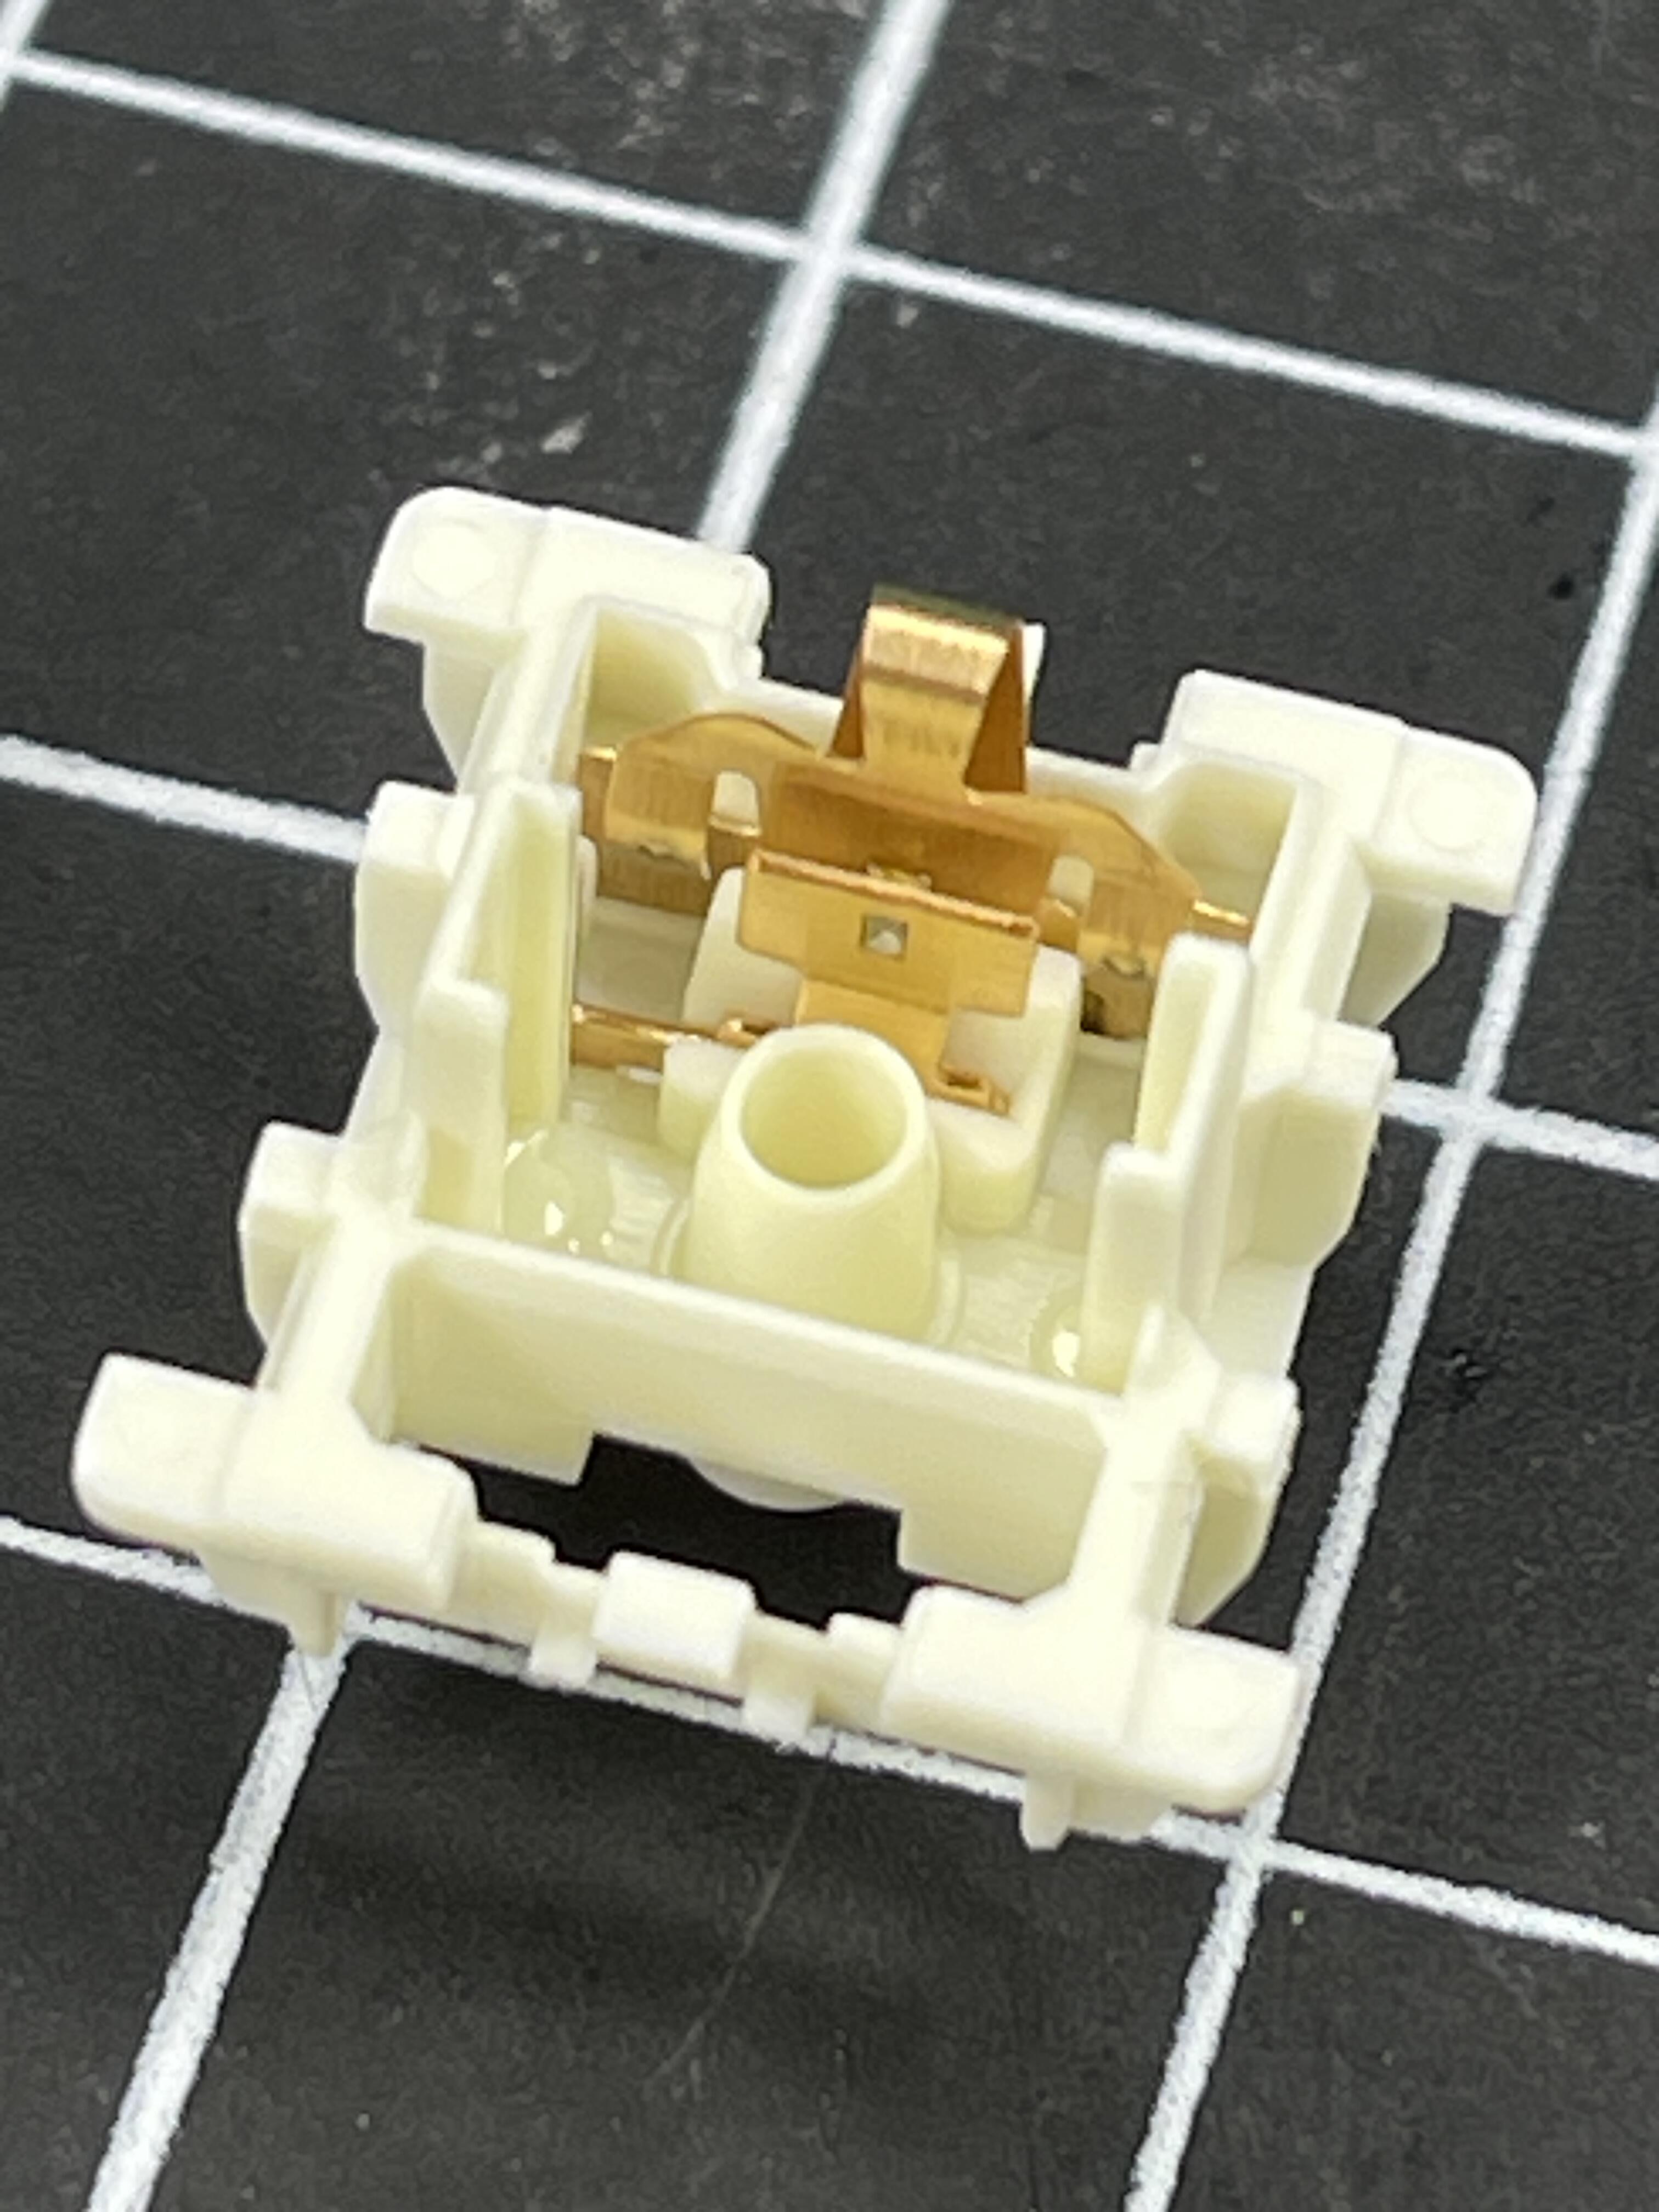
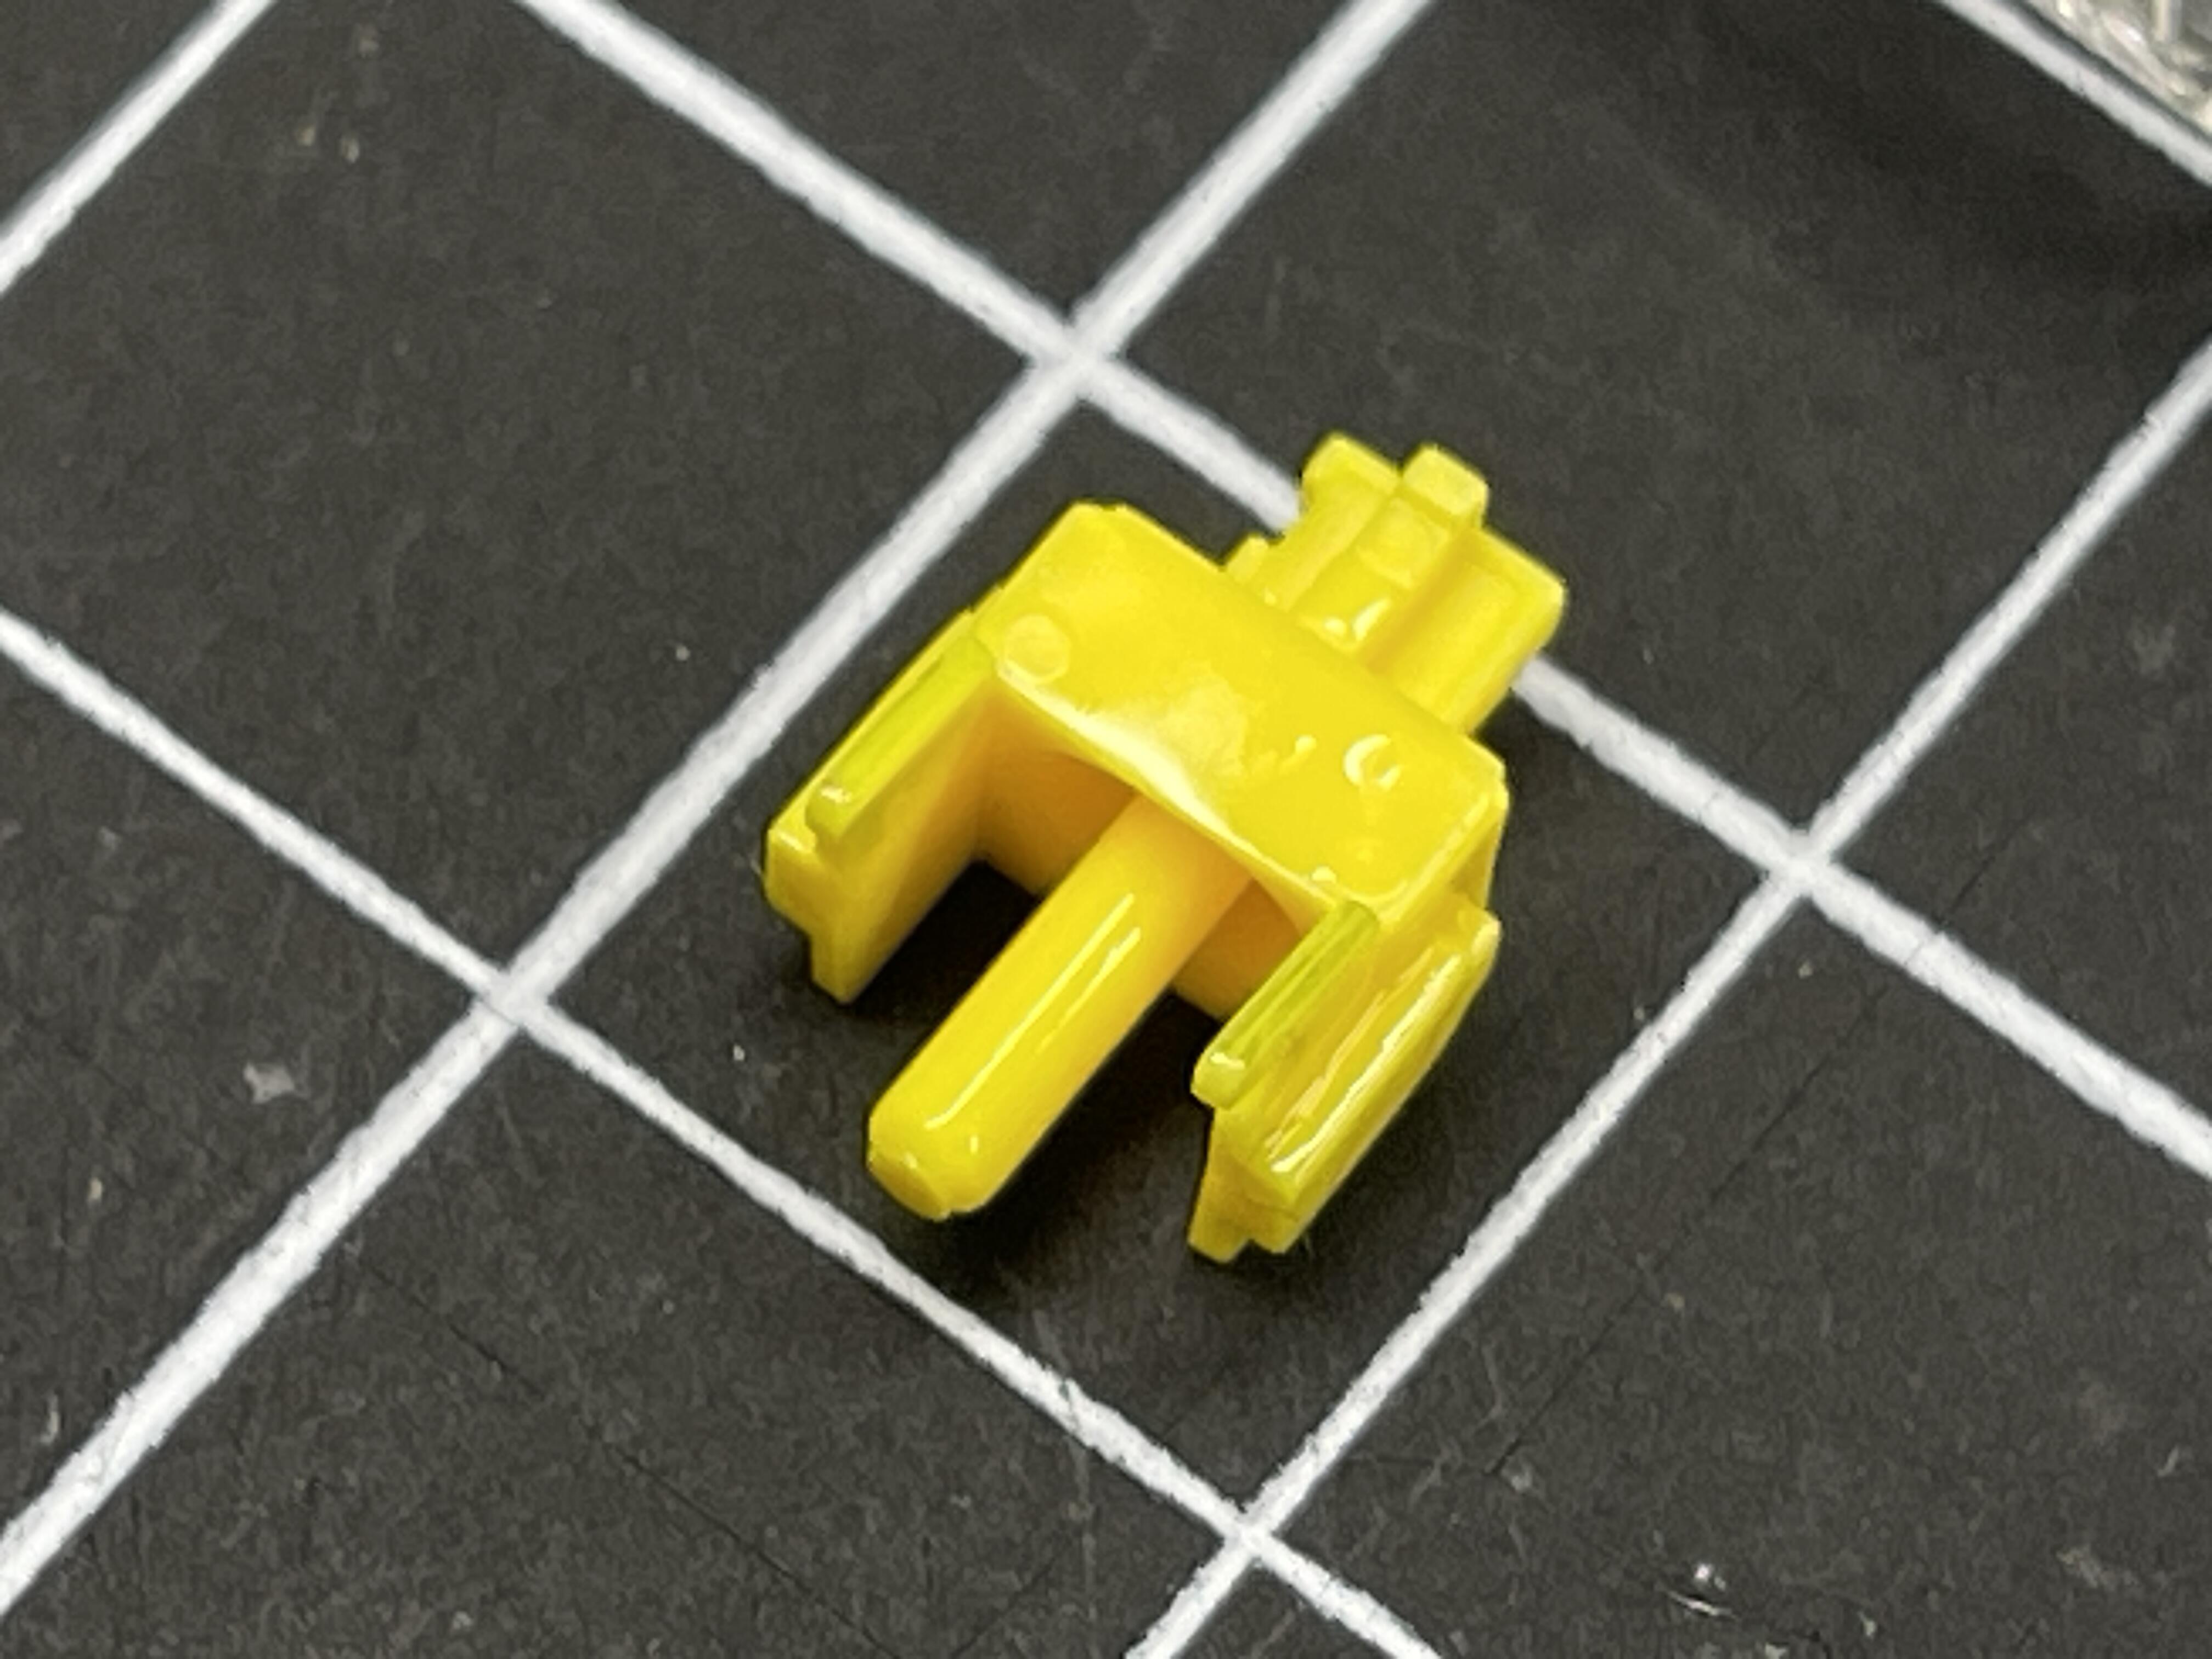
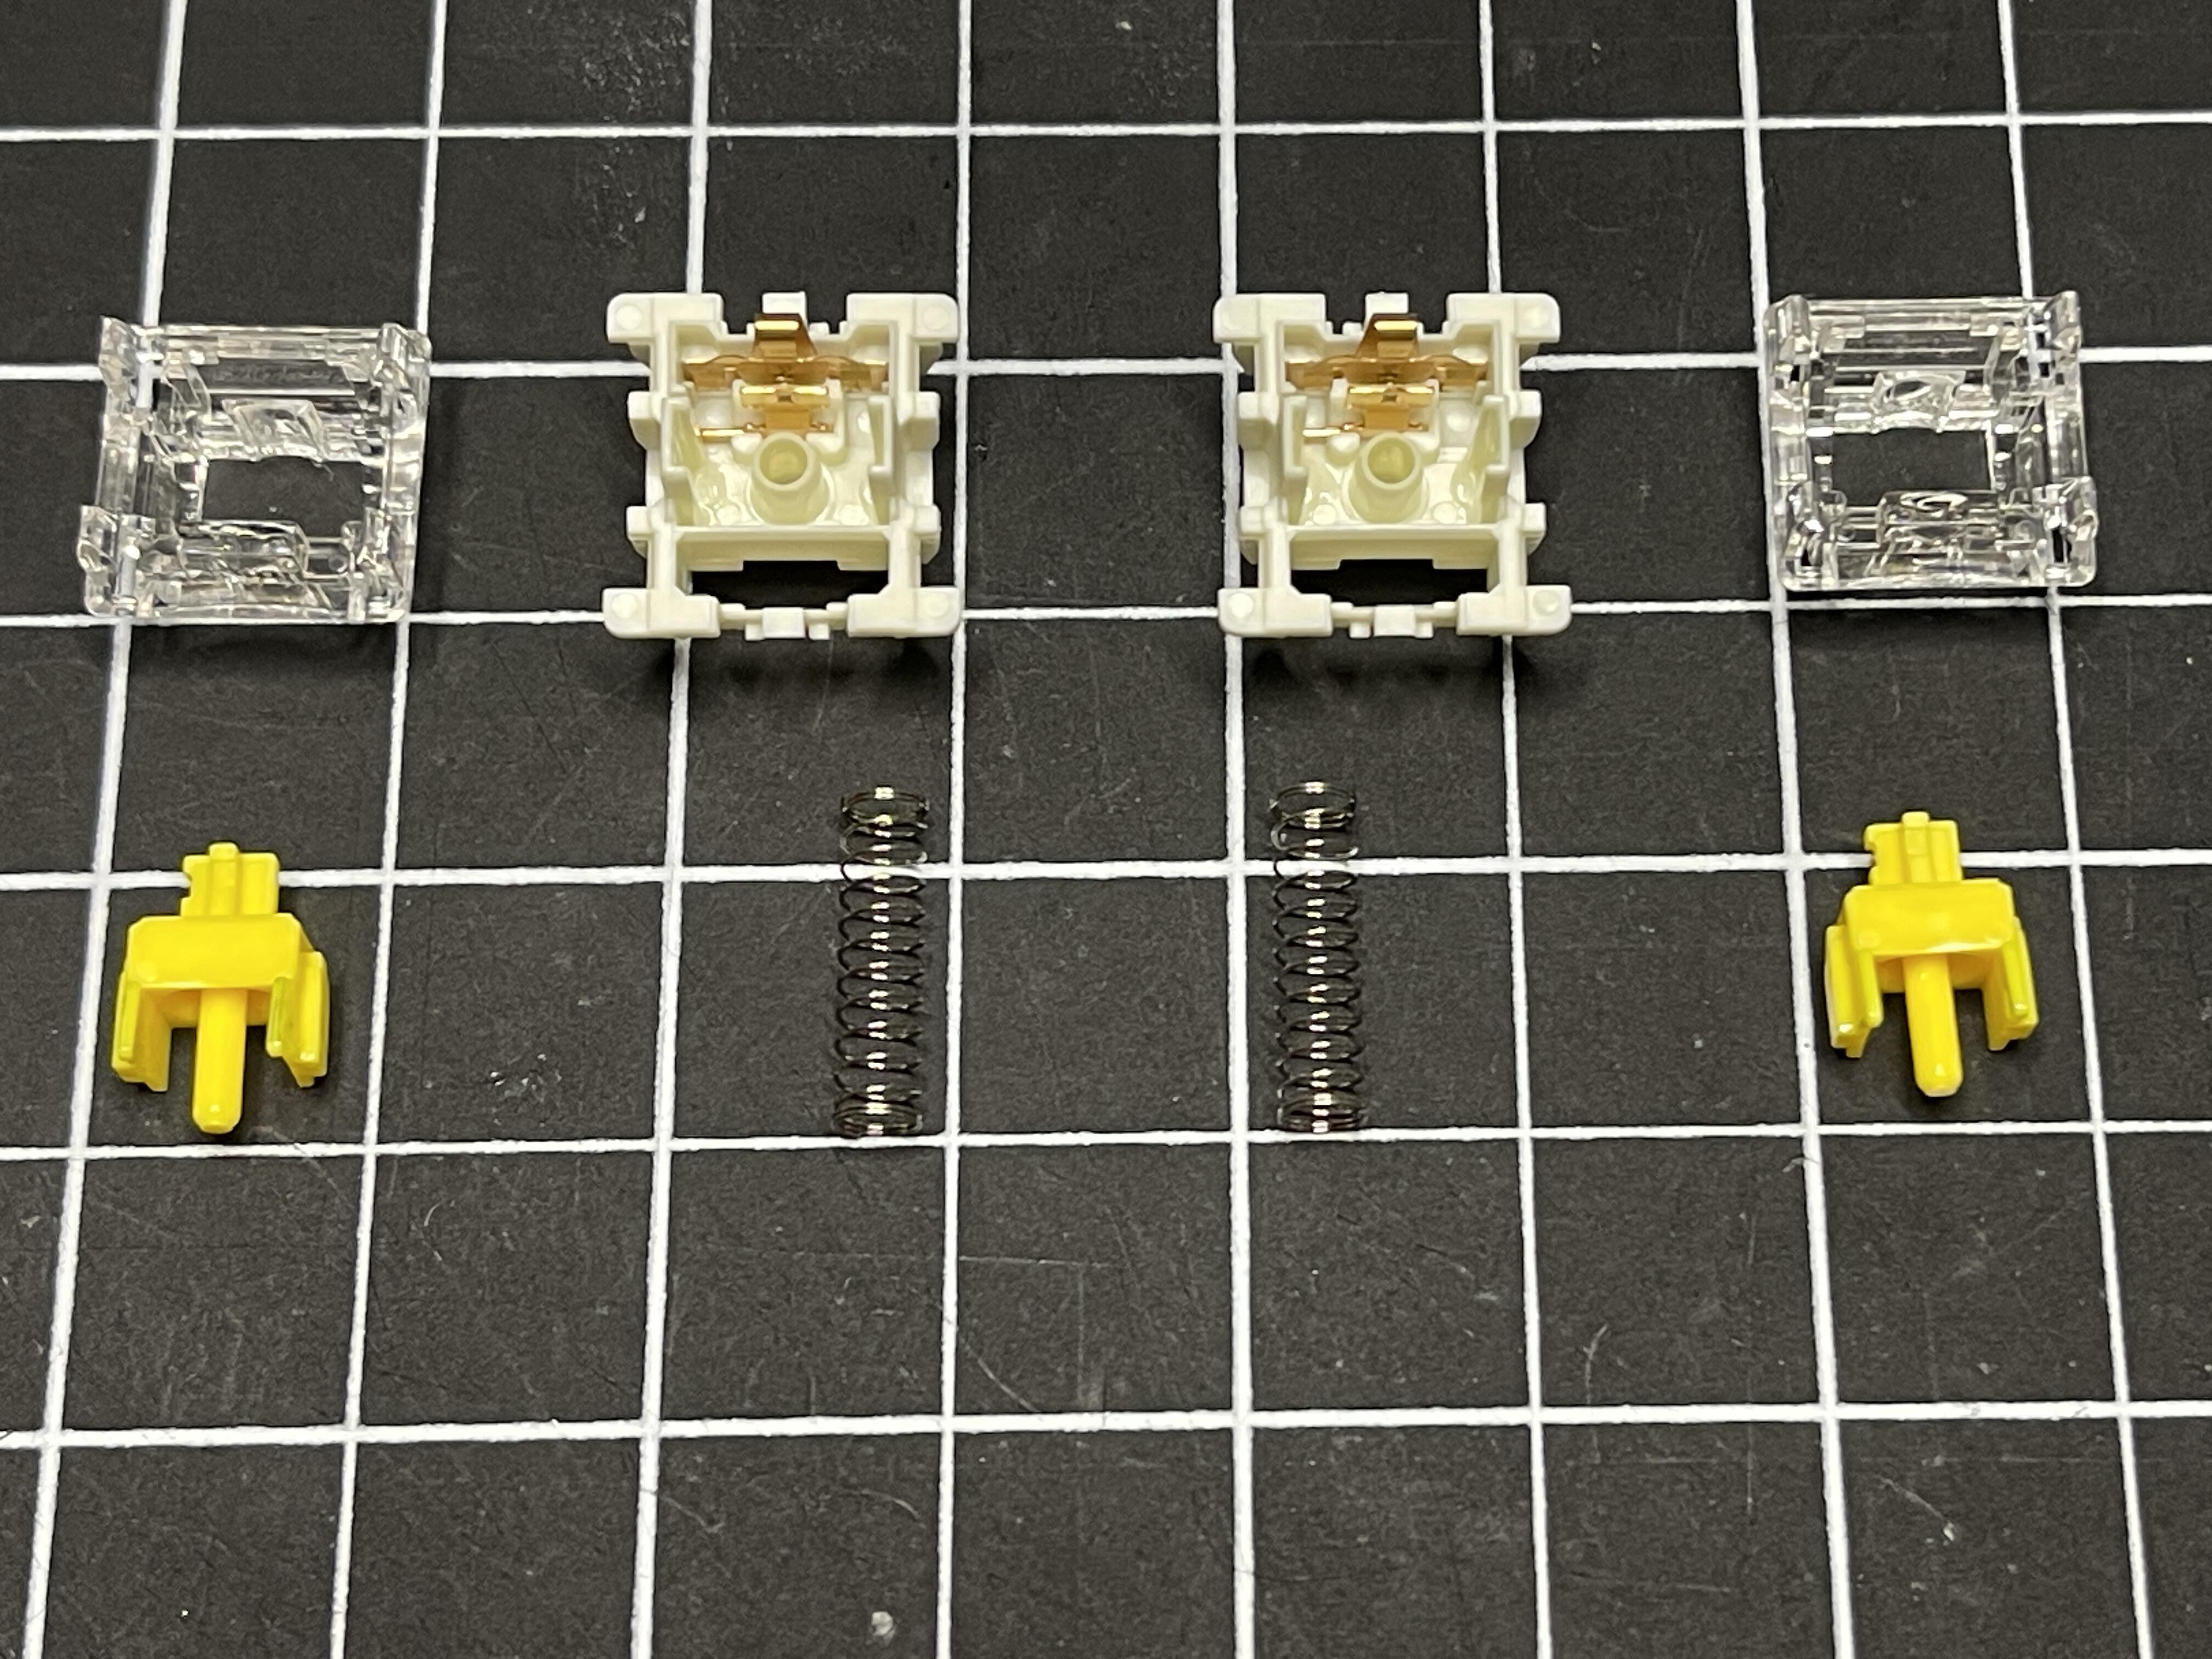
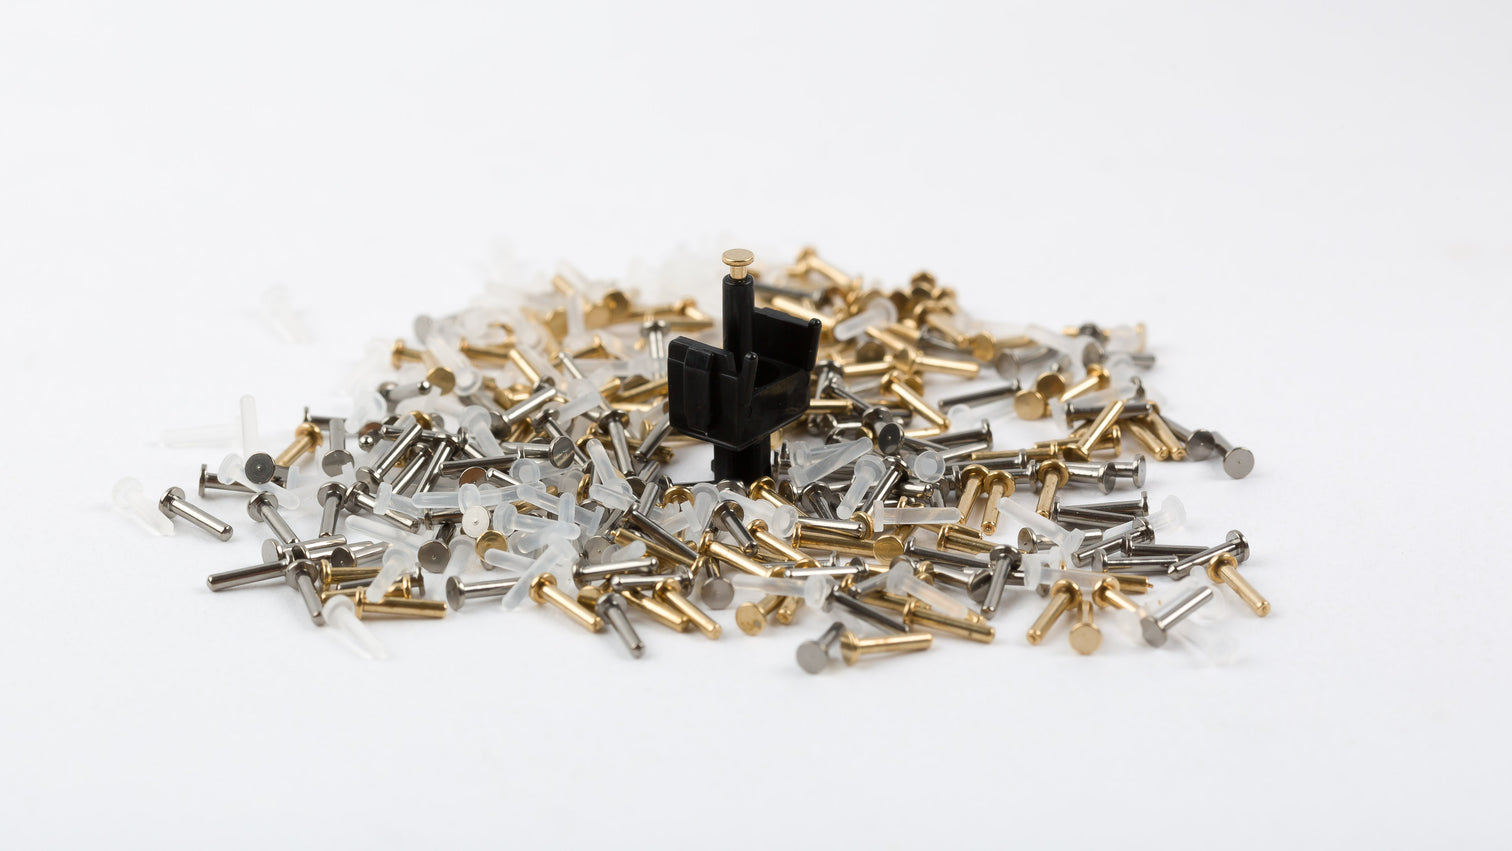
The Cream+ switches feature a unique hollowed stem, allowing the placement of inserts made of various materials that alter the sound profile of the switch.
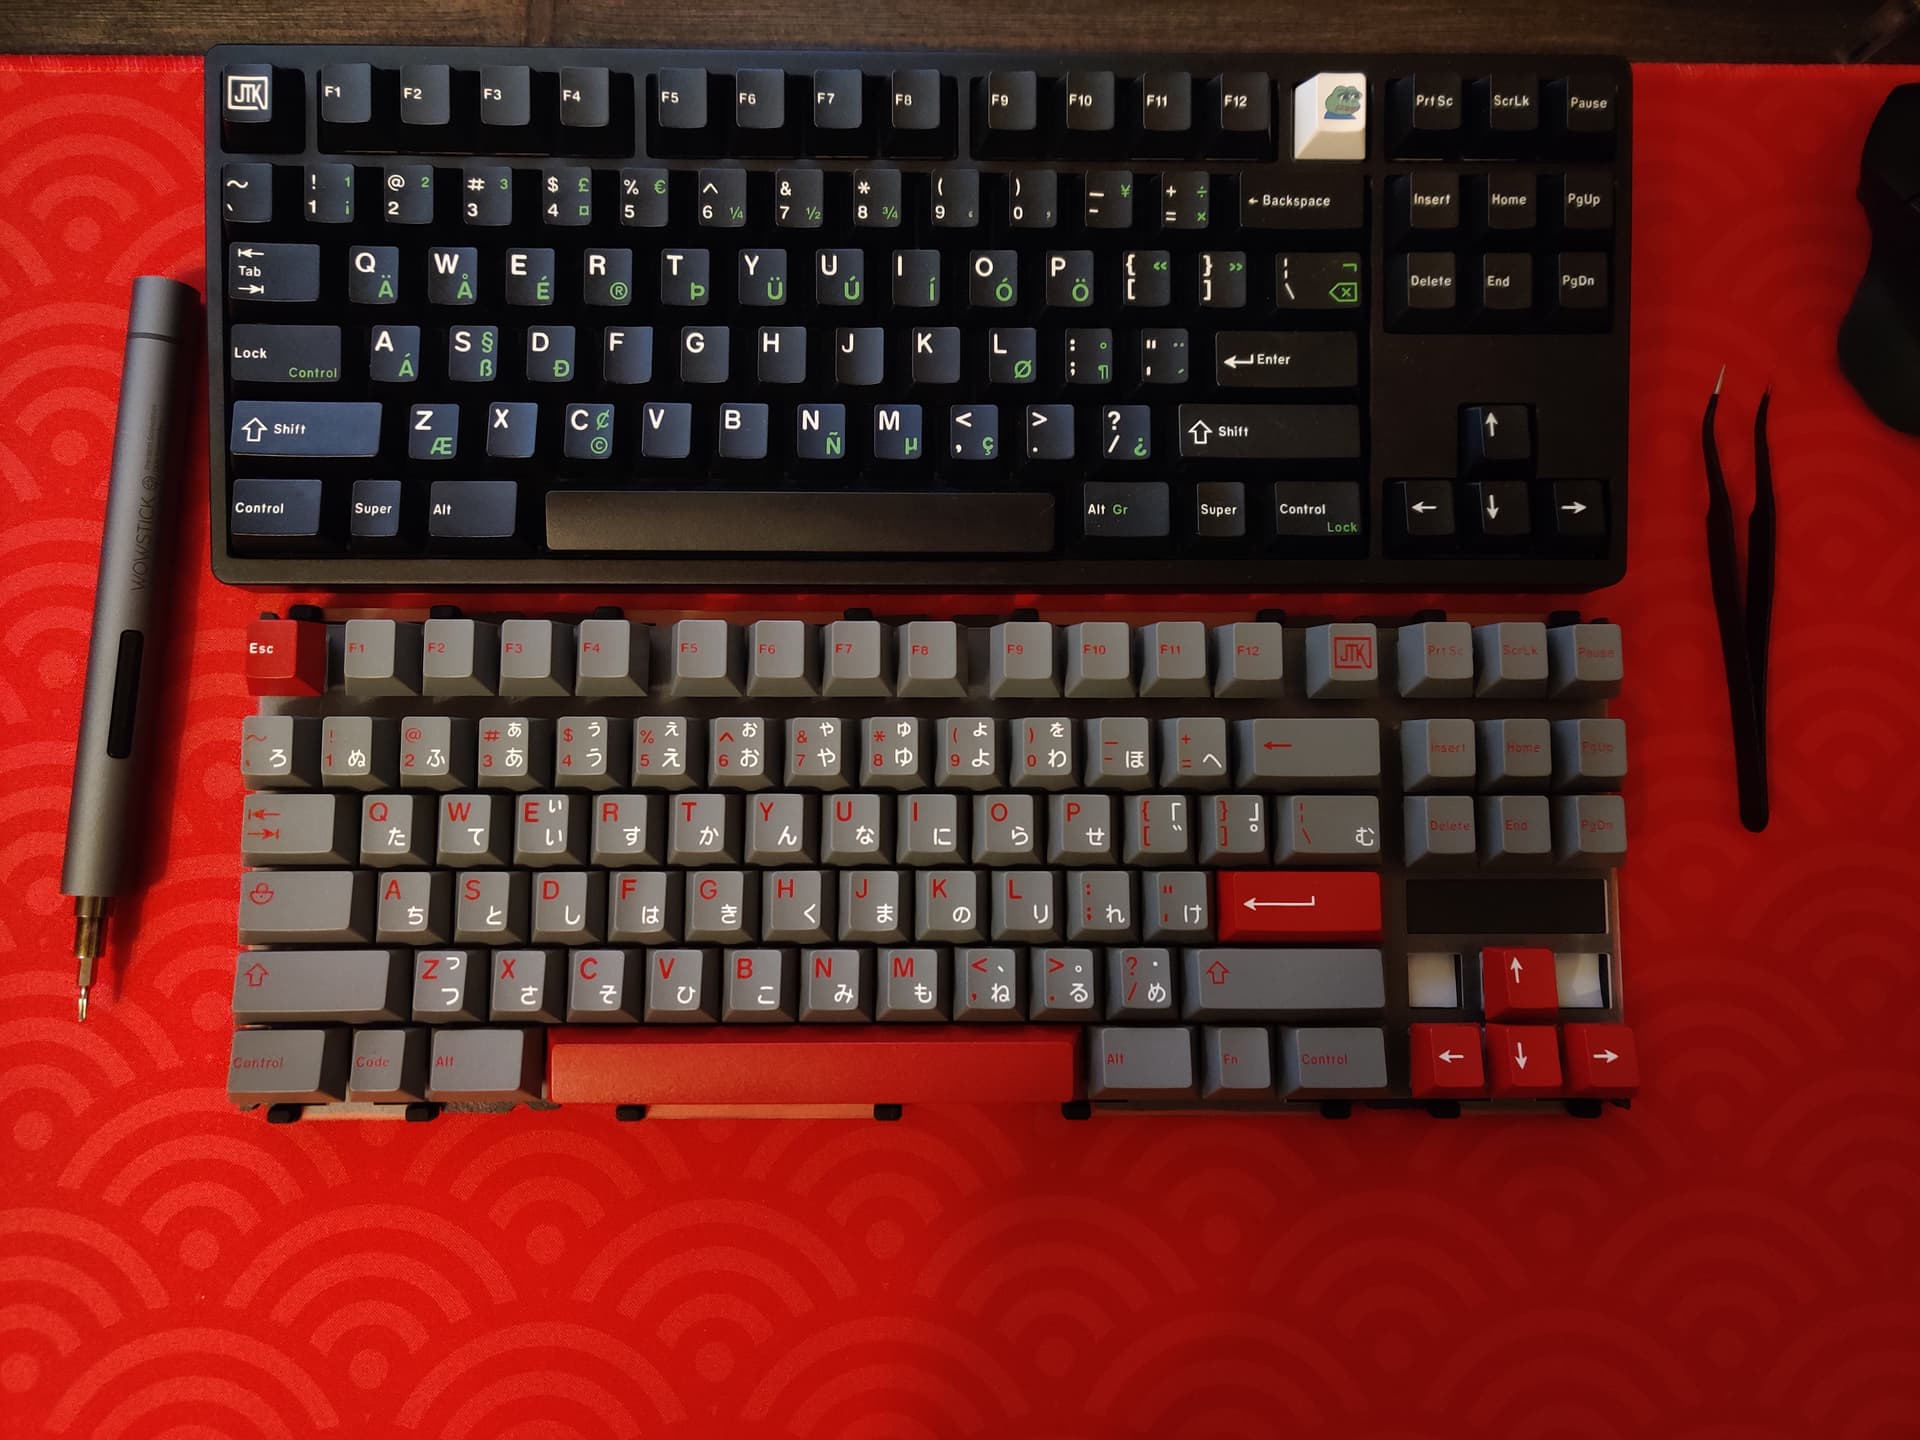
Not much to show bc all I did today was move switches between boards to make all of them sound better. It’s a bit like dating game. This would not have been possible without hotswap PCBs.
Peace is when all the daily-rotation boards sound their best.
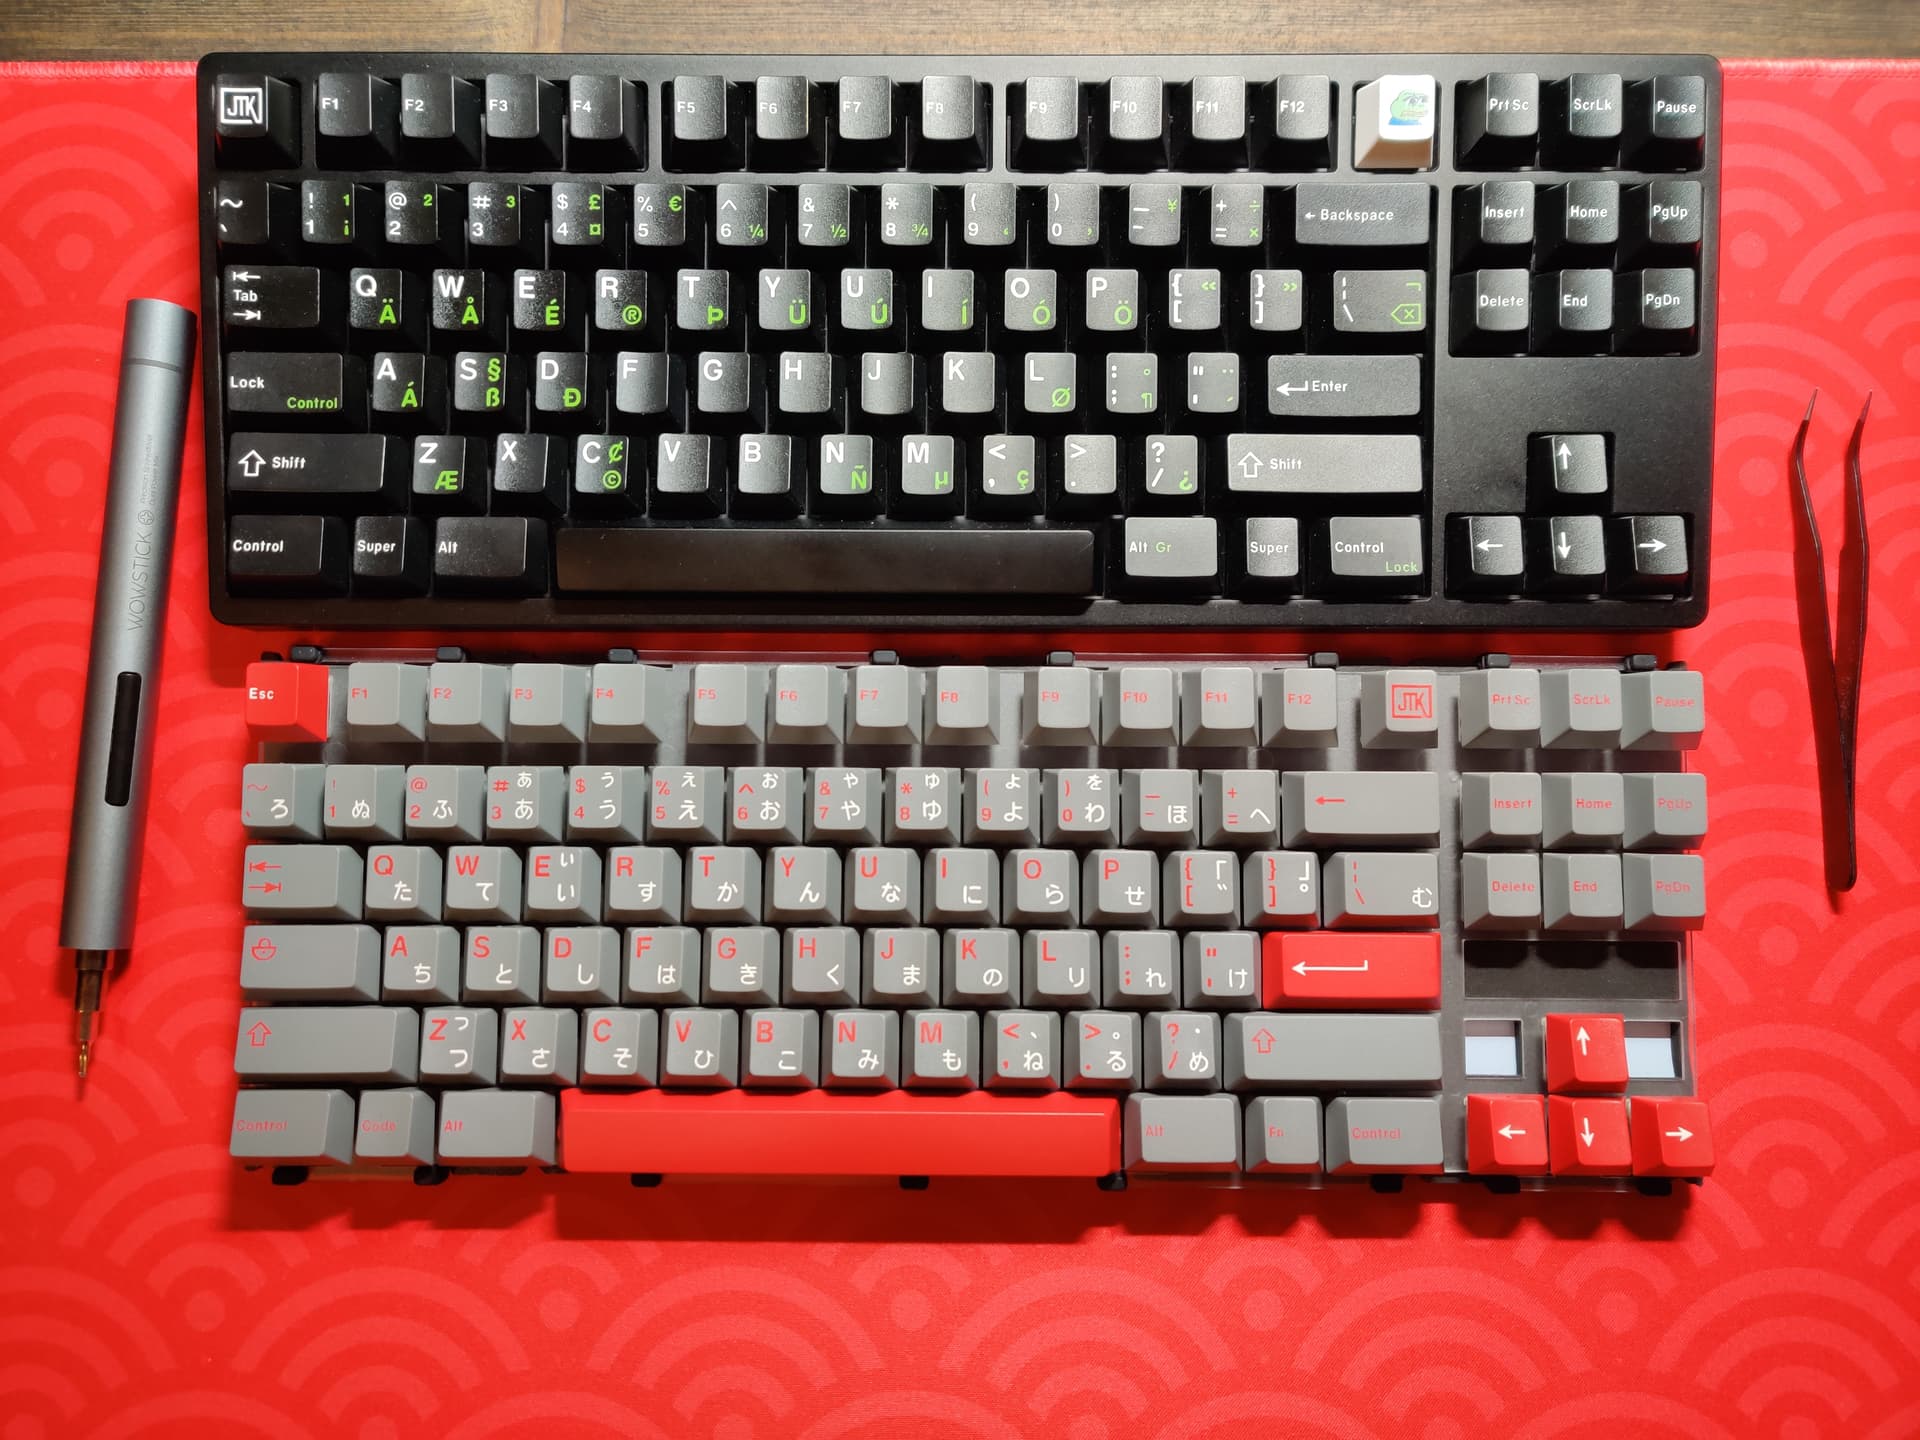
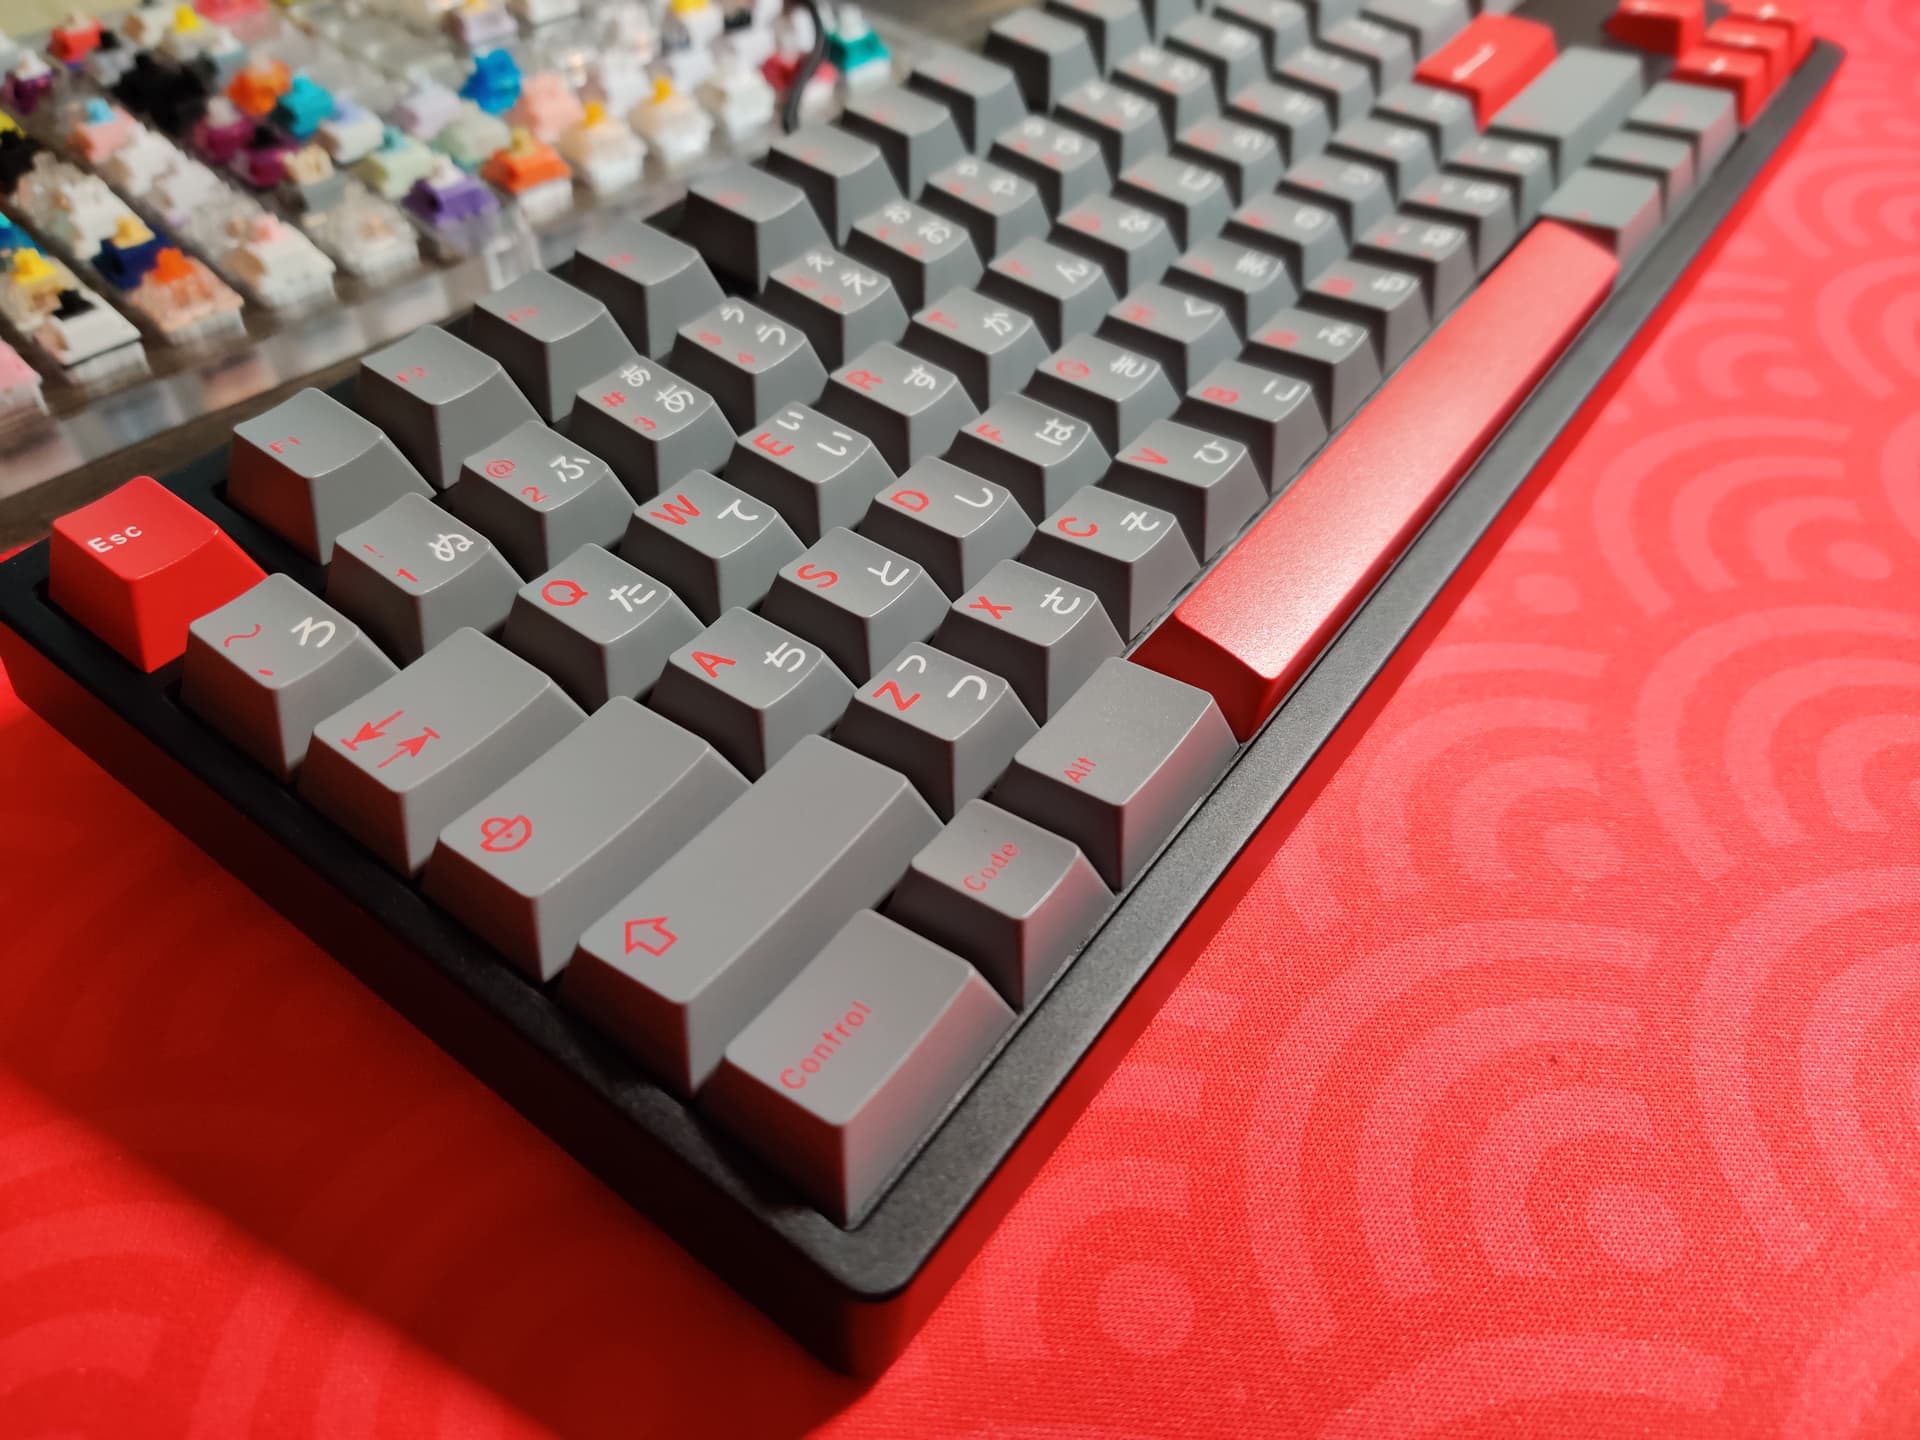
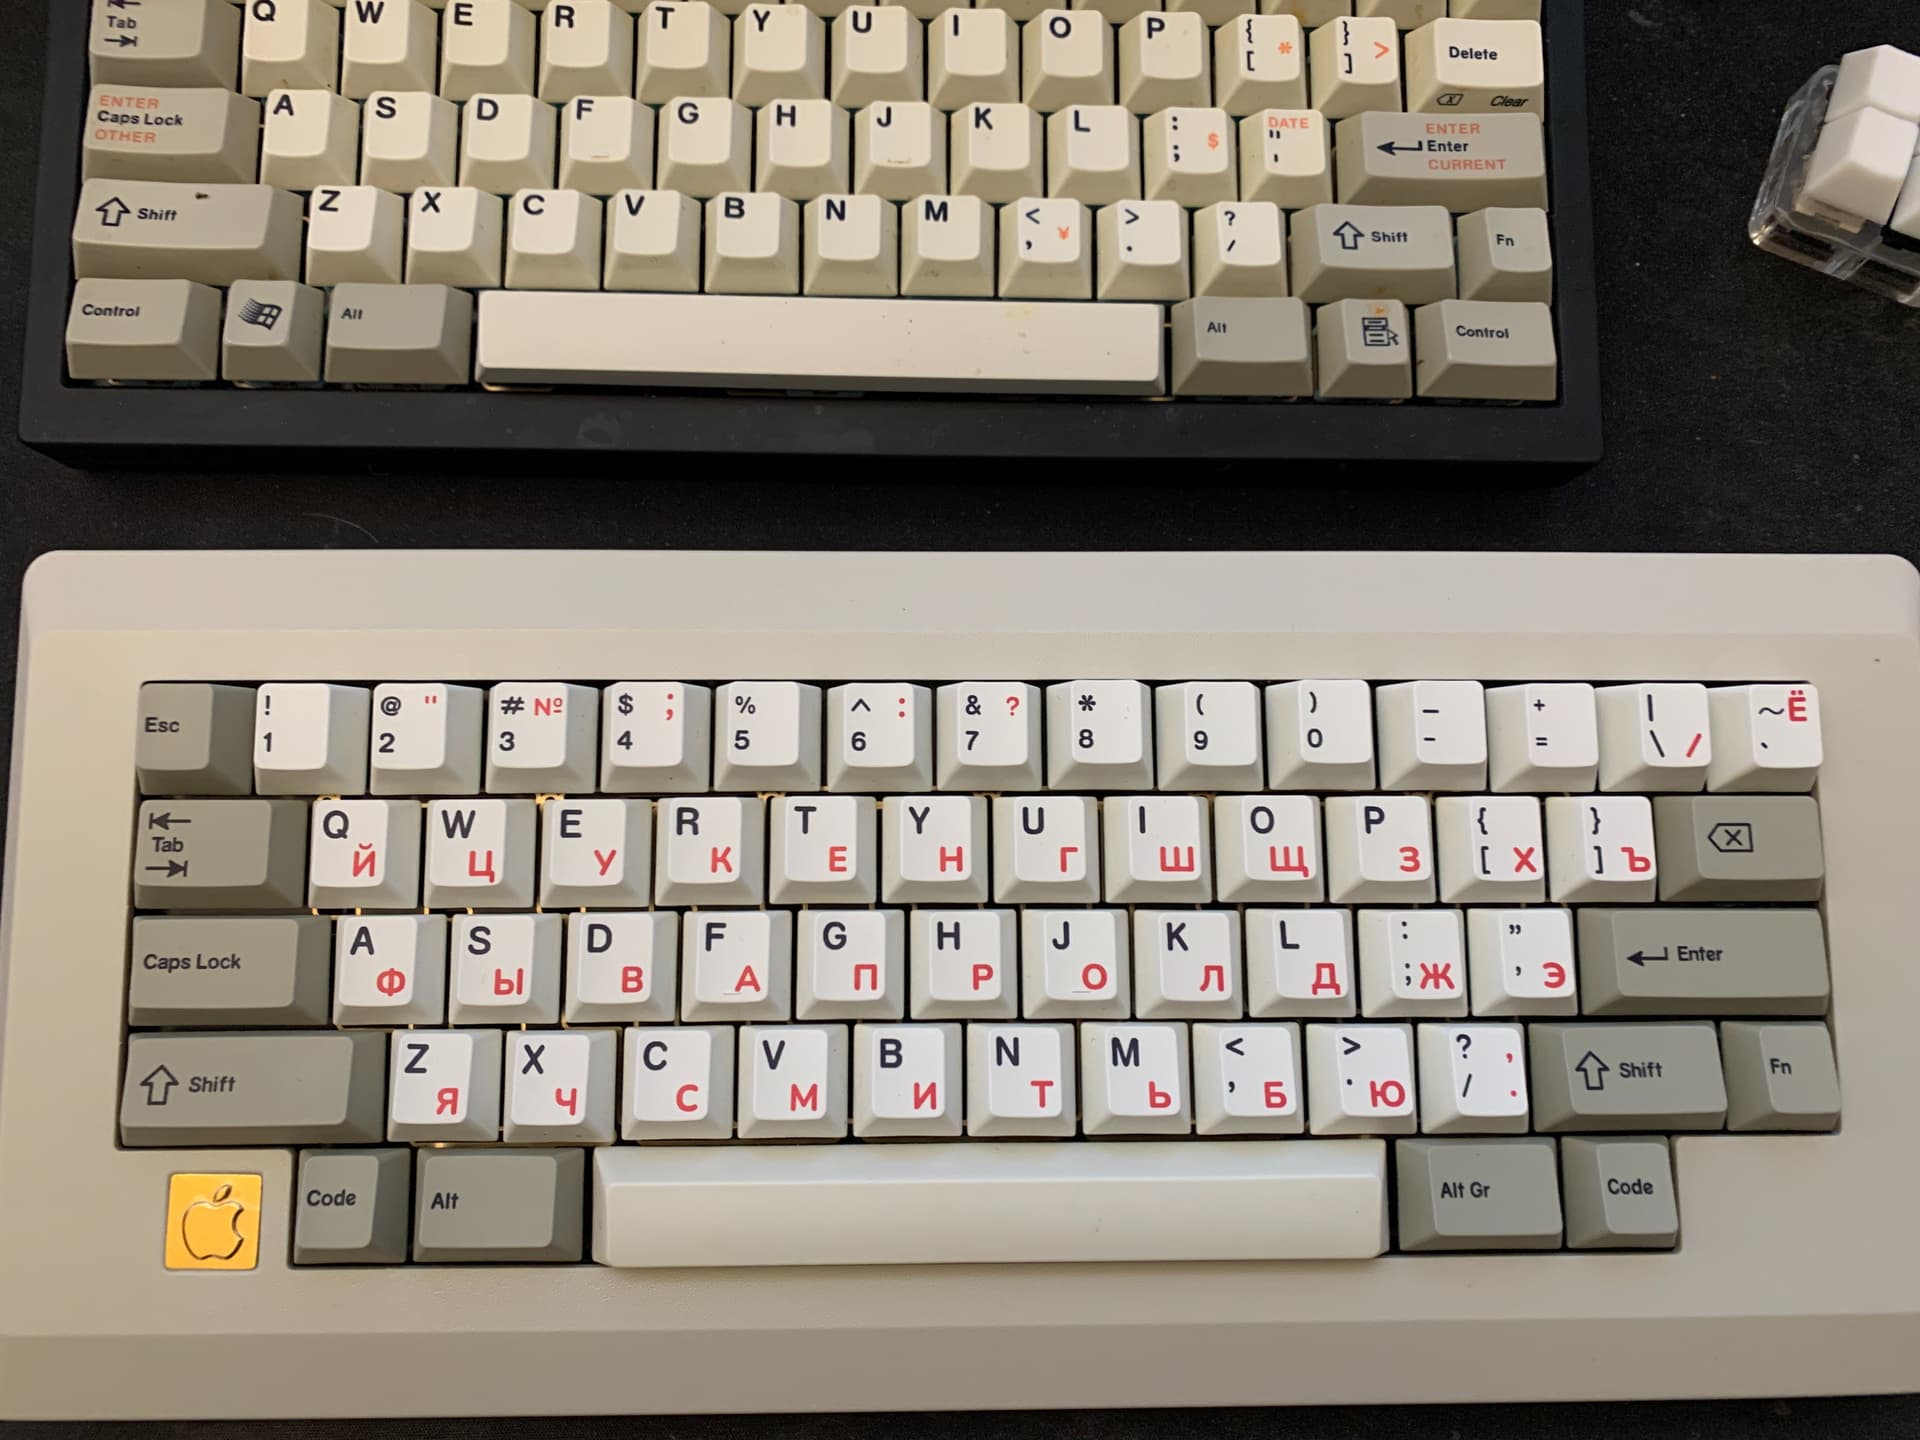
Keebox’s Apple M110 replica arrived yesterday. Just cheap plastic, PCB, and plate. When I put it together as-is, it sounded like shit. Plenty of room should’ve added a lot of reverb but sound was wimpy. Pretty sure unnecessary flex cuts in both FR4 plate and PCB hurt as well.
And…sound started popping. Too bad I had to resort to tape mod to make the sound bearable but this will do. Some weekend in the near future, I’m going to cut out corner edges of top case and punch a hole into FR4 plate to make room for the Control keys. It’s not going to be pretty.
VIA NOTE: I couldn’t get VIA keymap configuration to work. Test tab somewhat works but the keymap tab would just keep asking to connect the keyboard. I haven’t tried VIAL yet.
It works with VIAL. I rather like the sound of mine stock. However, I was using some rather generously lubed switches. What switches did you use?
I see that XMI has a new Apple font set coming to market that mimics the italic font used on the Apple Extended caps. I might try to pick up a set for this board. But I feel like it would look even better with something more like the original M0110 caps. Something in that darker color like the mods on your set there.