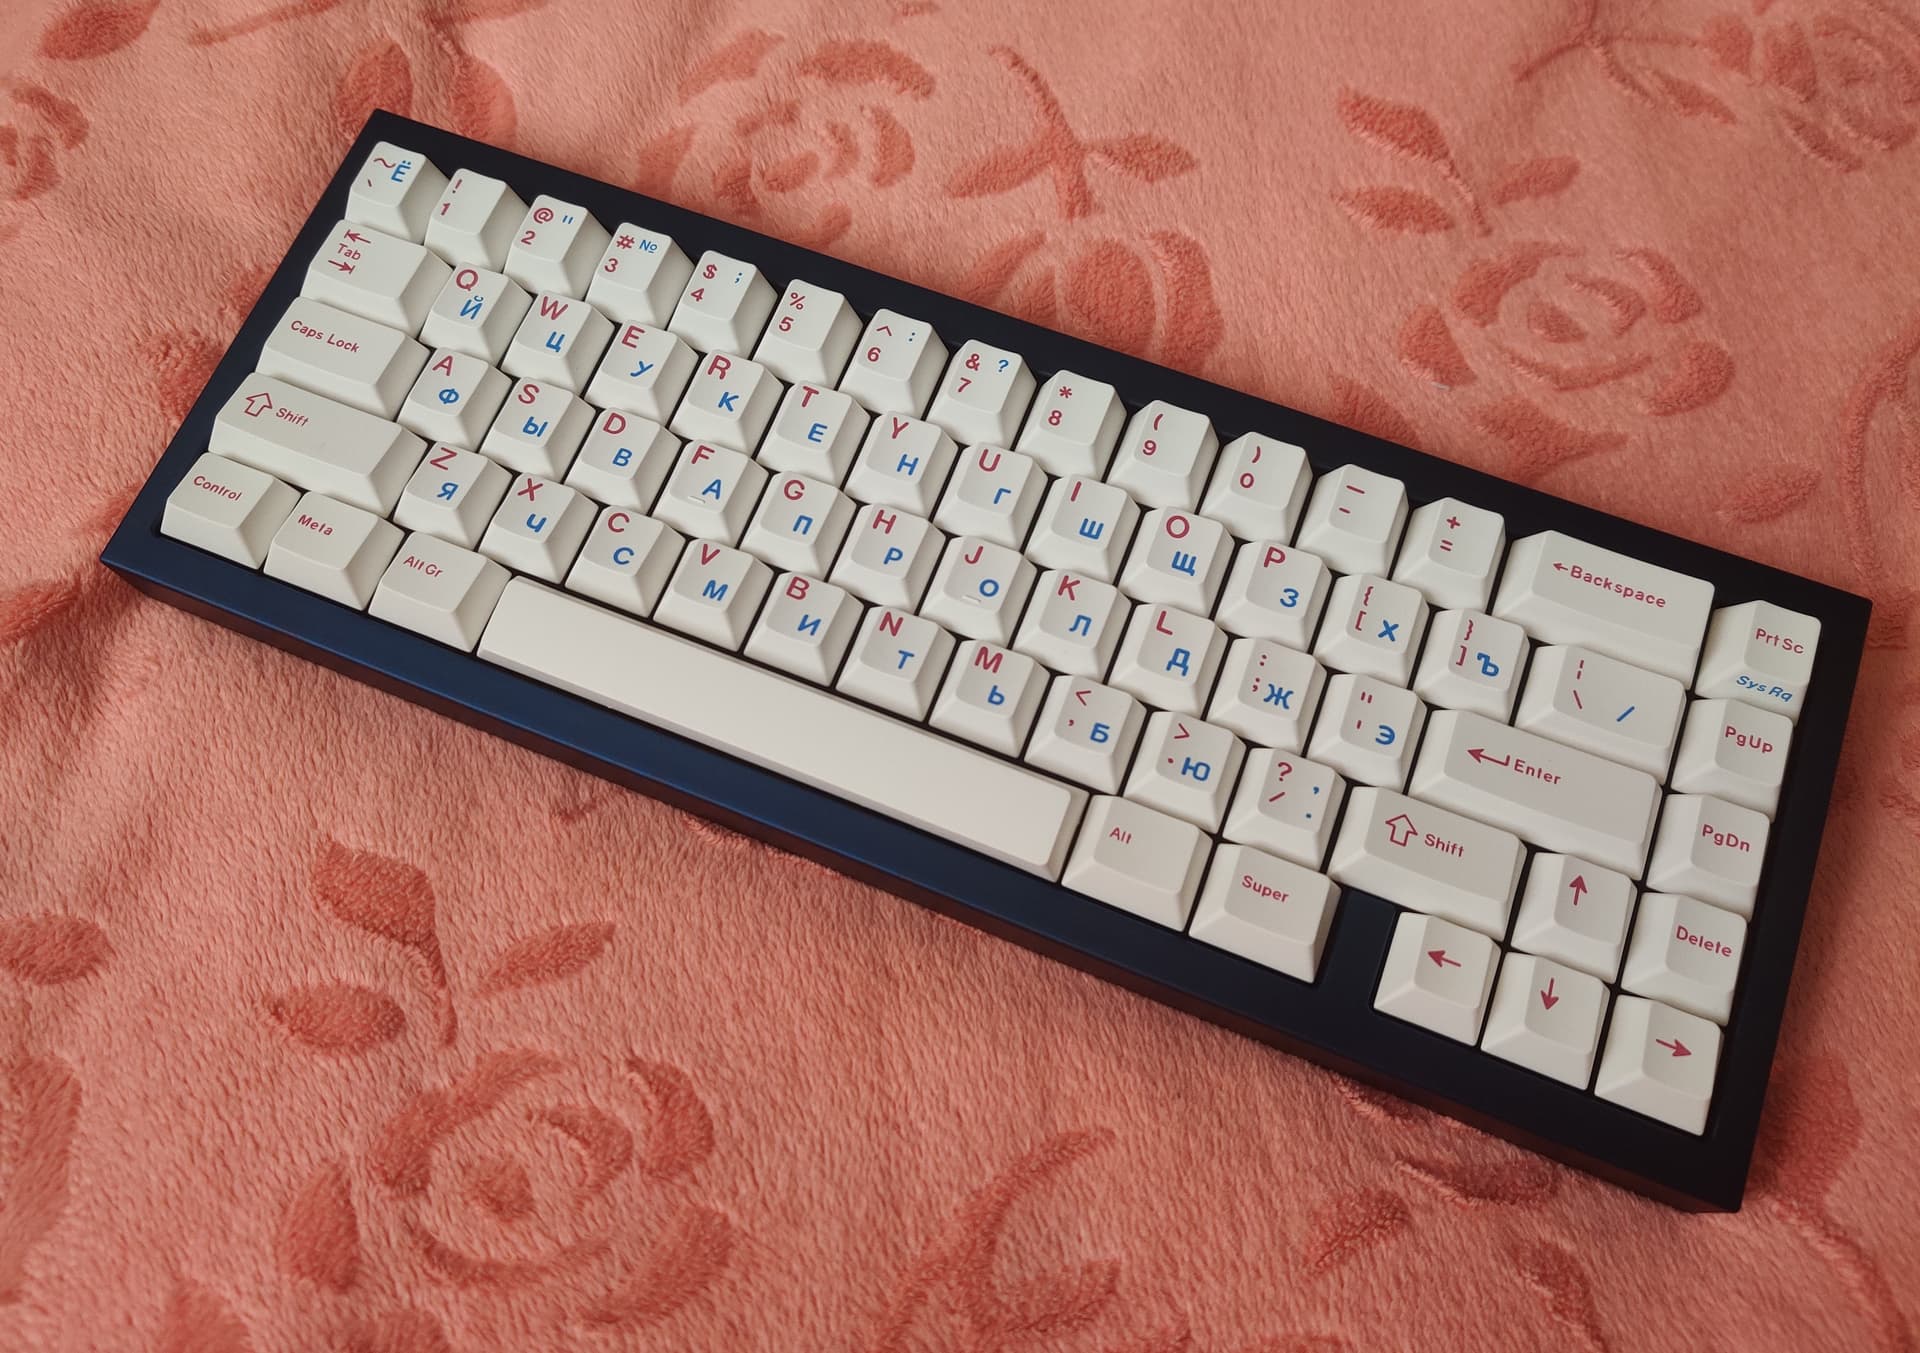
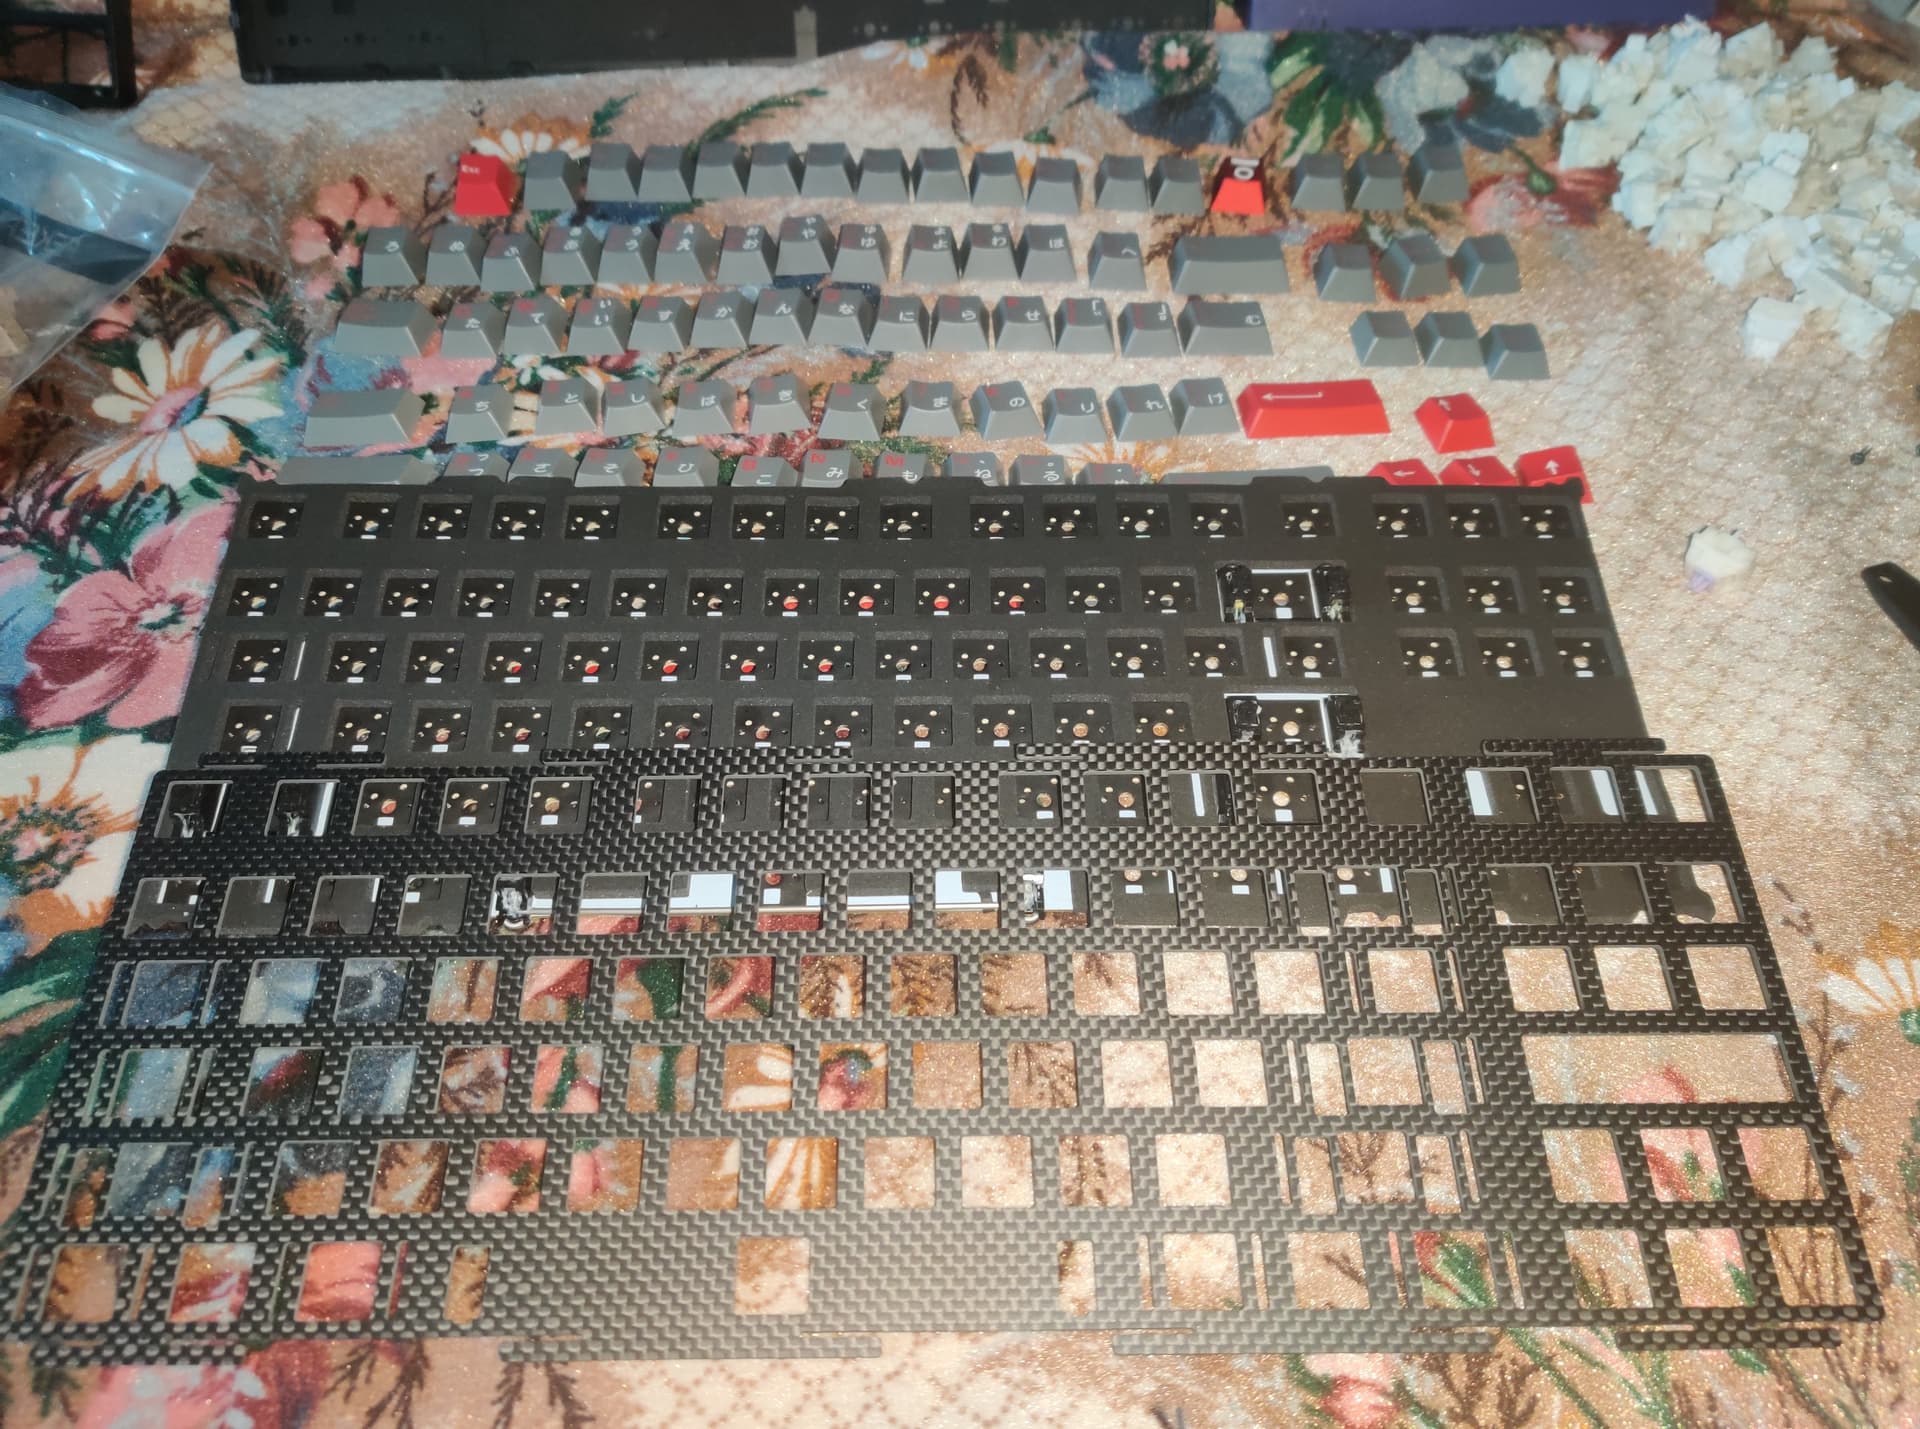
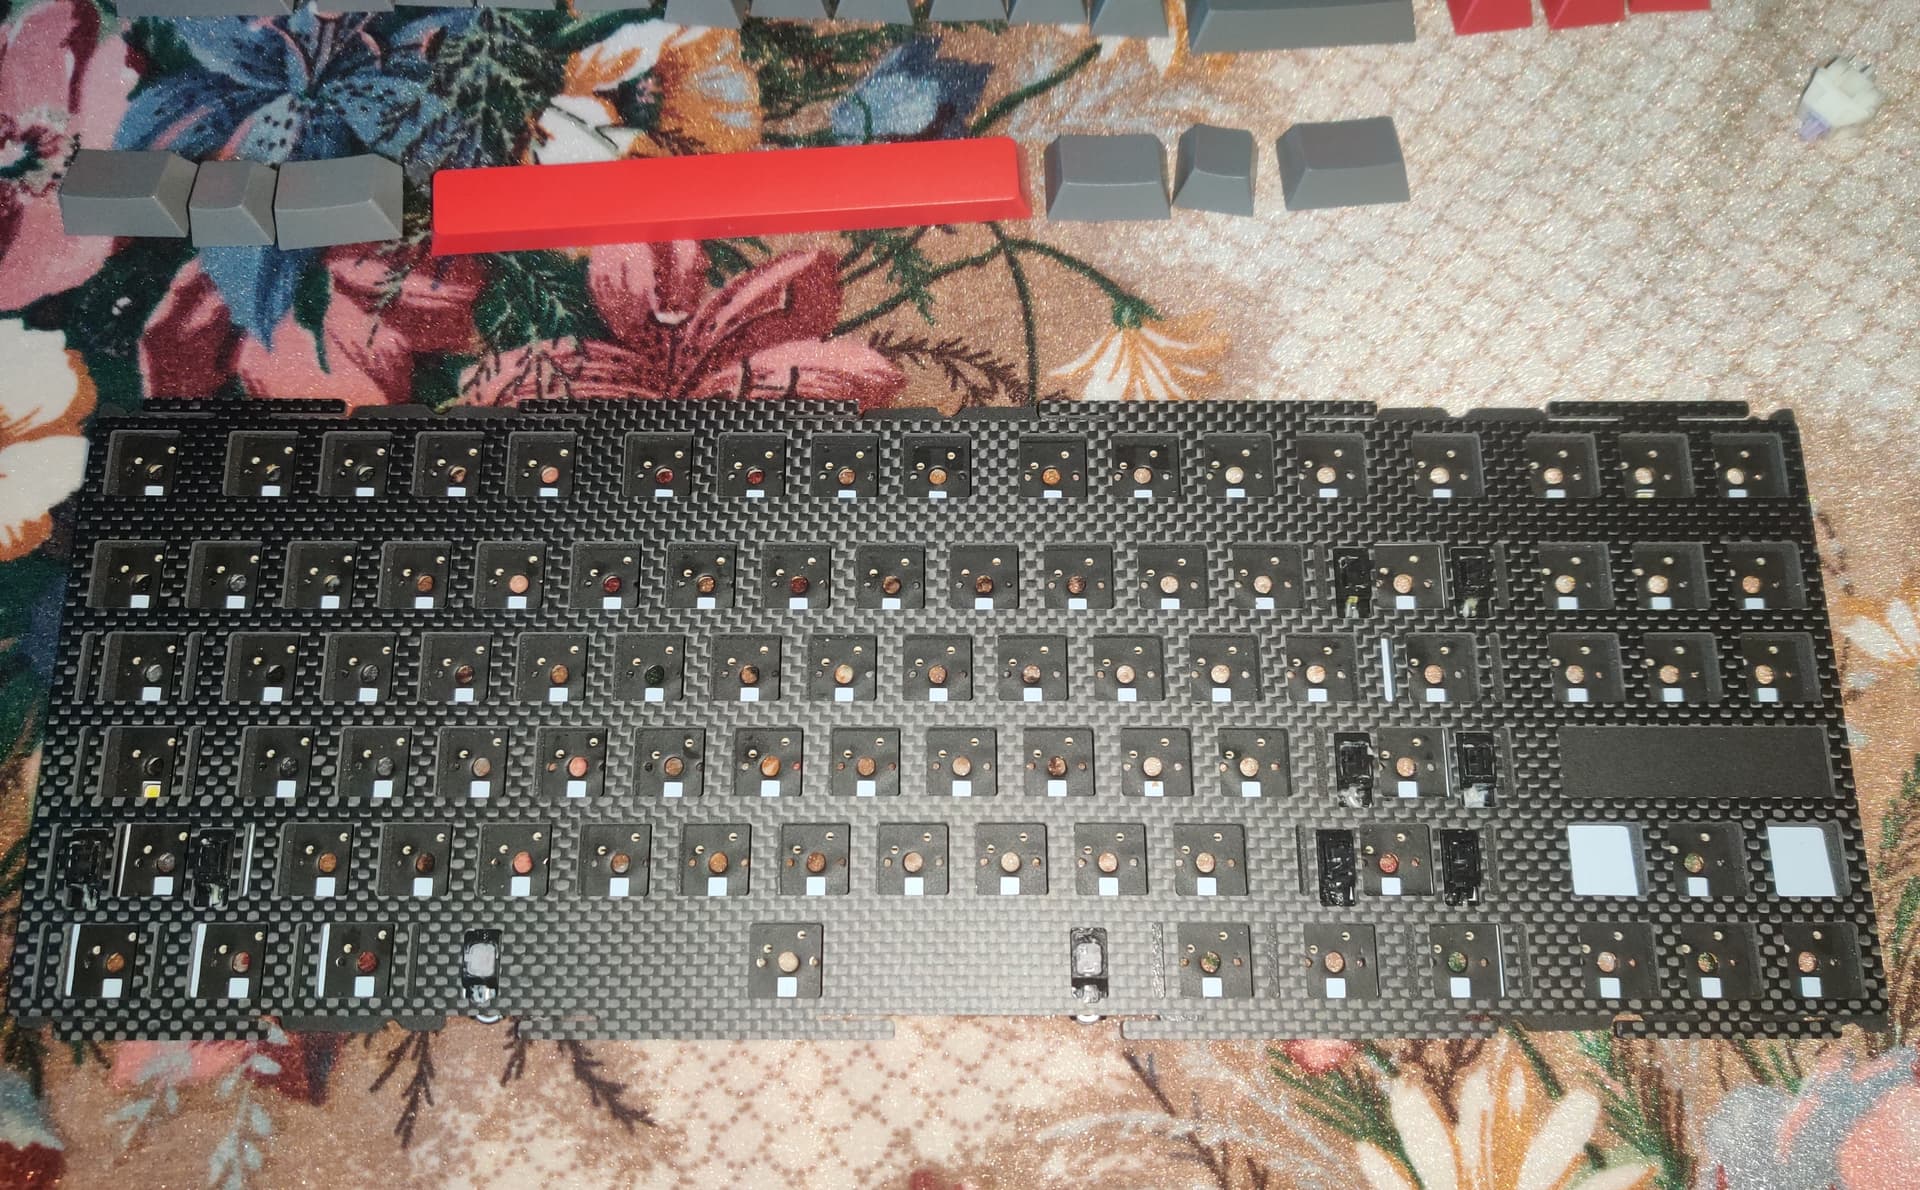
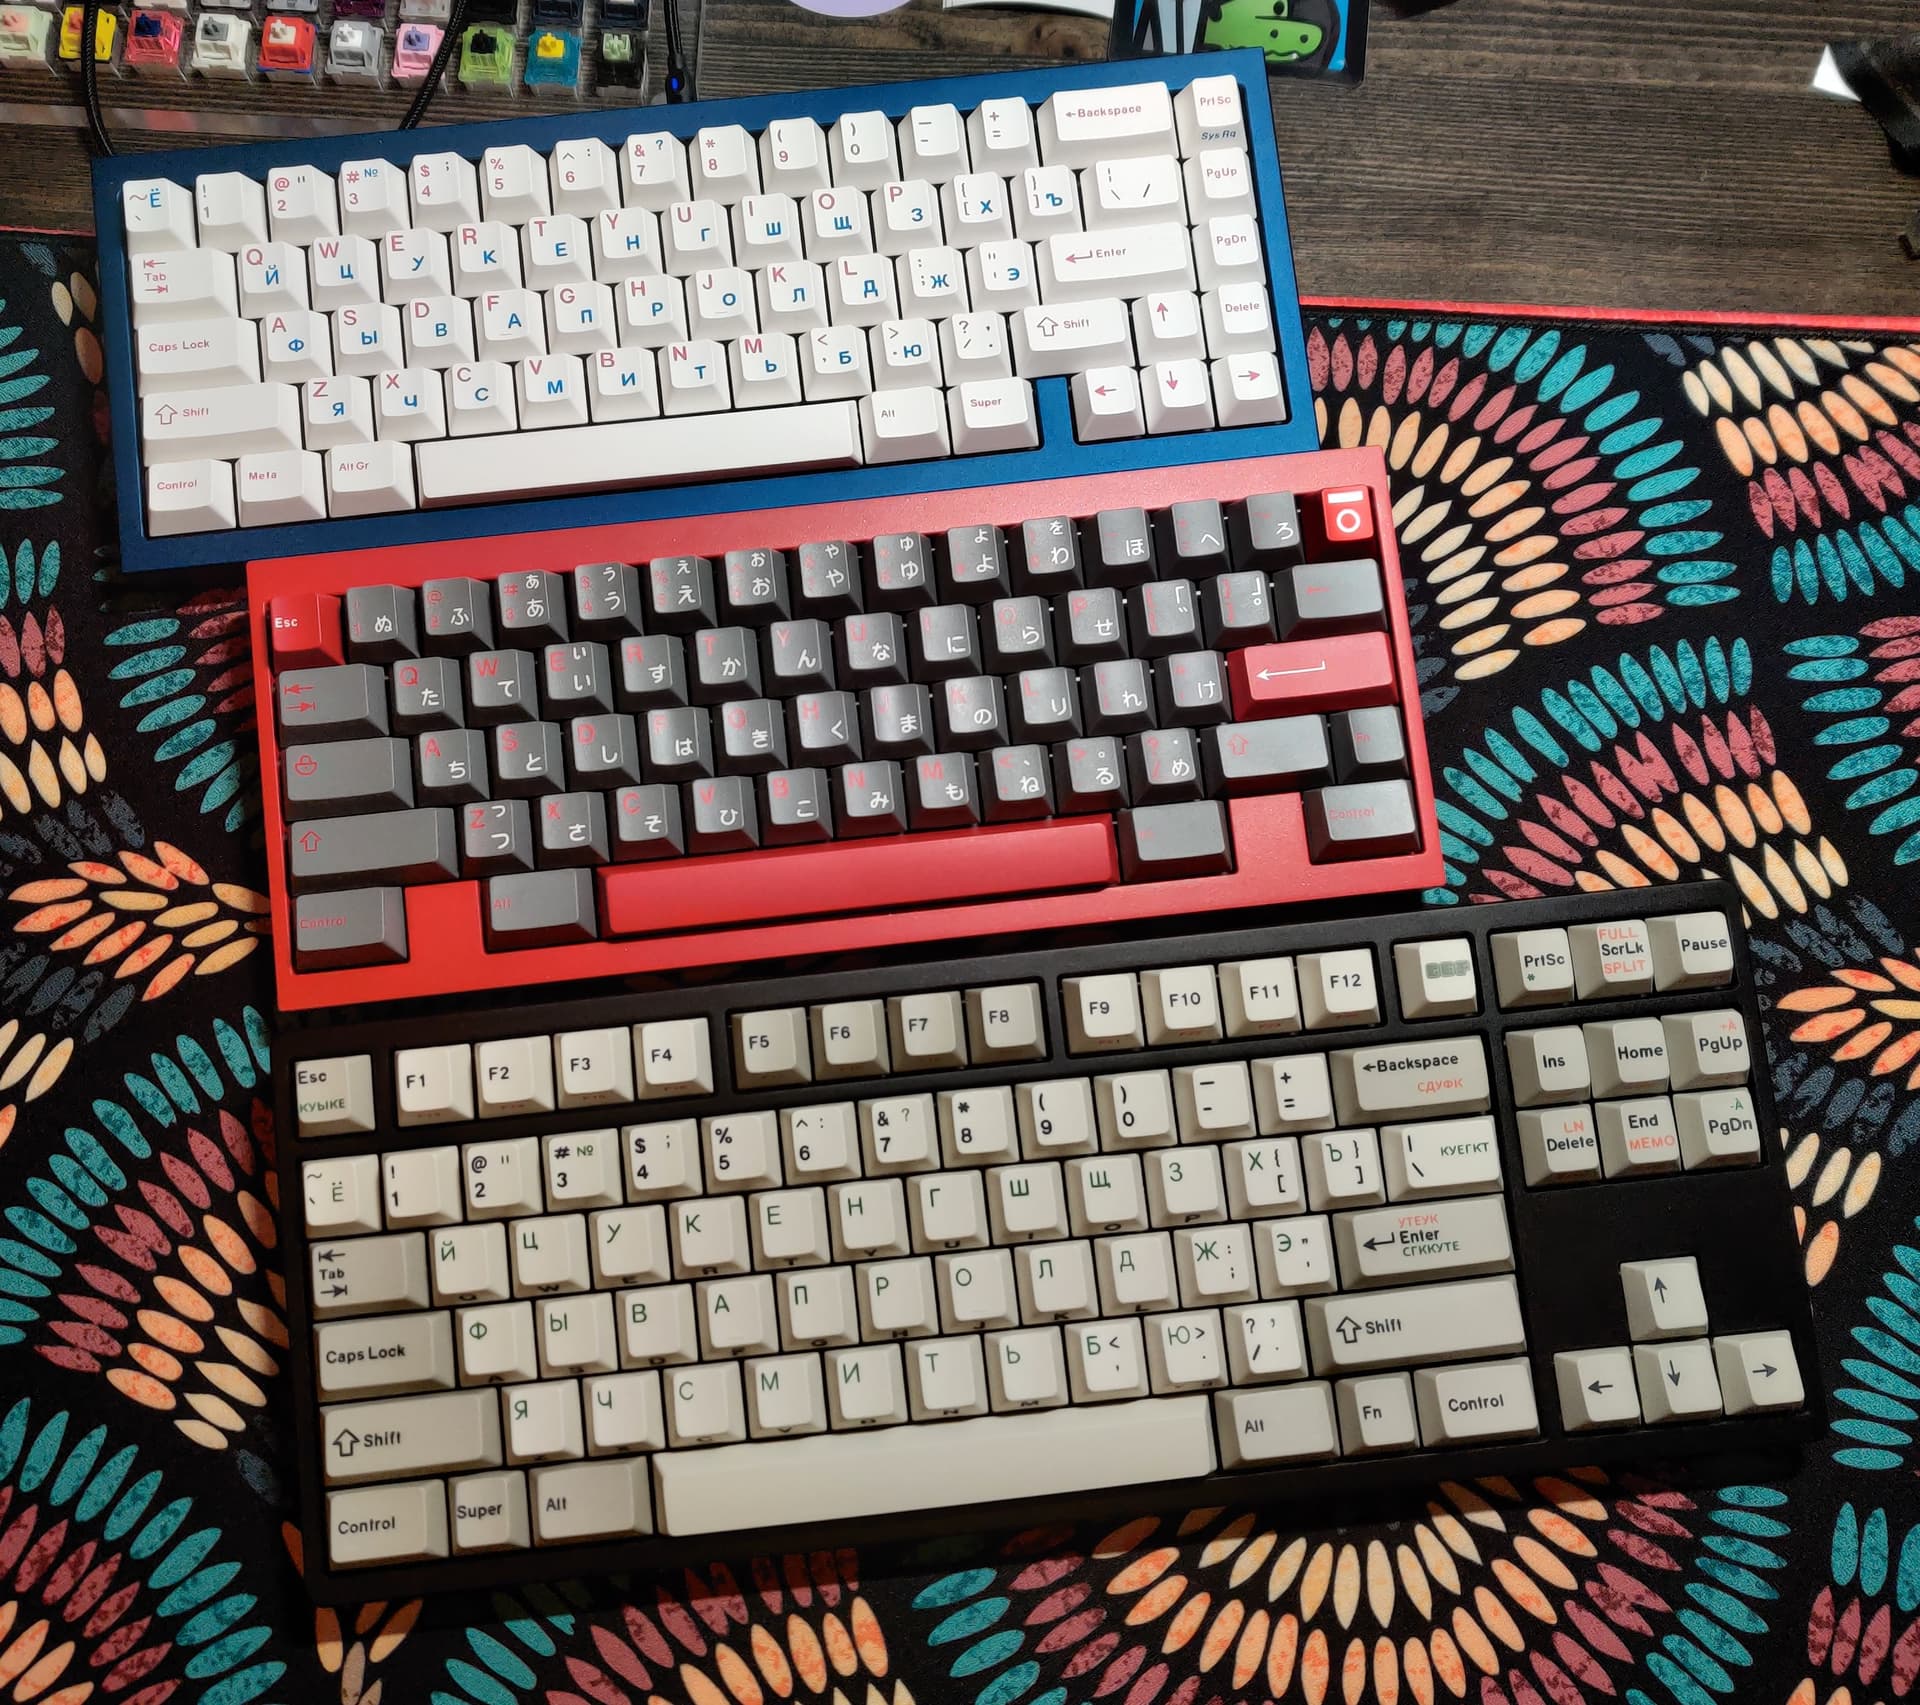
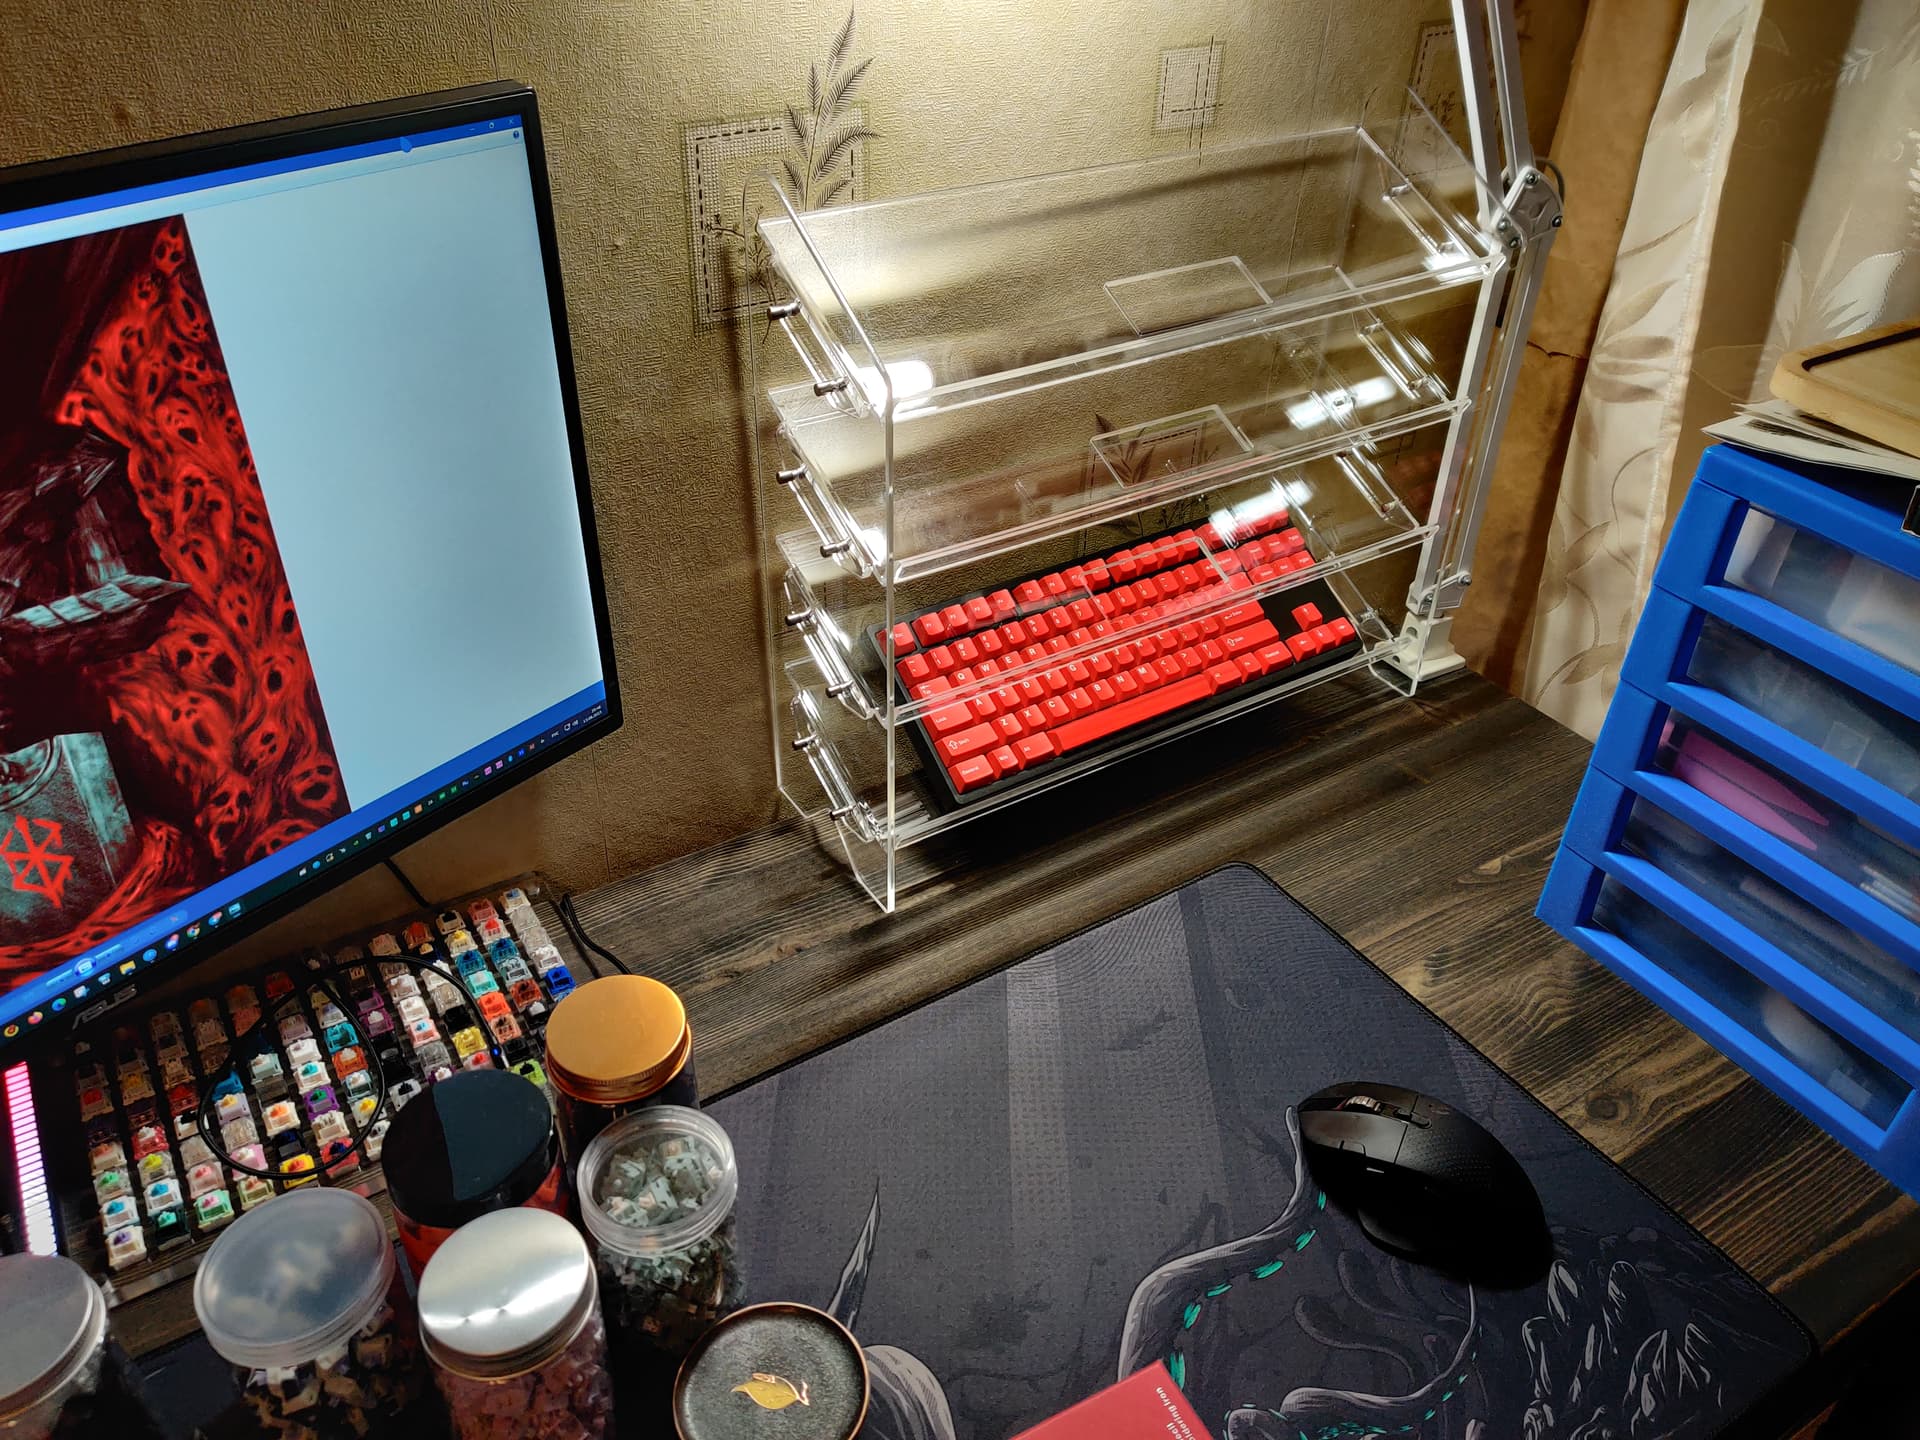
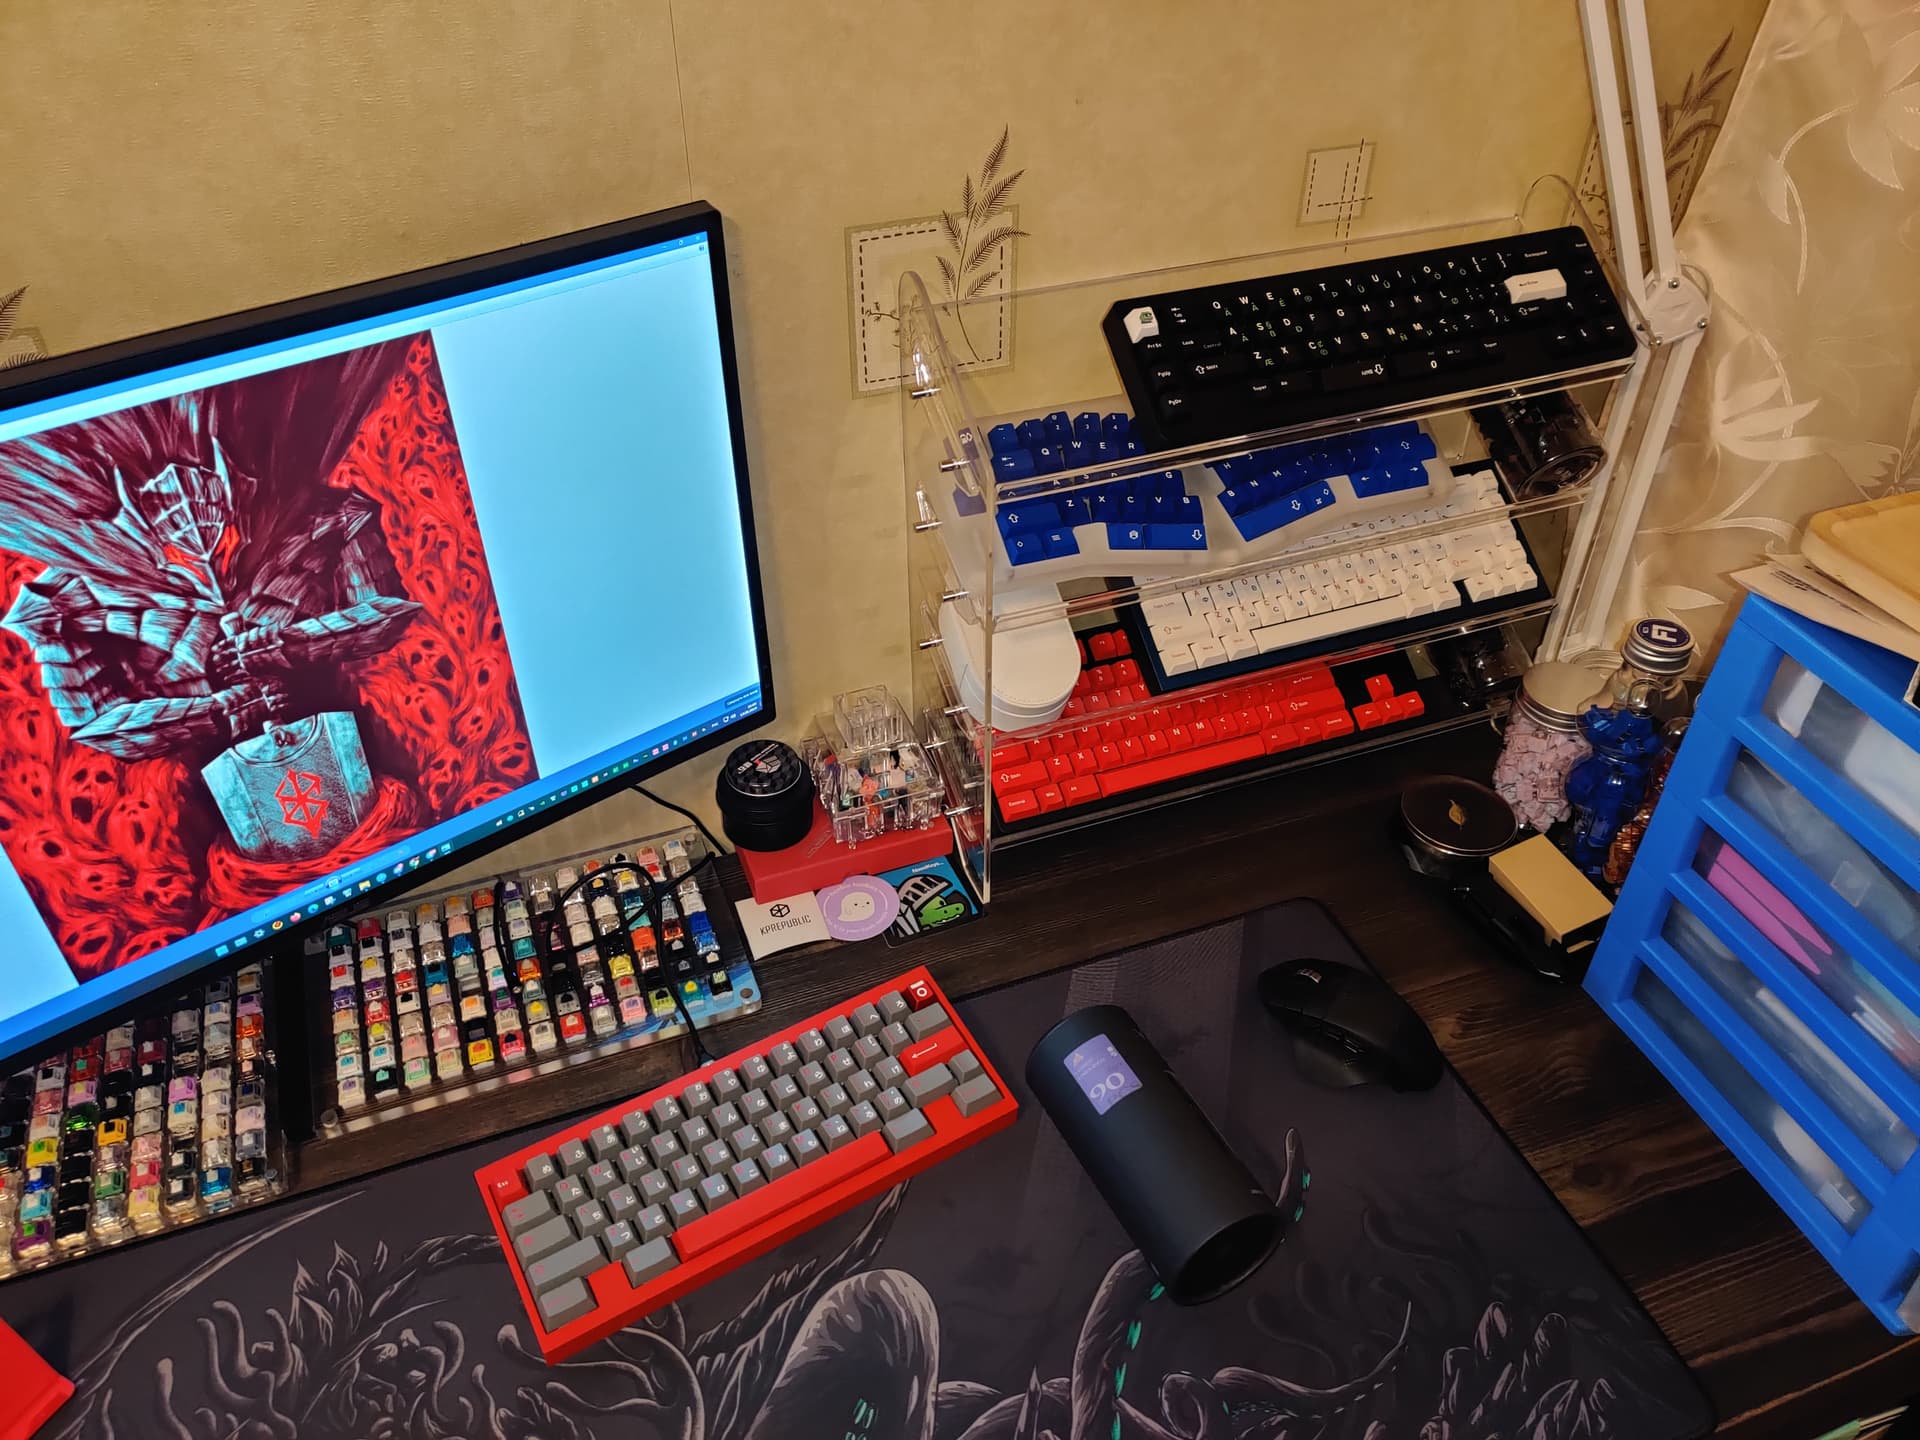
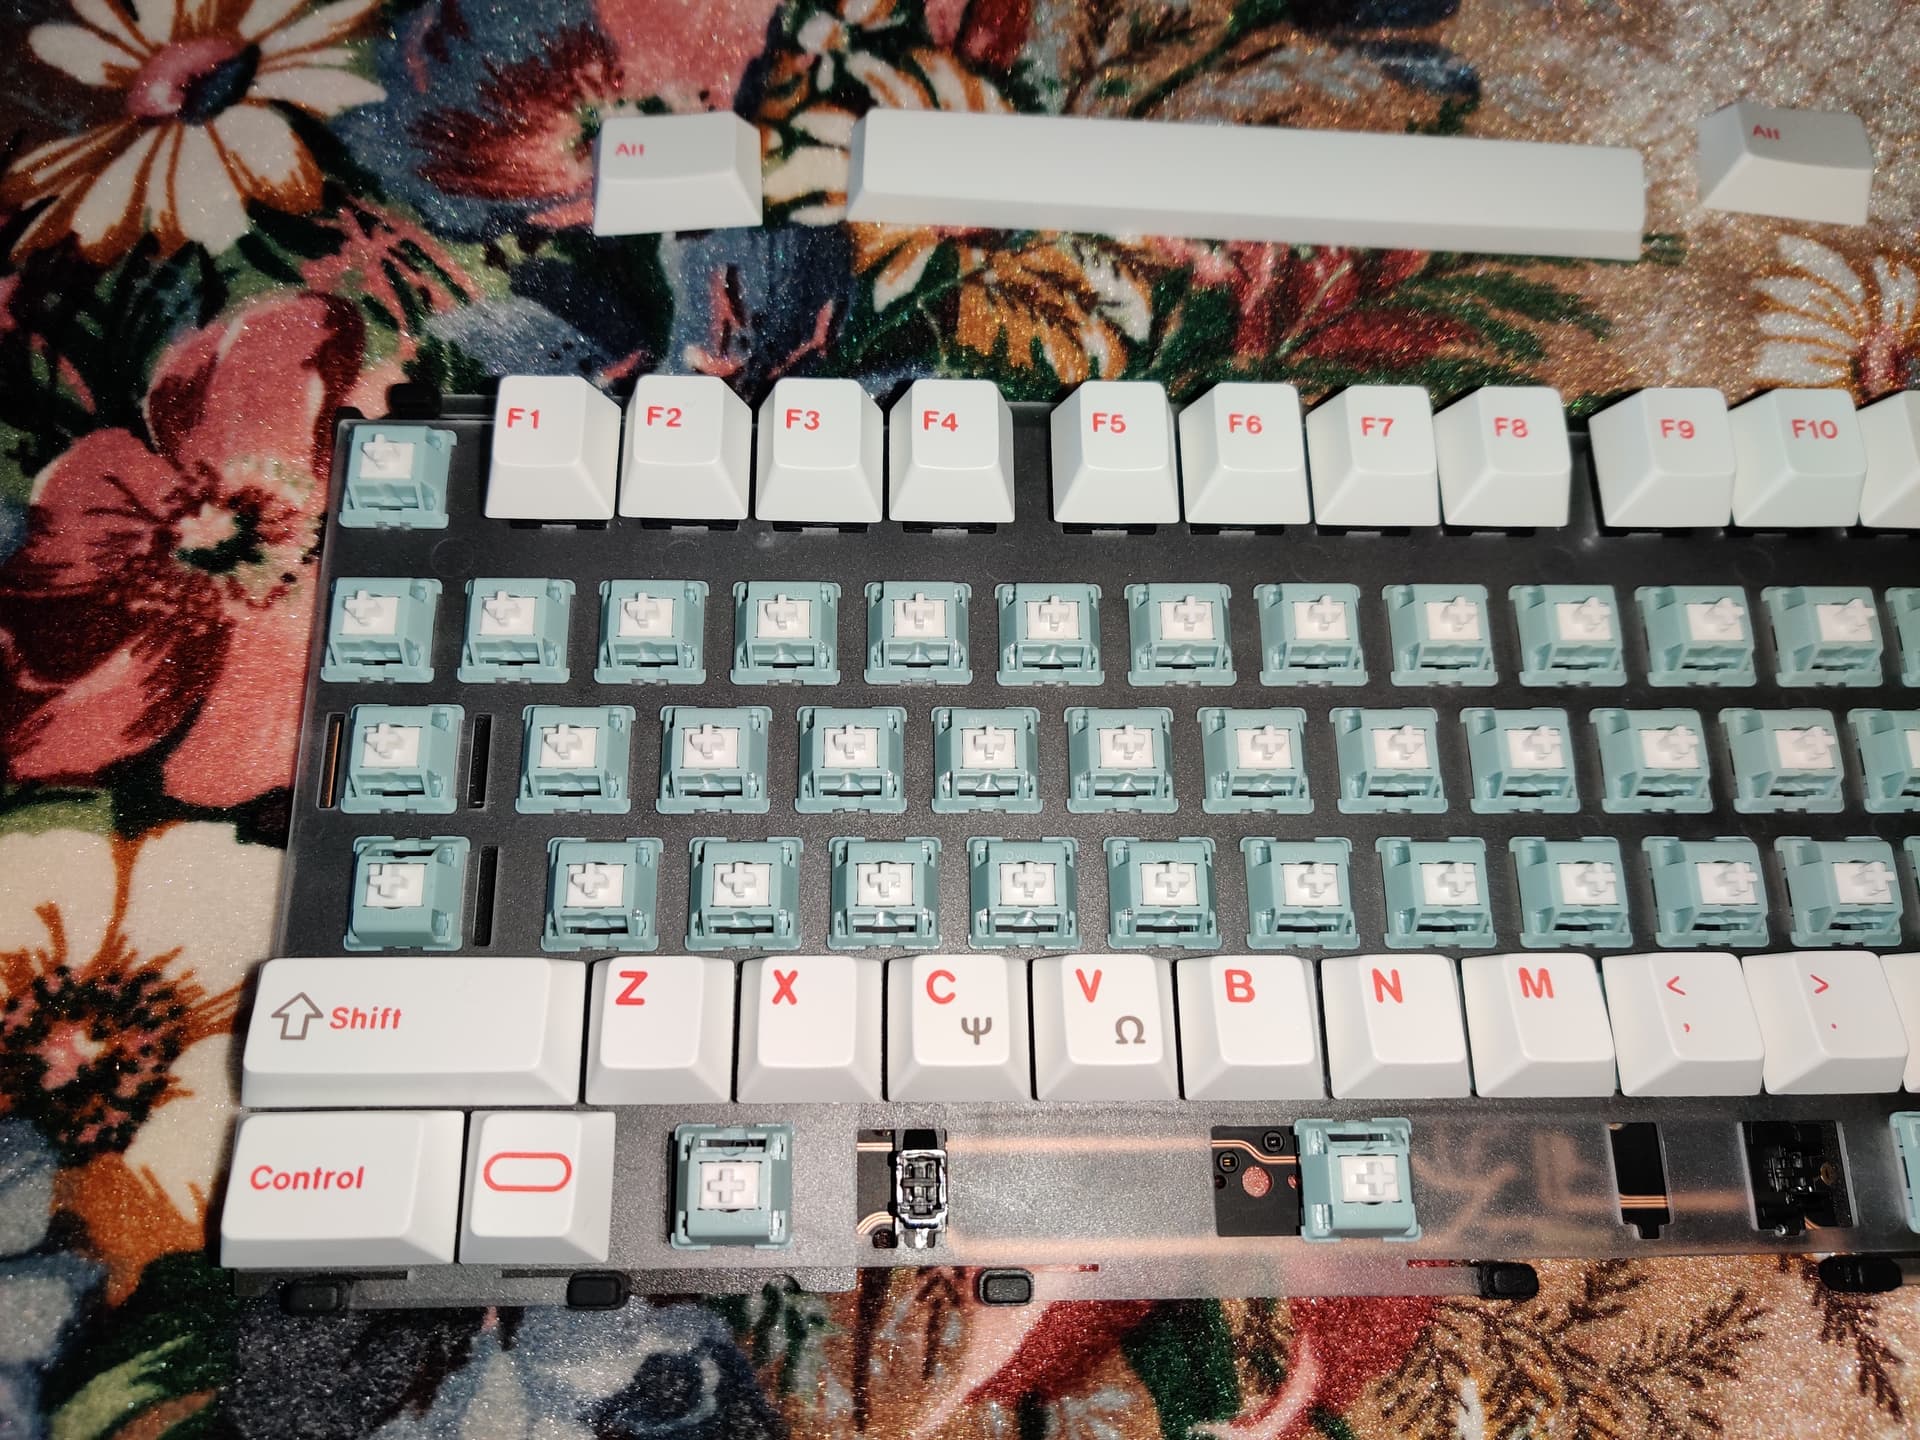
Here I just changed the “sandwich” inside.
Since we needed switches from what was standing.
It is convenient that I simply dismantled the case and completely replaced only the “sandwich”.
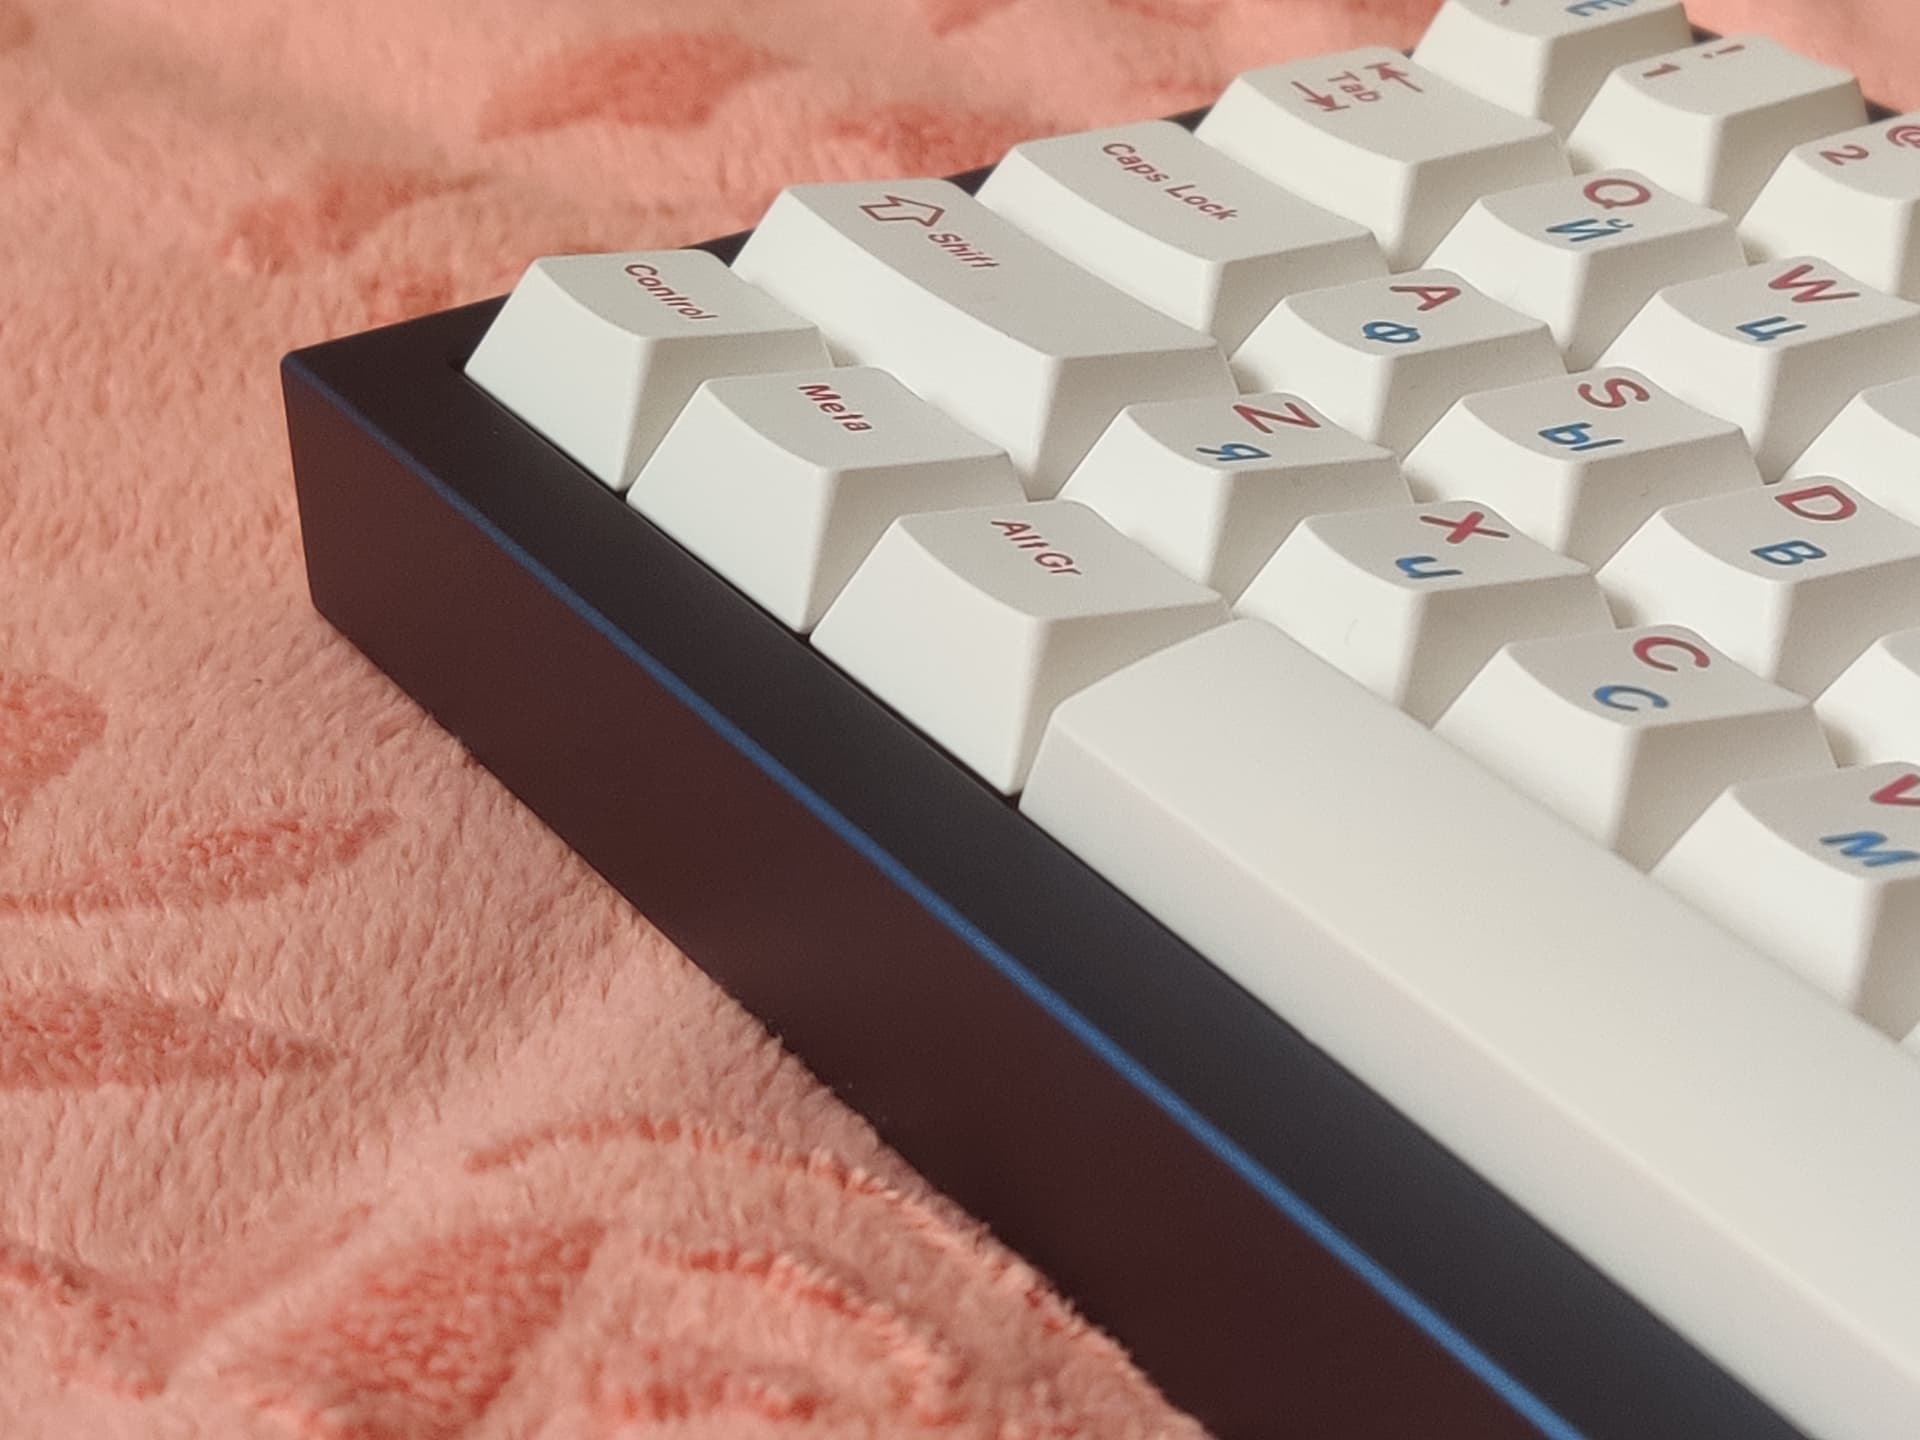
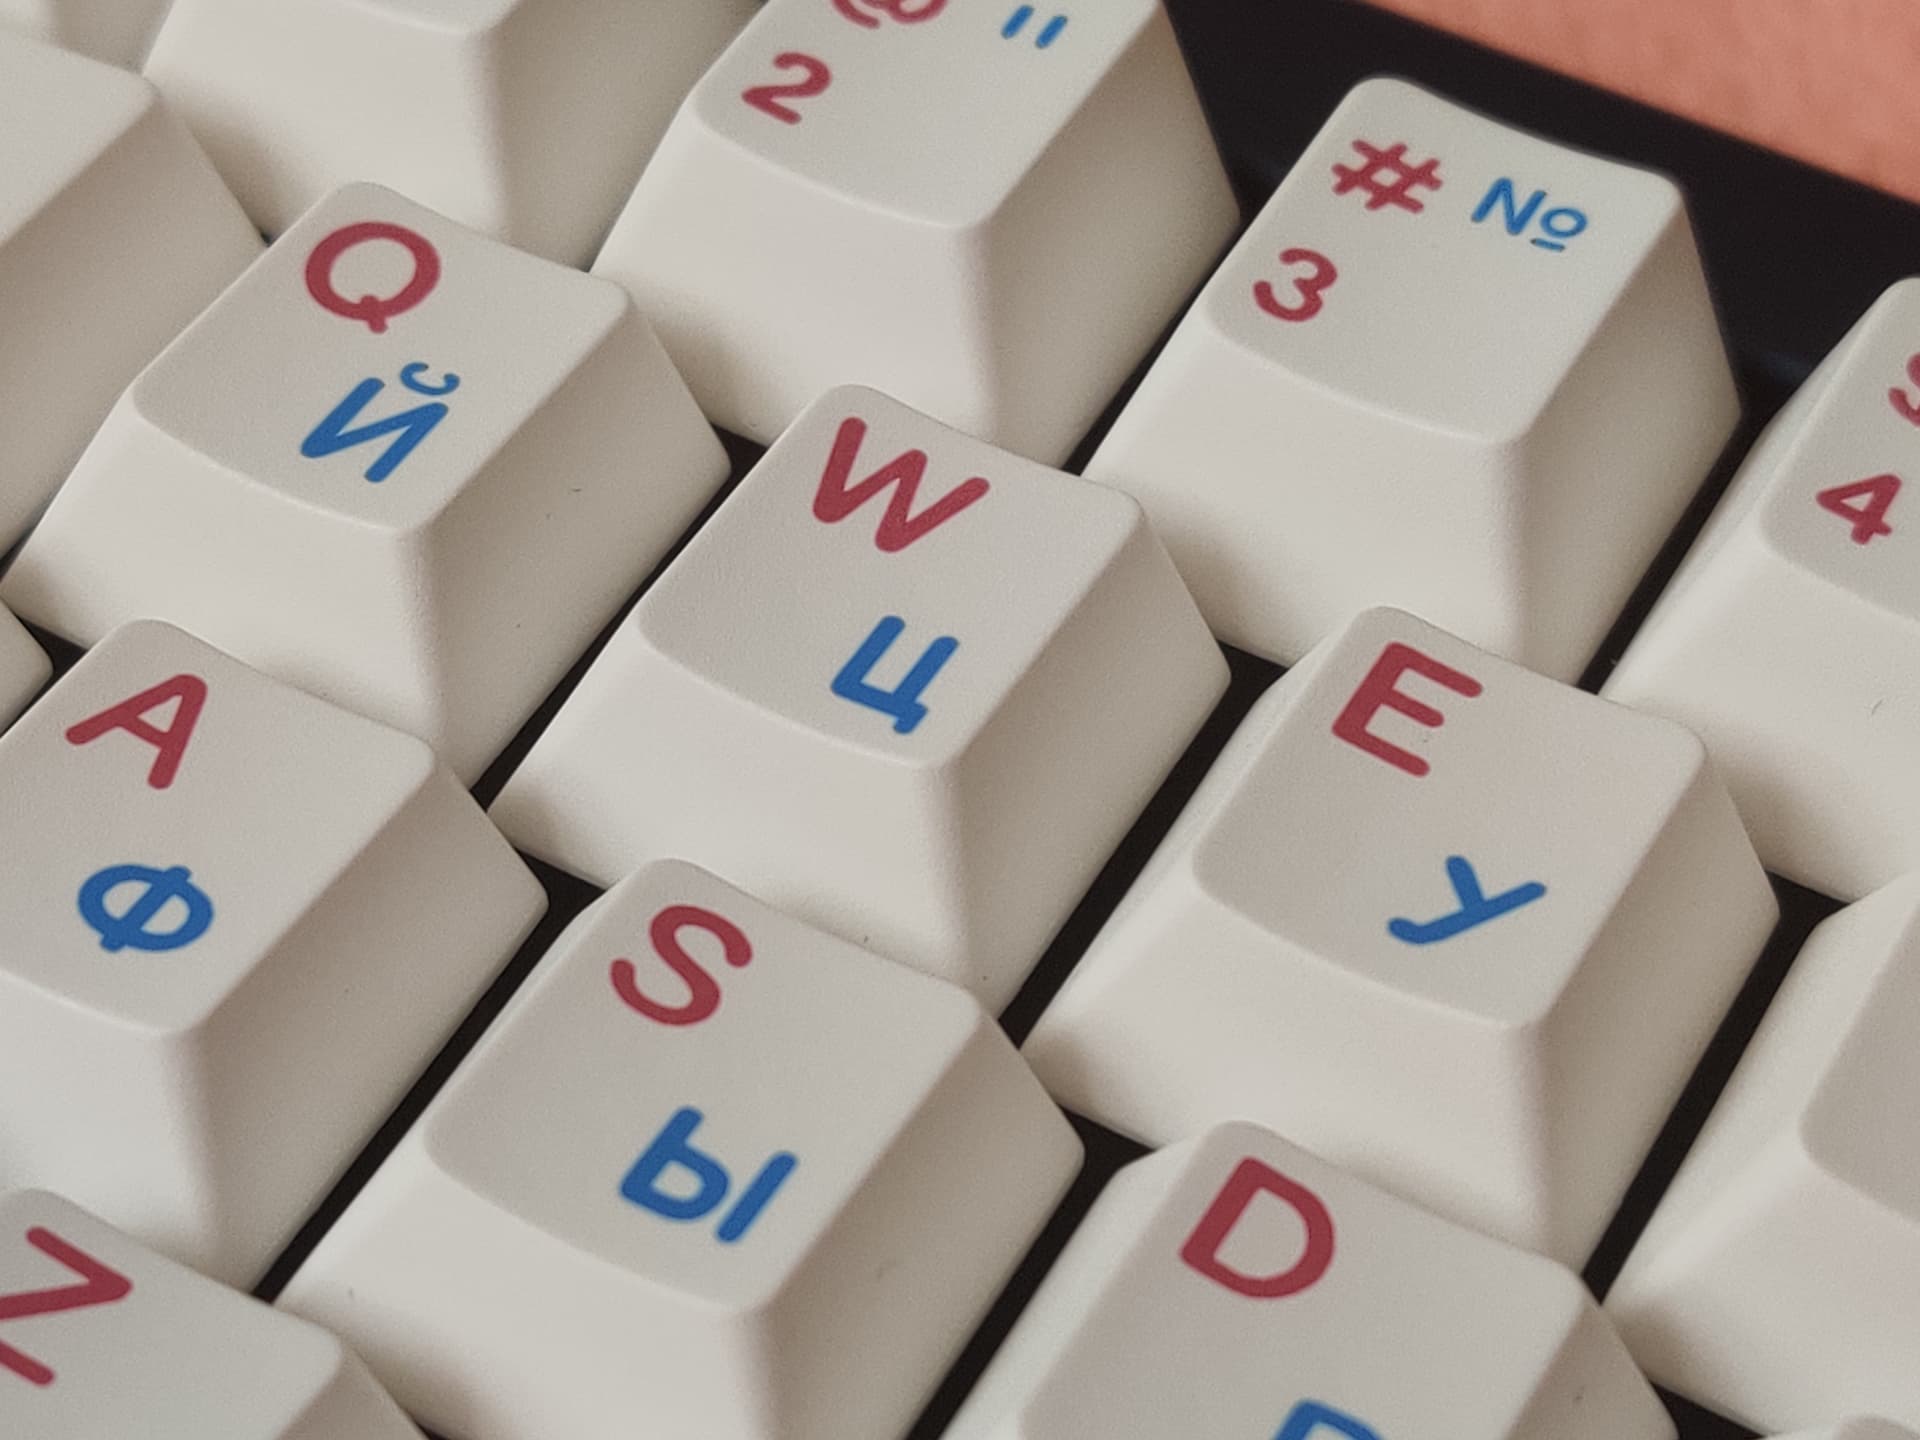
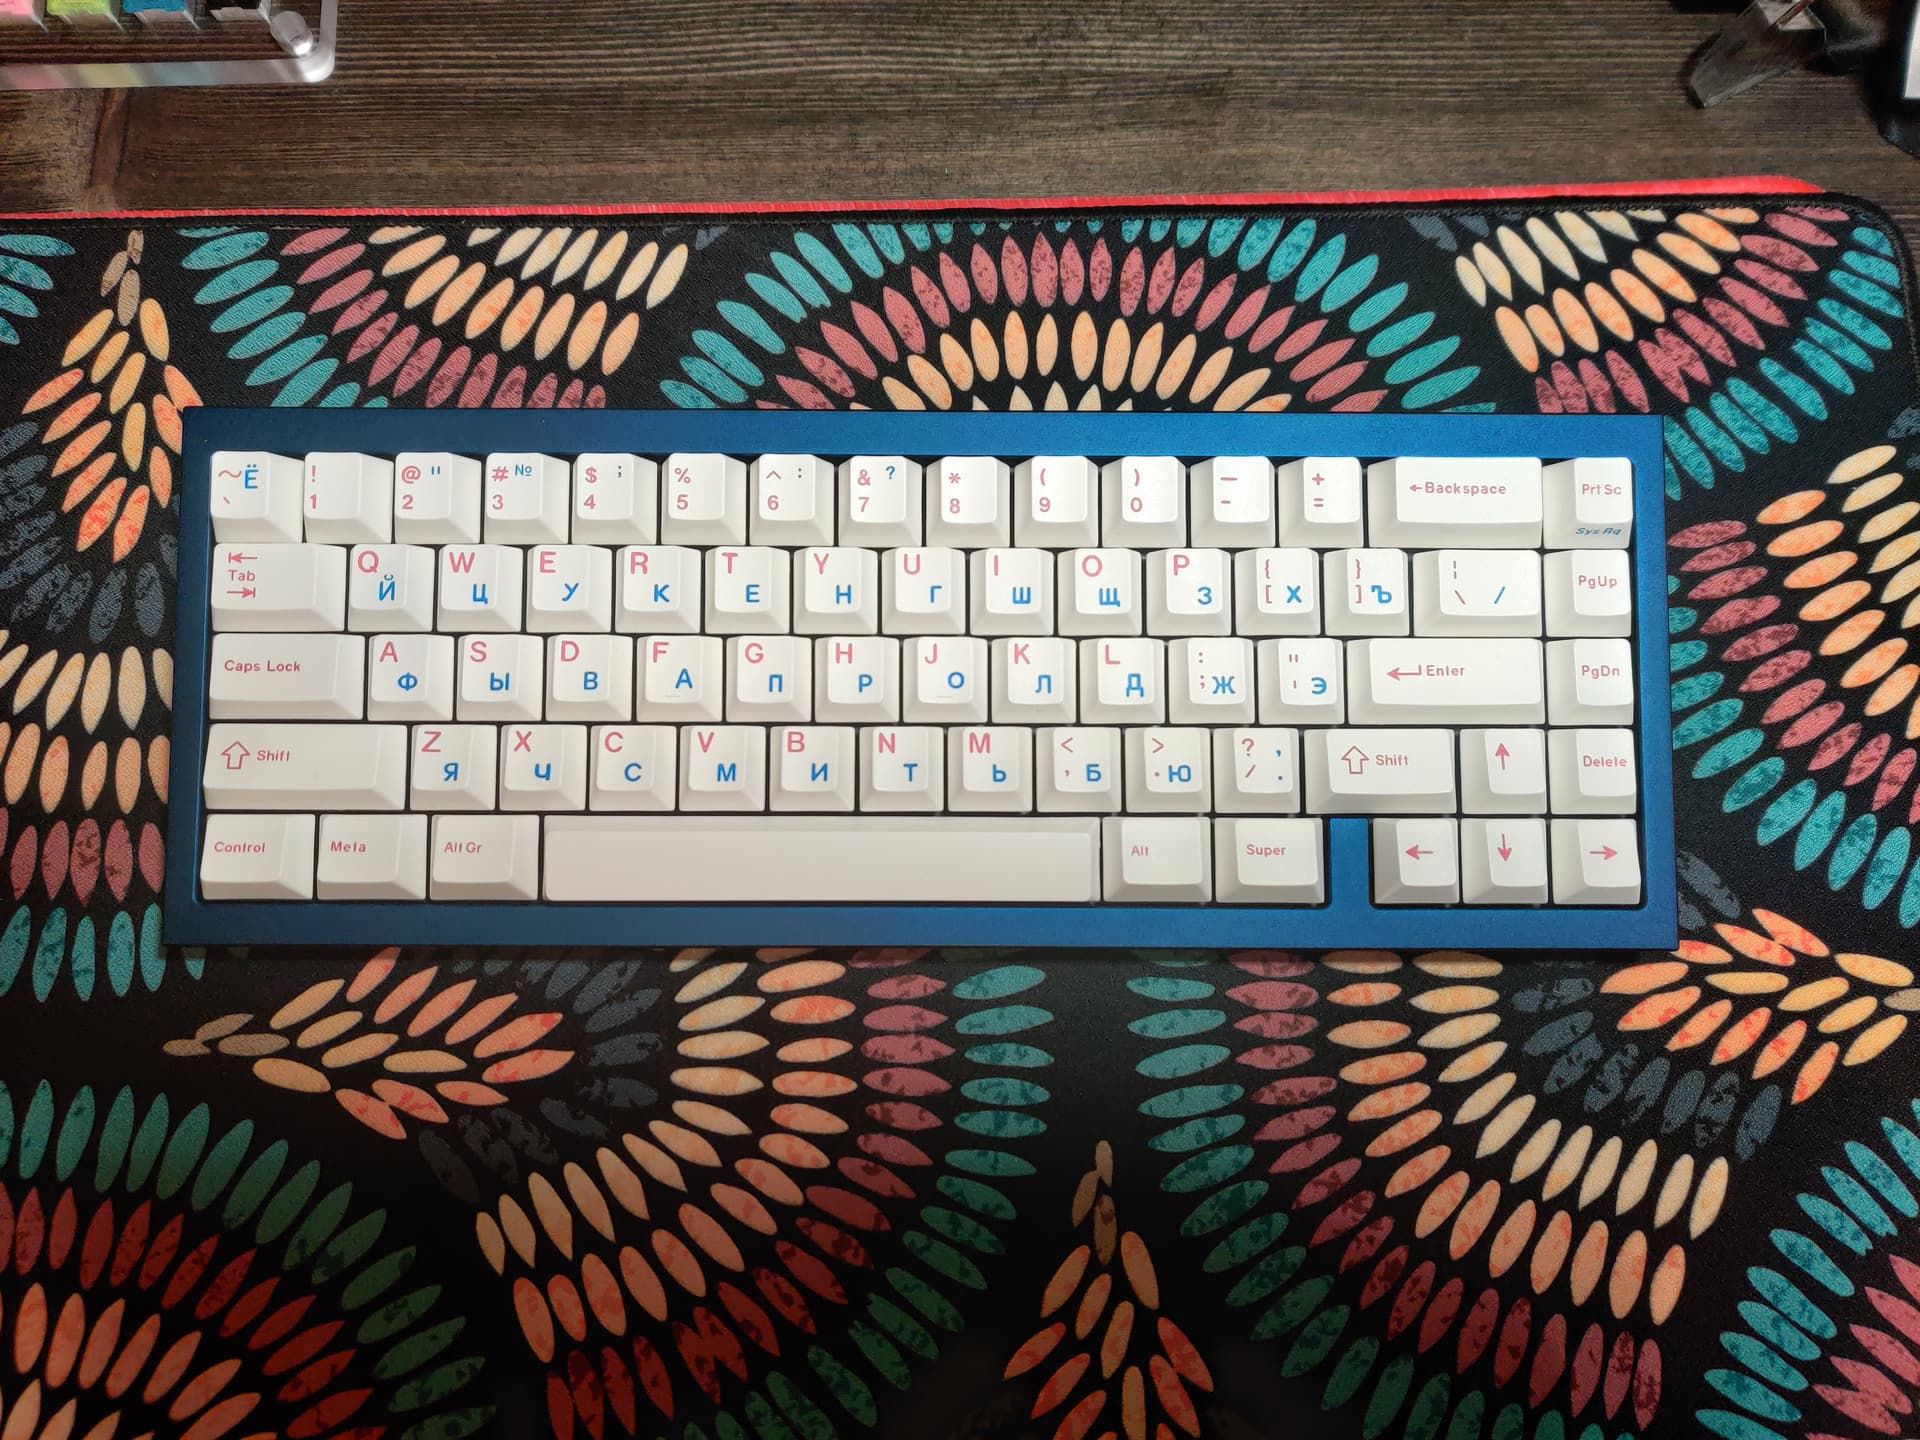
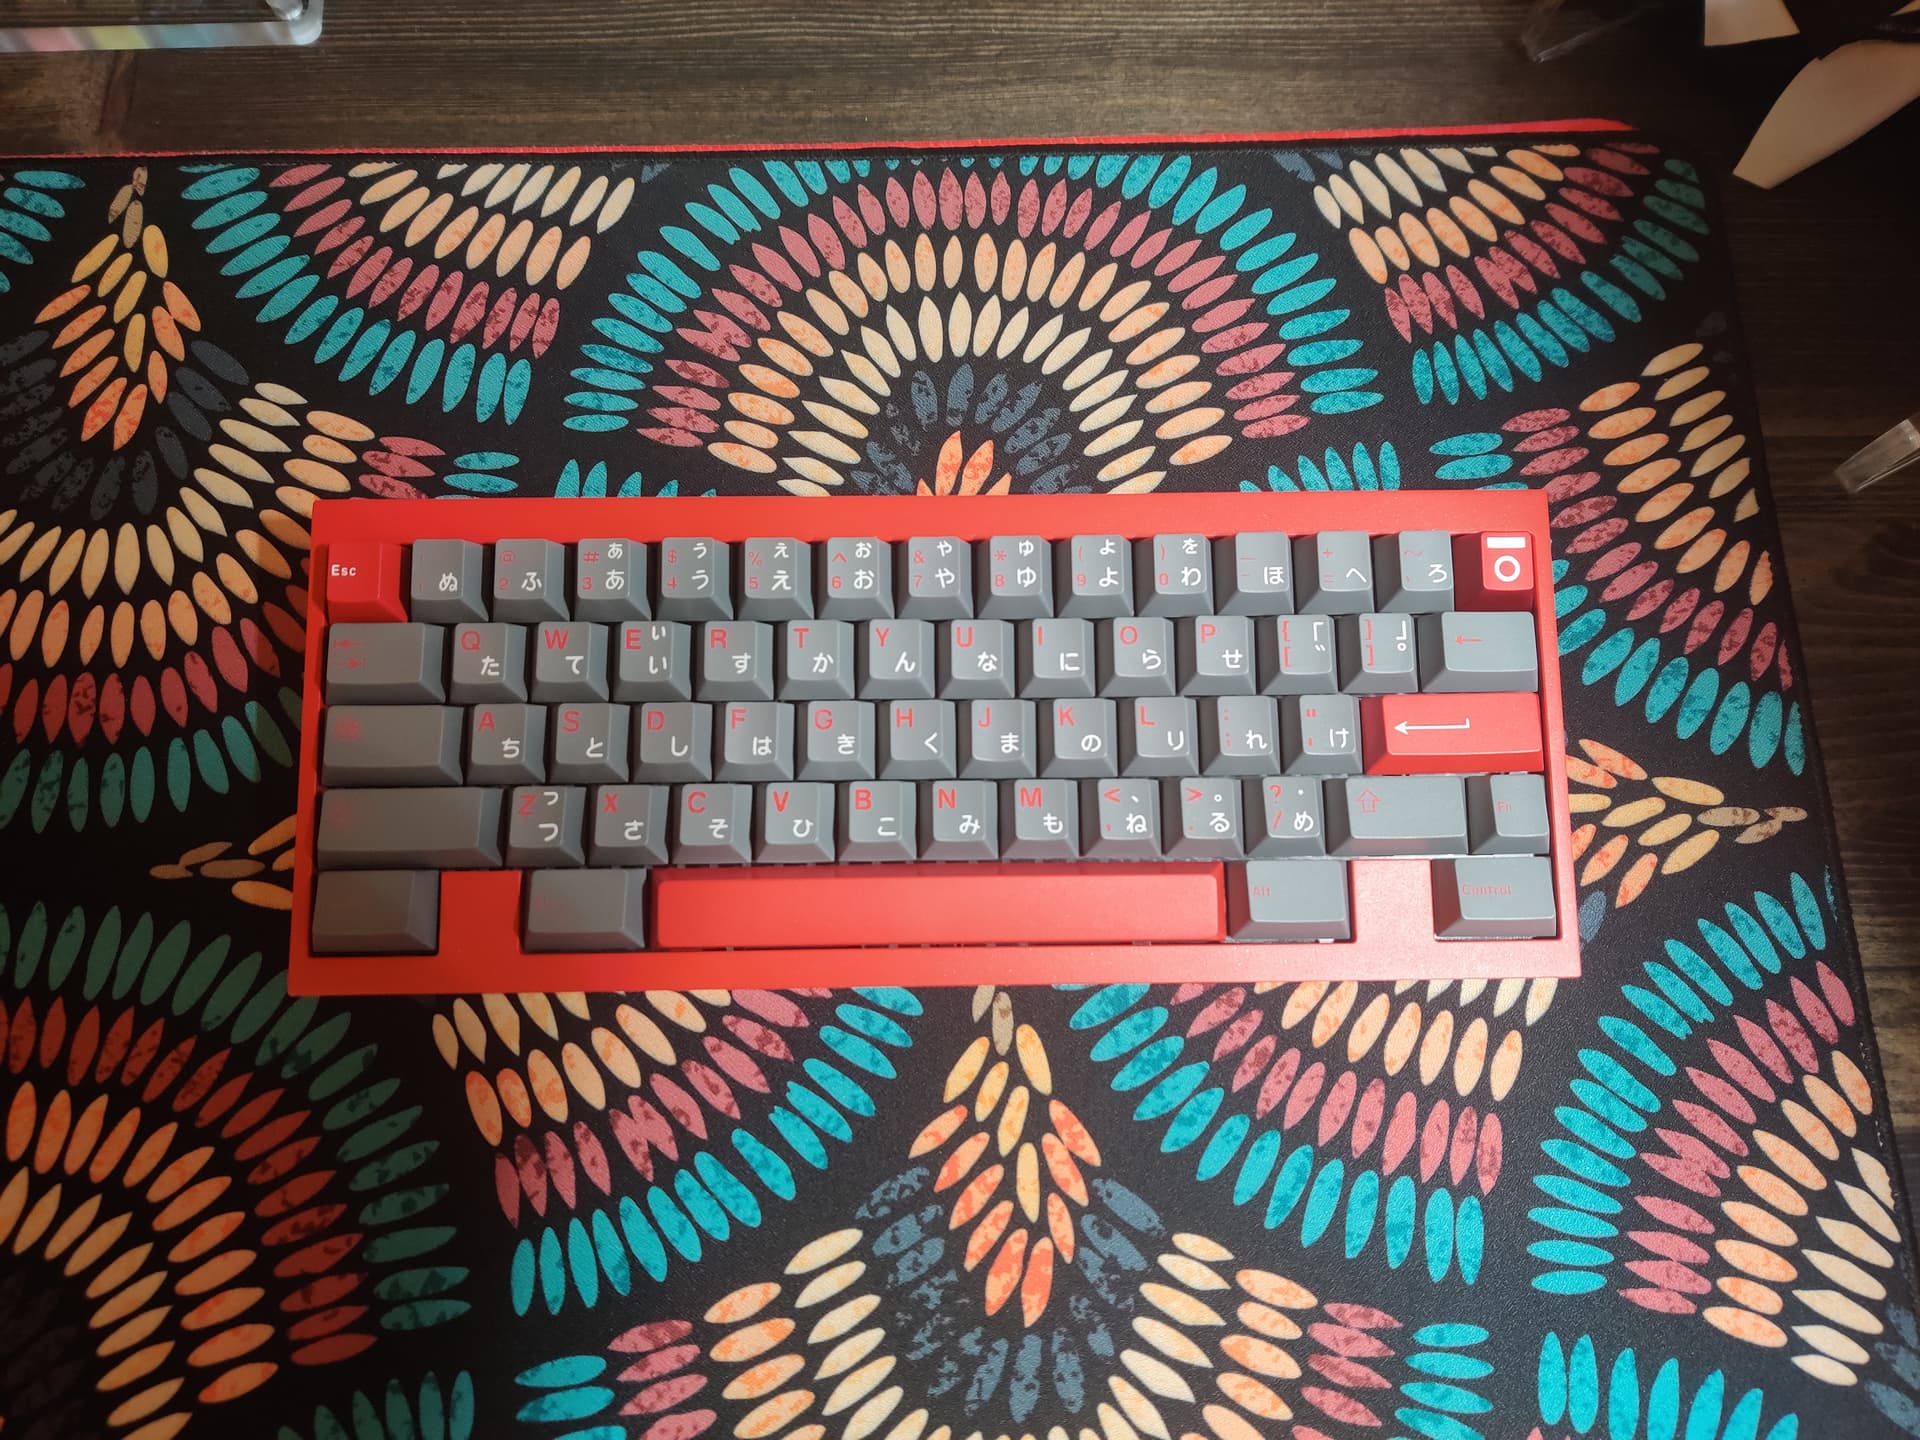
This assembly is on an aluminum plate, akko pom brown v3 switches, keycaps 21kb.
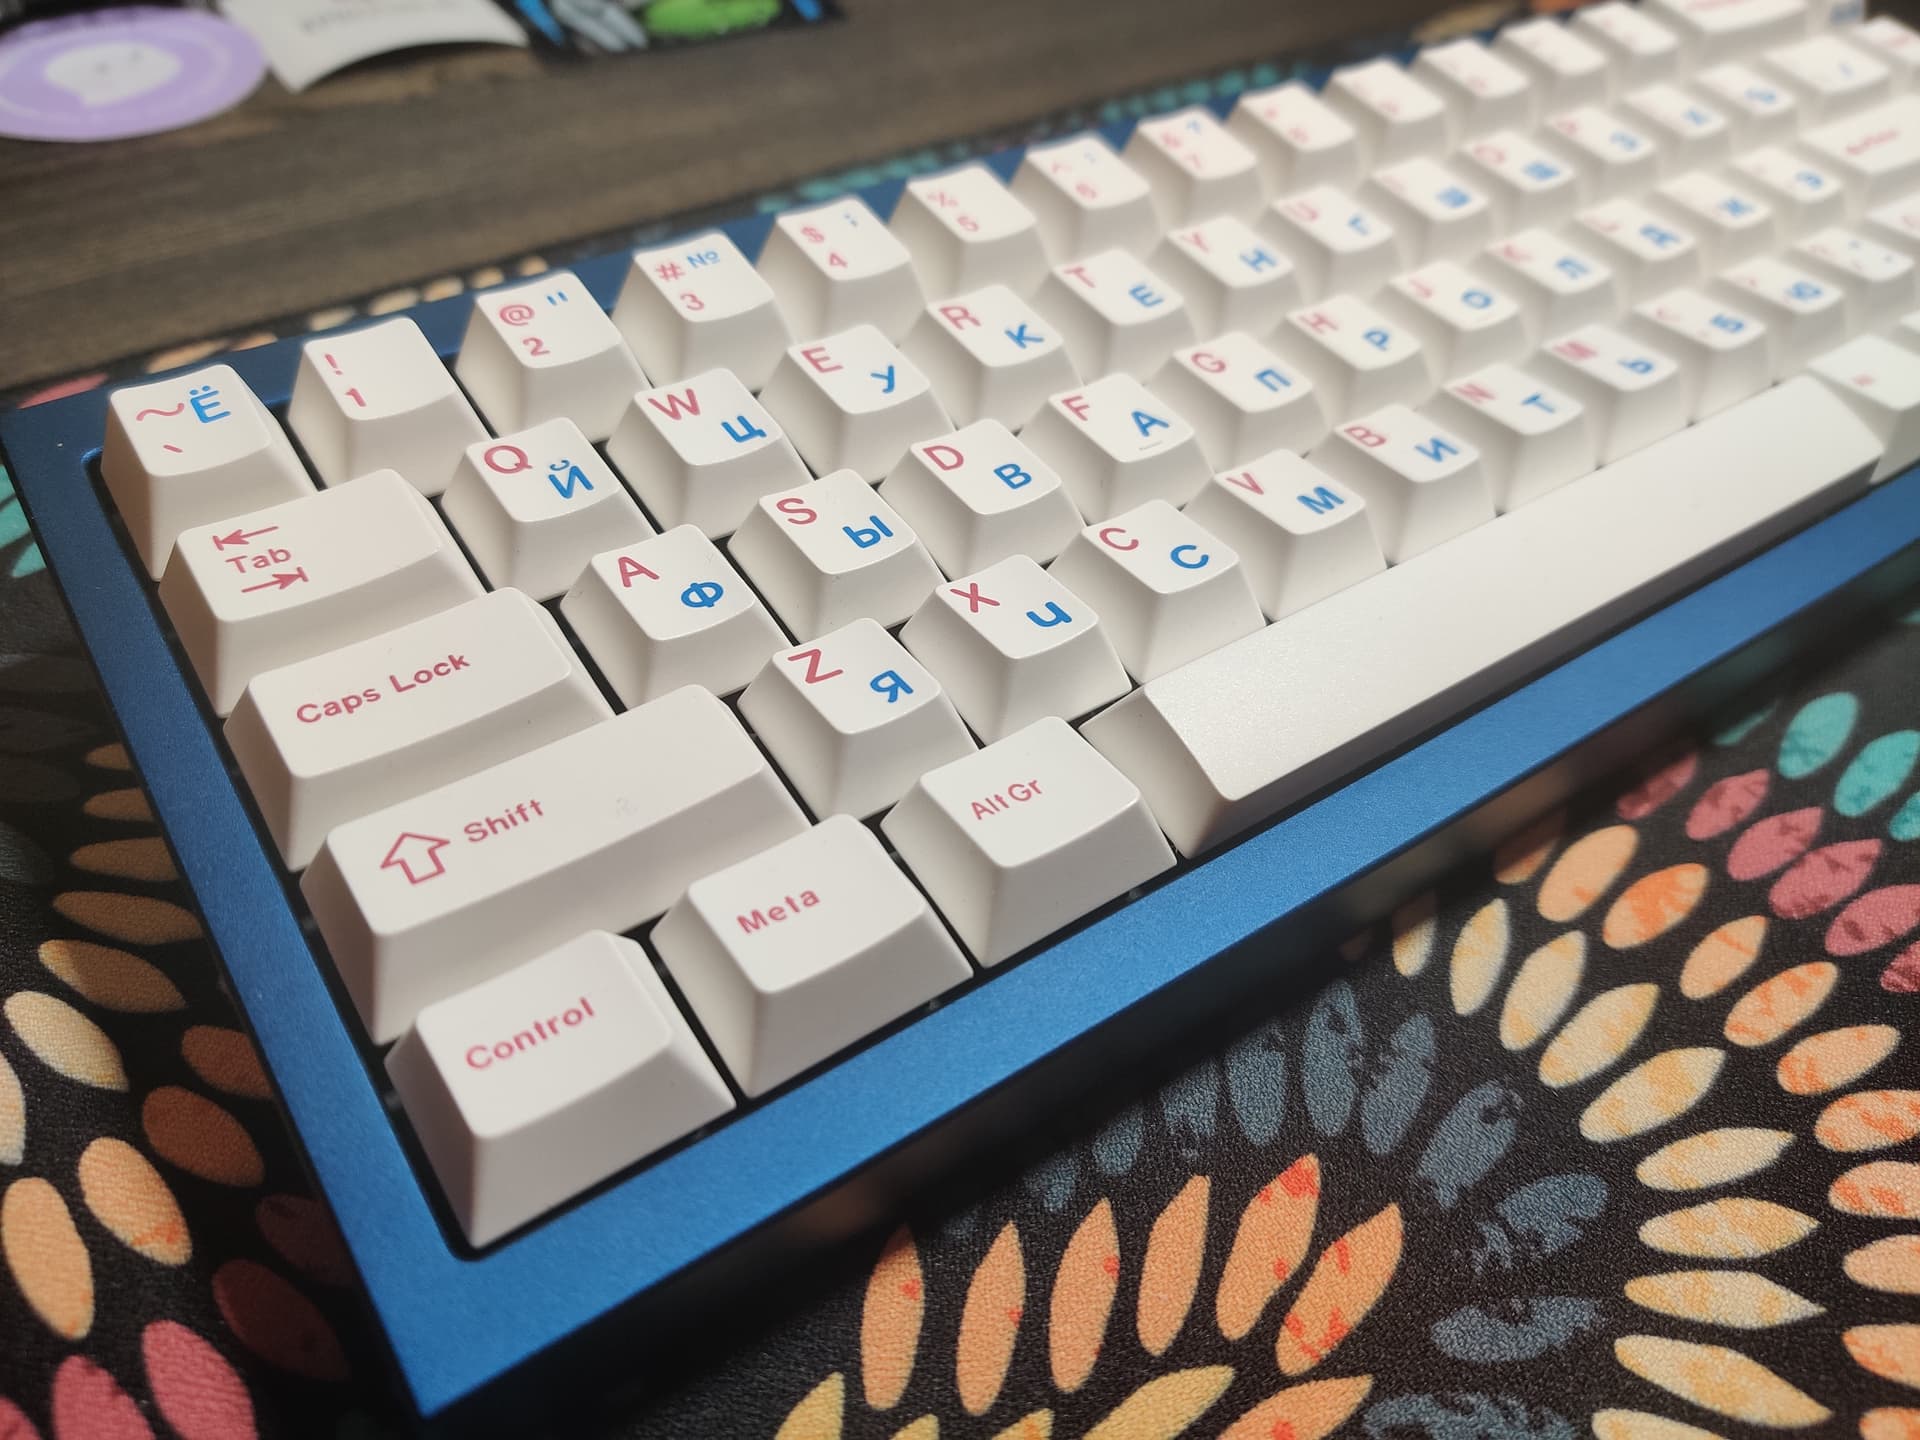
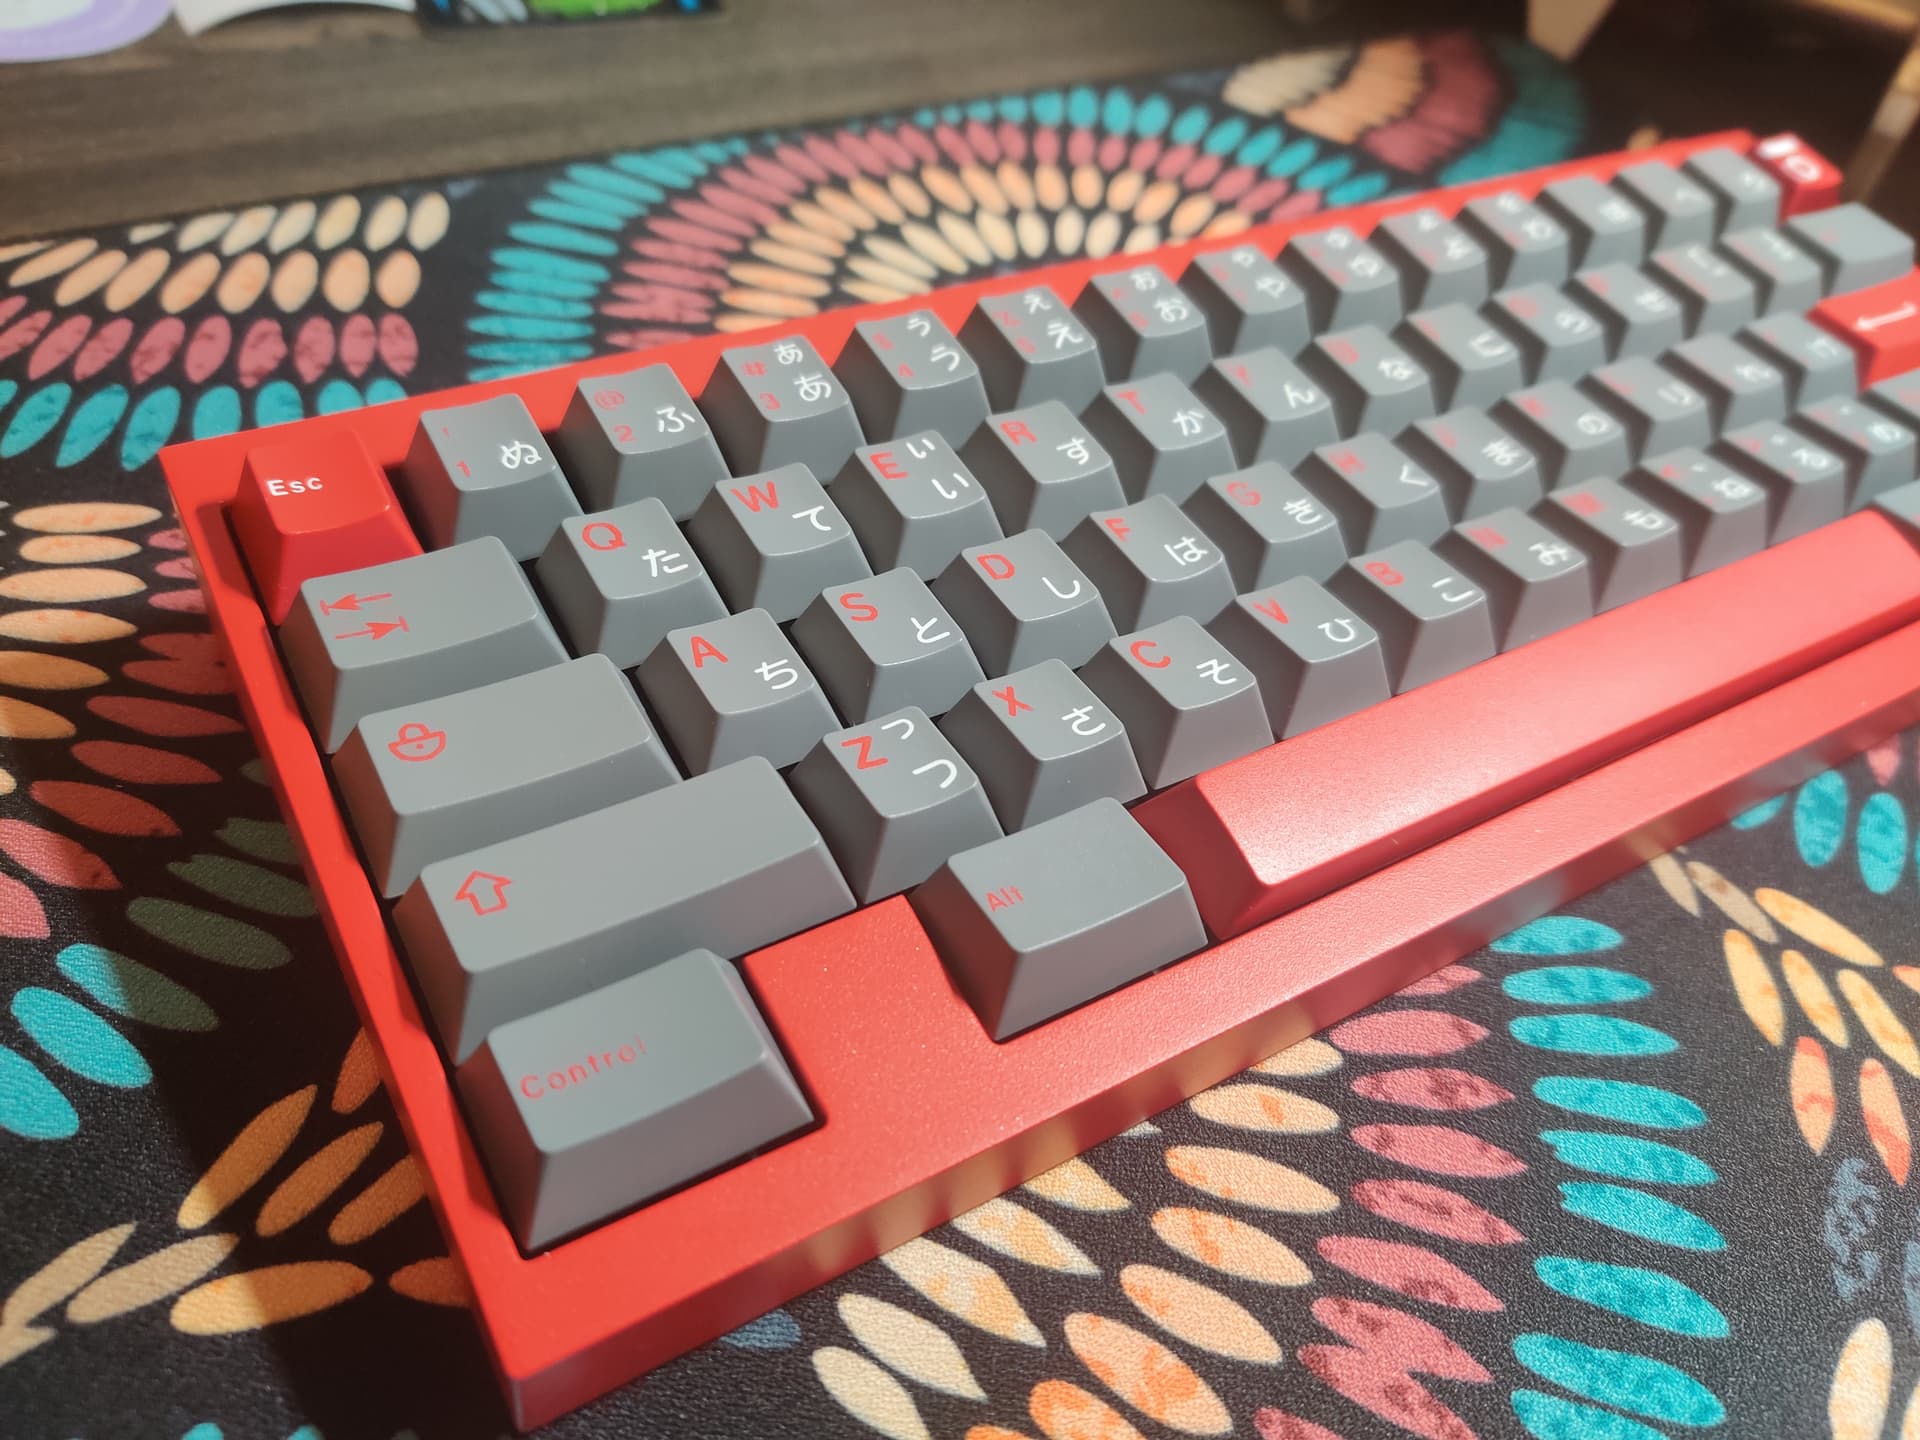
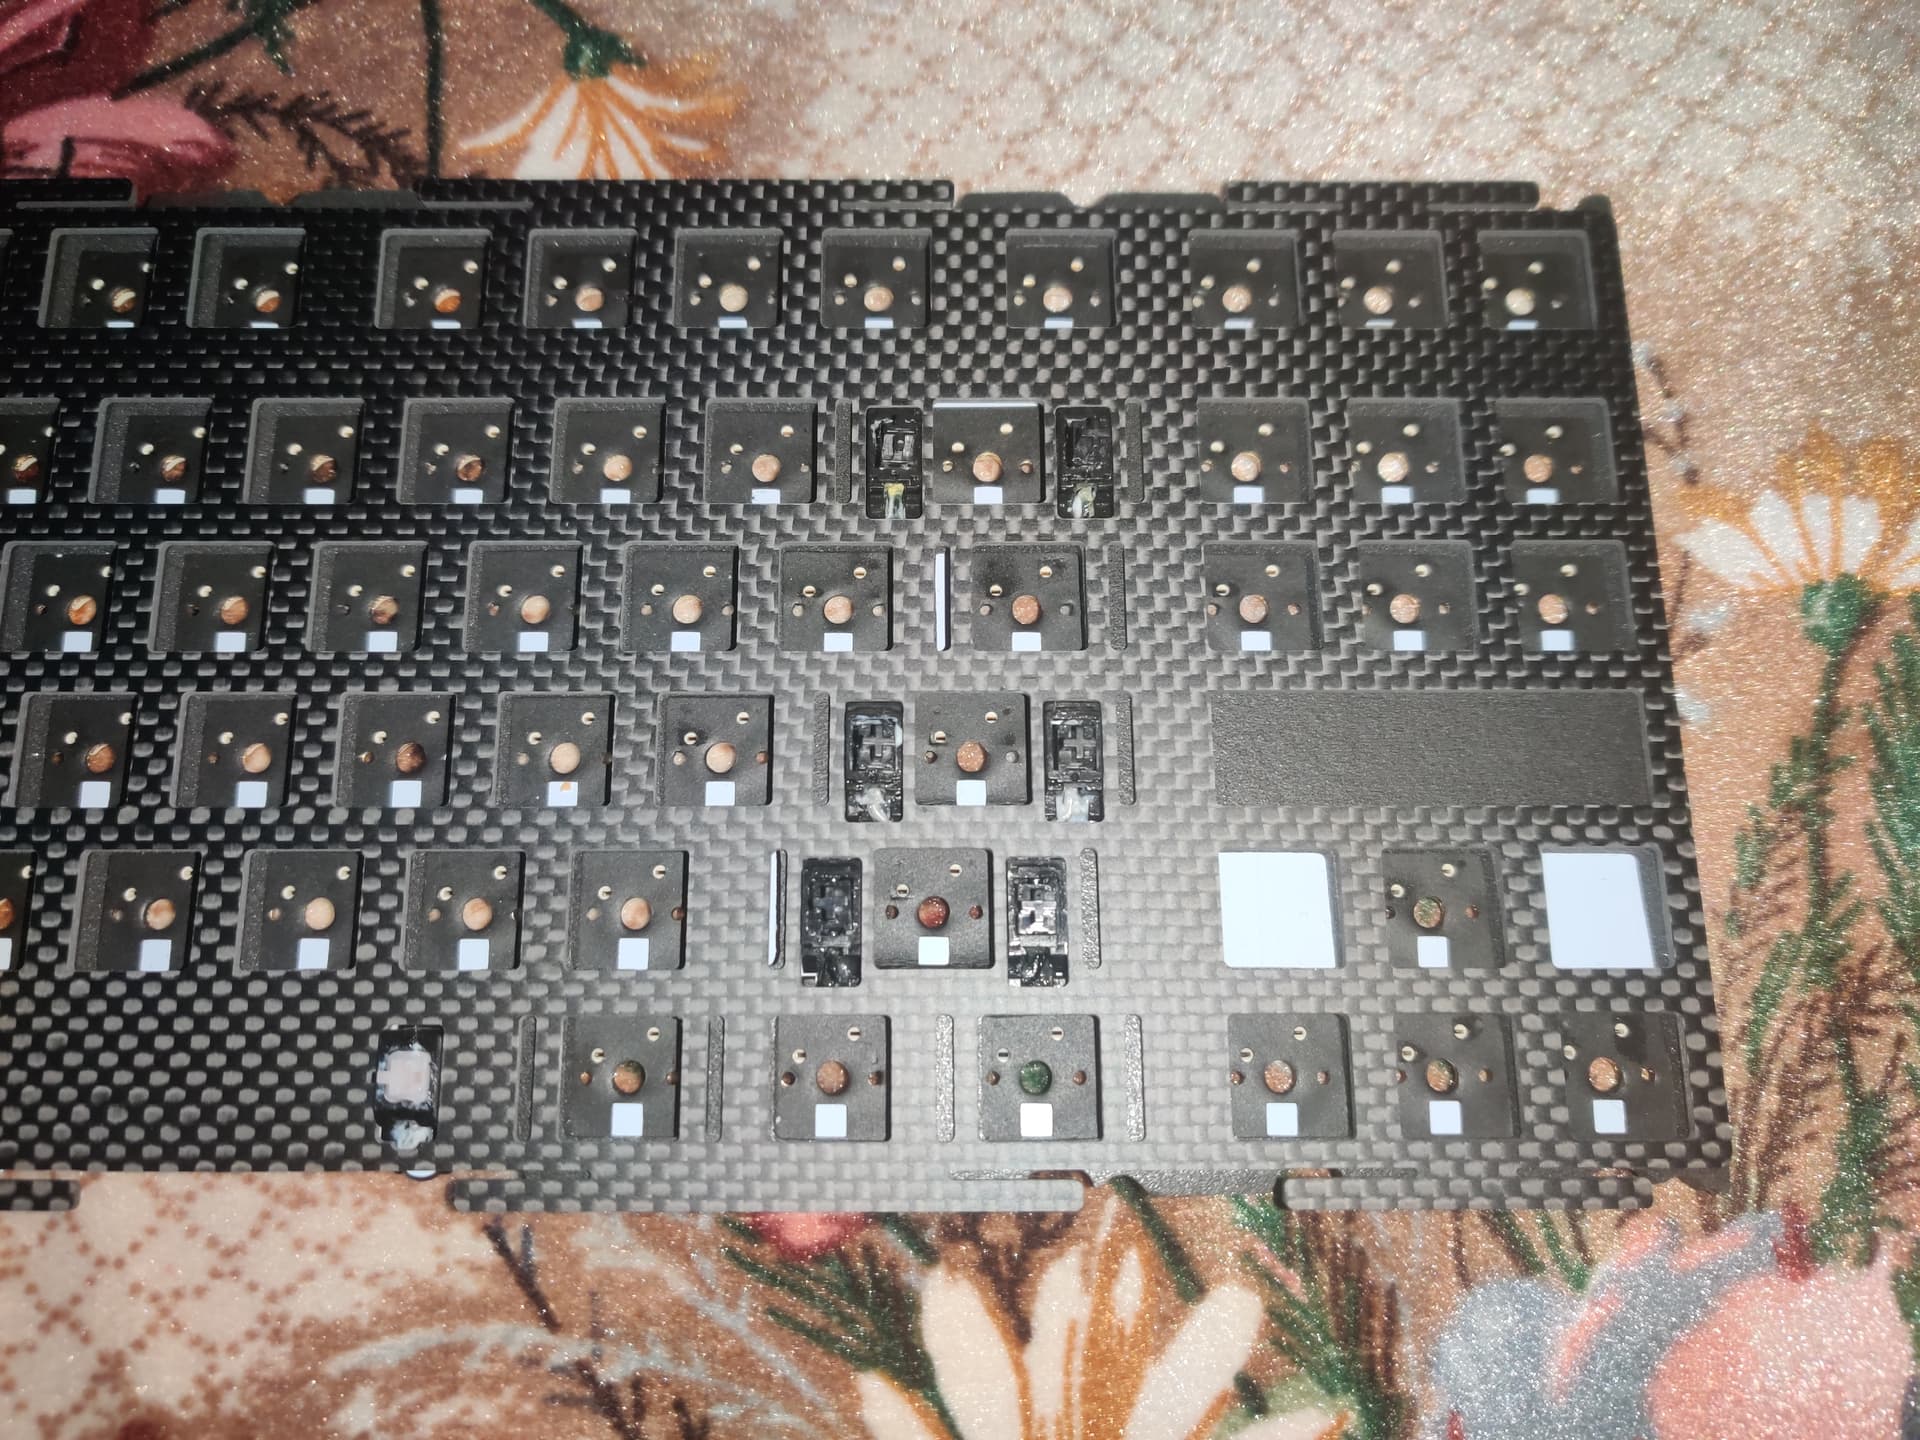
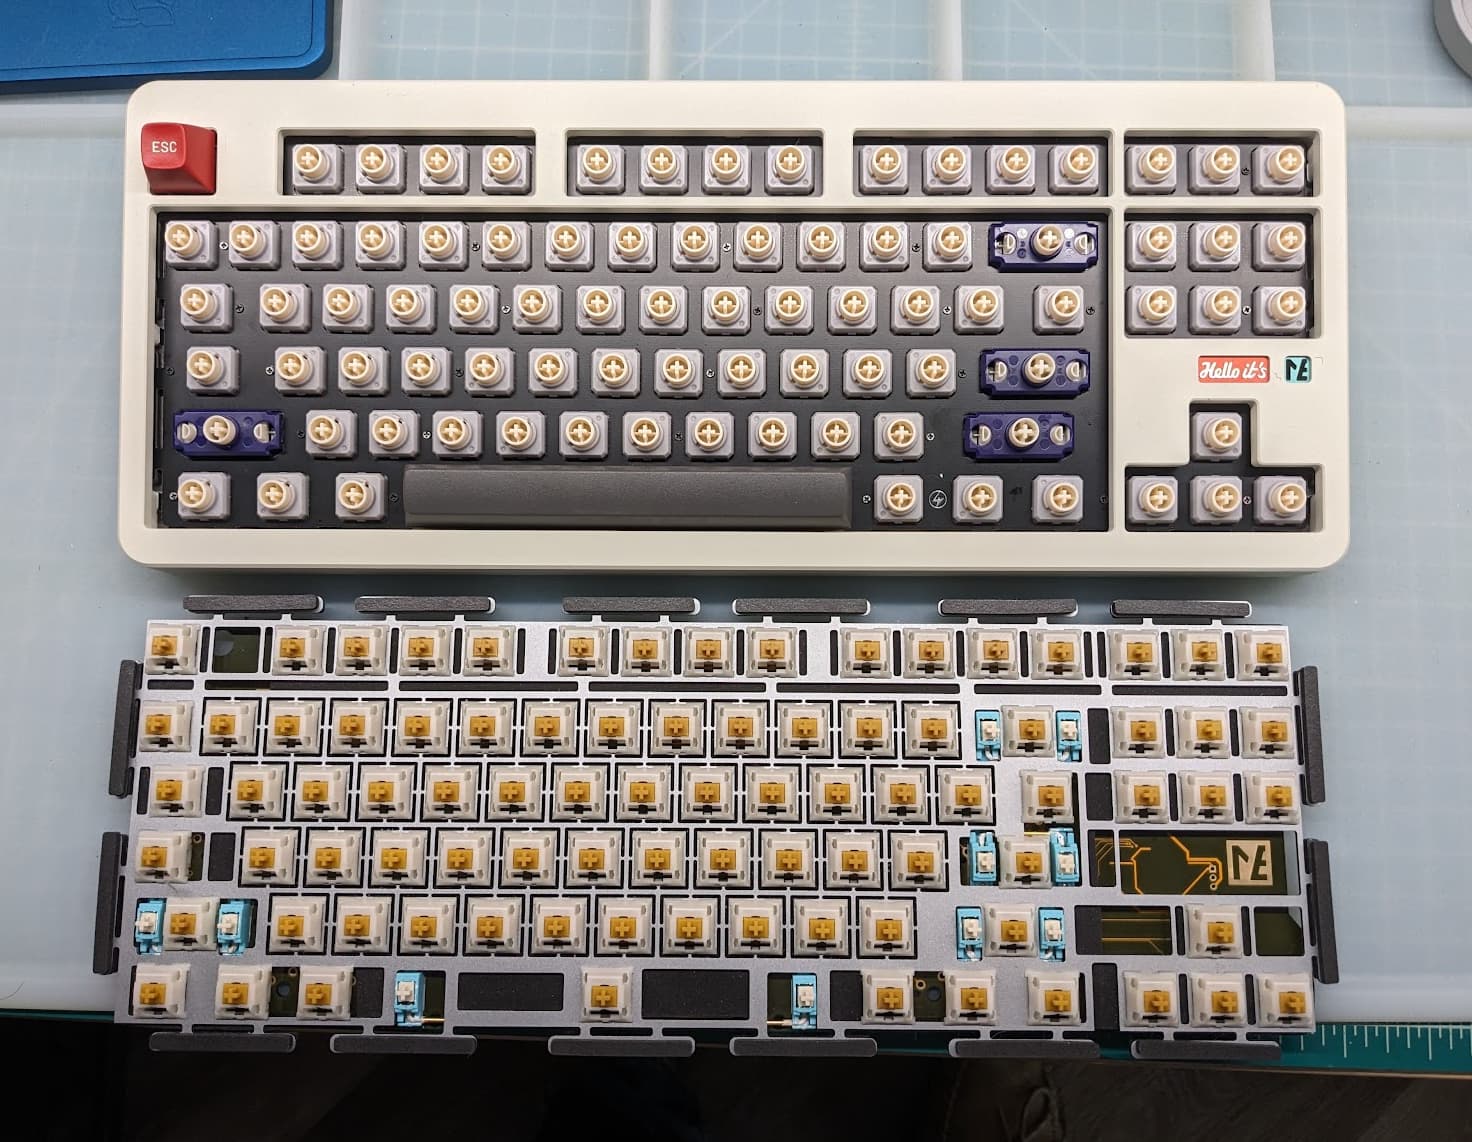
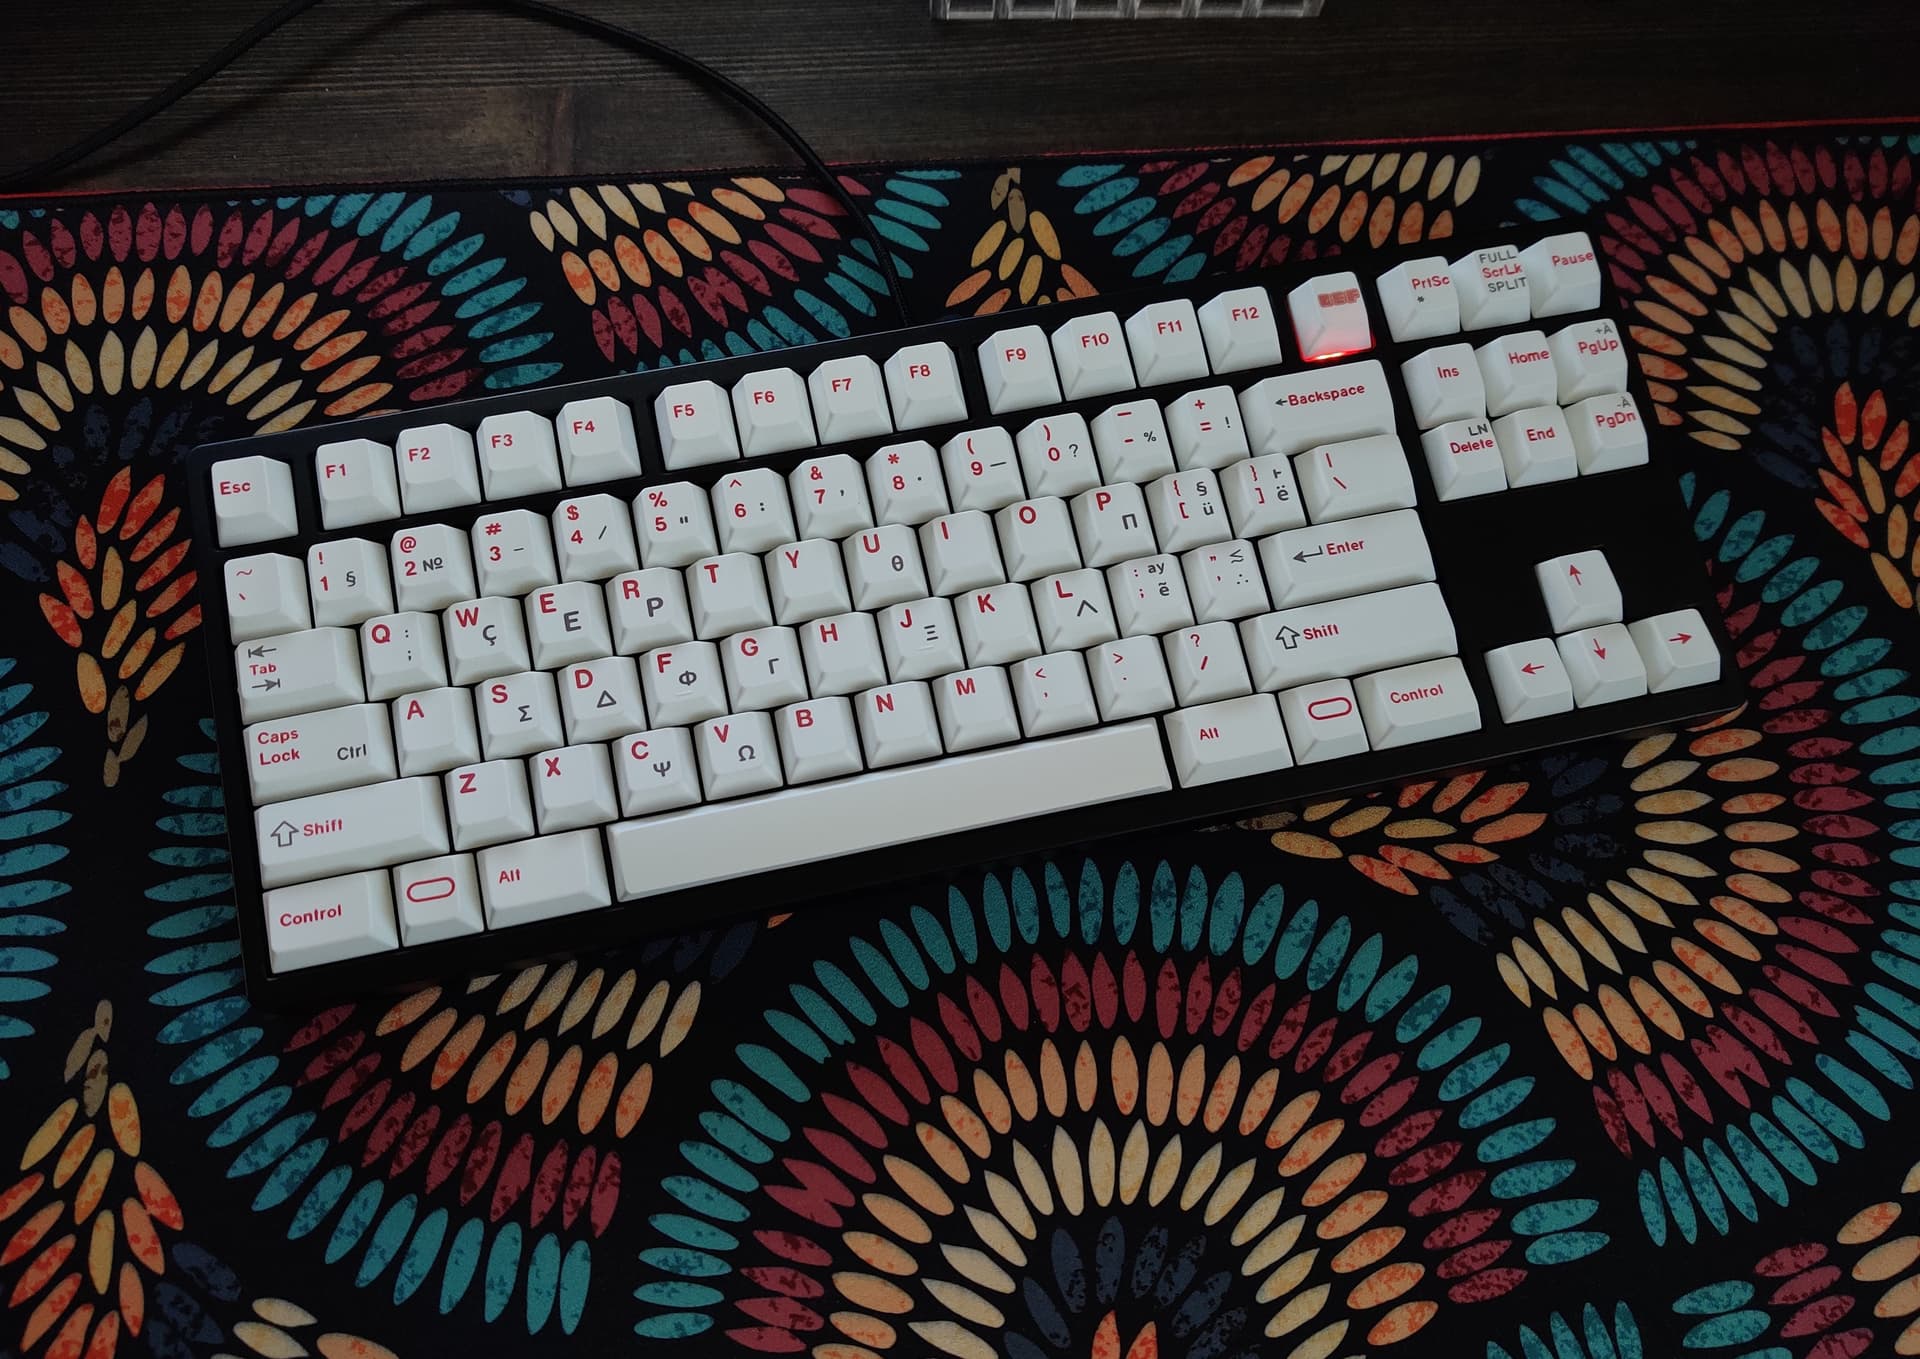
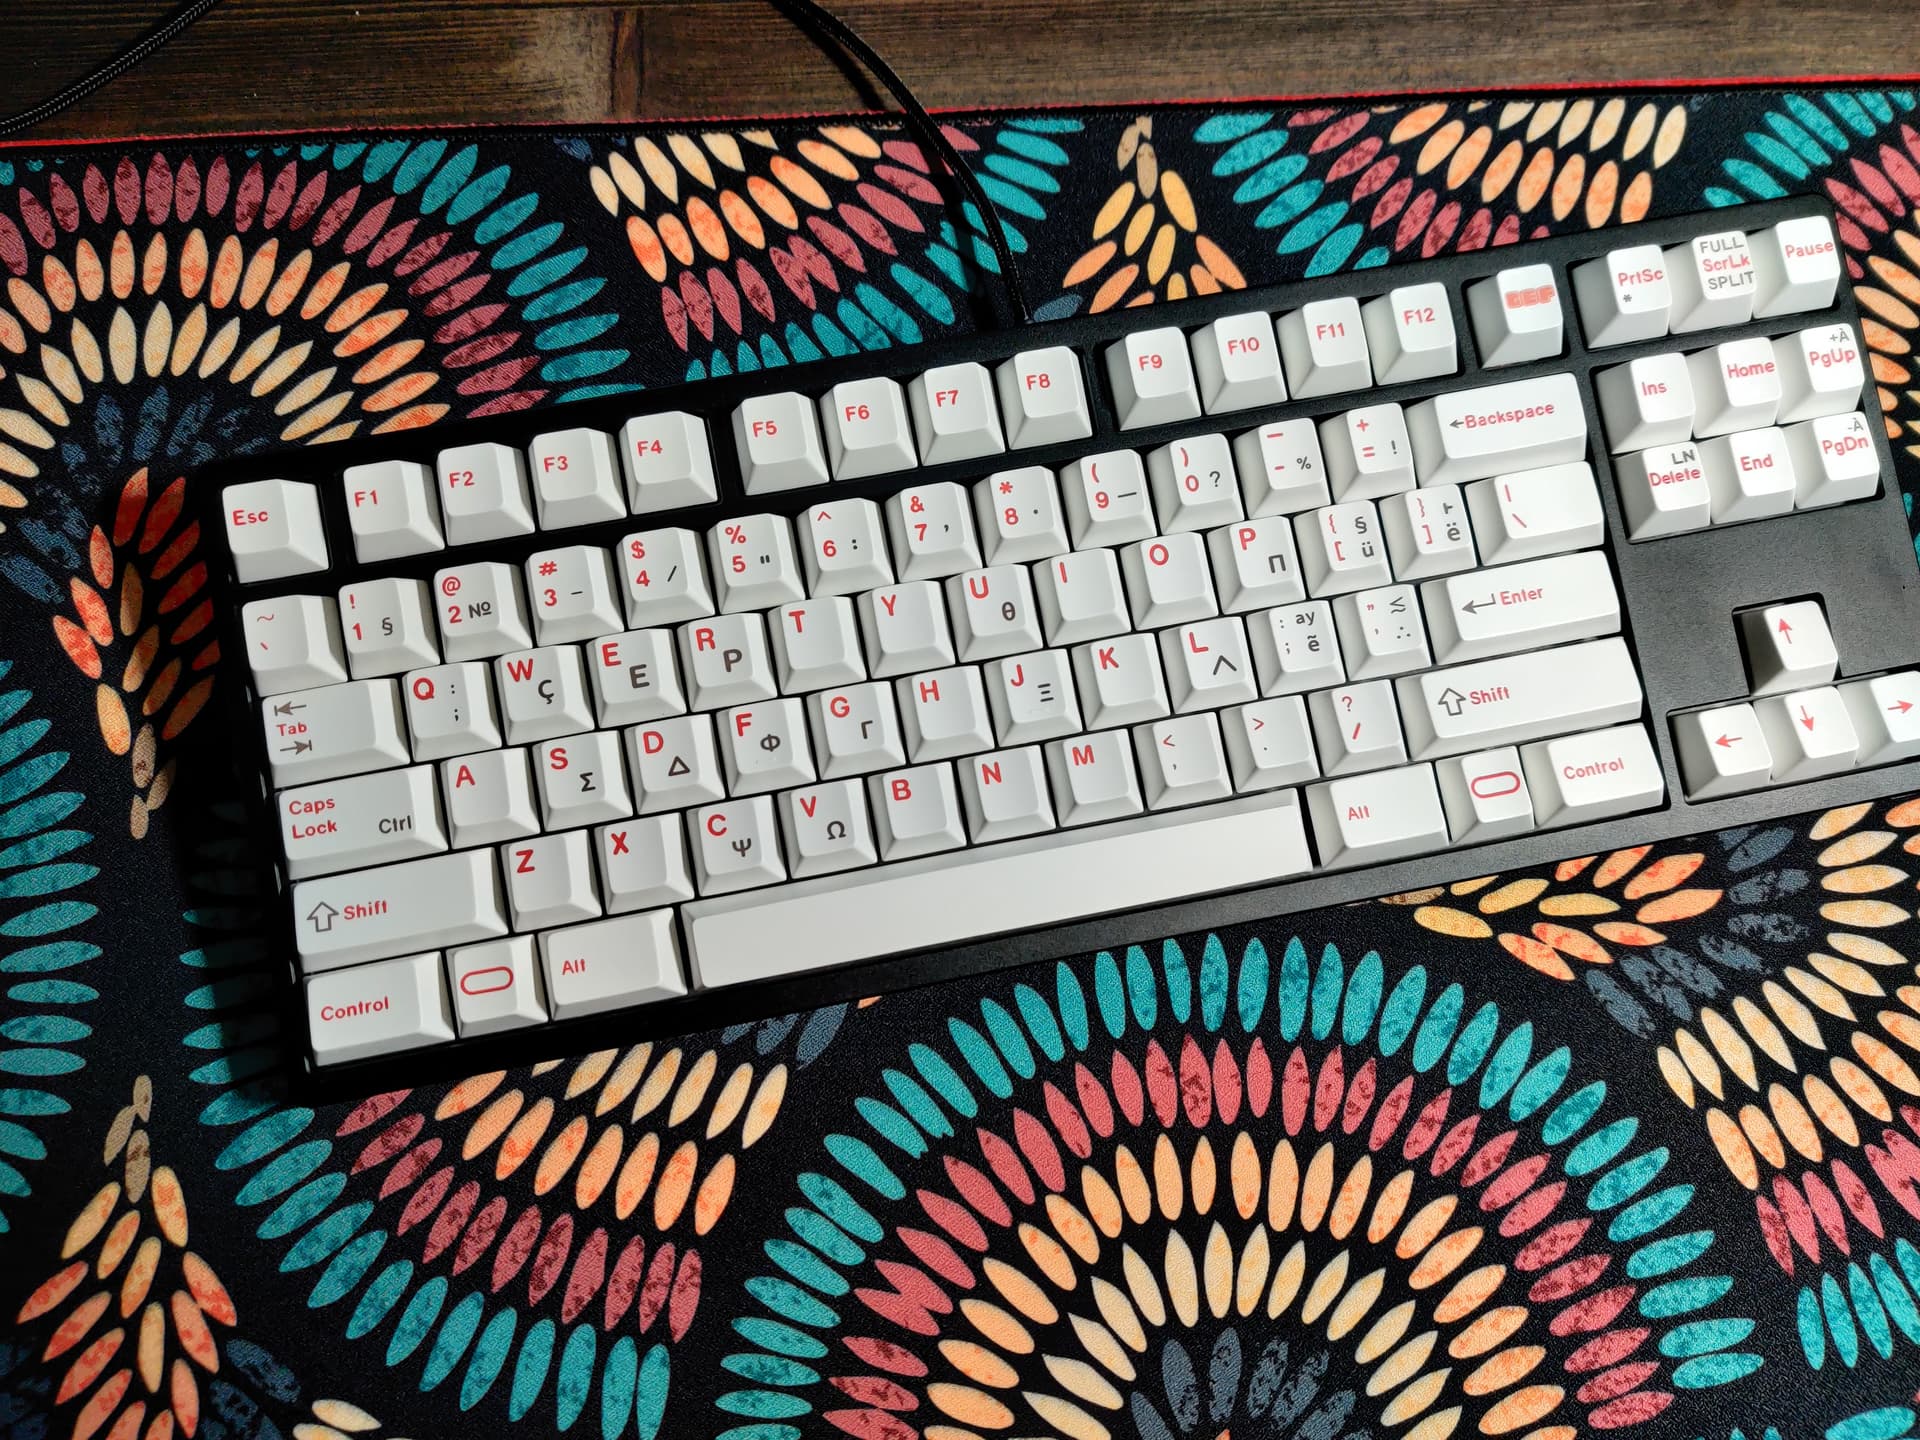
Here on the assembly of tofu 2.0
I changed the mounting method. Made gasket socks from Kbd.
Switches were installed by LICHICX XCJZ. And JTK keycaps.
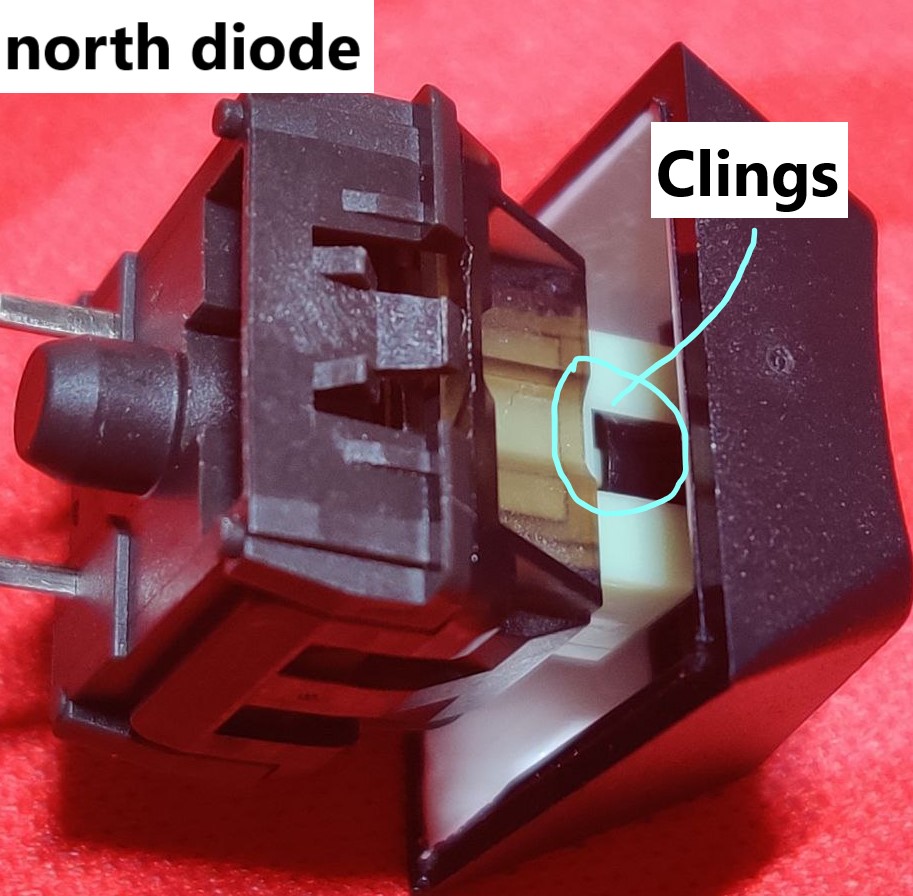
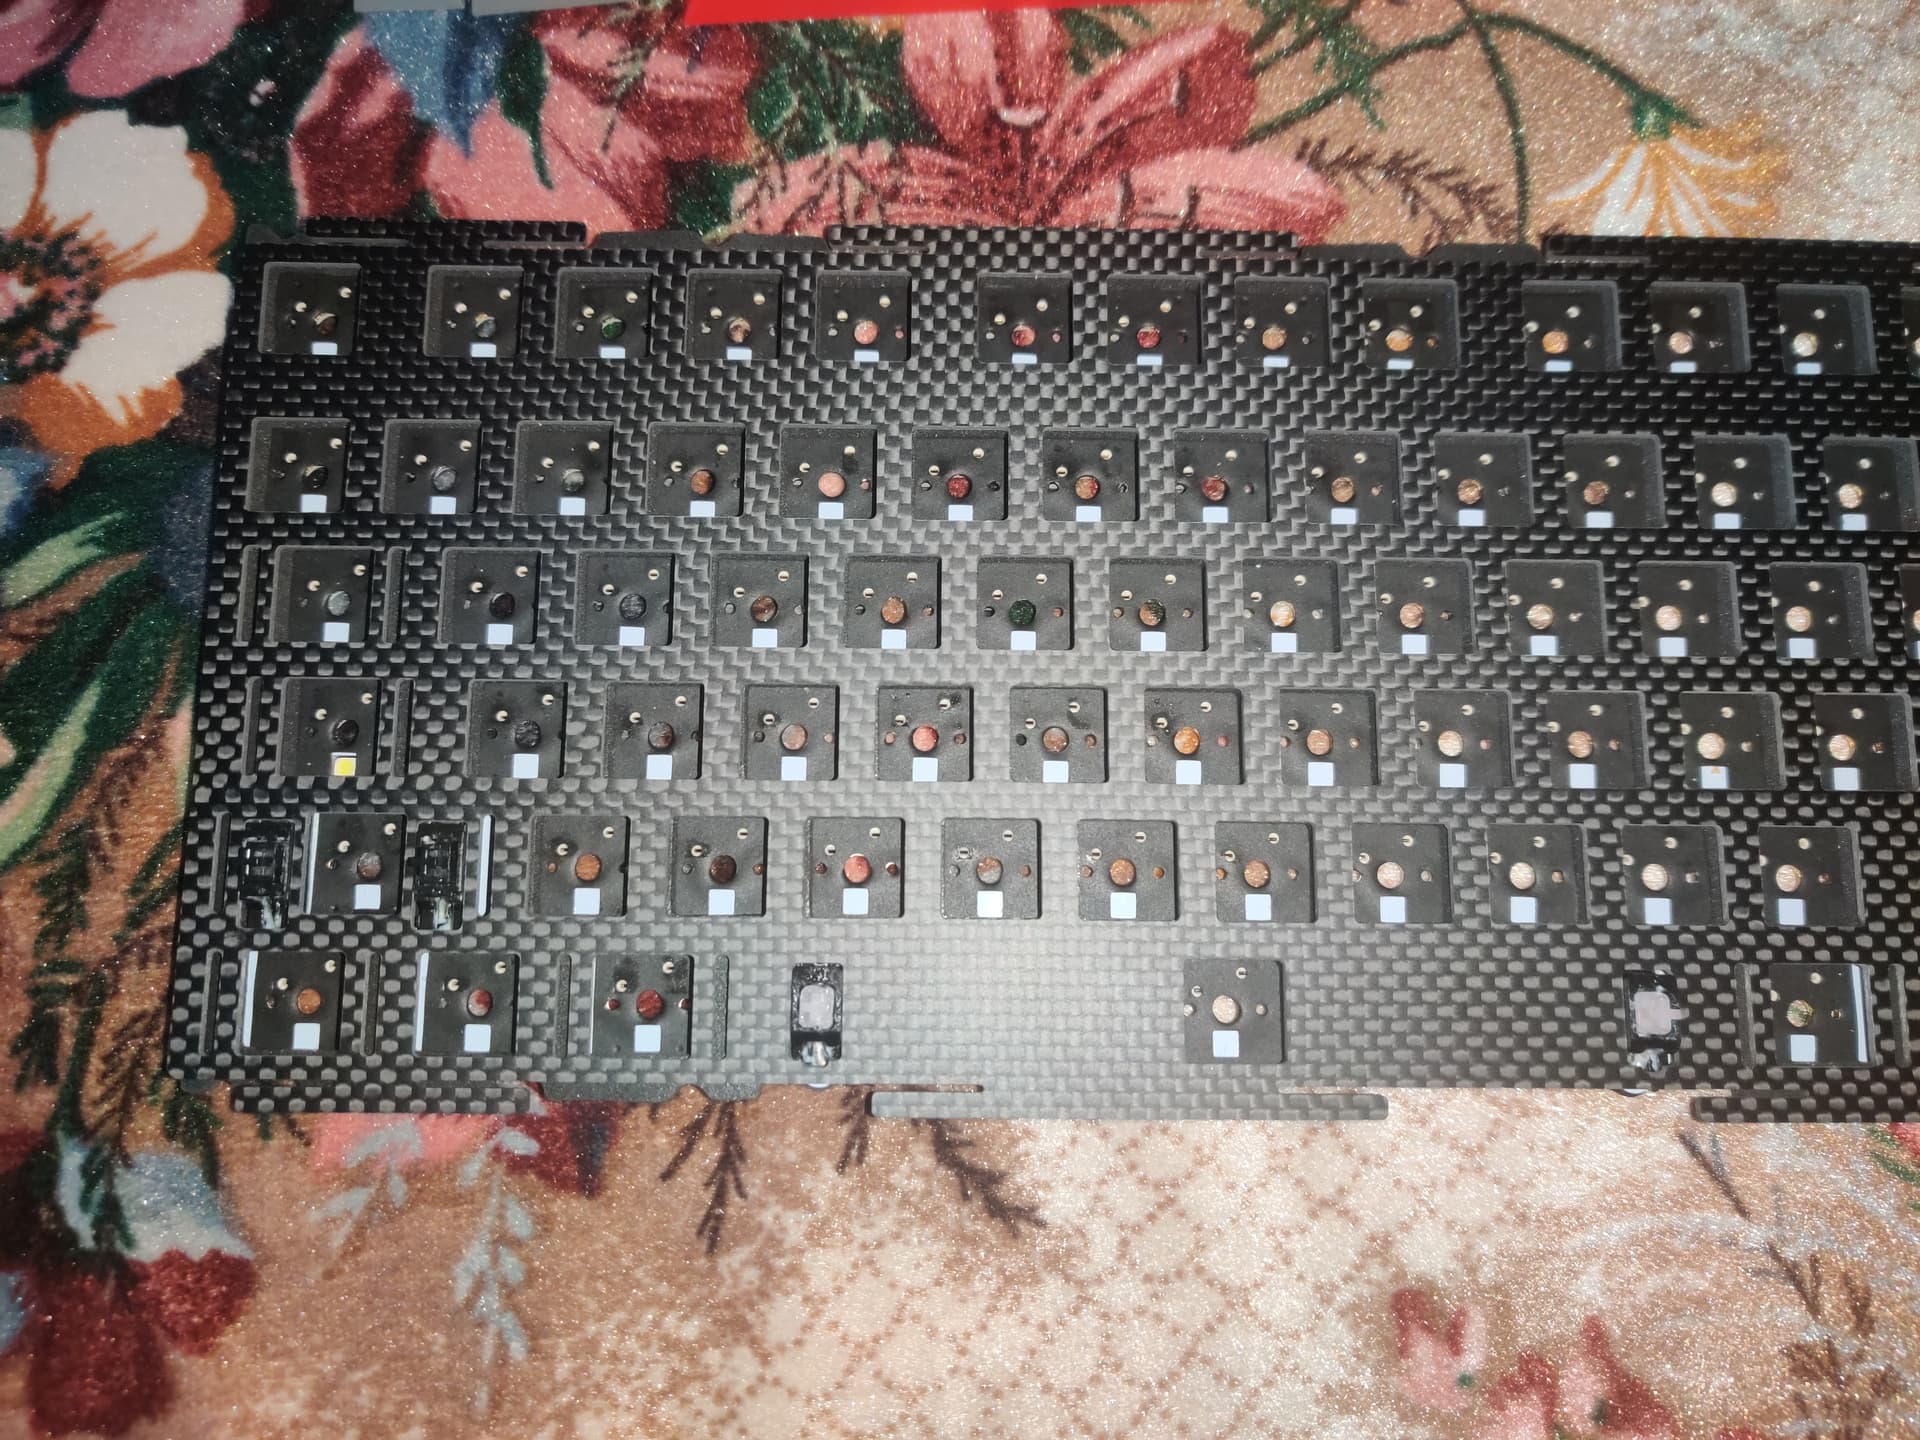
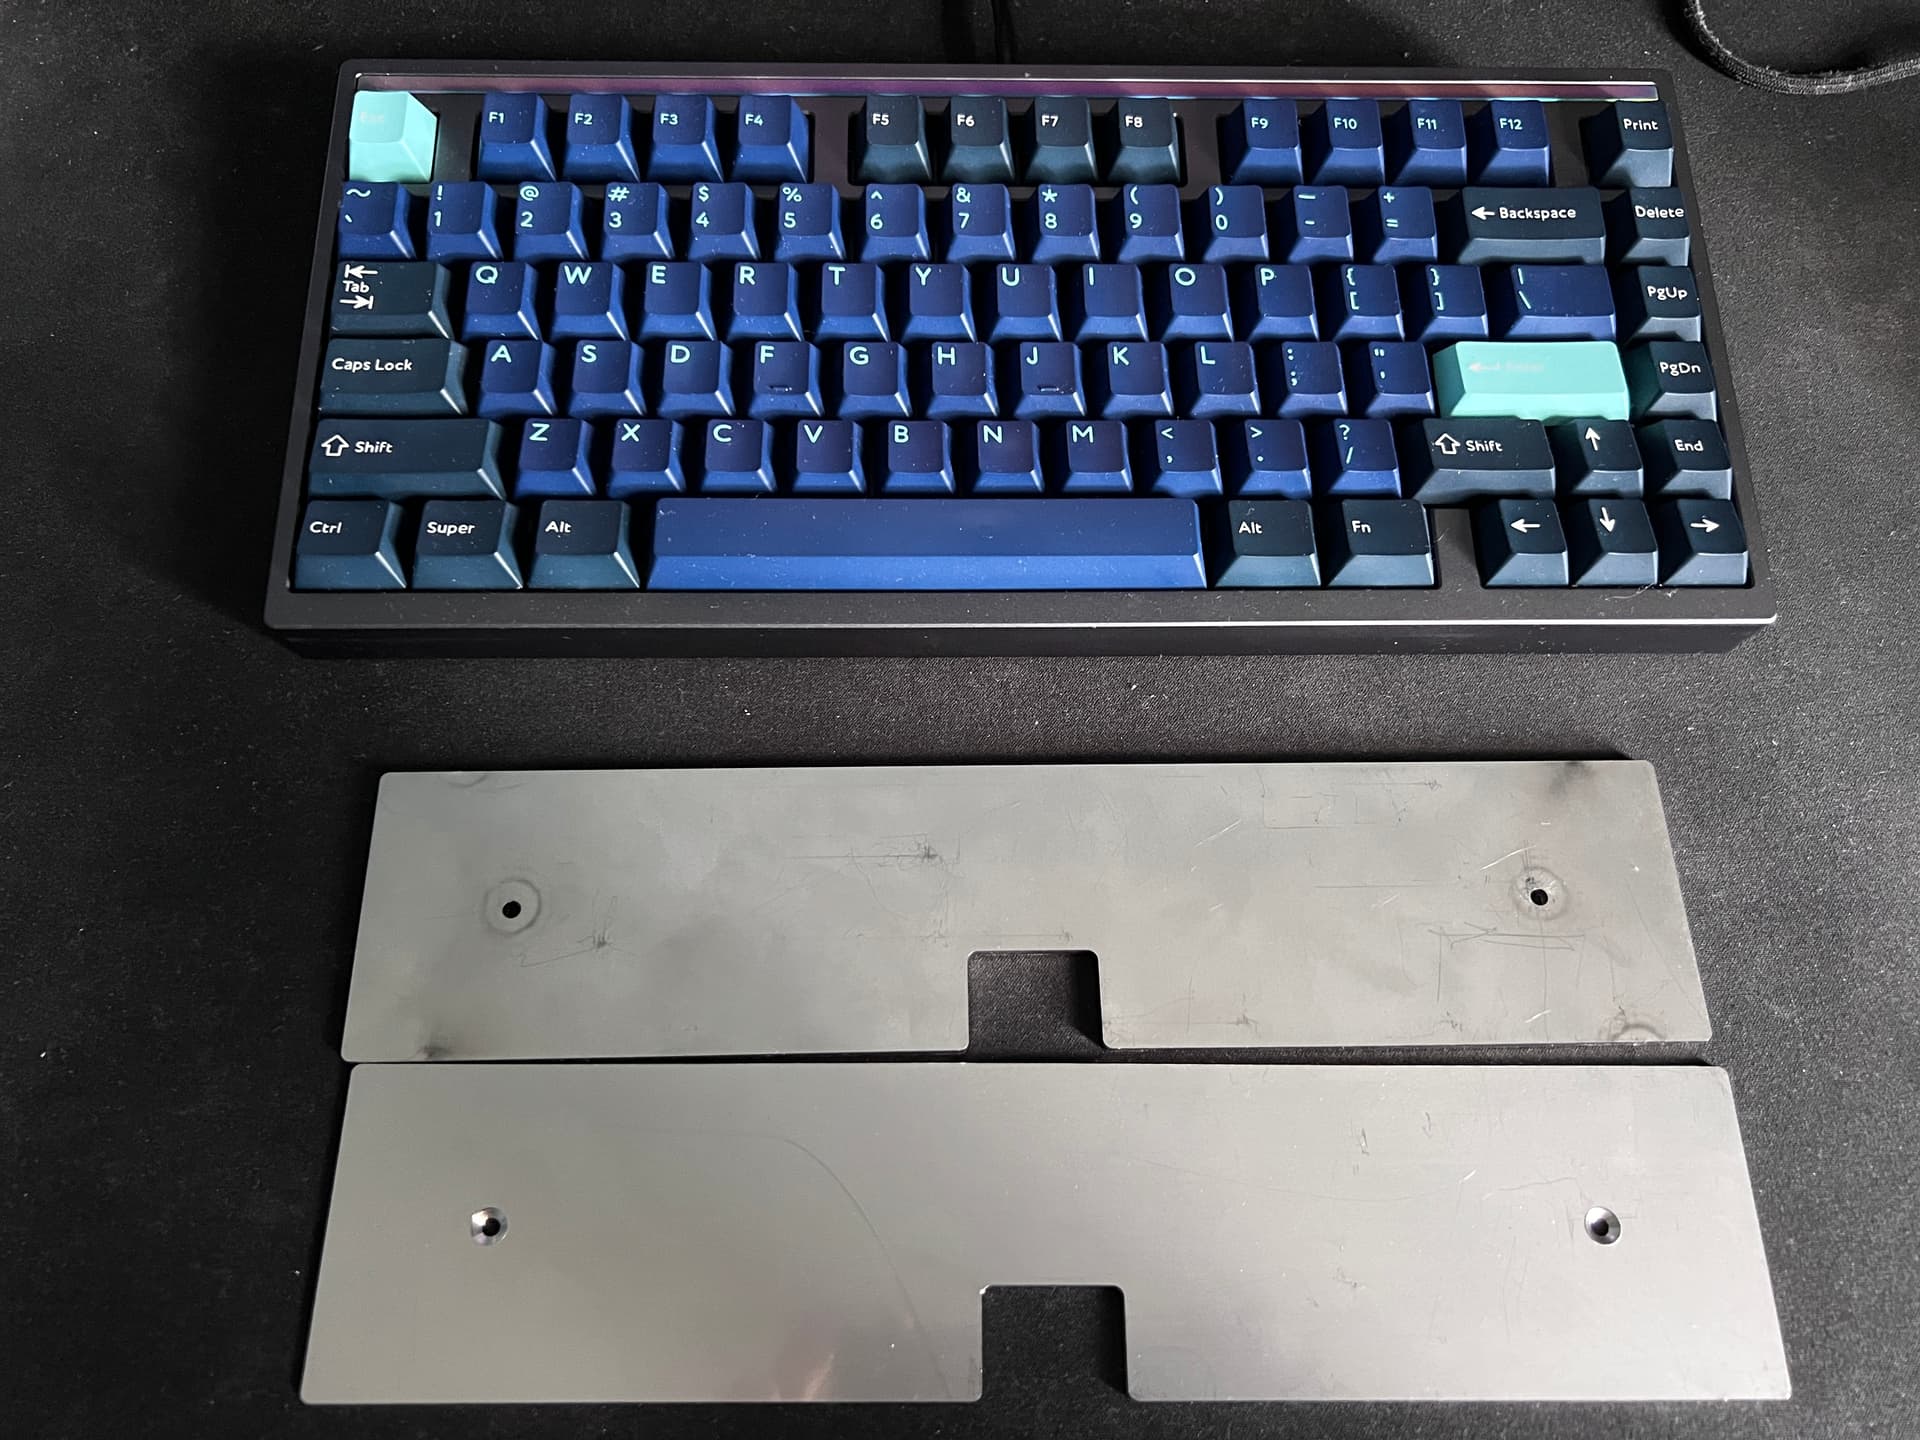
And I caught an interesting moment.
Made very well according to the file. Although the file that gives the Kbd does not contain a plate, but the entire project.
But the manufacturer understood what was needed and did well.
How have you been liking it and how was the experience? I have a board shipping now that may have an EC PCB coming at a later date. I am pretty excited to give it a try, here is hoping it moves forward
Well, yesterday I got it all together and the space bar was binding. So I sat it down figuring any remediation might end up with me going Mongo on it, so I’m going to wait until I’m good and rested to deal with it.
From what little I’ve been able to experience so far, it’s pretty good. I think the only thing I’m somewhat hesitant now is that the 60g Orange Domes aren’t quite as snappy as the Blues I have on another board, but I was in for trying something new.
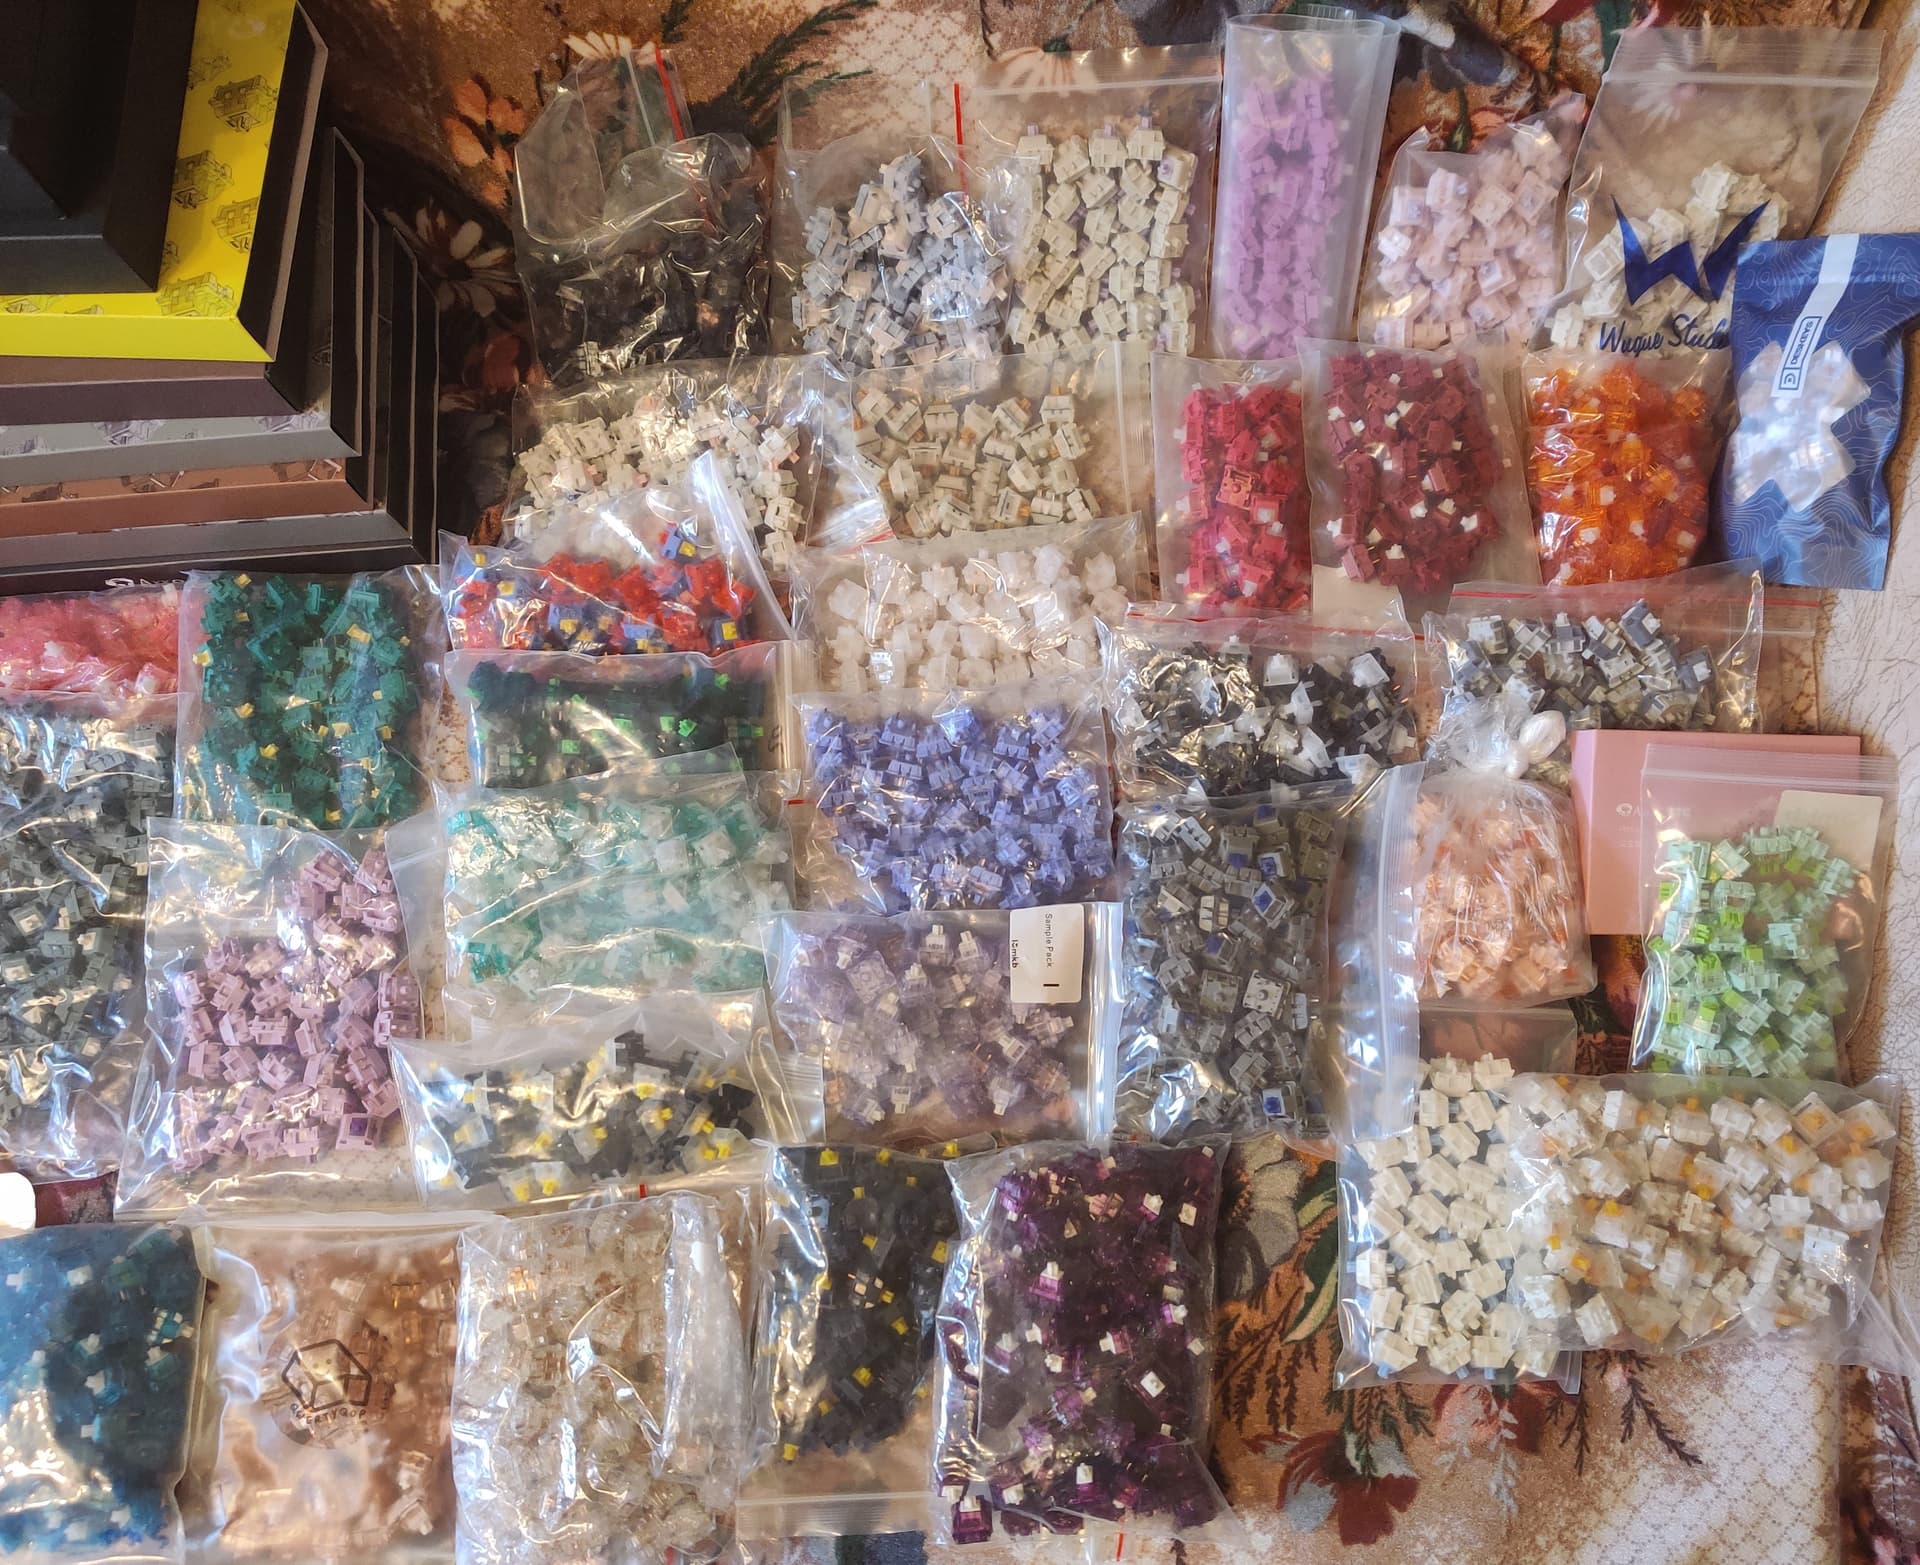
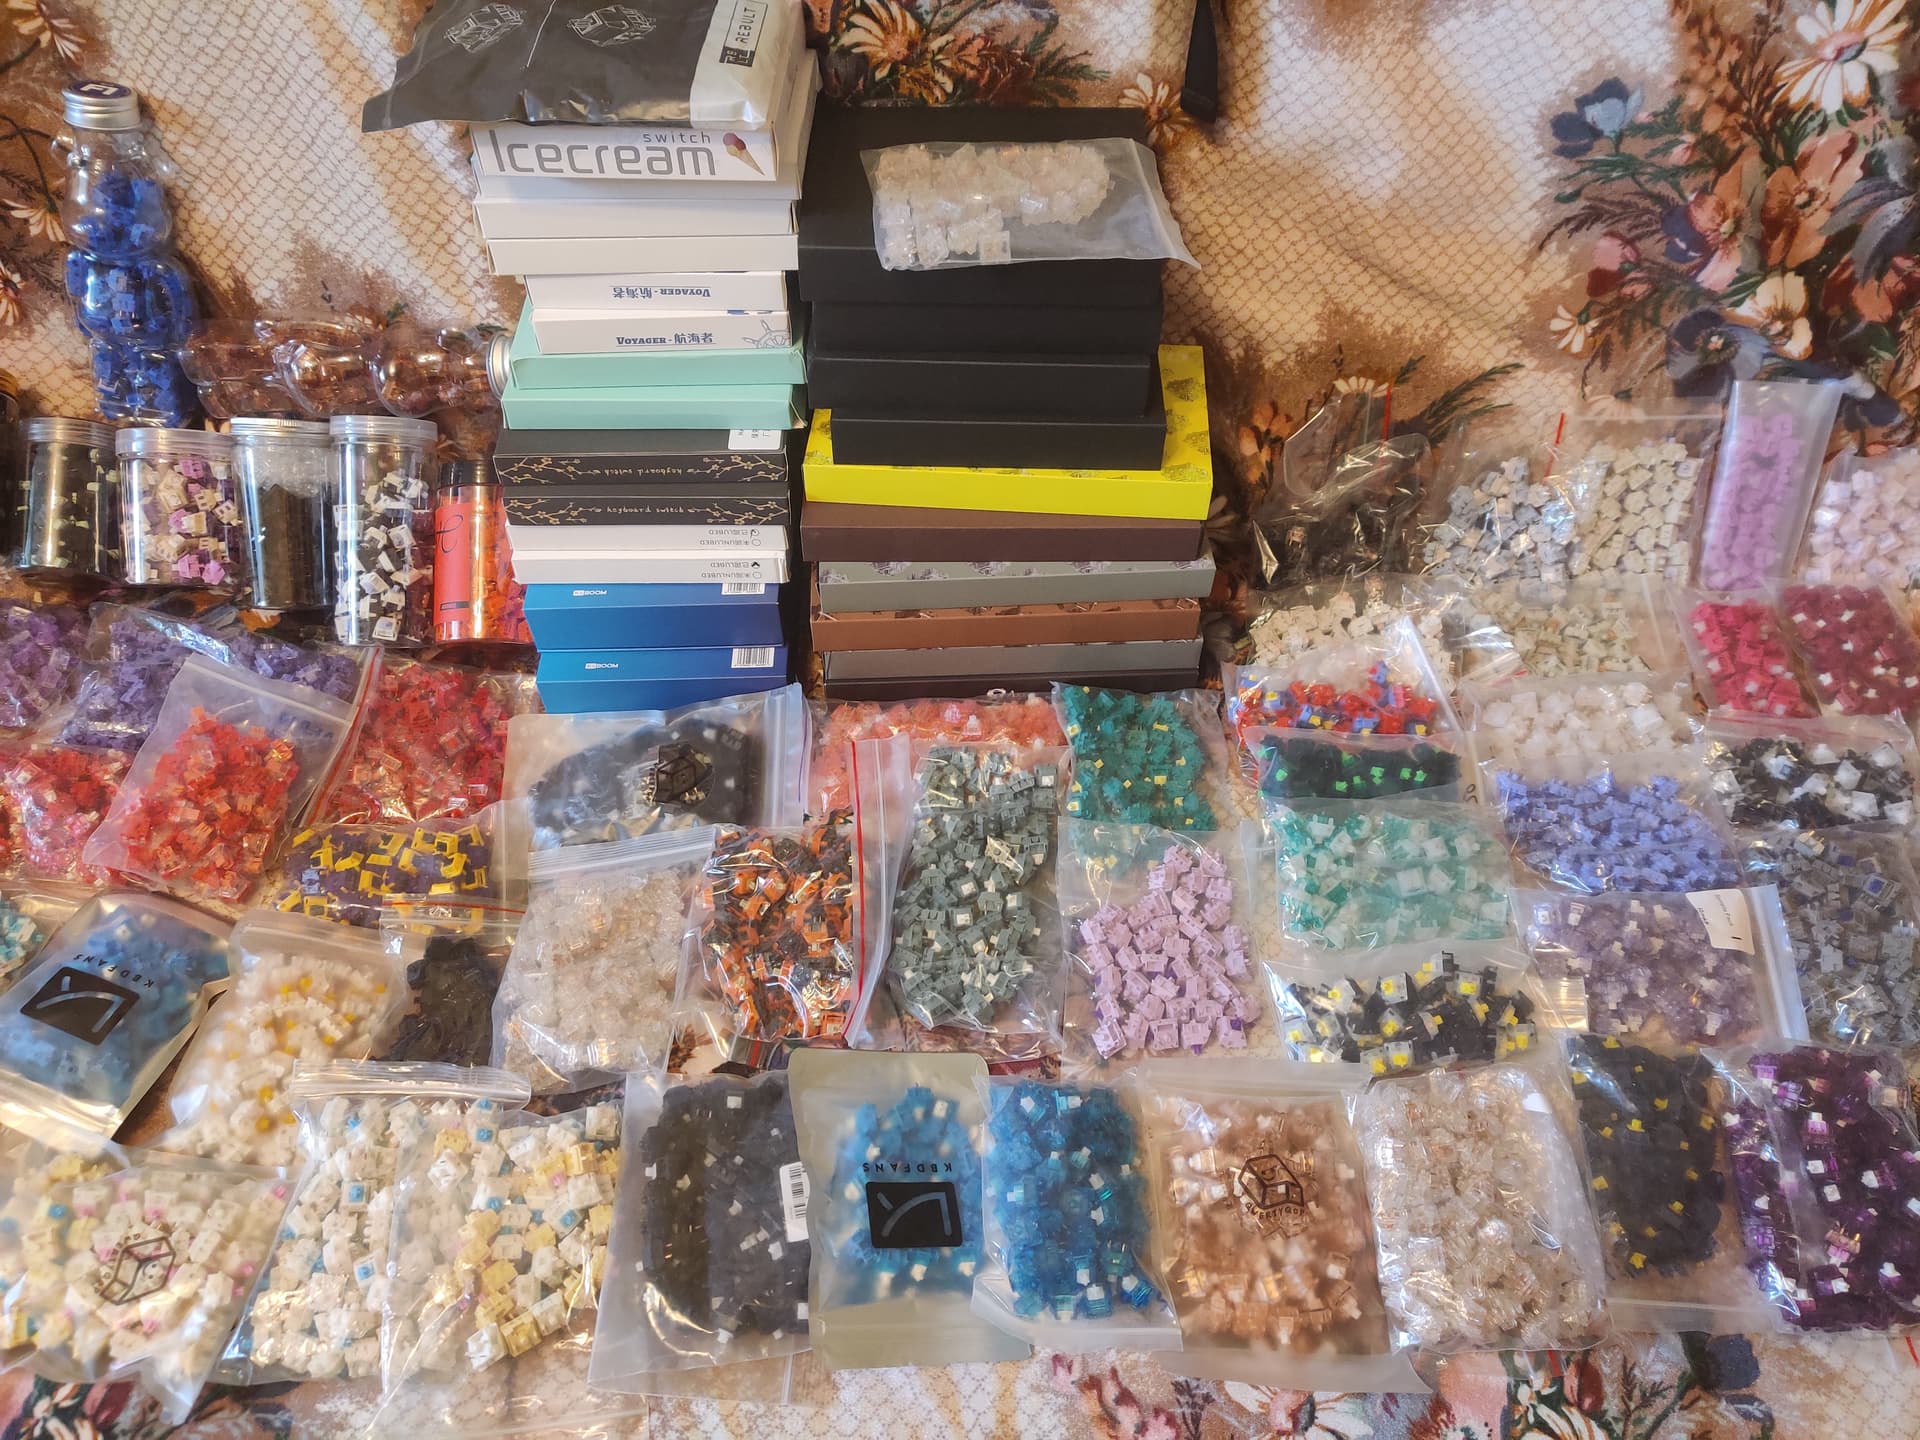
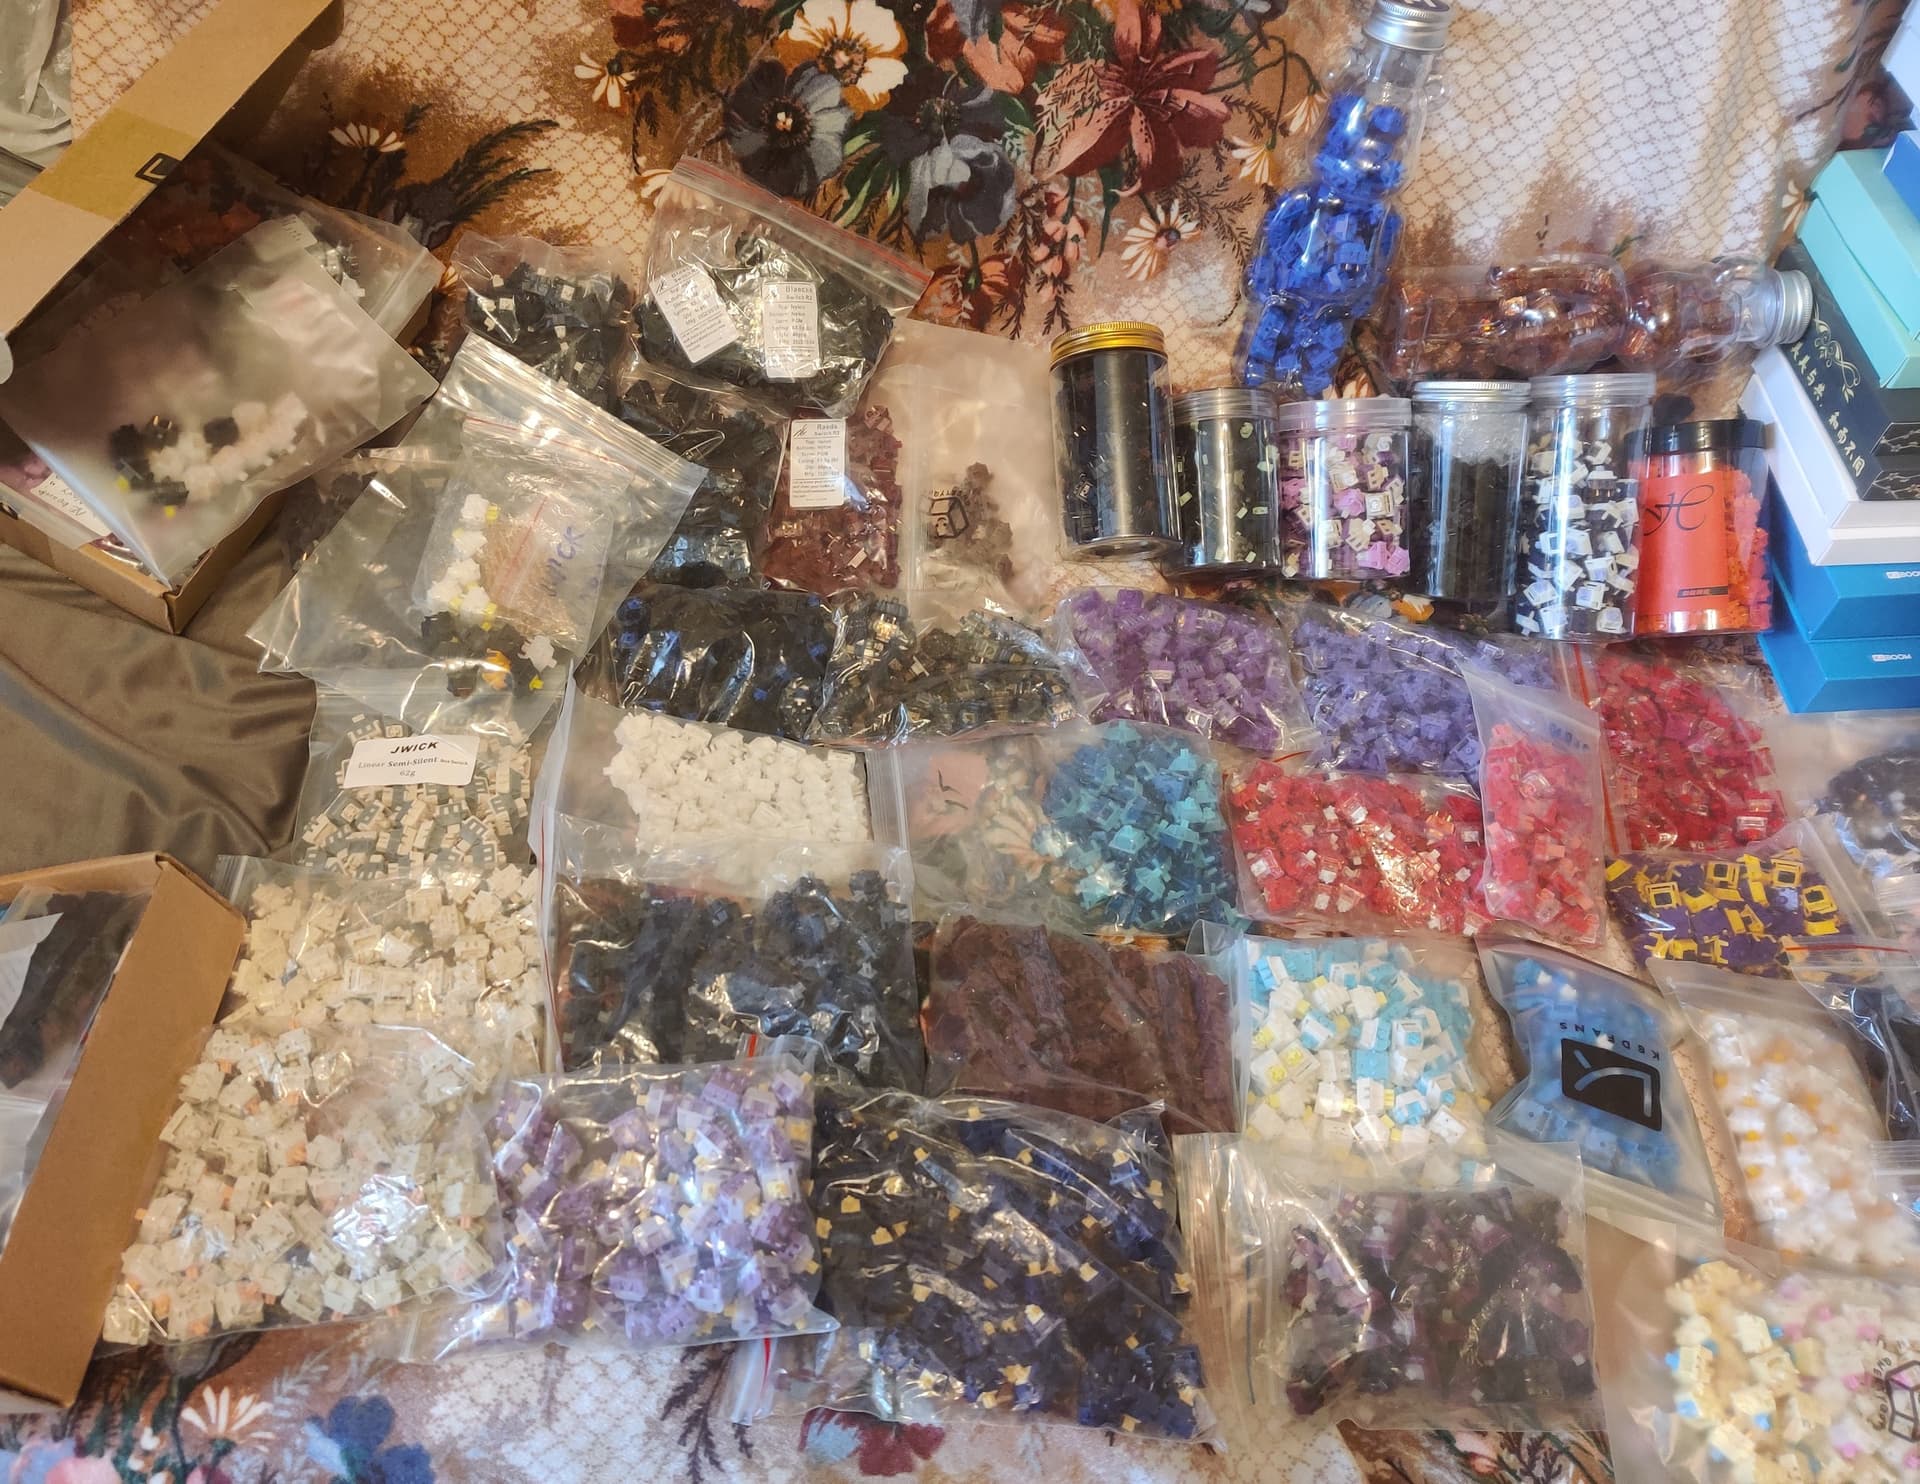
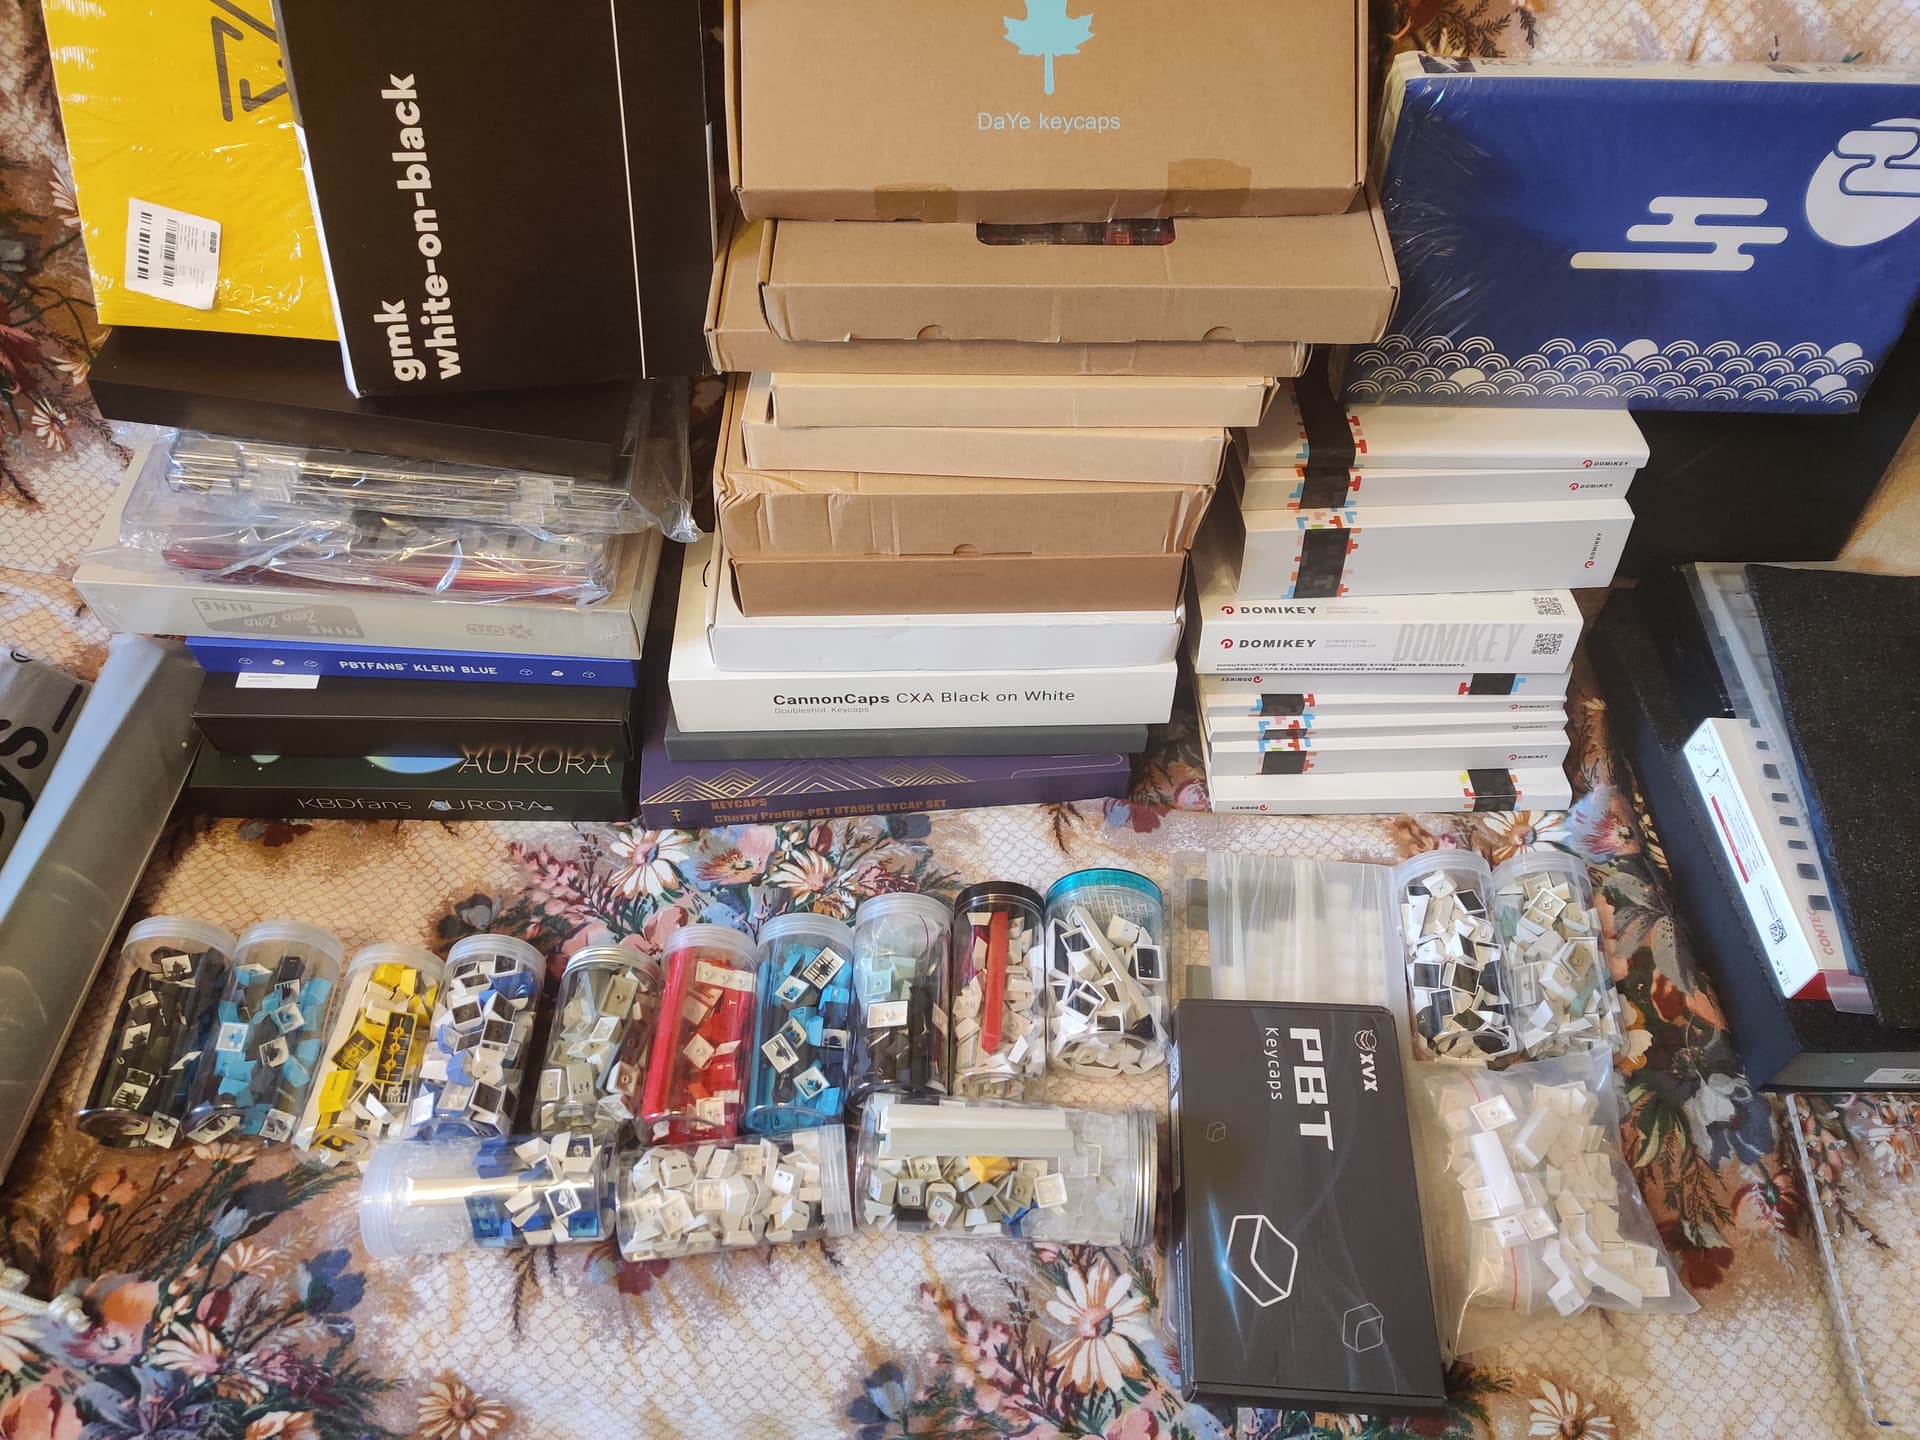
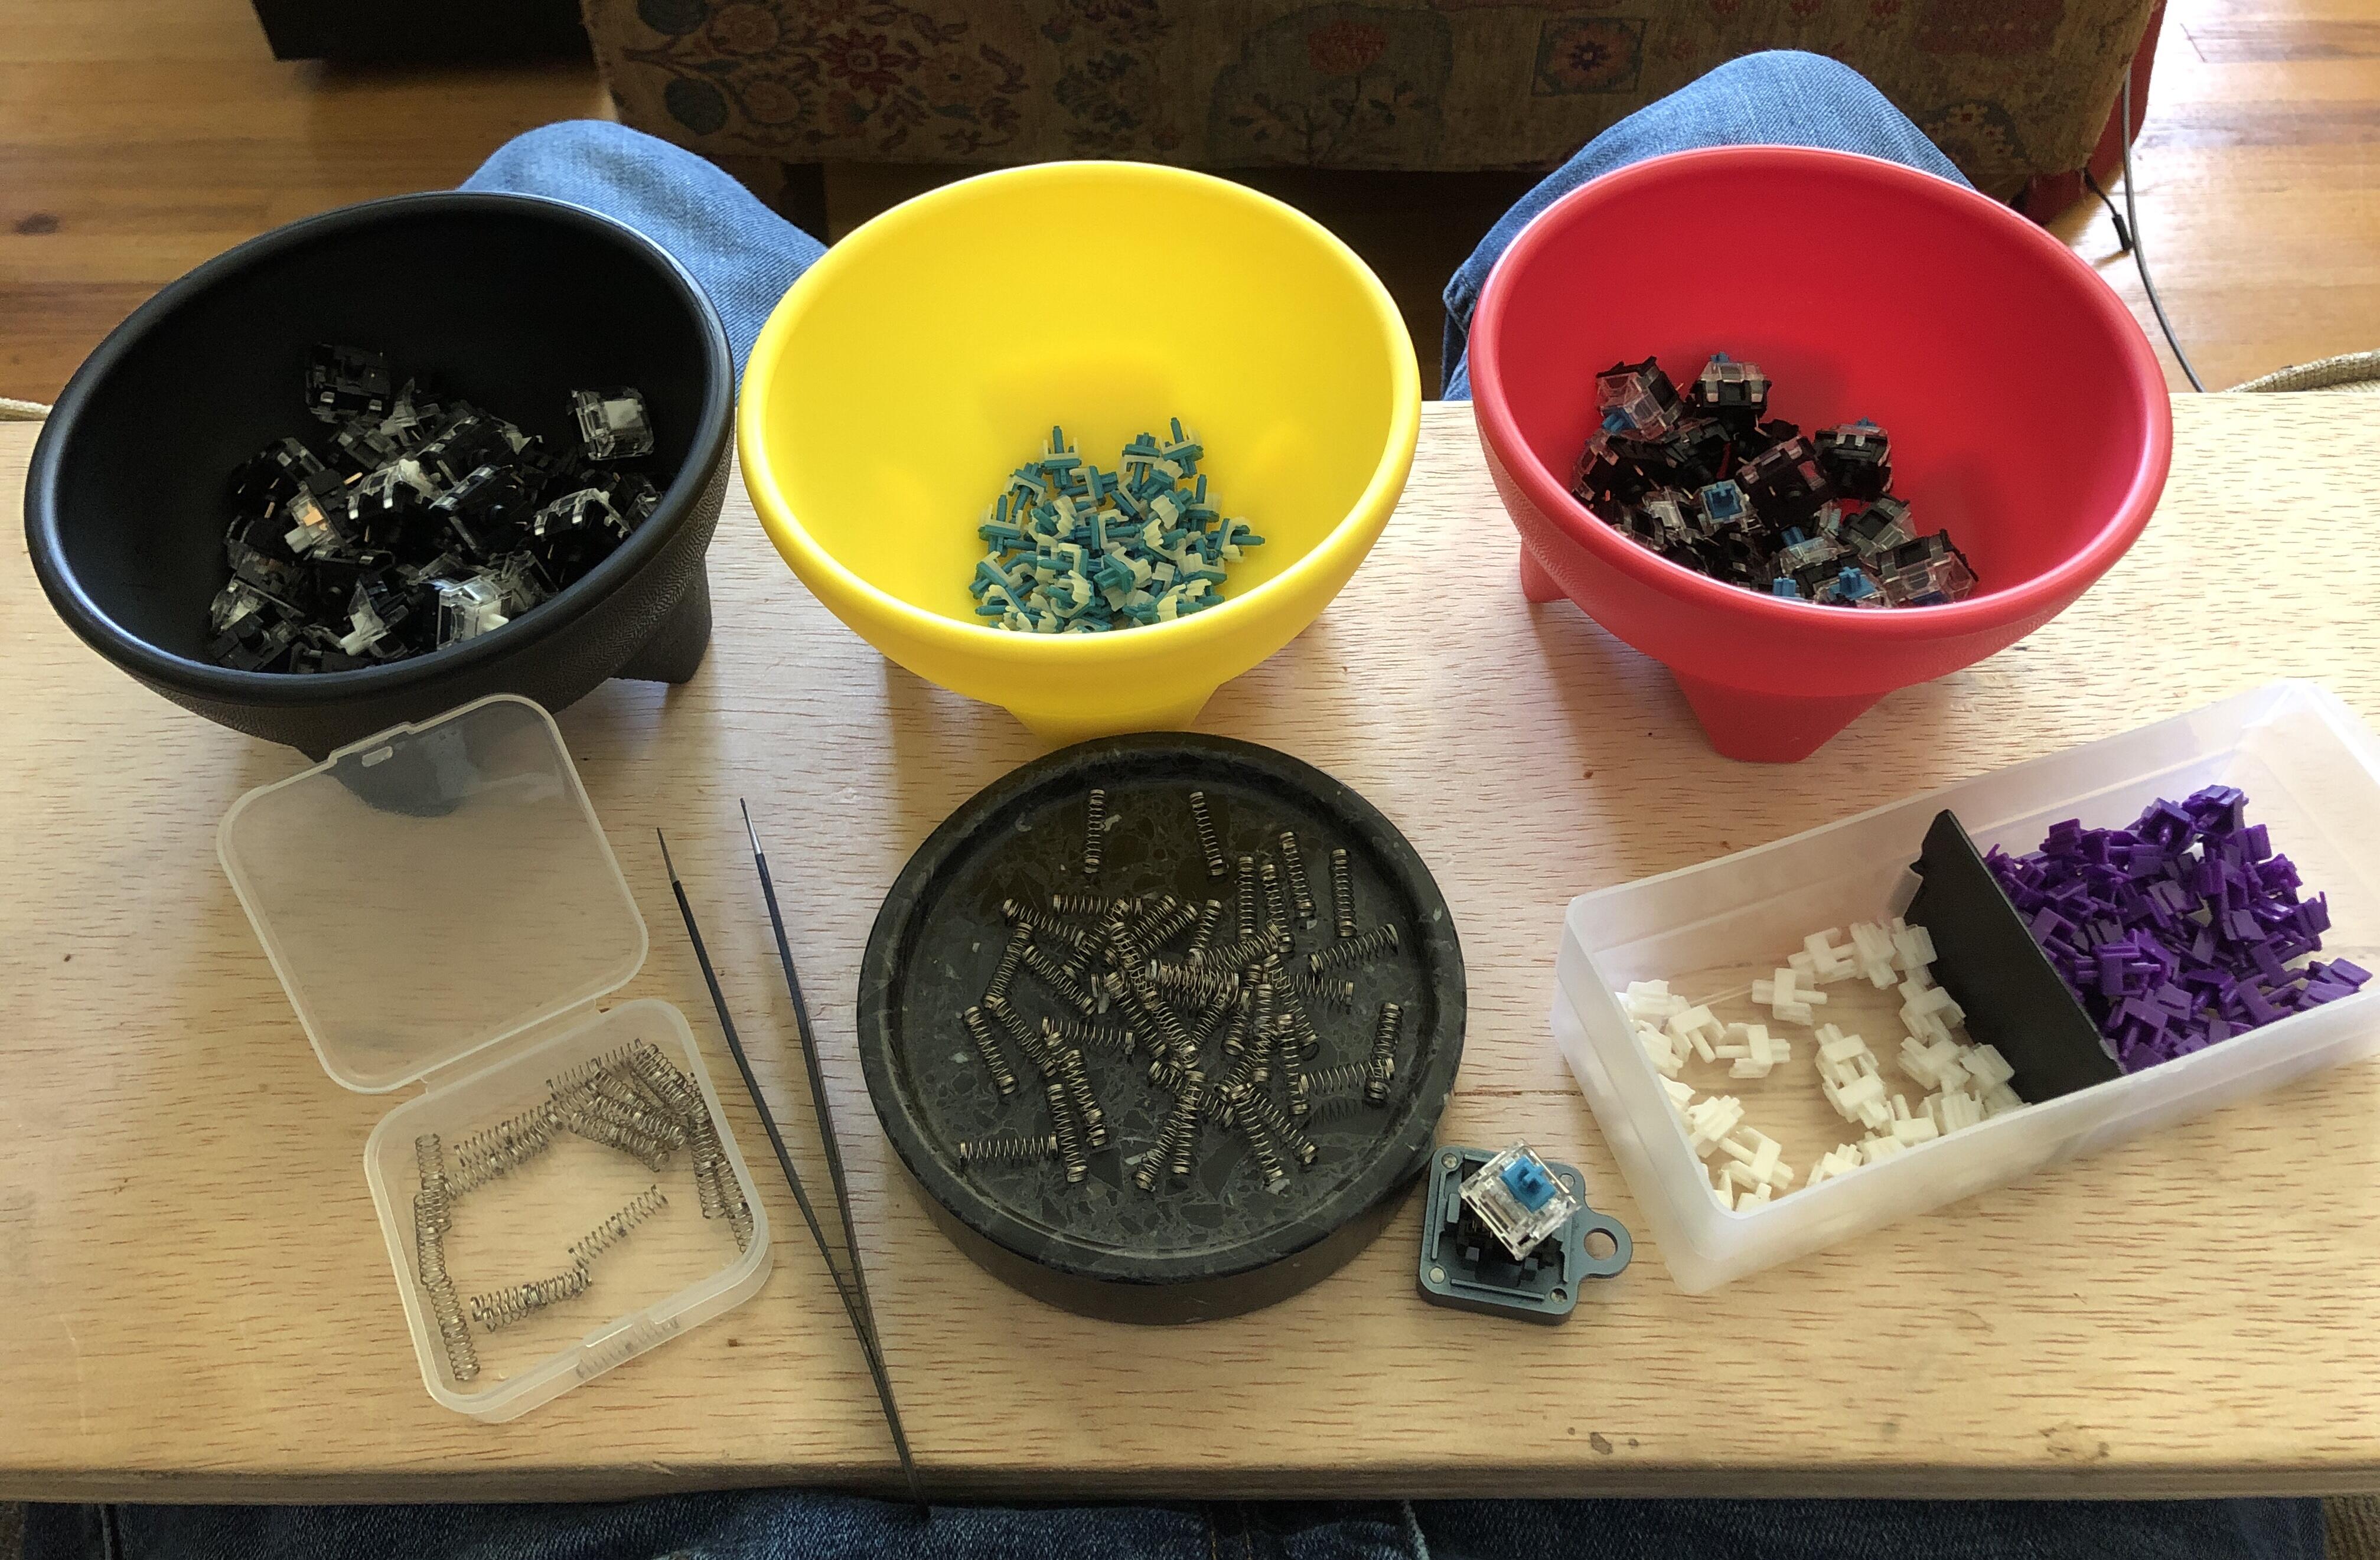
Use a magnetic tray and “crack open” the switch like an egg for a better work flow. When you done opening the switches you just “pour” the stems out of the magnetic tray into whatever.
You can basically watch the TV or something all the time without loosing track…
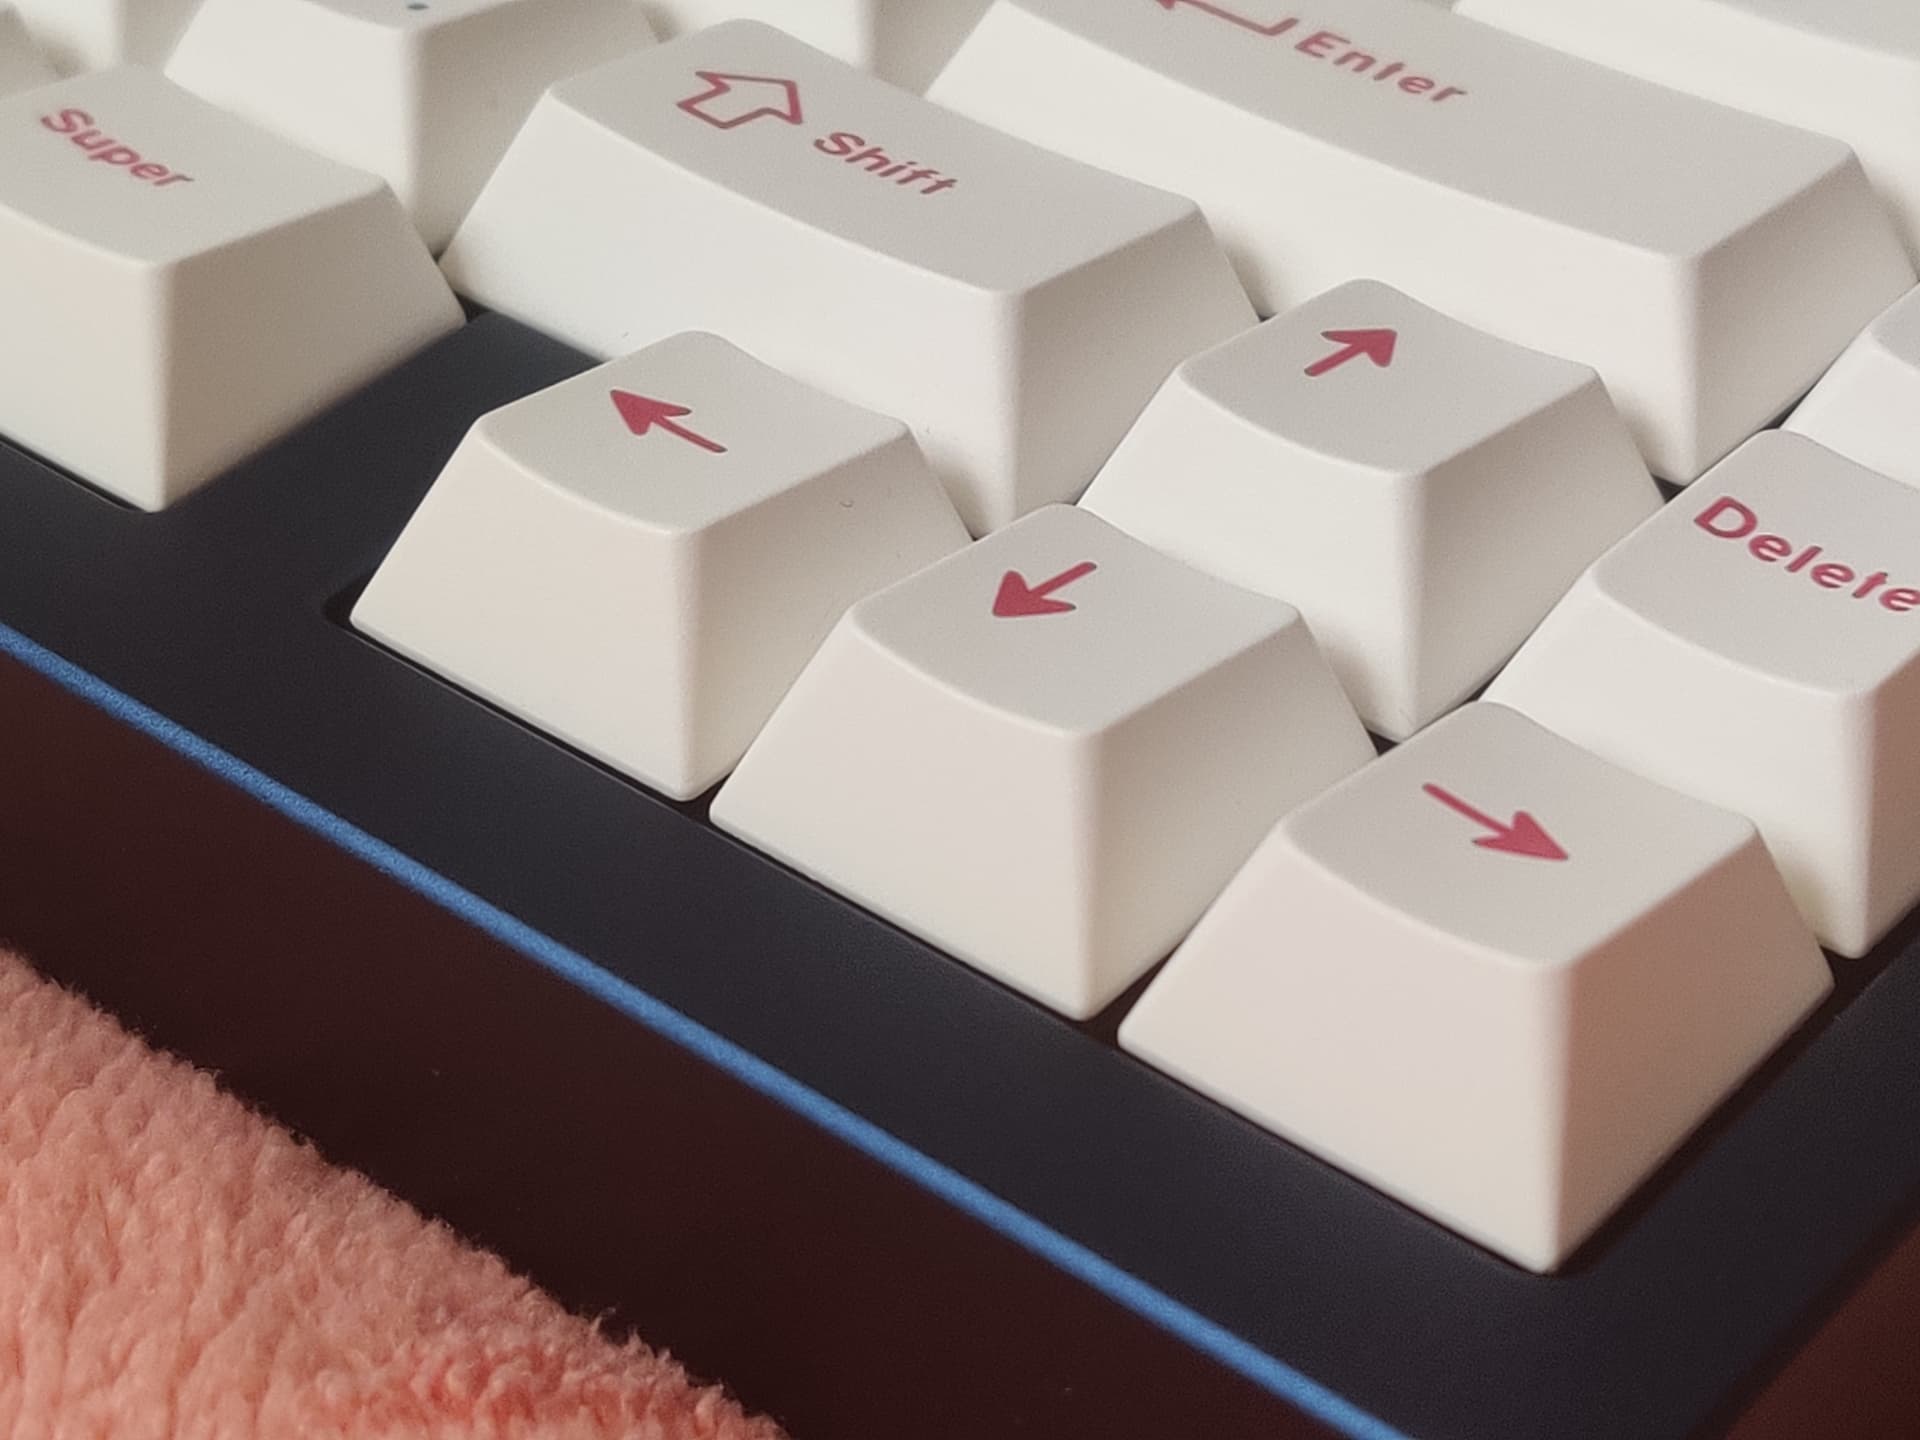
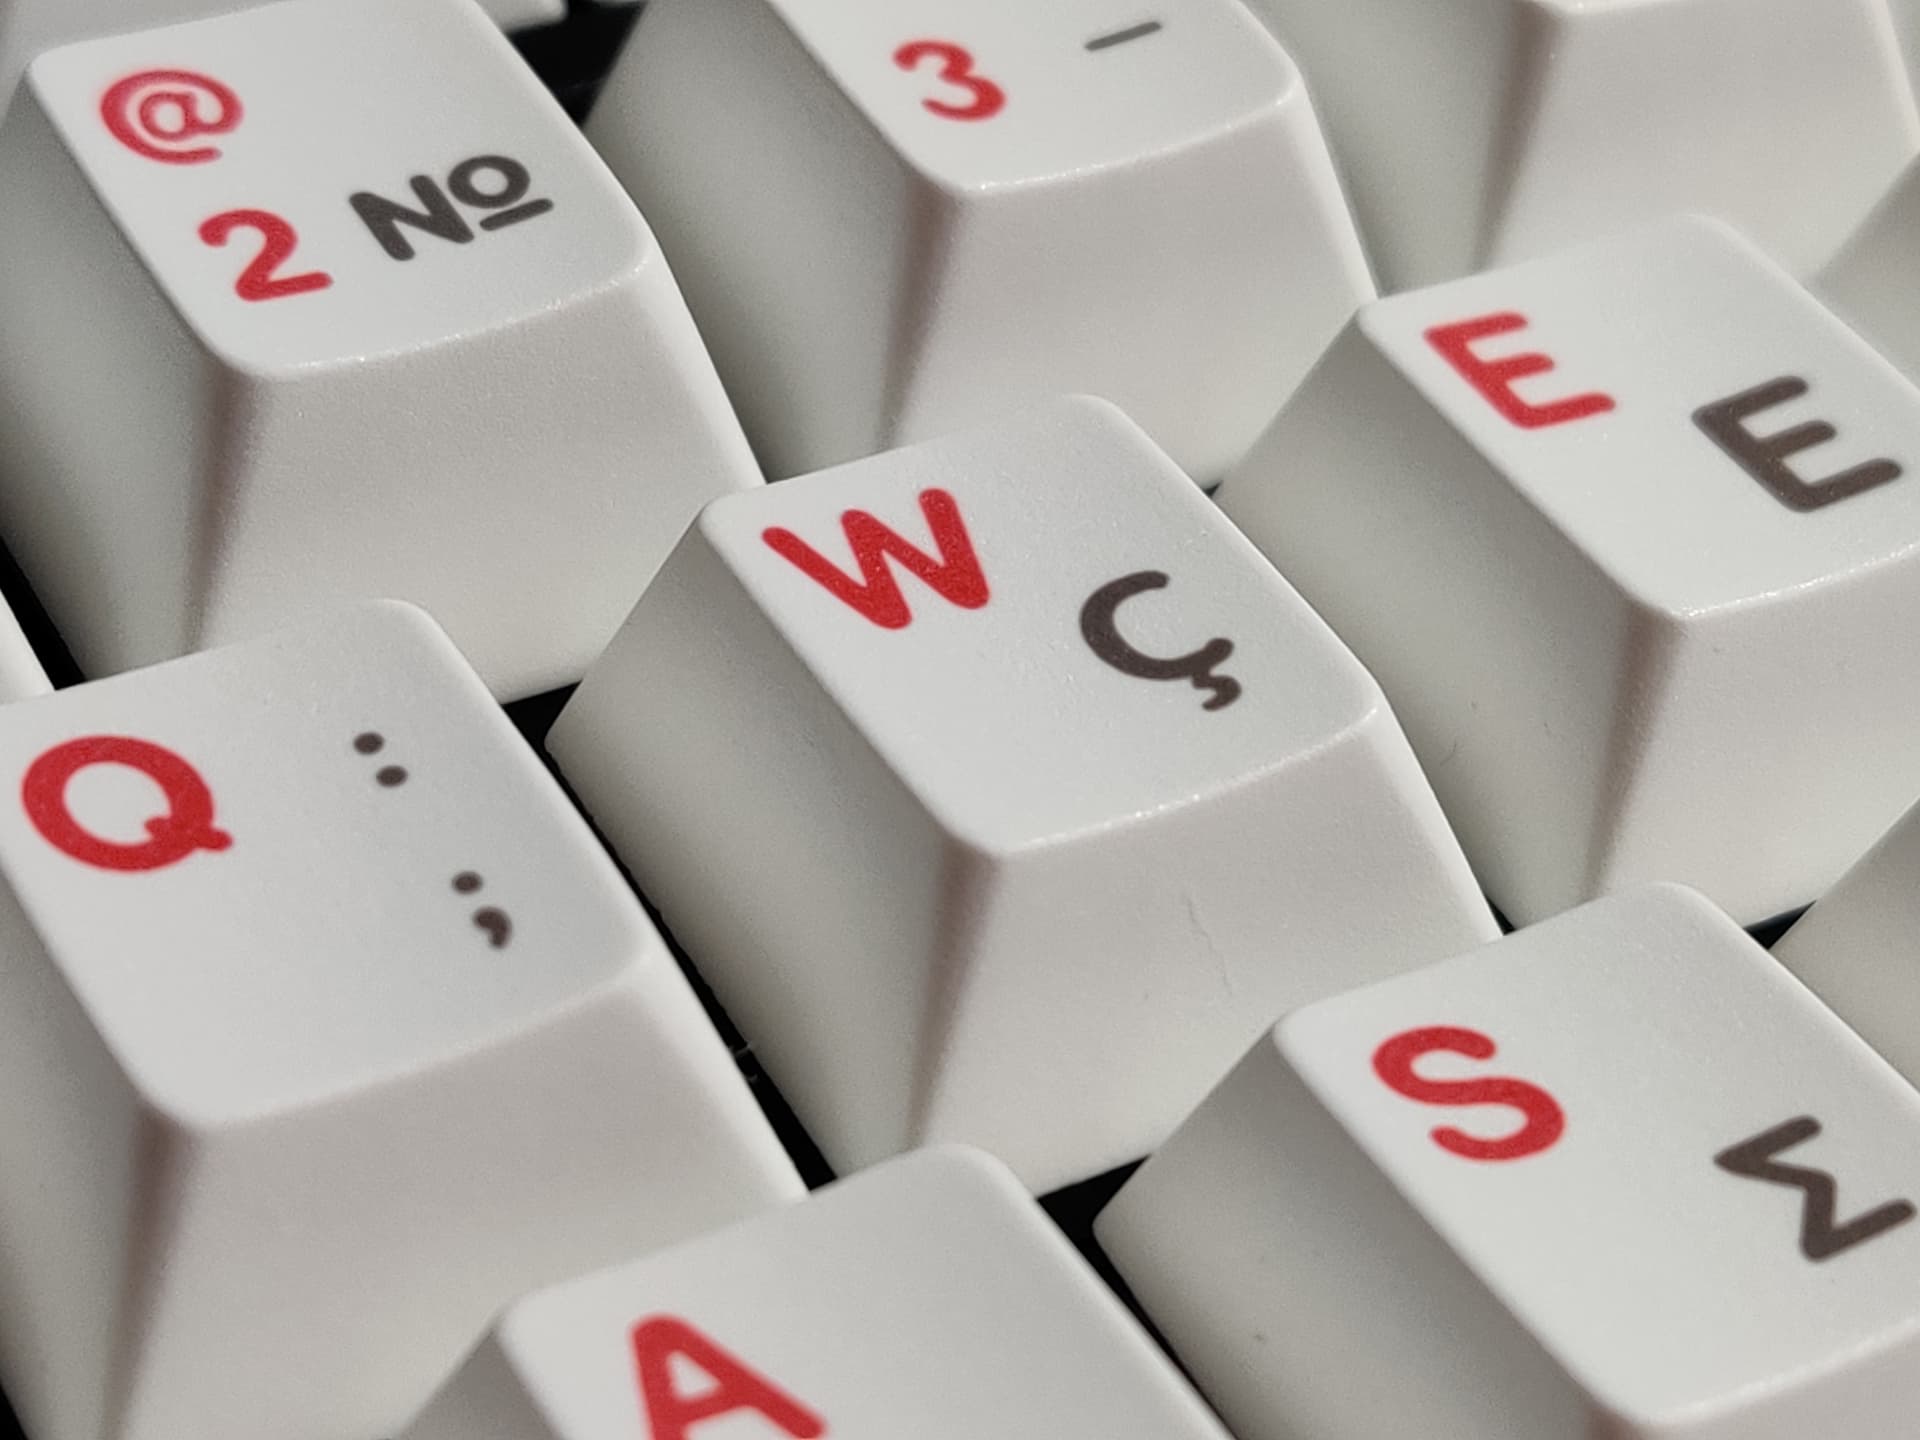
It depends more on the keyboard. An example is ikki68. There were problems with mt3. I had her. Spacebar was friction. But more infuriated that the numbers in the middle of the ikki body were rubbing.
I’ve had my Mode Sonnet for a little bit now and was working on a little side project which was making my own weight out of stainless steel. I was debating between stainless and brass, but stainless was cheaper and it didn’t require additional treatment to the finish/material post cutting.
I work in a manufacturing facility where I have the ability to use an IPG Photonics Lasercube laser cutter, and I wanted to make a few more weights since I know two other people who also have a Sonnet. I used sheets of 304 annealed stainless steel from McMcaster-Carr in thicknesses of 0.075" and 0.120" since the default aluminum weight is 5mm thick (0.197"). I modeled the weights in Solidworks after I measured them and exported the top faces as DXF files to program for the laser cutter, then countersunk the thinner tops after I cut them all on the laser.
I think they turned out pretty good! The burn marks are unavoidable when using the laser but I like the unfinished look of the stainless sheets. And in the end this weight is entirely internal so aesthetics don’t matter too much here.
Beginning to think that I need to pick up a desoldering gun as I desoldered the heterogeneous switches on my Arc60’s plateless setup to make it a full Vertex (almost) build by soldering in the broken-in Vertex V1 switches I have.
Desoldering took FOREVER with just my tiny TS101 and my manual solder sucker…
Good news, is that somewhere around the middle I have the technique almost perfected, the bad news is that it took FOREVER
Soldering in the new switches, I was able to use my Kester lead-free solder. Required a little more heat, but was really impressed with the results.
I usually solder around 325C to 335C, but this stuff flowed best at 350C. Also, very little rosin splatter and minimal clean-up afterwards.
Sorry no pics, as I didn’t finish until about 1AM , but everything works and the soldering joints look damn near perfect, which says a lot, considering this is like my 3rd or 4th keyboard PCB I have soldered .
Also, Arc60 plateless is the way to go for this board
The desoldering gun is by far the most expensive tool in my box, and it’s been worth every penny for me. If you think you might desolder keyboards with any regularity, I definitely recommend some kind of desoldering gun or station.
What brand/model of desoldering gun are you using @Deadeye?
Last winter I bought the only (and cheap) yellow tube model from my local electronics shop. It turned out to be use-once as its internals started melting on first use…
I have never used their lead free solder, but I use there no-clean flux solder all of the time with great results. There is noticably less splatter than my previous spool of non kester regular leased solder. I use the same temperature, but it does seem to have a little less working time before the flux boils away. Did you notice anything similar with the lead free version?