Oo nice, I might actually snag one for the nostalgia. I wonder where my rug from childhood went…
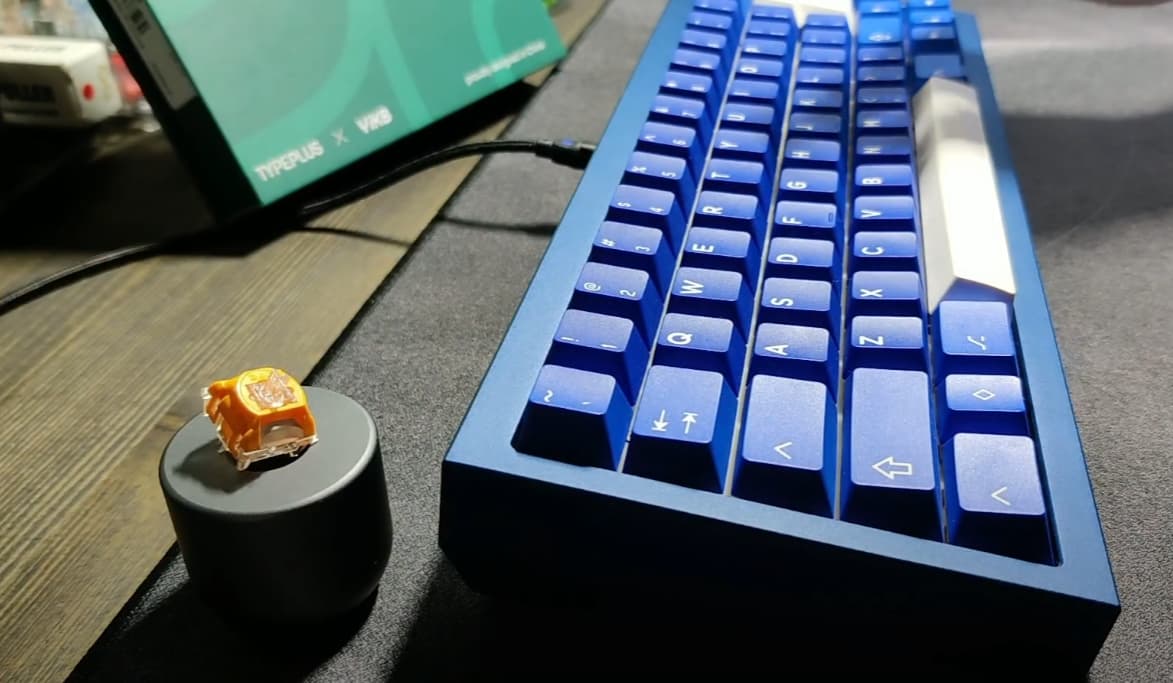
Soft typing of typing. Because or this is the design.
Or because the materials are like that. For some reason, it seems to me that the material here is nylon.
Although the description says that top - pom, stem - pom, bottom - pk.
But to me, from the feeling of pressing, it seems as if either the stem is made of nylon, or it is a full polycarbonate switch.
On a rigid mount, such as a top mount, or if the design of the keyboard does not allow much flex. then the set is not so nice.
It’s best for me personally when there is a little flex. Small, there is a slight bending of the plate.
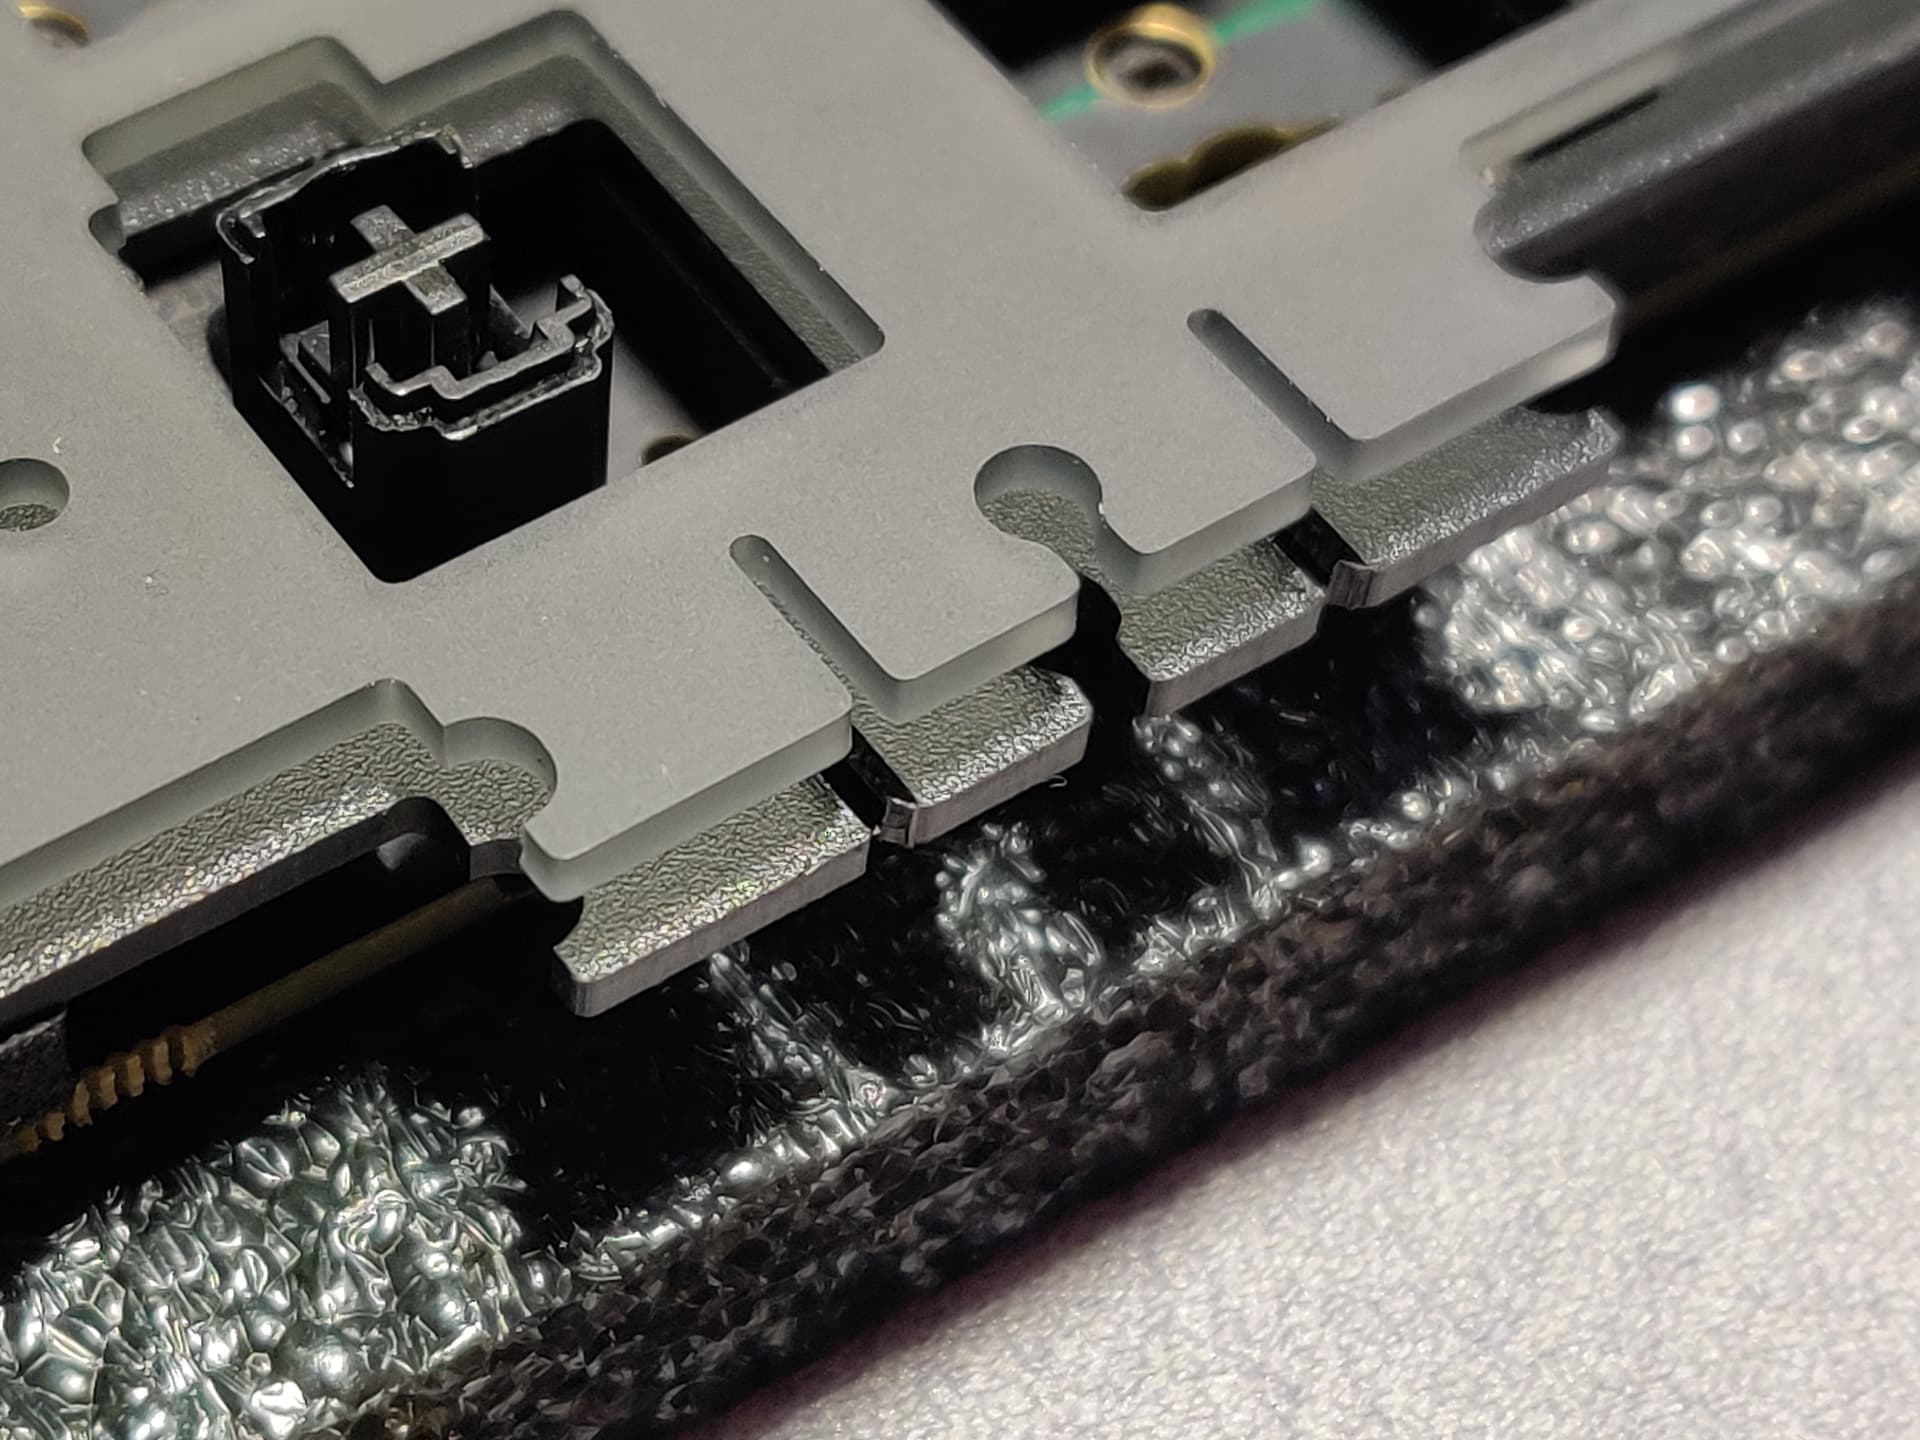
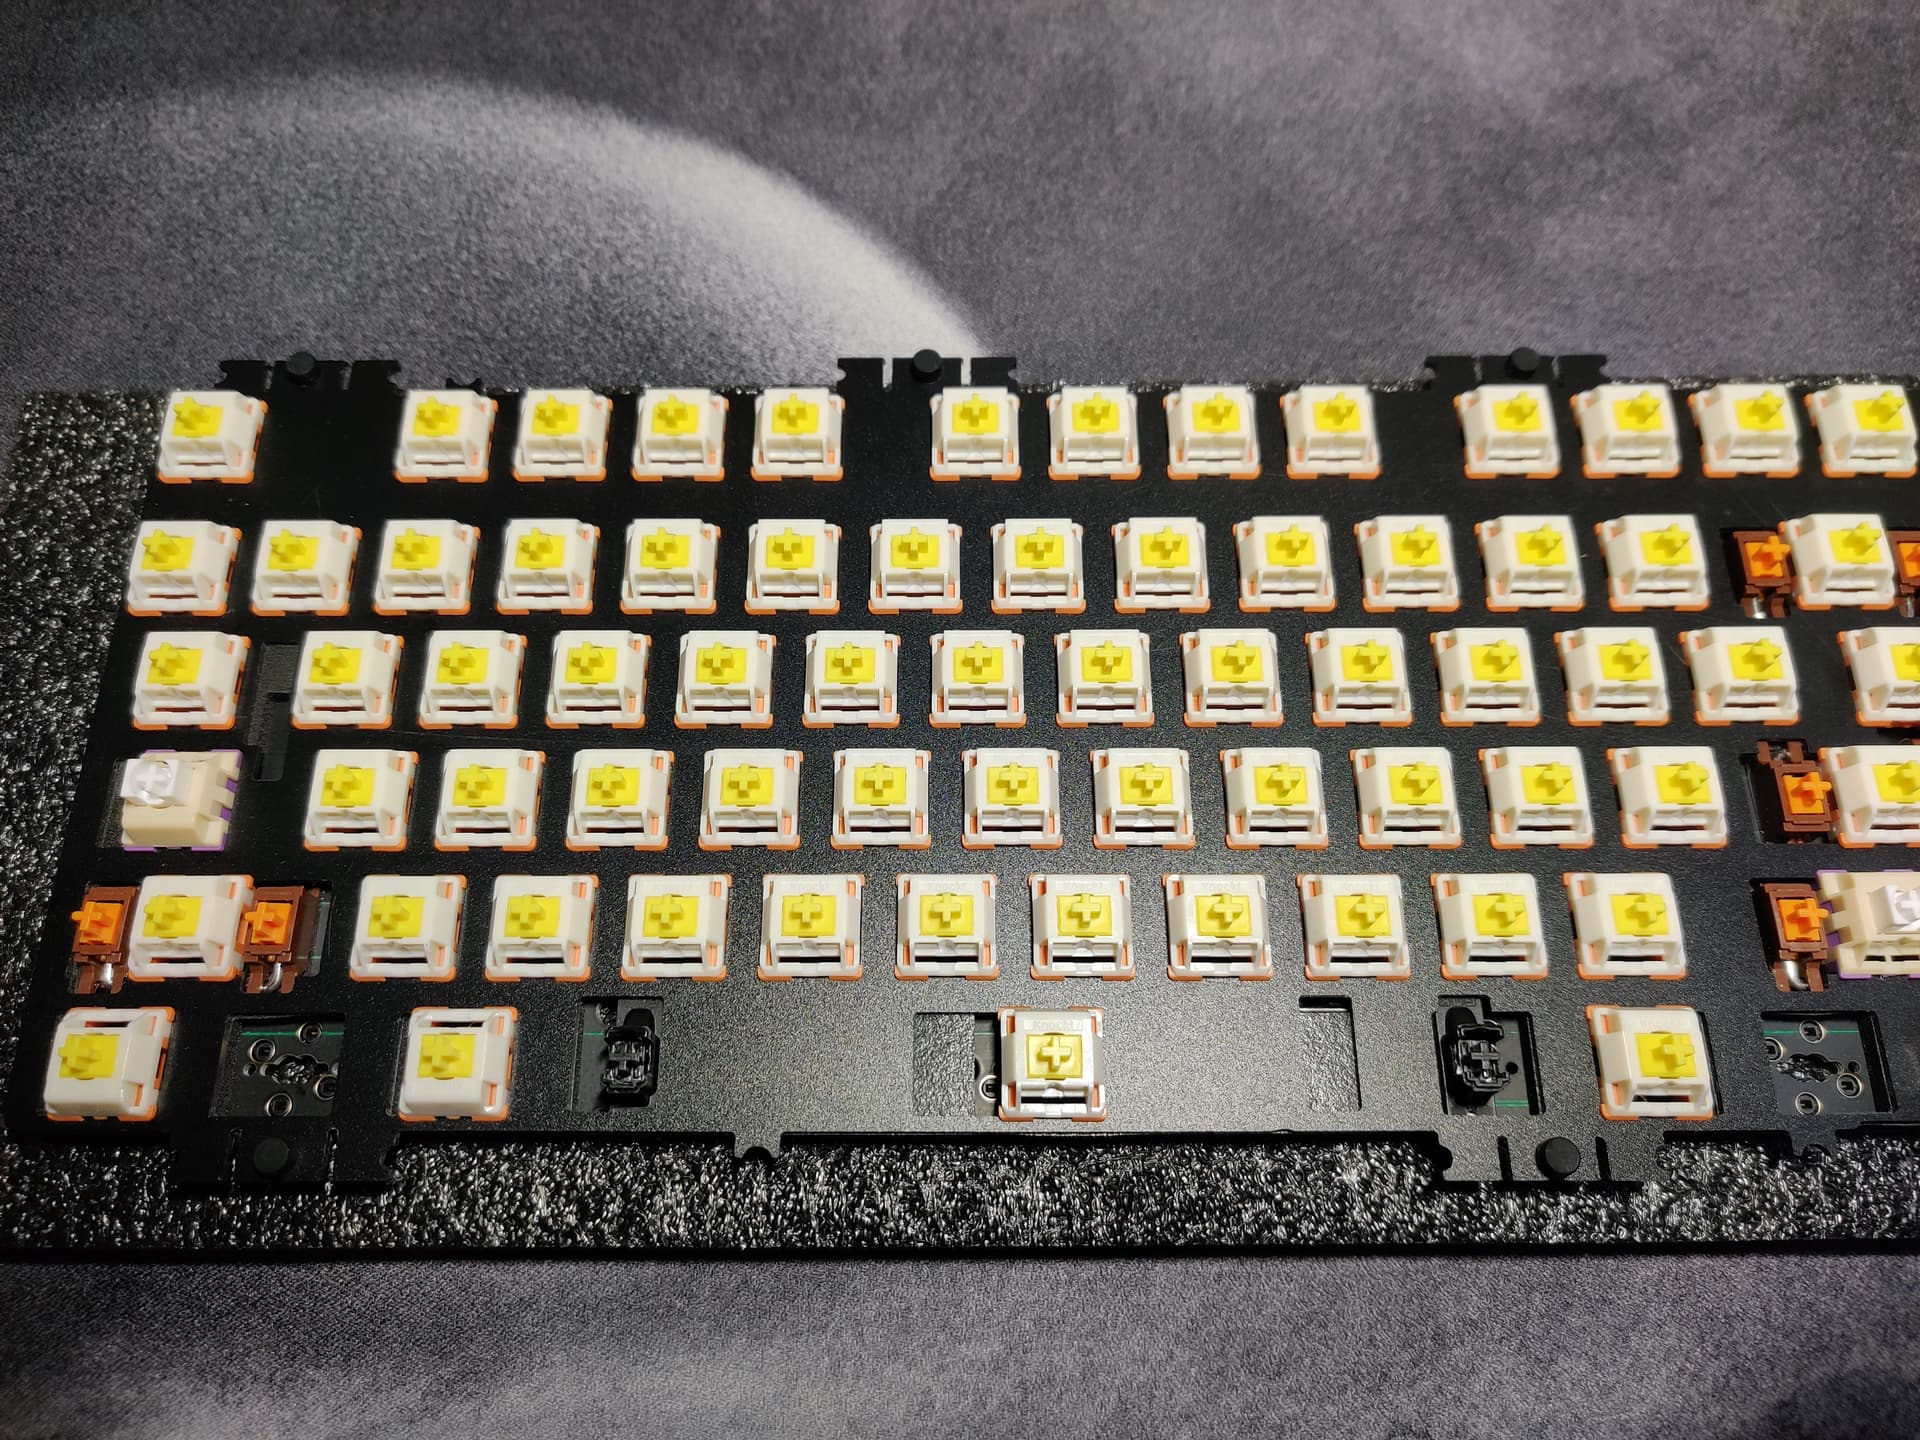
At QK65 this is exactly where you can do it on Pom.
You can also play with the number of silicone socket socks. You can’t install everything, just in the places you want.
I made 4 silicone socks on top. And 3 from below.
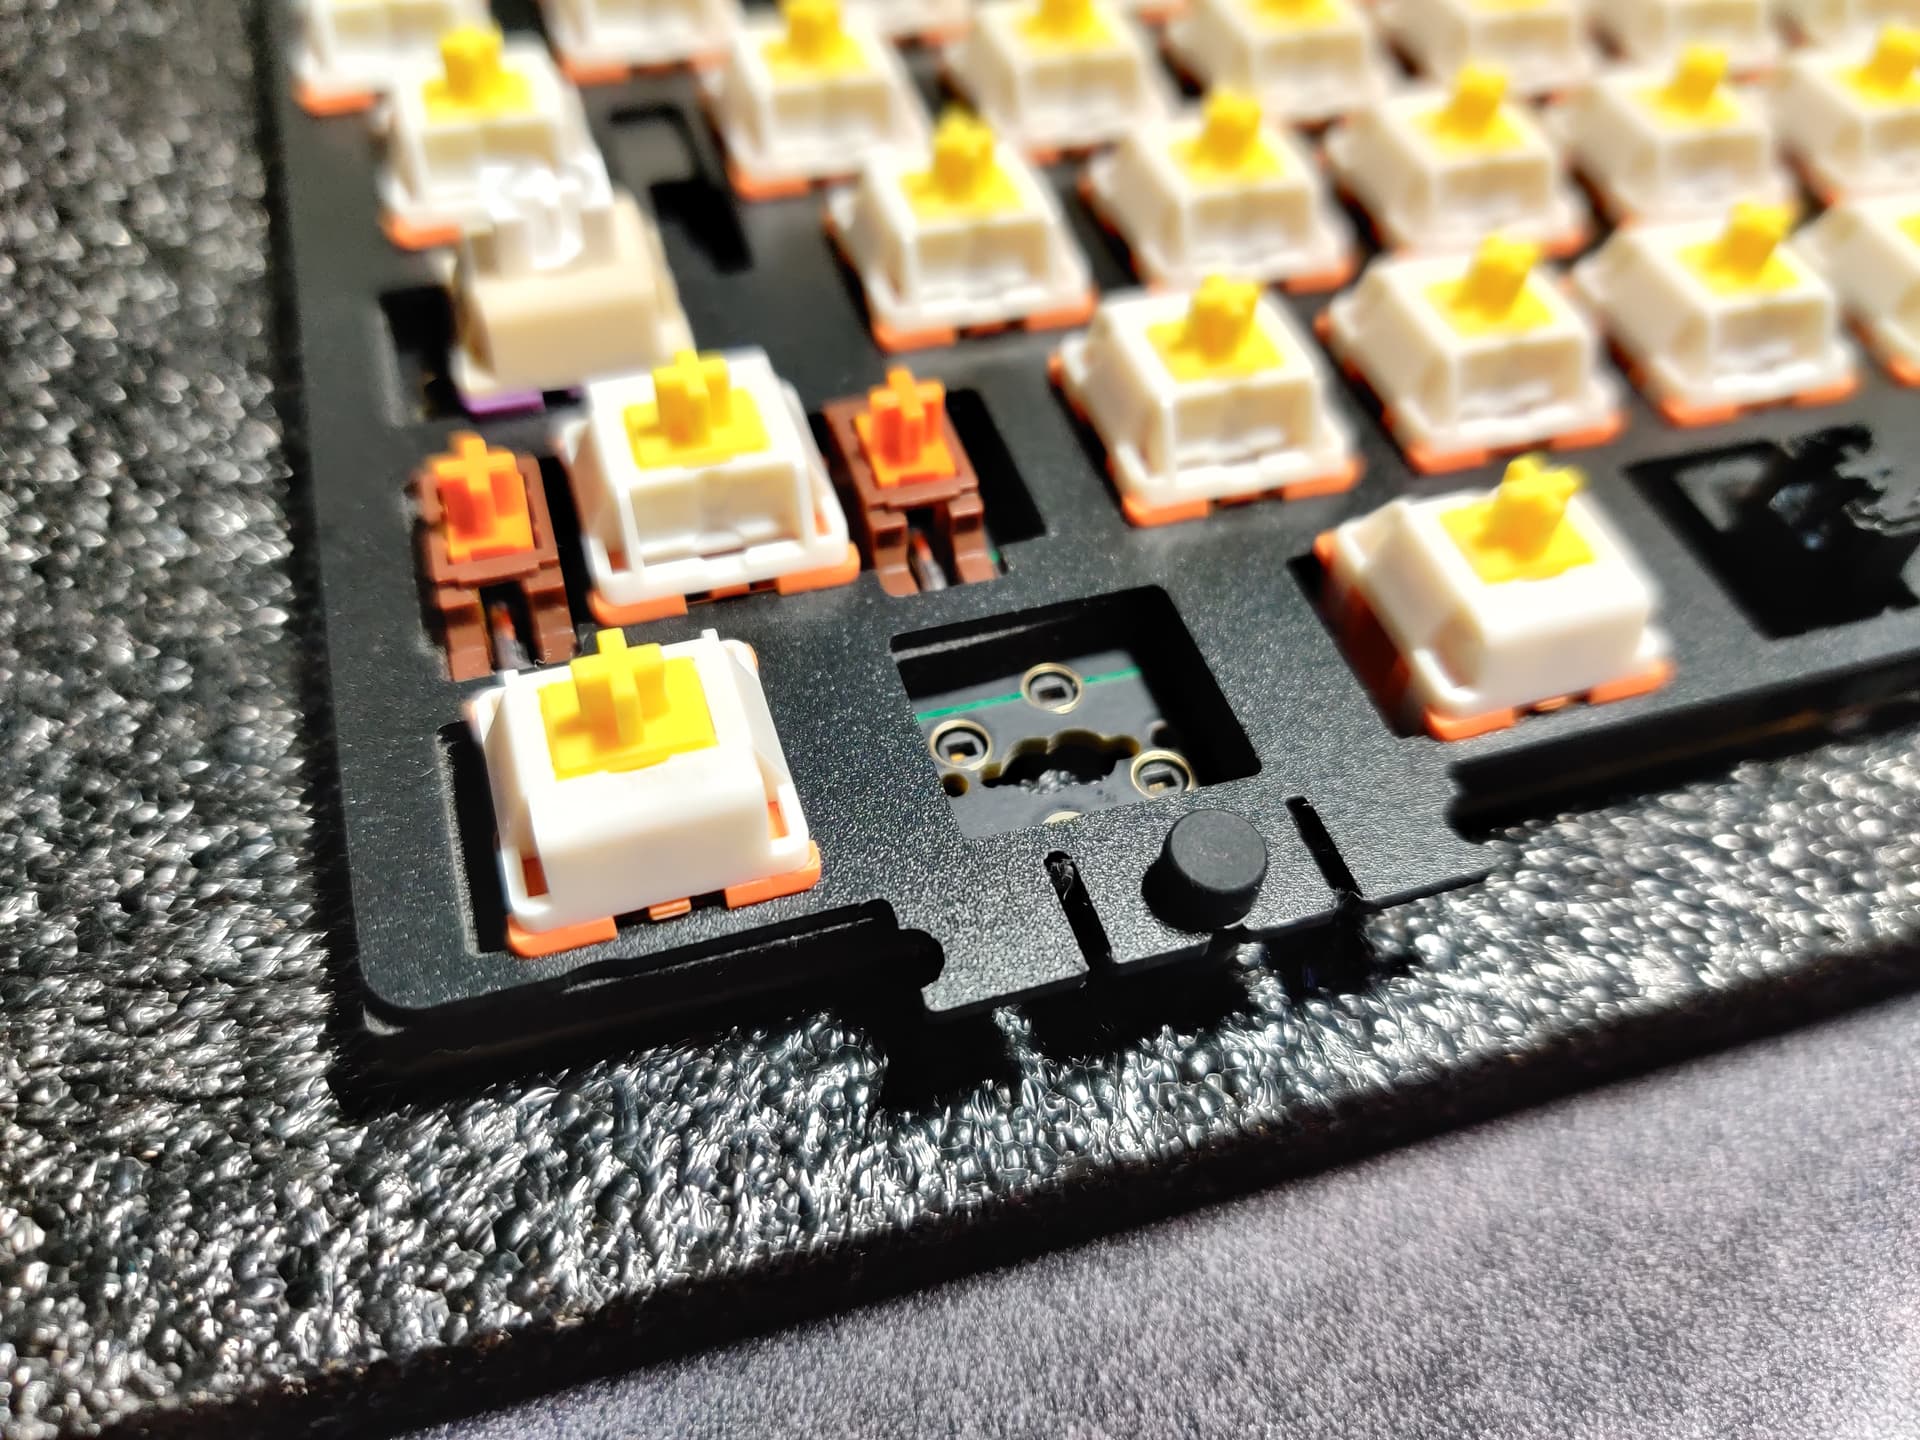
The default switch itself had a problem with the spring. I saw that one was bent during analysis)) Mechanical physical bending like a defect. This did not affect the operation, the switch works and sounds as usual. BUT now there is a residue in my head from such quality))
The switch stem itself is well lubricated. So the sound is more uniform across the entire pack, all 70 pieces, uniform sound. But there is a nuance, the alphas of the upper row R2 and the lower row R4 have the same sound. But the middle row of the R3, flat, quiet, strange polycarbonate sound. As a minus, here the spring is just ringing. If you assemble it for a permanent switch, it will be necessary or even have to be re-lubricated.
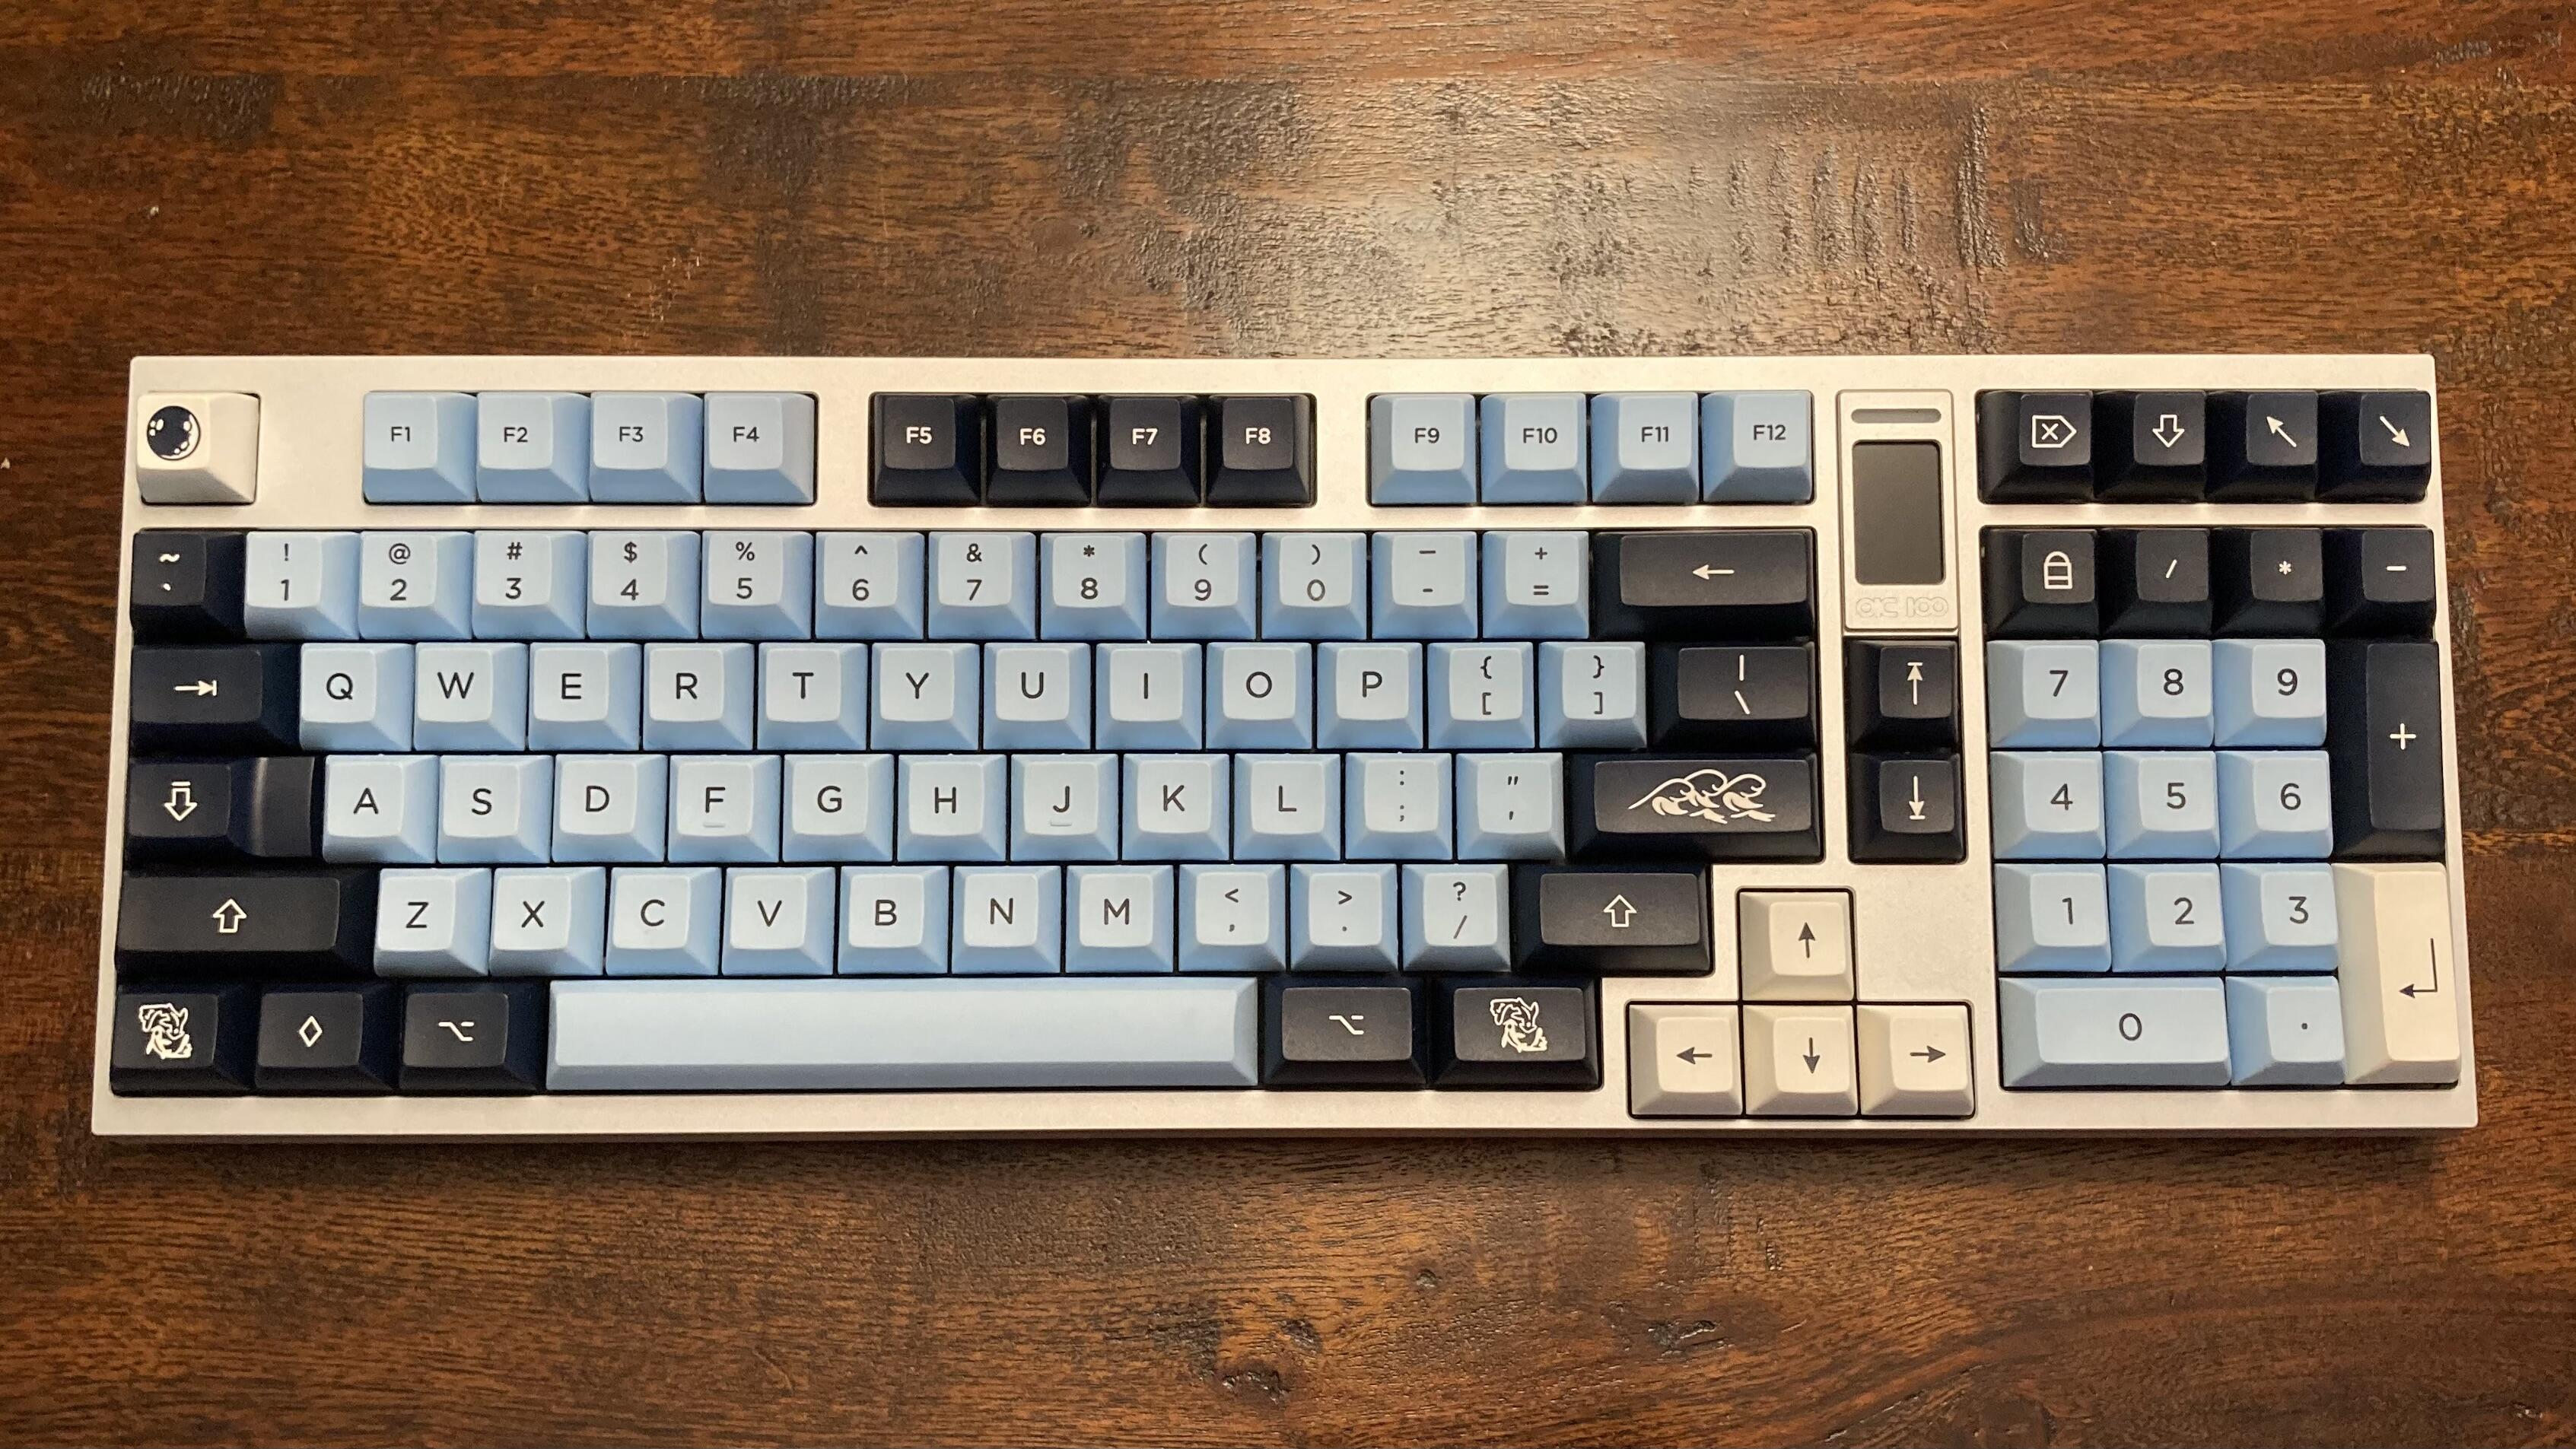
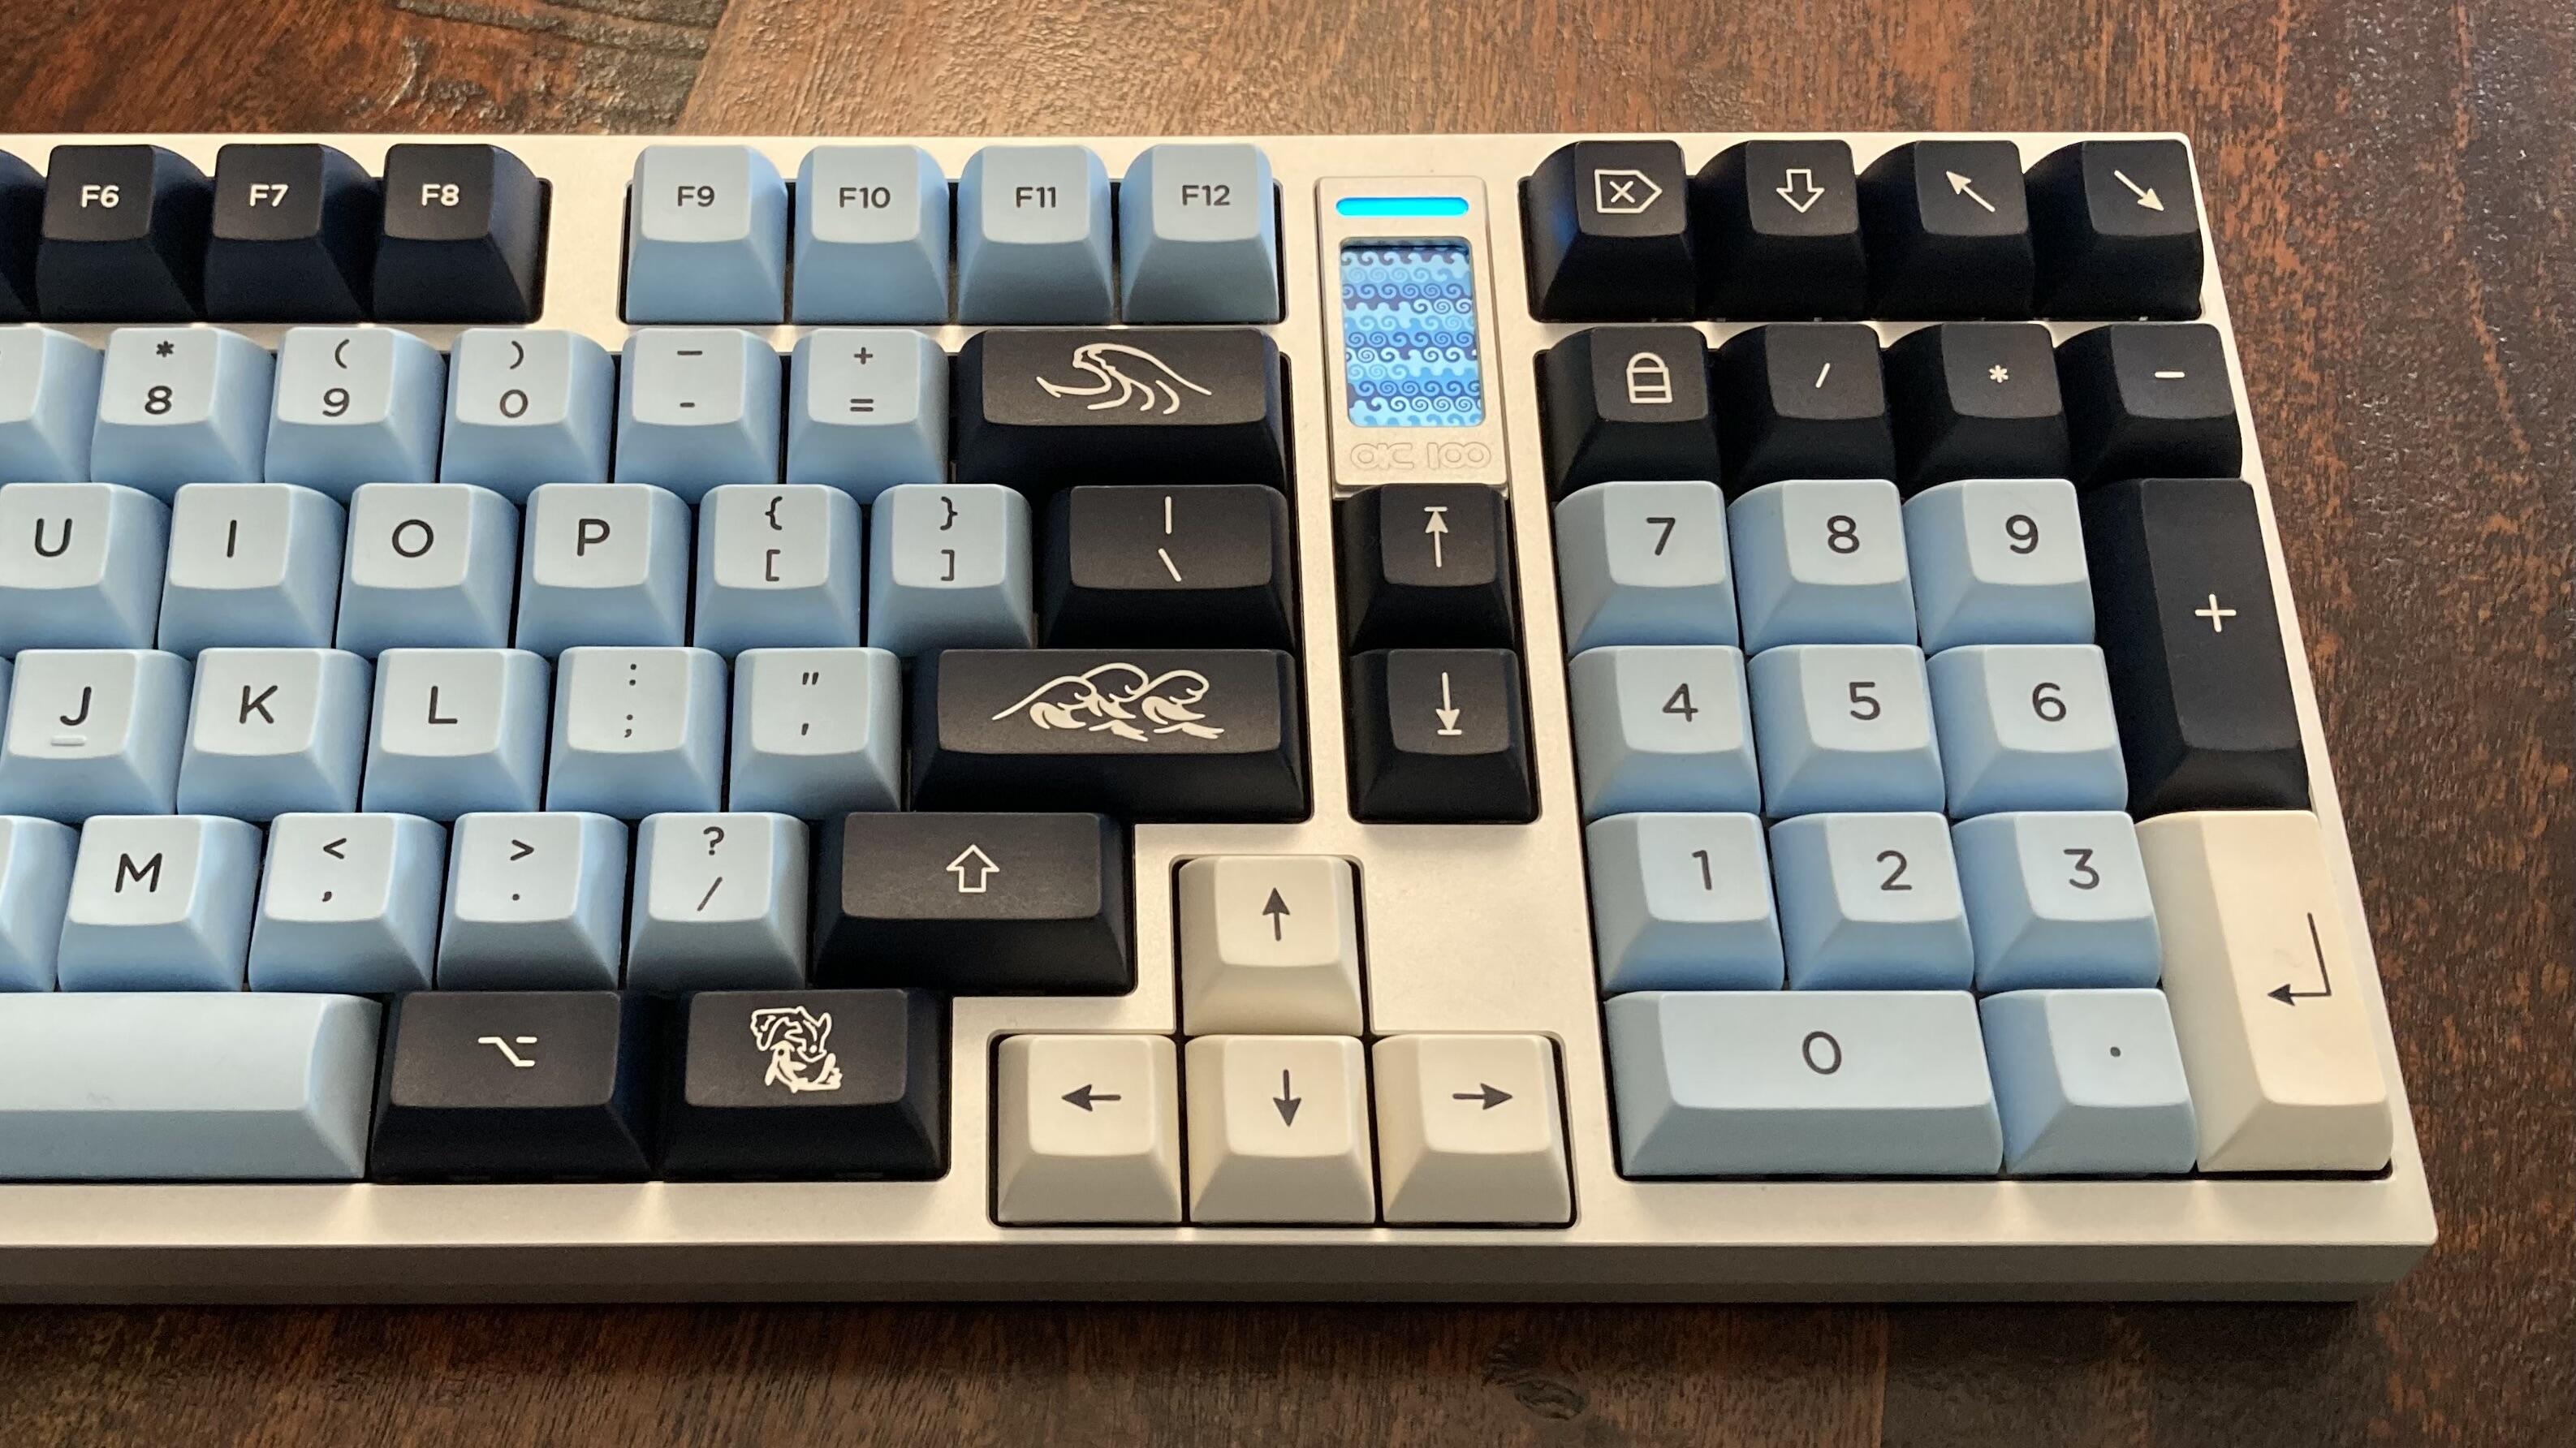
Not today, but I recently completed a QK100 build for my friend as his first mechanical keyboard. He chose and purchased with guidance. Very happy with the results!
I tried three plates and all the mounting styles. I settled on top mounted aluminum plate with 7 of the 12 mount points. It’s the non-flex PCB, though the plate does have a bunch of cuts, especially around all the alphas. He chose KAT Mizu and went with my recommendation of Gat Yellows Pro 3.0. Wireless and screen GIFs working great!
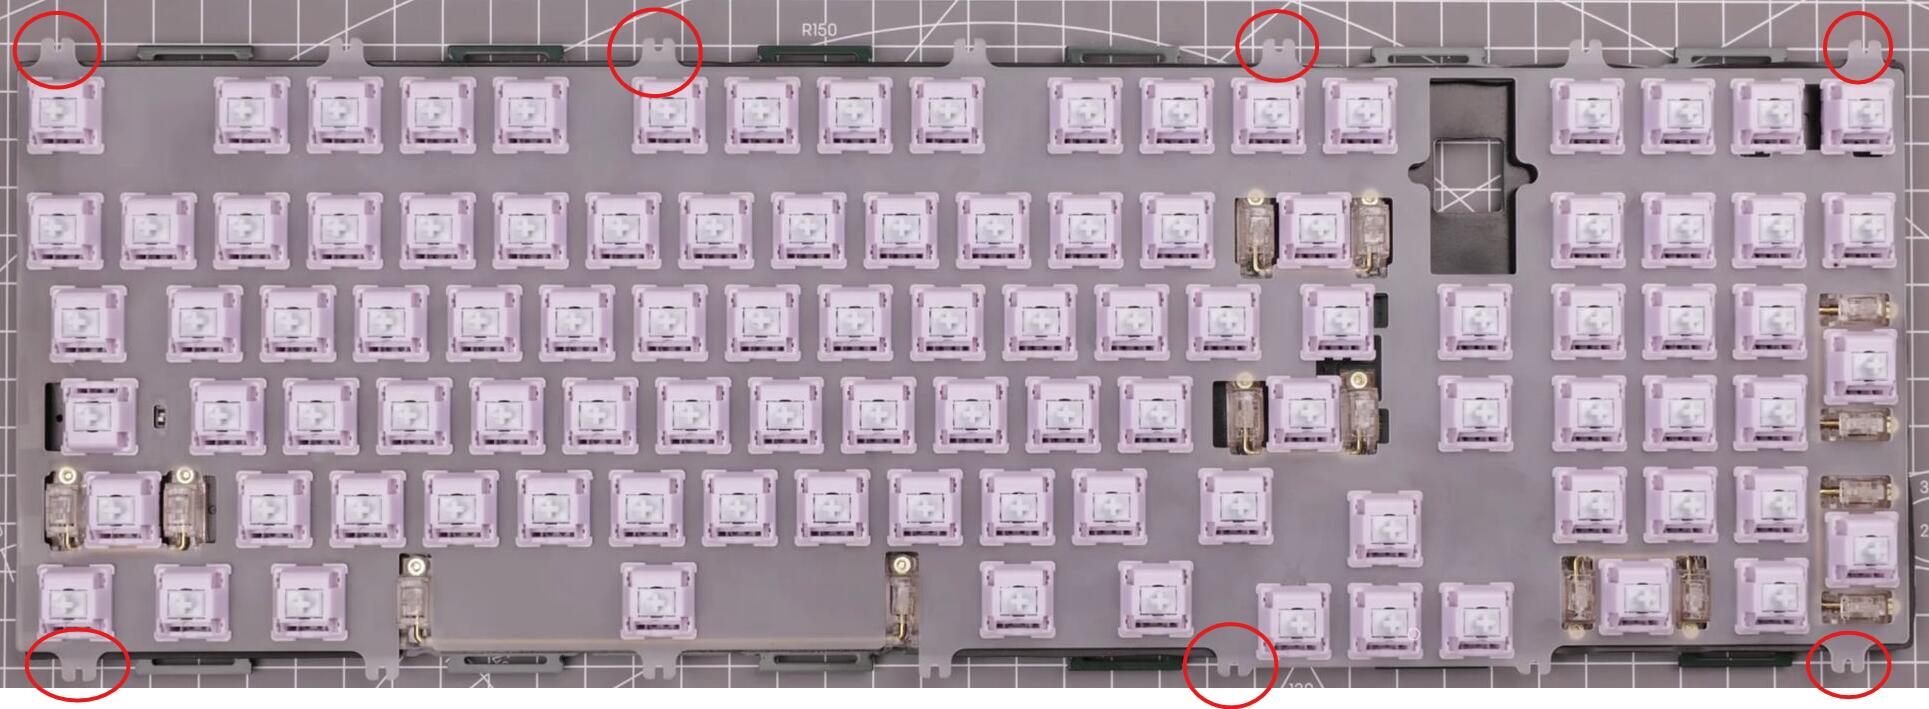
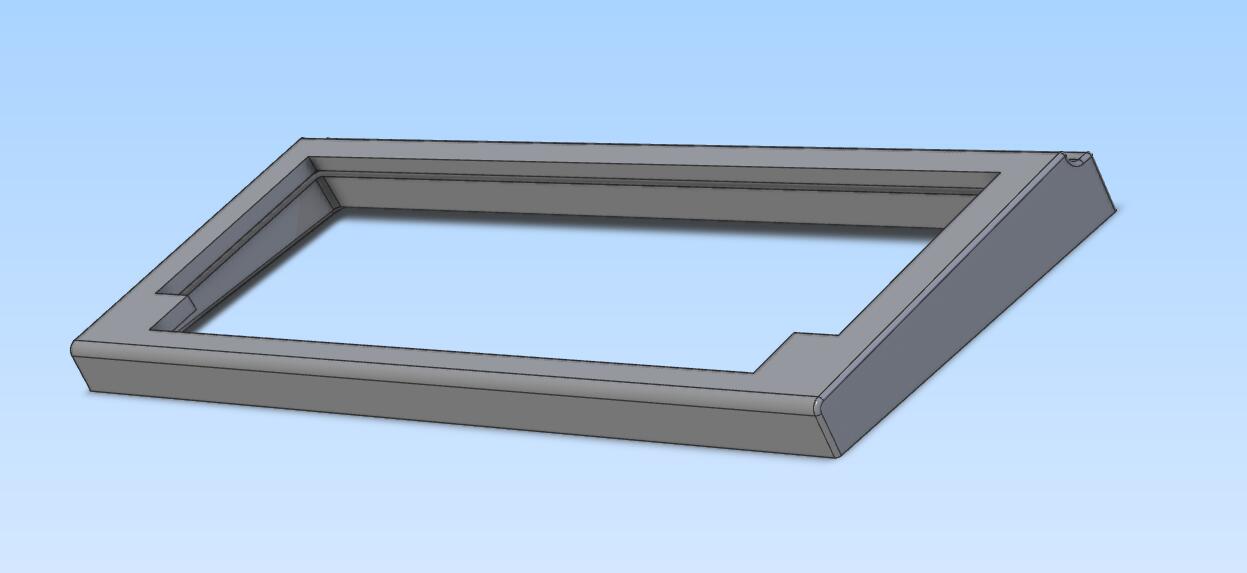
Just digital for now, but the CAD is coming along for the case for the half-assed PCBs I am having made. Next steps are cutting out a space for the MCU, the related tasks of locating screw holes and where I’ll be breaking it apart for 3D printing (this mounting method actually depends on it), and then a final sanity check digital assembly view with plates and PCB.

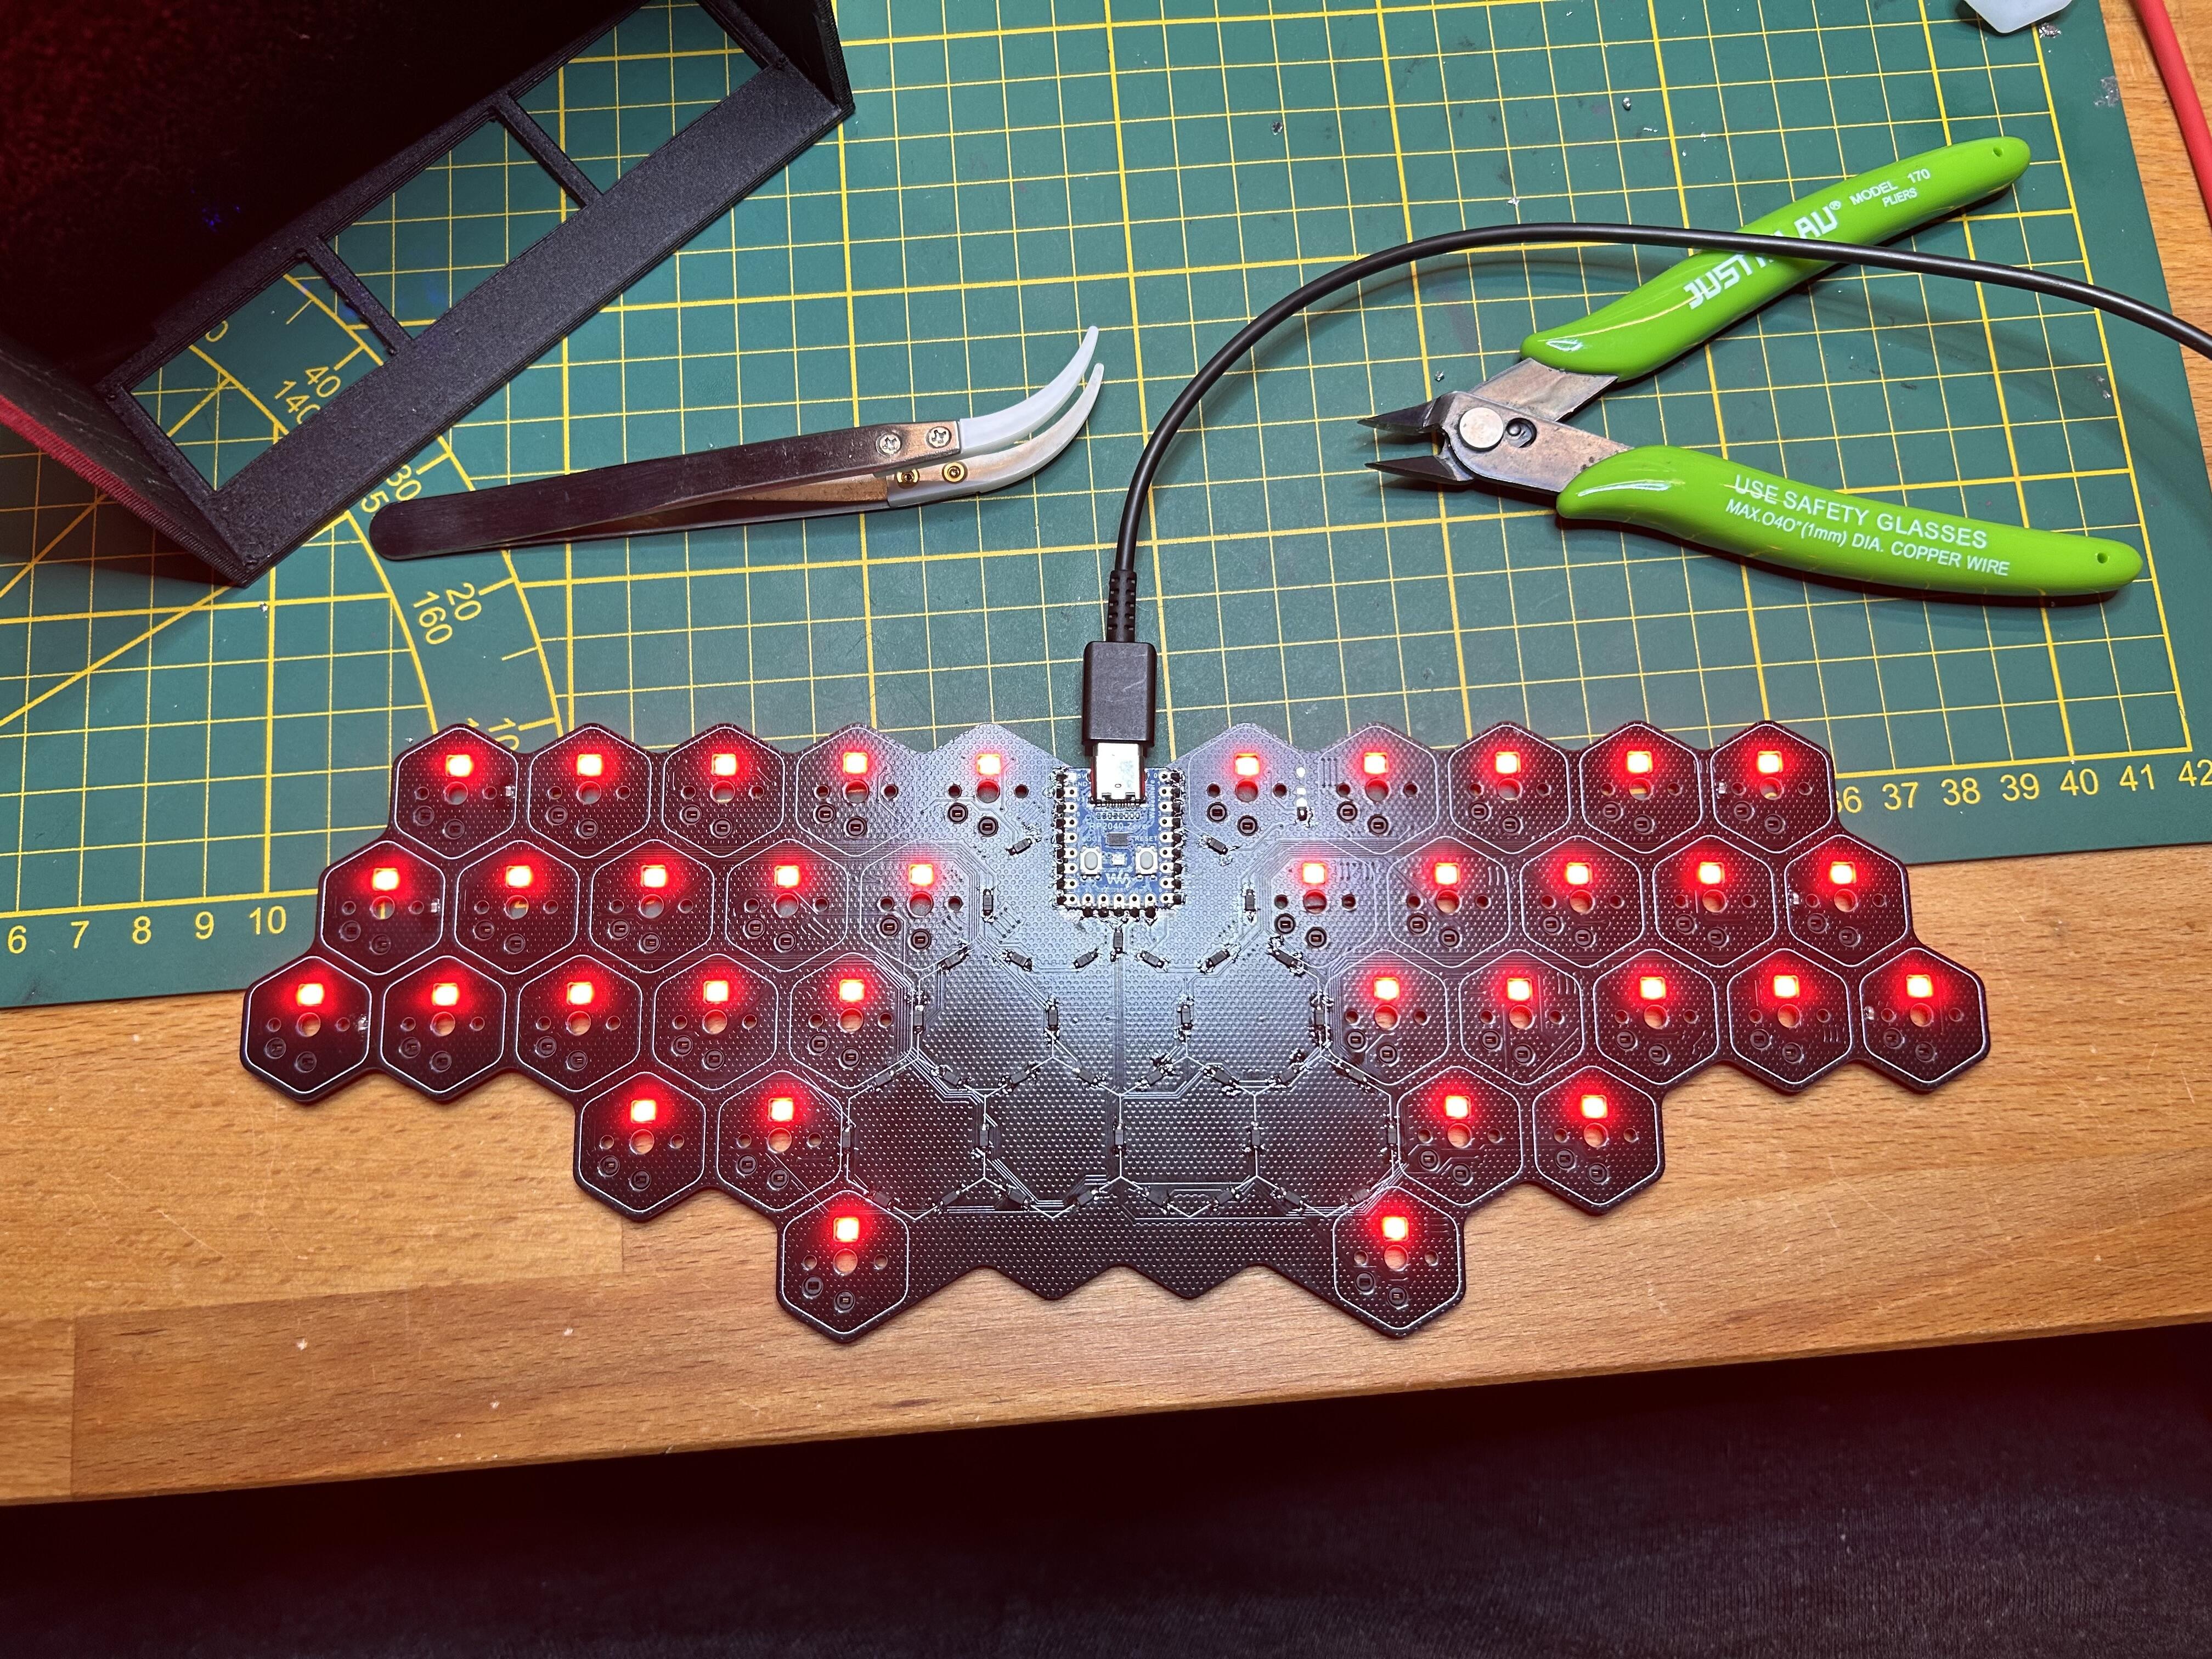
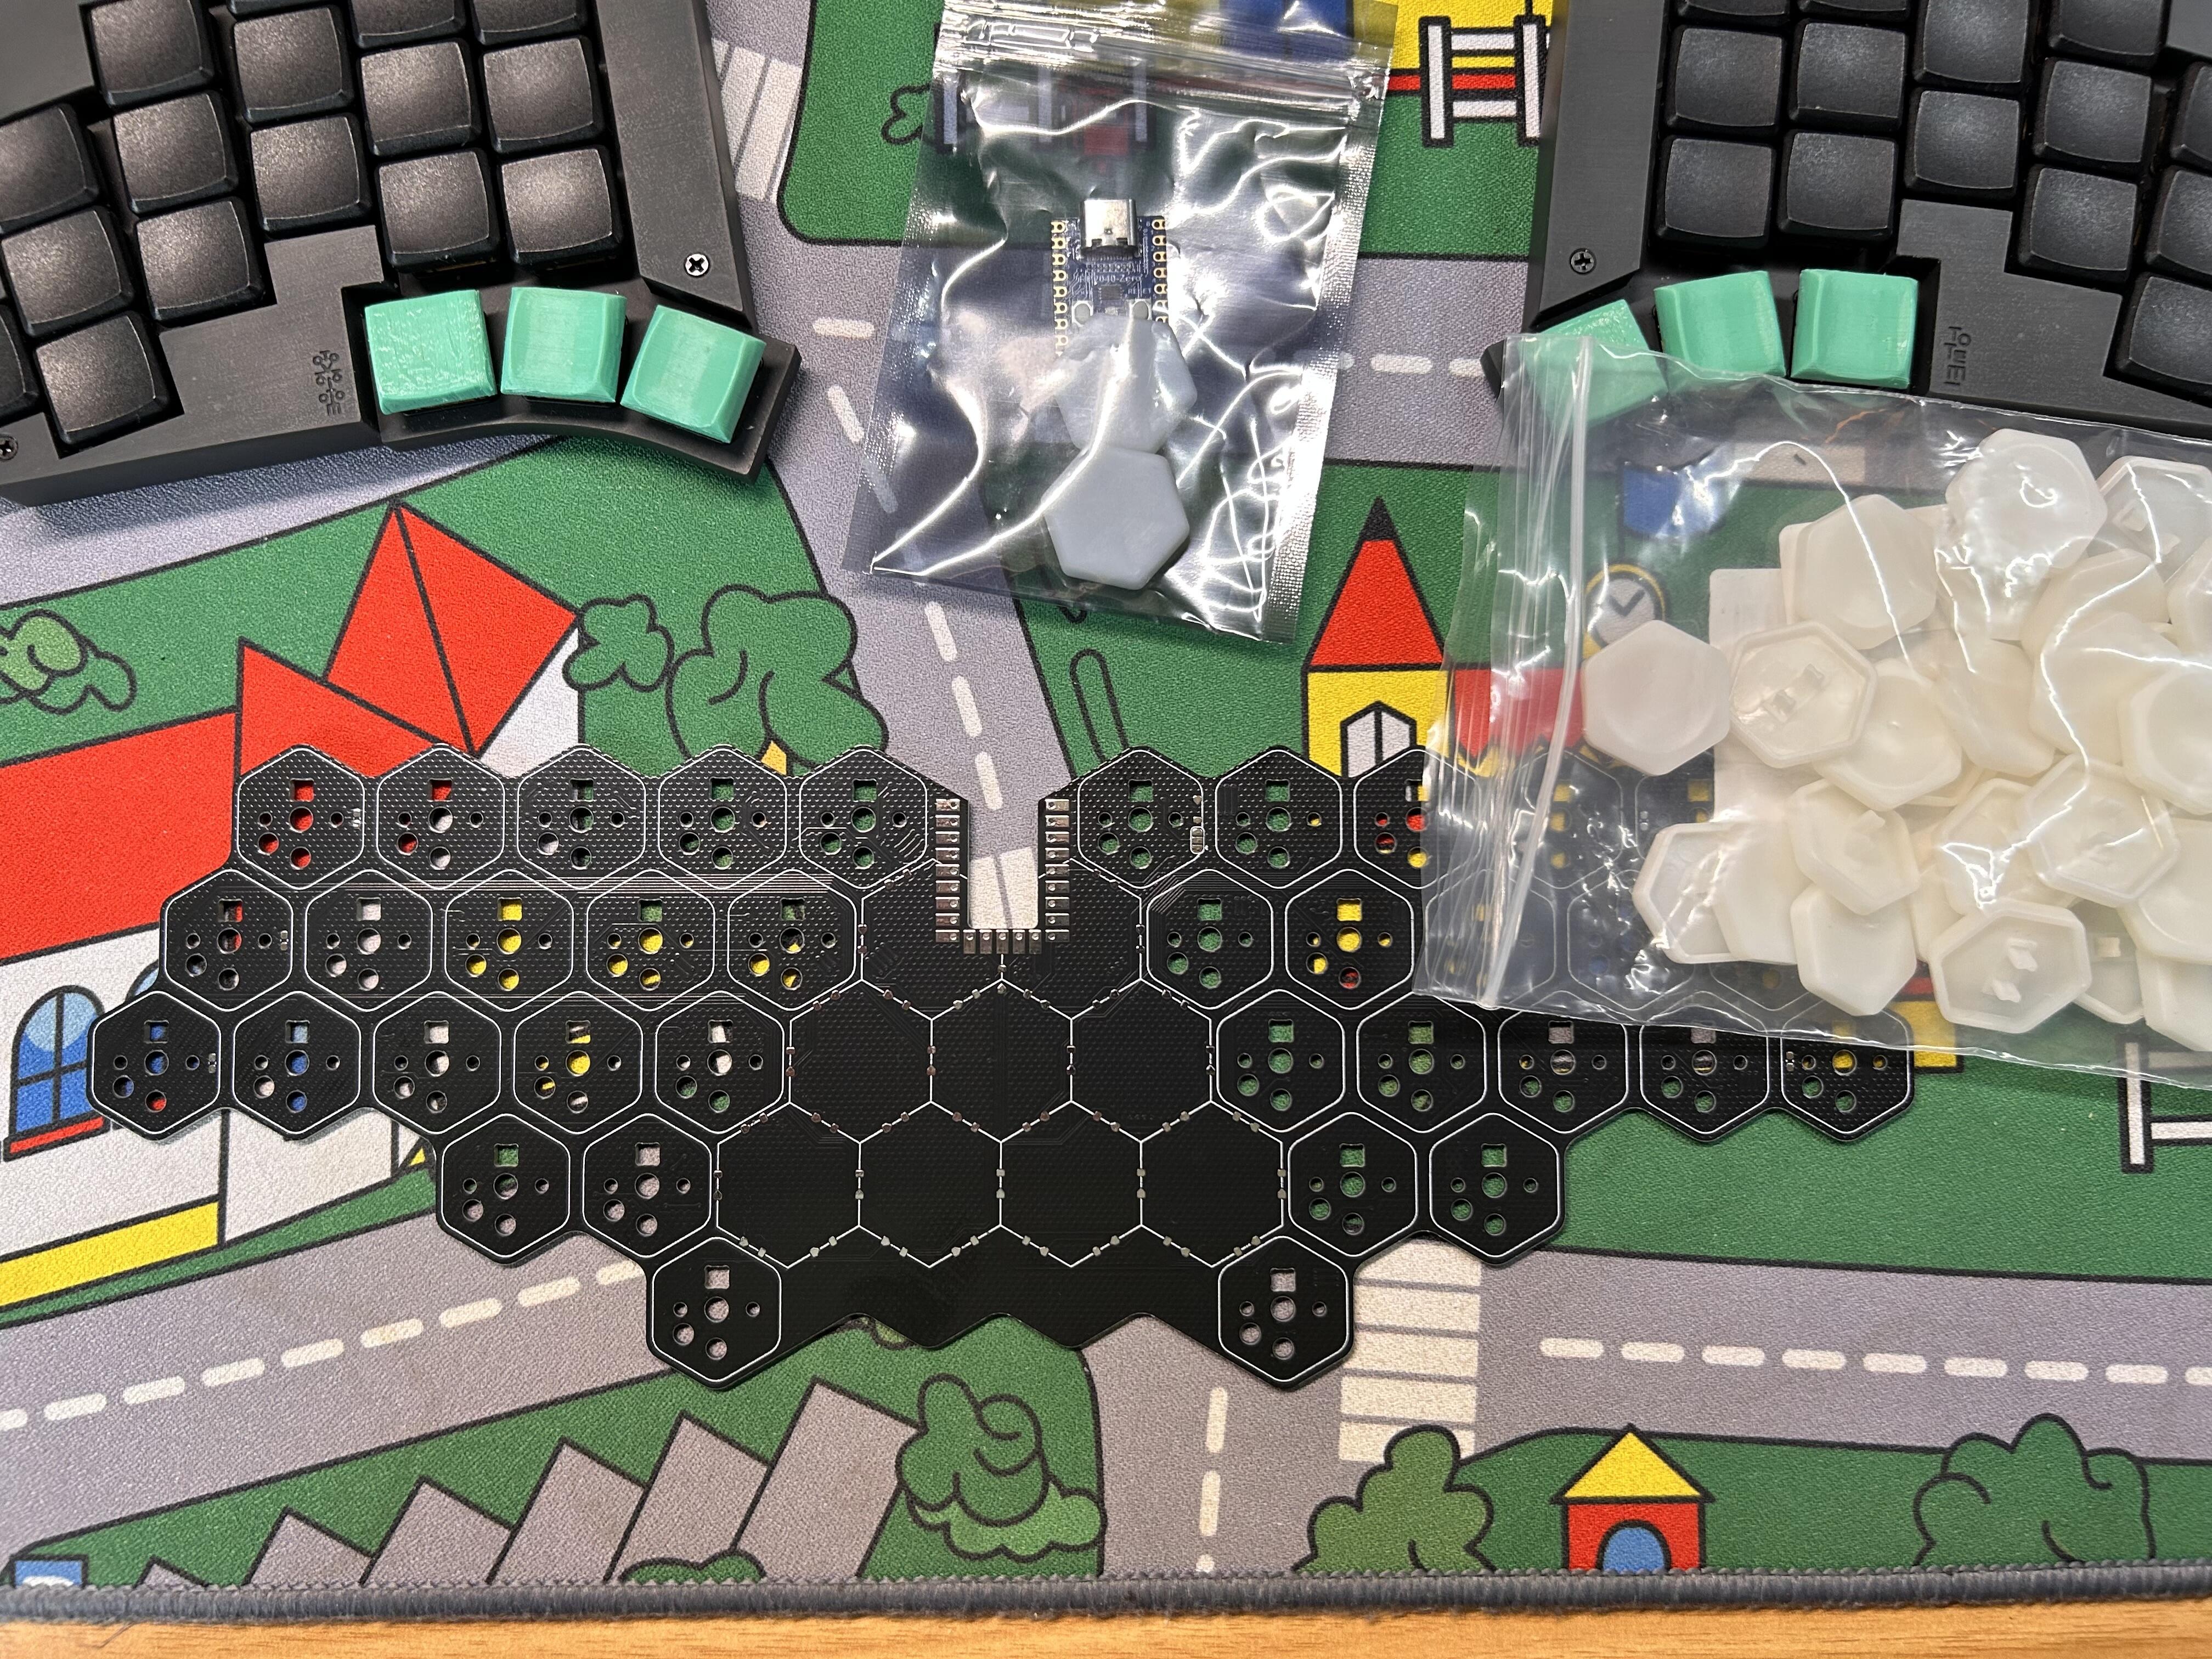
Built the Hexatana yesterday, now waiting for my new Chocs to be delivered. Very interesting board and interesting build

Actually yesterday, but I finally tried out the Geon stem trimmer & can confirm it is worth the $22. I was able to do batch of 126 MX Purples in like a half hr. You just need a lube station or something similar to hold the switches for the first cut. After that you can do it in your hands.
Run the trimmer like 3 or 4 times on the stem while rotating to make sure you hit each edge with a different side of the trimmer & your switches will be golden. Did a test fit with some unused GMK keys & they definitely are looser than stock clears, but still grip the cap well.
Does that make the stem too loose for stretched GMK caps? lol
Yes it does. I tried it with my stretched set of Skydolch & the caps fit pretty loosely after the trim.
Can’t wait to see the finished product! ![]()
Damn. I wish I could just try it out before buying lol. Too loose or just loose? I have a few GMK sets that are pretty stretched I think.
Any idea which stock switches are closest to the trimmed size?
Hard to say, I bet if you just ran the trimmer over the stem once it might split the middle. That’s just a guess though. As far as the fitment goes my Skydolch set is stretched pretty badly (it fell victim to the OG BOX Navies) & some caps fit loose but don’t fly off, some fly off. I hear you about trying before buying. Are you in the US? If you are I’d be willing to let you borrow mine if you wanted to.
One guess which Enter key I lasered before realizing that a jig and template made for XDA and DSA has to be tweaked for Cherry.
The numpad one would be my guess?
The numpad one would be my guess?
Yup. The goal was for them to be roughly centered on the vertical. I could tell the base footprint wasn’t quite the same, and I knew I needed to get the typing surface parallel to the laser, but had an absolute brain fart that centering on the template would result in it going on a couple of mm low.
I wasn’t’ smart enough to realize what I was about to do, but at least I was smart enough to start with the keycap I can replace later without buying another set of blanks. The 1.75u Enter (nee capslock) came out good enough, and I may or may not redo the little 1u numpad enter. The legends themselves came out decently dark and crisp.
Yeah I agree the legends came out great for sure! Even the the legend placement on that 1u isn’t so bad IMO, although I get it. When you want it a certain way & it comes out different than you had planned a redo is necessary.
Both the DIY and the “real” keycaps are just a bit more saturated than in that photo, too.
As for re-doing, we’ll see. One-off’s like this only take me about 20 minutes to set up and zap once I have the legend done, but I may live with it for a bit first. Strictly speaking, there are still a handful of mislabeled caps, and I’m not sure the southpaw bug is going to bite me with any ferocity, so it’s not super urgent. Still, quirky as it is, I’m glad to have made one.
Hmm interesting.
Are you in CO? lol otherwise, I may just buy it next time I order from DK. Might as well, with all I’ve spent on this hobby already…
I’m in PA, I would be cool with mailing it but yeah I hear you. About the tool I will say if you got a bunch of switches that need trimmed &/or plan on using MX clears/purples on future builds it is a very nice QOL upgrade IME. Before I used either a razor to shave off the nubbins, then more recently metal artisan caps, but both of those methods a literal pain to do & not as precise as the tool. It’s kinda pricey, but was worth it IMO.