Doesn’t help much with the wait time I guess, but price should be better. ![]()
1 Like
Got the laser going on my travelboard plates. I was able to trim down its caboose just a bit before moving to fabrication.
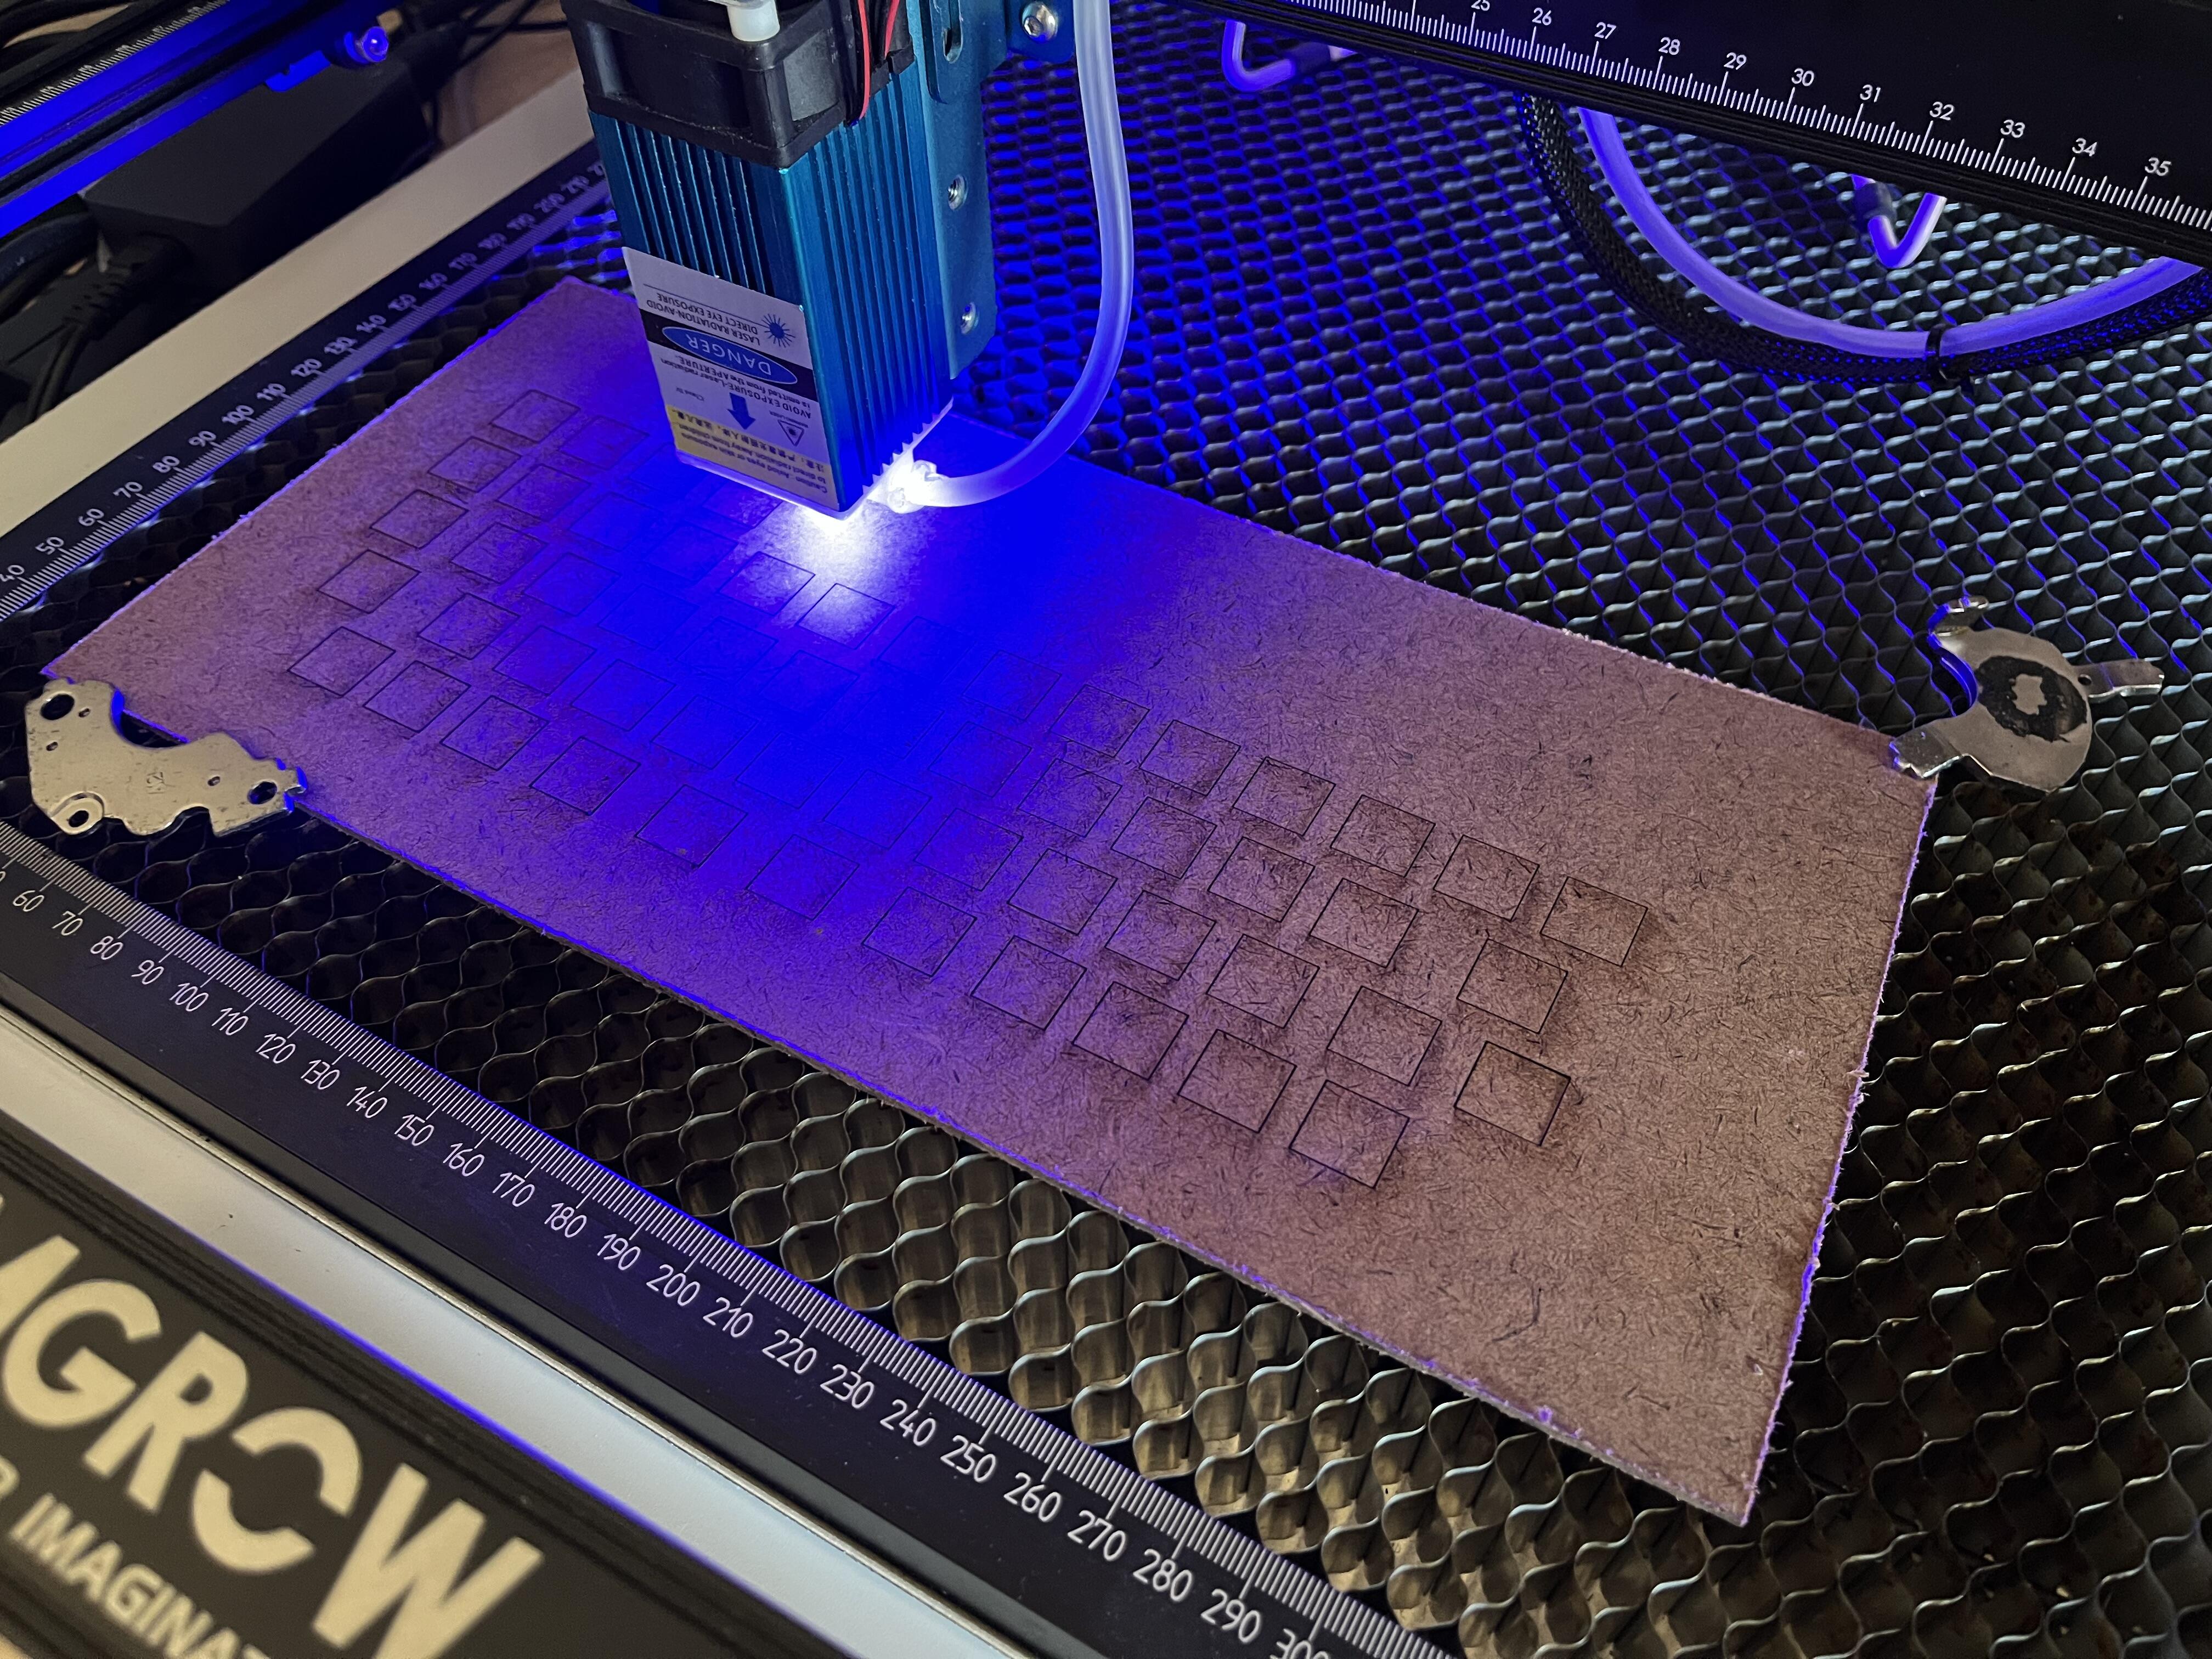
6 Likes


Added a bunch of SA legends to the Keyboard Render Kit’s legend repository this morning:
There’s now upper-left justified alpha legends to accommodate sublegends, Cadet and keypunch alpha legends, ASCII sublegends, and alpha monolegends available to use. (@Rob27shred thanks for the idea to draw up SA Cadet legends; that spawned this whole endeavor!)
Next up: make and submit some SA international legends.
EDIT: NorDe has been added! And SA icon modifiers are pending acceptance.
6 Likes
Current sound of my Boston.
I am starting to like the sound, though I think it needs something underneath the PCB. I tried poron but did not like it, spongier stuff on order. Other than polyfill (not sure about flammability/electrical conduction), what else could I put in there?
3 Likes
Just seeing this made me get my roller linear build out. I forgot how much I like these switches. So unique to type on. I’m thinking about buying another batch so that I can try them out in other boards. They’re currently soldered into this one.
What do you think of them on the ikki68? I know you agreed they were stable, but do they feel unique on that board? Maybe I just struck gold with my particular setup?
2 Likes
I like them a lot in the Ikki68 - easily my favorite switch to use in it so far. The board really does need extra-stable switches to avoid scraping, but if I’d used these first I don’t think I’d even know that.
I do think their stability is the most unique thing about them - maybe the fact that they are stable and smooth regardless of how they are pressed. Like, Aqua Kings (the first switches I tried in an Ikki68) are stable as hell - until you hit them far off-center - then they bind. But Rollers? They just keep on rollin’, baby.
Of my other builds it reminds me the most of my Neo with Hyacinth V2s, and really only in two specific ways: the smooth stability and the crisp clacks of bottom-out. Not the same, but probably more like each-other than any other switches I’ve built with. Biggest difference between the two builds probably centers around the chonky, high bezel of the Ikki68 encouraging a less lazy hand position.
This is the third Ikki68 I’ve built, but the first time I’ve been happy on the first attempt. The first one I probably re-built four times (and sanded the hell out of the keycaps to avoid scraping and knocking with the relatively loose Boba U4s) before I begrudgingly called it acceptable and sent it along to its owner. I was relieved when they loved it but always knew it could be better in theory.
I think I tried three different stab brands on the second one and I still don’t like it. Part of the problem there is the 1.2mm flex-cut PCB being so flexible it chatters! Chatters like double-inputs… and instead of just being comfortable it’s… just underwhelming instead? While I haven’t given up on it totally, it’s not there…
But this one? Chef’s kiss from the get-go, and I credit both the Rollers and the Maiz stabs. Only thing I might change is adding a little foam under the space bar to dampen its own resonance on top-out. My intention was mainly to try the Rollers, but I think I like the pairing enough to call the build a done deal.
8 Likes
It’s denser than poron for sure, so you may not like the sound, but silicone pour would give the board a lot of mass and sound dampening. I’m going to stop repeating myself now.
Could try something like cork?
2 Likes
I’ve seen you post on silicone before and I have thought about it. They way this case is designed, I’m not sure how I would achieve it, same goes for cork. When I tear this board back down, I’ll post on the construction and assembly with some pics. It’s a bit different.
I found this in the Jungle:
My thinking is that I can just cut it down to size and stuff inside without removing PCB/plate or separating the case halves.
1 Like

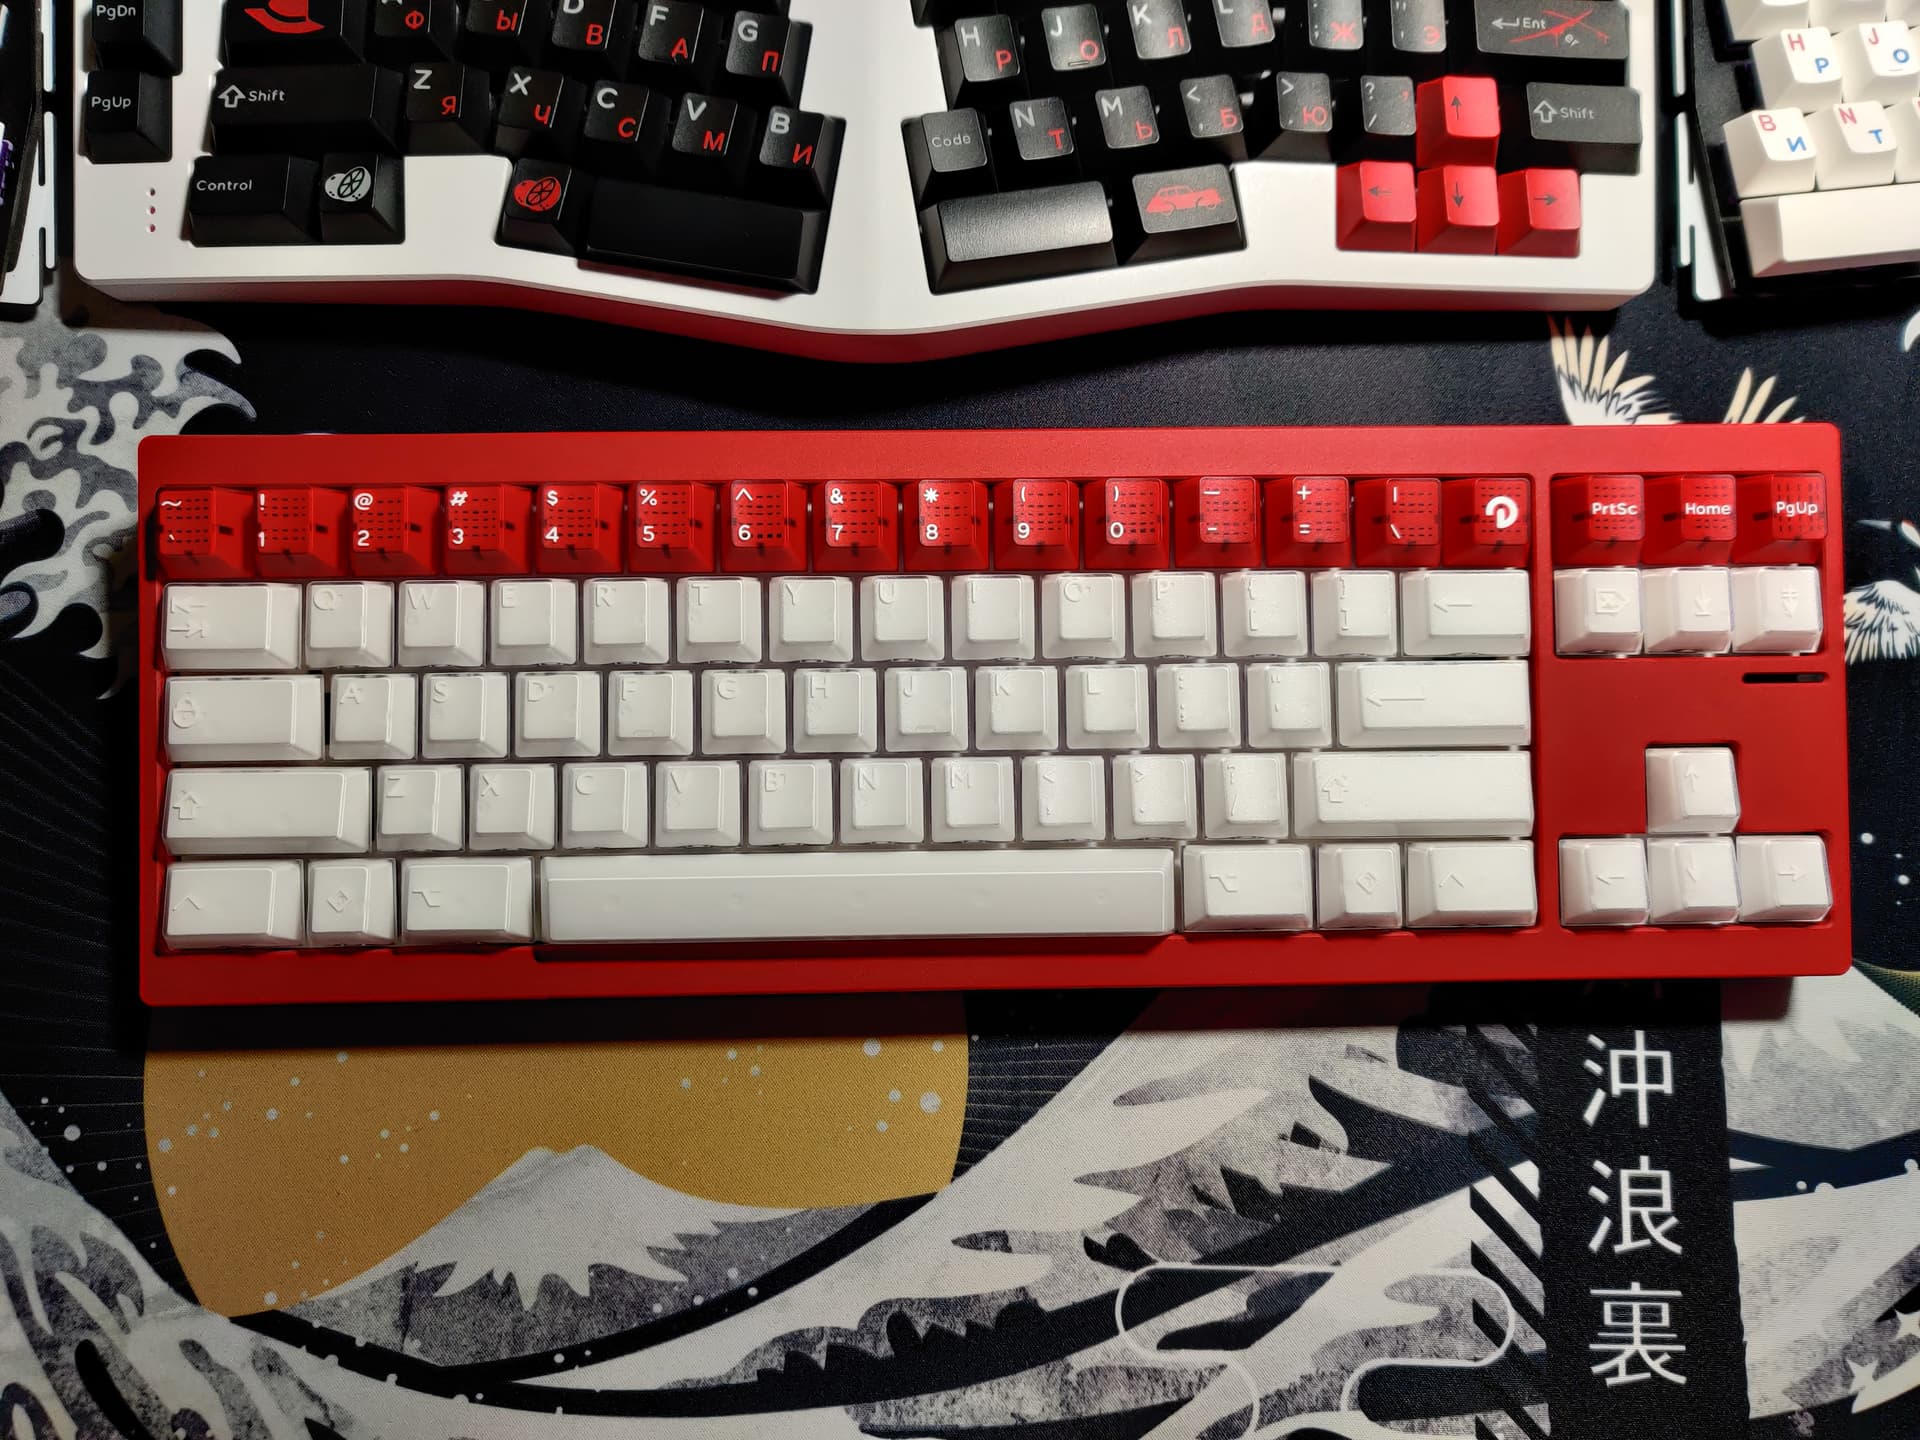
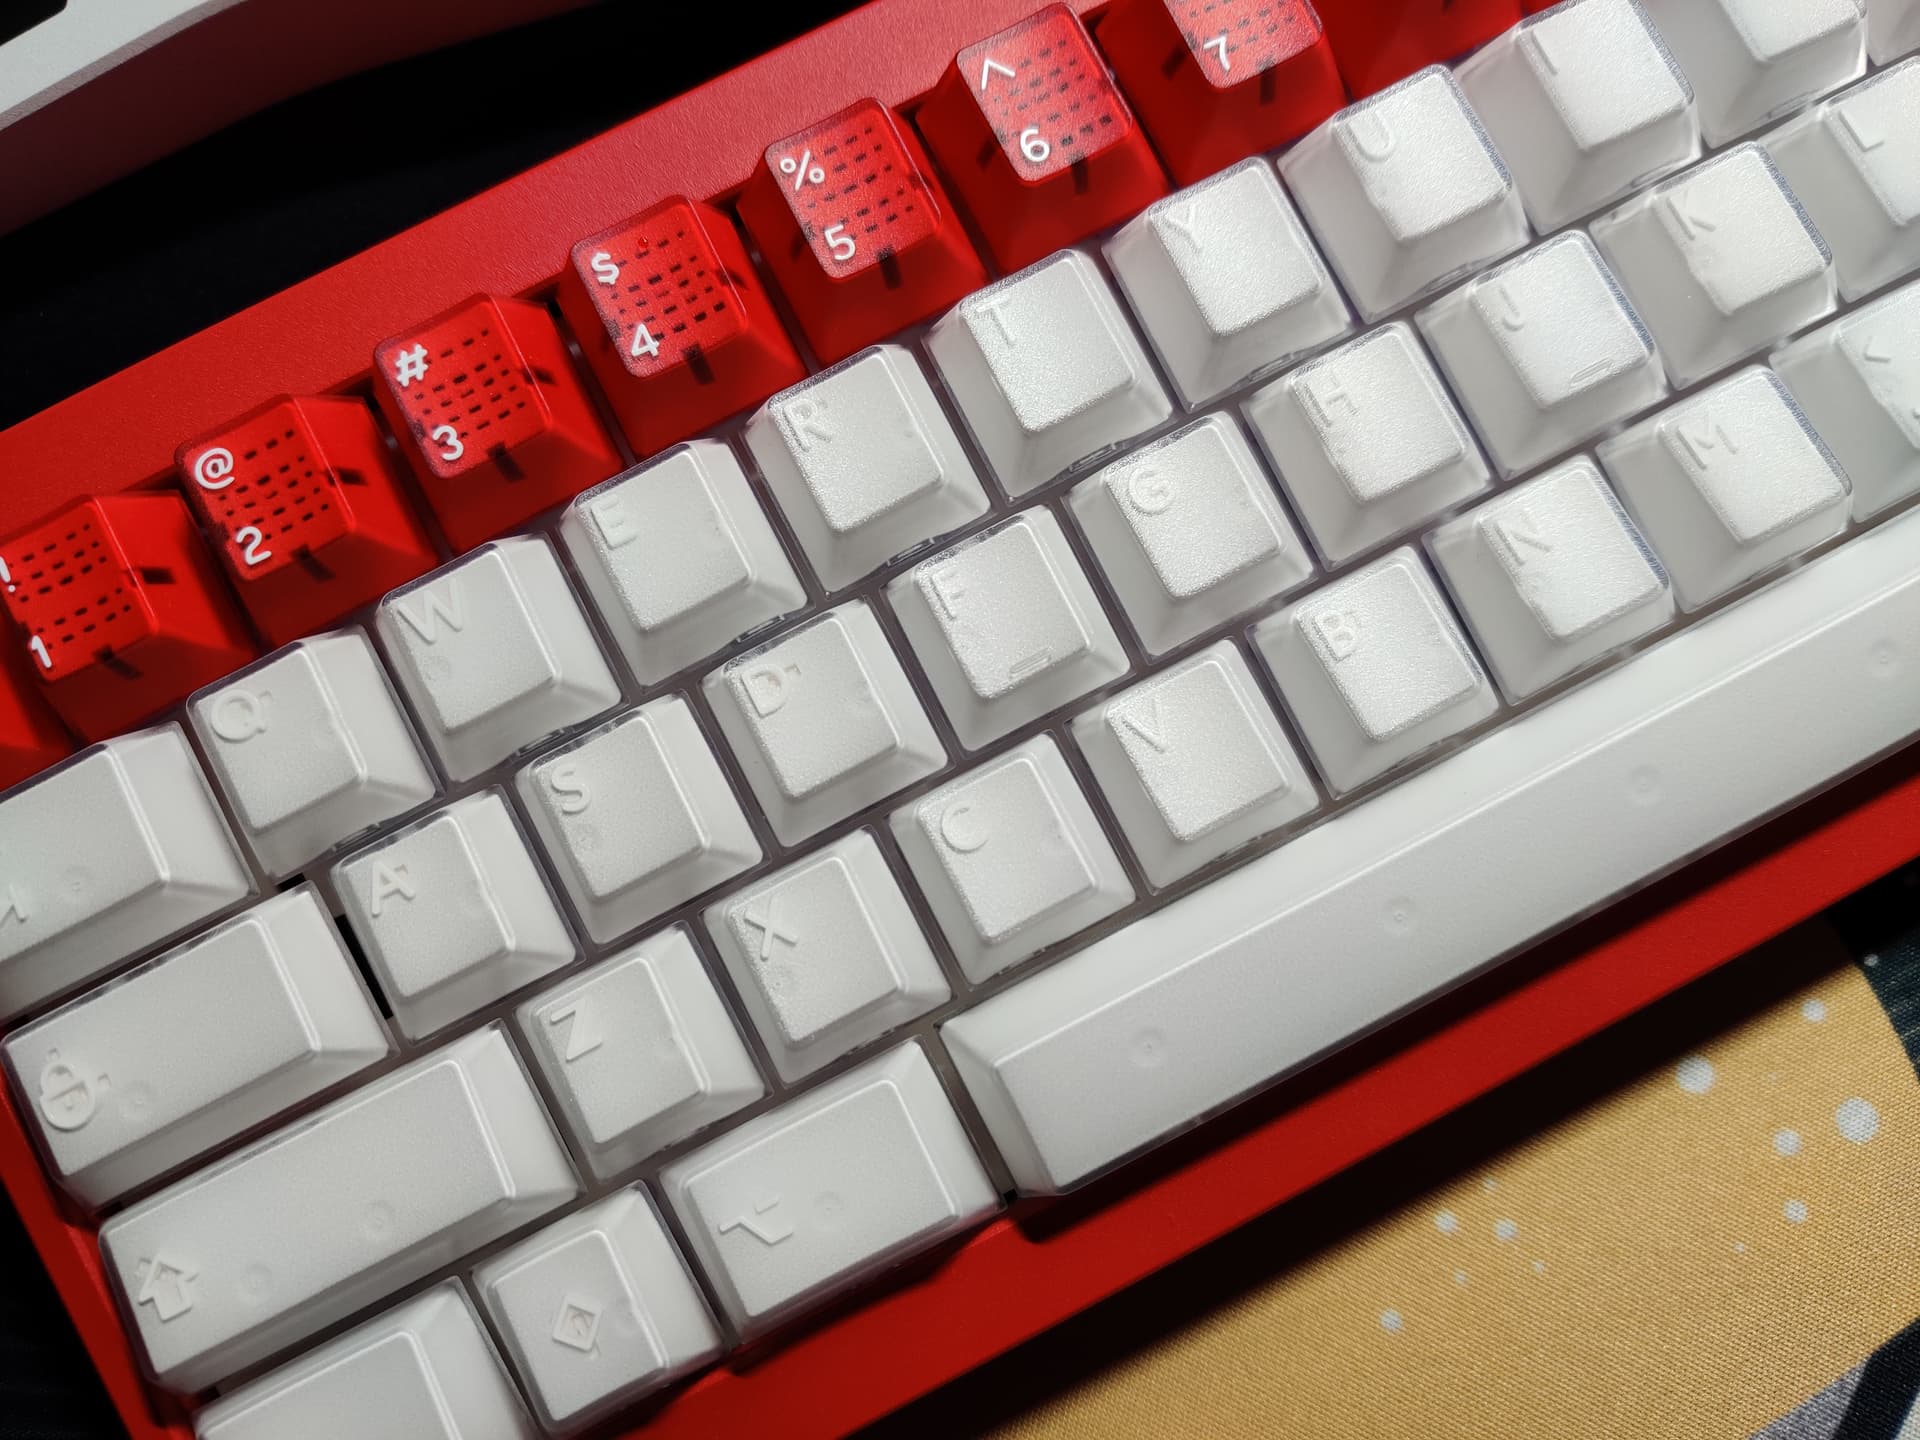

Salvation Copper Slag
- Wilba Avocado PCB
- Stock FR4 plate & all leaves, no foams
- TTC Matrix 01 Tactiles
- KKB Signet
- Maiz clip-in stabs

I’m in love
Built it on the couch, TV-tray workbench
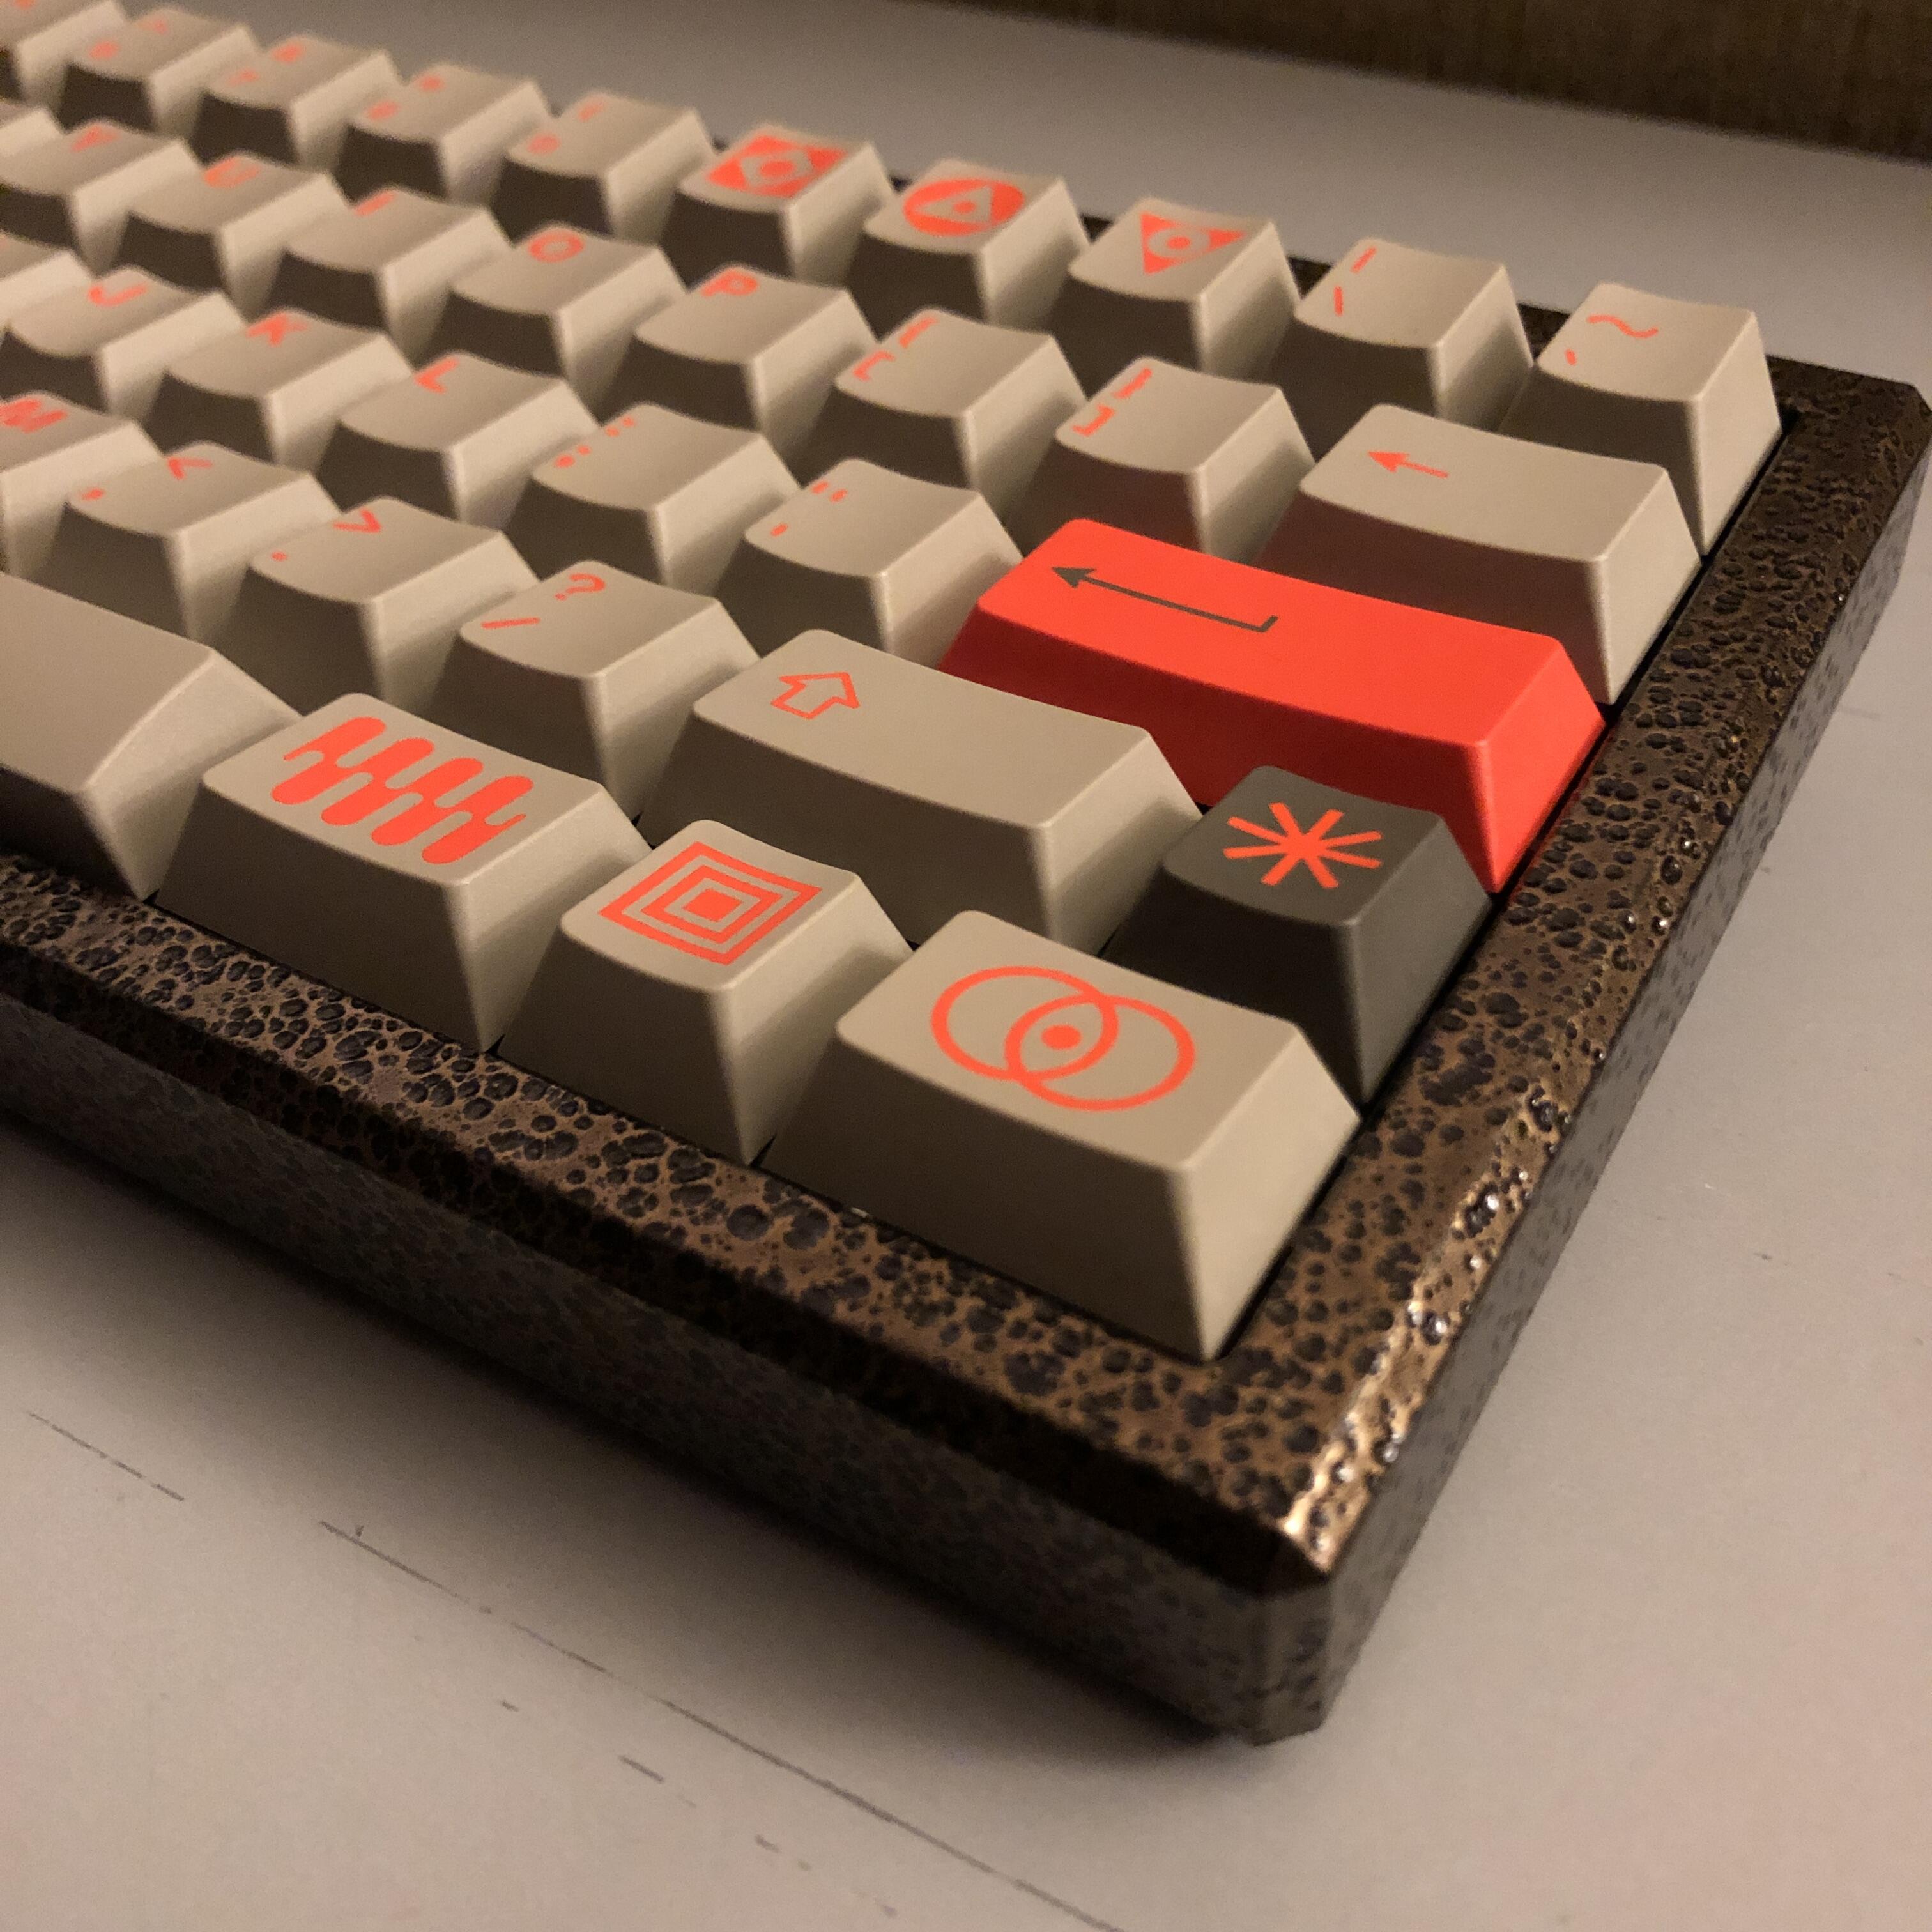
My first split backspace layout, I love the aesthetics so much I’m willing to try something new there
9 Likes
Oh man, super excited to see more of this! My Boston is hotswap because my soldering skills are not up to par (osteoarthritis and carpal tunnel). Will you be doing per-key LEDs? What color is the case?
1 Like
Im very glad I don’t ![]() in that case I would charge him extra for time/nerves used. My personal Boston is on hold for now until I decided what switches to get.
in that case I would charge him extra for time/nerves used. My personal Boston is on hold for now until I decided what switches to get.
Case is very boring in this case, just plain white, no map (3DP case by Technofrikus). Waiting on Keycaps from Yuzu currently, love those guys already. Asked for extra keys to be able to build a Boston with caps from them and they just gone ahead and added a dedicated option for it.
3 Likes
Was some time ago I last soldered Mill Max, thanks to my almost non existent usage my first supply still lasts ![]()
5 Likes
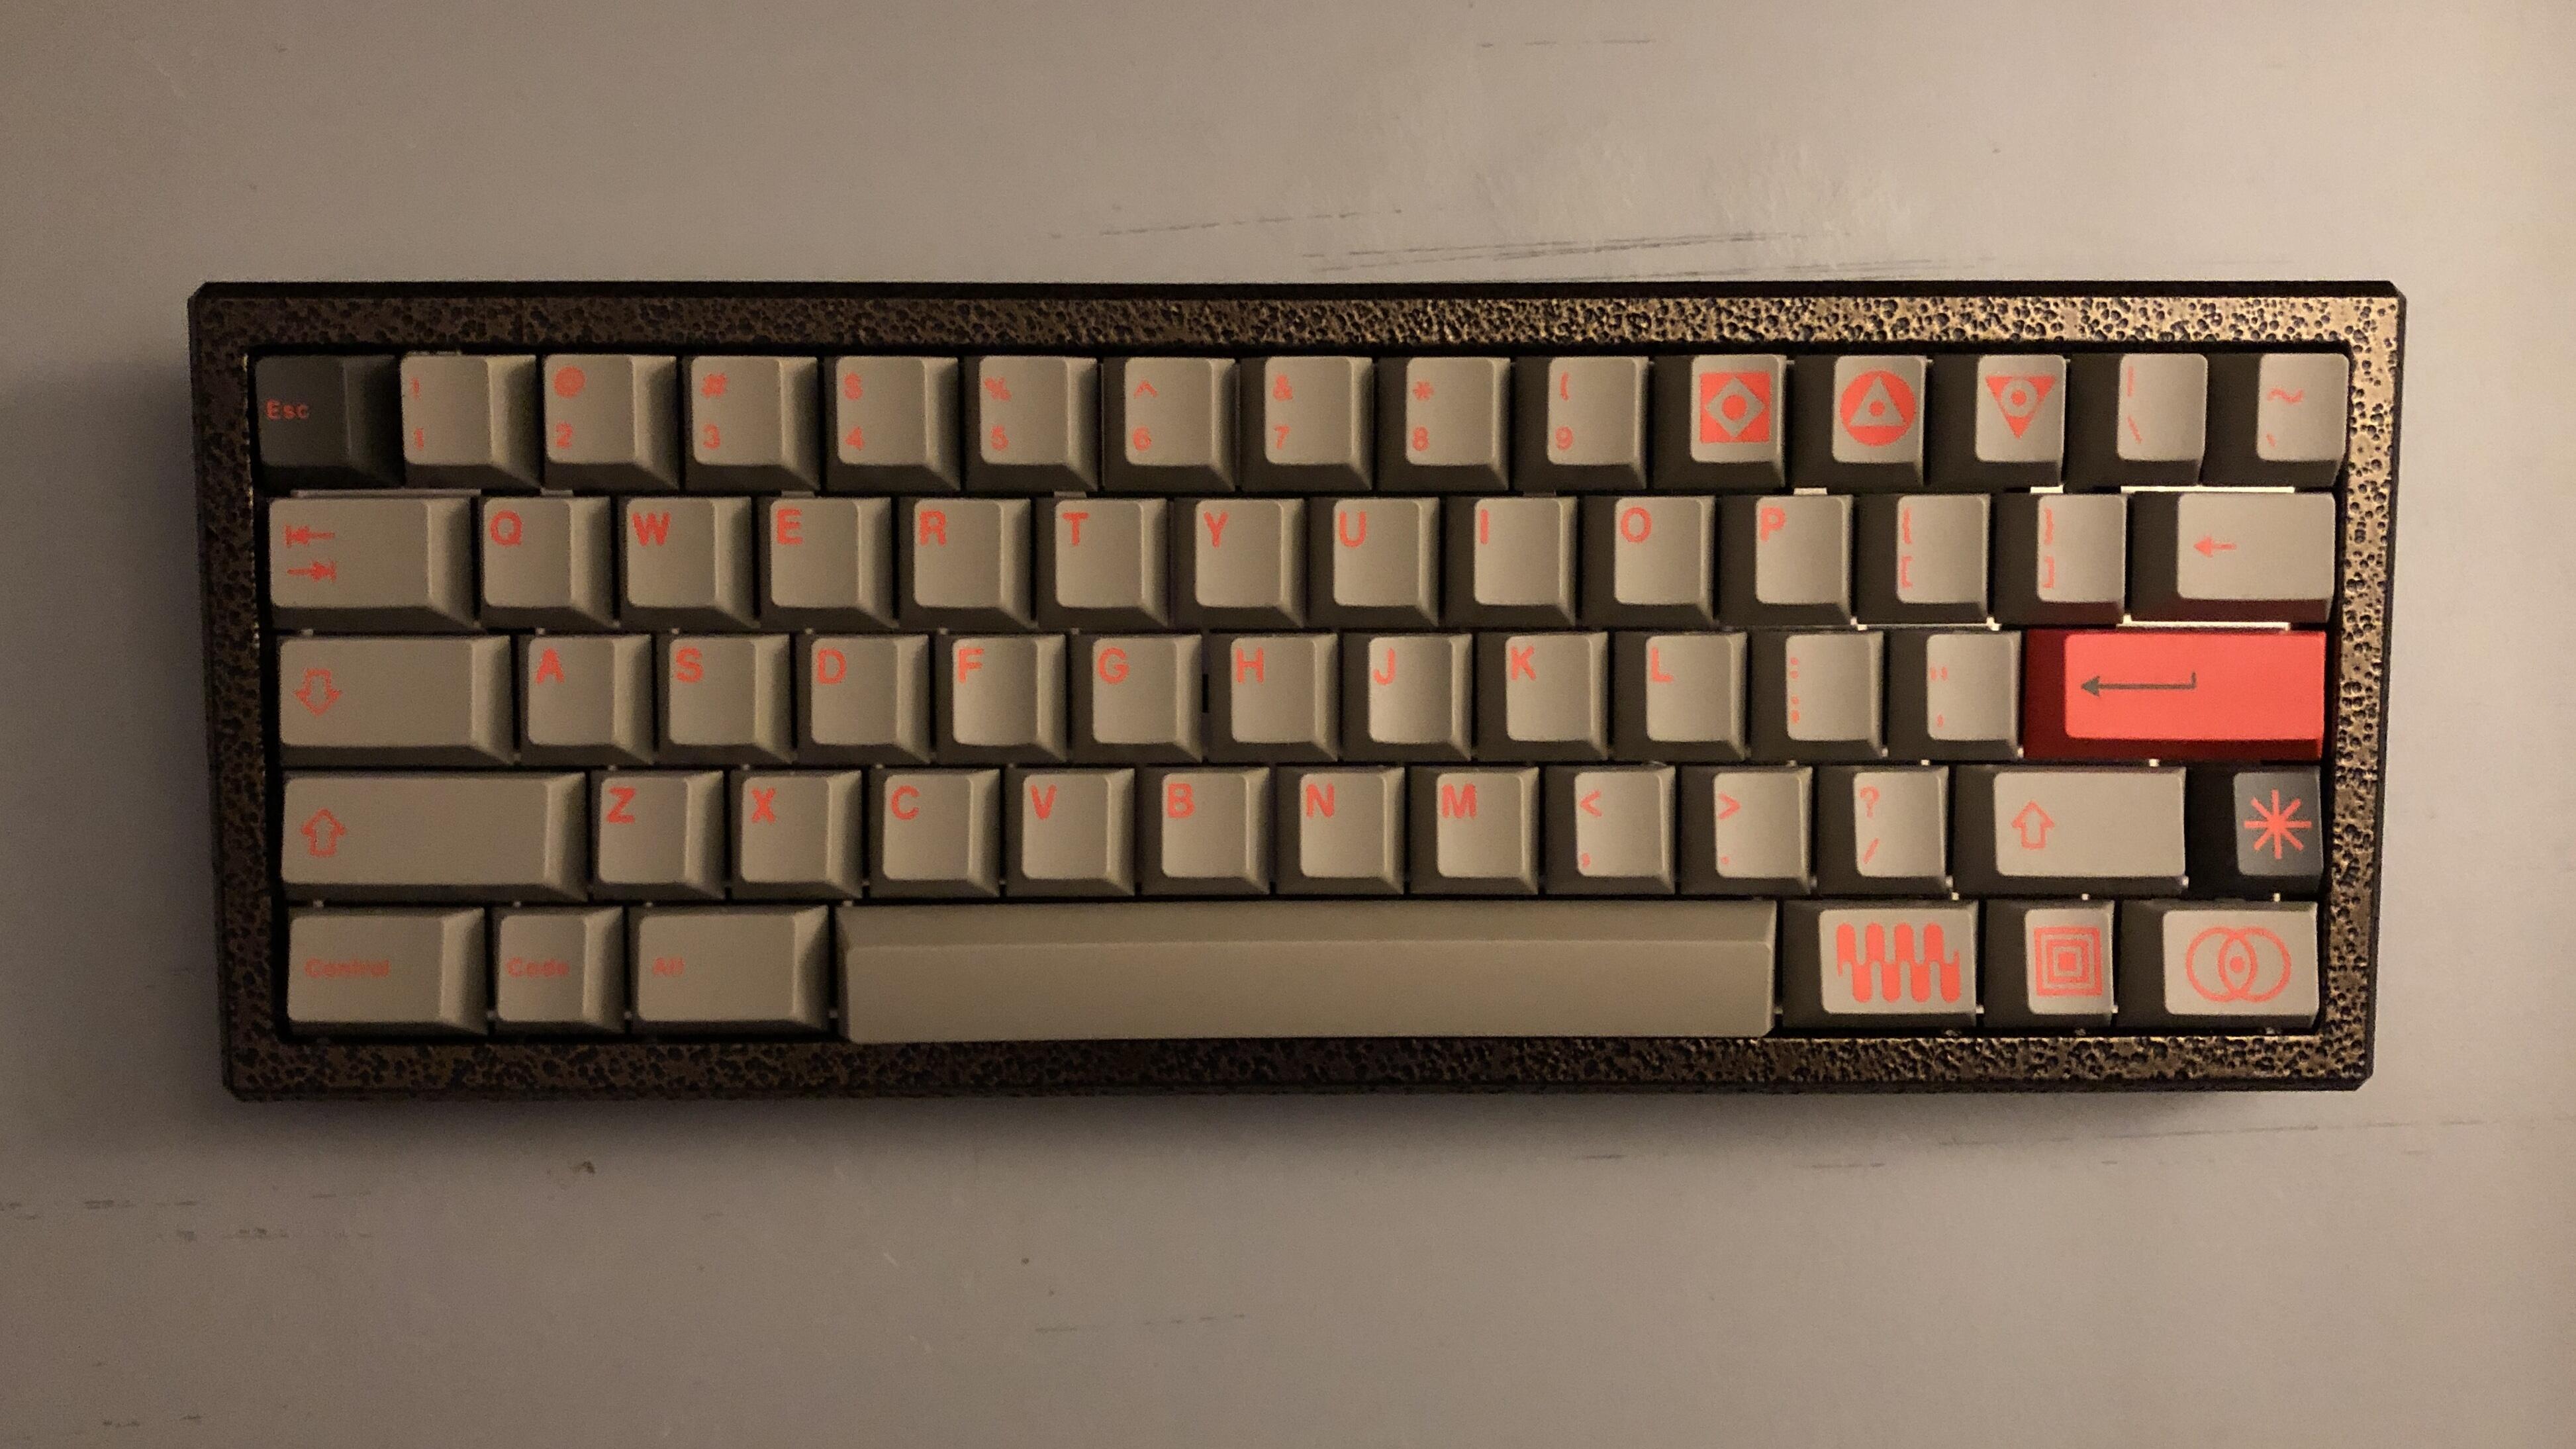
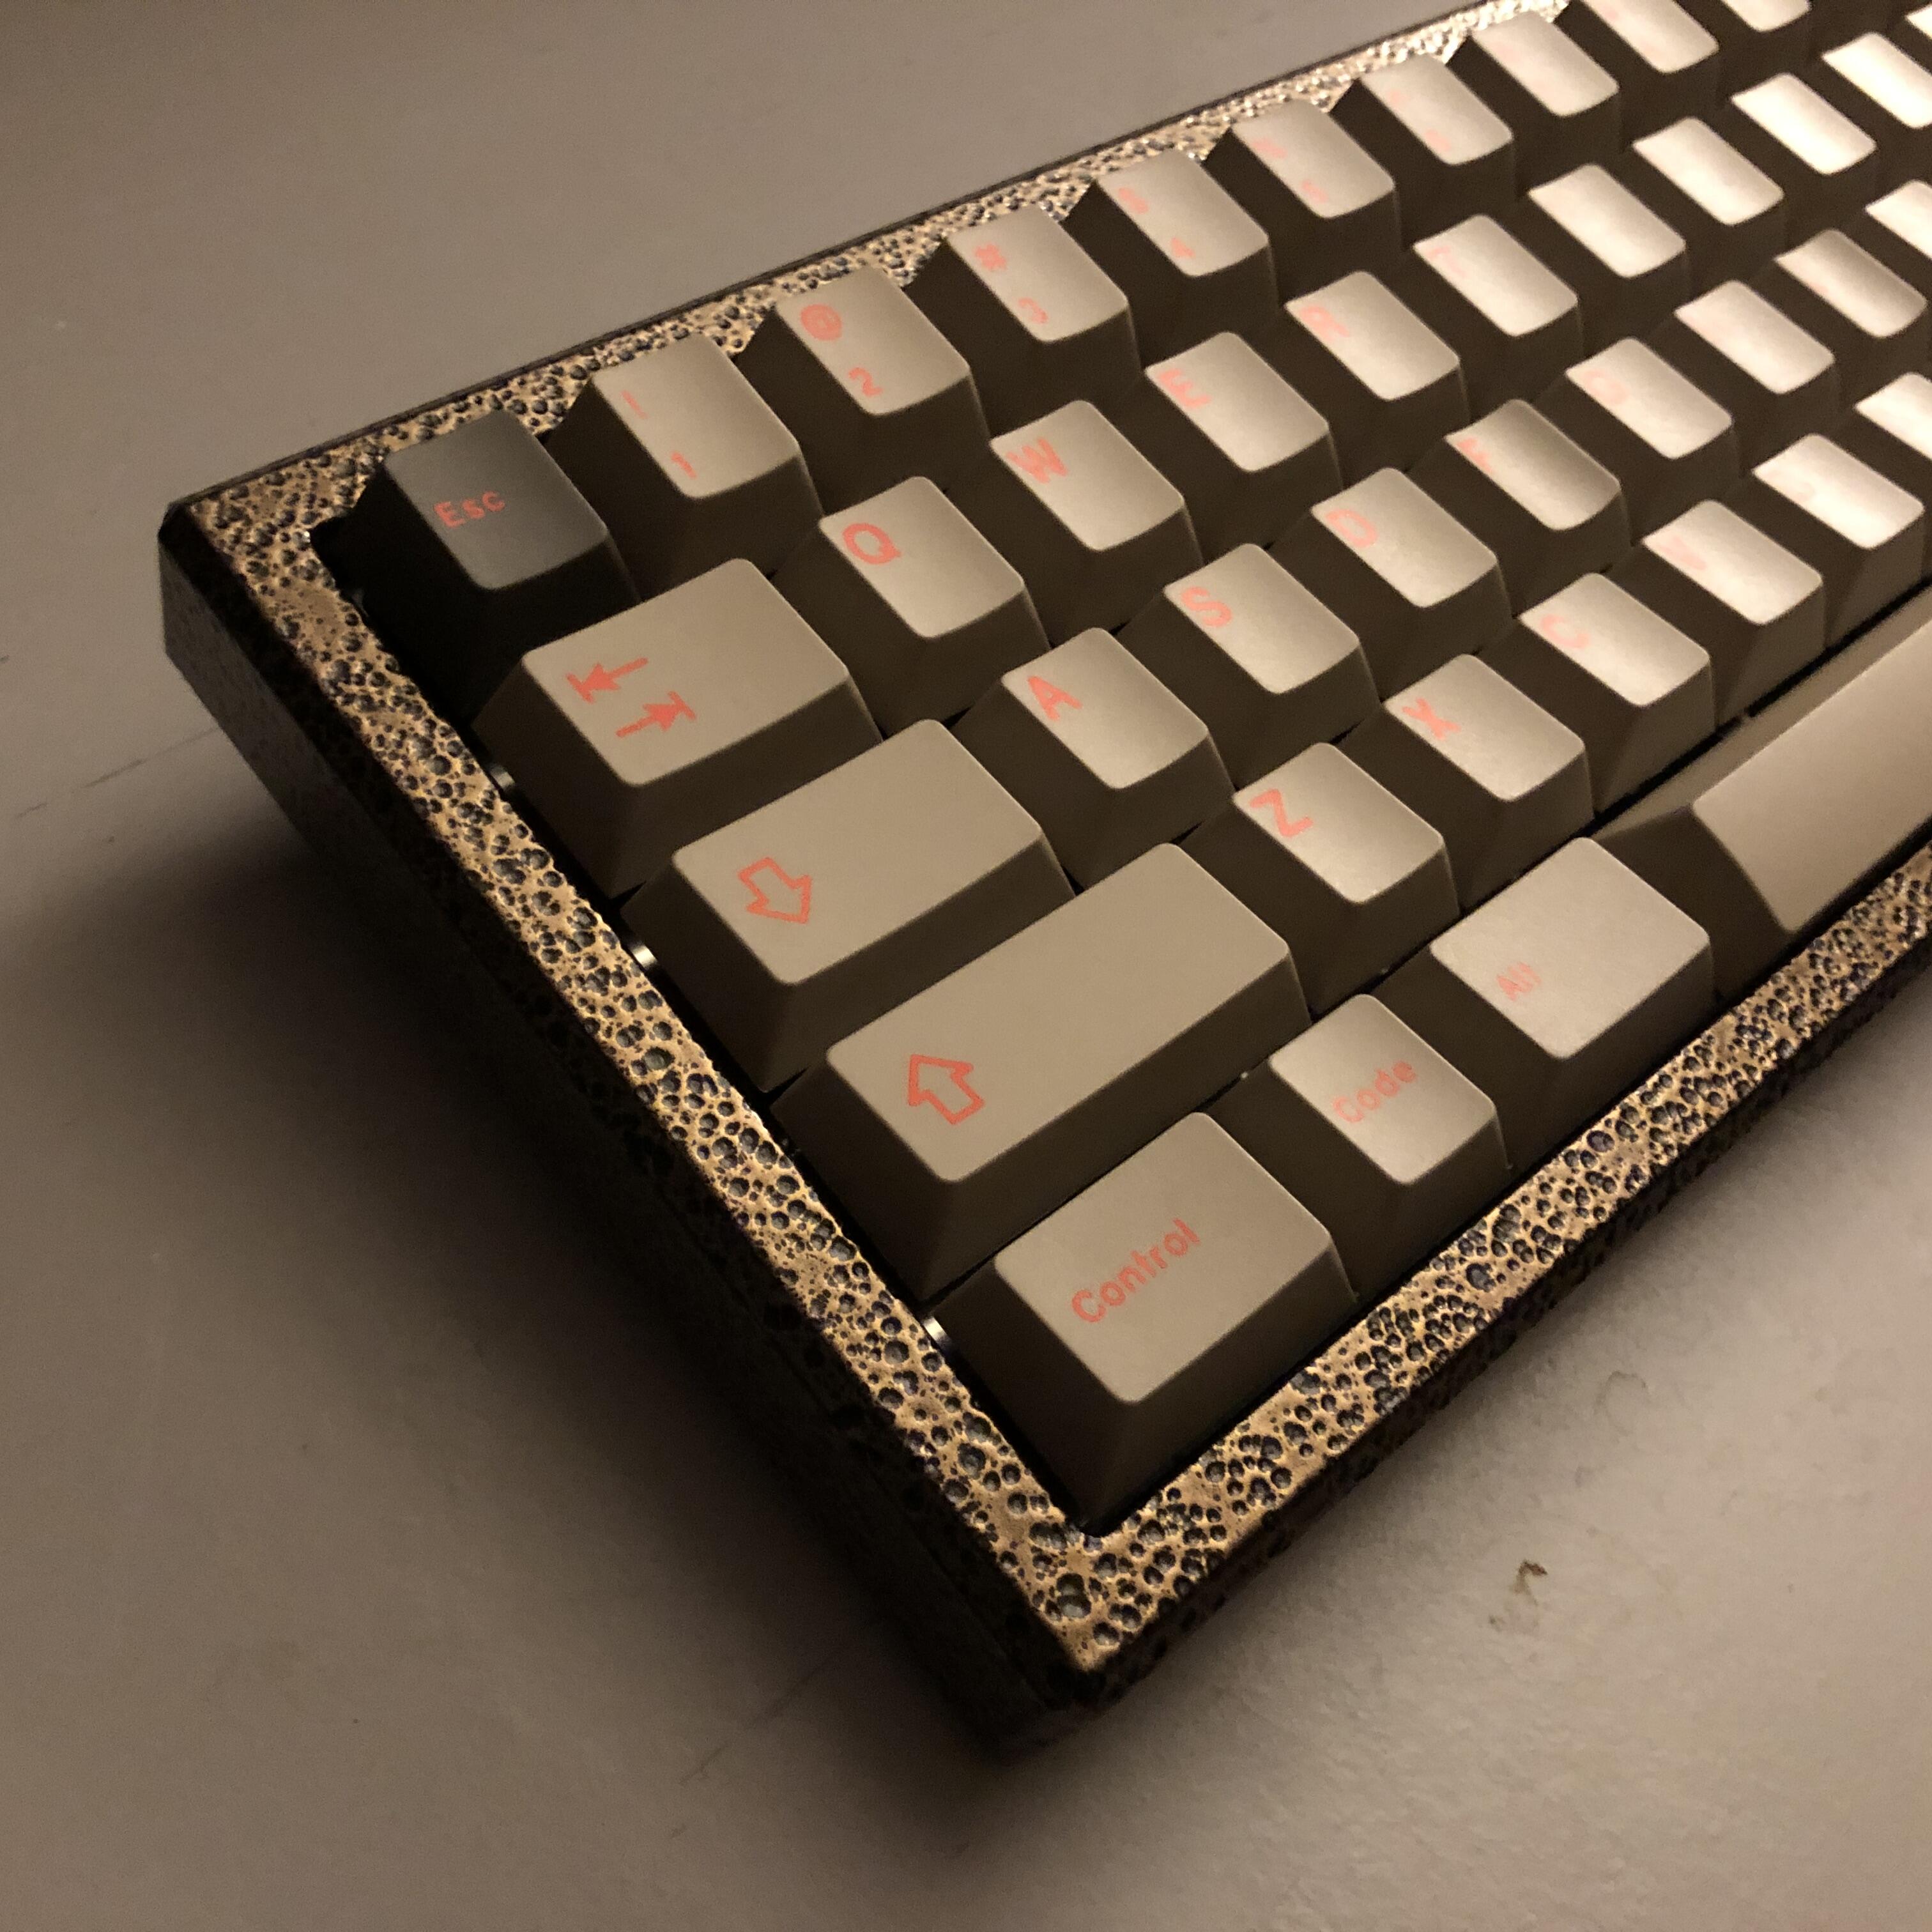
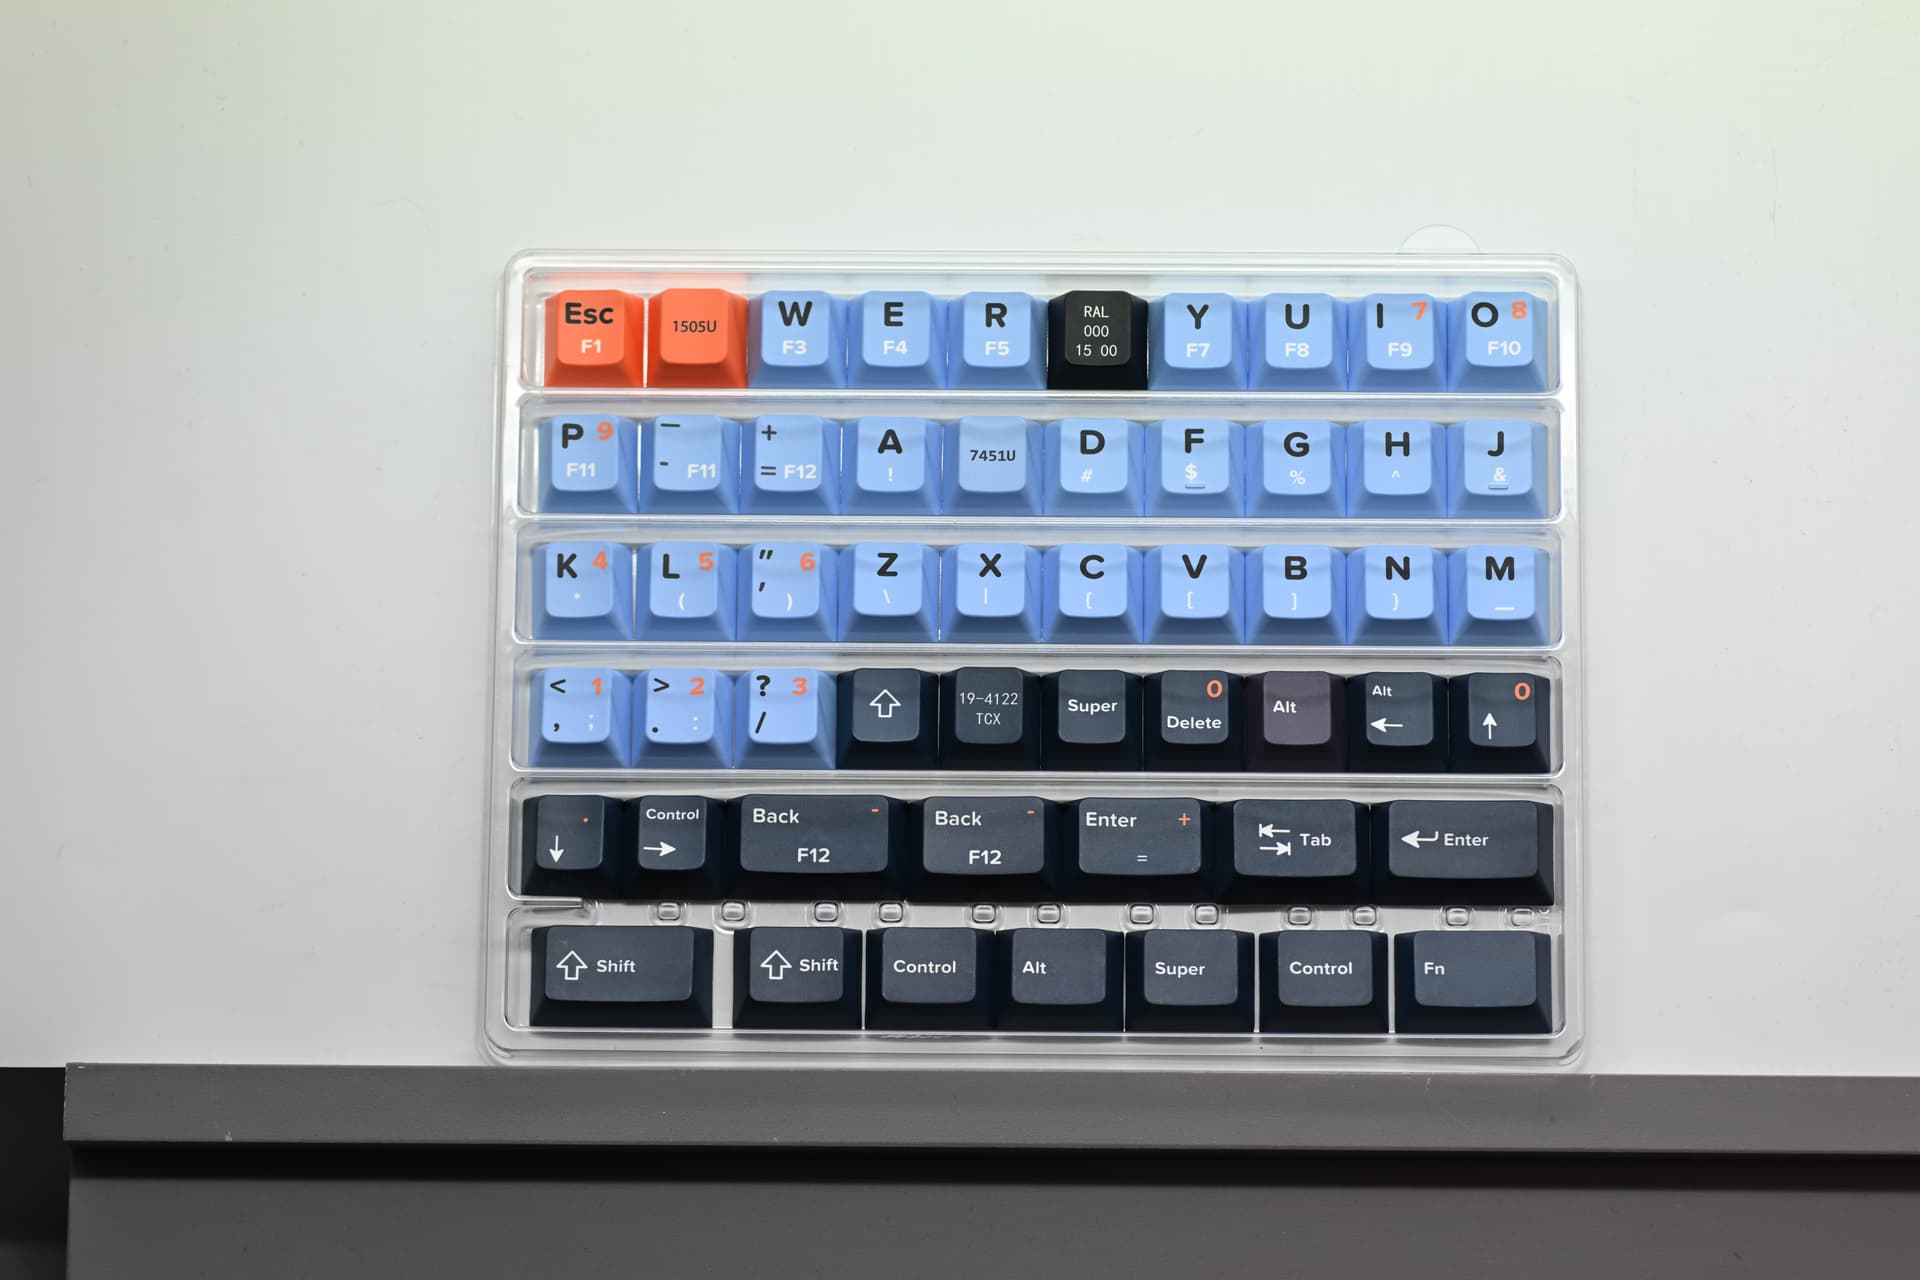
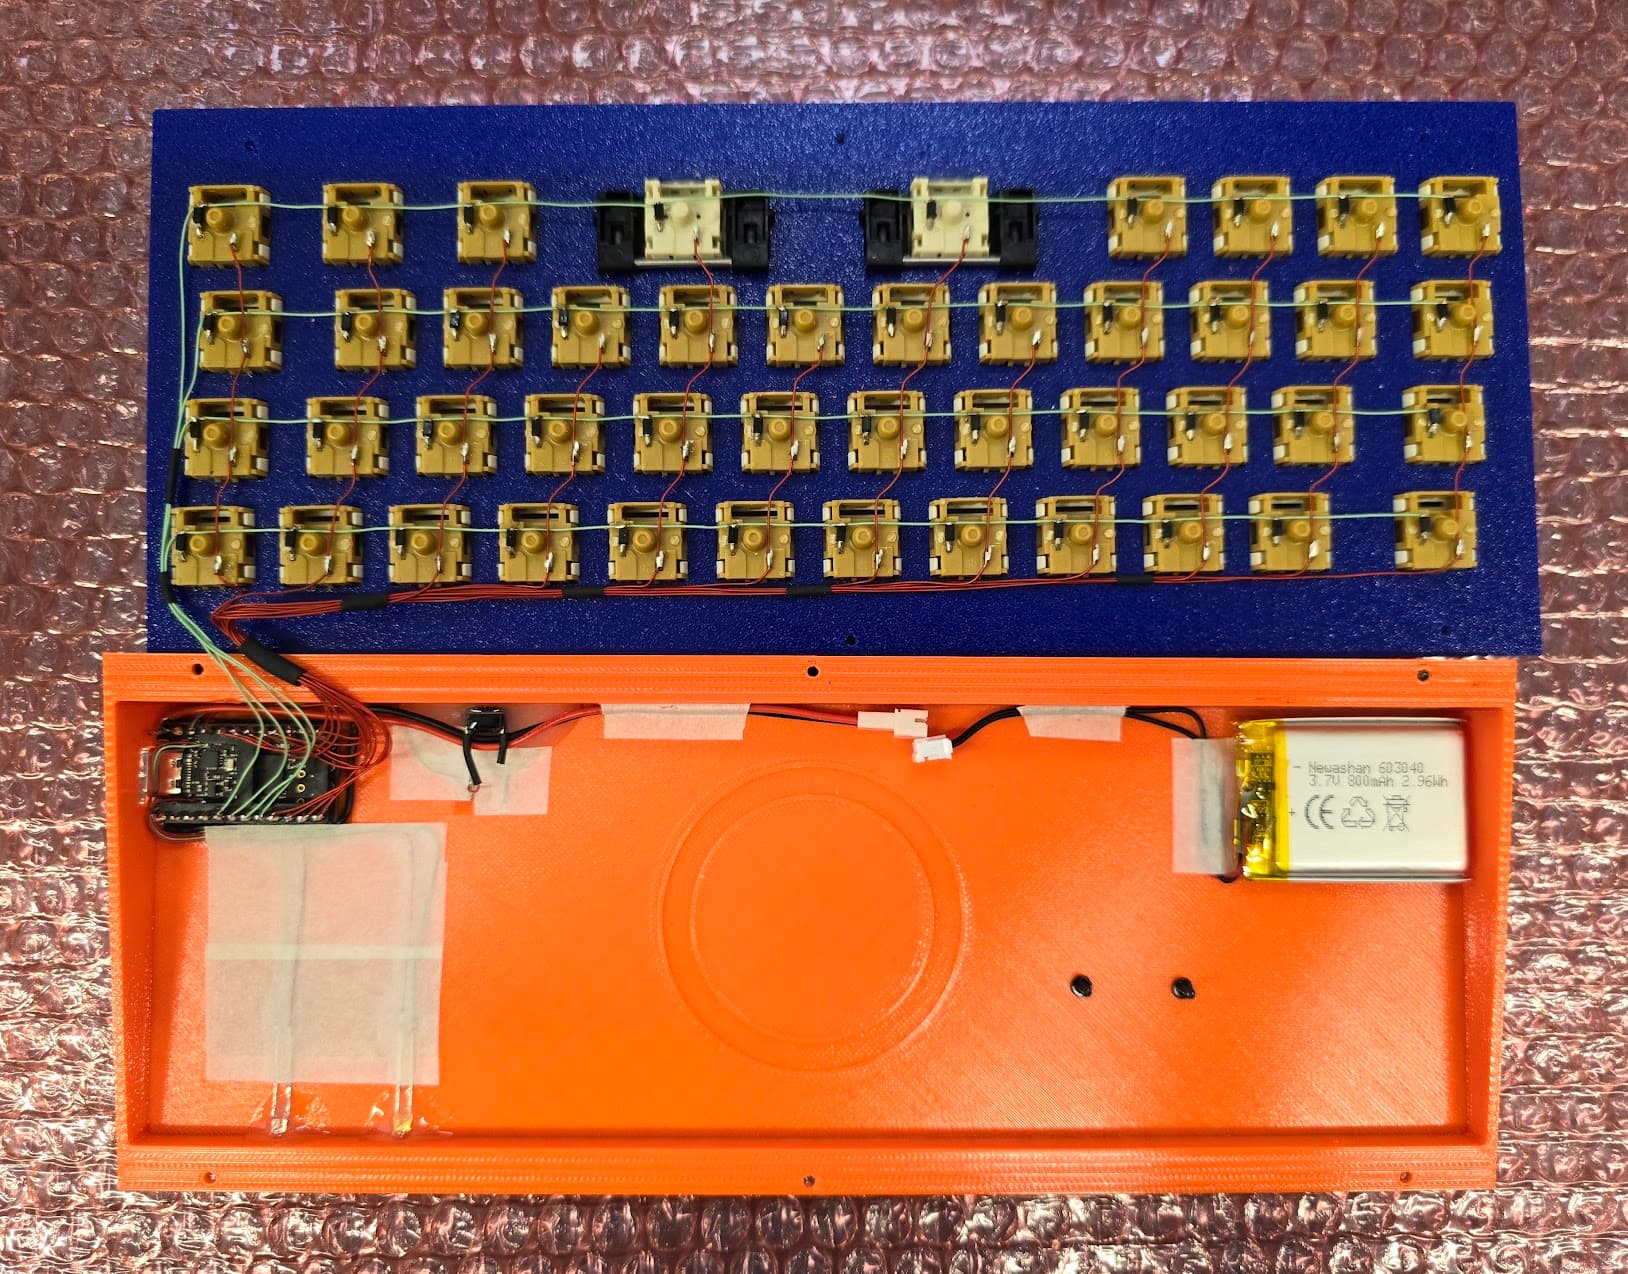
Finishing my 40% project: 3D printed case, handwired, custom keycaps
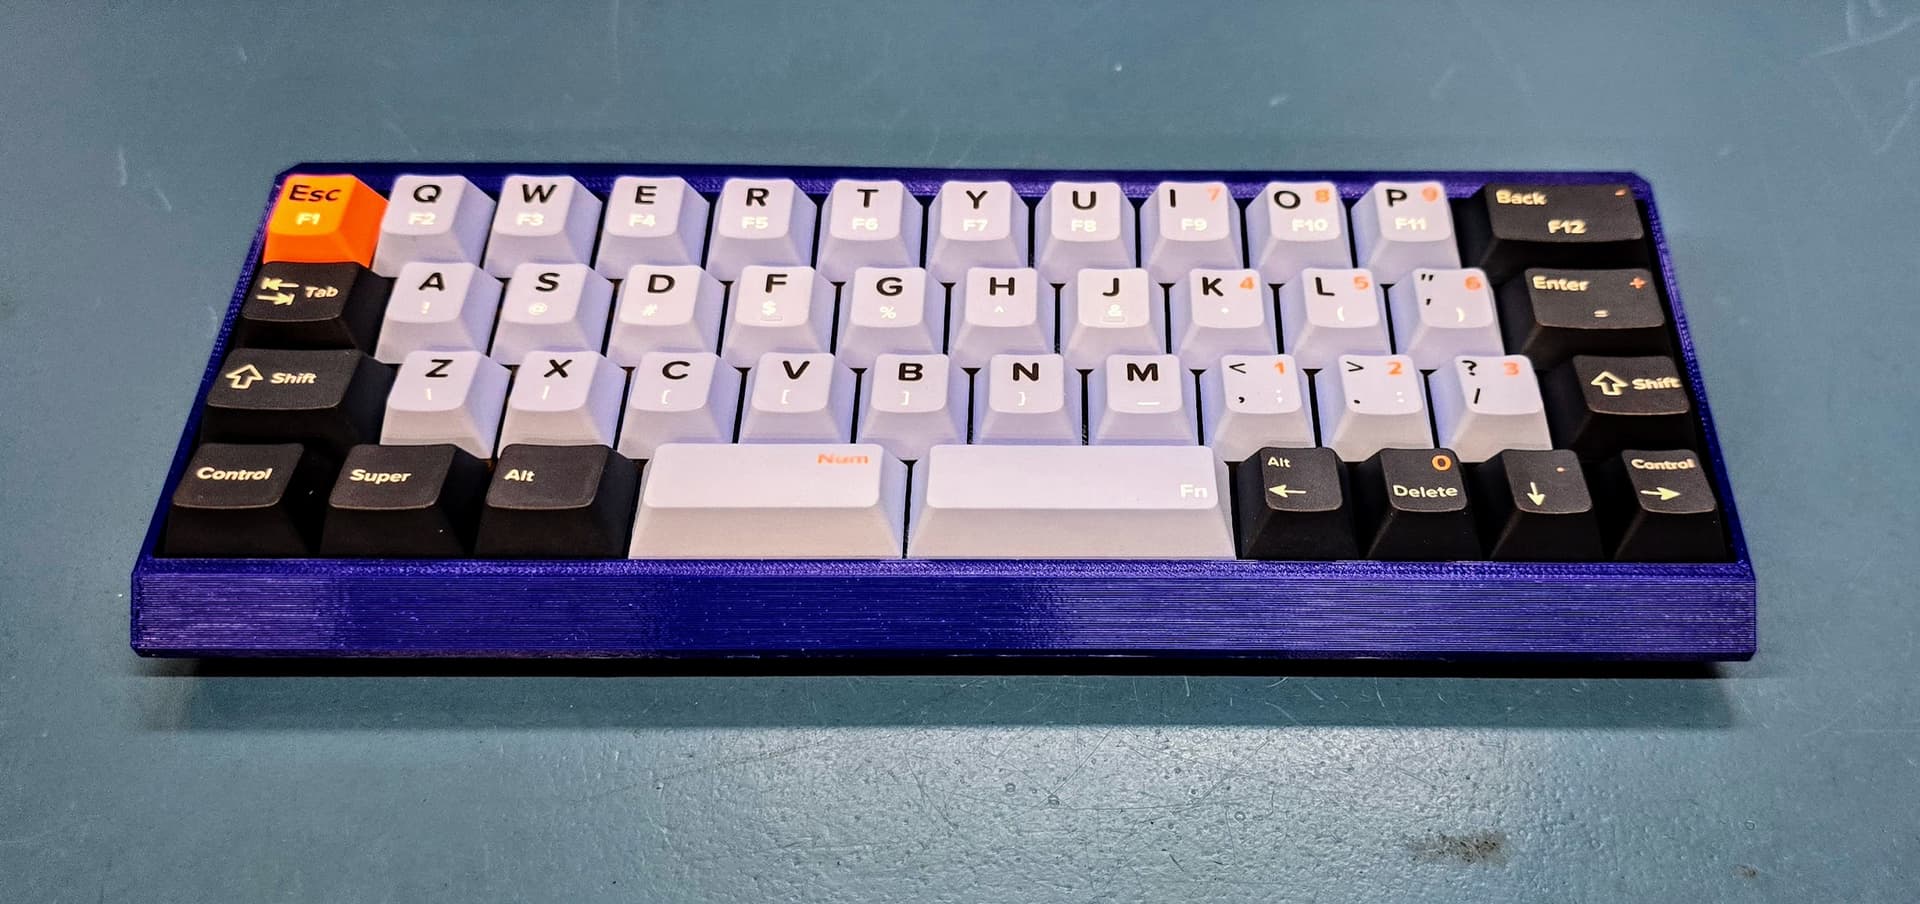
The camera can’t balance case blue with keycaps, they shall be more like below - in reality blue on keycaps is something in between the two photos
7 Likes
Finishing my 40% project: 3D printed case, handwired, custom keycaps
That came out really great, and perfectly suited keycaps are a very nice touch on a project like this. Did you 3D print the plate as well? What did you use for switches and MCU/software?
The plate is integrated with the 3D printed top case.
Cheesecake switches from pT and TX AP plate stabs.
Powered by nice!nano v2, still working on ZMK for it.
7 Likes
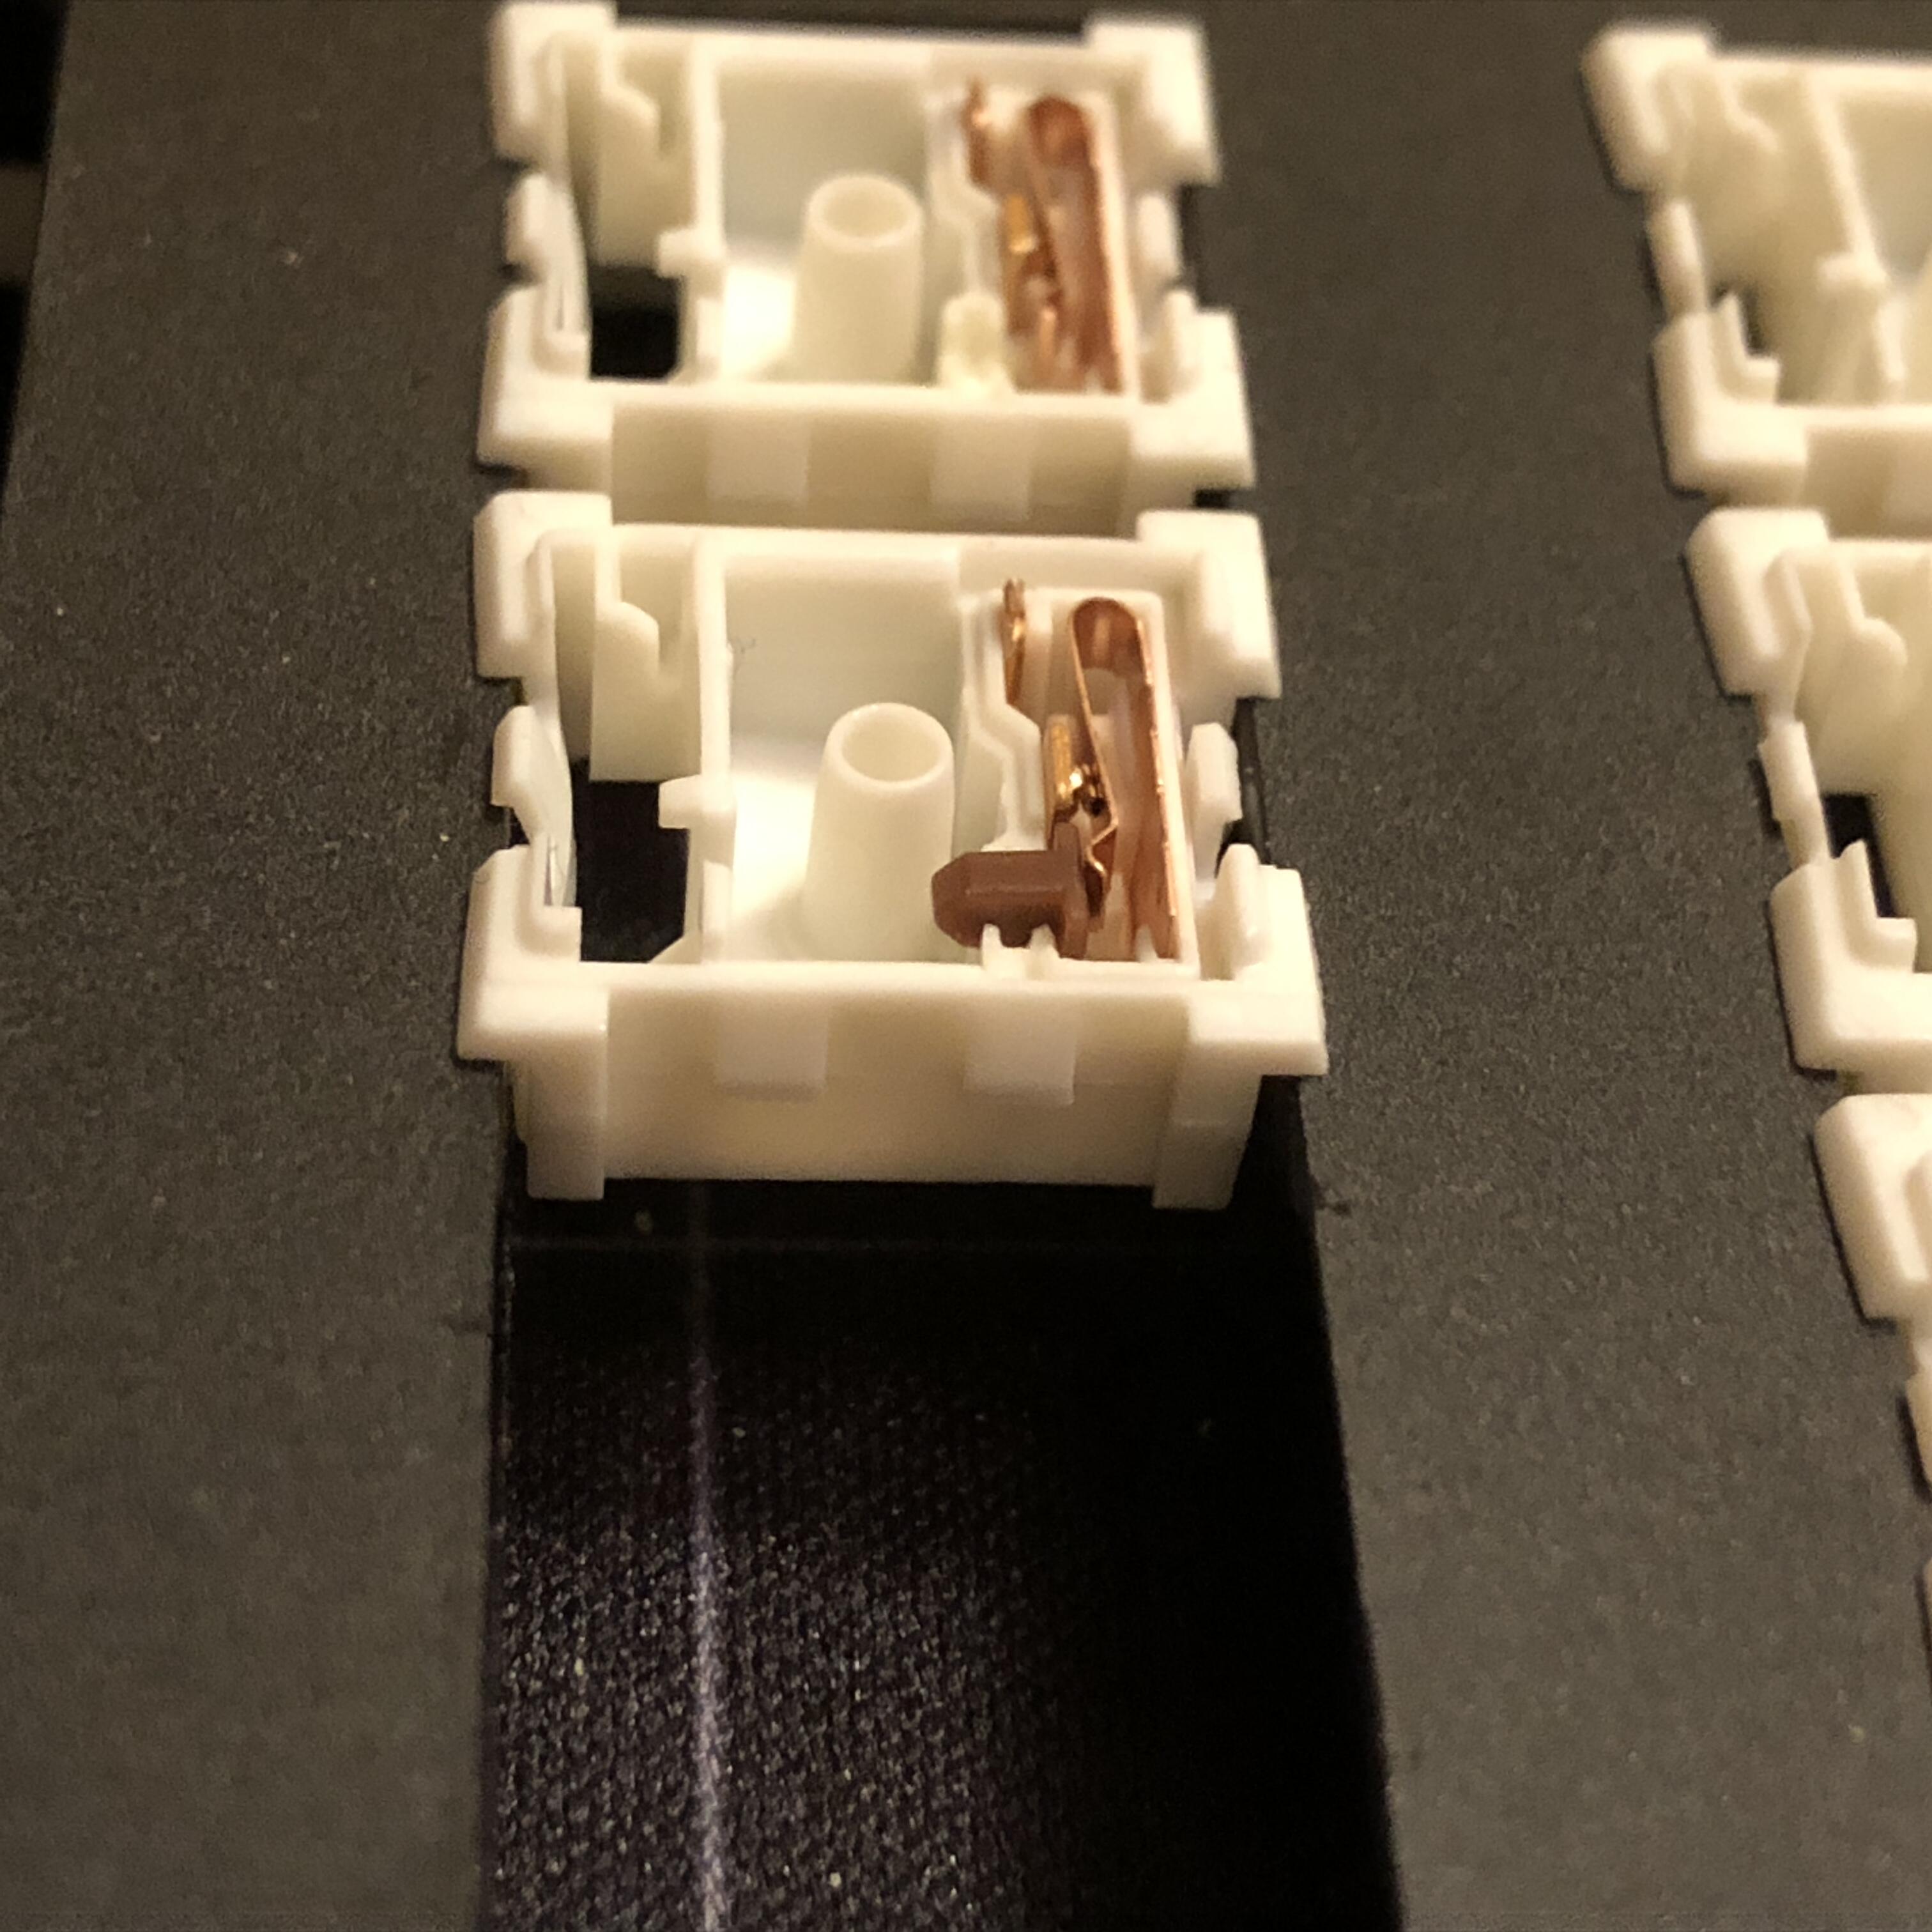
I put together a full set of frankens I’ve been meaning to for some time, and learned a few things in the process:
These are a mixture of parts from BOX Royals (bottom housing and spring, critically the leaf and plunger) and Silent BOX Browns (stem and top) with an added step of tedium I’ll discuss below; I call them Lordes for my own entertainment, because from here they will never be Royals, eyy
y tho
These are interesting for occupying a vanishingly-small overlap of categories: dampened clickies.
Also making these interesting, the click is achieved not with an intentional factory mechanism, but by leaning into something of a flaw in the BOX switch design. BOX tactiles tend to become more (and inconsistently) noisy as they age, as the factory lubricant wears-off of the parts that contact each-other. In this case, we intentionally remove as much of that lube as we can to make the switches click as much as possible. This likely comes at the cost of durability, but paves the way for a set of ticked-boxes that no stock BOX switch quite achieves:
The result is a crisp, “mechanical” sounding click that’s perfectly synced with actuation (by sharing a mechanism) but that isn’t as loud as most purposeful clicking devices. It’s a nice middle-ground between sharp torsion springs (click bars) and loose, rattly click jackets. The top and bottom-out are dampened, so the actuation click is by far the most prominent sound (and feel) of the switch. I wanted a set of these in my collection because I’m interested in this style and would like to see more of it in the switch landscape.
I don’t frankenswitch much anymore thanks to the incredible variety of stock switches now available, but this one remains interesting to me for exploring some as-of-yet less-tread ground.
They are imperfect, not terribly consistent, and share flaws with the BOX line in general (twisted resting position thanks to the off-center leaf spring) - but - I do think they represent a worthy conceptual target for new switches.
I’ll upload an in-board, actual typing recording in the not too distant future but for now I can tell you they sound a bit like the click of a mechanical pen:
I’ll say right here that I do not recommend making these unless you’re genuinely interested enough by the novelty or concept of clickies with dampening for the stem / housing collisions. I am, so I did - but dang:
There’s a genuinely tedious step in putting these switches together that’s critical for their defining feature, and it flies in the face of most switch modding practices - and indeed that’s not without consequence.
So what -step- is that? (more pictures)
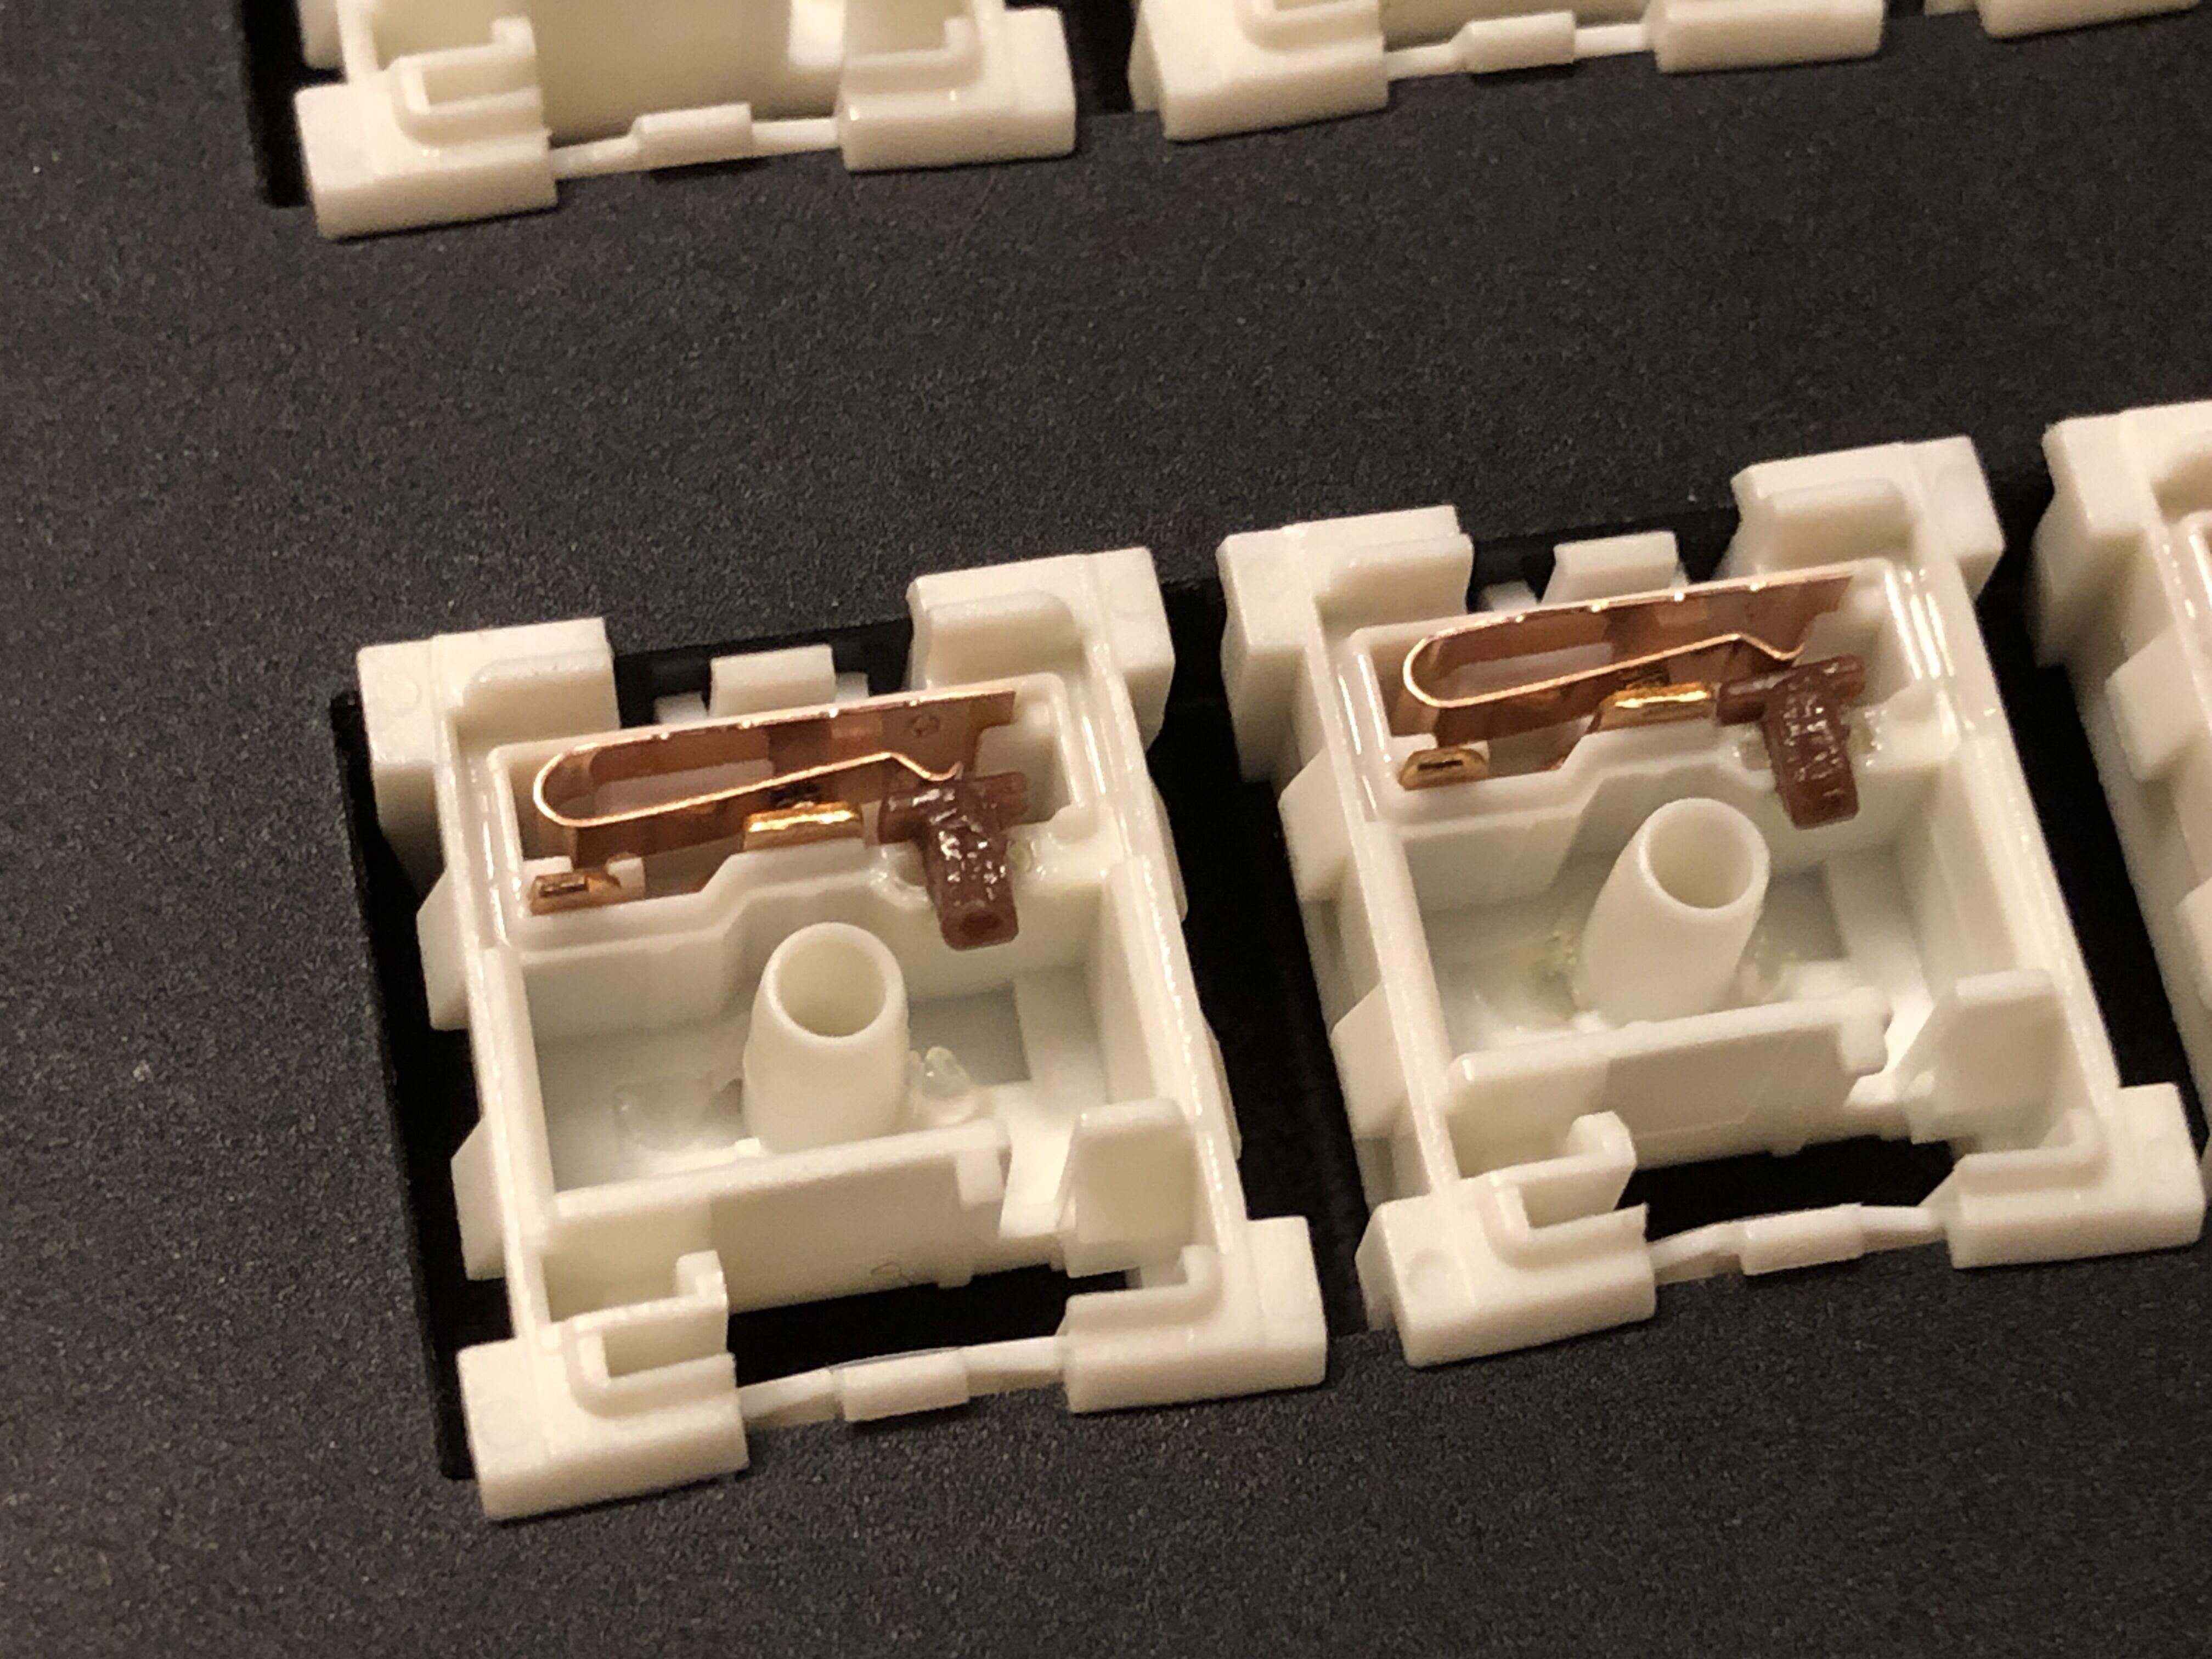
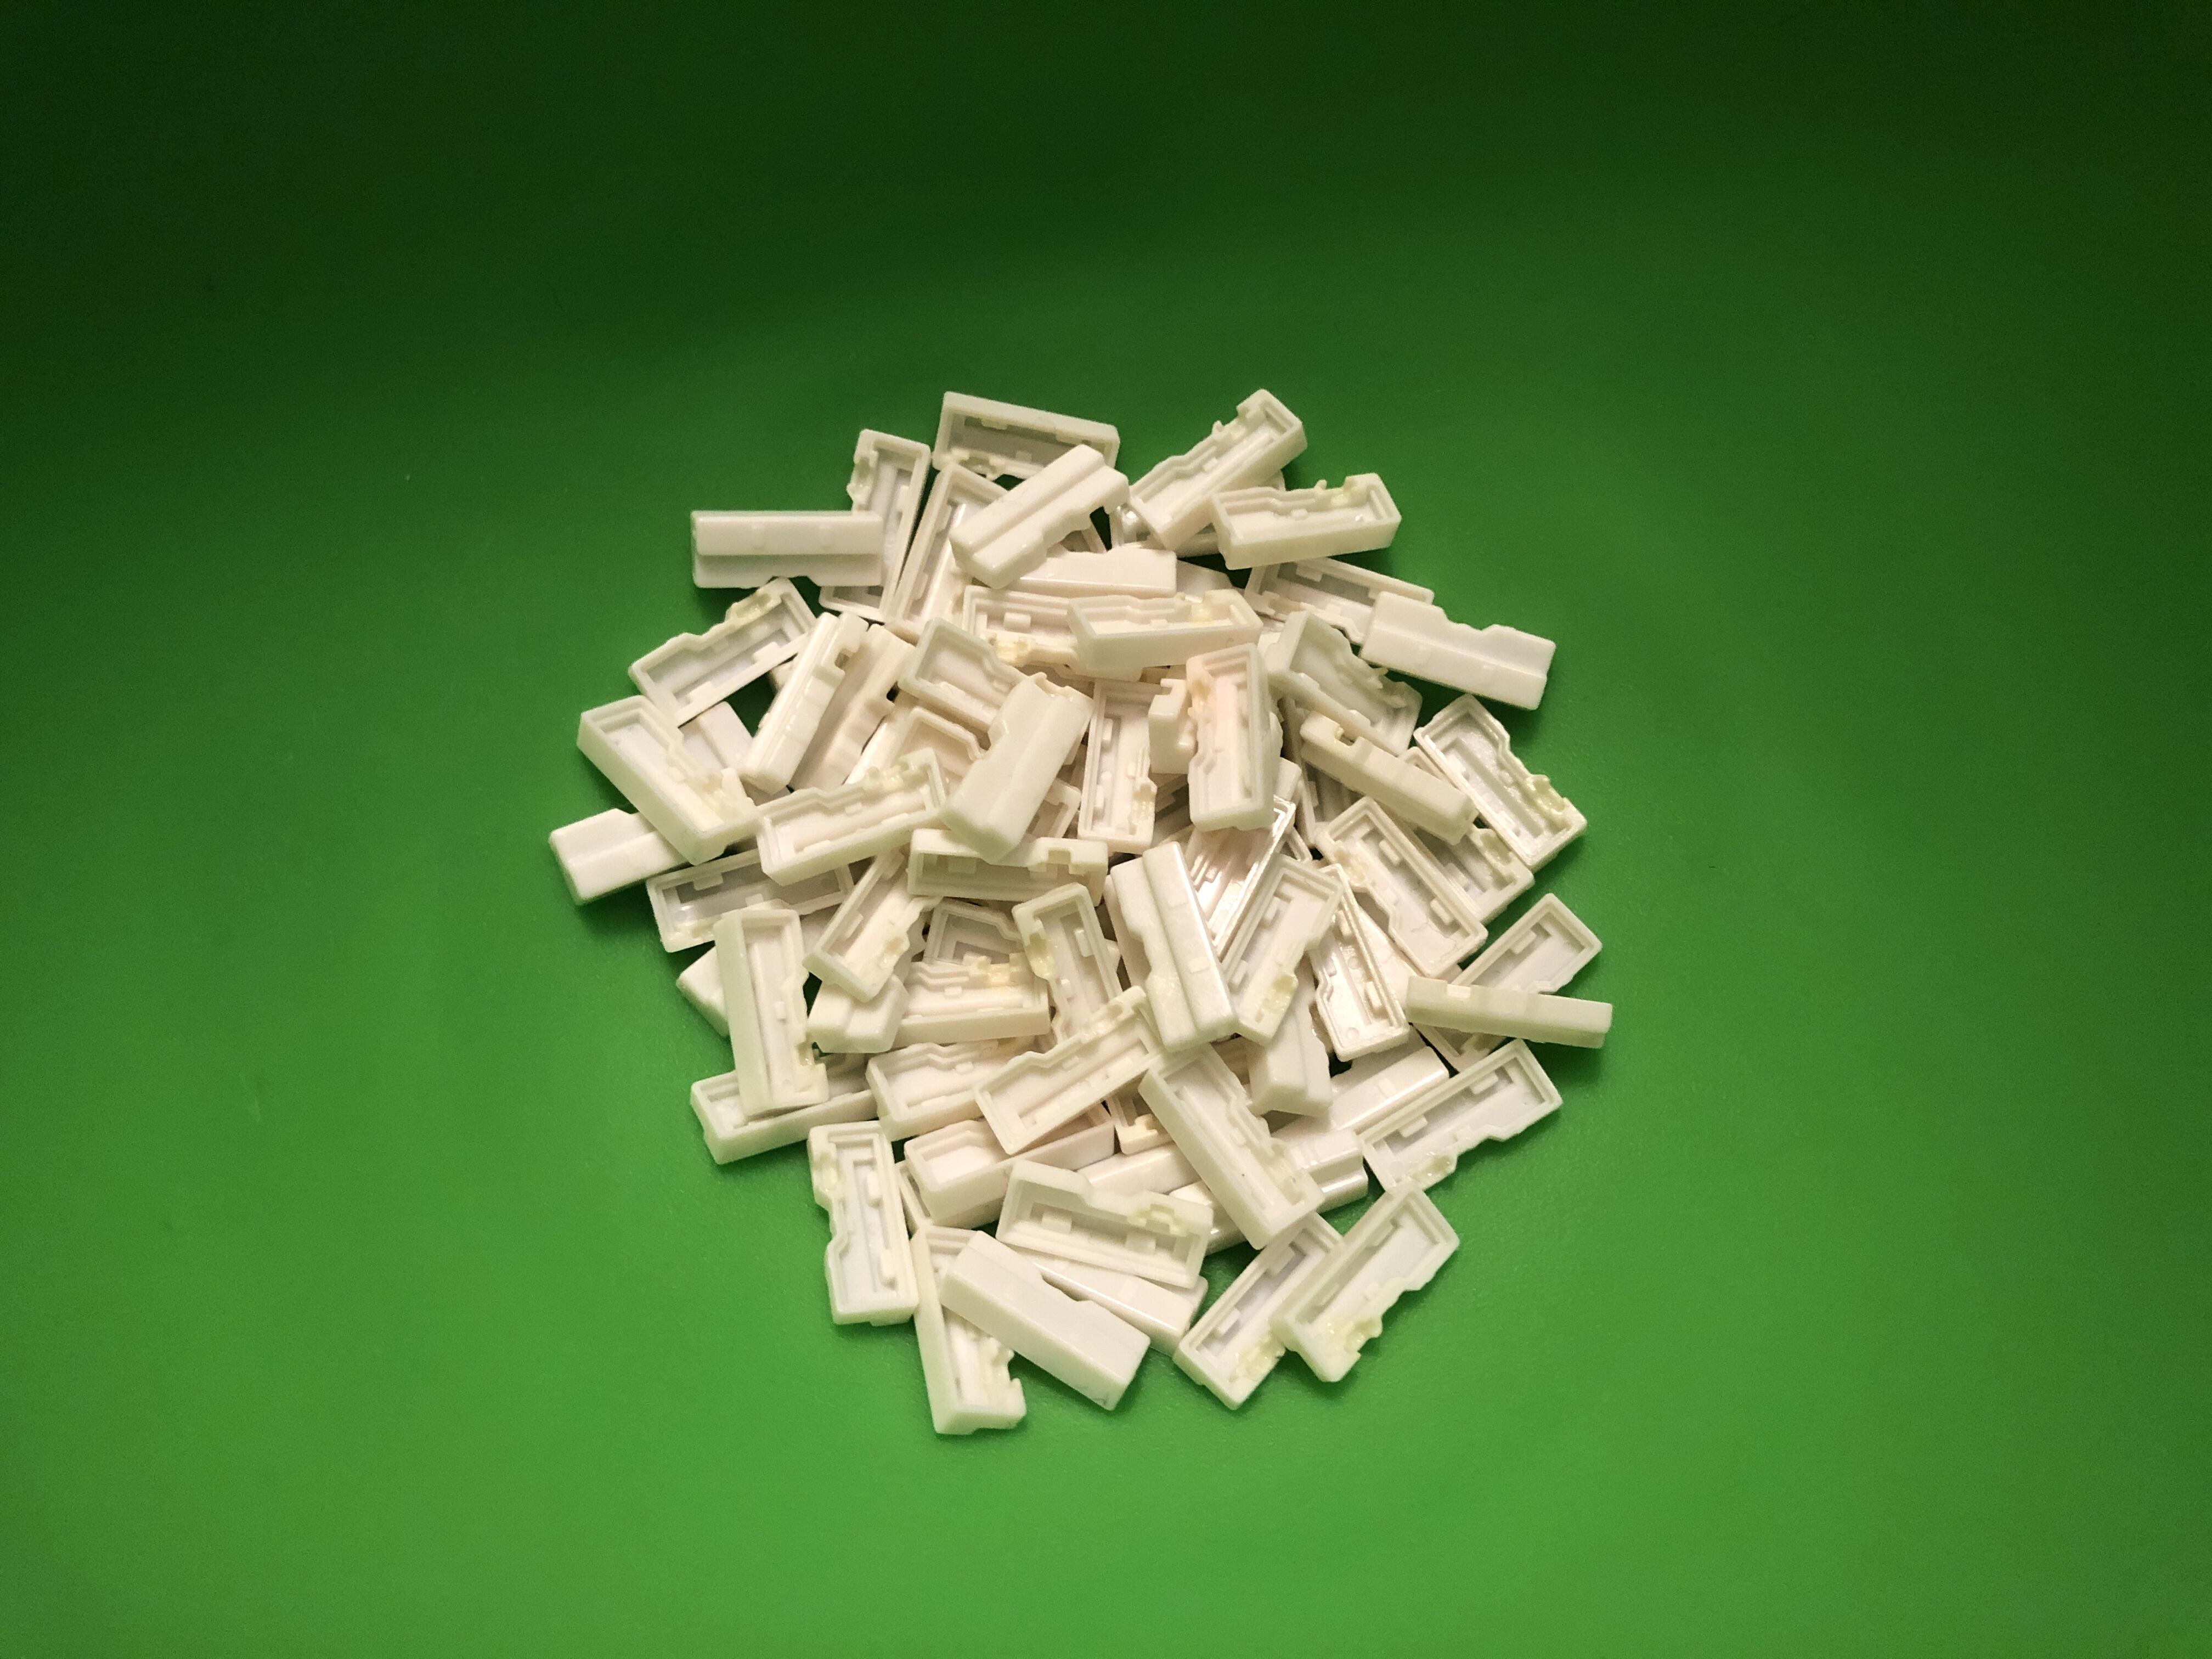
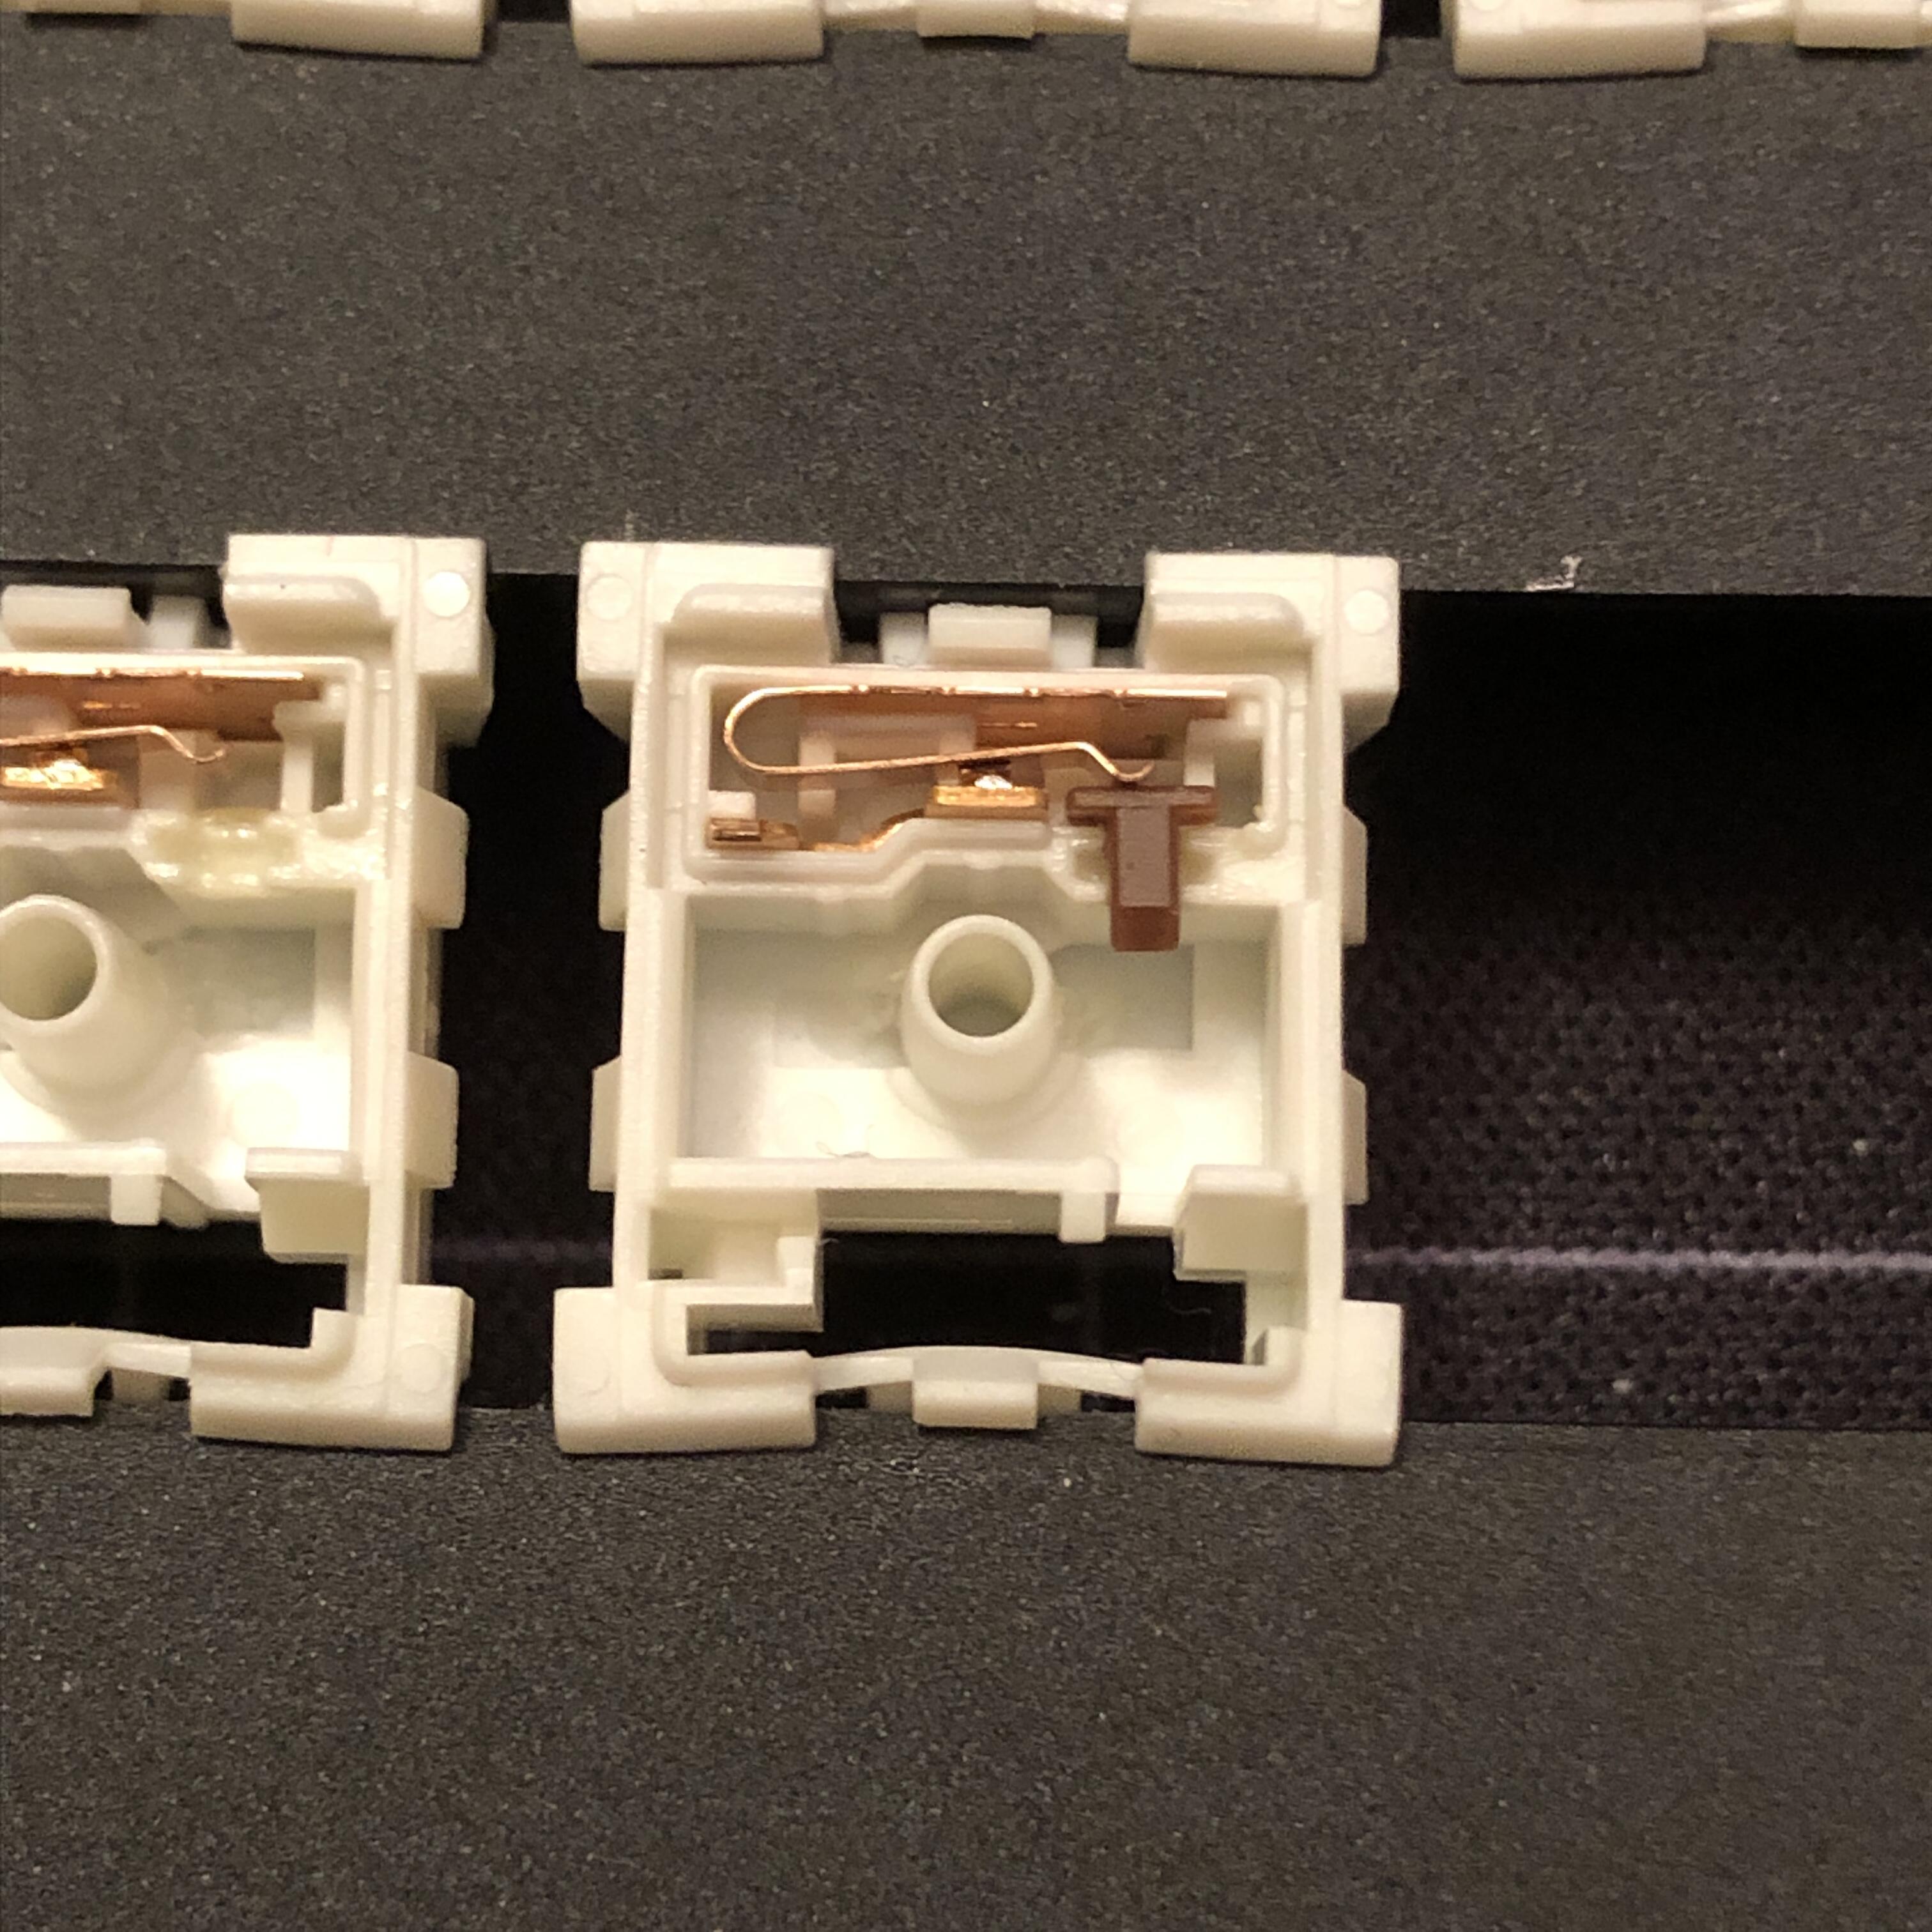
Removing all of this grease. All that shiny stuff on the housing parts, leaf, and tiny plunger part. I had these (mostly) taken apart and “ready” to re-assemble before I realized how critical this step was. It ended up turning from an evening project to a multi-evening project… but hey, that’s where the fun stuff happens.
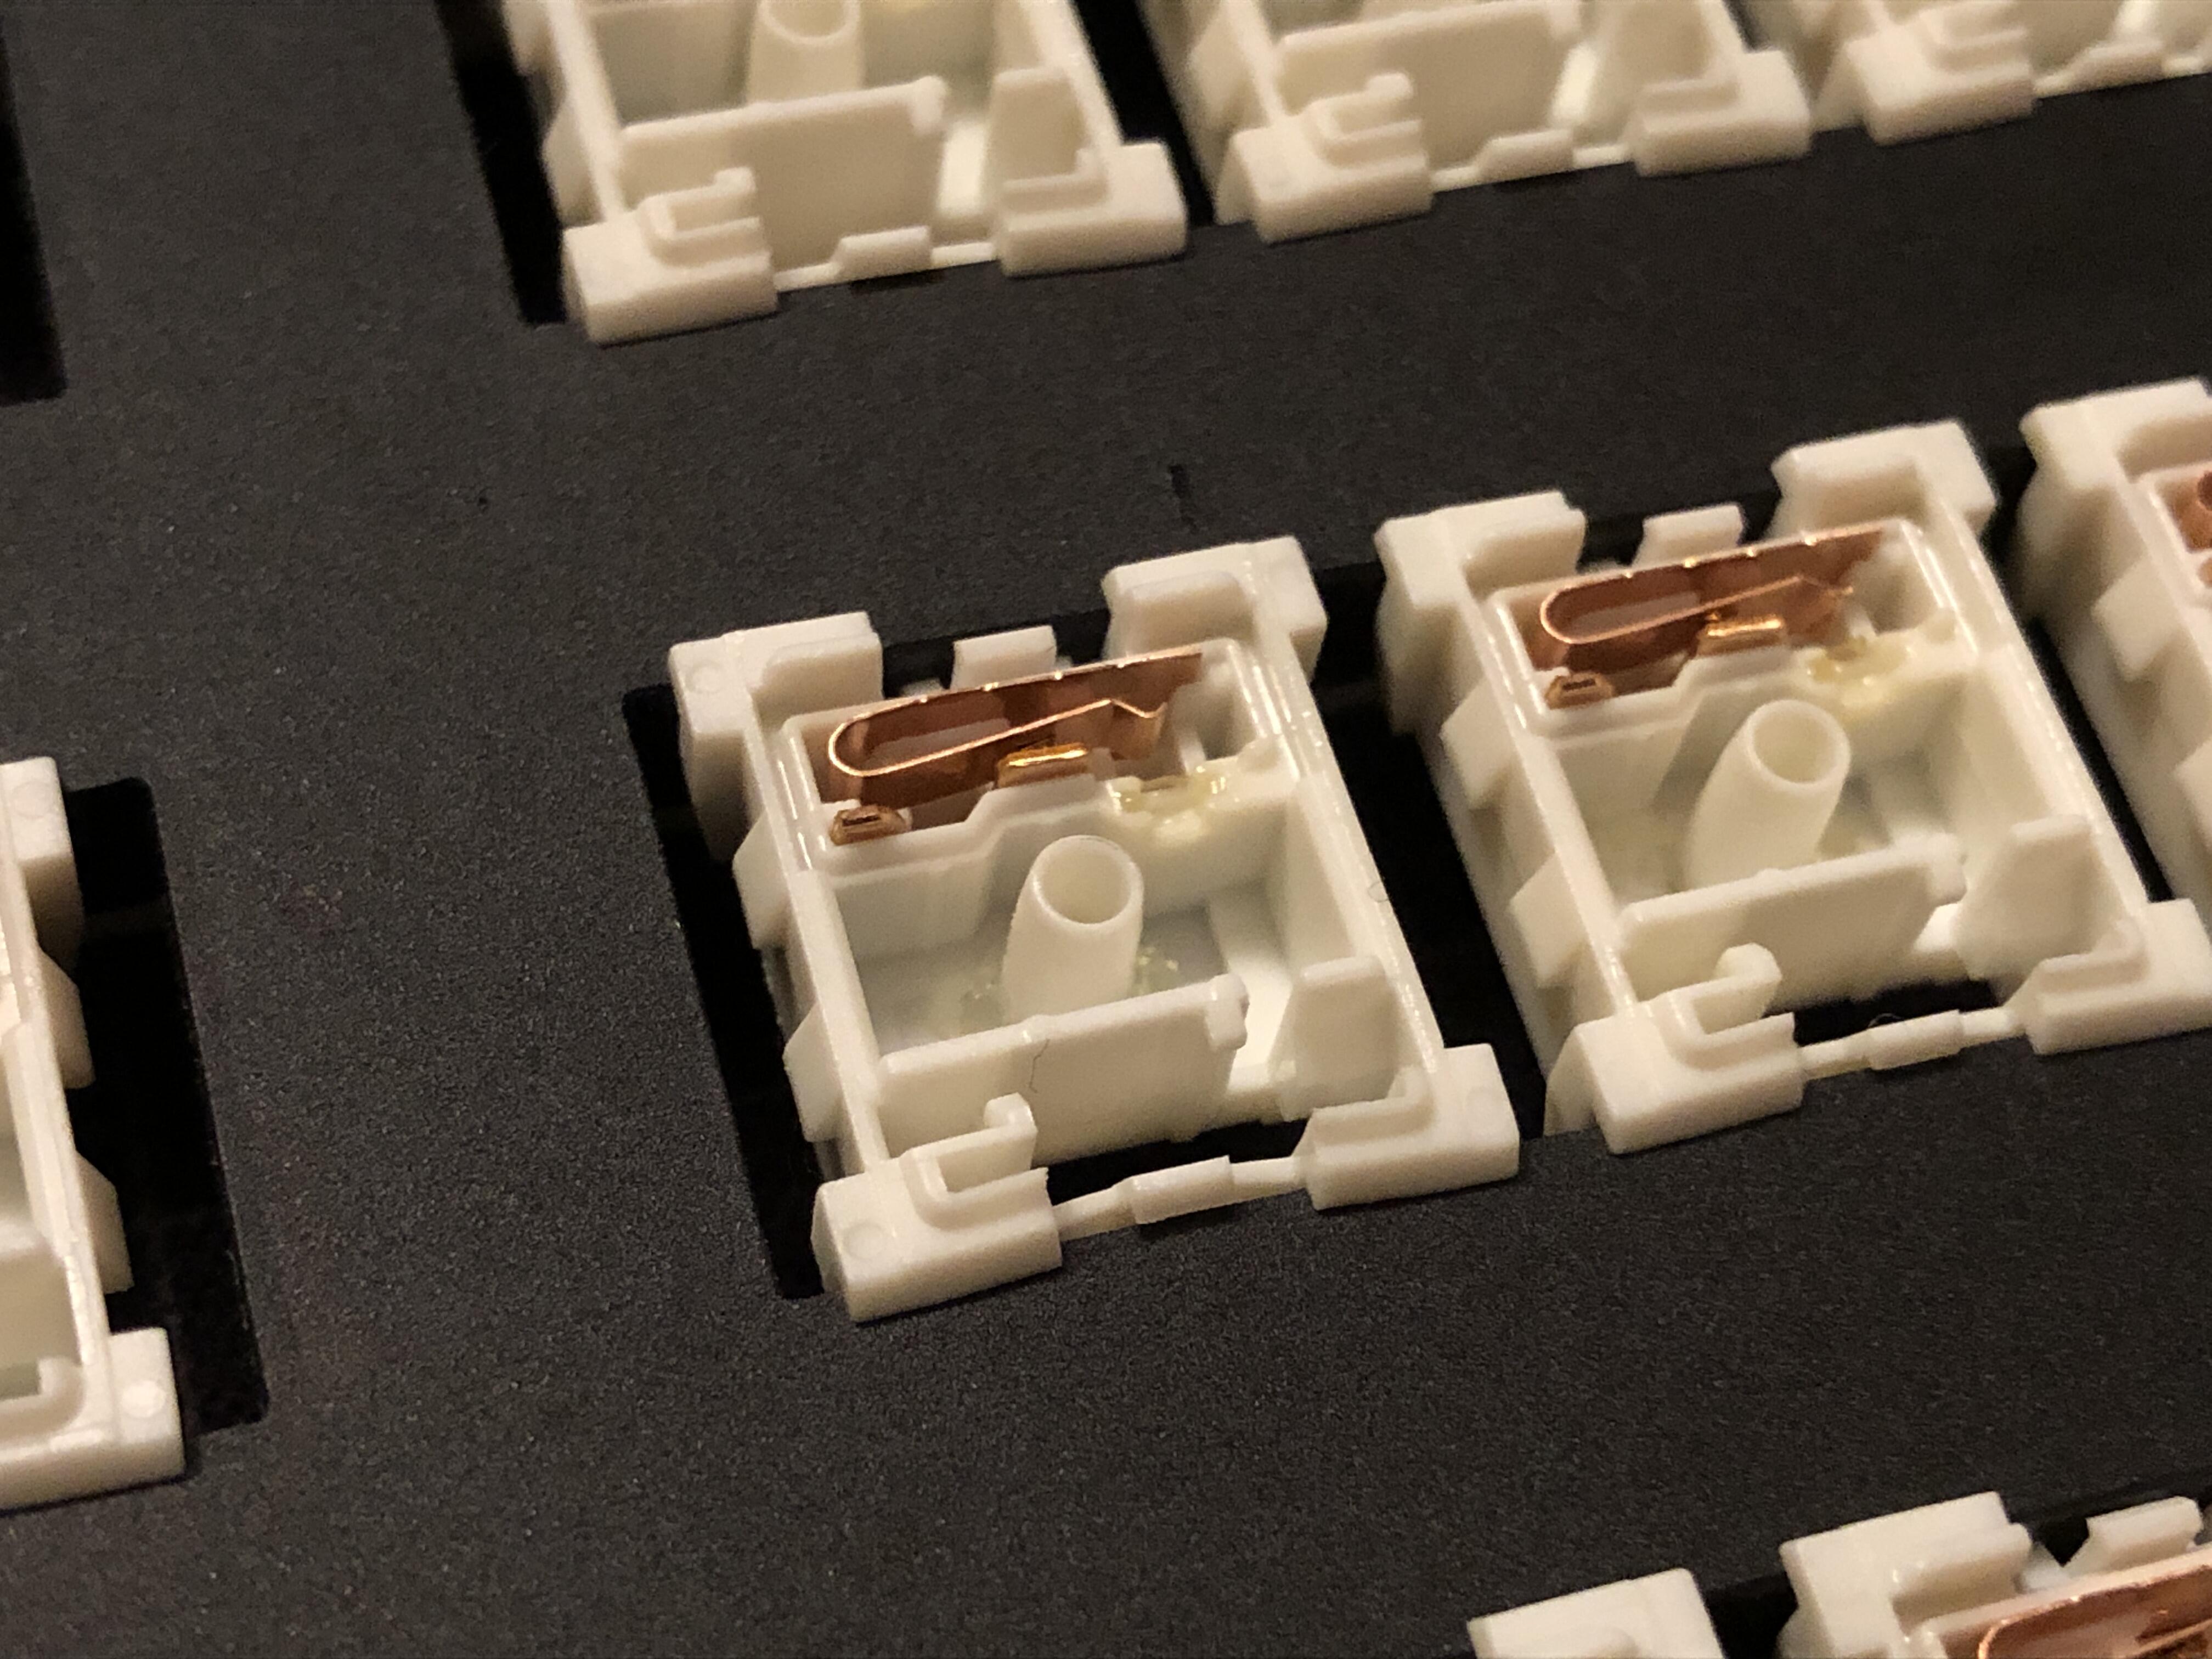
The housings are literally designed to hold onto grease with little channels and divots for it to reside in - and at least for this mod, it took a fair bit of manual cleaning to remove enough of it.
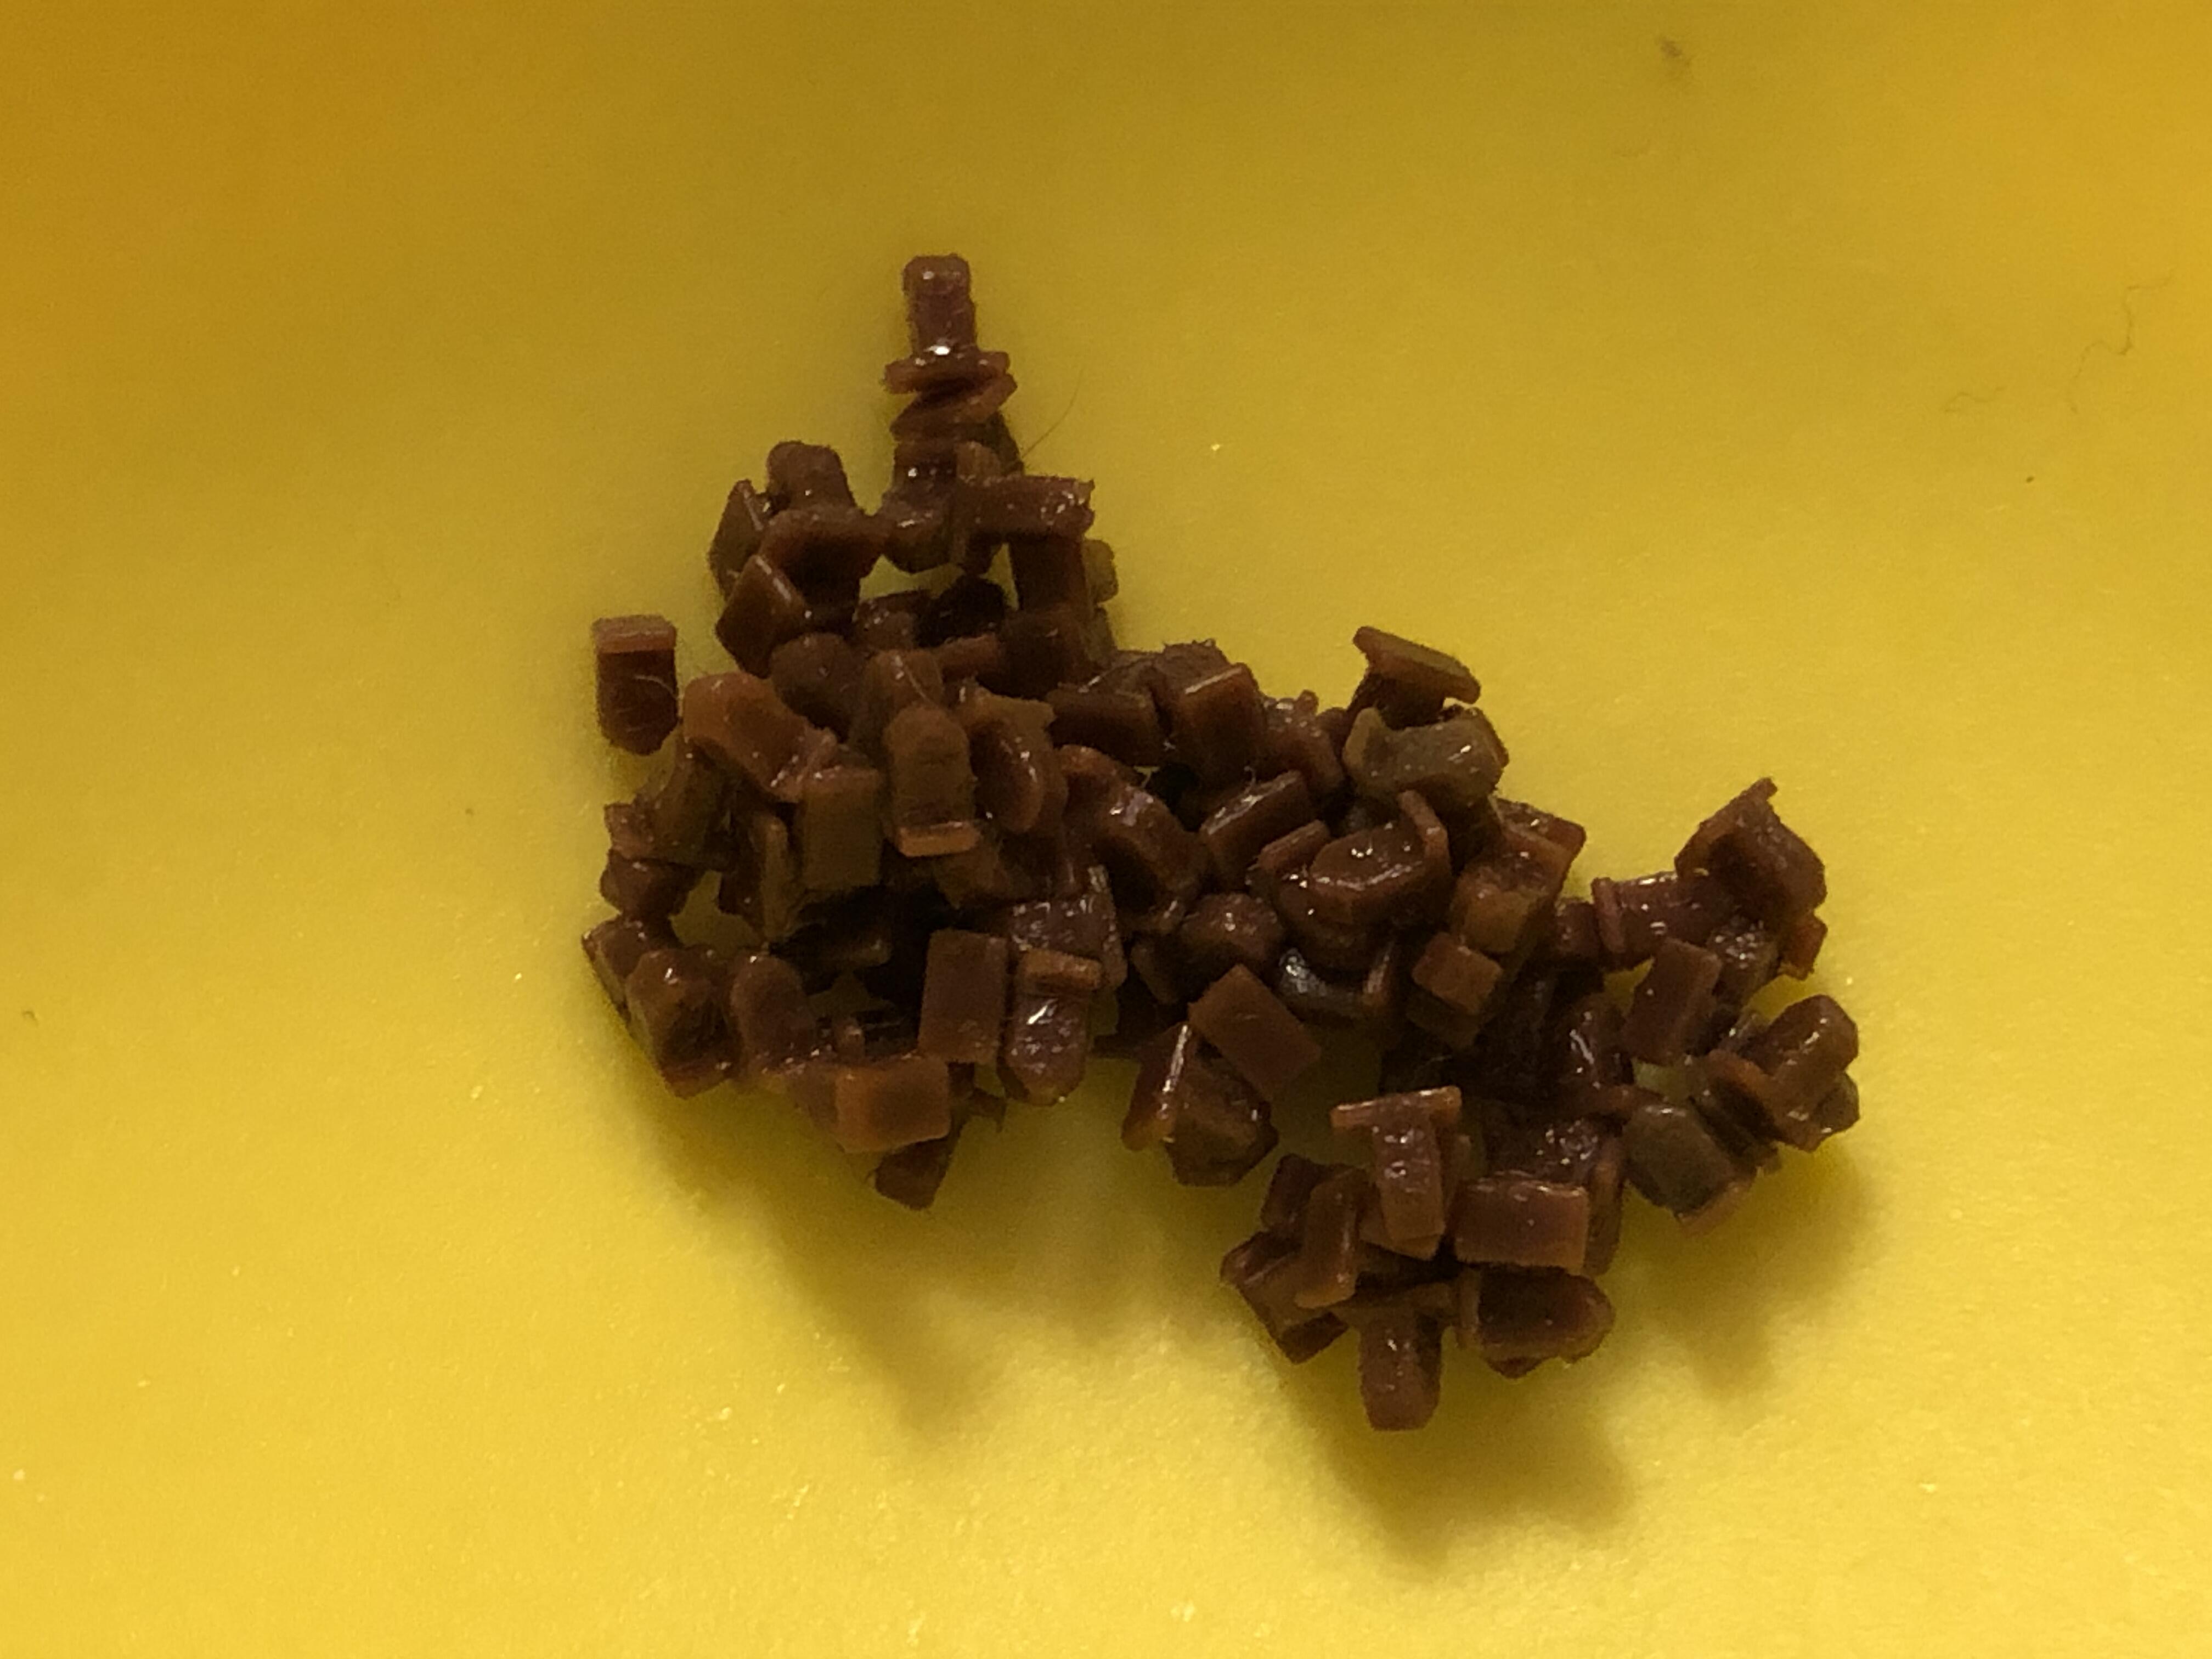
99 plungers in a bowl
I’d originally thought the clicky aspect of this mod worked purely because of the stronger leaf spring in the Royals, but no, it’s actually because the few samples I’d made back in the day were dry enough. The leaf helps, but these little parts (and the channel they sit in) have to be pretty much free of grease to click. Well heck. Not that anyone’s been reading it, but I’ll need to update the archived recipe page for this thing.
And so! A bath in the sonic jewelry cleaner for all the small plastic parts - and a subsequent scrubbing with micro-fiber cloth. I don’t think switches with this configuration would ever be perfectly consistent just by nature of how they work, but an added layer is that any tiny amount of remaining grease will dramatically dampen the click - so your own consistency in modding is important here if you want any consistency from the switches.
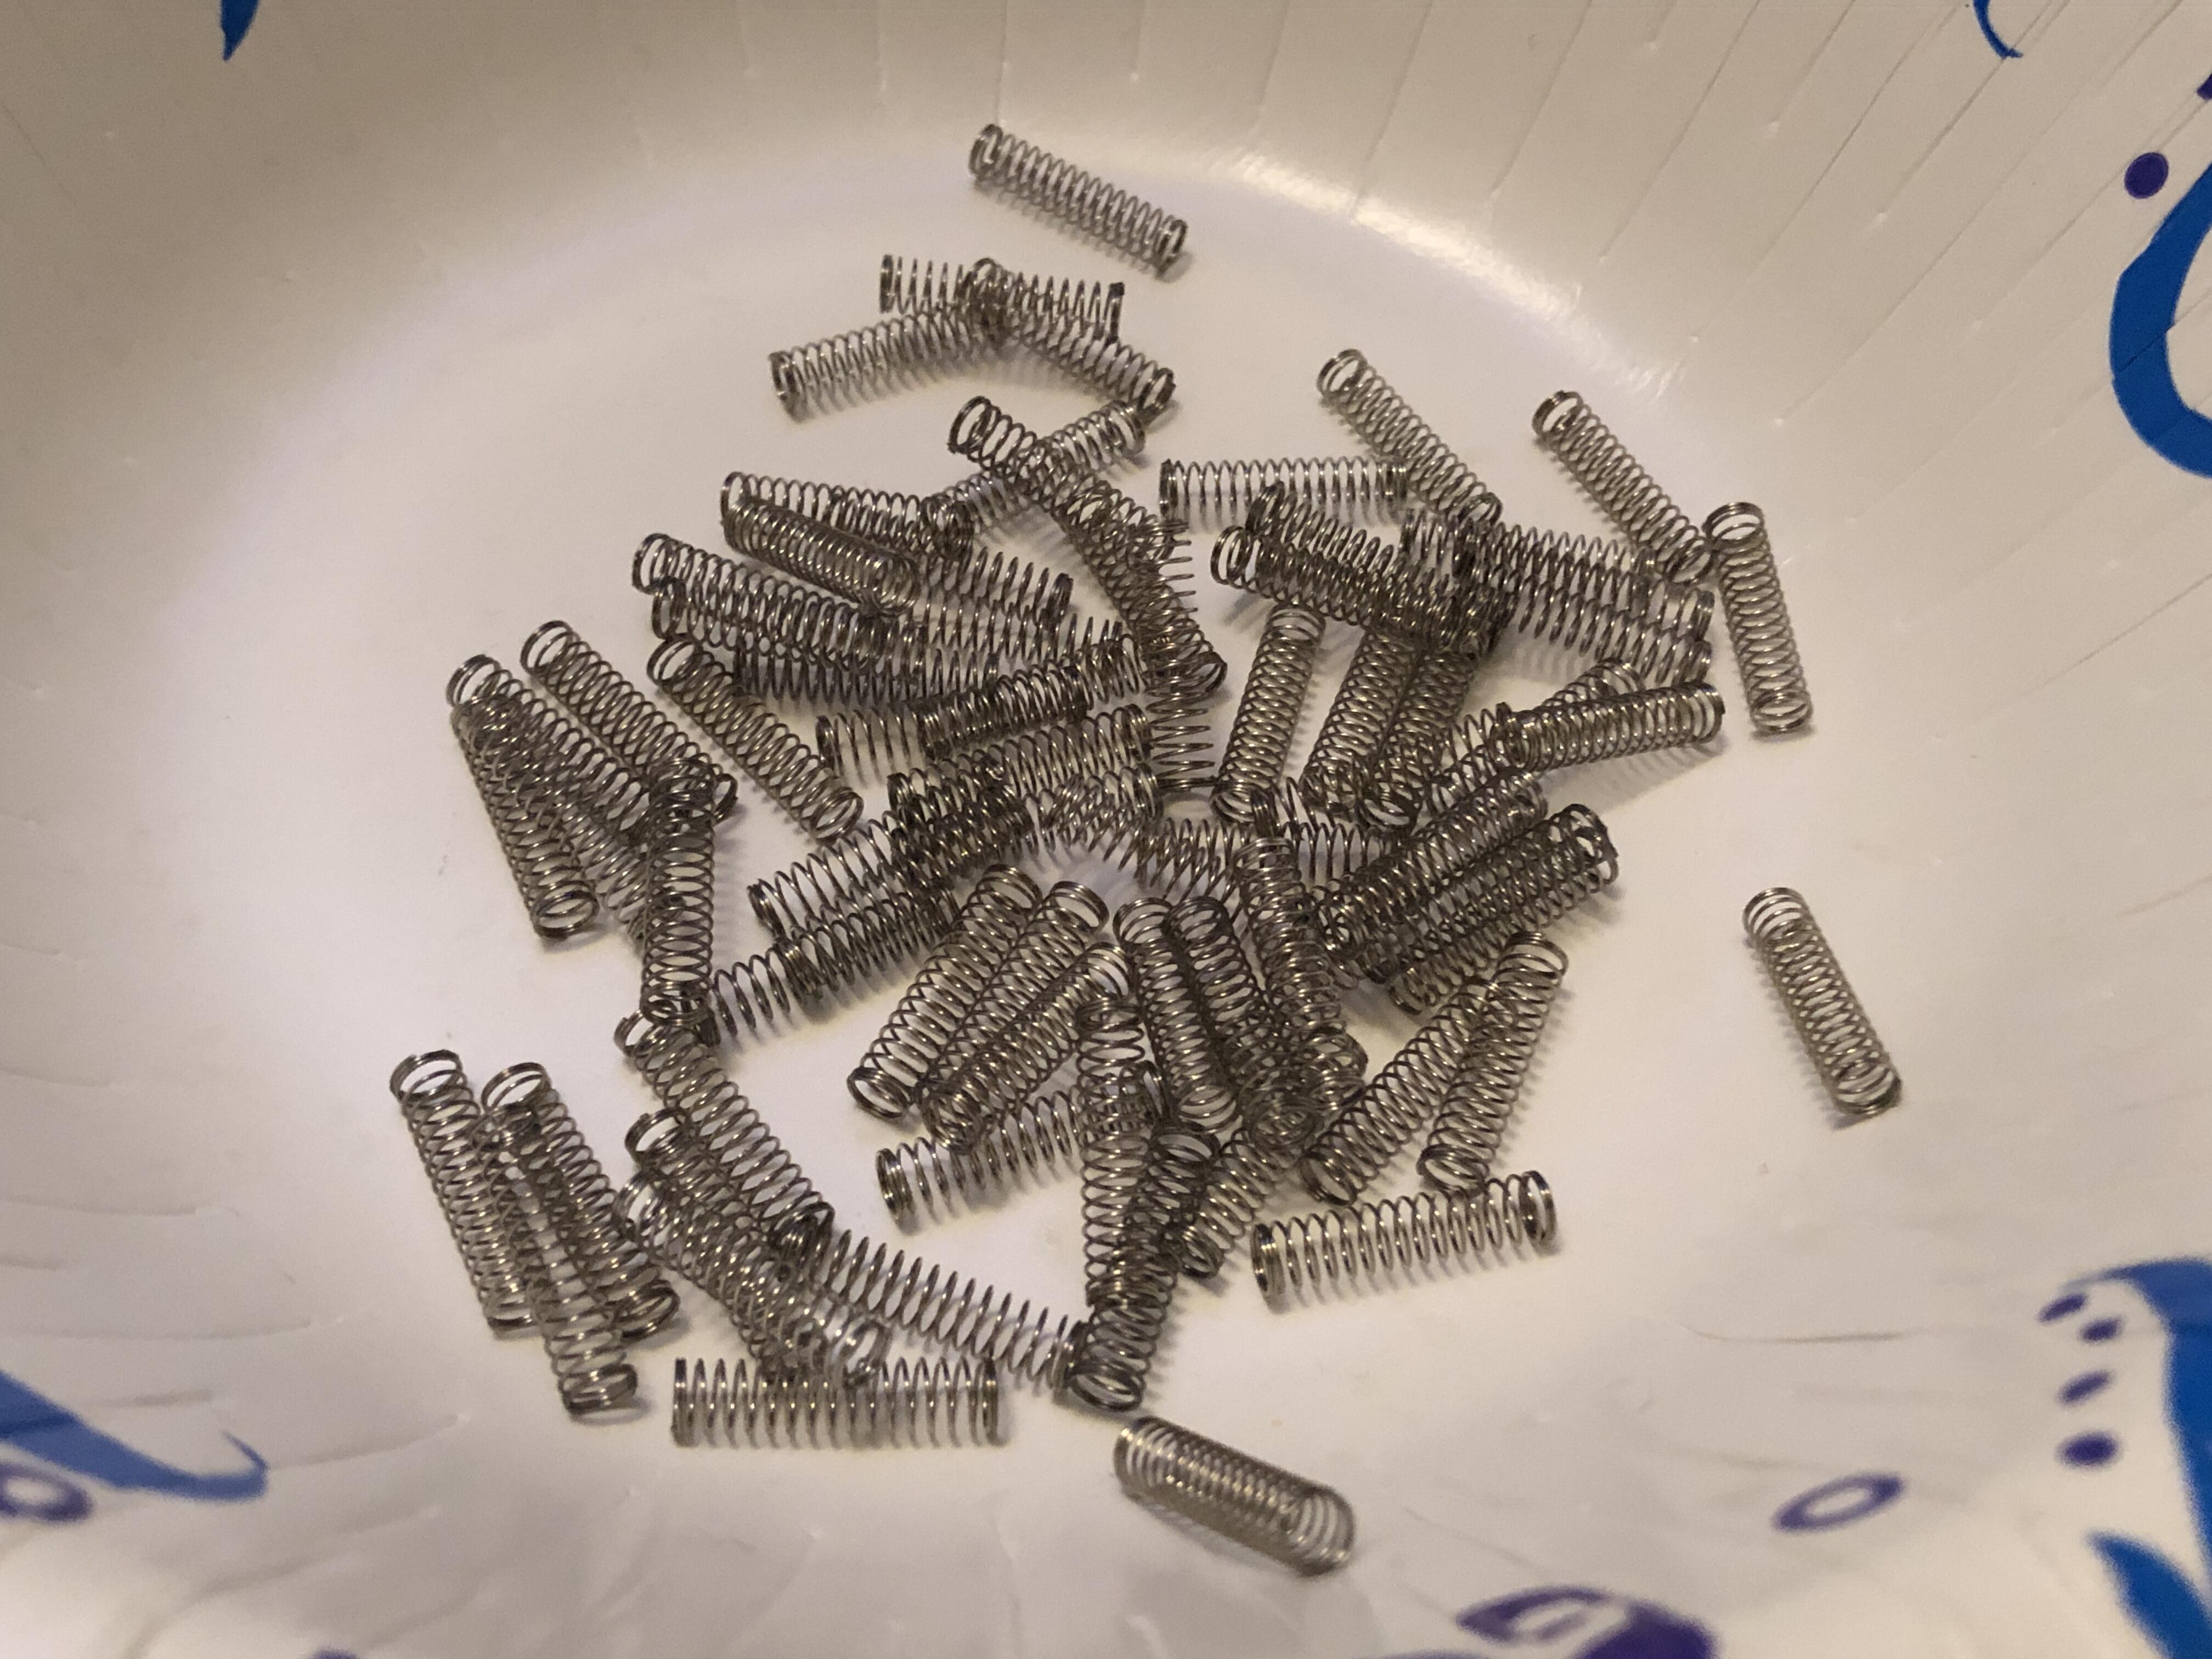
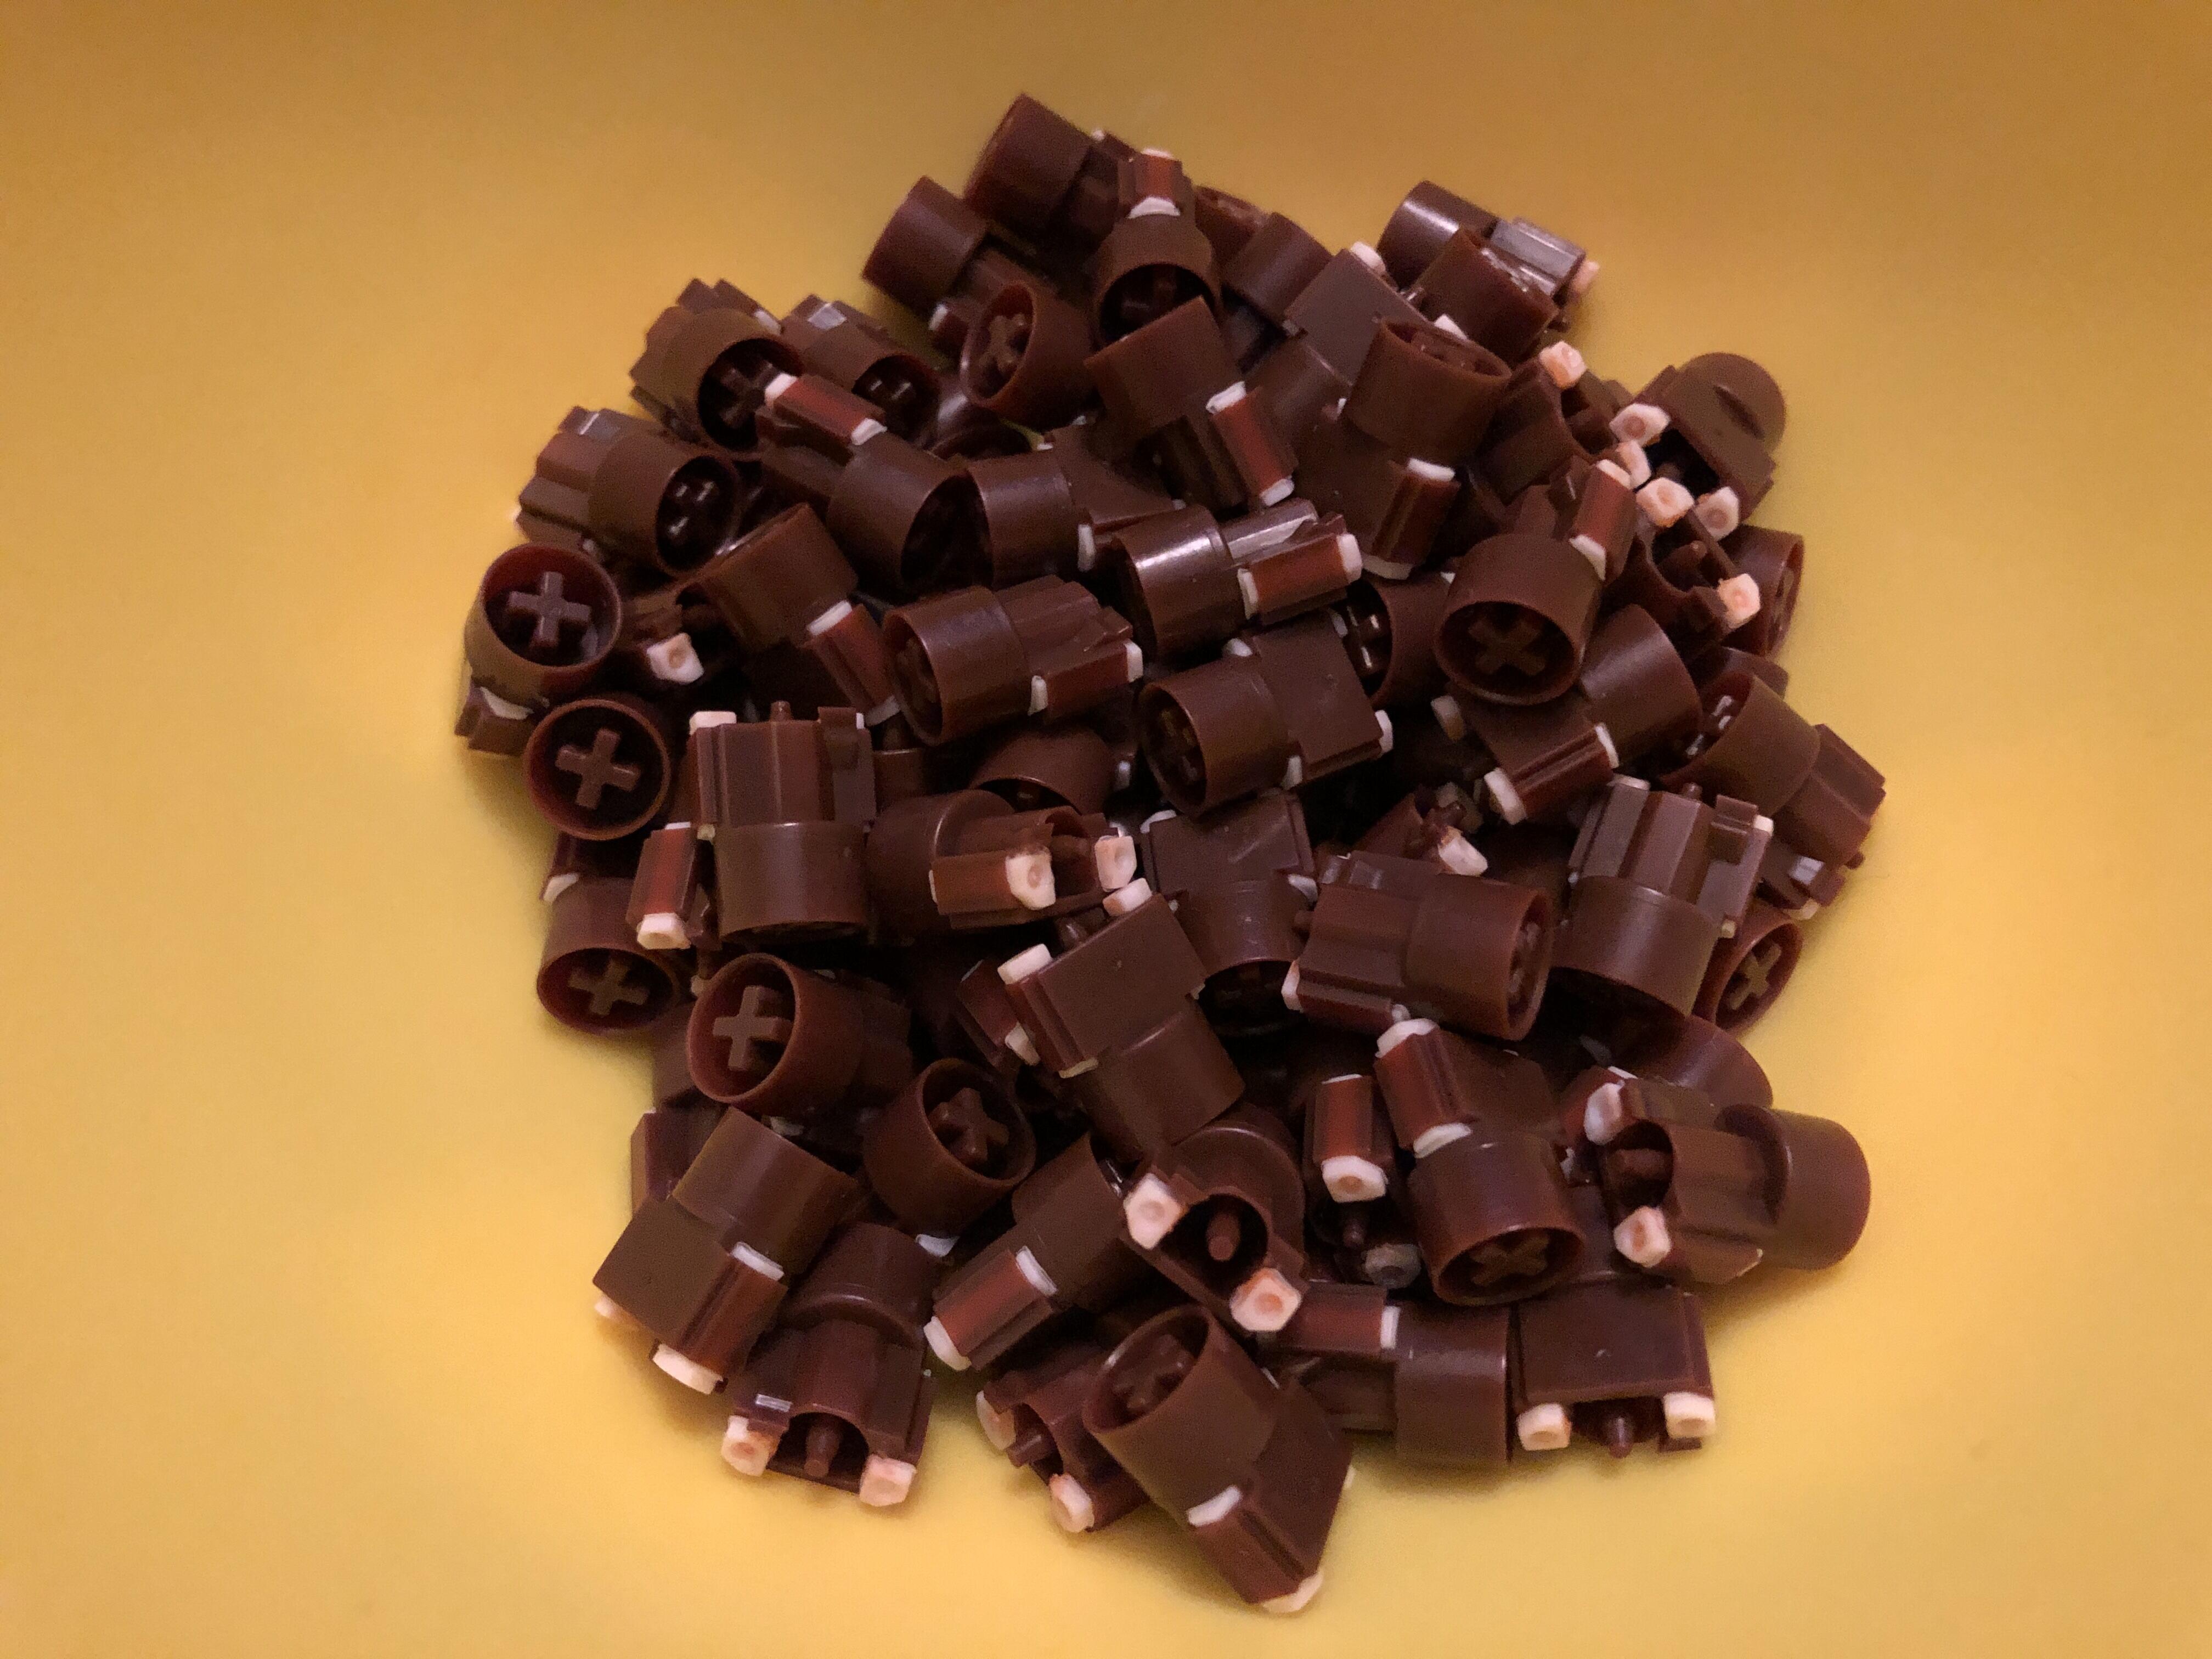
I didn’t put the springs or bottom housings through the cleaner, and left the grease on those in place excepting the area where the tiny plastic plunger sits.
From there, I placed everything in little bowls for re-assembly.
I still had to wipe the tiny grease channels with tweezers in many cases.
Water loves to cling to the hollows where the mounting stem and center pole are; I blew it out with air.
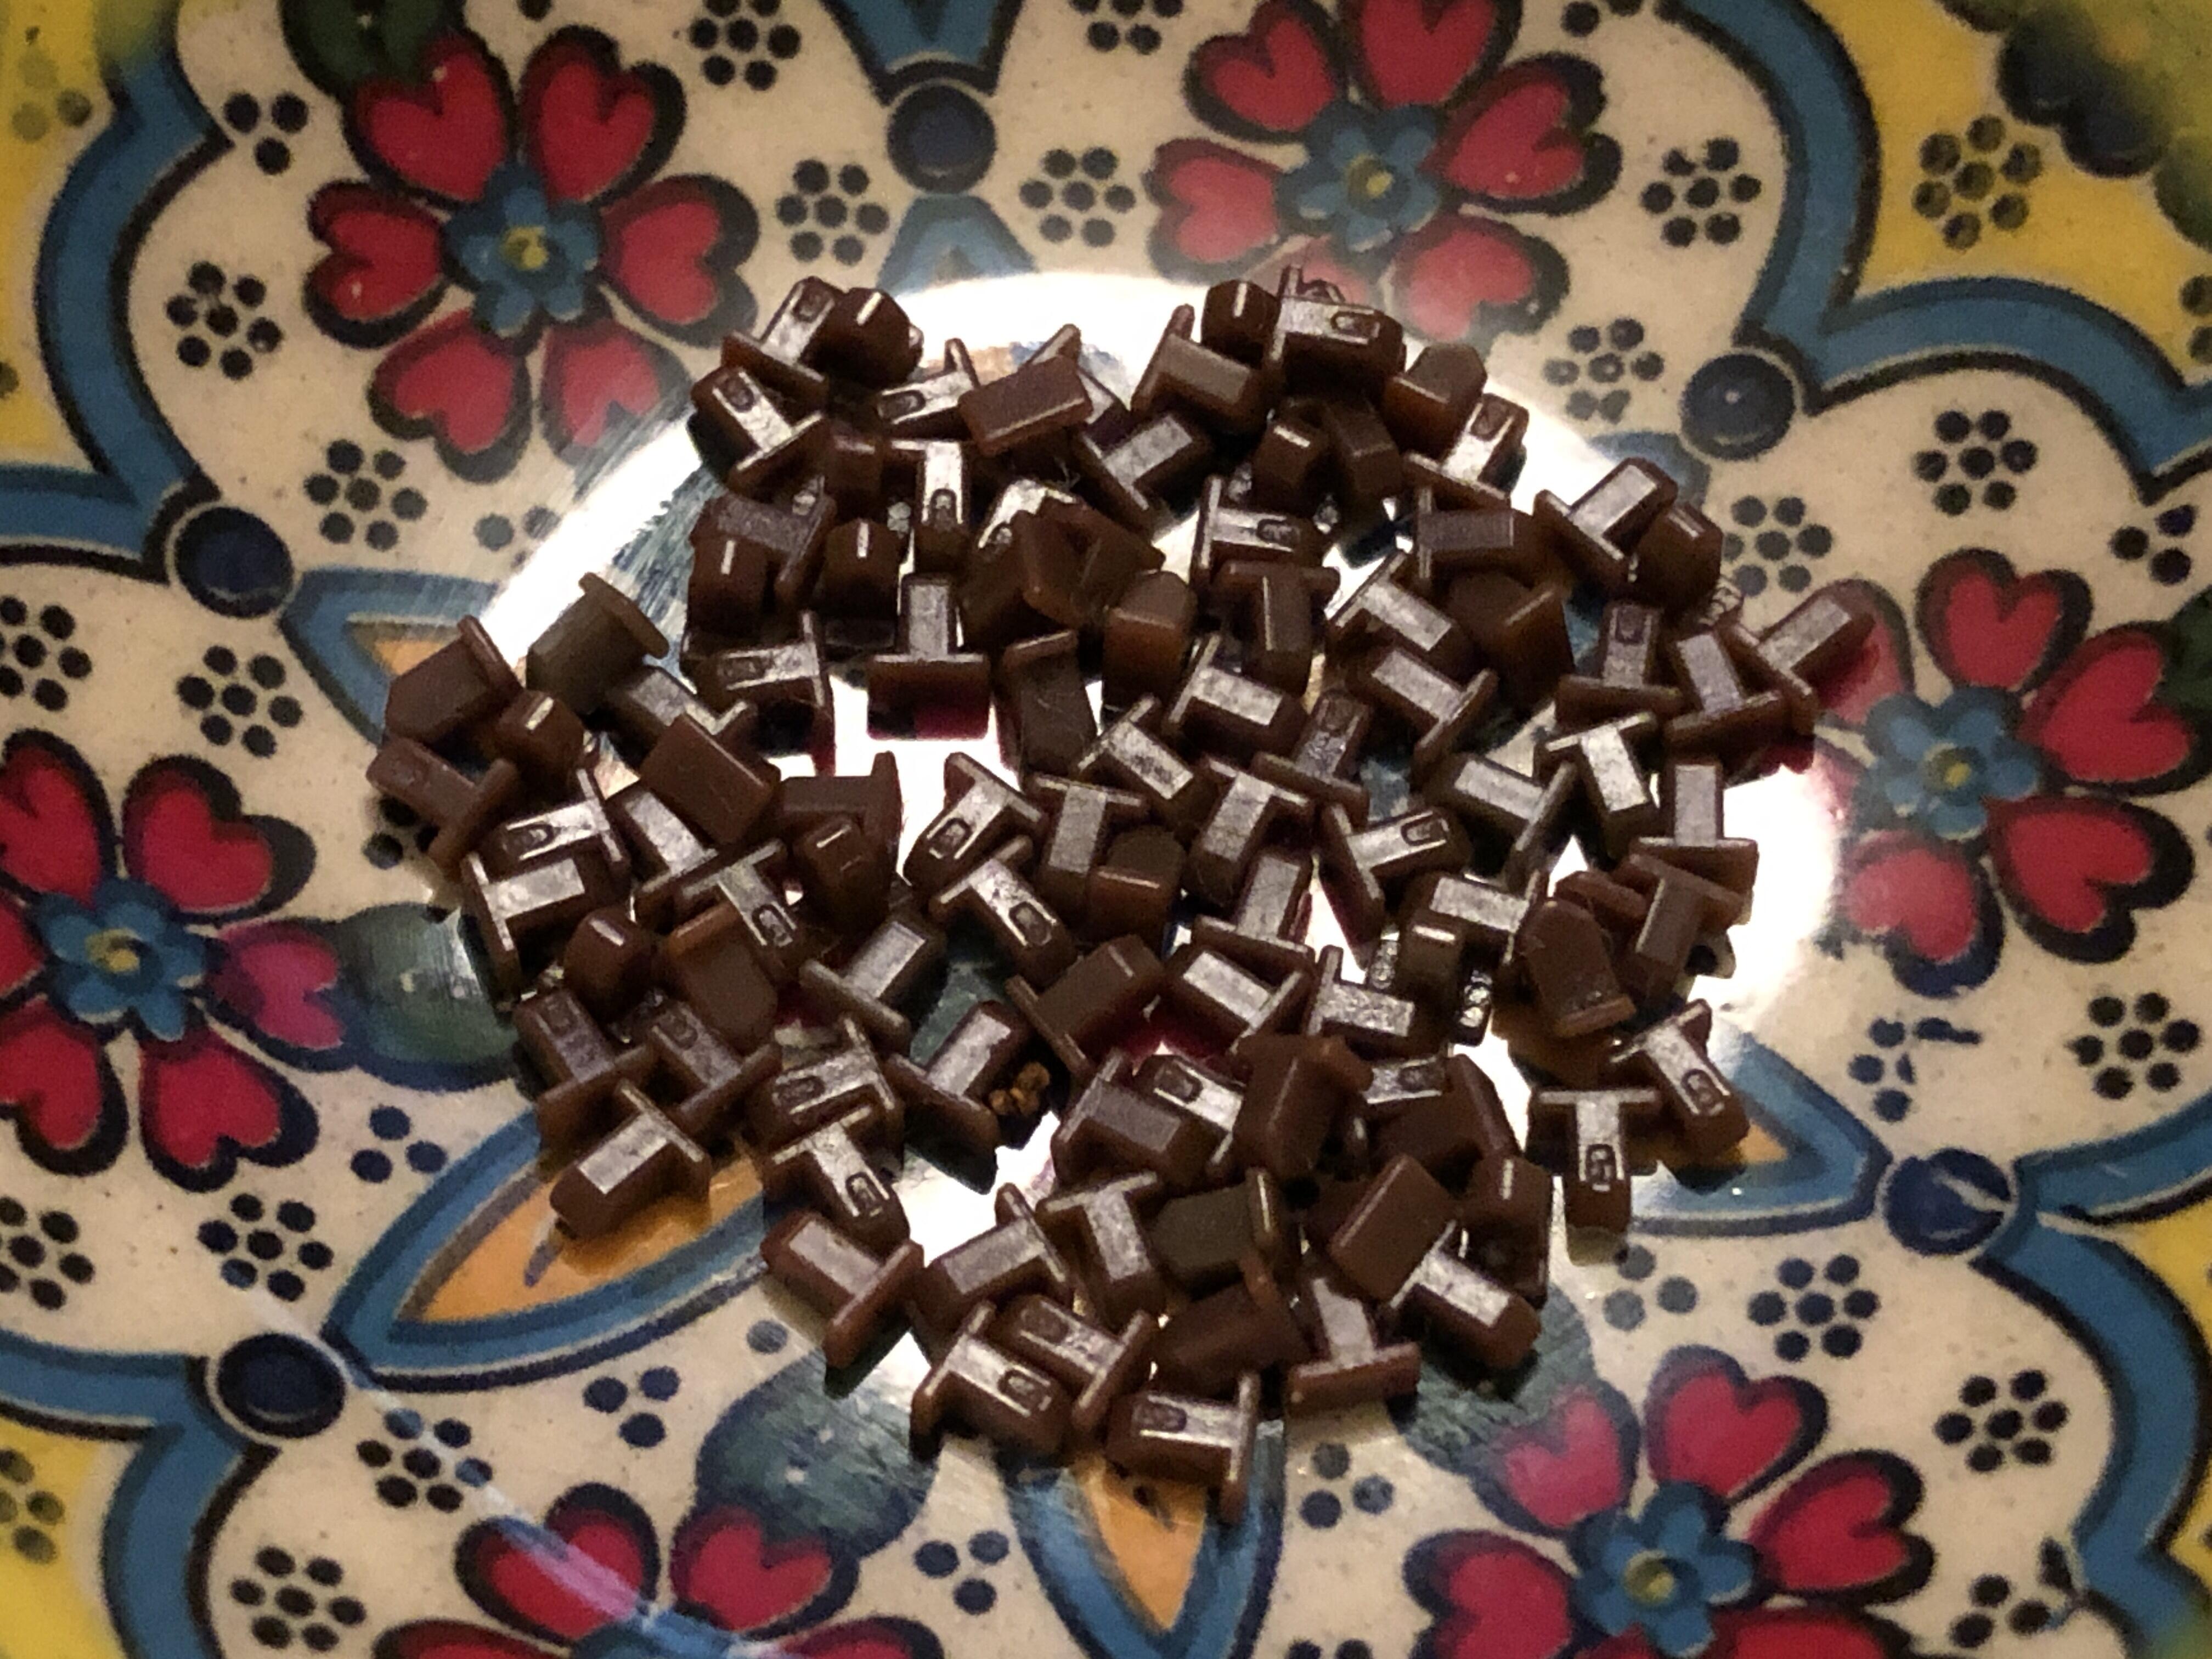
A close look at the cleaned-up plungers. Can you believe I only lost one?
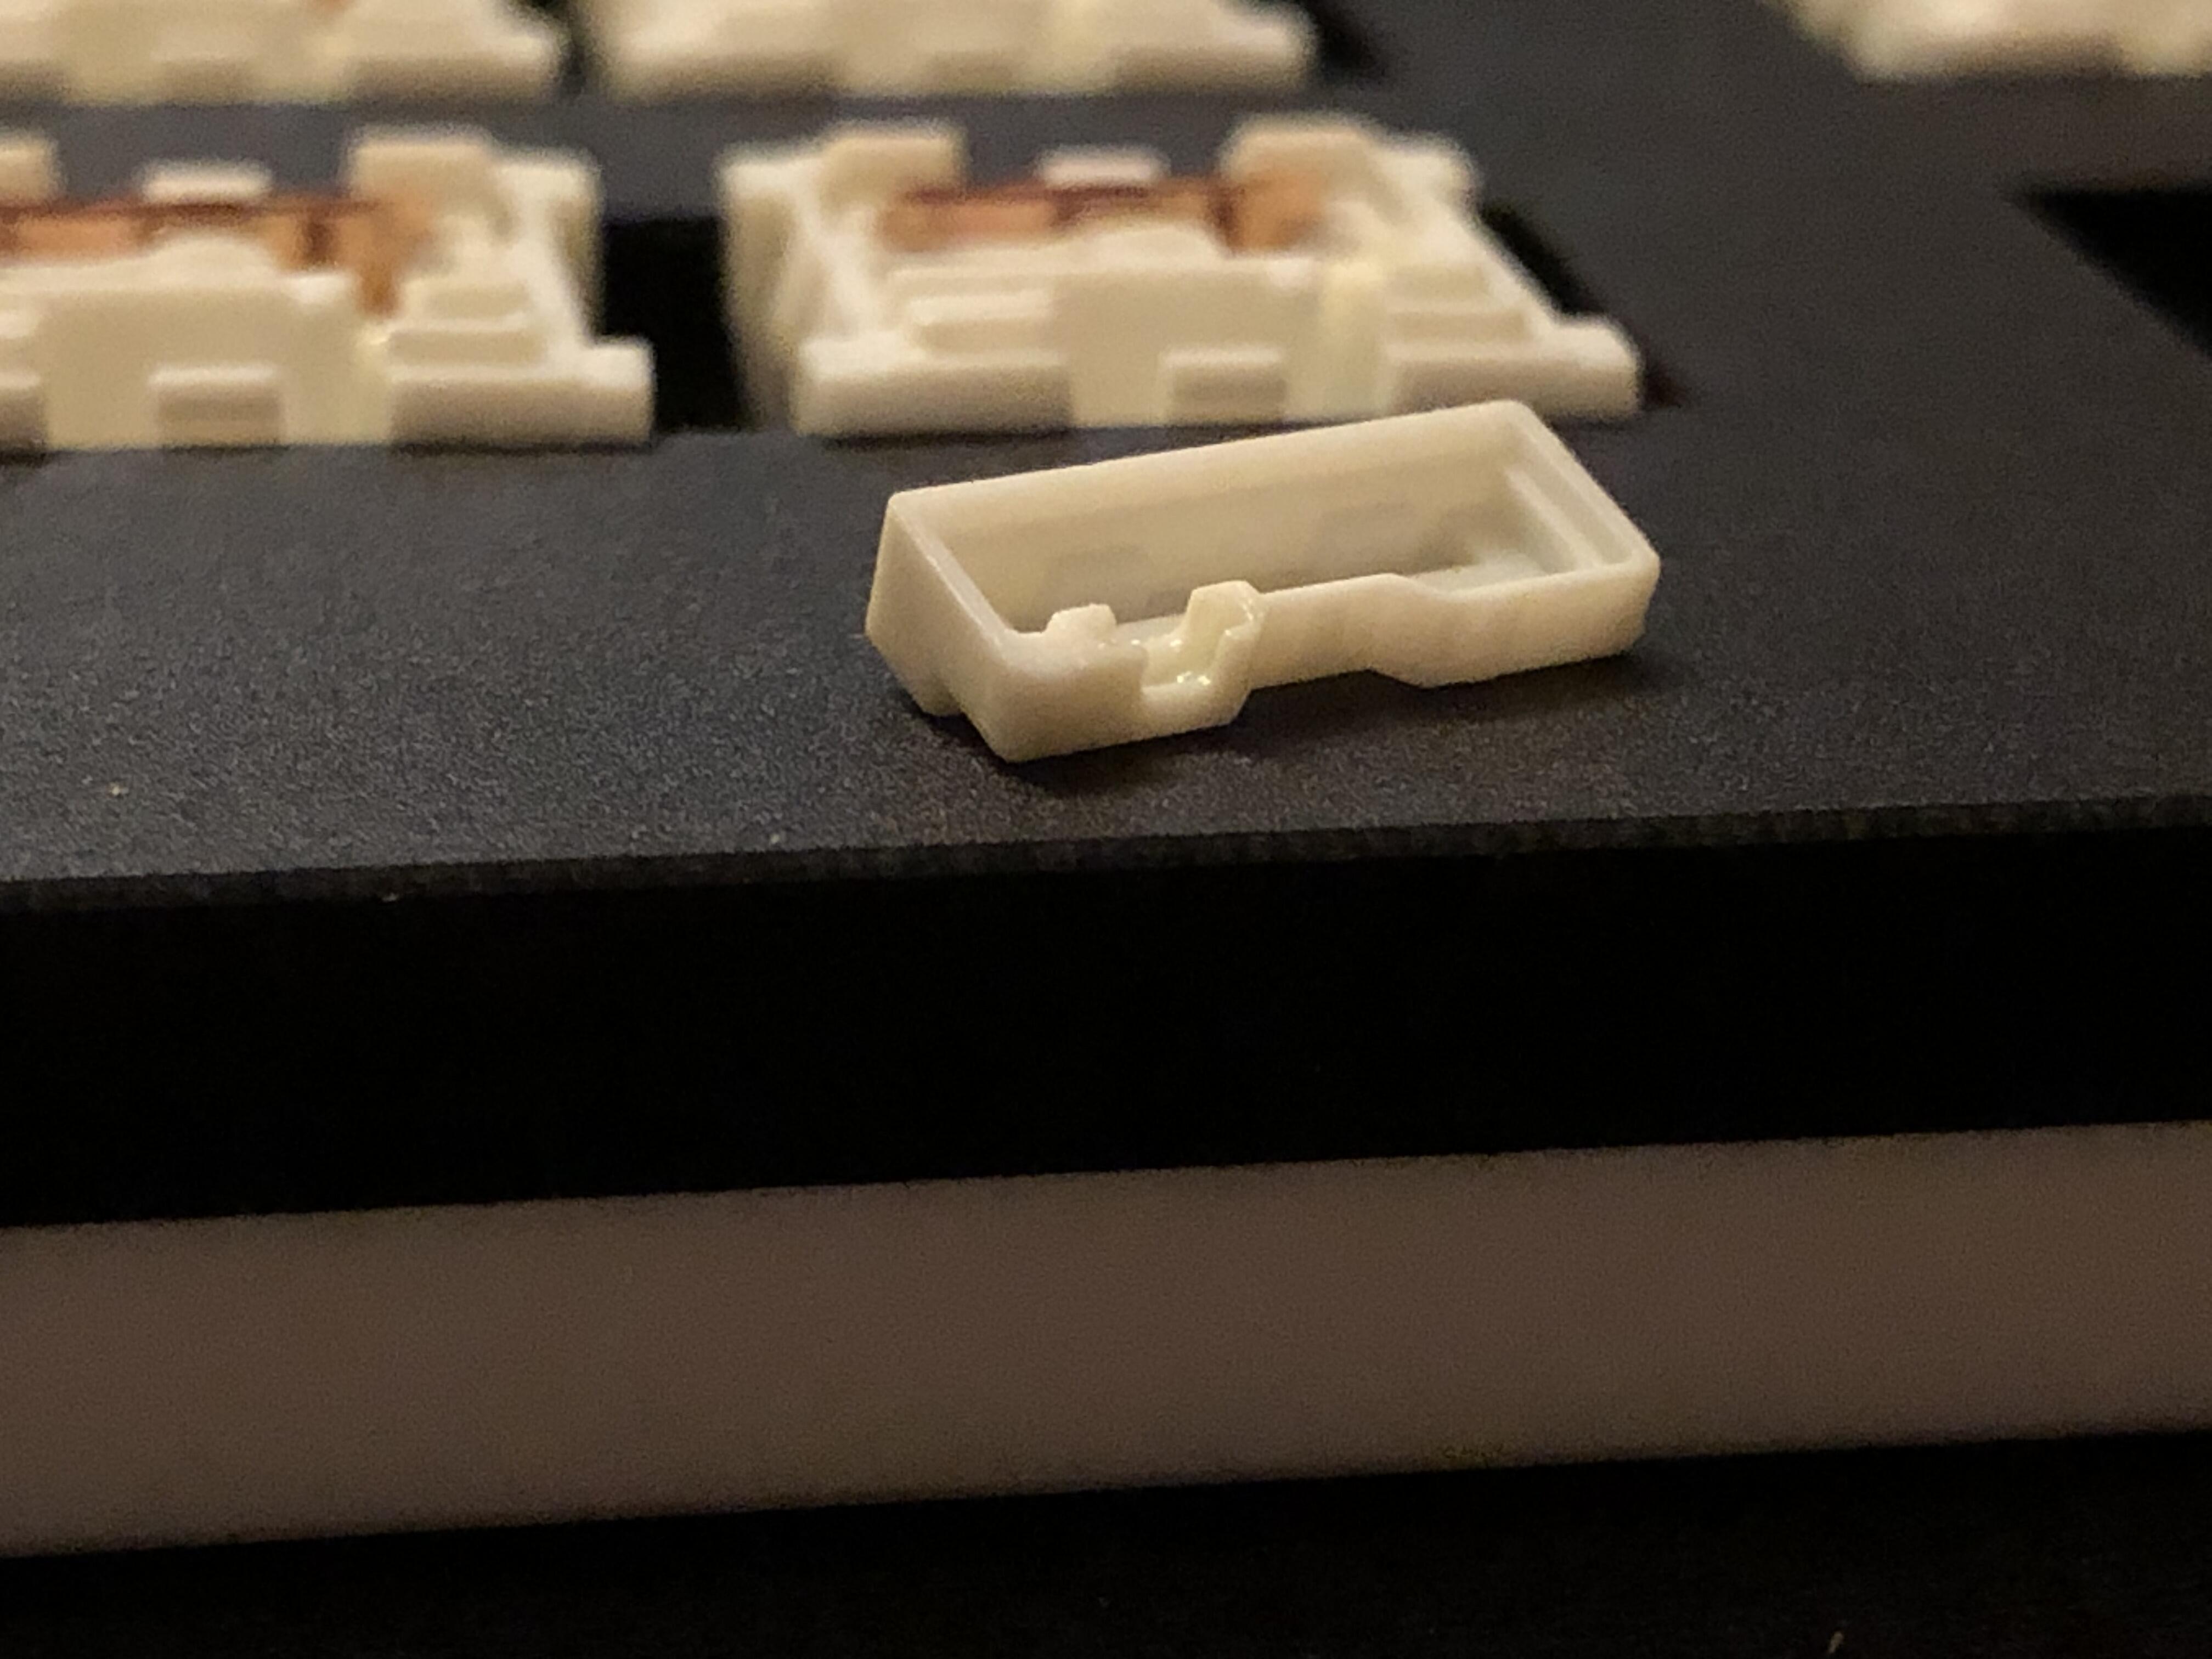
Reassembled sans grease. It’s challenging enough when there’s goo there to hold the little plunger in-place as you position it; let’s just say this practice has given me the opportunity to become more skilled with my tweezers.
From above.
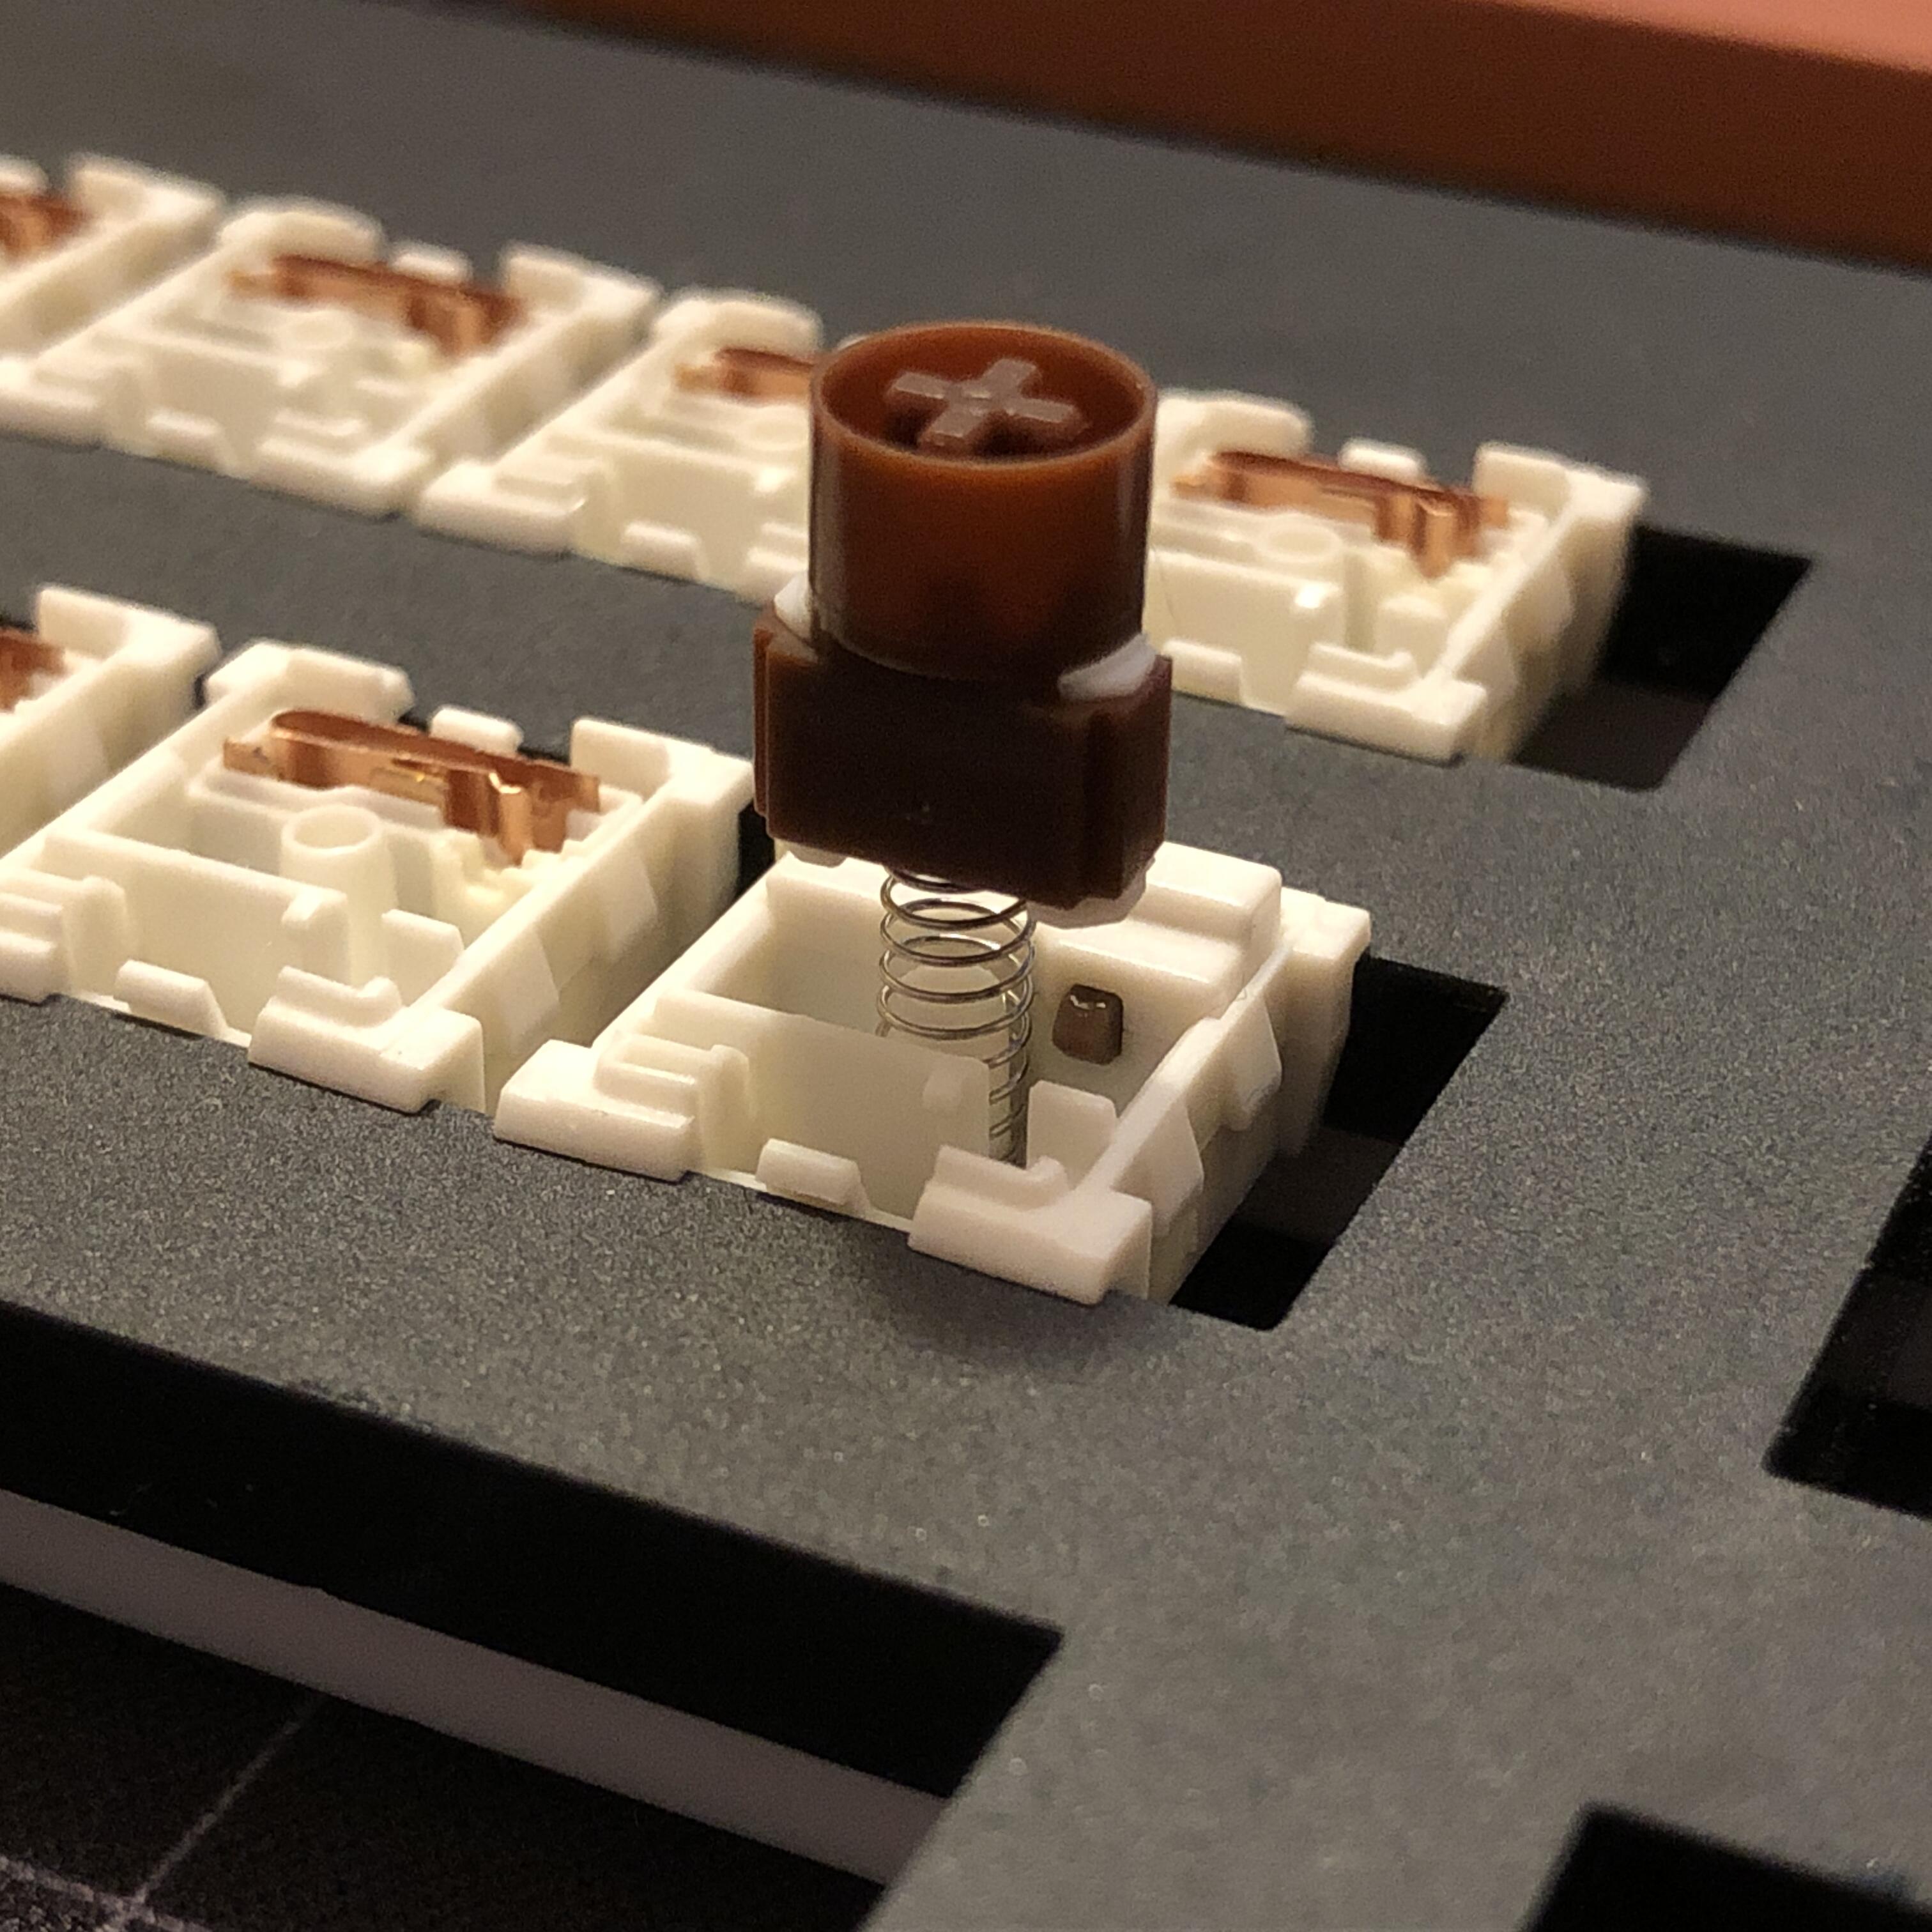
With box-top and spring.
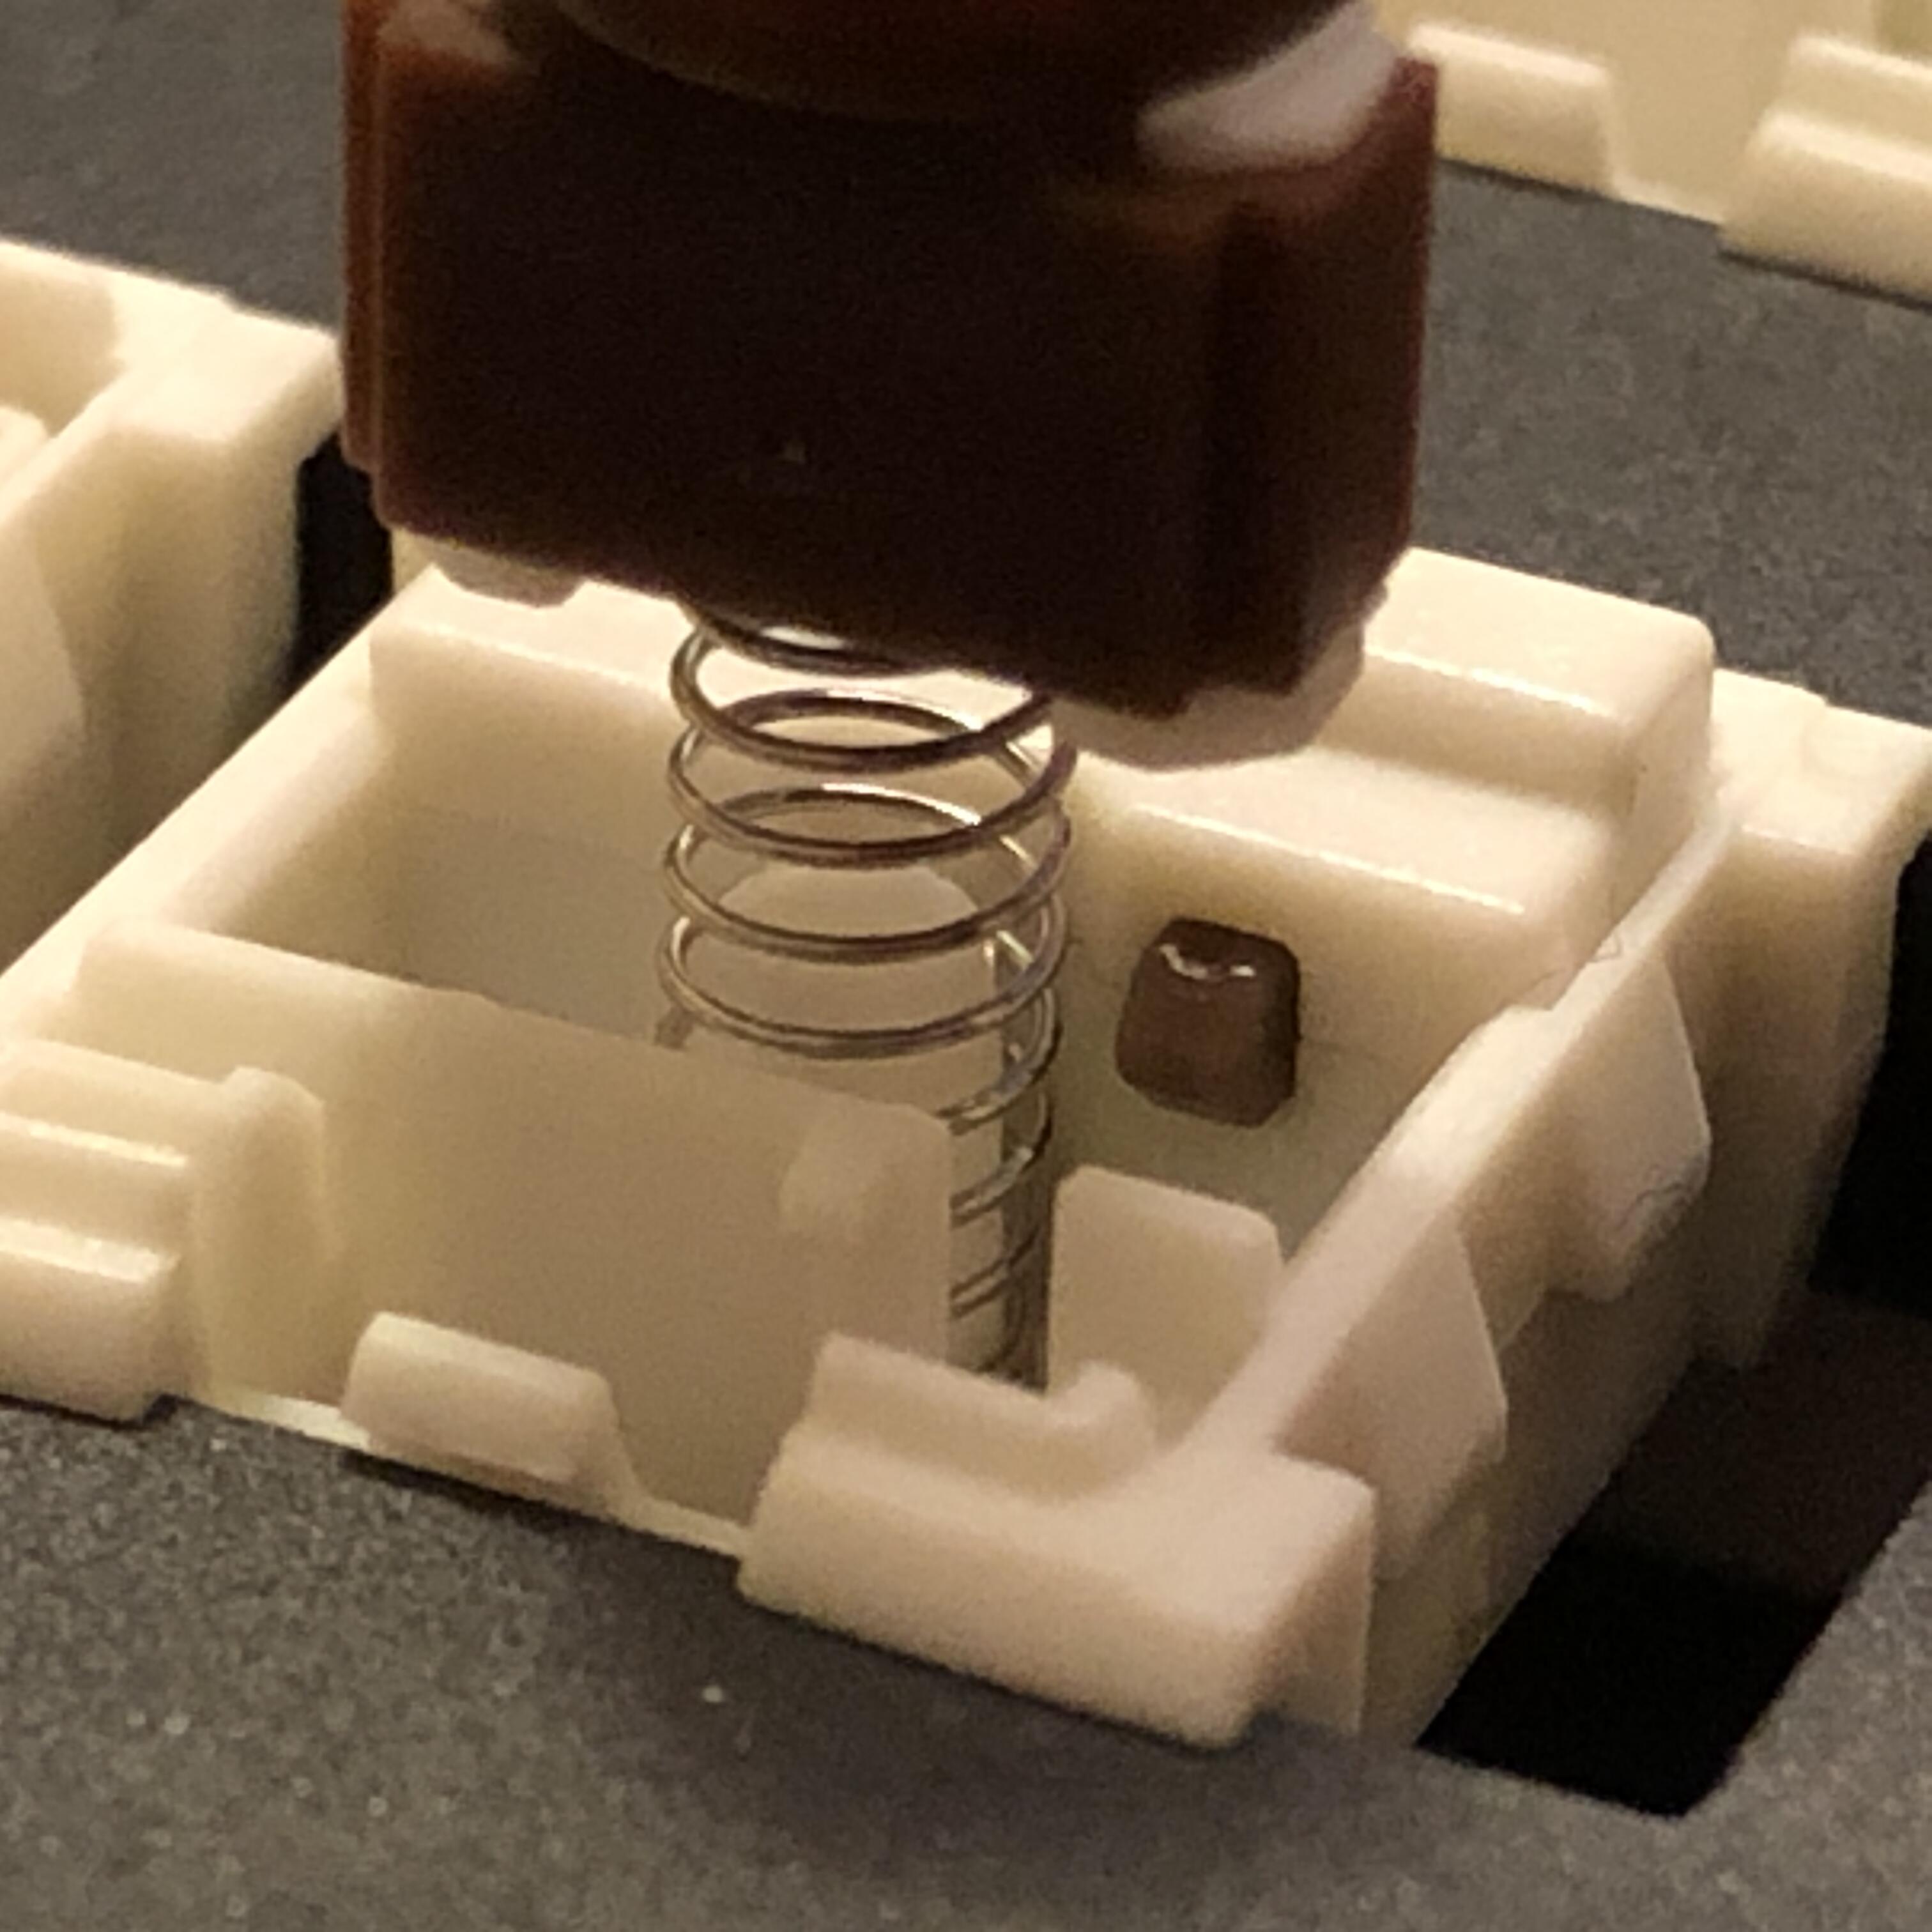
Close-up of the protruding plunger bit; the whole point of removing all that grease is to allow this piece to jostle-around in its housing. It doesn’t have much room to move around so there isn’t really any rattle, but it has just enough to make a nice, sharp click.
While I haven’t tested it for durability, I’m quite sure this mod reduces the otherwise long life-span of the BOX switches by giving plastic parts more opportunity to wear against each-other. Given this mod is mostly about the novelty and proof-of-concept, I’m not too worried about that.
It might be cool to see a manufacturer try a purposeful version of this effect; that is, a captive plunger that also acts as an intentional clicking device - or even just a normal BOX clicky with dampening. All that last one would take is adding the plucking foot for the click bar to the dampened stem (or stems for dampened housings that superseded them).
15 Likes