>Do you think they are lighter than 45g stock domes?
No, at least not the silent 45g that came on my R3. They feel ever so slightly heavier to me, though that could be preconceived since they’re listed as 50g. They also have a noticeably higher tactility, which at this weight range is a good thing, IMO. Excellent linears are available in the MX format, so I want that tactility in my one and only Topre.
The Texas Teas I put on Esc, PS, SL, and PB, on the other hand…
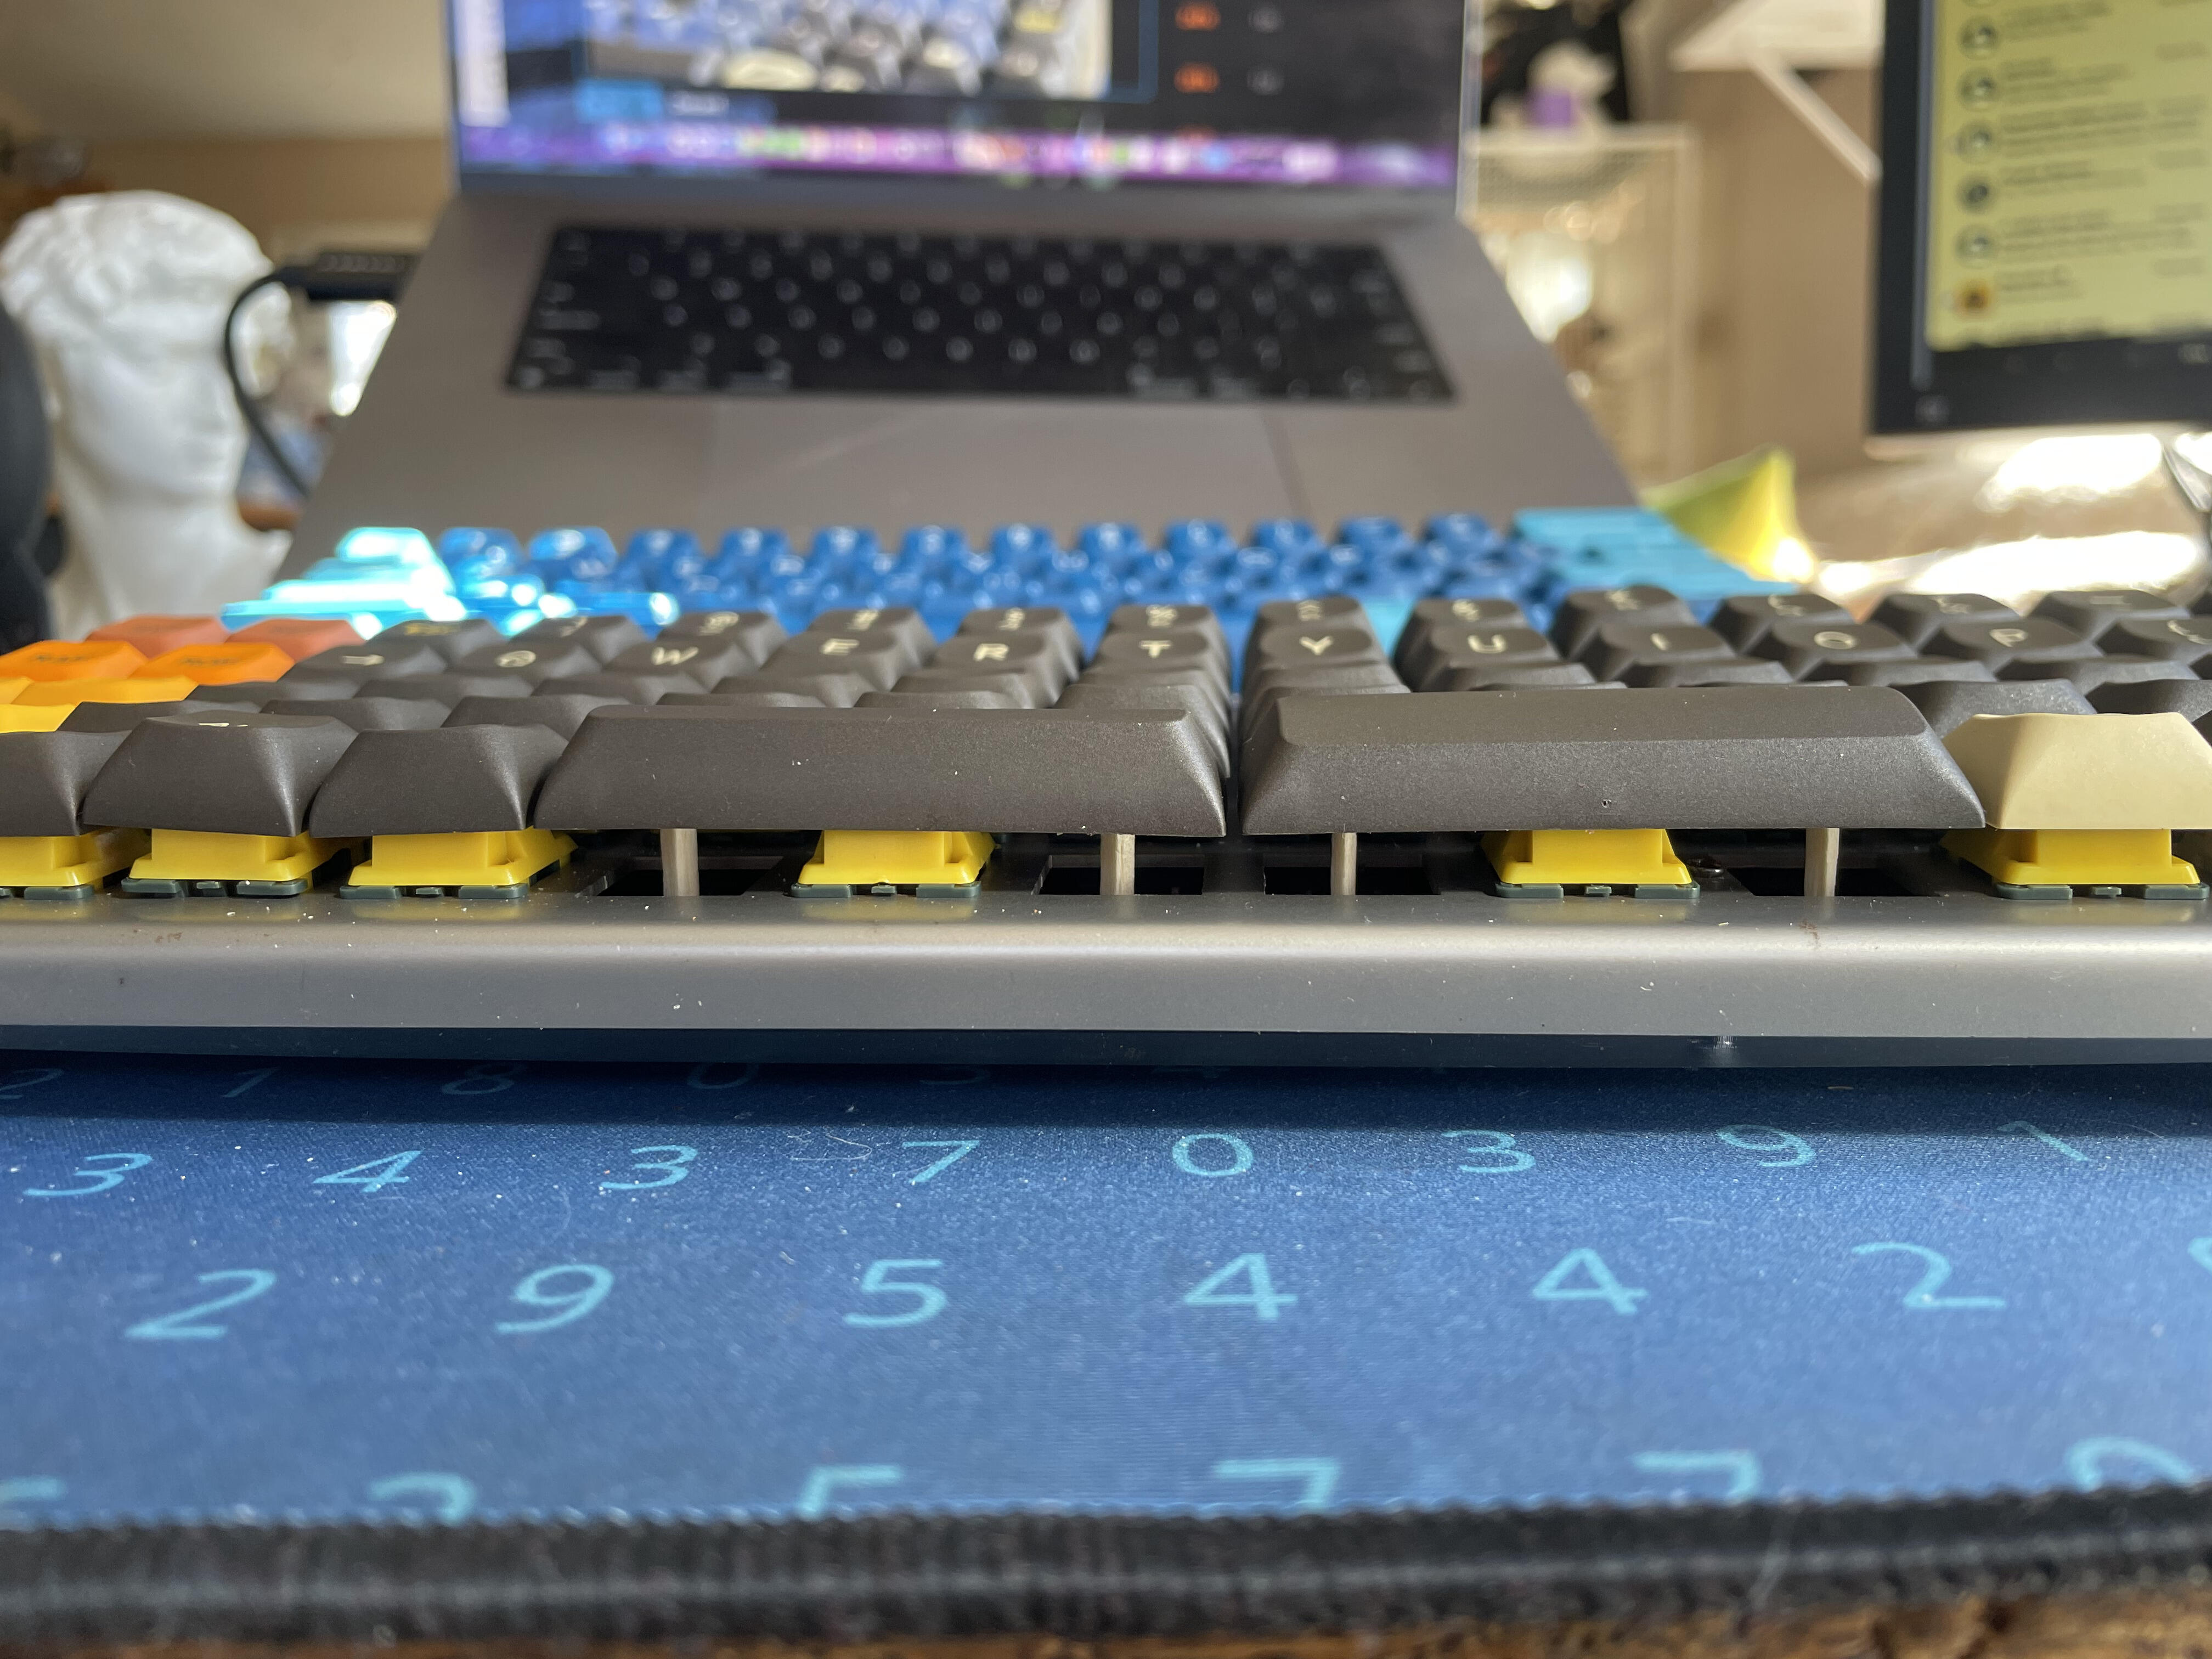
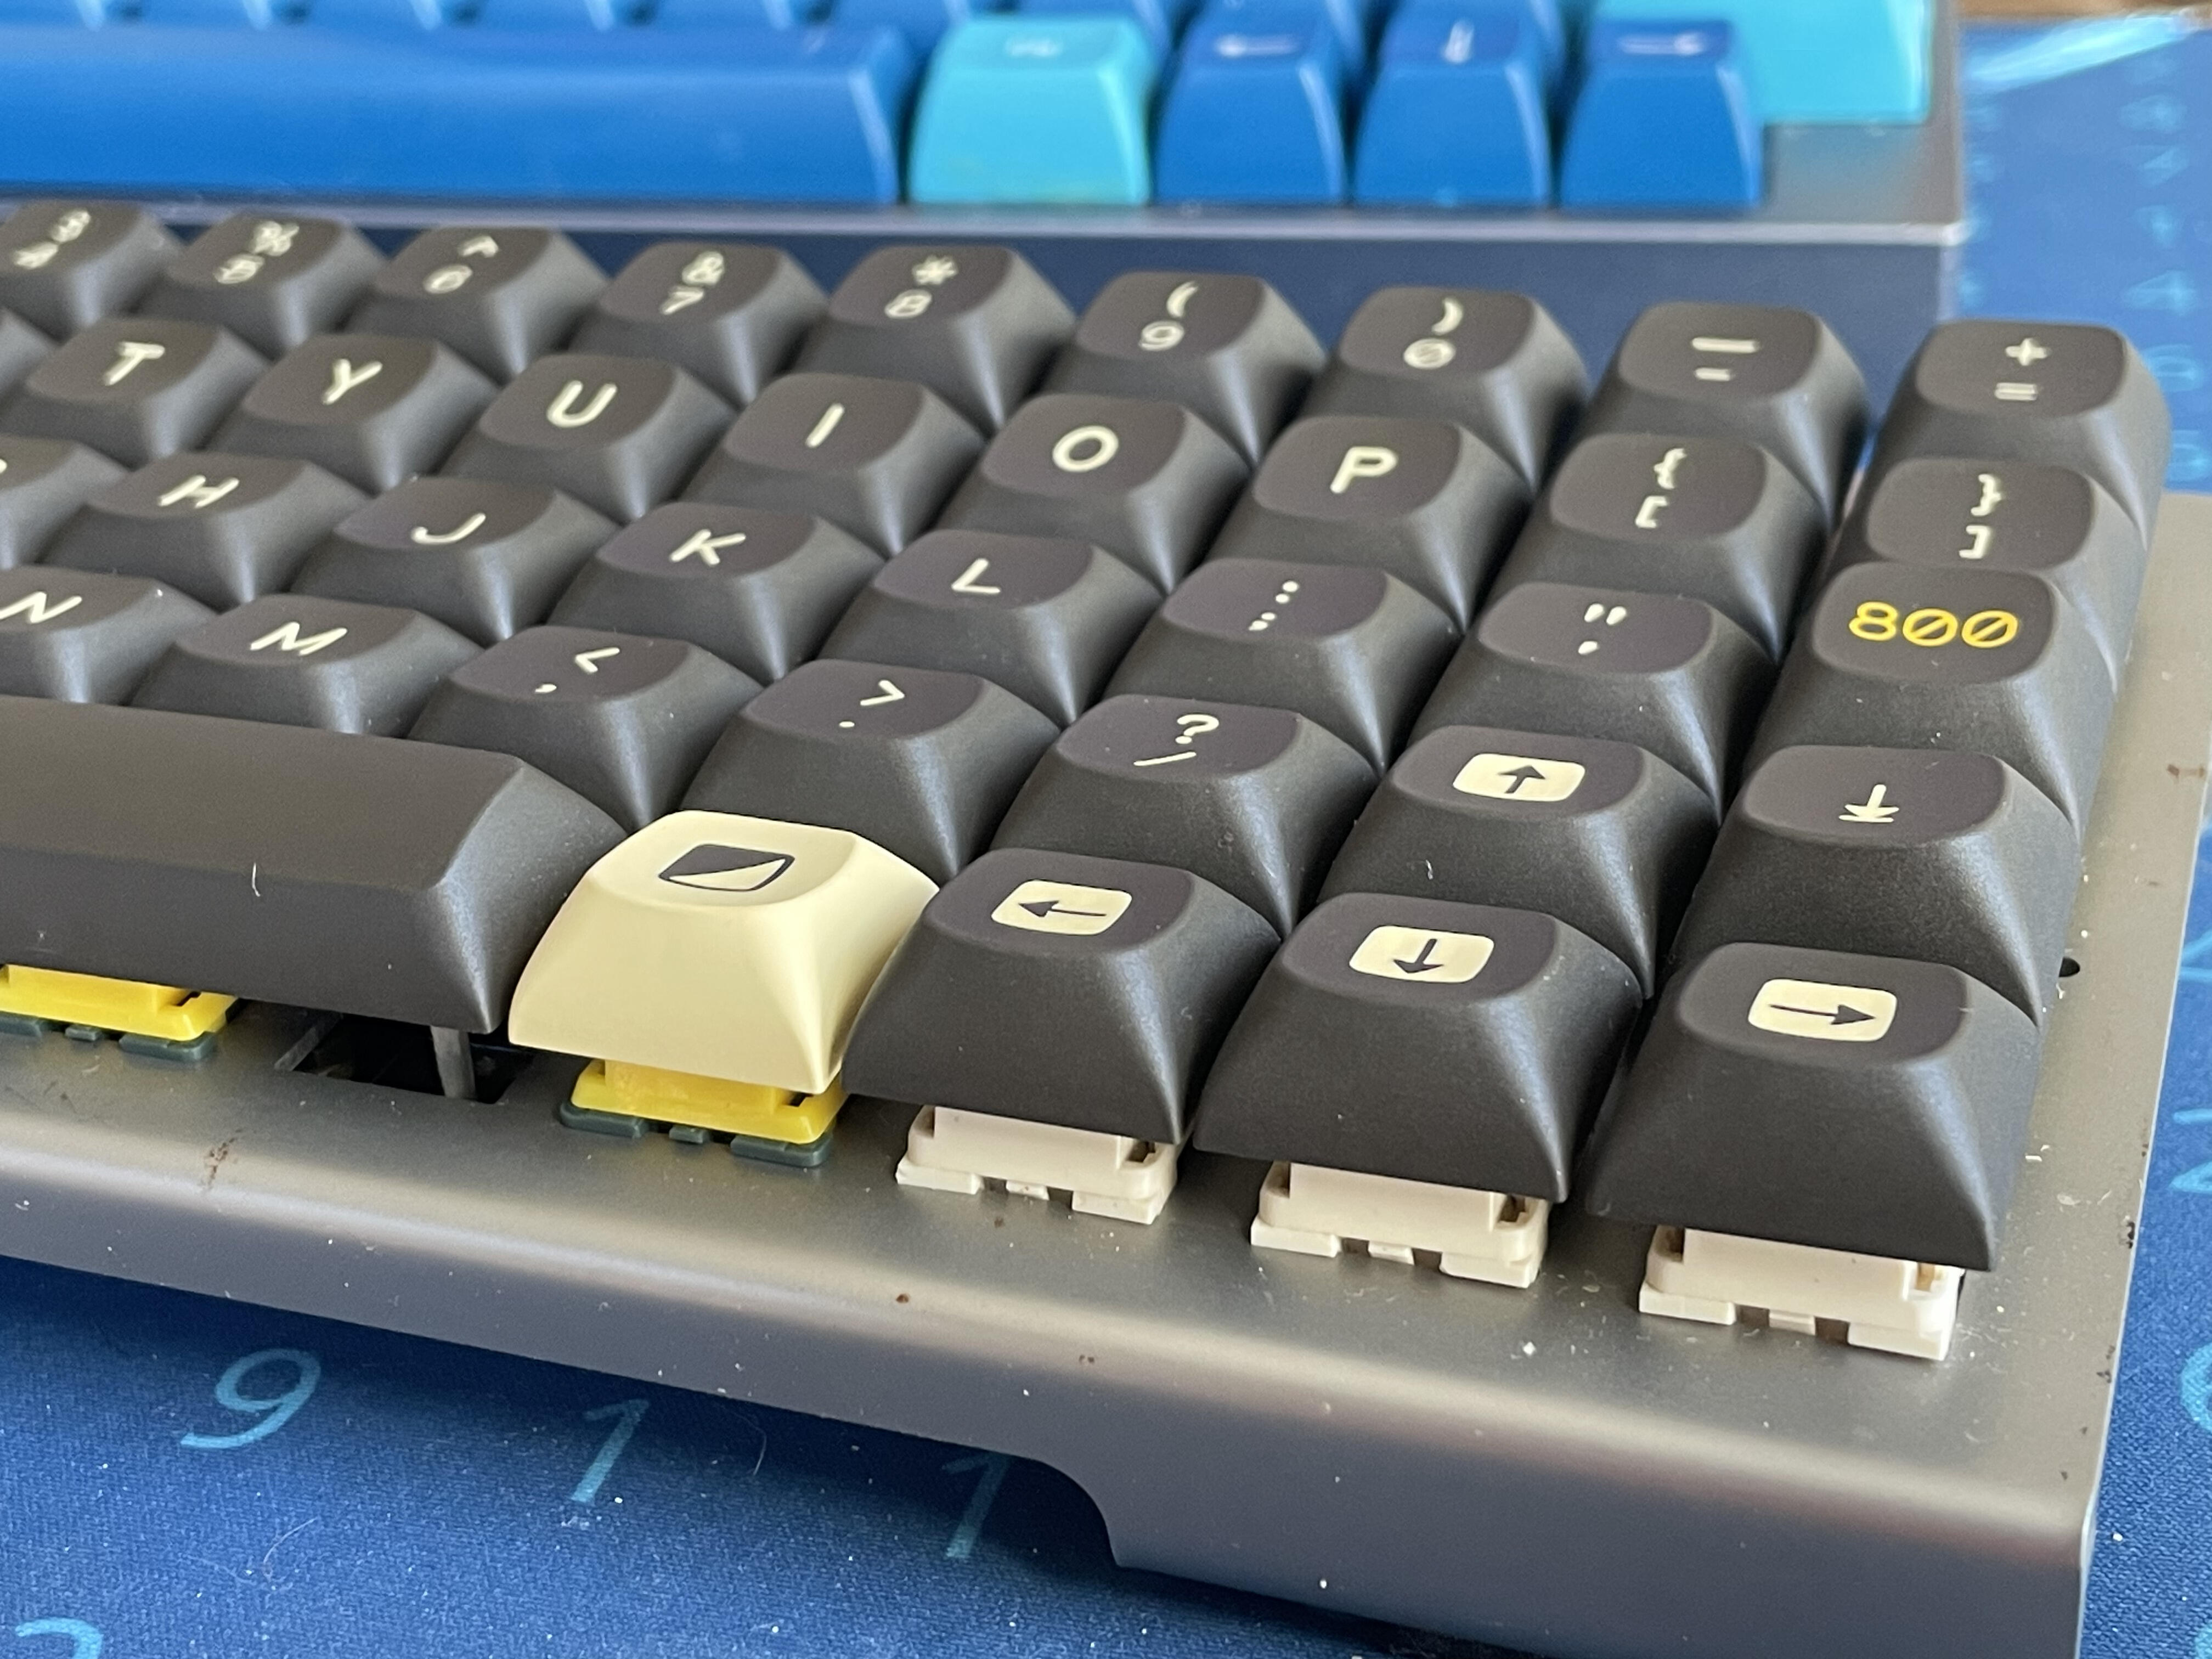
I have begun lubing and spring-swapping a bunch of no-name reds (Jerrzi and Royal Kludge, IIRC, which should actually be Huano/Outemu I think) to populate my ten-buck Drop CTRL case. I did a couple of the switches a while back to supplement the stock switches in an Epomaker board that had an undocumented split space on the PCB, so I feel good that they’ll meet my needs.
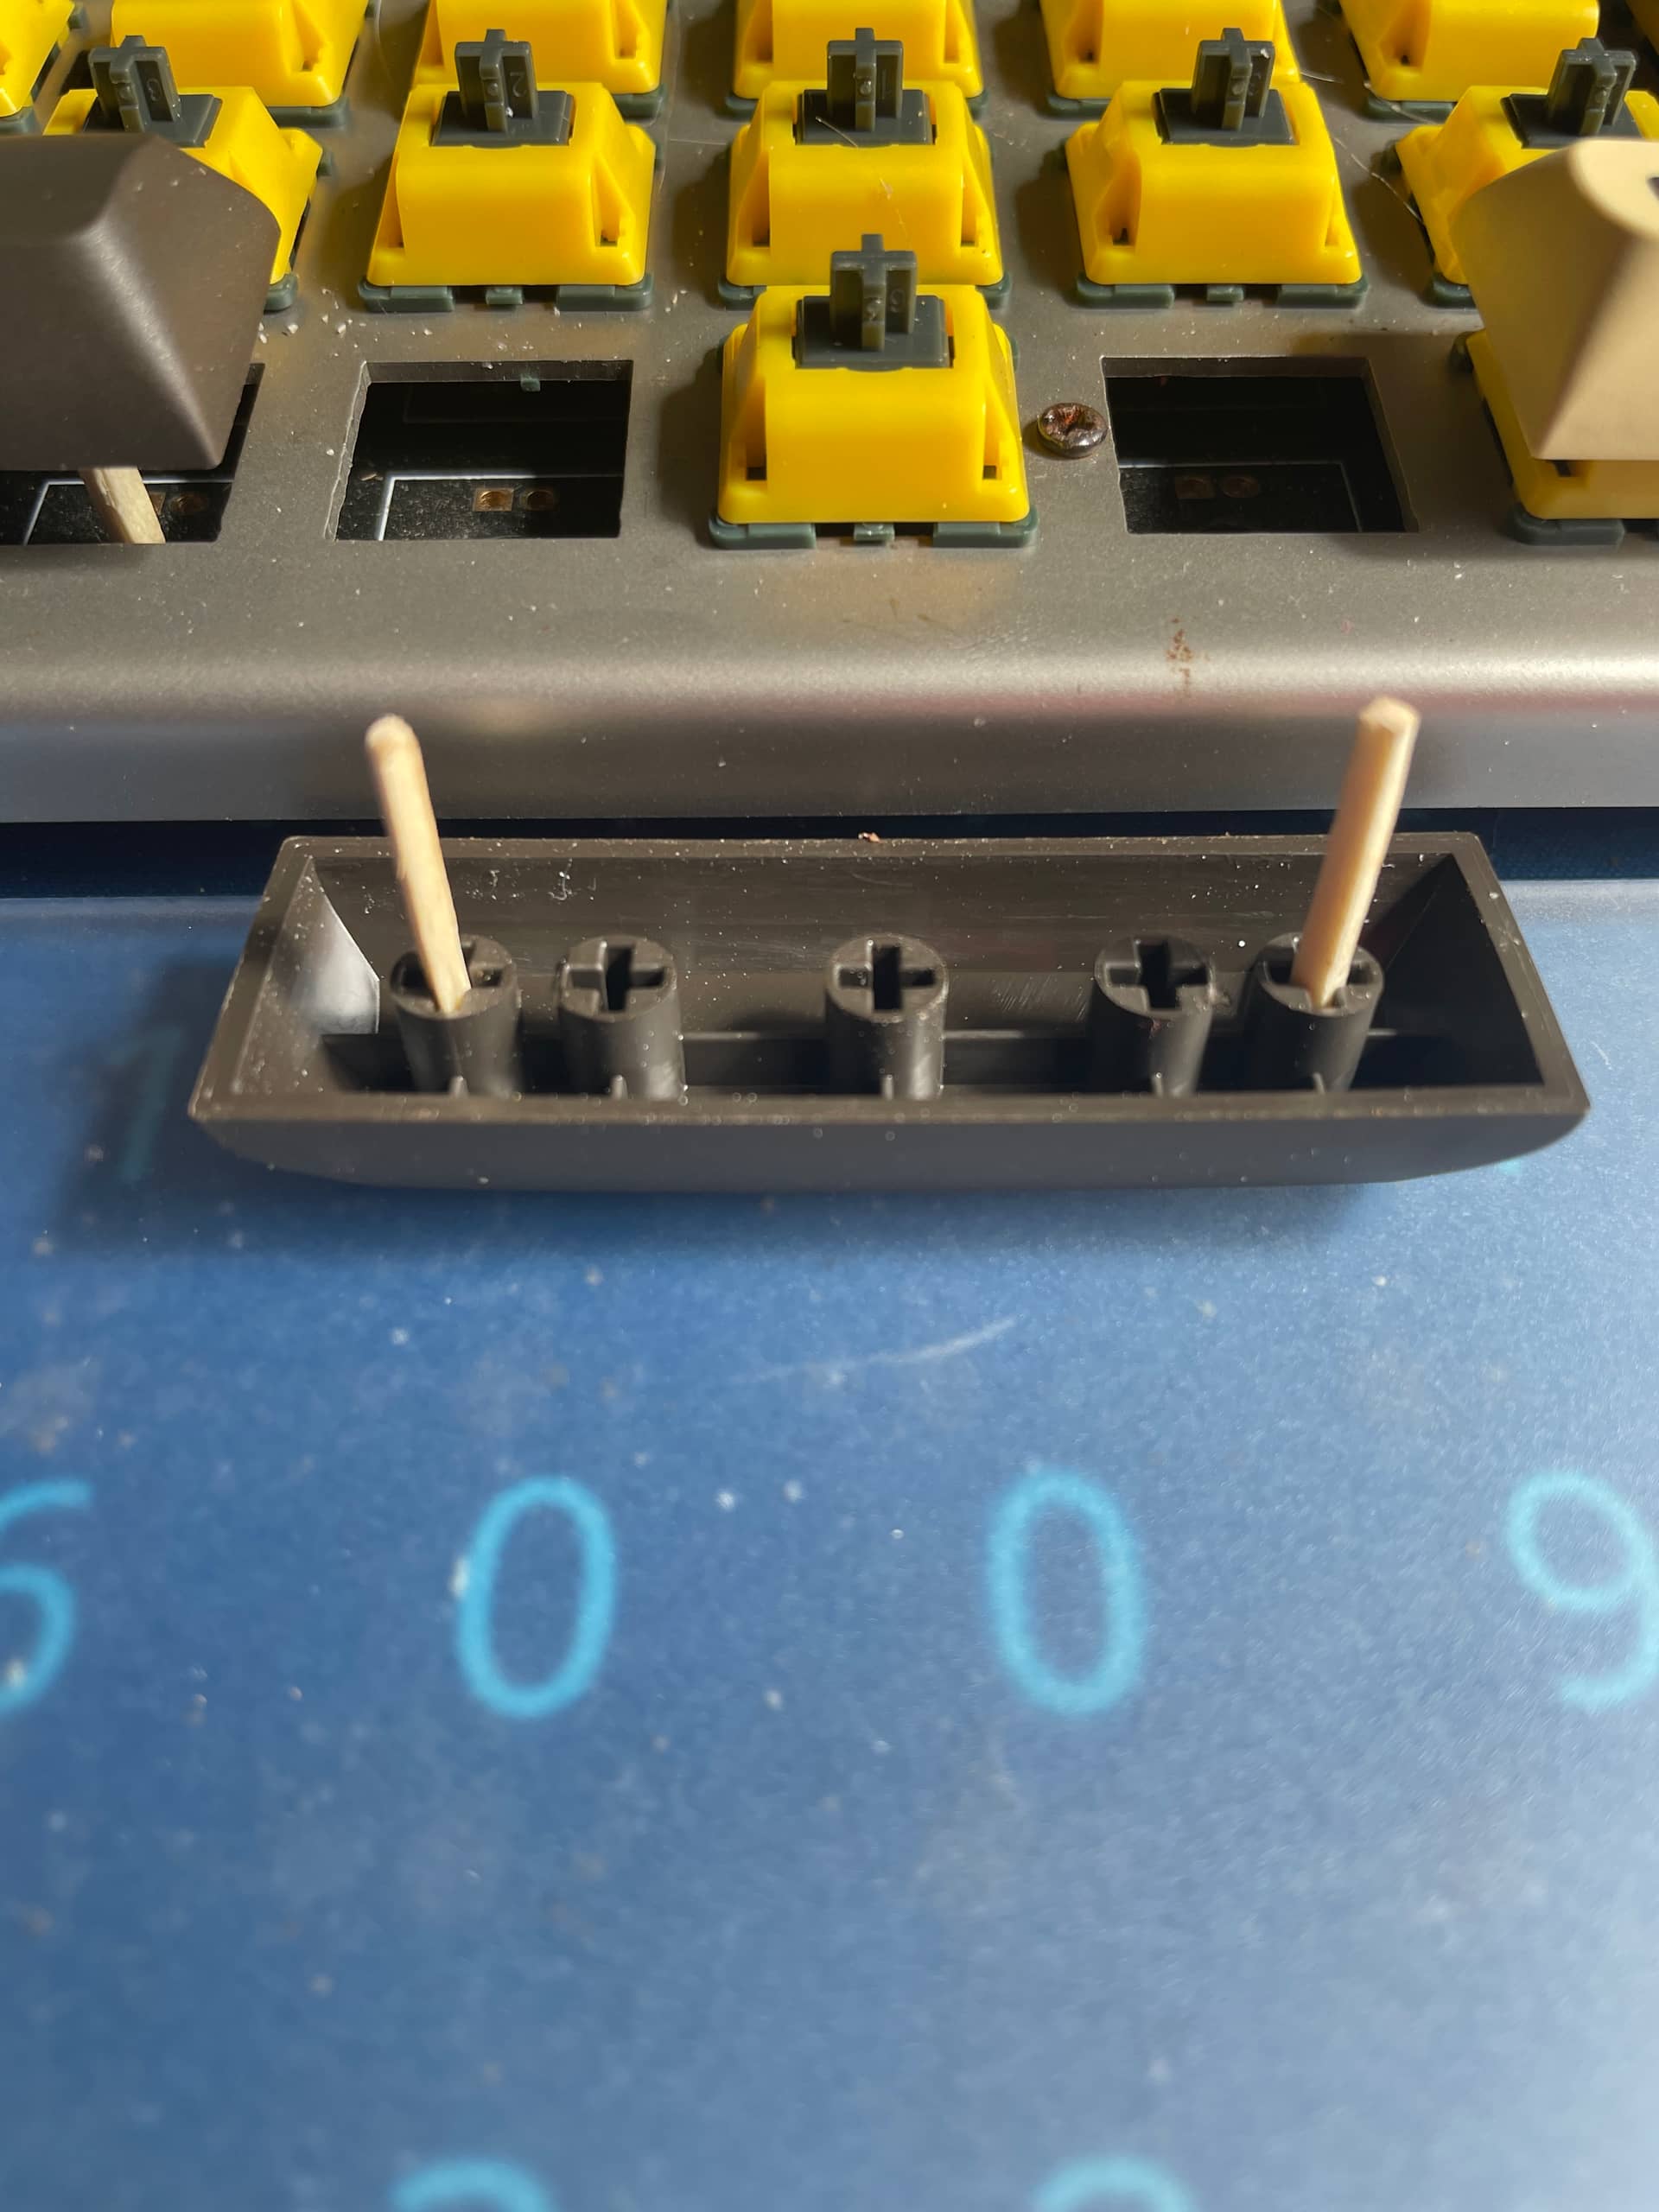
The issue is with the plate, which is integrated into the top case. It is obviously an older design and not really meant for the purpose I have in mind (handwiring), so no judgment, but the switches sit in the plate quite loose. Like, more slop than a ChatGPT convention. Normally the PCB, even a hotswap one, would be more than sufficient to handle that, but obviously there isn’t going to be any PCB. Any pro tips on the best way to shim switches in a loose-fitting plate?
If it comes down to it, I have some heavier-gauge wire I could use to make the matrix sort of load bearing, but I don’t like soldering on it, so I’d prefer not to need that.
This is more in the realm of dumb hacks than pro tips, but considering they’re cheap switches and mostly permanent due to hand wiring, what if you just glue the switches to the plate?
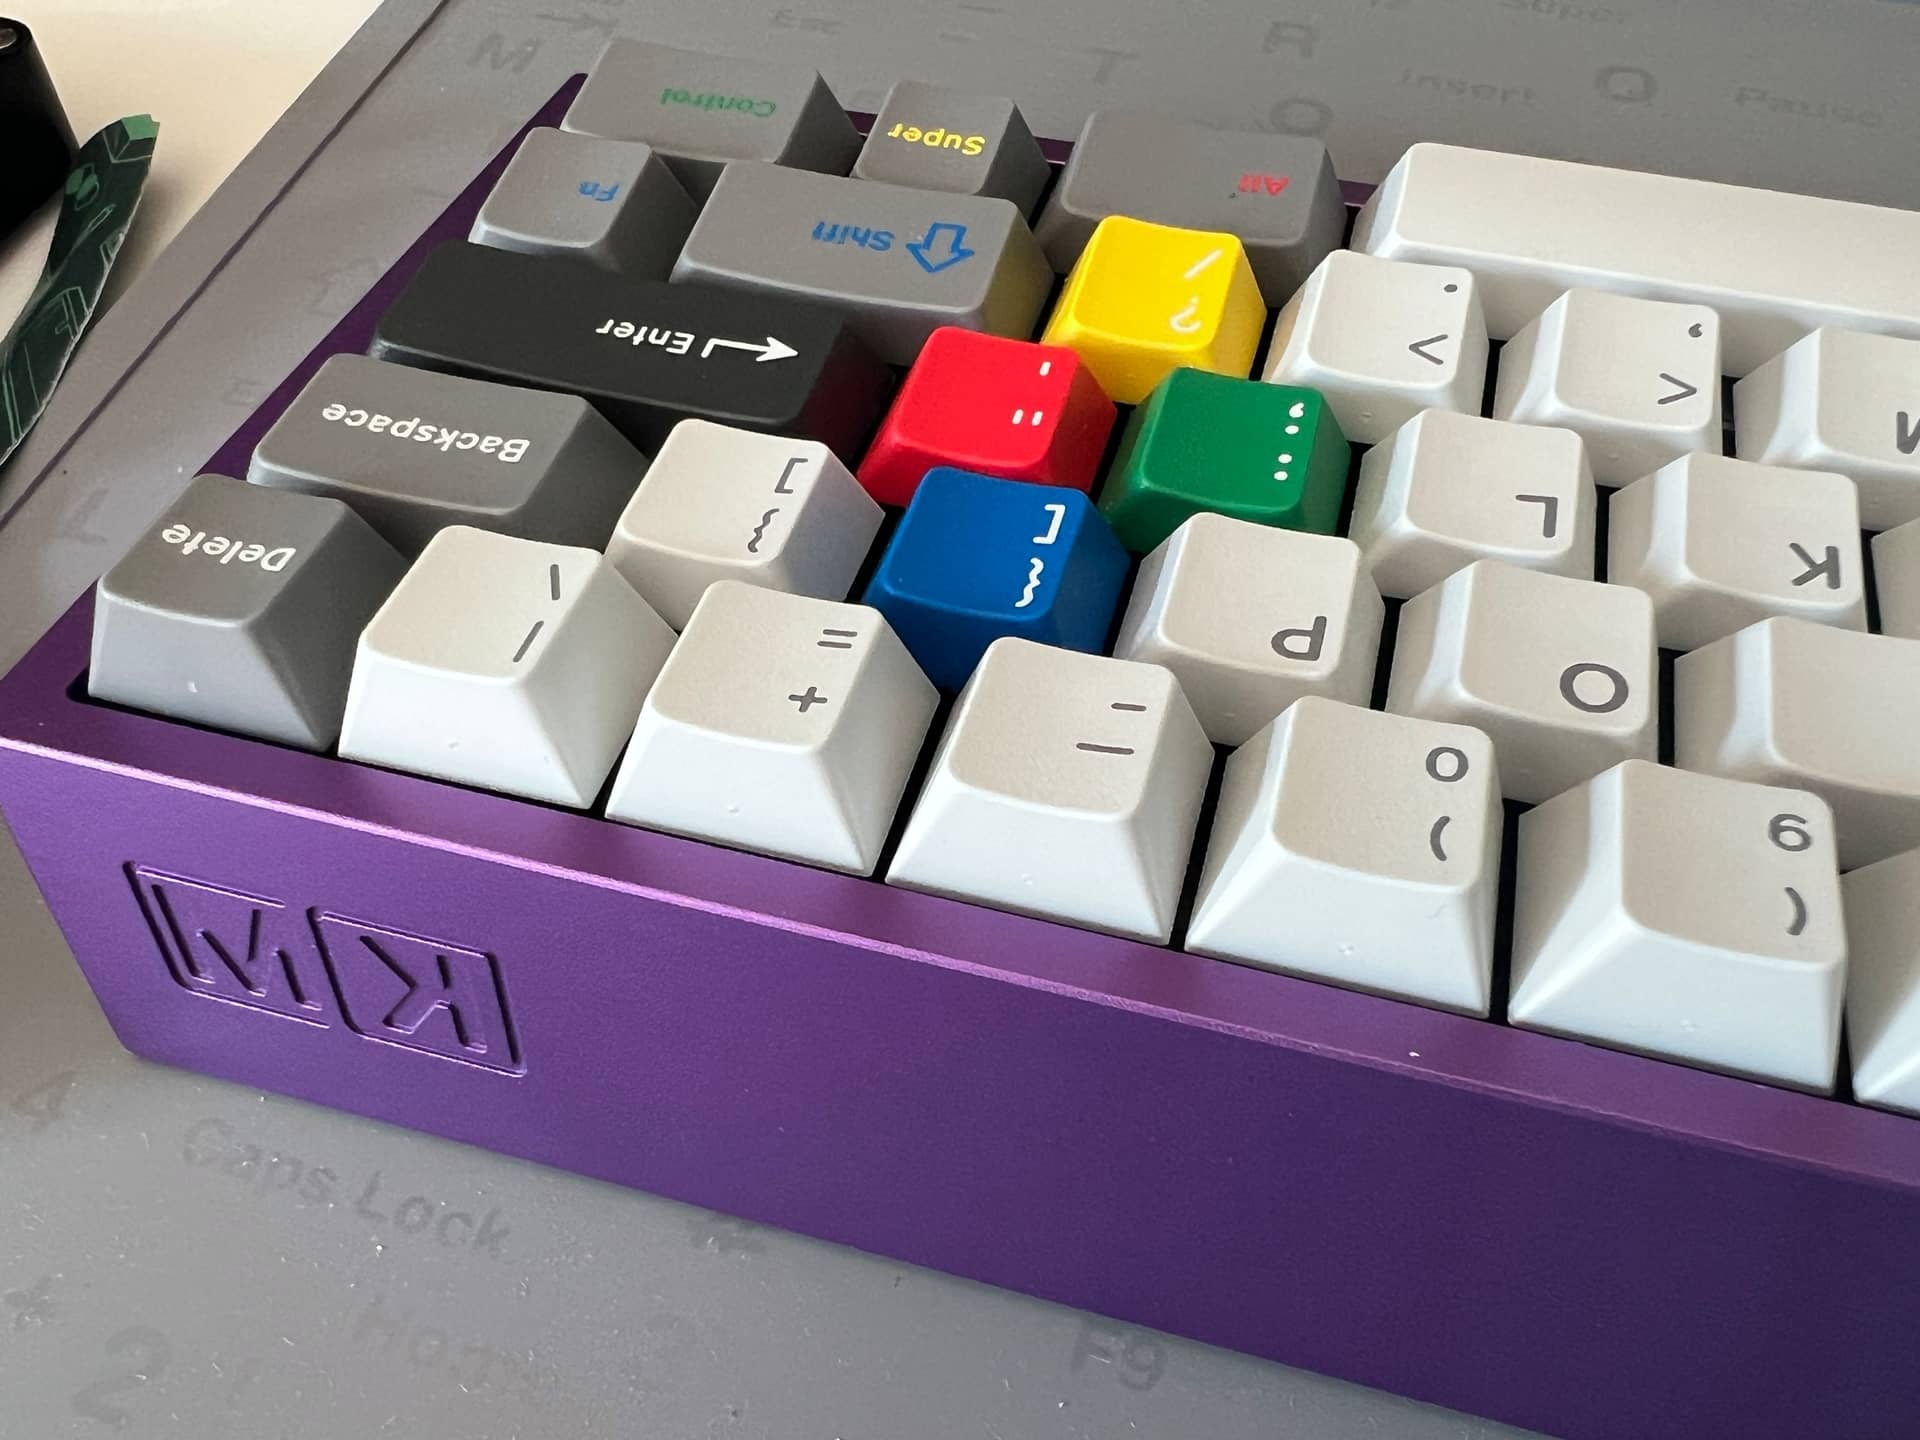
This is GMK N16 on one of my older keyboards, a purple Klippe with the old MK logo.
The PCB is hotswap and the switches are HMX Cola. They’re very lightweight linears and quite snappy and clacky.
The reason it’s here on my workbench is that I am trying out the Geon Keysnaps that I bought some time ago.
Happy to report that they work very well in the Klippe case. Definitely an upgrade in feel from the original tray mount. It’s still quite firm, but it doesn’t have the typical uneven feel and sound of a tray mount near the mounting posts. It is a very tight fit. I’ve found the only way to get the PCB back out of the case easily is to remove the switches at the bottom that have the keysnaps around them (In my case, the Super keys), and then pry up from that edge.
I also have some PCB snaps that I need to try out, but this PCB doesn’t have o-ring cutouts. I’ll have to see if I can get these to work in something like my Unikorn
I plan to put these keycaps on my purple polycarbonate HBCP eventually.
Progress on the ten-buck-case Drop CTRL hand-wire build. I have been meaning to do a build with MOA caps, but never quite found the right one until now. I got some spring-themed MOA from Amazon (half price on Resale… I would never buy GMK CYL from them, expecting clones swapped in that might be a pain to describe and explain, but ain’t nobody “counterfeiting” MOA). I’ve never been one to worry much about colorway clones – it sort of is what it is – but I am curious if the novelties come from an old set I wasn’t around for. Switches are a bunch of cheap reds modded to be, effectively, cheap but lubed blacks.
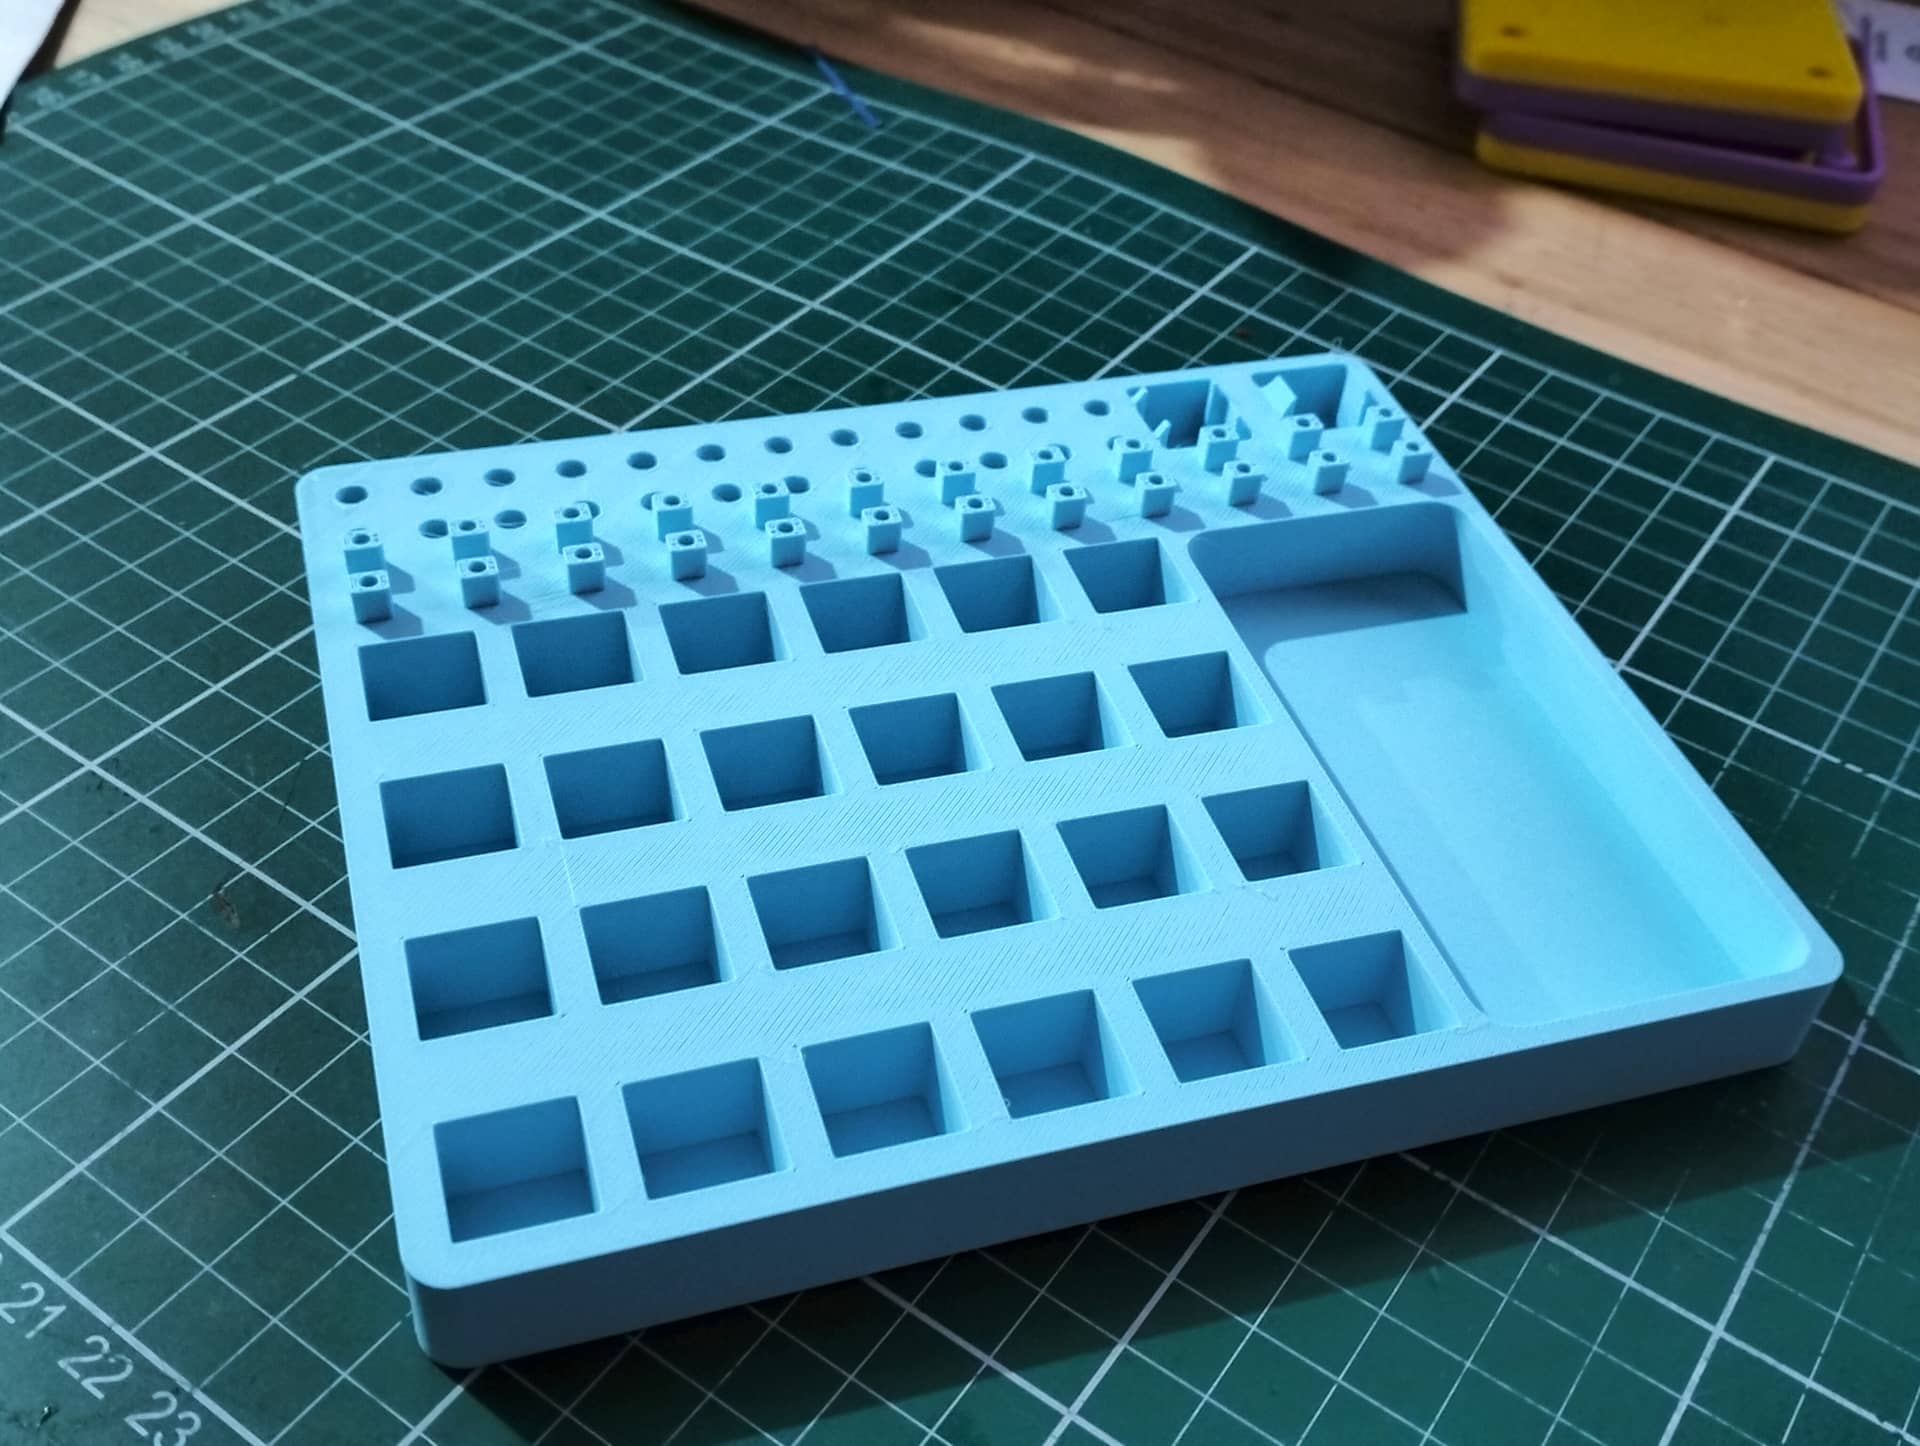
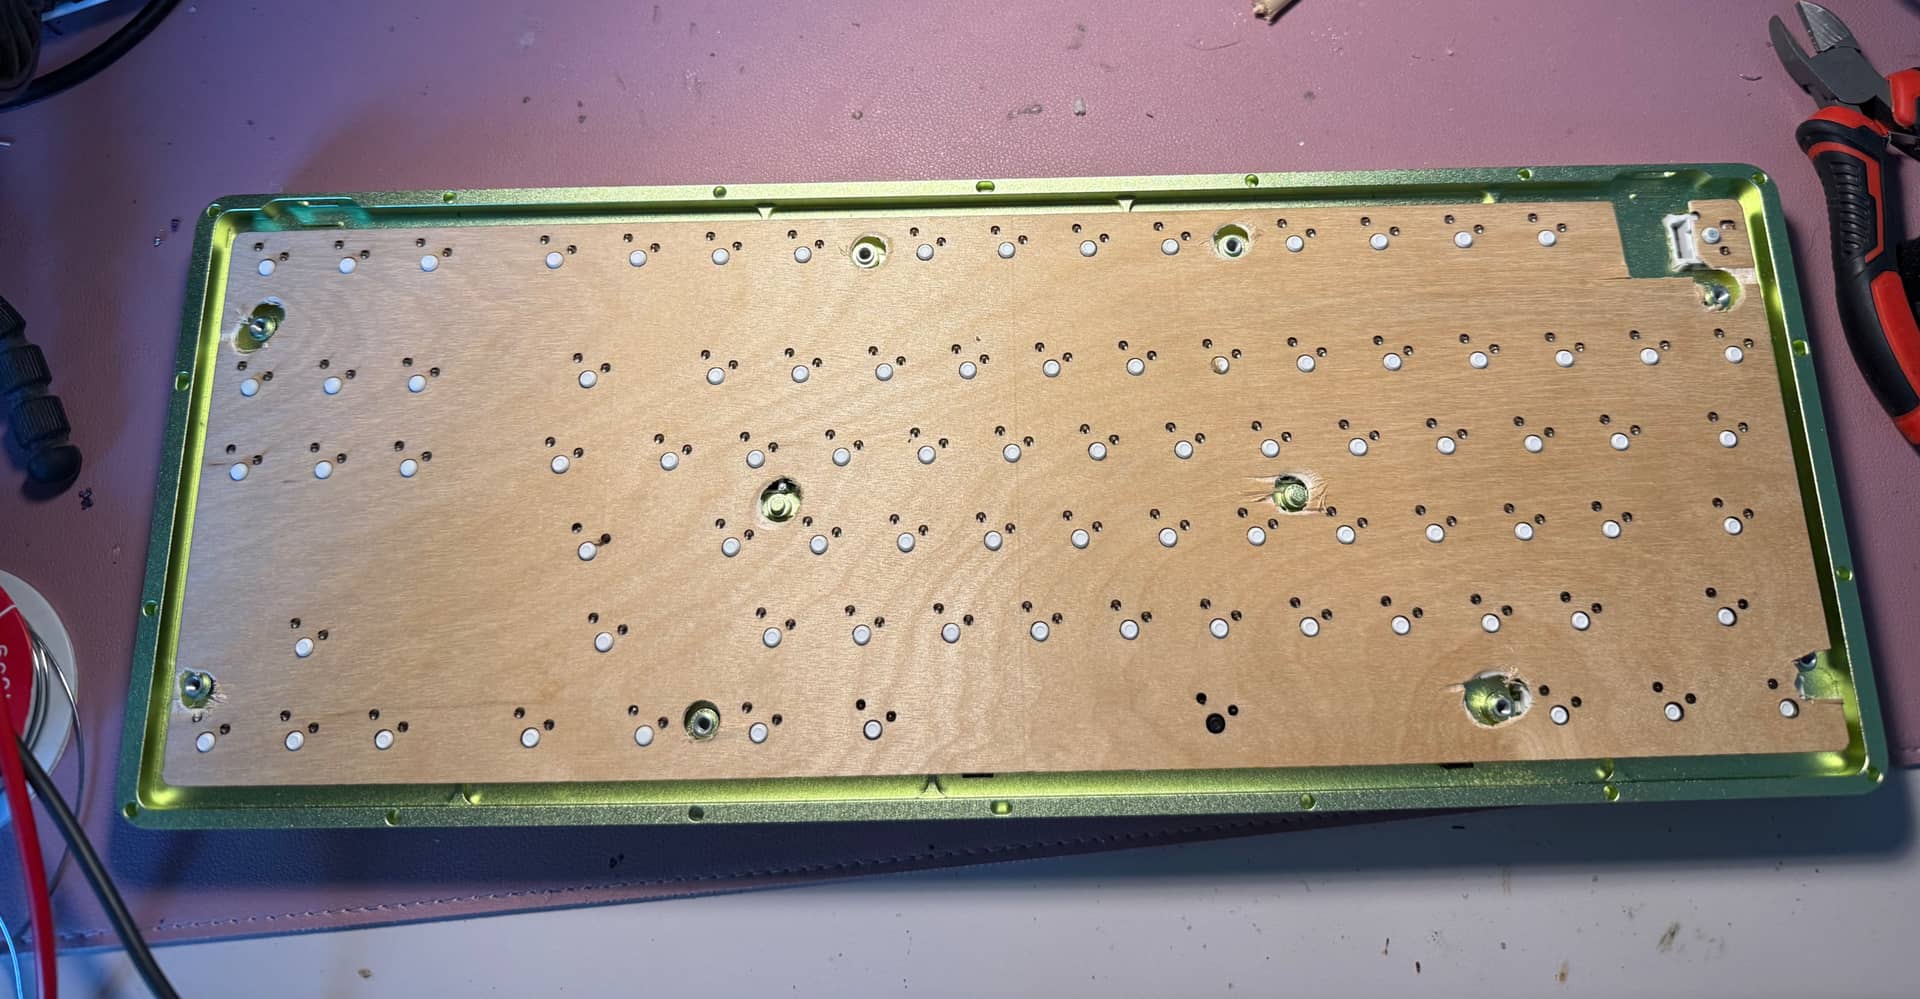
I’ve also gotten around the loose plate issues by grabbing the KiCAD drill files for an open-source TKL, adjusting a couple of spacings, and making a plywood dummy PCB on my laser. Following my usual philosophy of “in this factory we make sausage; you have been warned,” I handled the openings for standoffs and the USB, errm, manually. I didn’t order a diffuser, so I used the outline from someone’s 3D printed bottom-case on Thingiverse (from back when it was the Massdrop CTRL) to make an opaque spacer/force break.
Finally, I ran through the ZMK Shield Wizard to create a matrix and get the firmware ready to compile. I’ll print out my screenshot as a guide while I wire it all up, which I don’t intend to rush. BOM for this is USD 10 for the case (maybe 13ish shipped? It was part of my last order for the Drop closeout sale), 13 for the caps, 6 for the springs, and 8 for the five pack of USB extension breakout boards. Lube, red switches, MCU, and other stuff was already on hand. If I don’t mess it up, the end result should appear to be a CTRL running ZMK, but with a black seam instead of frosted, only one USB port (I might adapt the second opening for a couple of indicator LEDs, but first things first), and no RGB.
I have a “walking desk” (ikea sit stand over a treadmill) and I’m finding that even at it’s highest level placing my keyboard on the desk makes it too low and uncomfortable for me to type on or trackball on. Obviously, the simple solution is to just put the board and trackball on top of something but who are we kidding, I’m on Keebtalk, this calls for building a custom solution. Just looking for some feedback on the following:
I have an old keebio Sinch kit that’s been sitting in the box for a few years now. I am thinking about mounting it on a wood panel (with cutouts for either side of the Sinch).
I know that the opening (and the whole panel) could expand / contract but maybe if I use plywood?
I would personally be fine from an appearance standpoint just leaving the bottom “open” but I imagine it would sound terrible. Do you think it would be ok to use wood on the bottom with some insulation materials or do I need to use something heavier?
I did a little googling and see that the ideal splay angle is 10-30 degrees and for the overall tilt of the board a negative tilt (high in front, low in the back) could be best. Has anyone ever built a board or used a board with a negative tilt? Or a custom splay? The 10-30 degree is a pretty big range.
Plywood of any reasonable thickness will generally avoid any movement issues at all. Solid wood could be an issue if you get it in your mind that it needs metal-like tolerances or very thin areas all along the axis of movement, but it’s not super hard to design around, and for something that will be in a consistent environment, it shouldn’t be super dramatic anyway.
just leaving the bottom “open”
Not quite sure I’m visualizing that just yet. Do you have something roughly analogous you could show us?
negative tilt? Or a custom splay?
I don’t have a ton of experience to offer here, but I do have a few flat boards, and I actively dislike using them with sculpted keycap profiles. Even if you might not, do remember that sculpts are designed with an eye towards normally slanted boards. As for splay, I’d say that since this is for personal use, just hold your arms in a way that feels like it will be natural, and design around that.
Plywood of any reasonable thickness will generally avoid any movement issues at all. Solid wood could be an issue if you get it in your mind that it needs metal-like tolerances or very thin areas all along the axis of movement, but it’s not super hard to design around, and for something that will be in a consistent environment, it shouldn’t be super dramatic anyway.
I have been dabbling in woodworking hand tools over the past year or so and my plan was just to layout the opening I need for the sinc plates and cope, chisel, sand it out (probably use a rasp, file and sand paper to get it locked in). Obviously I’d rather use some hardwood for that but i didn’t want to worry too much about warping, movement, etc but the size of the holes the sinc plates would fill don’t exactly call for millimeter precision.
Not that I know of, what I meant was leaving a bottom off so it was just a panel with a sinch inlaid and some stiles on the side that create the angle. This flows into your later feedback about figuring out how my arms naturally rest and designing around that. I think, probably, that before trying anything with hardwood or plywood, I need to figure out a good way to prototype it so I can lock in the angle, splay, spacing, keycaps, etc. It’s definitely not in my wheelhouse the way that cutting a simple shape out of wood would be but I’d be interested in attempting to tent the design as well. Off the top of my head I was thinking that, at the intersection of the tented panels, I could have a support piece with the correct angle underneath that both pieces could glue onto. I wouldn’t be too excited about trying to mitre the top pieces but it sure would look pretty.
I have not really gotten very far with sketchup, etc so maybe I’ll attempt to make some designs by hand drawing first.
The simplest tenting for a chunkier split might be bolts (perhaps dressed up with something 3D printed or at least bumpons) and epoxied-in nylon lock nuts with a little bit of a relief zone drilled into the workpiece. Search around though. The Ergo community is the heart of the DIY aspect of the hobby these days. They come up crazy and cool stuff, though the current trend is towards mag-safe camera mounts, and simply from videos and comments, I’m not sure that’s stable enough for my liking, though given what I type on, maybe I shouldn’t say anything.
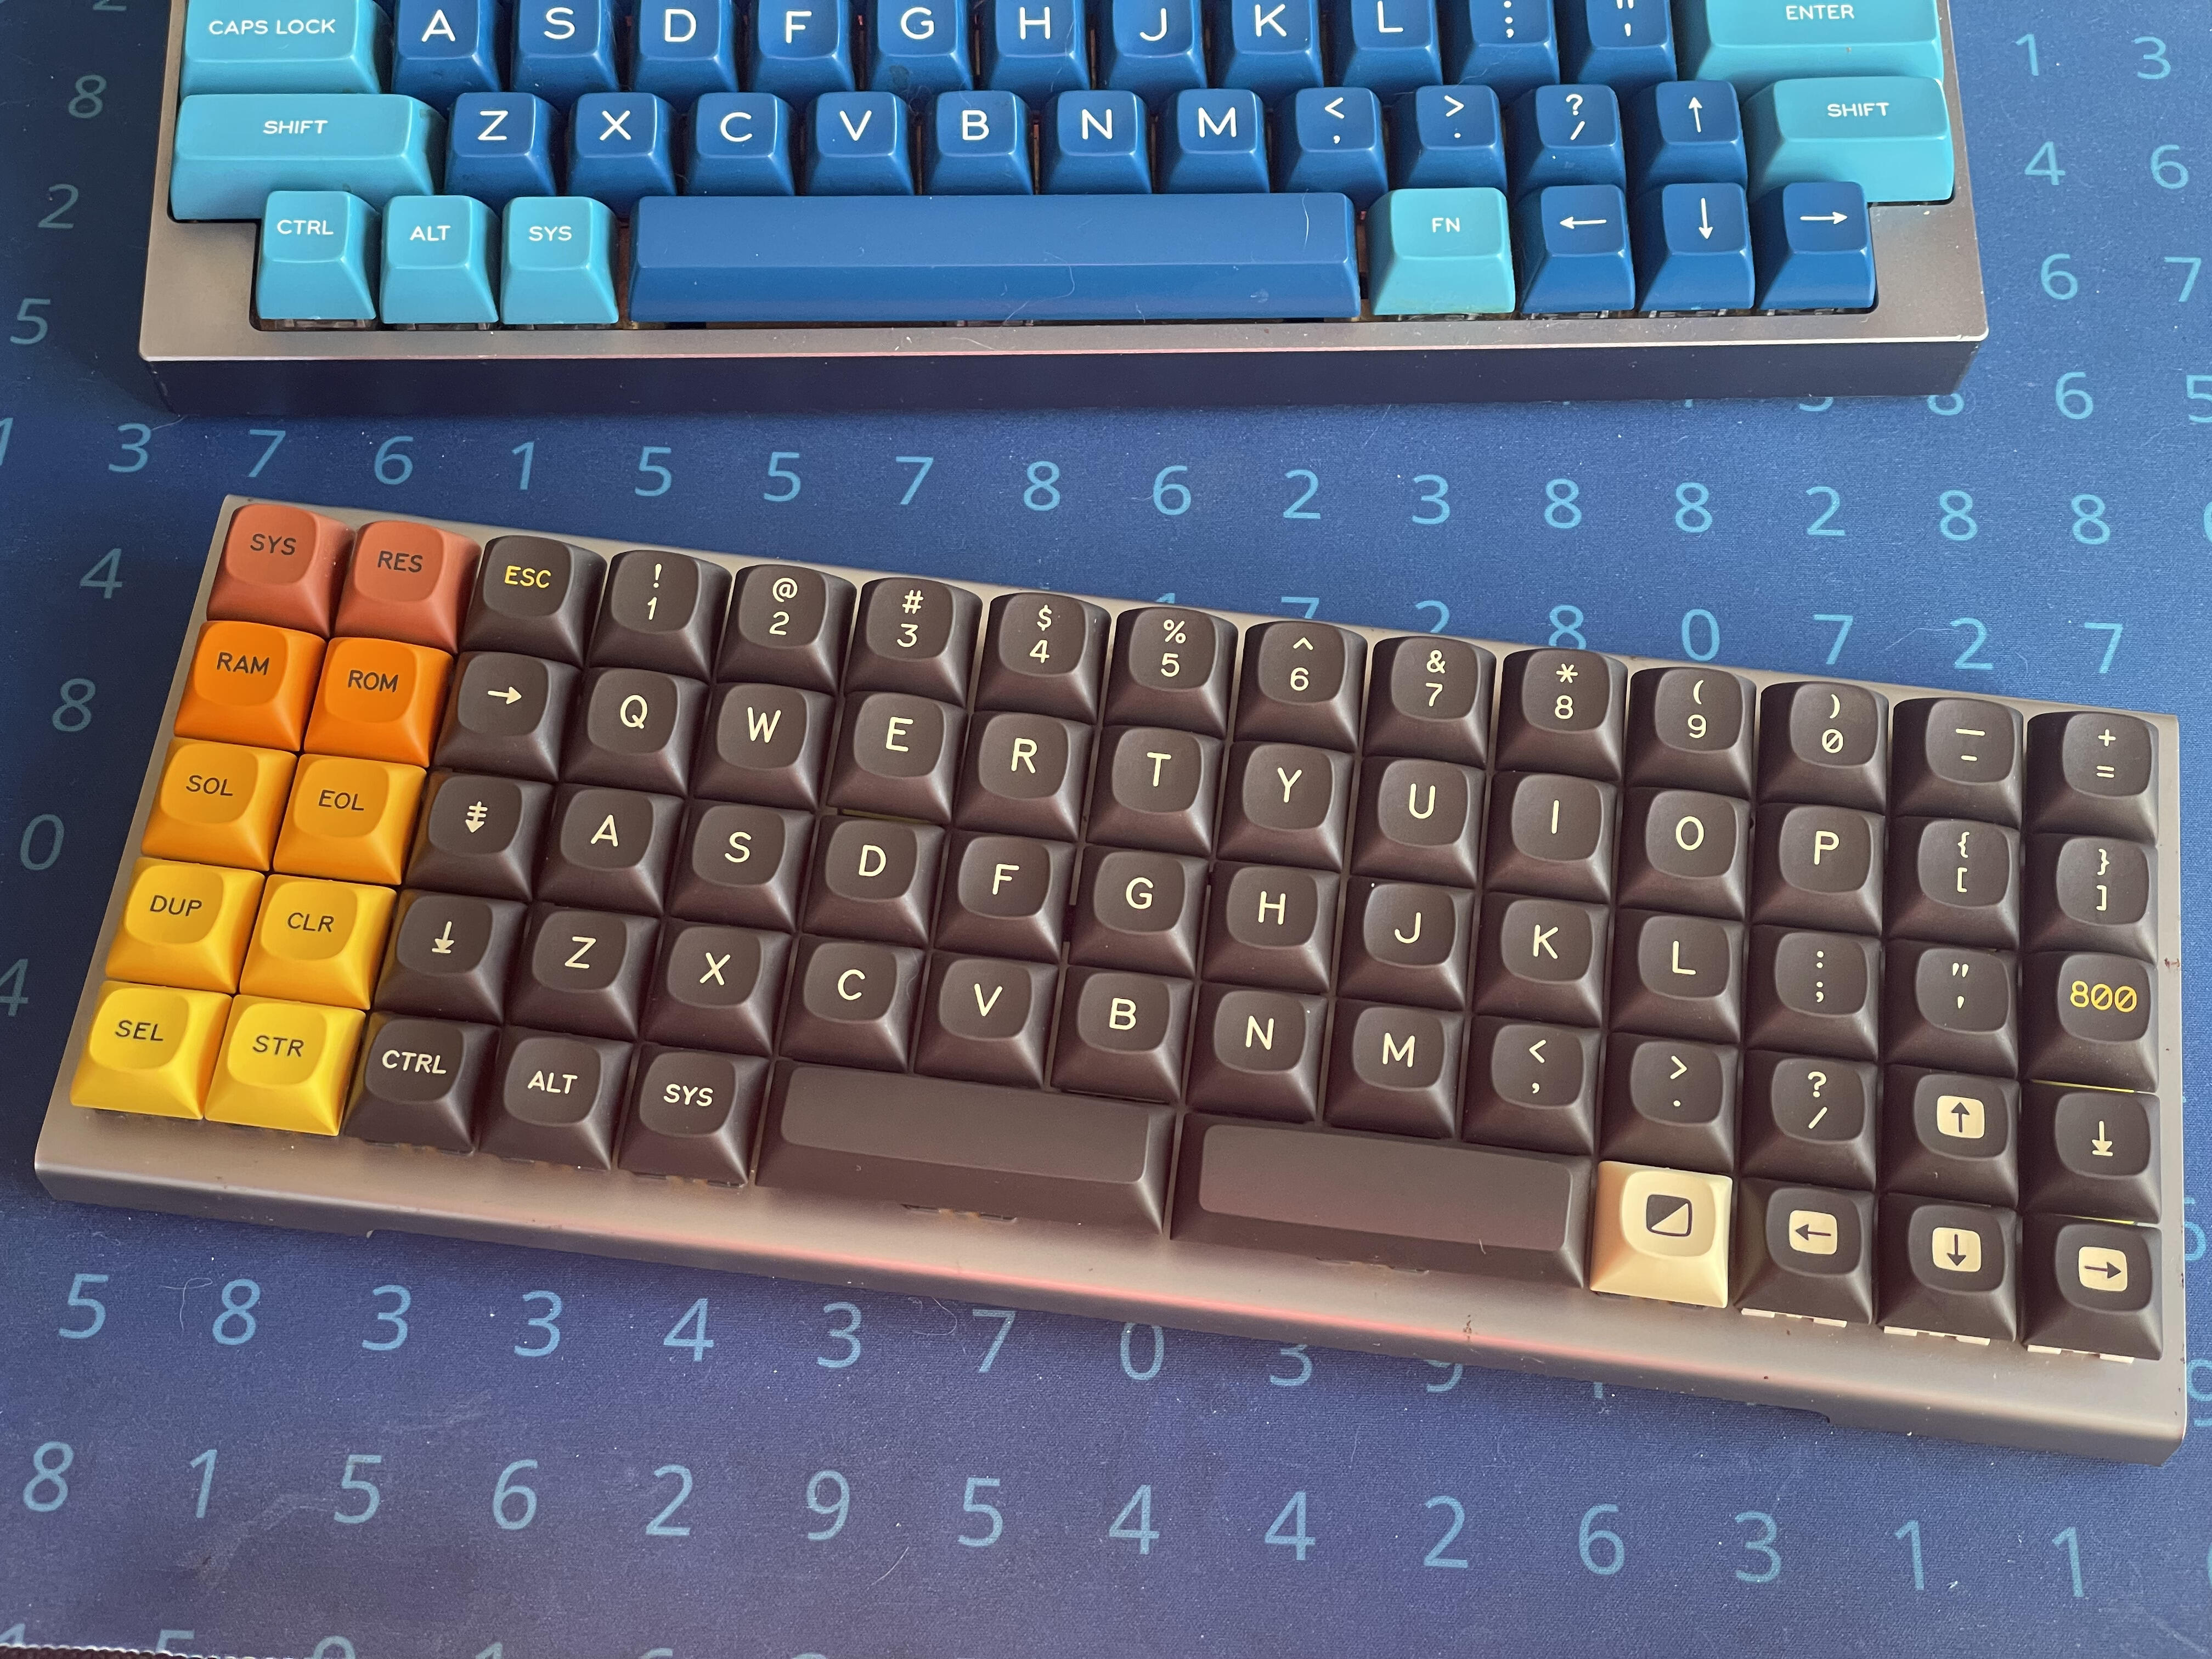
Finally dusted off my XD75 and my Seriko switches (silent linear with dampened upstroke). The lightbulb moment was when I realized I could fit a 65XT layout in a 60% form factor. Prototyped it yesterday with MTNU 800 OS2.0 which I think looks lovely. Behold the XD75XT:
There are a few keycap issues (aren’t there always?)
No R3 1U enter so I have the R1 800 key there instead (though the tactile/haptic variation from the neighboring keys does help differentiate between the enter key and the rest of the 1u soup).
There are no 2u or 3u keys that have the right stem spacing to fit the split spacebar keys (backspace and space) so I made do hacked the shit out of it by trimming some matches down to fit into the keycaps and which bottom out at just the right spot. Is it perfect? hell no. Is it ok for testing until I 3D print something better? sure. It does tilt and bind annoyingly. I suppose the real solution would be caps that have properly placed stems for multiple switches.
I put 4 NK Creams on the arrow cluster, and I’m shocked at how much louder they are. They’re roughly the same weight, but the audible difference is good feedback when using the nav cluster. I’ve talked about the “haptic wall” concept before (credit to @XTaran for the name), but I still think the ideas of varying keycap feel/profile and switch weight/type are worth exploring for differentiating areas of a keyboard where blockers can’t be used to isolate them. To that end, I also flipped the spacebar to differentiate it from backspace.
I think I might have to solder this bad boy up and give it a whirl. Maybe I don’t need to buy a 65XT (who am I kidding, I still want the AKB OGR2!)
EDIT: No need to solder! I realized it’s actually the XD75re (hotswap) variant. Even better!
Does the PCB have room for three switches under each spacebar? If so, removing the middle switch and replacing with two lighter ones in the stab locations, with one of them turned off in firmware, might work better. As I recall, and looking at your matchsticks, I think 3u spaces have stab mounts set on 1u spacing.
Apologies if I’m overlooking something. I have been known to do that.
Unless I’m missing something, the other mounts are too close to put switches in either end mounting spot. I could trim some plastic off to make way for the switch body, but that feels sacrilegious to the keycaps.
I believe that only GMK 3u bars have the two sets of stab mounts (2u and 3u). All other 3u bars (at least the ones I’ve seen) only have the dedicated 3u stab mounts which as wjrii said are lined up with where the adjacent switches are.
If it was pretty much any other board I’d suggest getting a new plate cut with plate mount 3u stabs but it looks like the plate is the whole top piece of that board so it won’t be as simple.
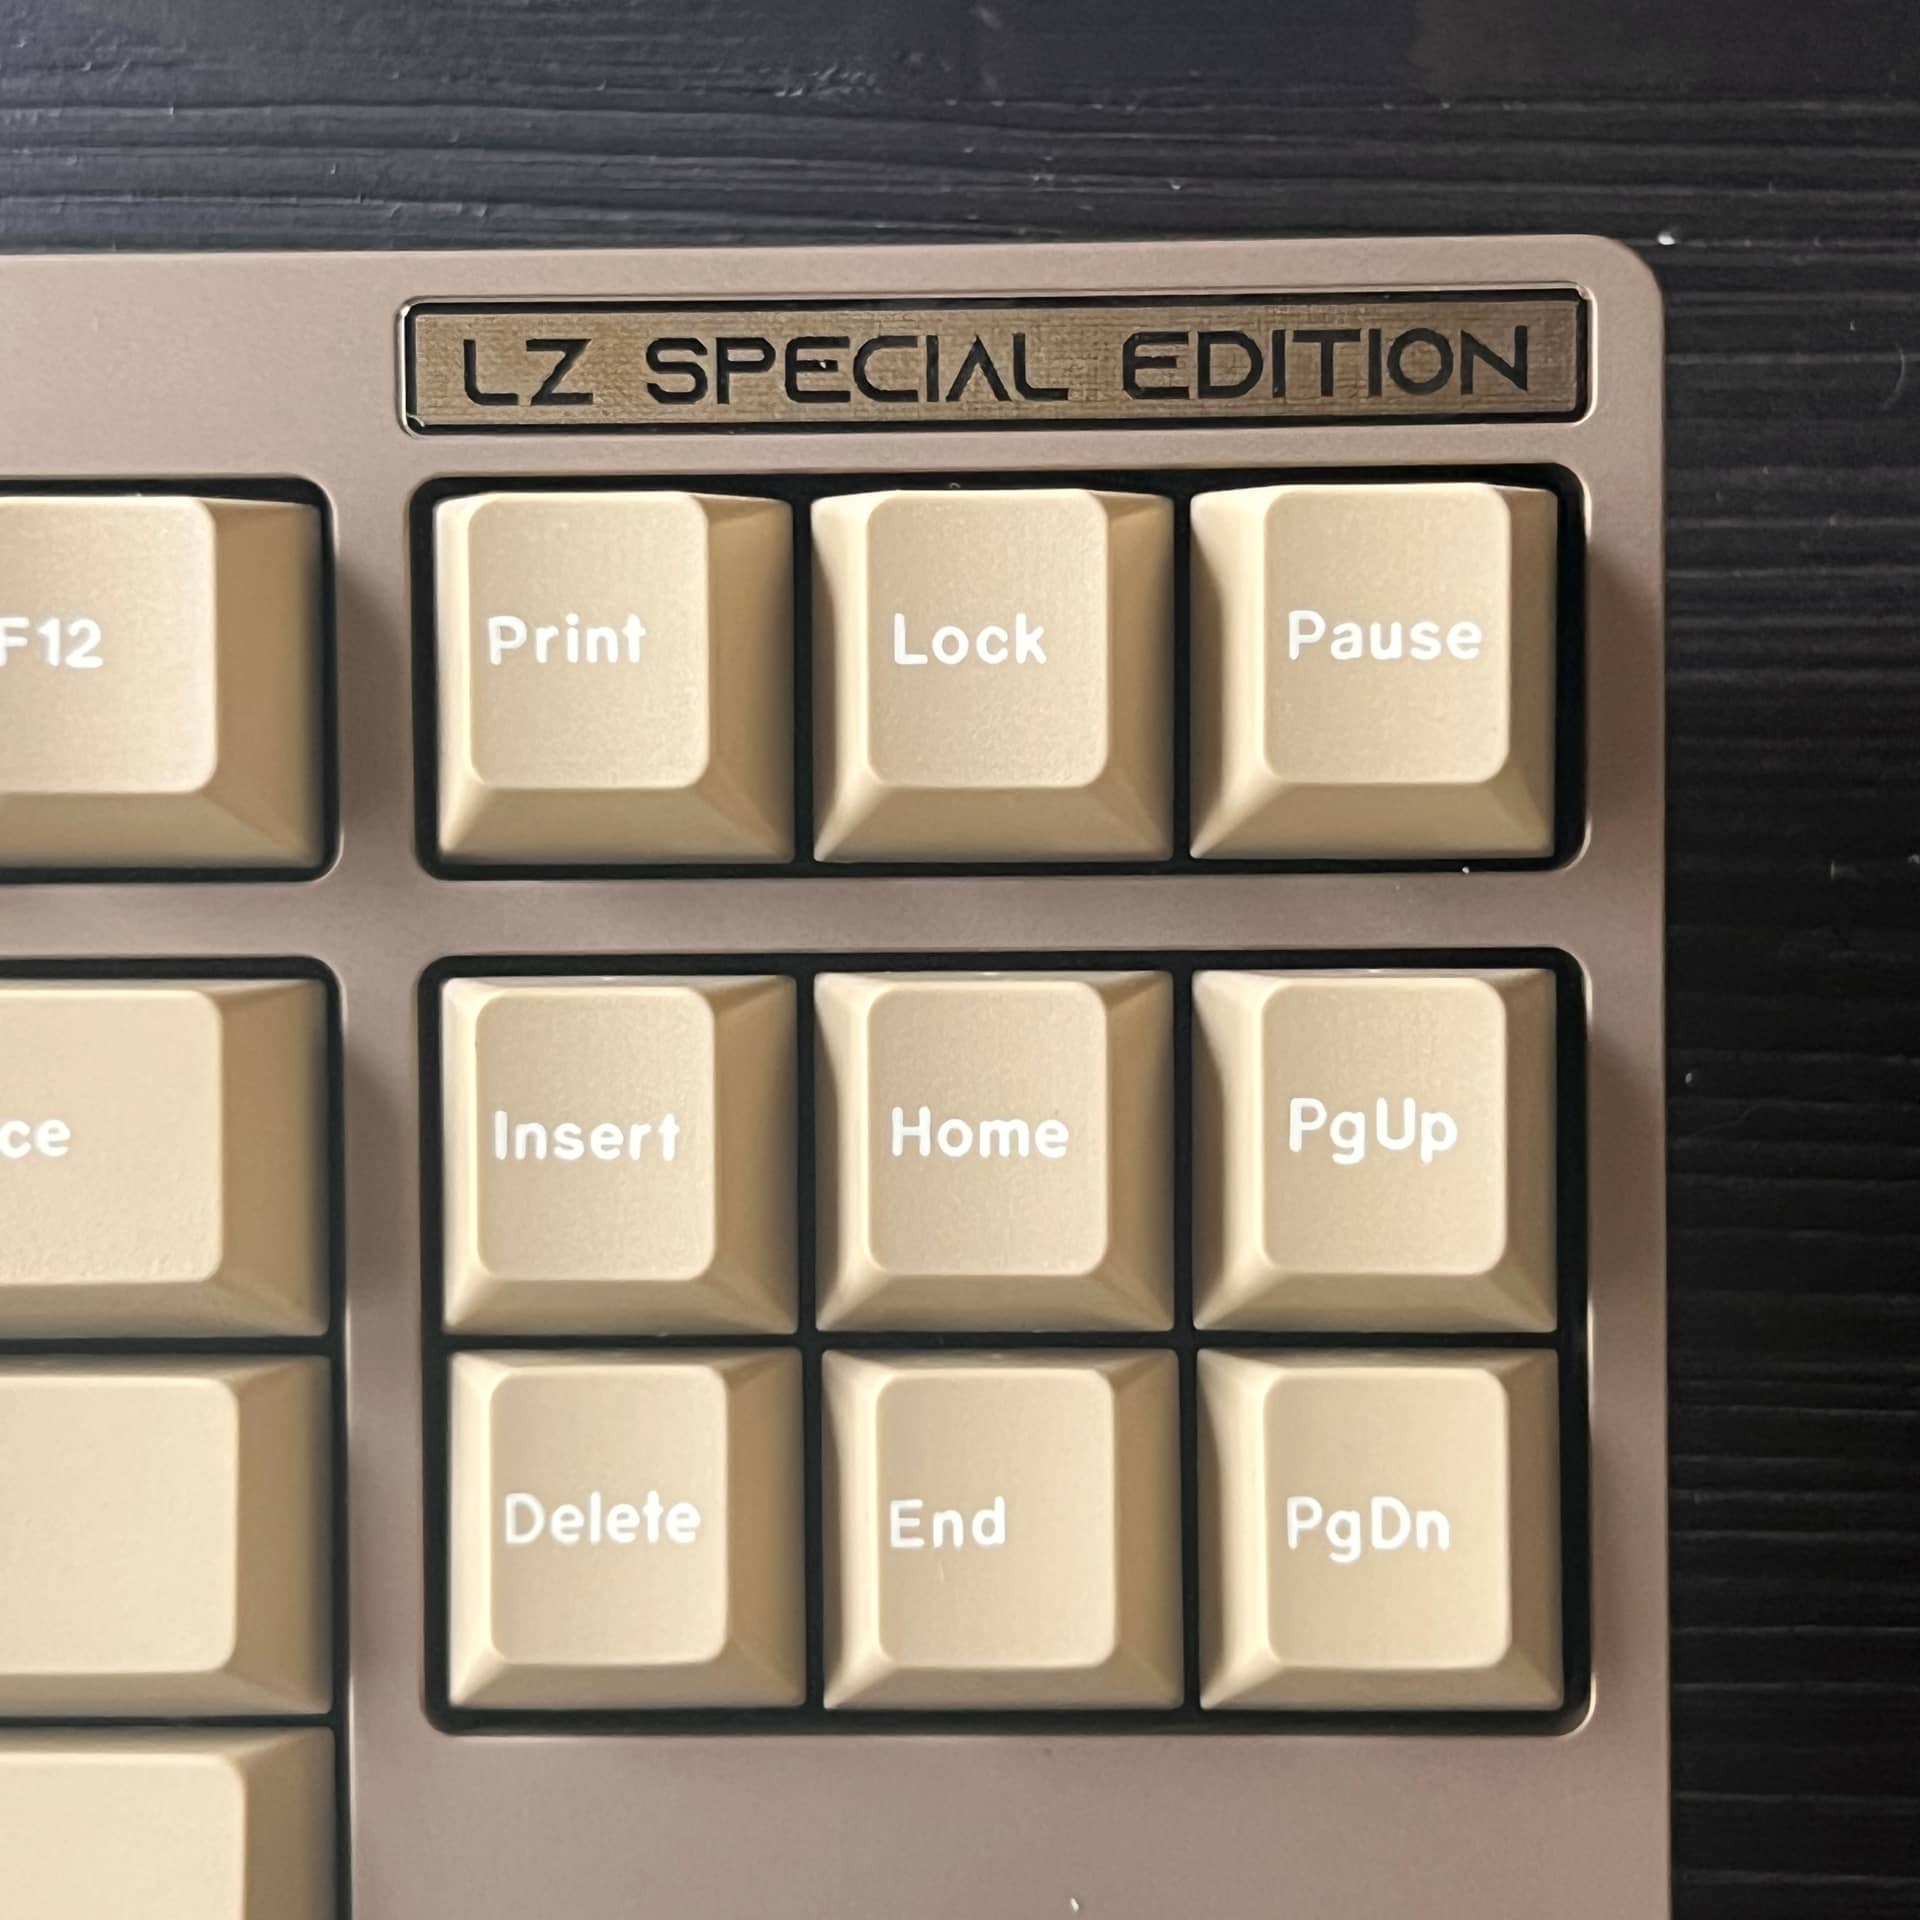
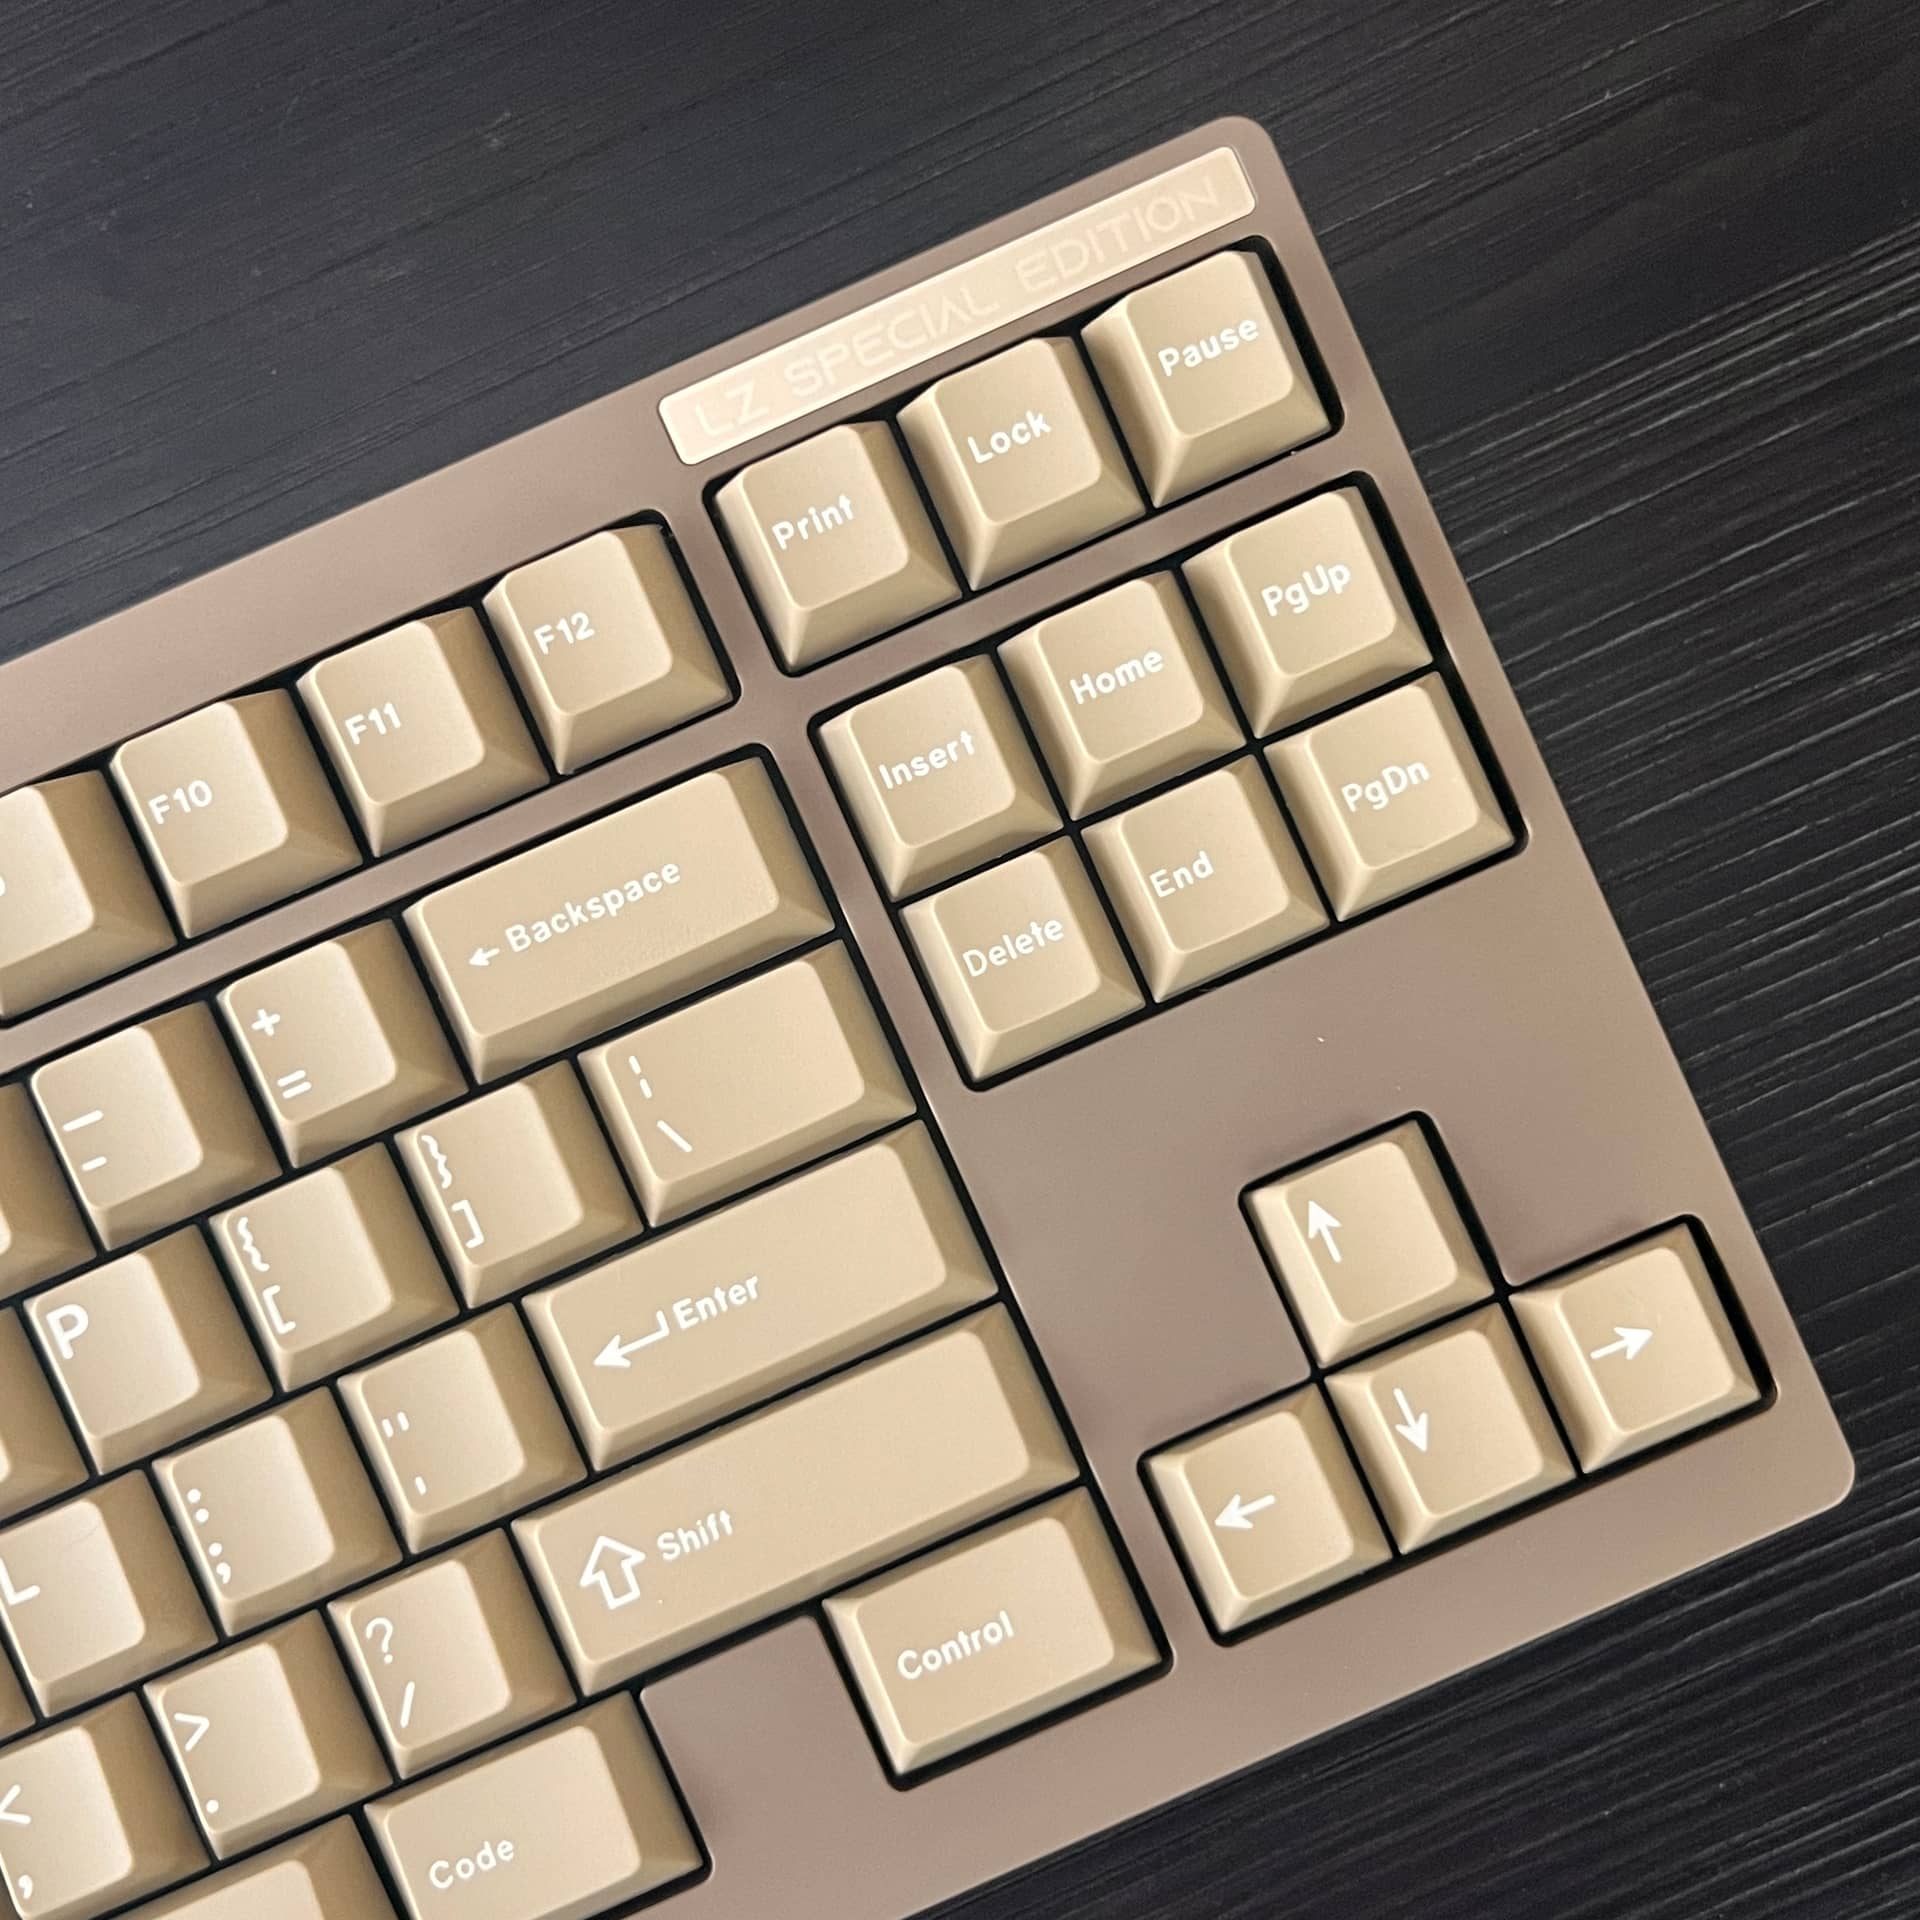
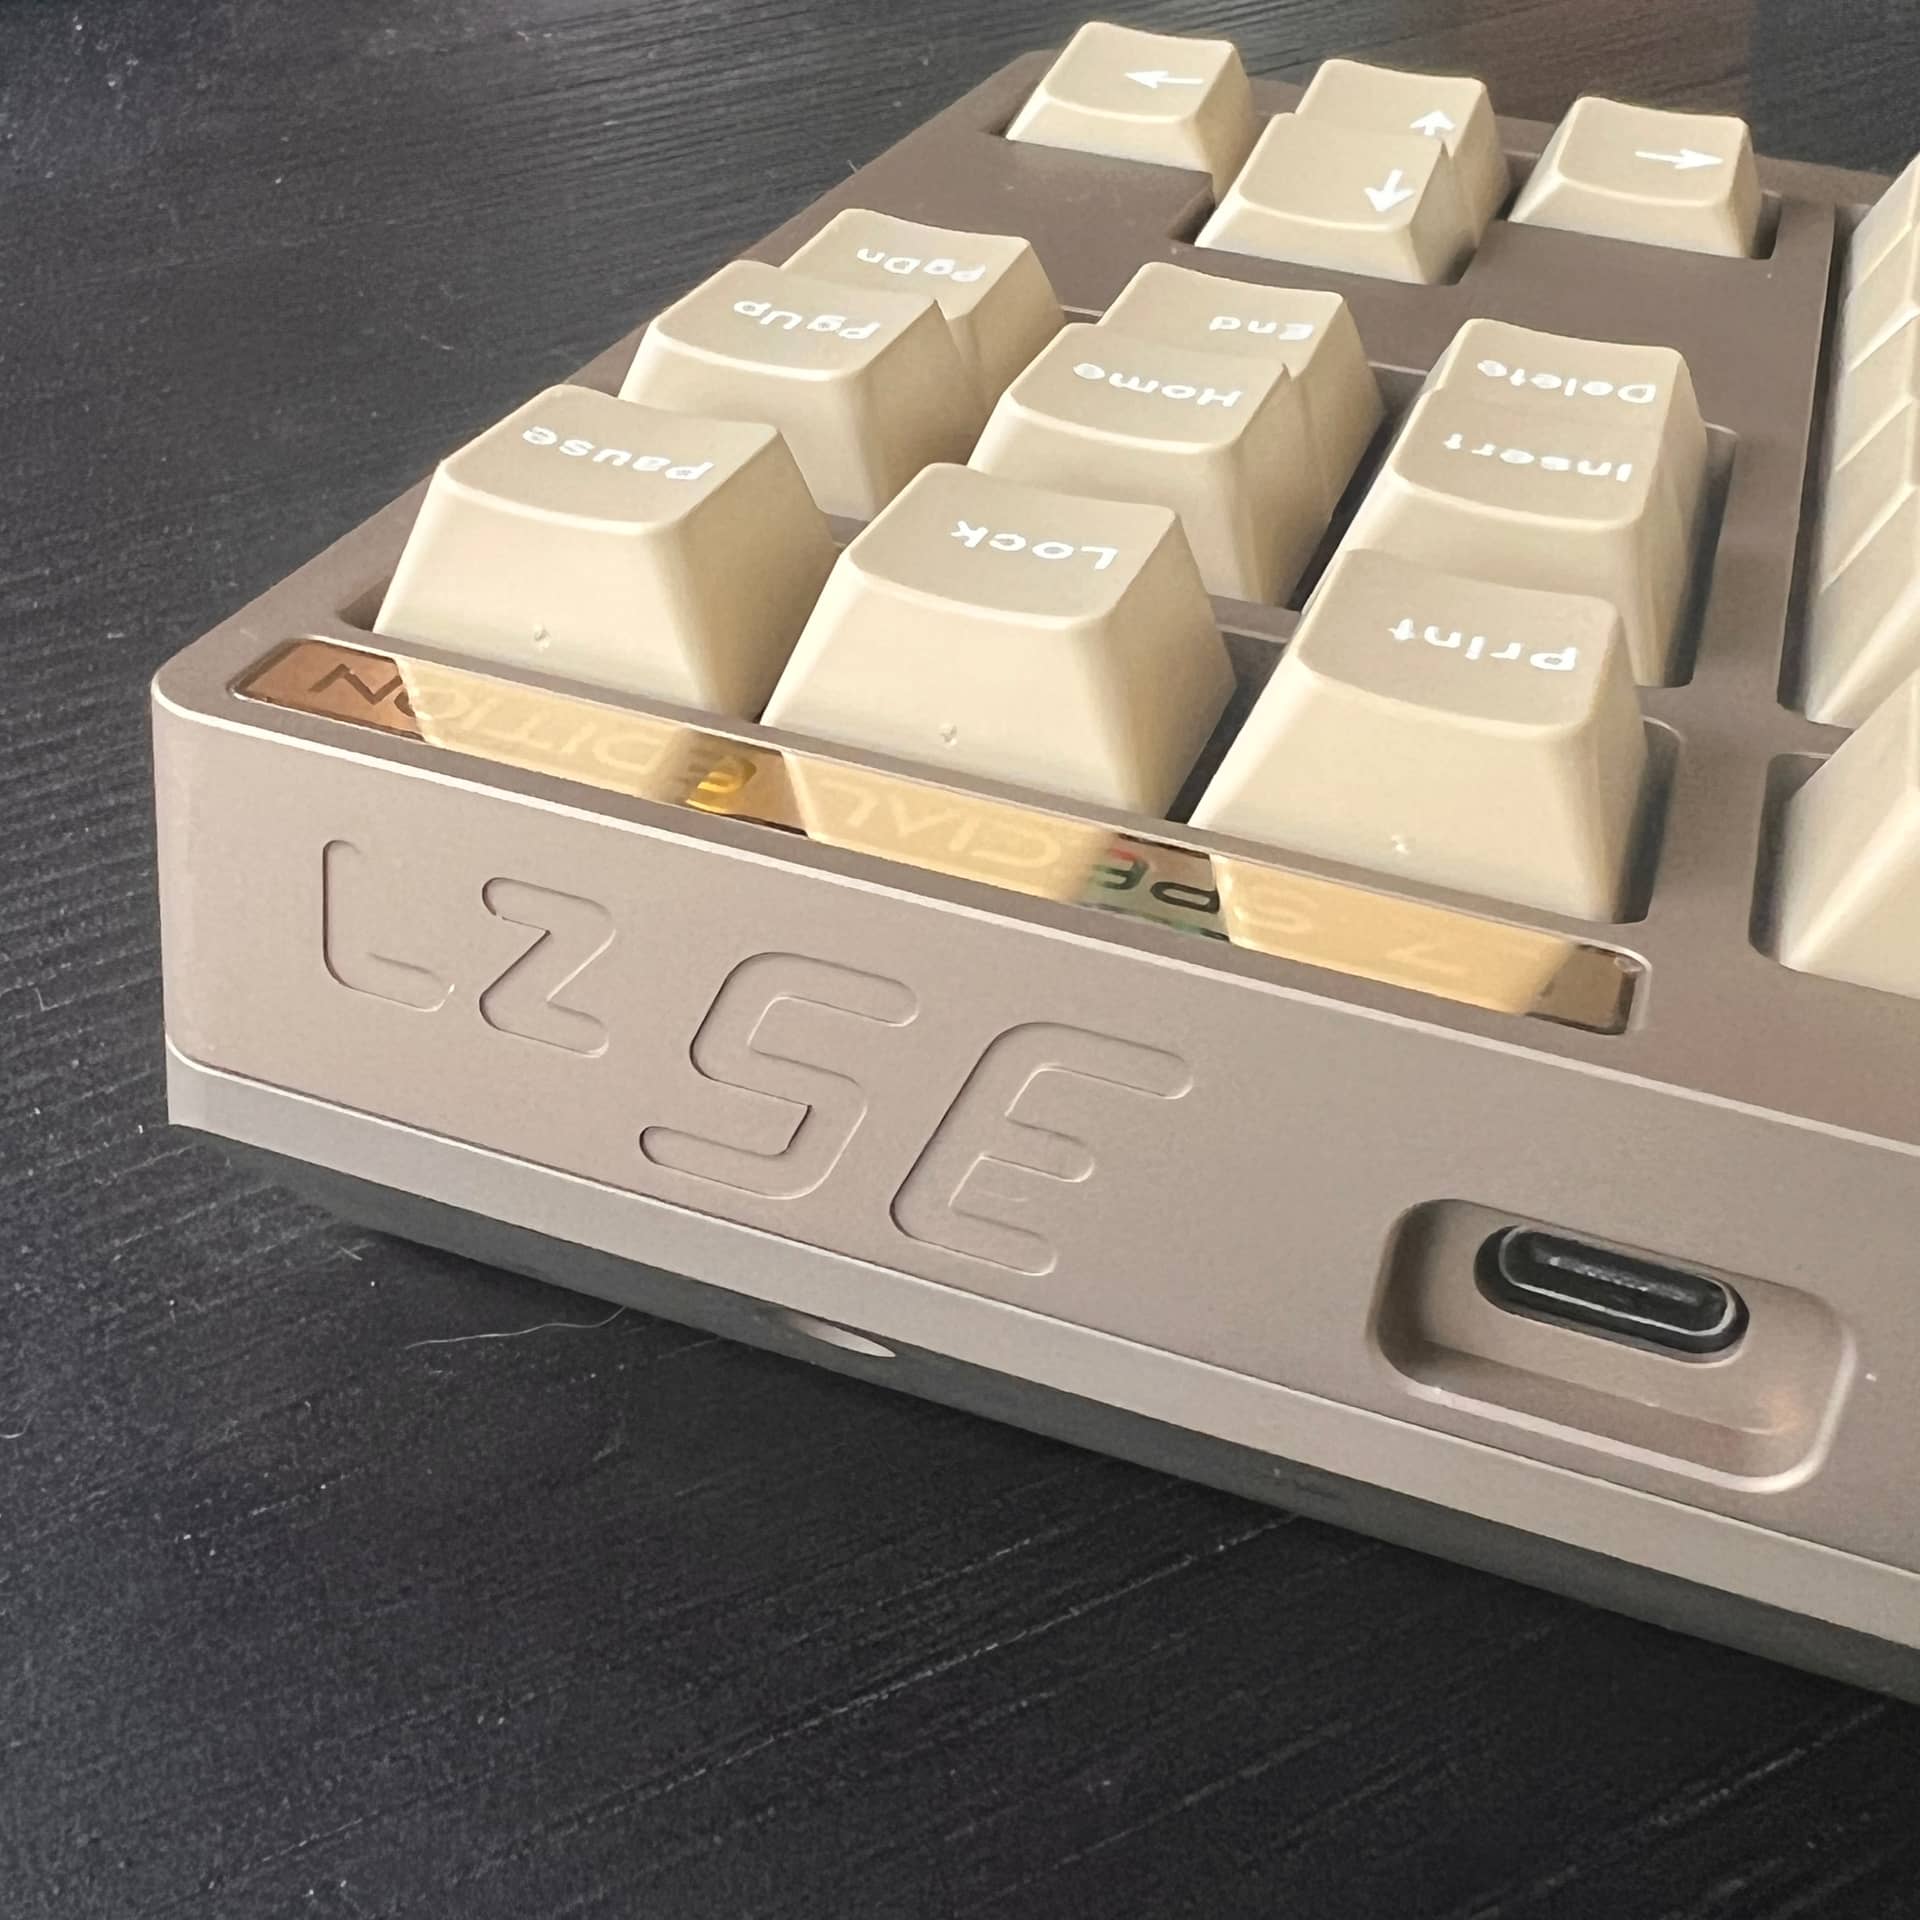
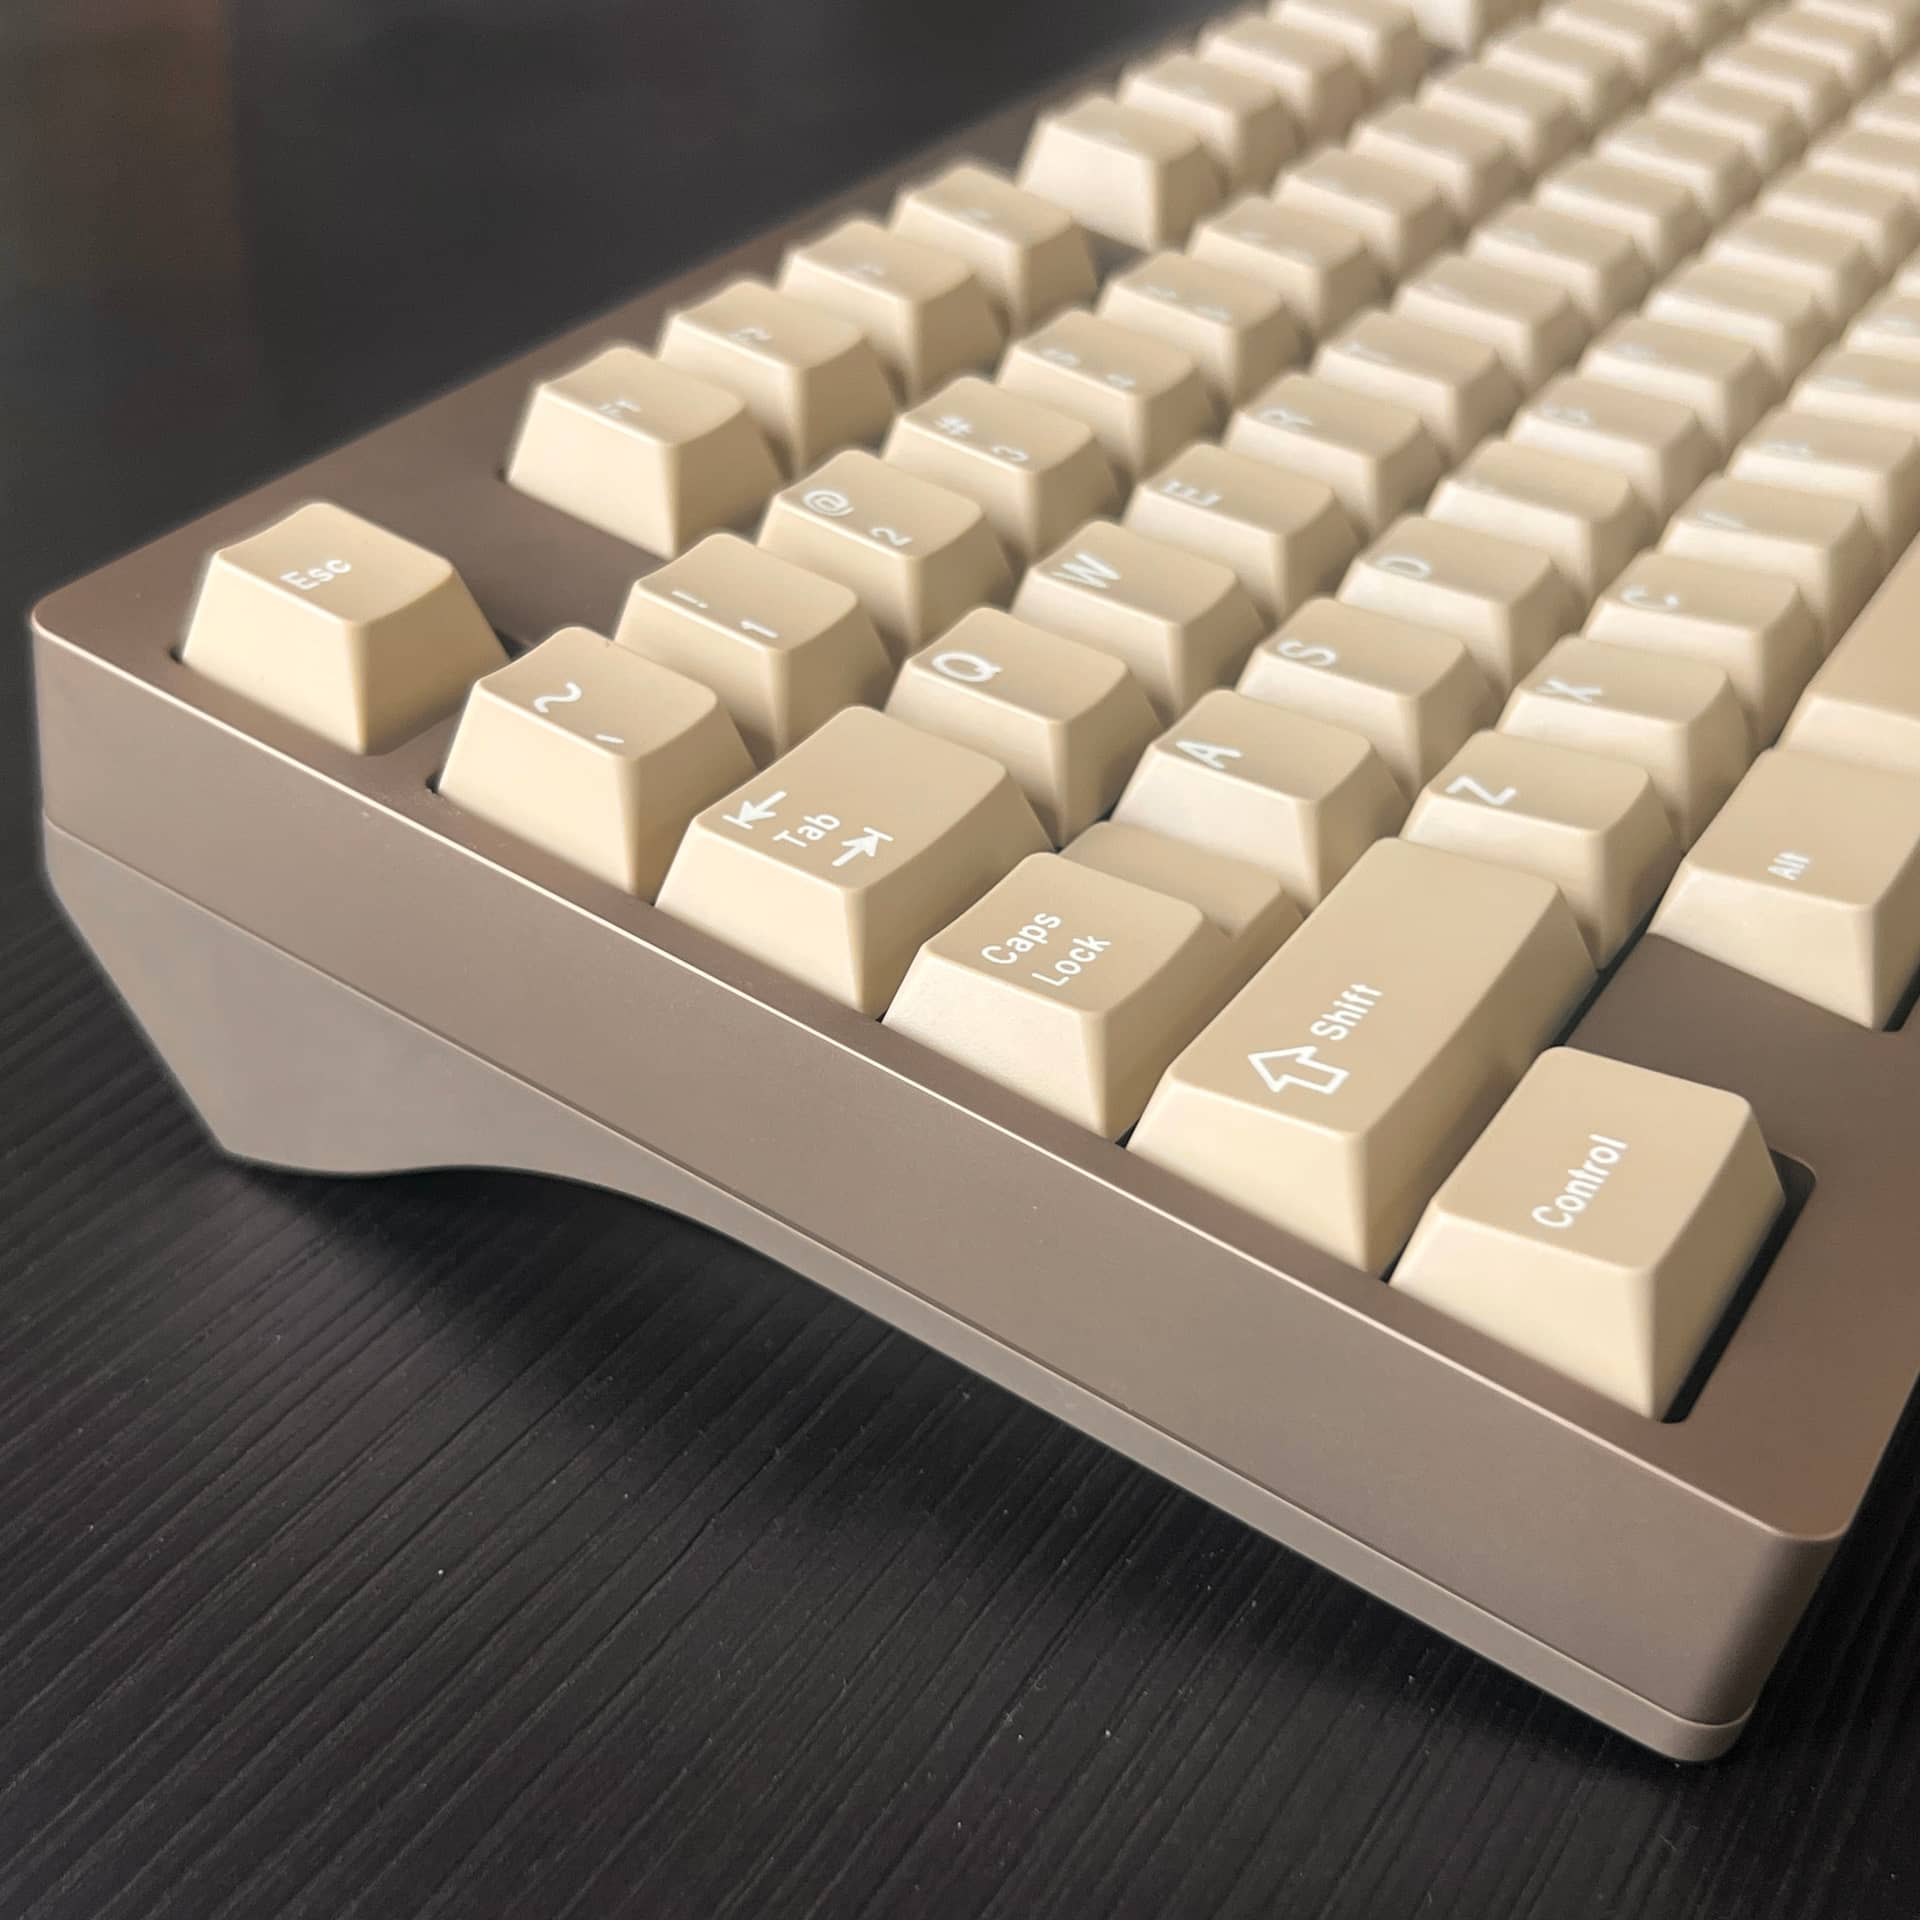
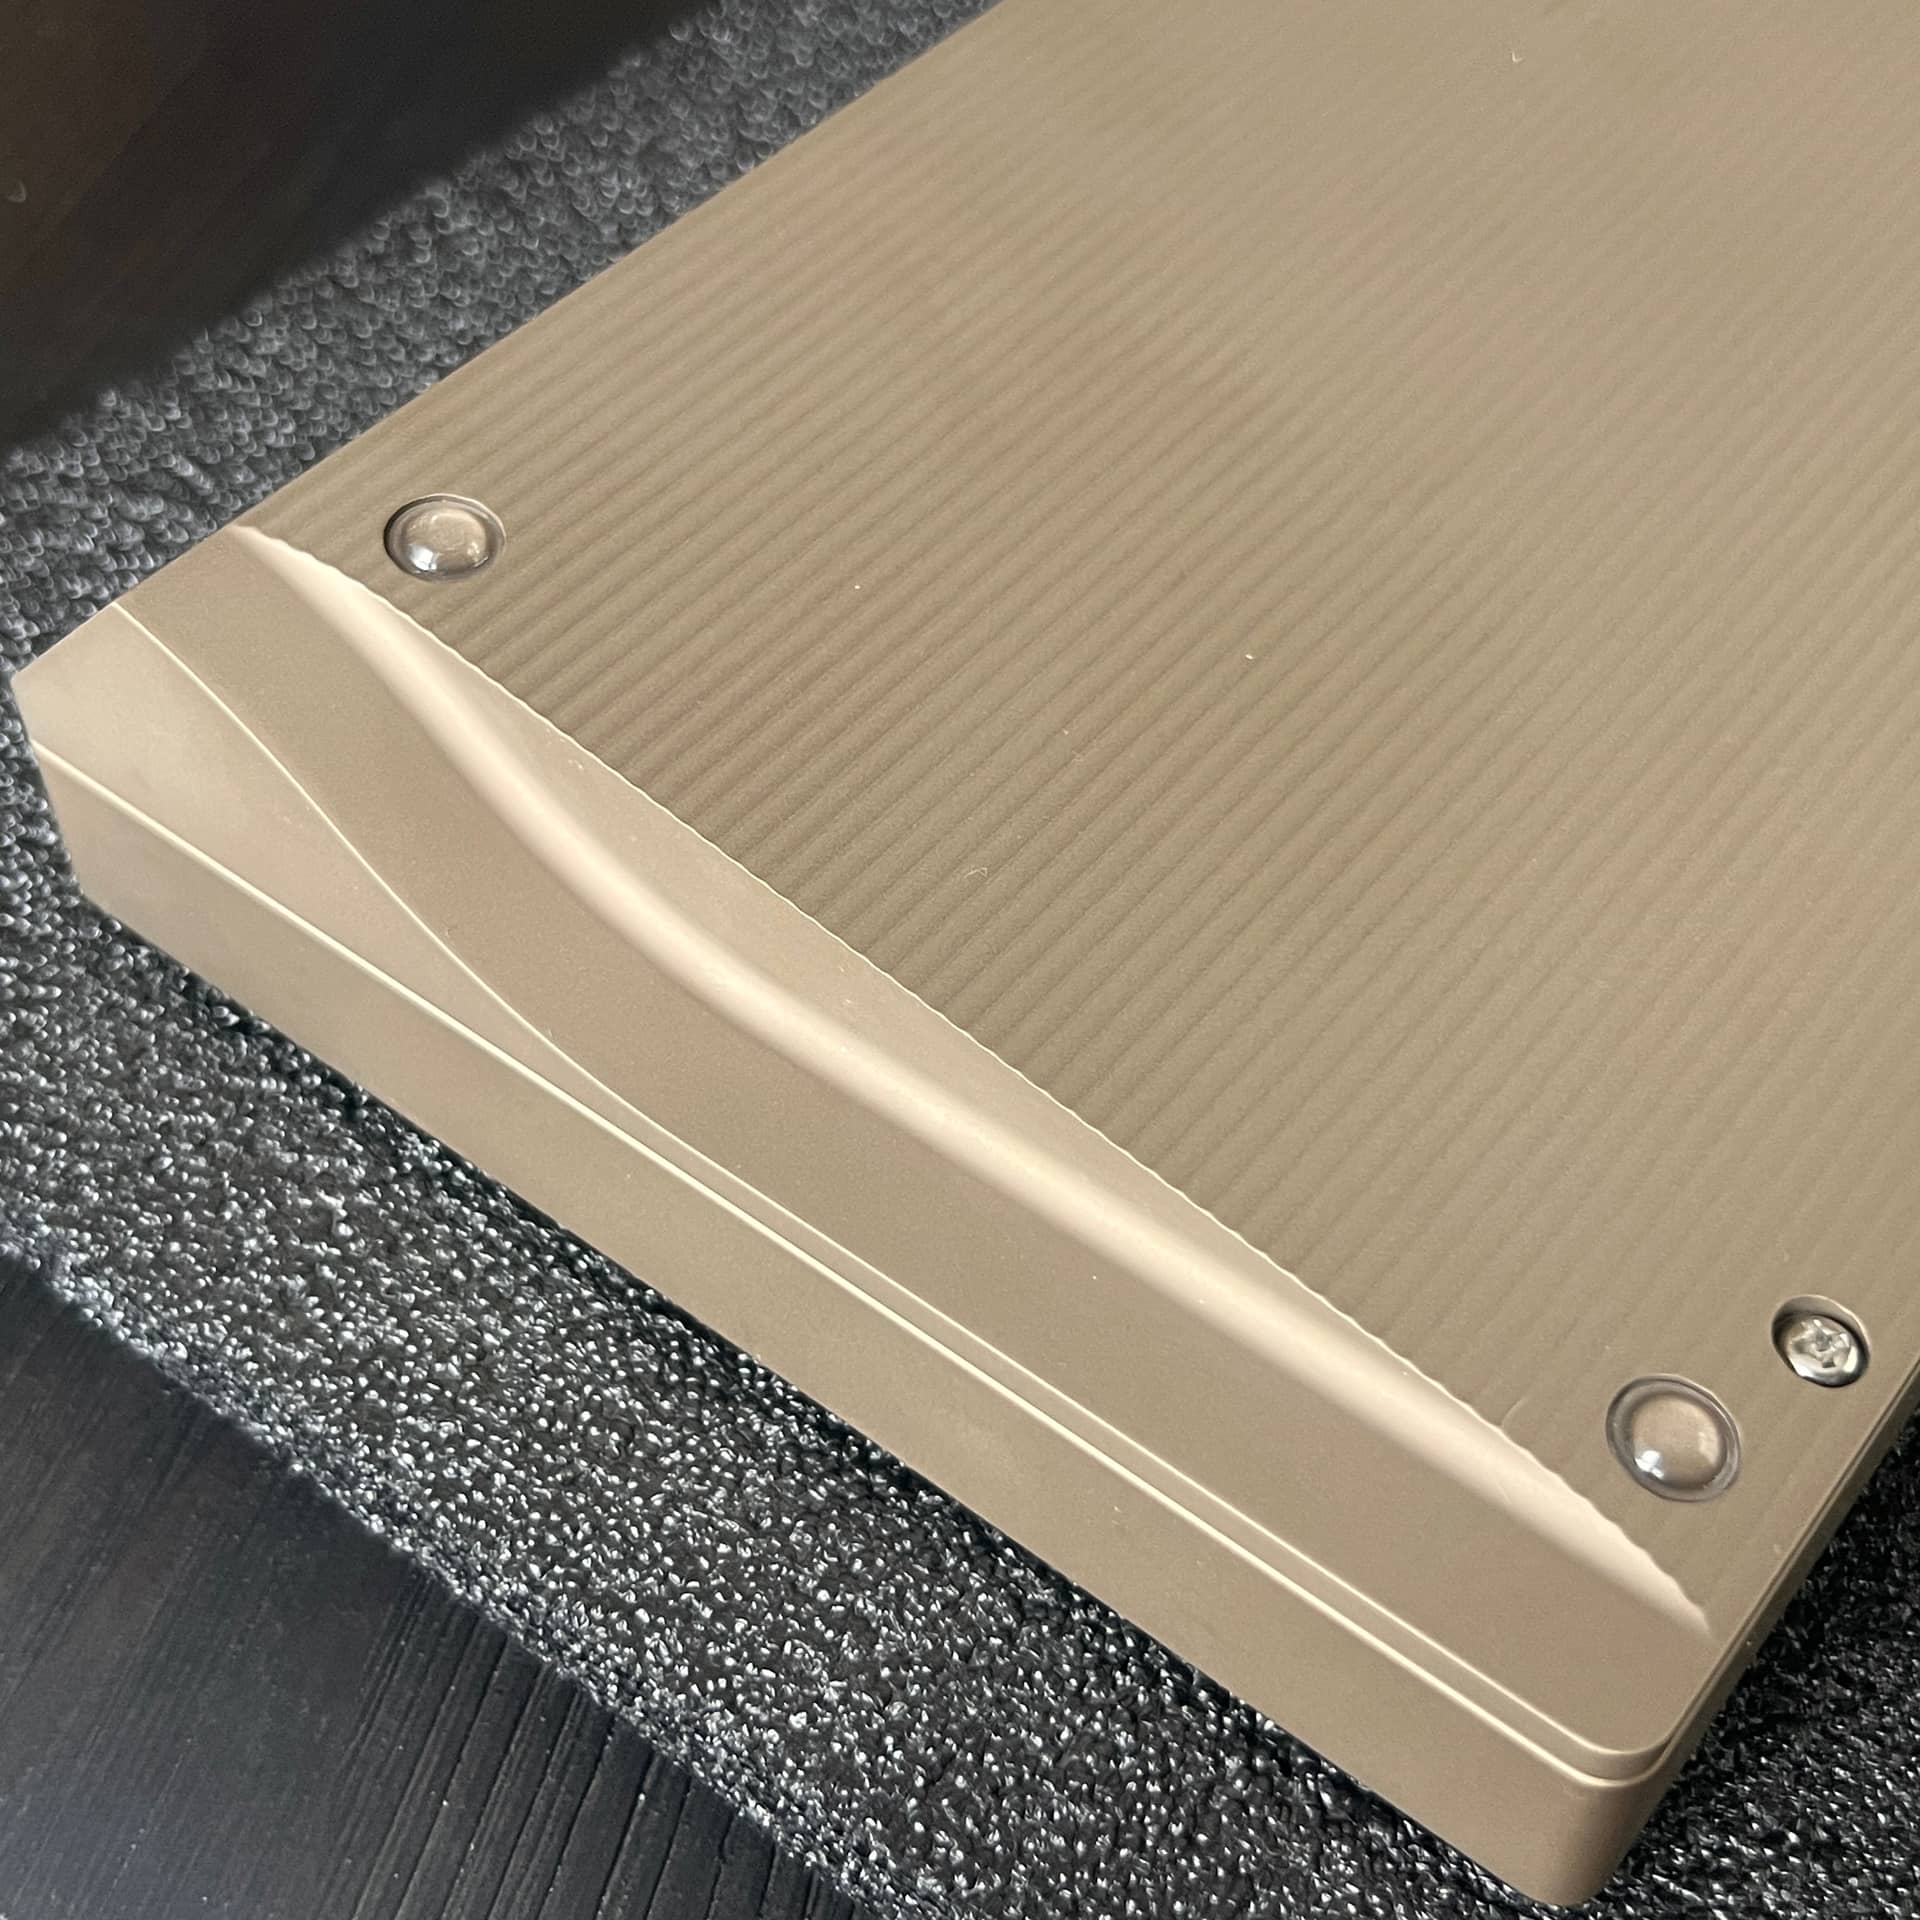
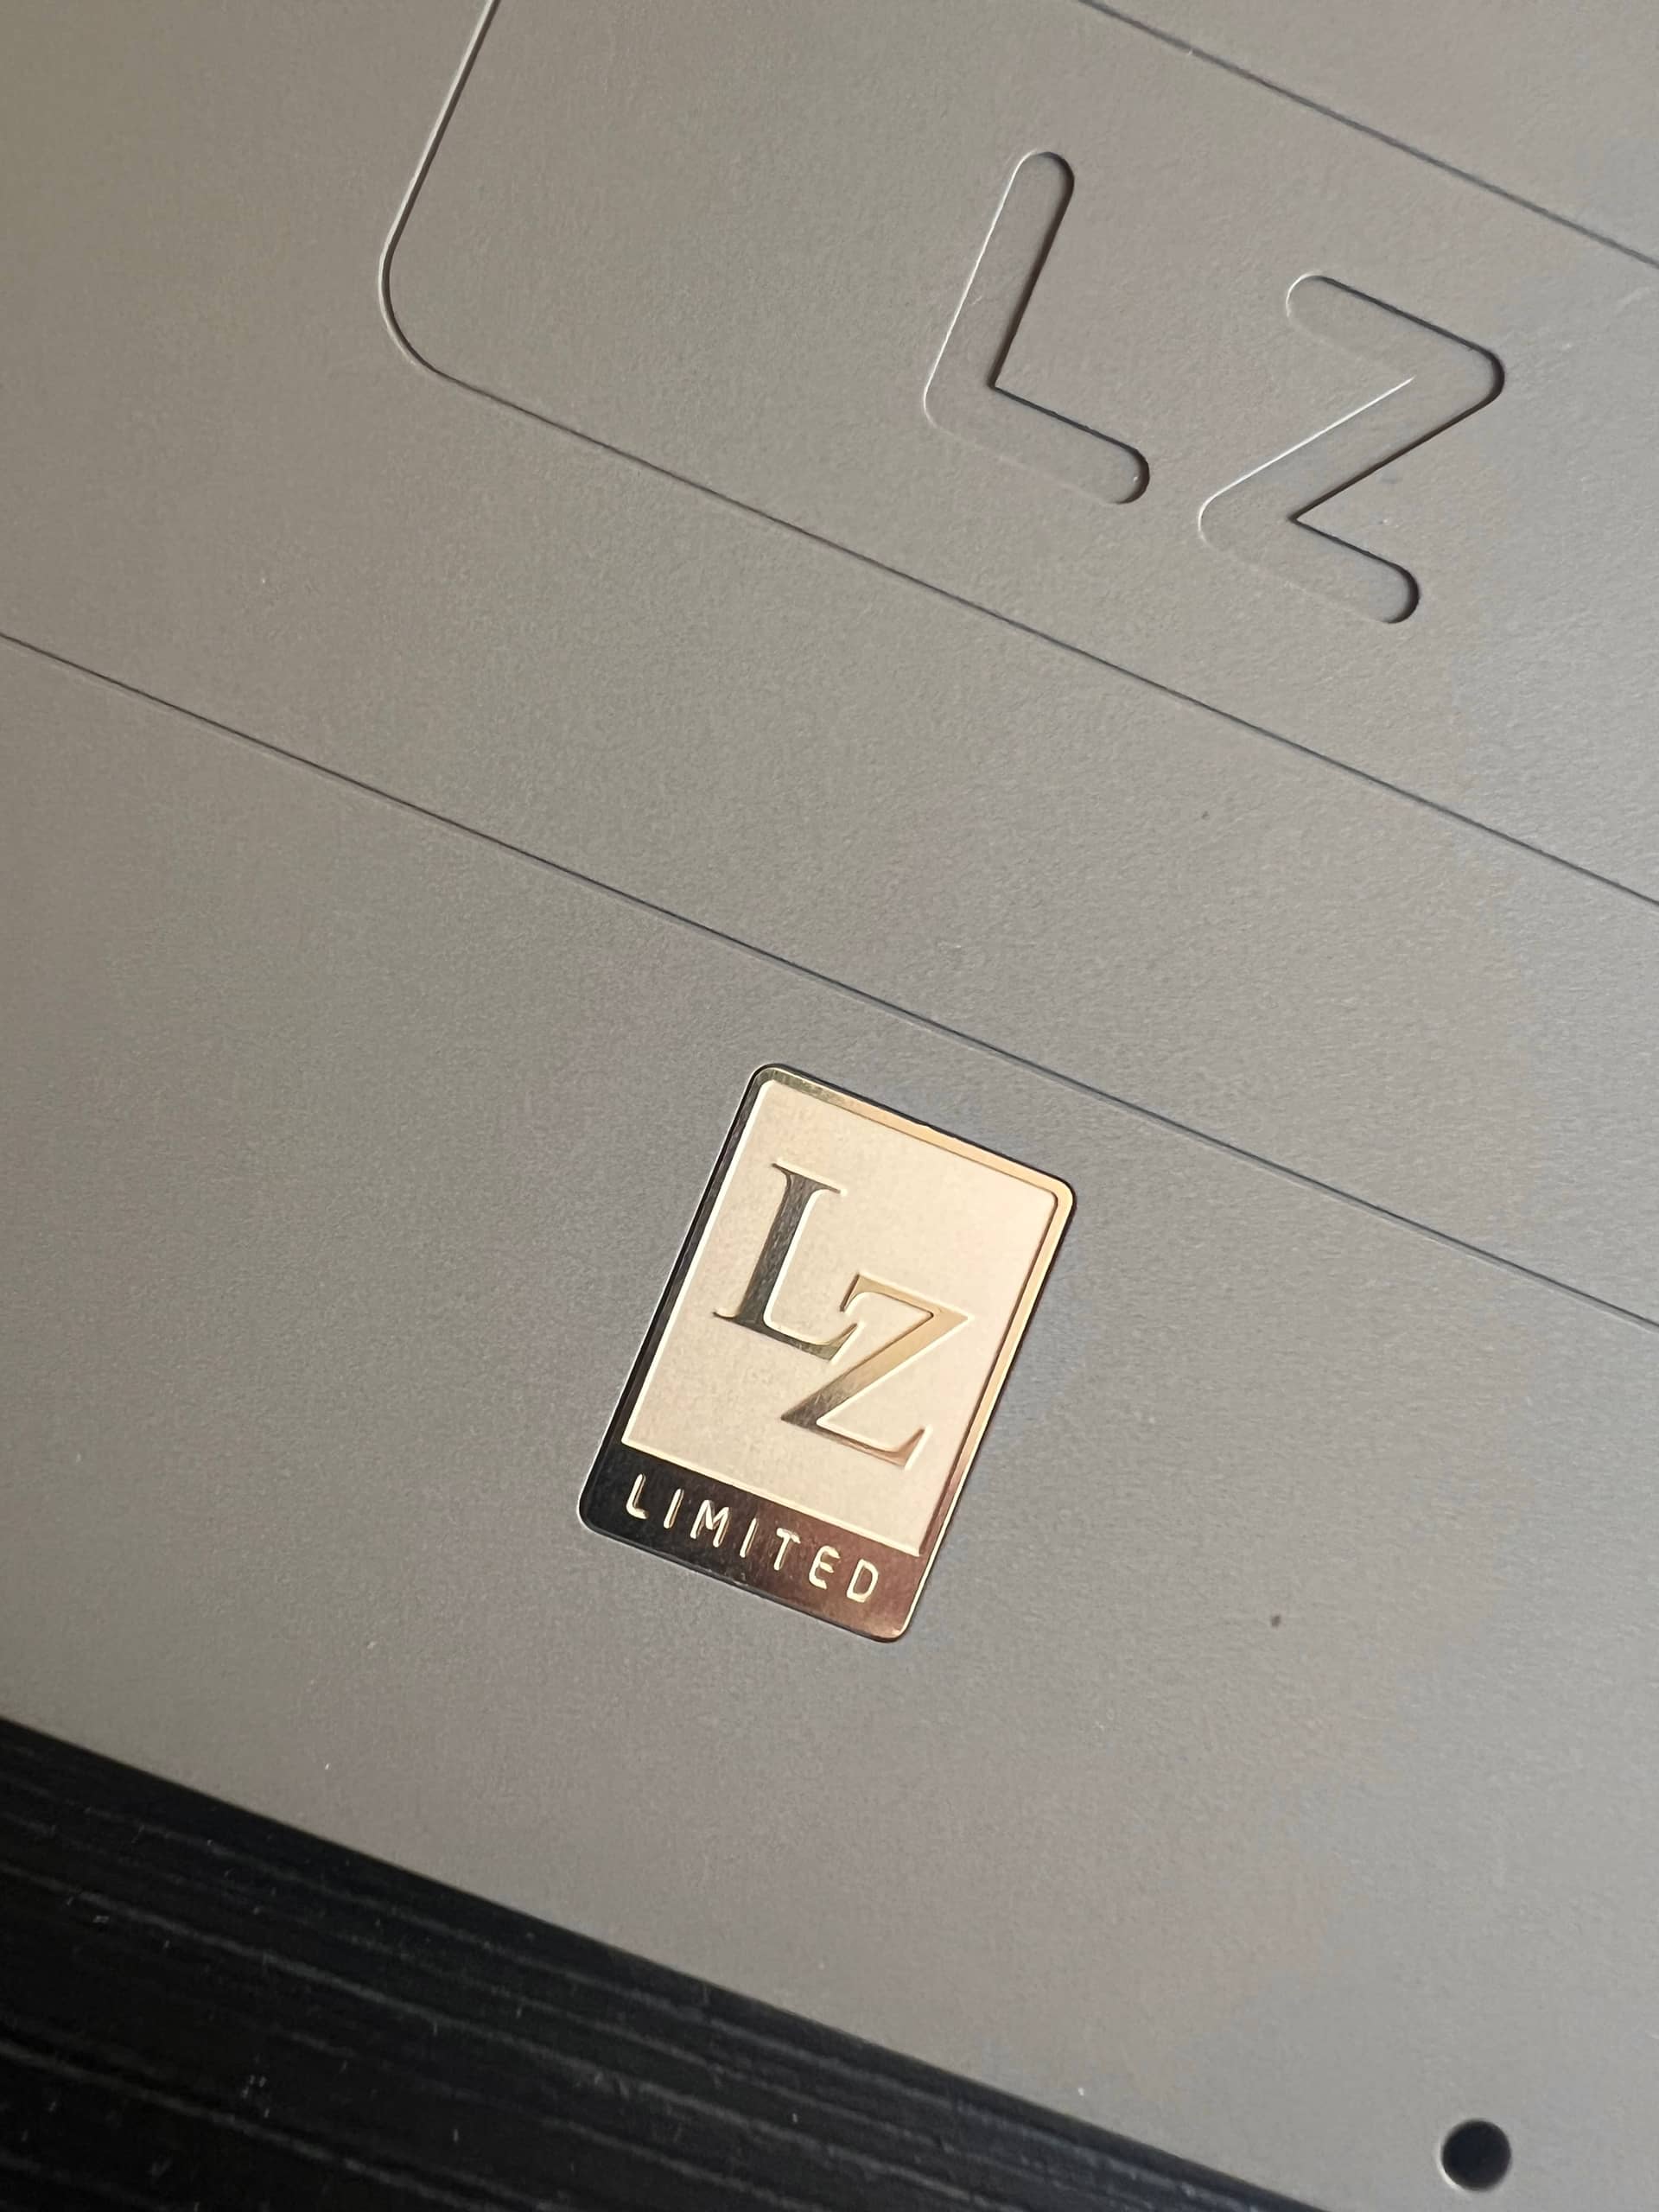
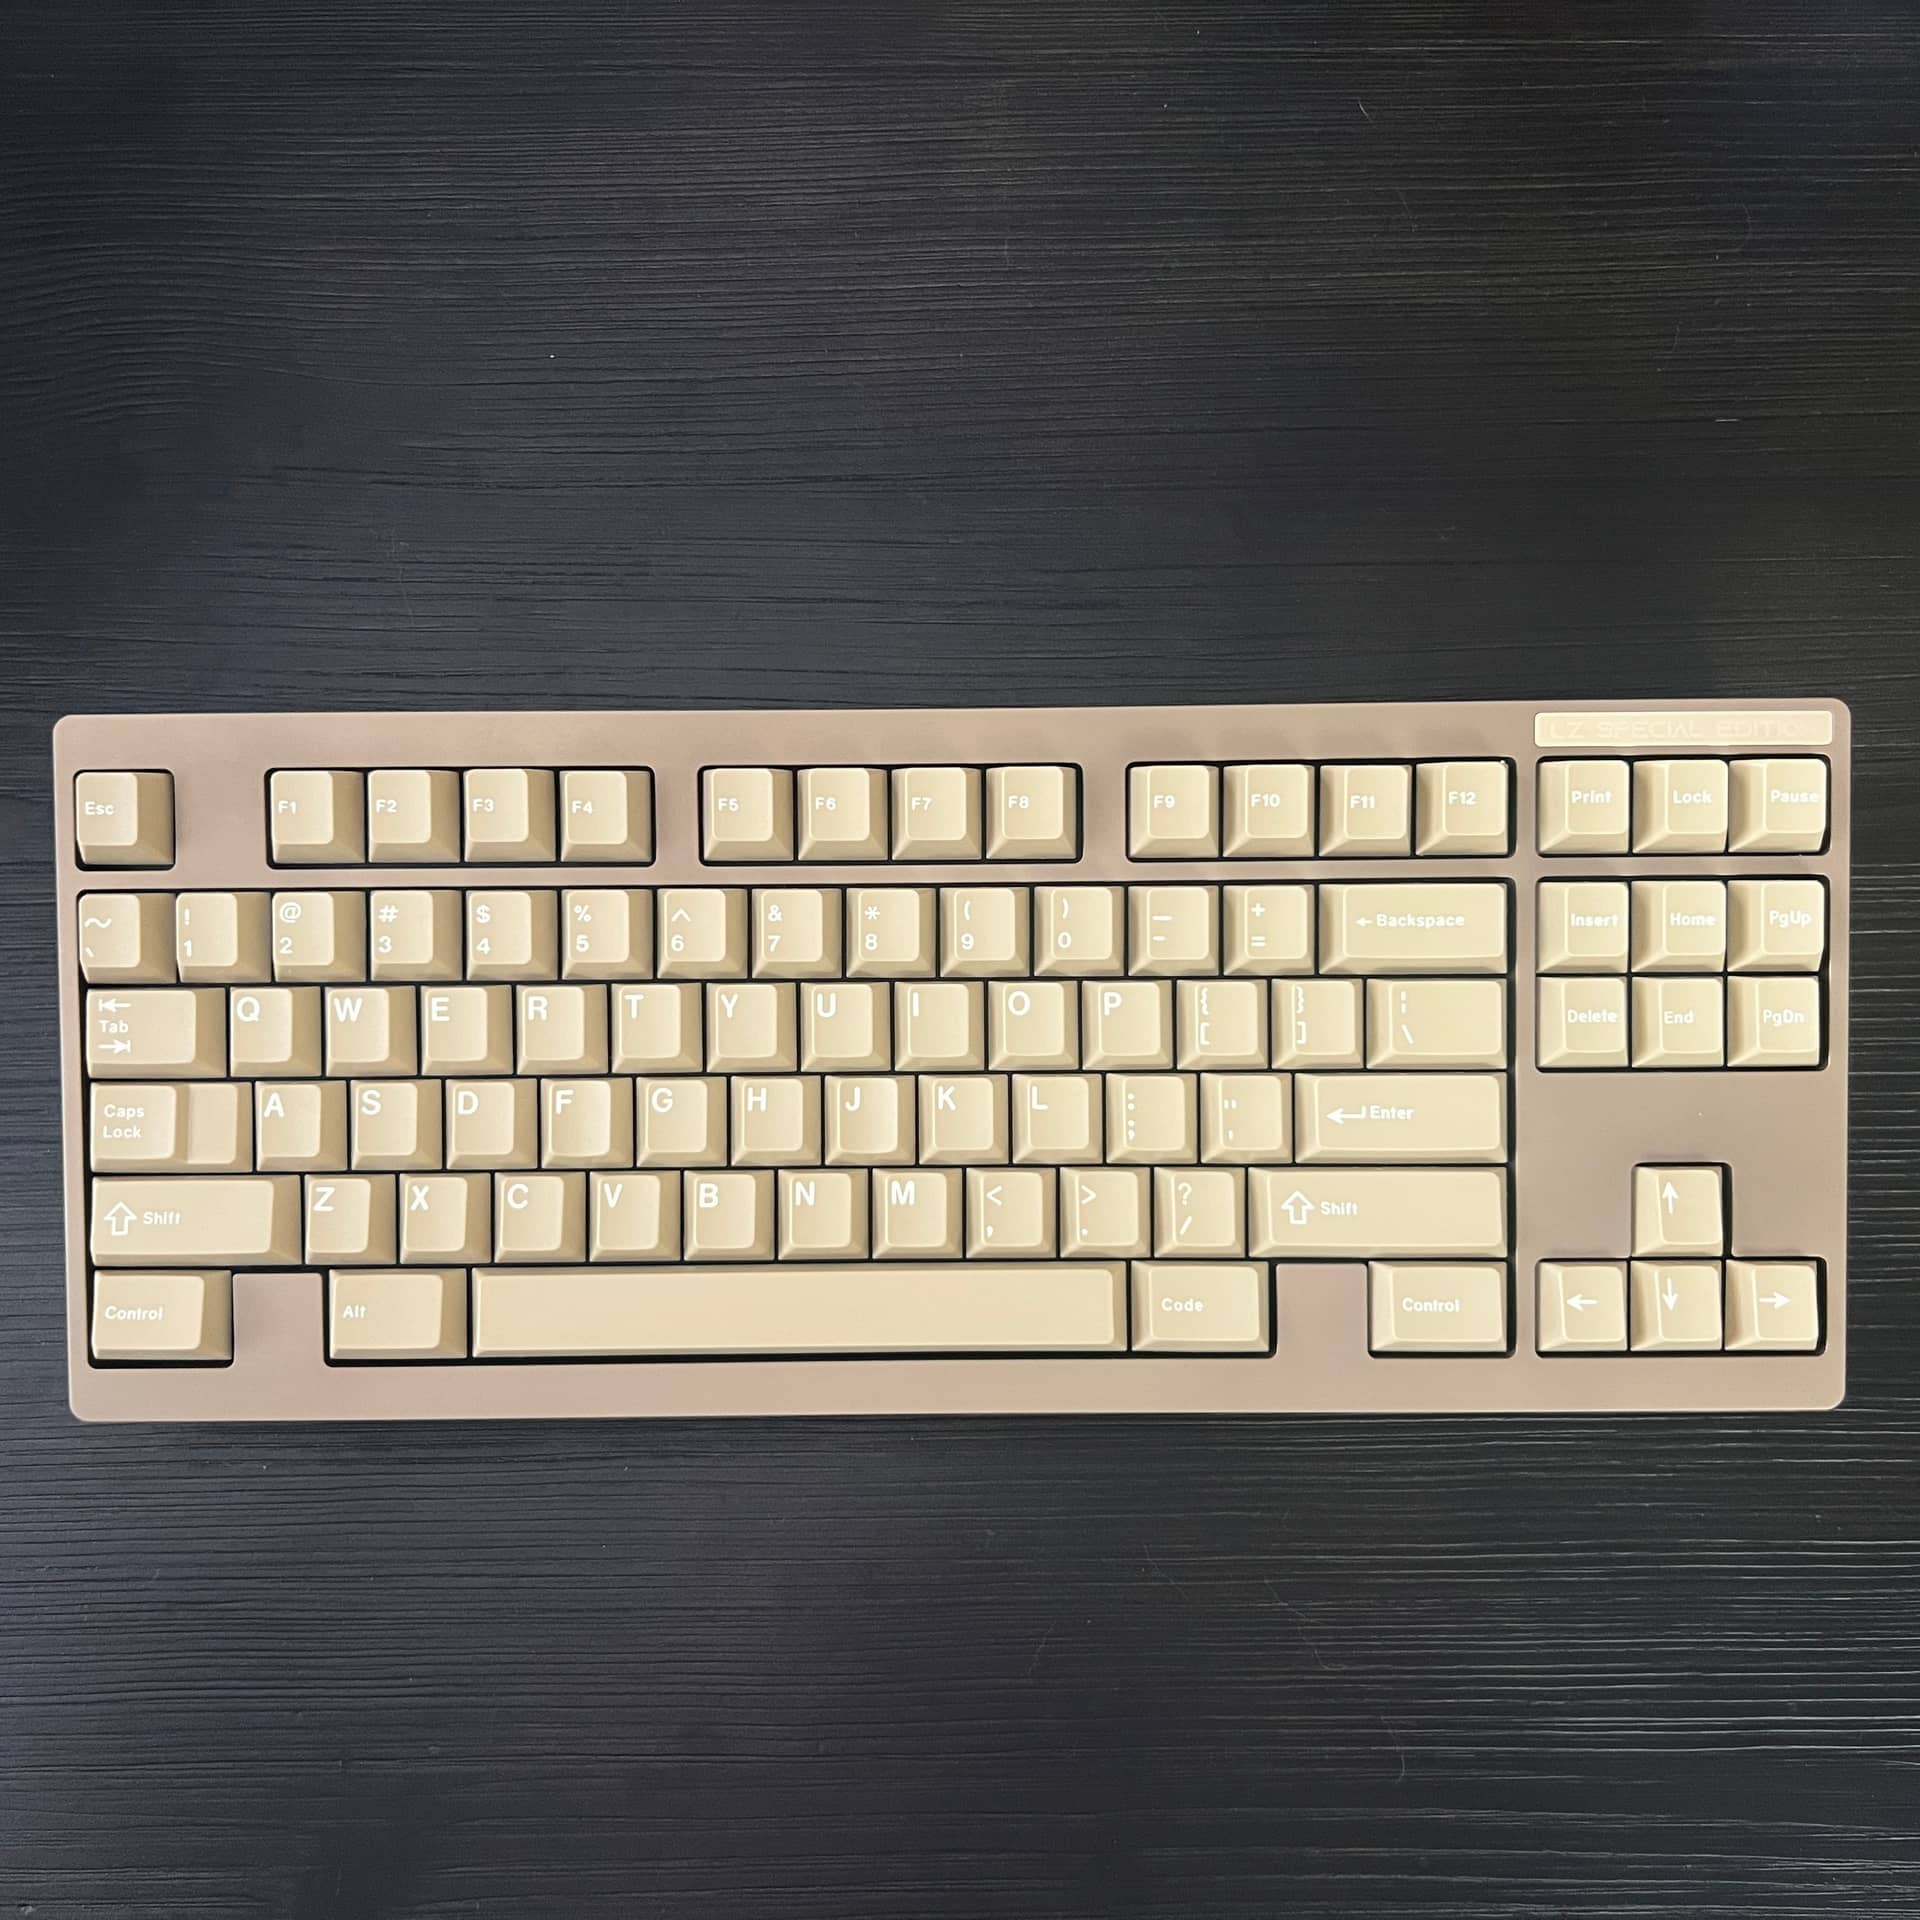
Built my Bronze LZ SE TKL today. I’ve had it a while, but I ordered a hotswap PCB from Mechlovin so that I could try out different setups before deciding on what I want to solder in.
This setup is roller linears on an aluminum plate. It’s a traditional top mount. I did start by adding small o-rings between the aluminum and bronze top, but found it actually sounded much better without. I’m still perplexed how almost every single build I’ve done can be so different. I don’t know how anyone every plans out a build in advance. I always find my plans aren’t in line with what works best on each board. Gotta let the build guide you, I suppose. The board knows what’s best, it’s your job to find out what that is.
I finally got it on the scales. 13.5 pounds. It’s the heaviest board I own. It was actually a bit cumbersome to build because it was so heavy
Topped off with GMK Sandstorm for now.
I’m excited to try other setups. I have a polycarbonate plate and quite a few new switches to try out.