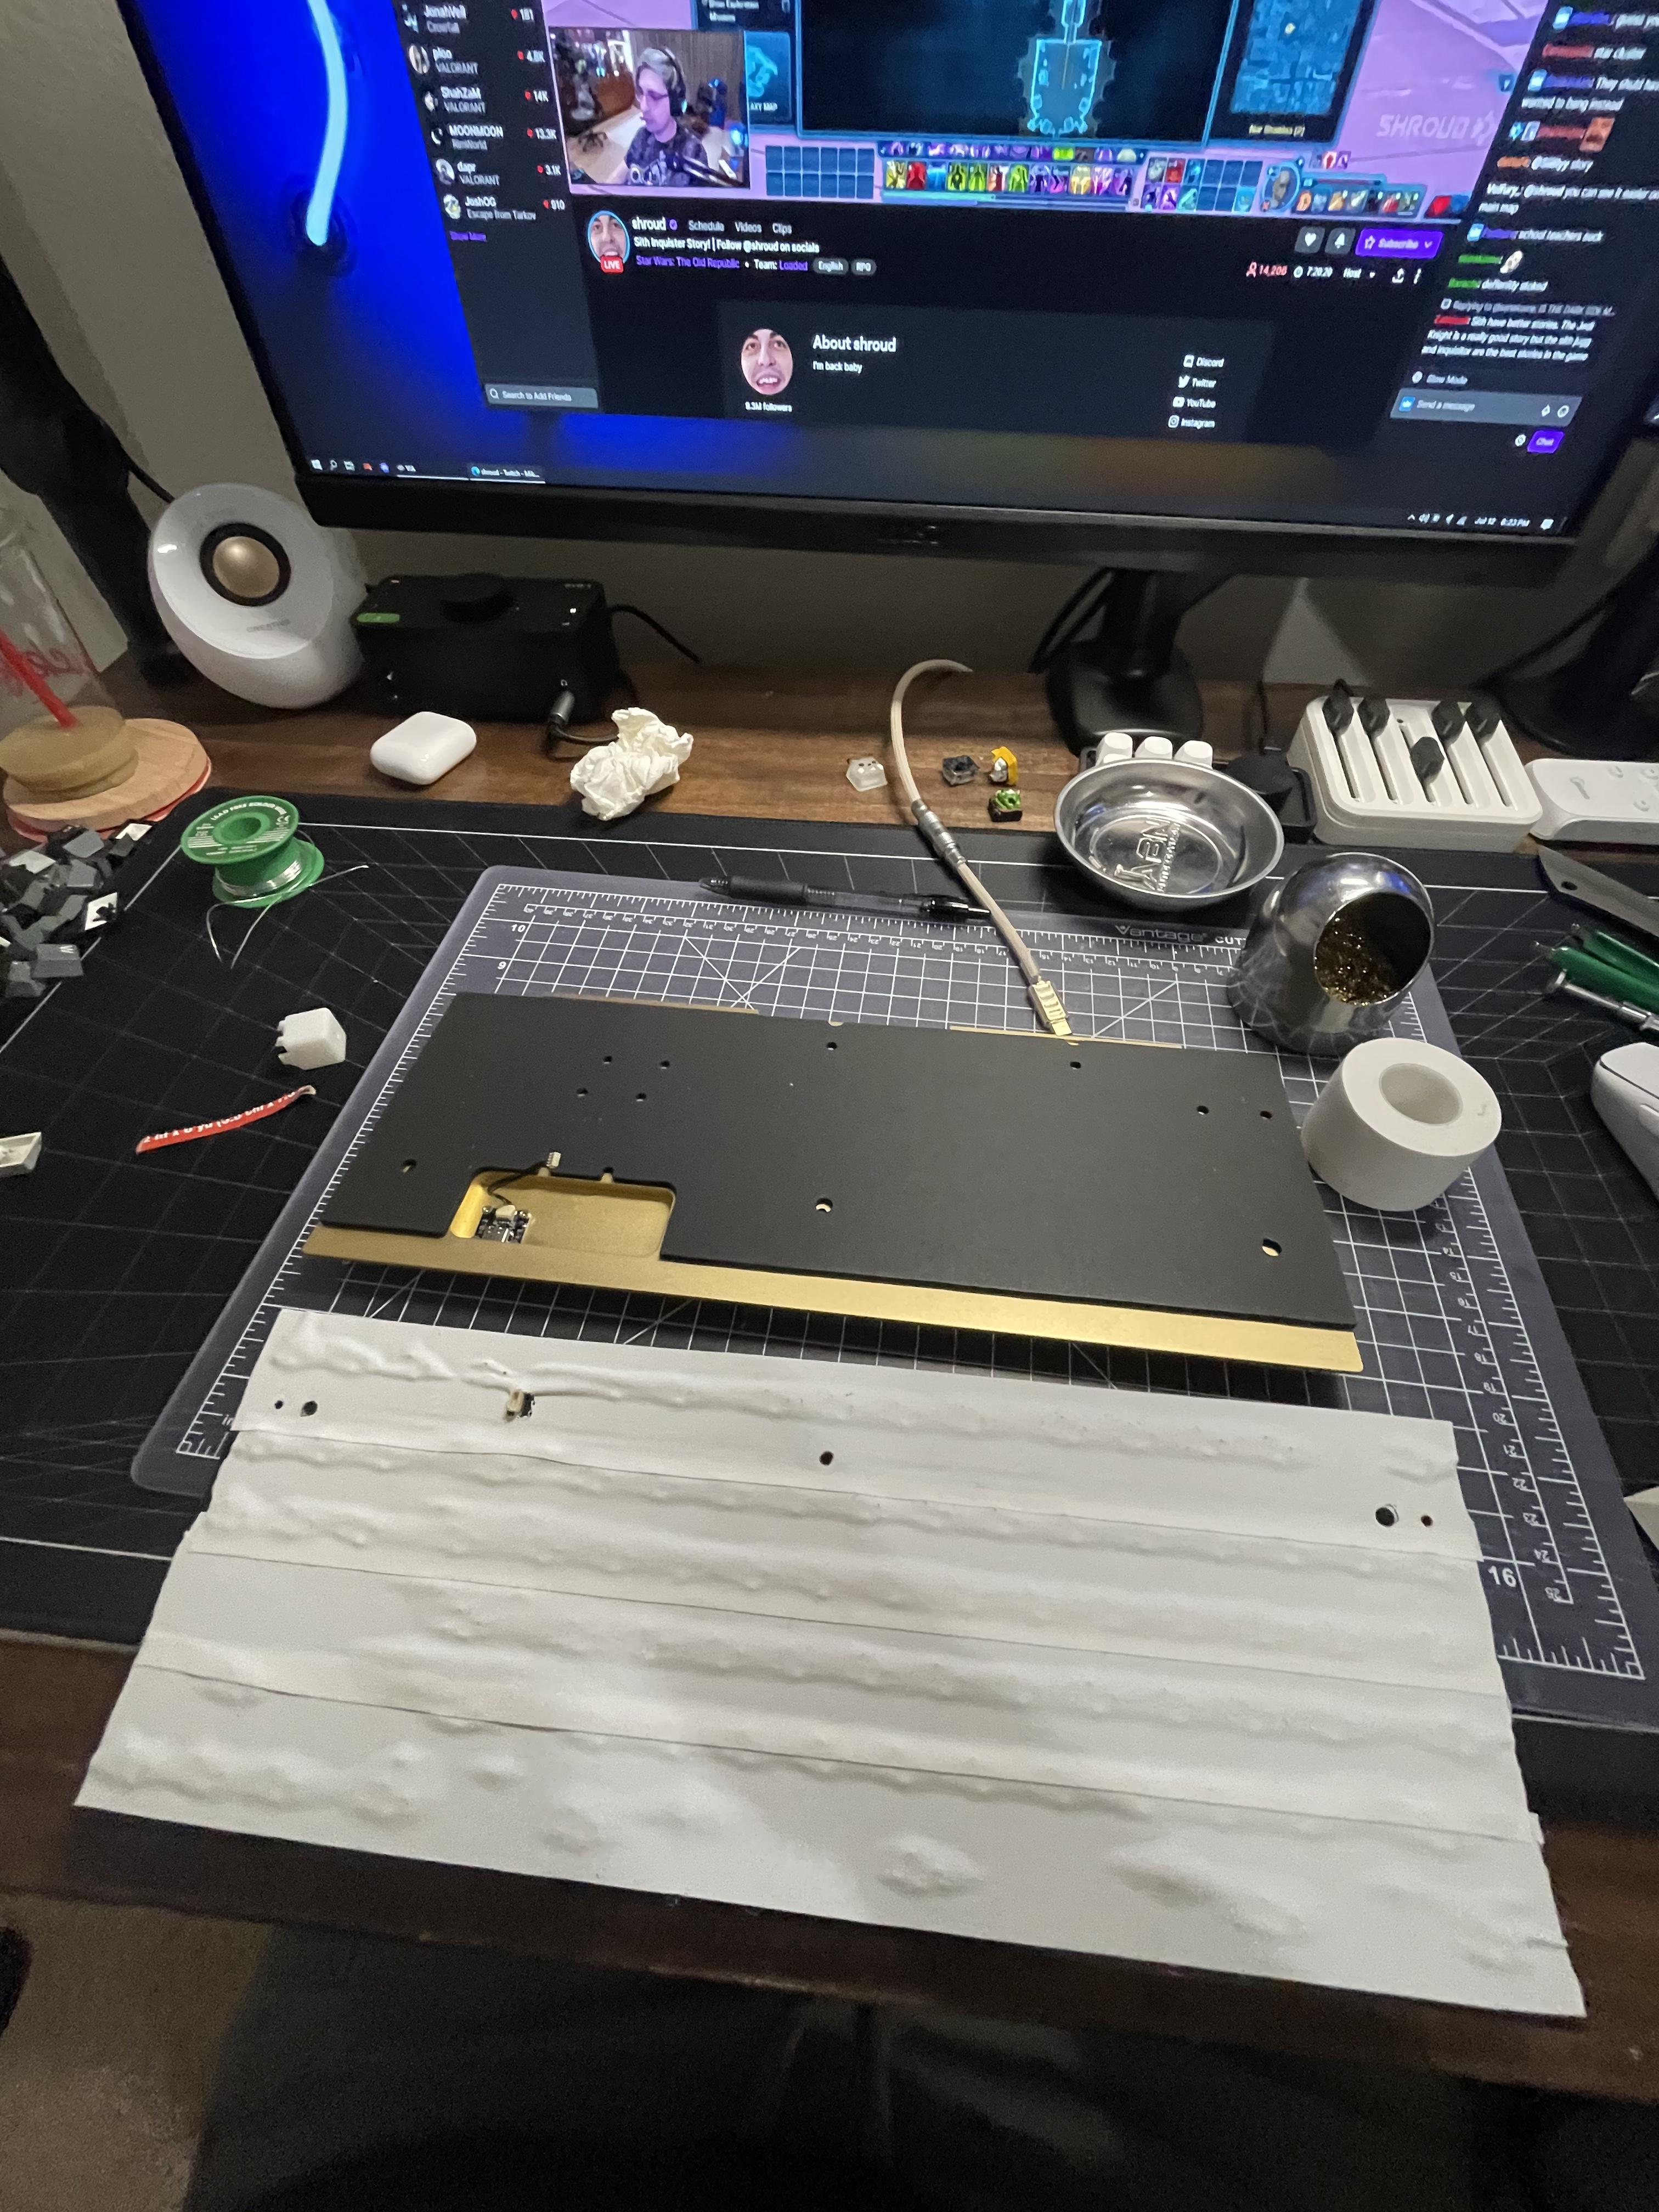
I have some Dynamat in my Amazon “saved for later”! I think sound dampening and control is an aspect of this hobby that needs more exploration and… scientification.
2 Likes
Yeah, definitely. It kind of feel like people just keep doing the same thing because it works, but there’s probably plenty of other solutions just as valid and potentially easier to implement.
As a for instance, I used some self adhesive felt to line the bottom of my KBD8X because there just wasn’t enough room for foam due to the board I was using (has Kailh hotswap sockets). This seems to have not only worked, but was really cheap too.
I’m going to use this same approach for a 60% board because I need to be able to fit a battery pack, but the pocket machined for it is too shallow. So I need all the clearance I can get, but still want to dampen sound.
2 Likes
There have been some random sound–related threads since I joined KT, like this one that may give you experiment ideas.
4 Likes
One additional thing to note, as far as sound dampening goes, if you ever notice the underside of a stainless steel sink, it will either have patches of material almost exactly like dynamat or be entirely coated with a sprayed on rubber. Sinks might be another close analog to speakers in terms of acoustics, but specifically with metal.
7 Likes
Time to buy Plastidip spray and spray the underside of all my pcbs…
Today I have done some fixes and maintenance on some keebs for a community member.
Only the dz60 left, and the solder on the LEDs won’t melt and come of 
4 Likes
Was it soldered by Kbdfans? I had a similar issue with my old Tada68. Factory solder was like glue, had to mix in some of my flux core solder to get it to melt, suck, and repeat.
Usually took about two sucks per hole to get it out.
2 Likes
Hmm, I’m gonna do some investigation on that. 

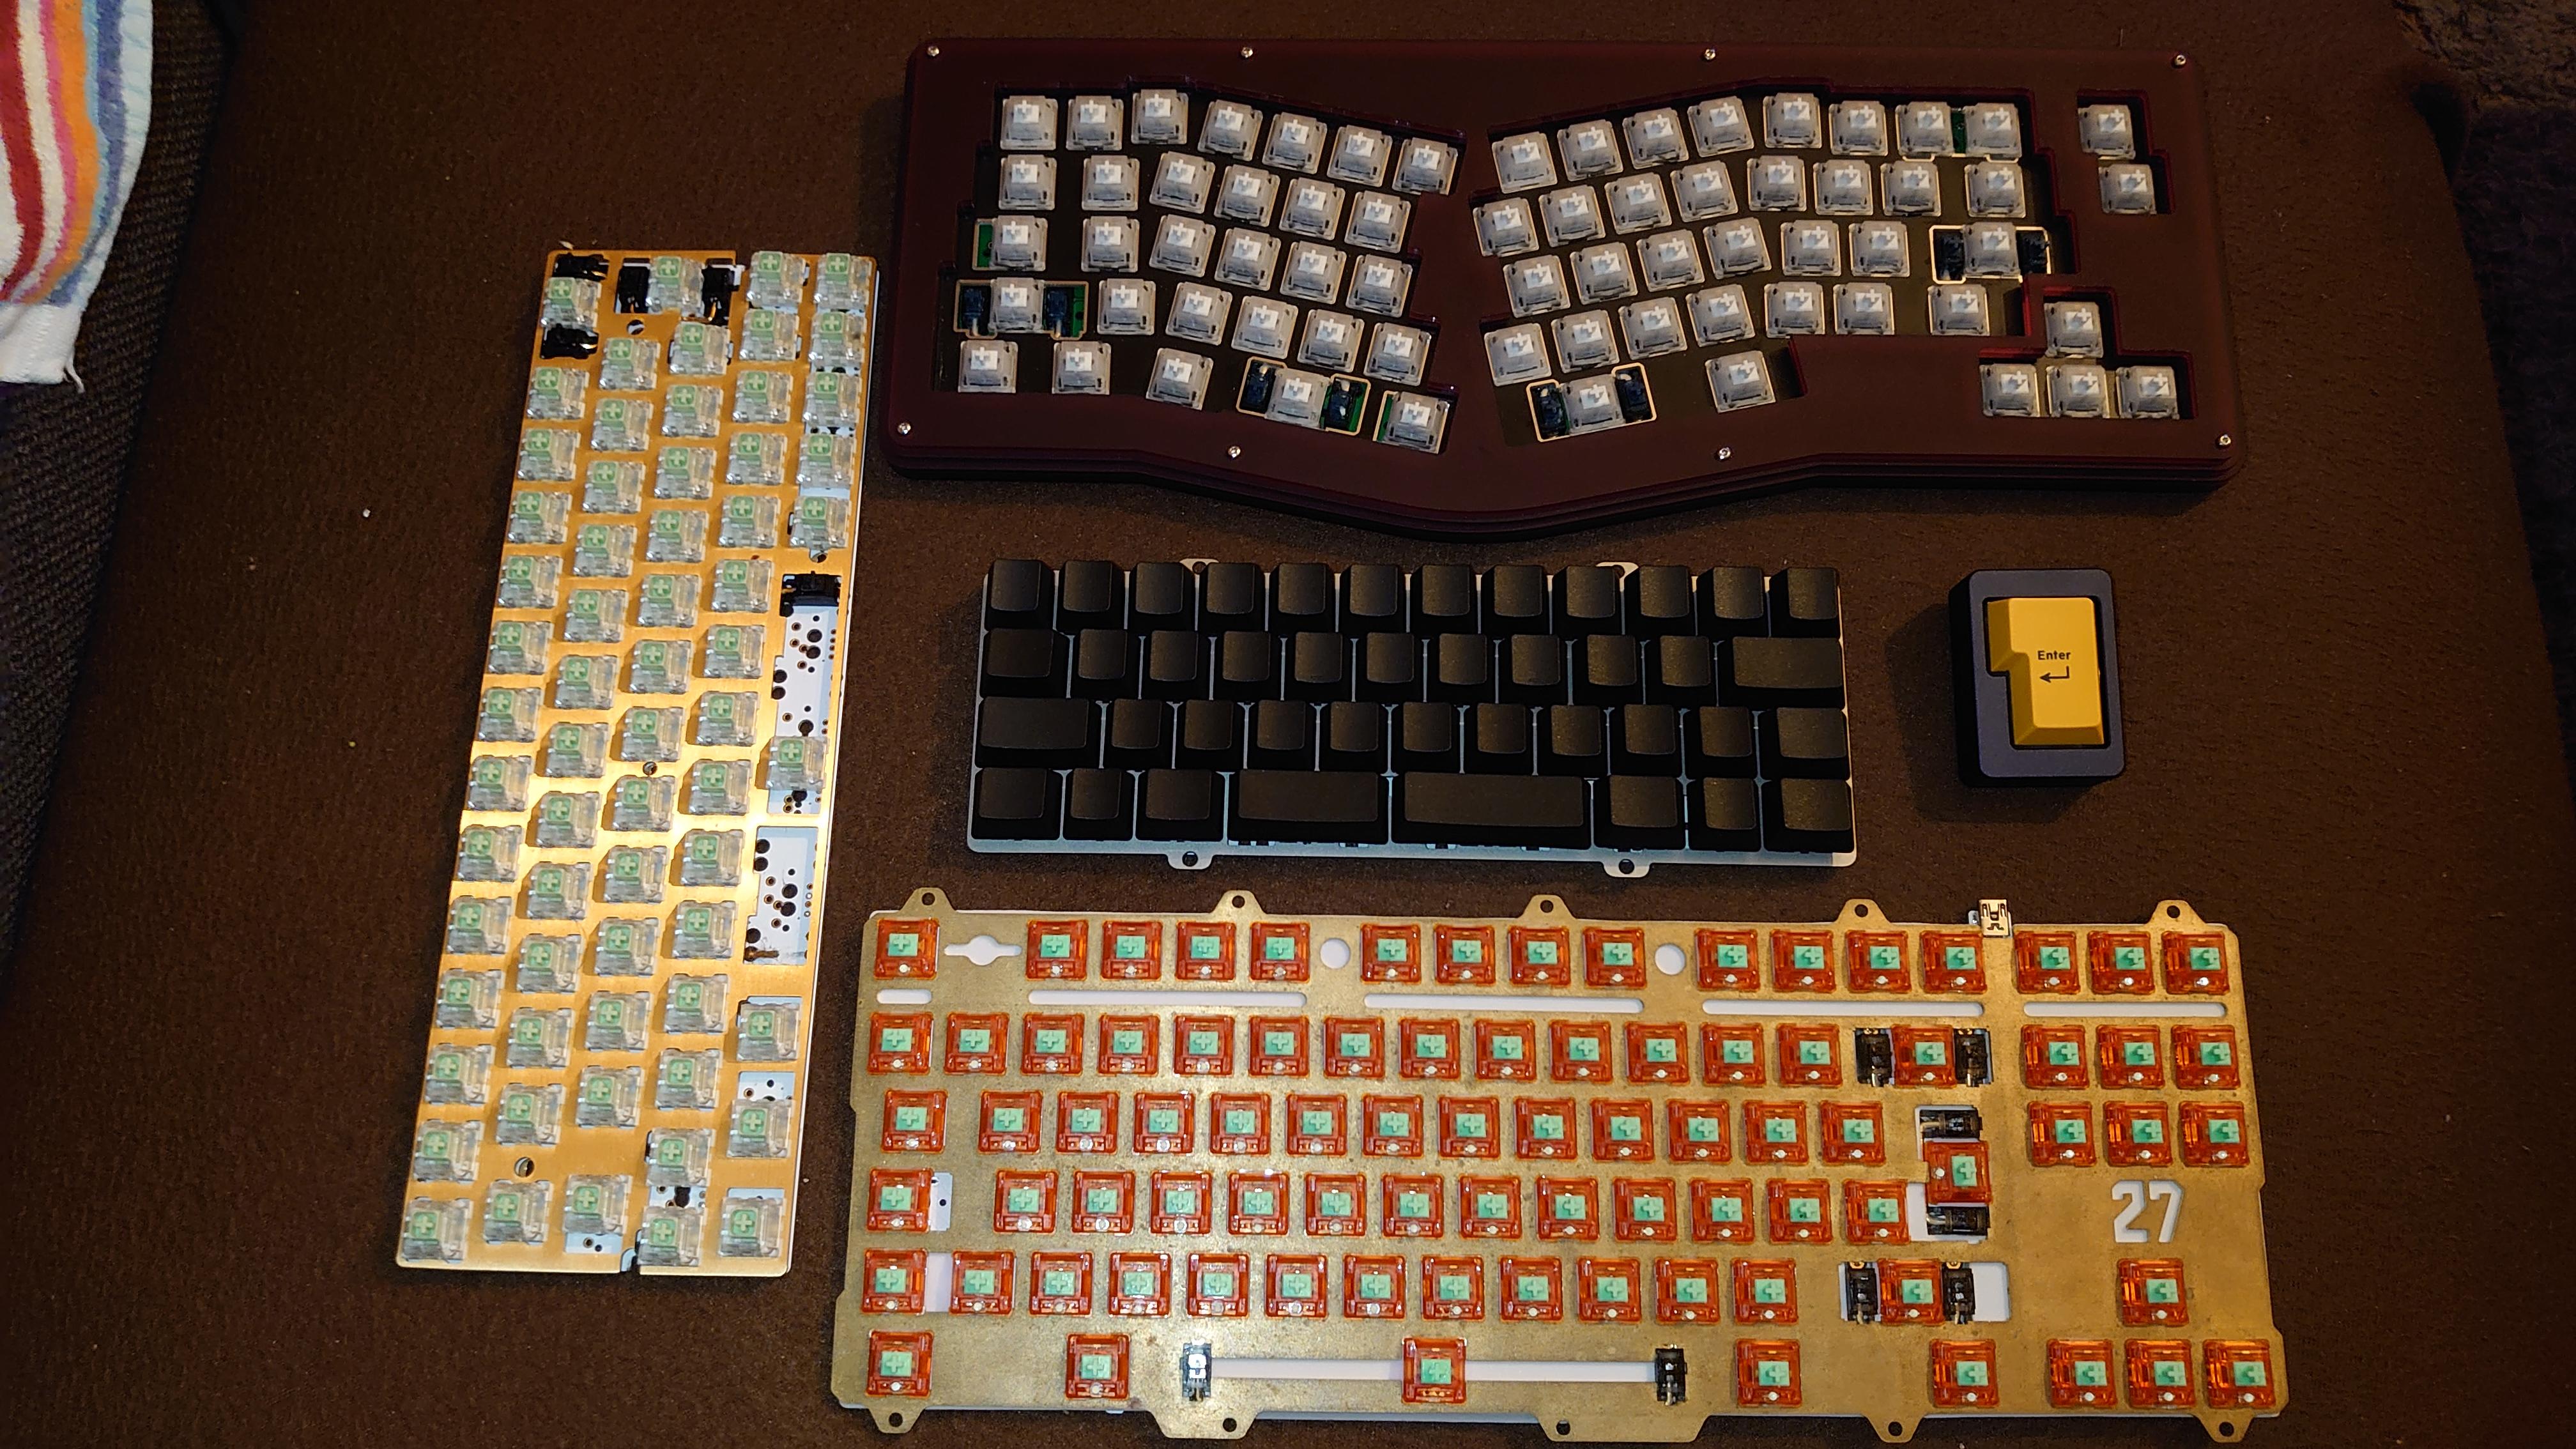
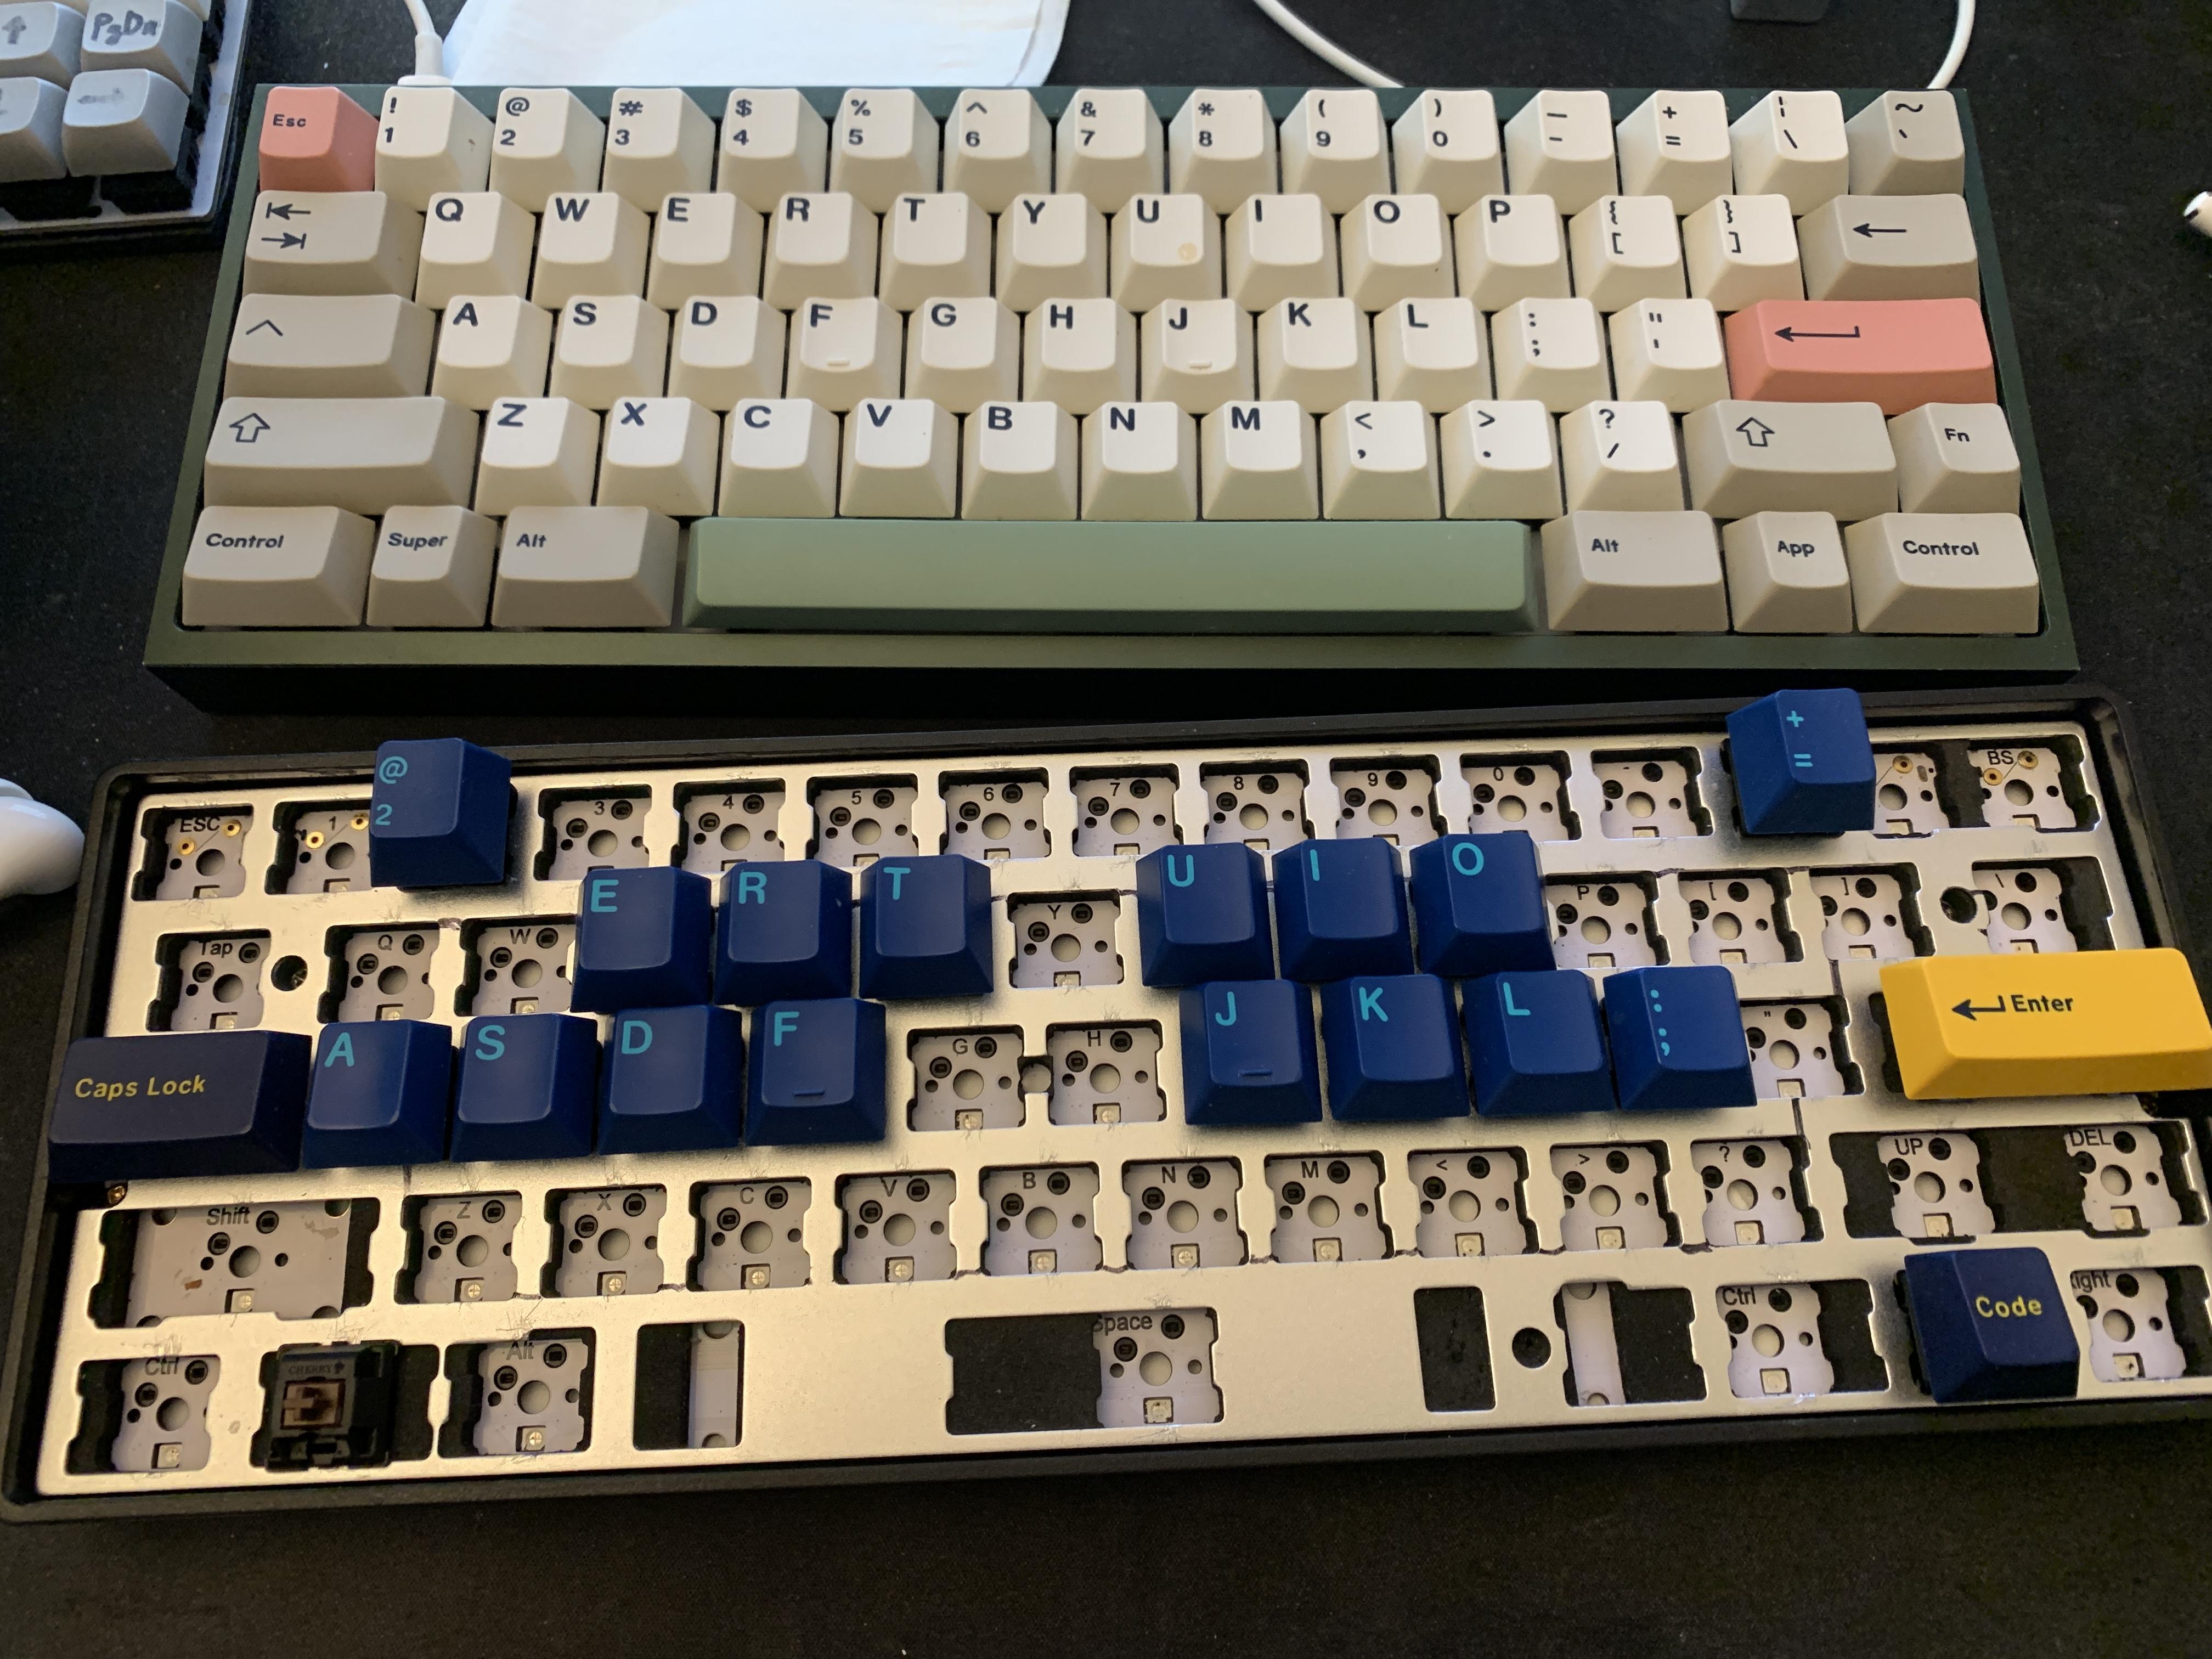
A hotswap board of Cherry frankenswitch made out from stem from Cherry brown RGB and housing+spring from Cherry blue, both harvested from old keyboards I had around. Lubed with 3204, they feel pretty good but the only proof is in the full-board in-use testing. If the result is good, I’ll move them to a more permanent home.
NOTES:
- Cherry brown stem in Cherry blue’s opaque black (nylon?) housing sounds a lot better than its original (polycarb?) RGB housing with transparent top.
- Cherry blue stem in RGB housing also sounds pretty good and its clicks seem more refined albeit less loud.
UPDATE: Full board test result: Felt flat and boring. Same with the remainder frankenswitch. What sounded like tasteful clicks sounded like chirps of a bird buried alive while in use. Back to drawing board.
7 Likes
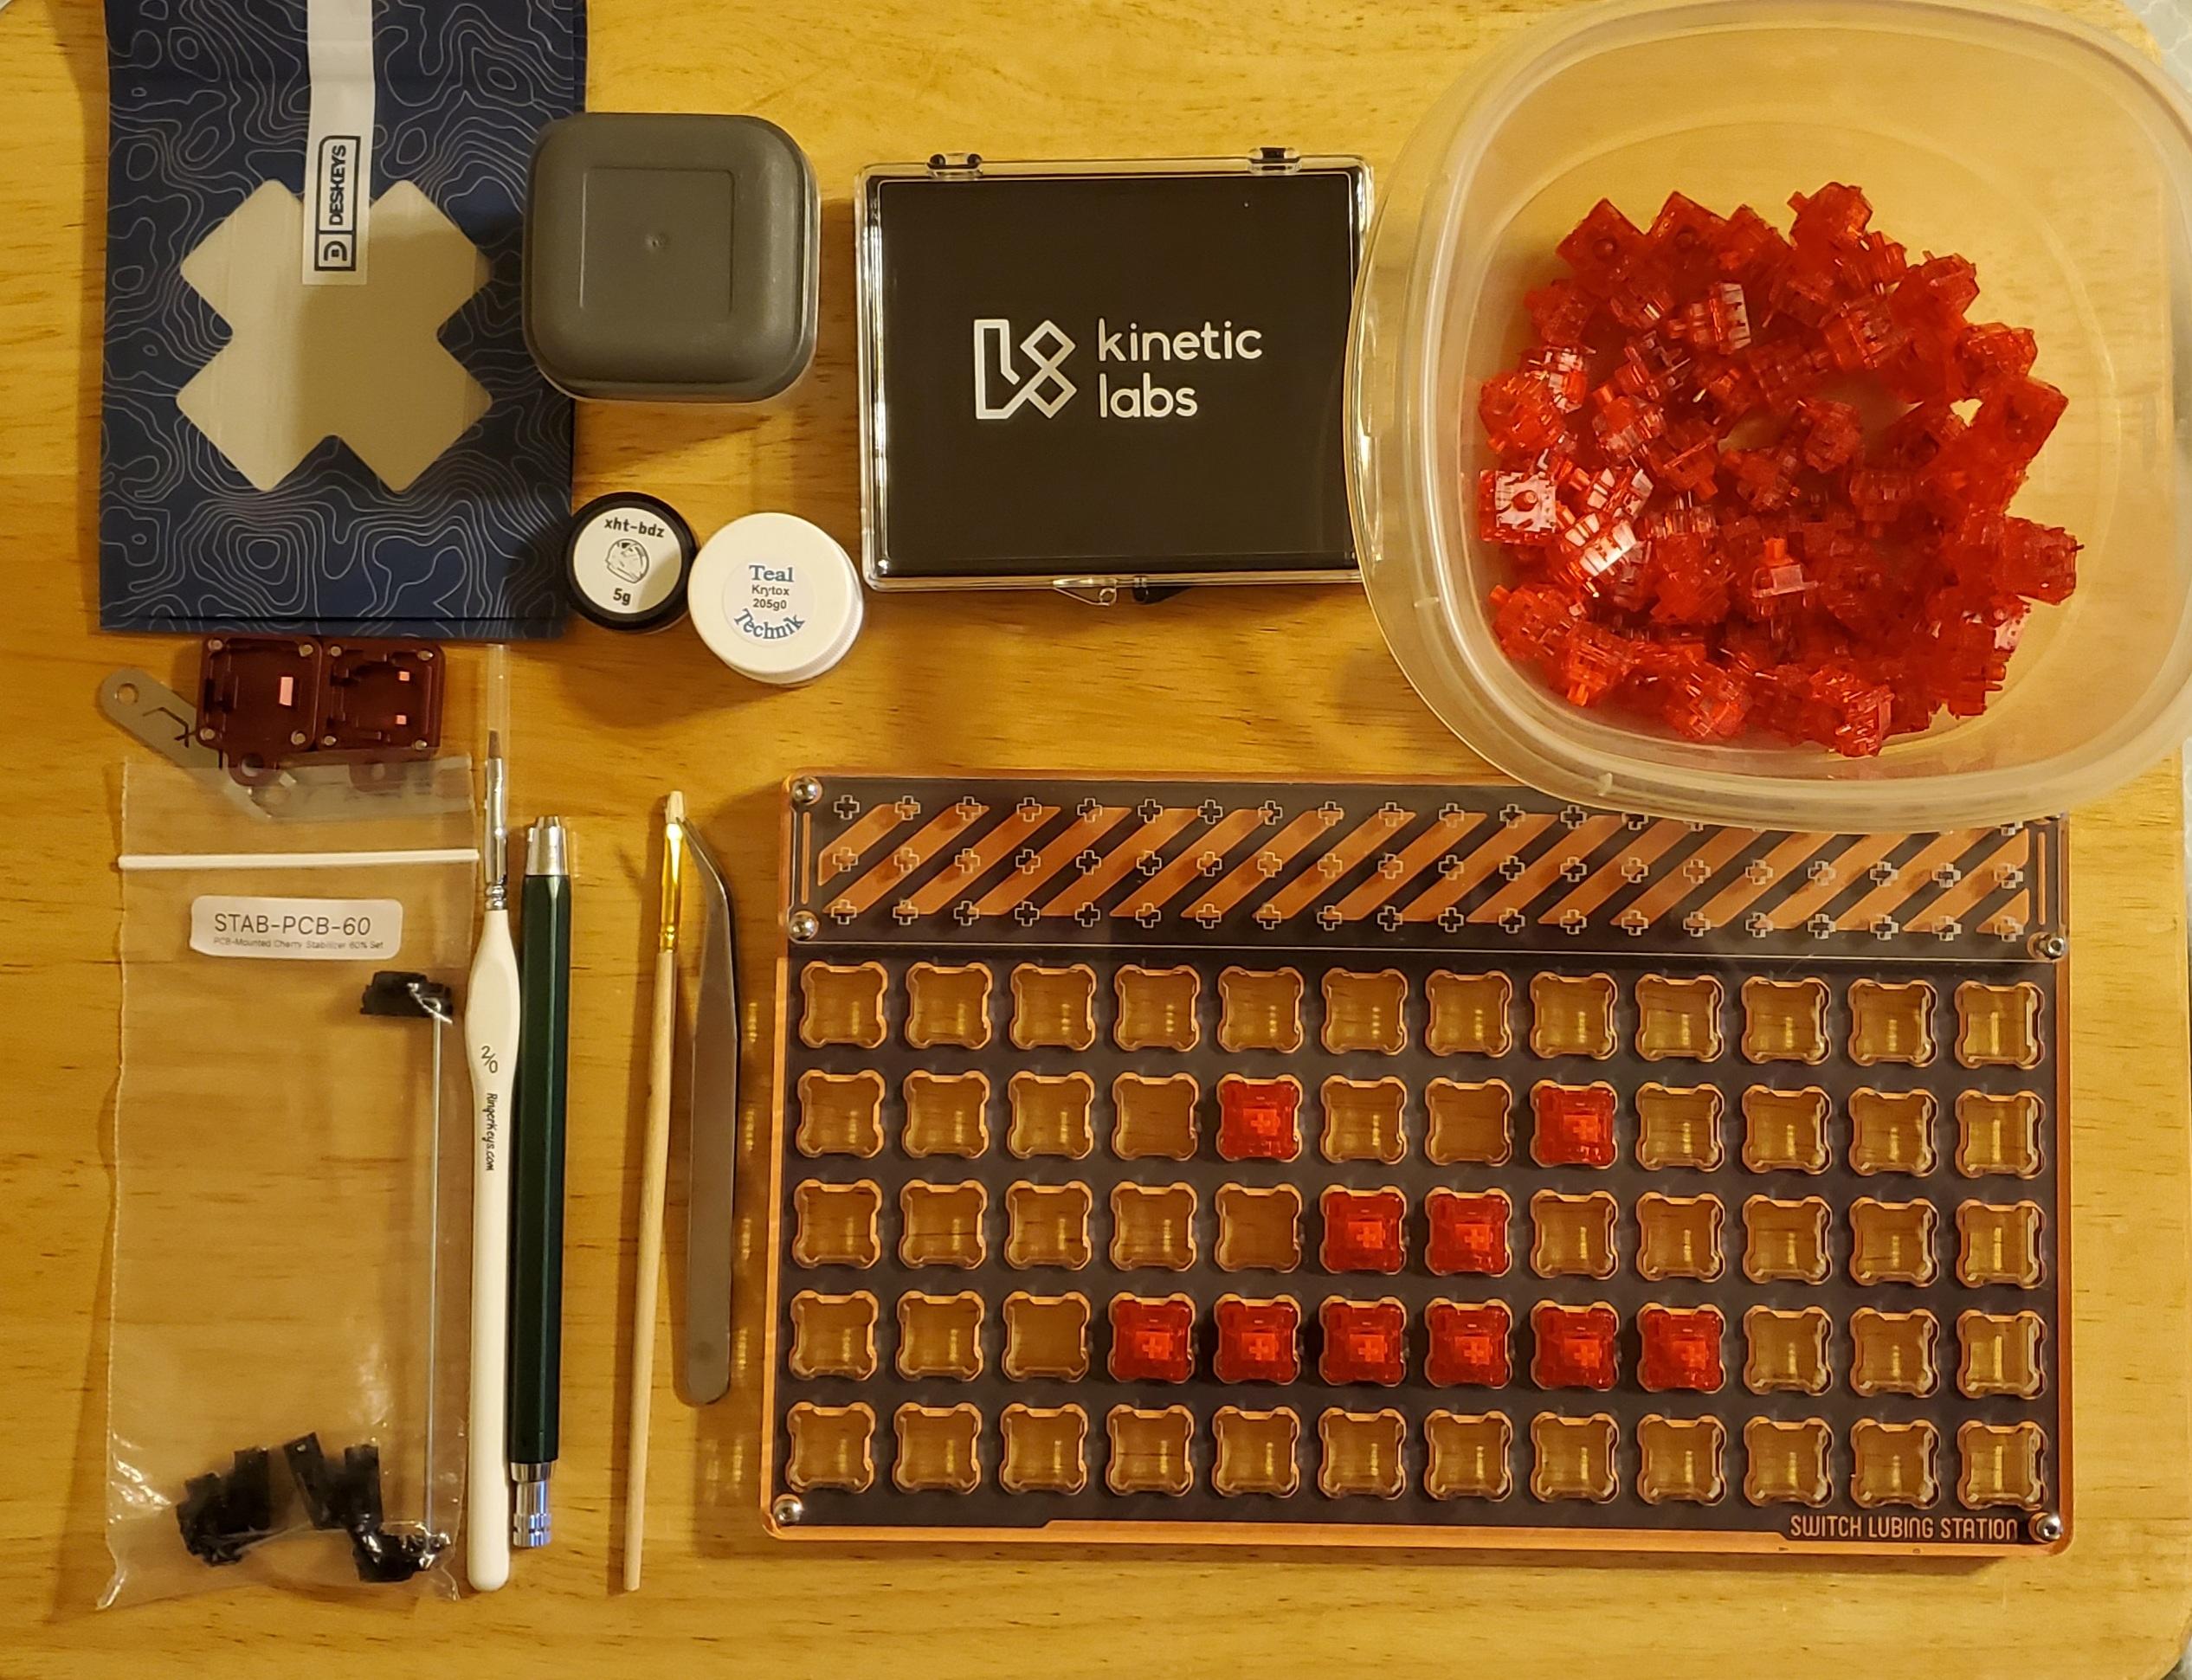
Getting ready to lube & film some Gateron Red Inks. They’ll be going in my extra setup for my E6.5 using that white alum. plate I got for it awhile back. Finally getting back out of the funk I was in with wanting to build because how sideways the Rukia Rd.2 GB has gone. Didn’t want to look at my keebs for a min there because of that debacle!? I’m over it now though, it’ll either eventually show or not. It is what it is, these are the risks we take when joining any GB.
10 Likes
Aw man, glad you’re back at it again! Nice to see Gat Red Inks in the wild, feel like I rarely see these.
4 Likes
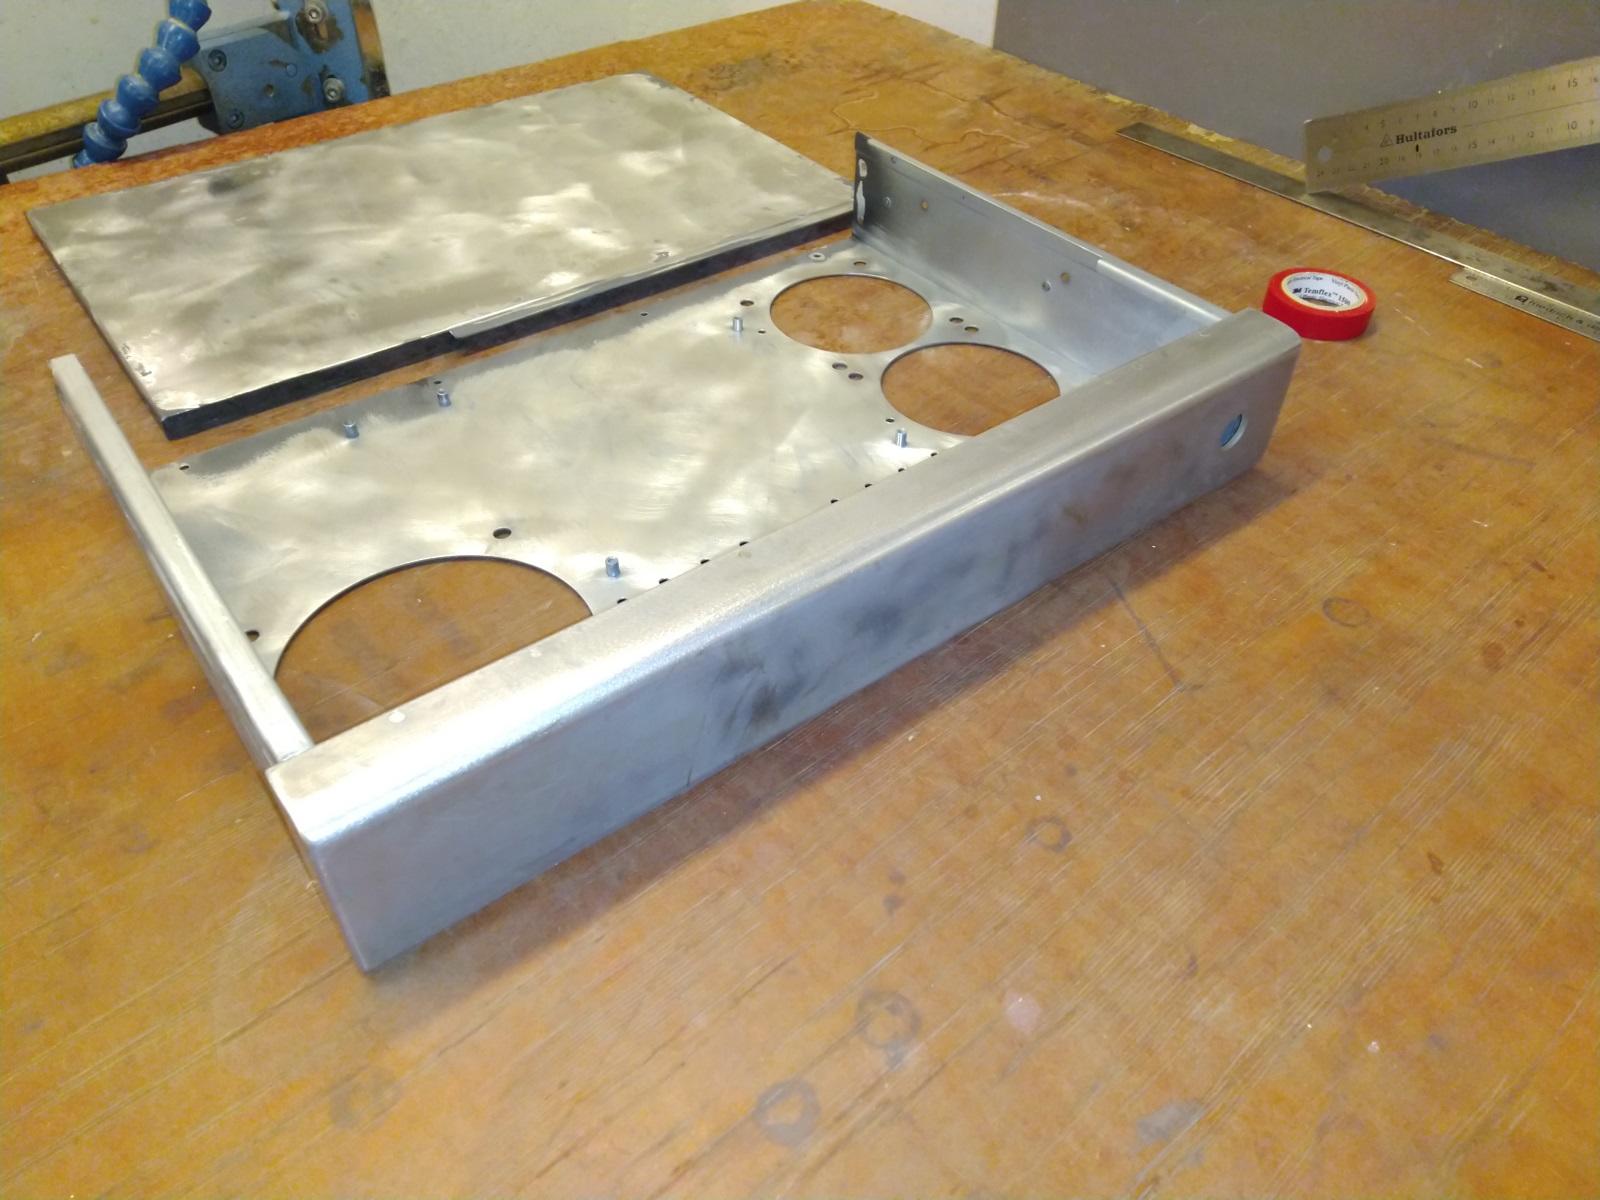
Not a keyboard, but when finished it will go together with a keyboard 
An idea I had for a few years already, a very flat computer case.
I was always fascinated by the “pizza box” computer cases we had in the old days,
like some of the sun, next or silicon graphics workstations.
Although not really a (flat) “pizza box” one of my all time favourites is the purple indigo 2 workstation.
So i decided I need a flat and purple computer case, housing common hardware.
My last case(mod) was made from an old 2u rack server, but I need to go even flatter…
So I went for a 1.5u rack case as a basis for my new case.
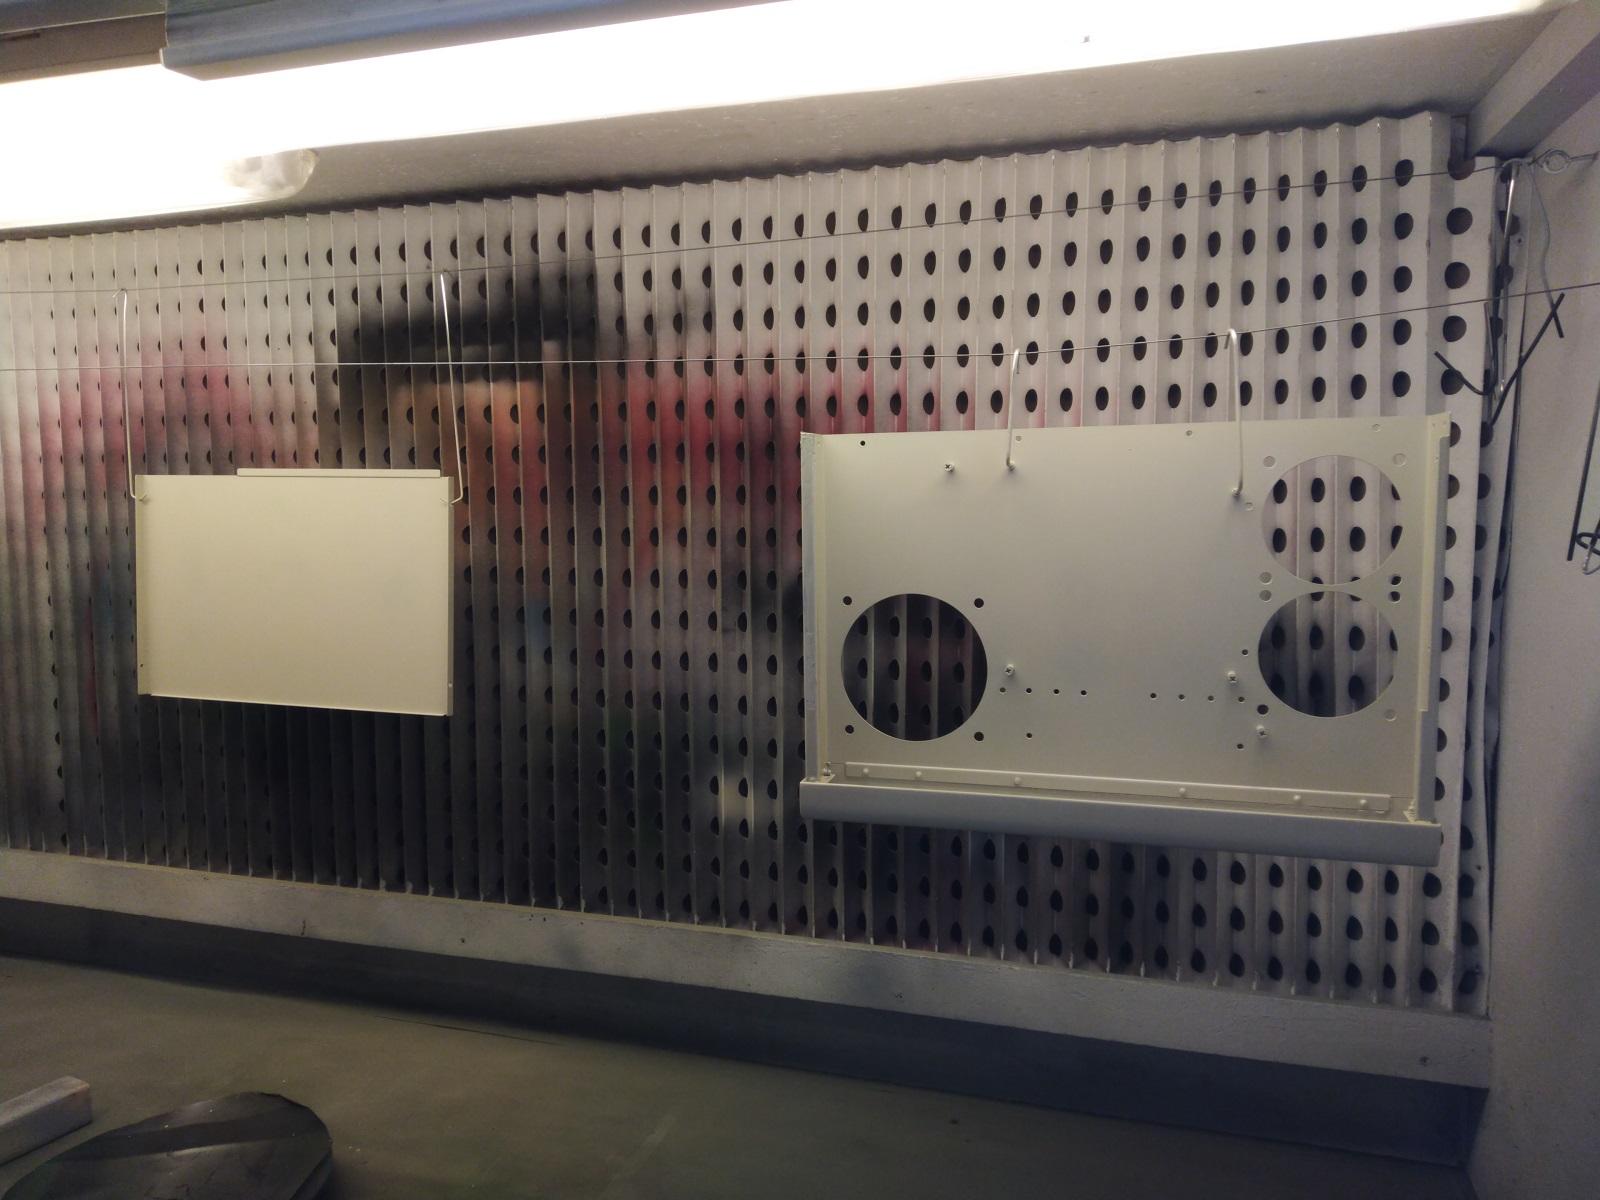
Not finished yet, but you can see where this is going.
I removed the original frontpanel and made a new and slightly deeper one out of steel.
Some additional fan holes and mounting points for the future DC/DC power supply, since a common ATX supply won’t fit.
Not finished removing all of the original paint, but the final sand blasting will be done right before I do the new coating.
I’ll do the case in RAL 4007 purple violet.
10 Likes
Can’t wait to see the final result (well, the process too, lol). Very cool project.
1 Like
Same! This was basically the Ferrari Testarossa of my childhood. Such an iconic everything. Good luck with the project.
2 Likes
We had one of those to drive a Tek Wax-process Printer back in the mid-to-late 90’s. It was definitely cool looking and completely underutilized (I felt) as a Raster Image Processor for the printer.
2 Likes
Decided to re-lube some switches, switch keycaps, and try out this ‘tempest mod’ today. Surprisingly effective and the thockiness was improved a great amount tbh. Anyone else try this out? I used athletic tape! The tape mod - YouTube
6 Likes
I’ll post some more pictures as the process goes along.
The two component coating arrived yesterday, maybe I’ll manage to continue today…
Thanks! If my case turns out well, it will still not look as cool as the indigo 2.
I’ll consider it built in the honour of one of the most iconic machines ![]()
Well, definitely underutilized! I have actually never seen one in the real world, only on pictures… but still
1 Like
First layer of base coat applied, I am curious how that two component system works out.
Had some trouble with the spray nozzle at one point (upper left corner of the case body), but I will sand it down tomorrow and apply another layer.
If everything goes well I can do the top coat tomorrow, fingers crossed. 
4 Likes
I just tried the mod on my Bakeneko using a layer of painter’s tape with a layer of gaffer’s tape on top. To my surprise, the sound did deepen quite a bit. I’ll have to see if the first layer of tape will stay put in time.
3 Likes