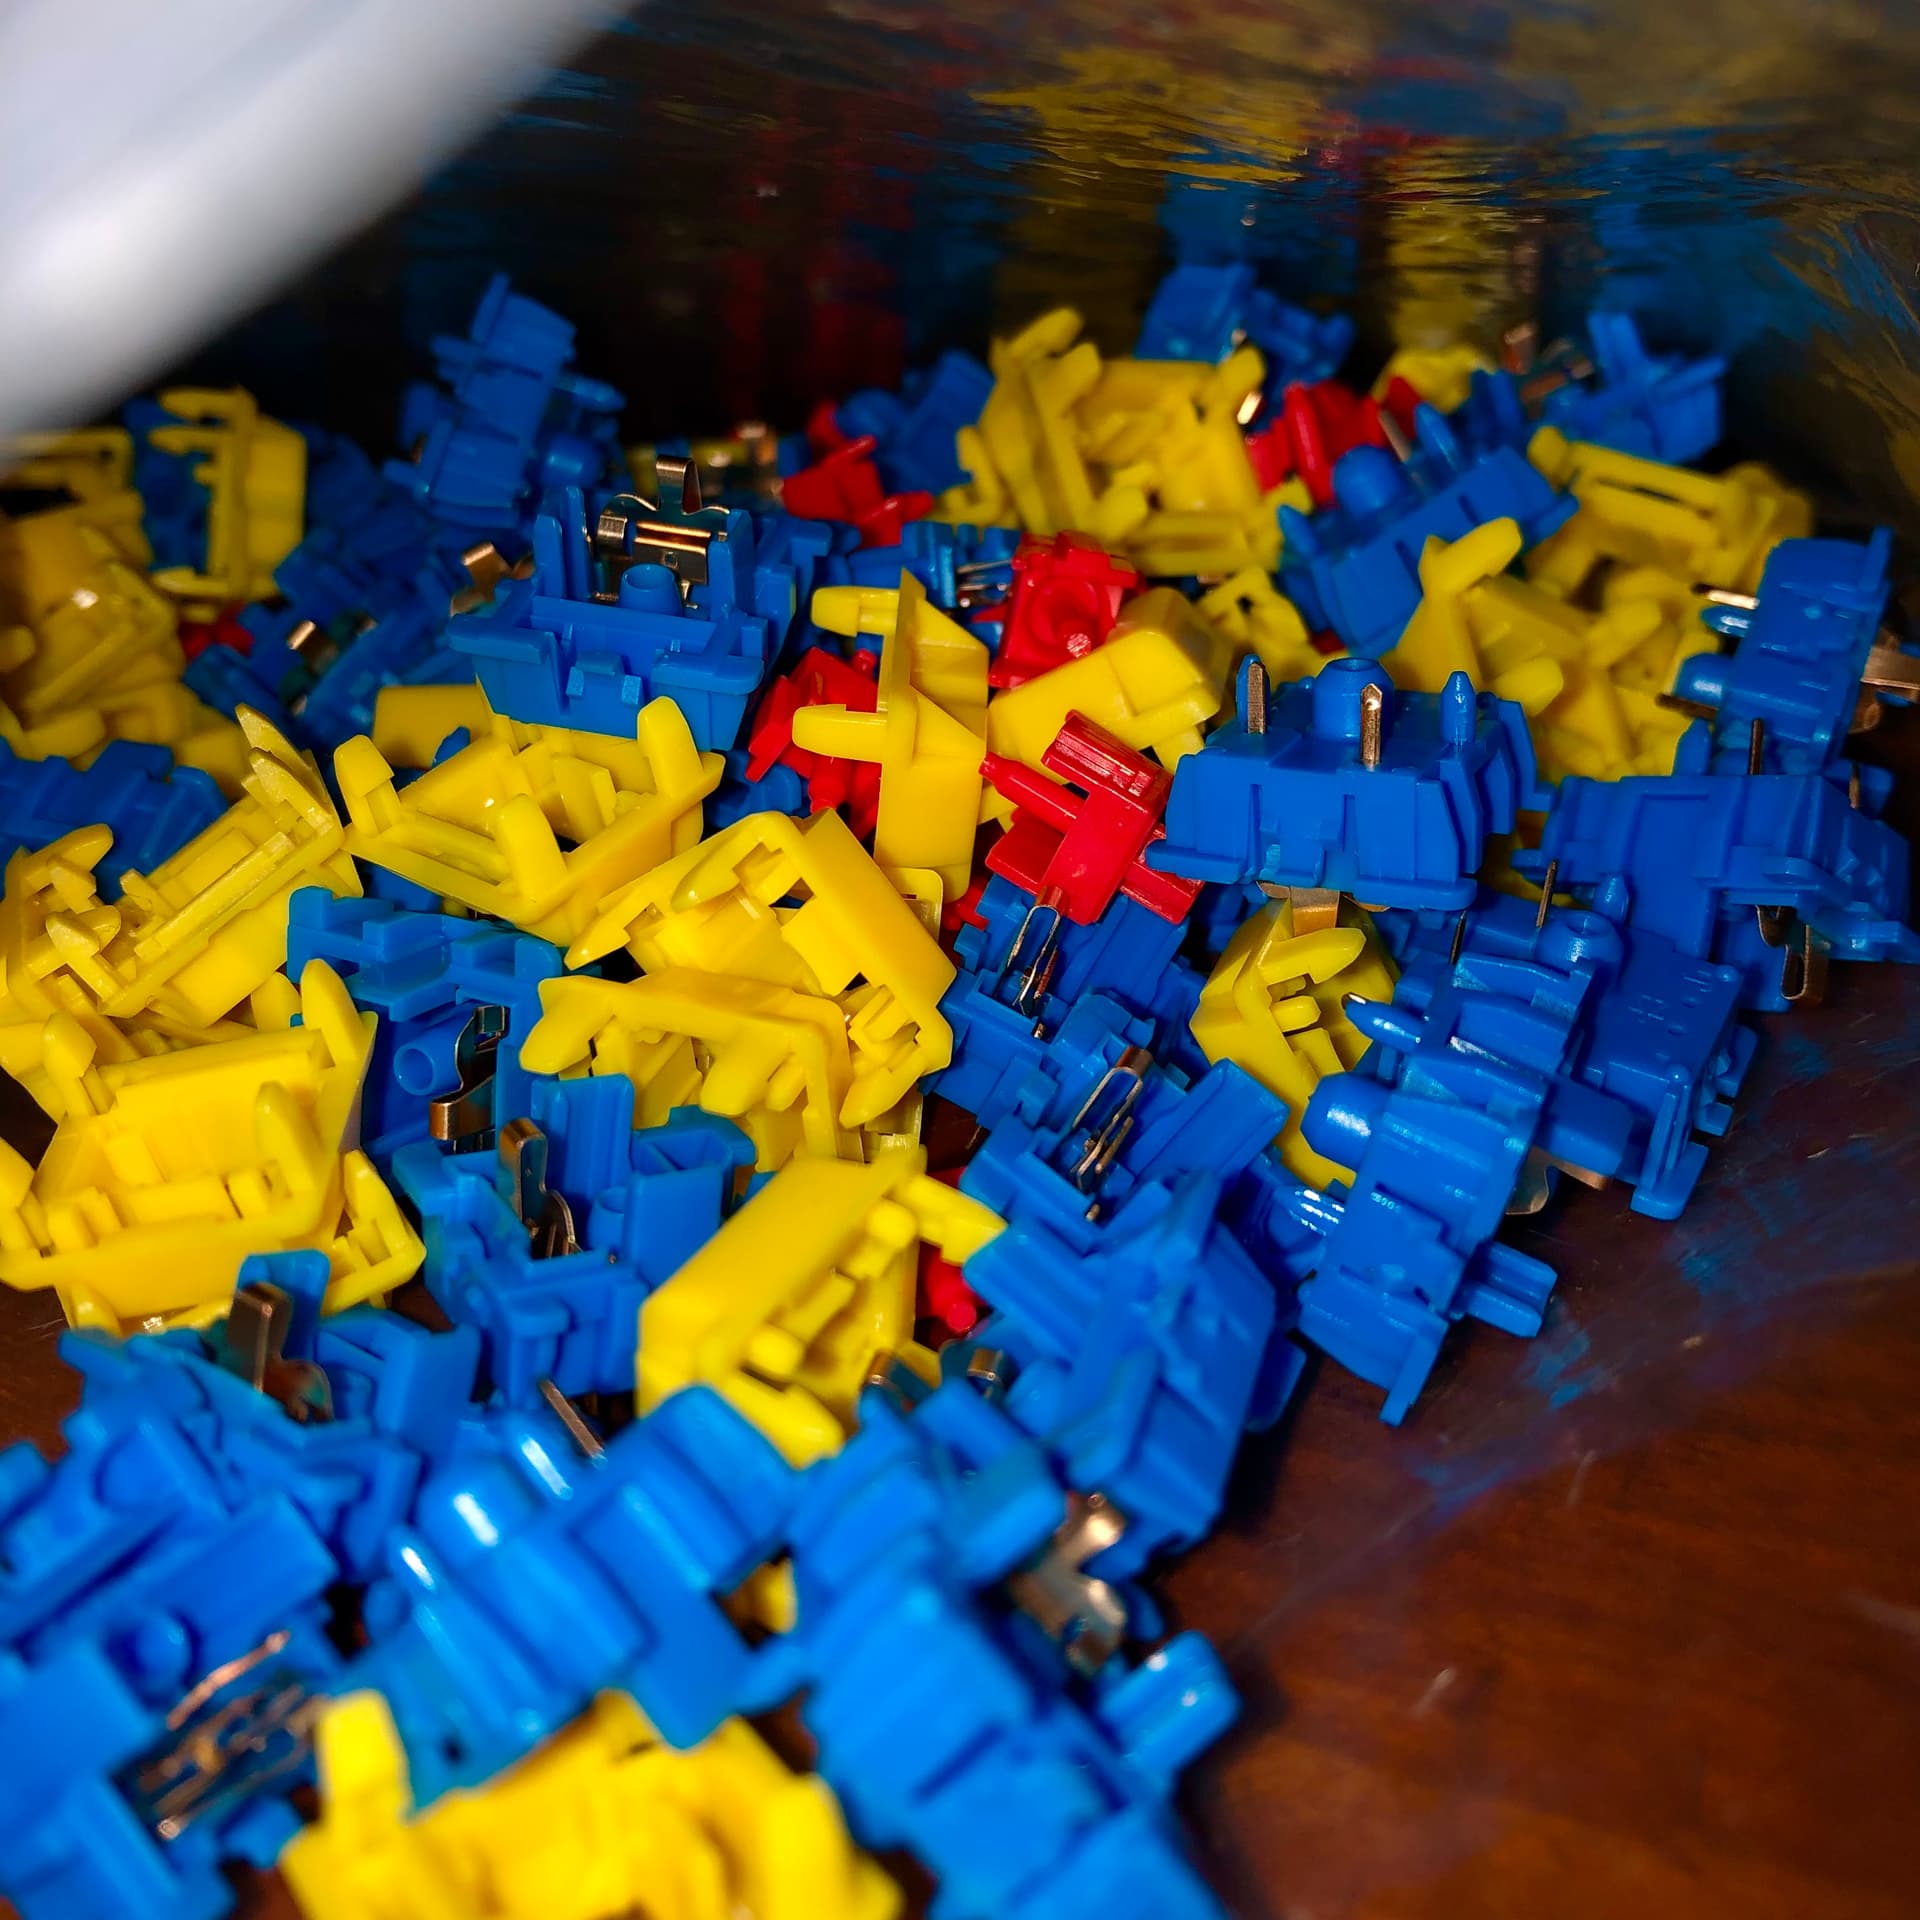
I do appreciate our tendency for pattern recognition. I see either a googly eyed cartoon puppy with pronounced cheeks and nose or just screaming robots. 
8 Likes
Flip the picture around and you get a train!
5 Likes

A story about a train that could.
2 Likes
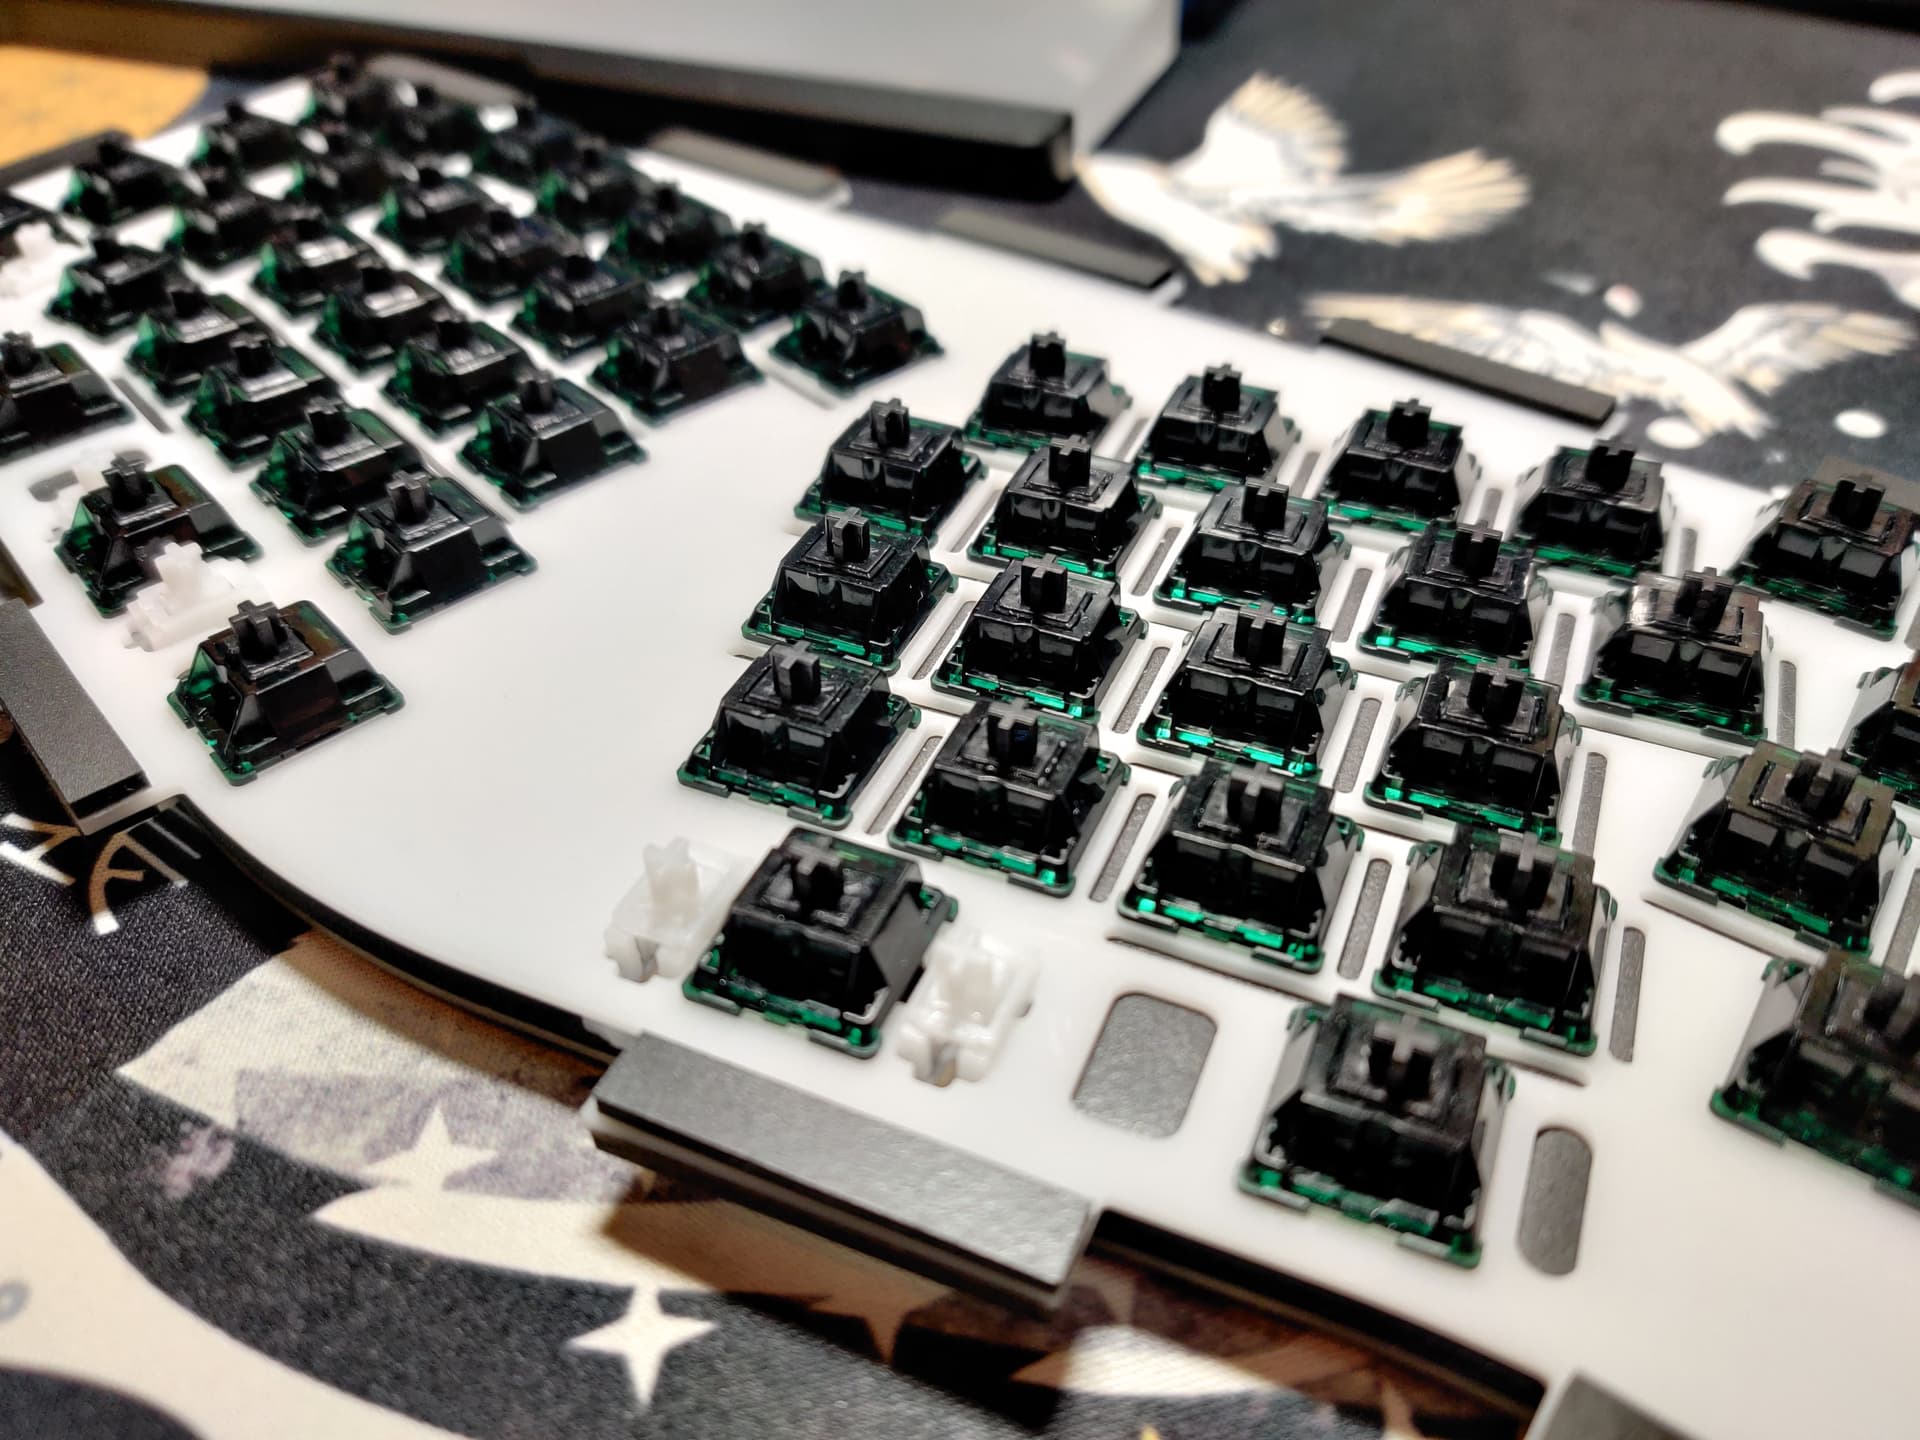
Today I lubricated the TX stabilizers, on Fensi66 Alice.
And then later. I decided to change the switches and one gap stabilizer to qk65.
Pulling out the onion switches was a test, they sit very hard. It is necessary to bend each switch from above, press the plate with your finger so that the latch comes out and you can pull it out.
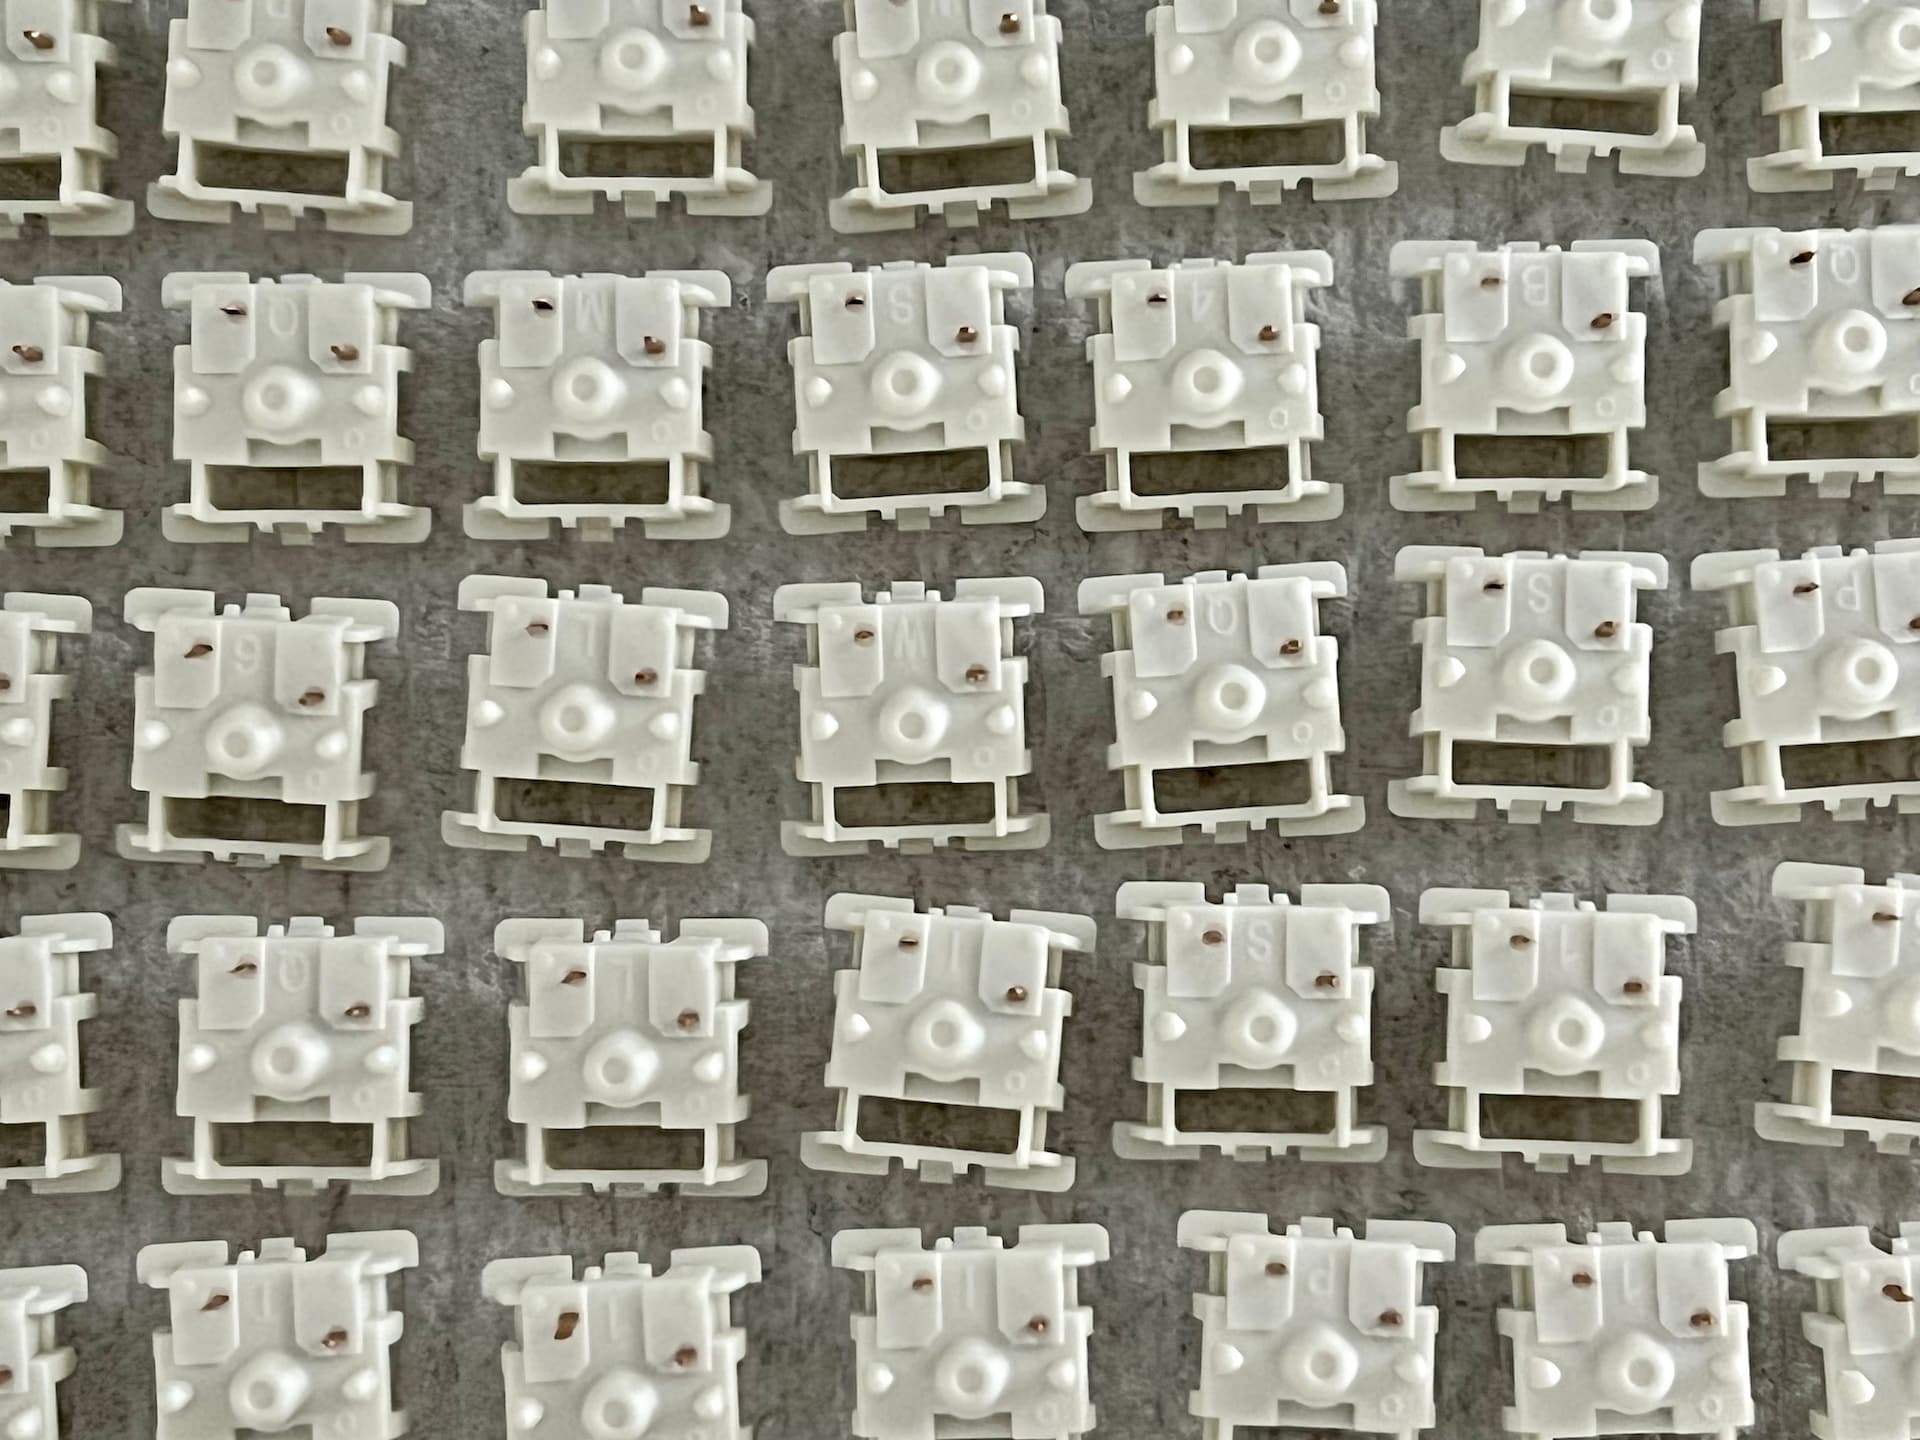
I thought for a long time what to put from new switches. There is not enough time now, so many switches that have arrived are waiting for their turn, and lubrication and assembly change takes almost a day, if you are not in a hurry.
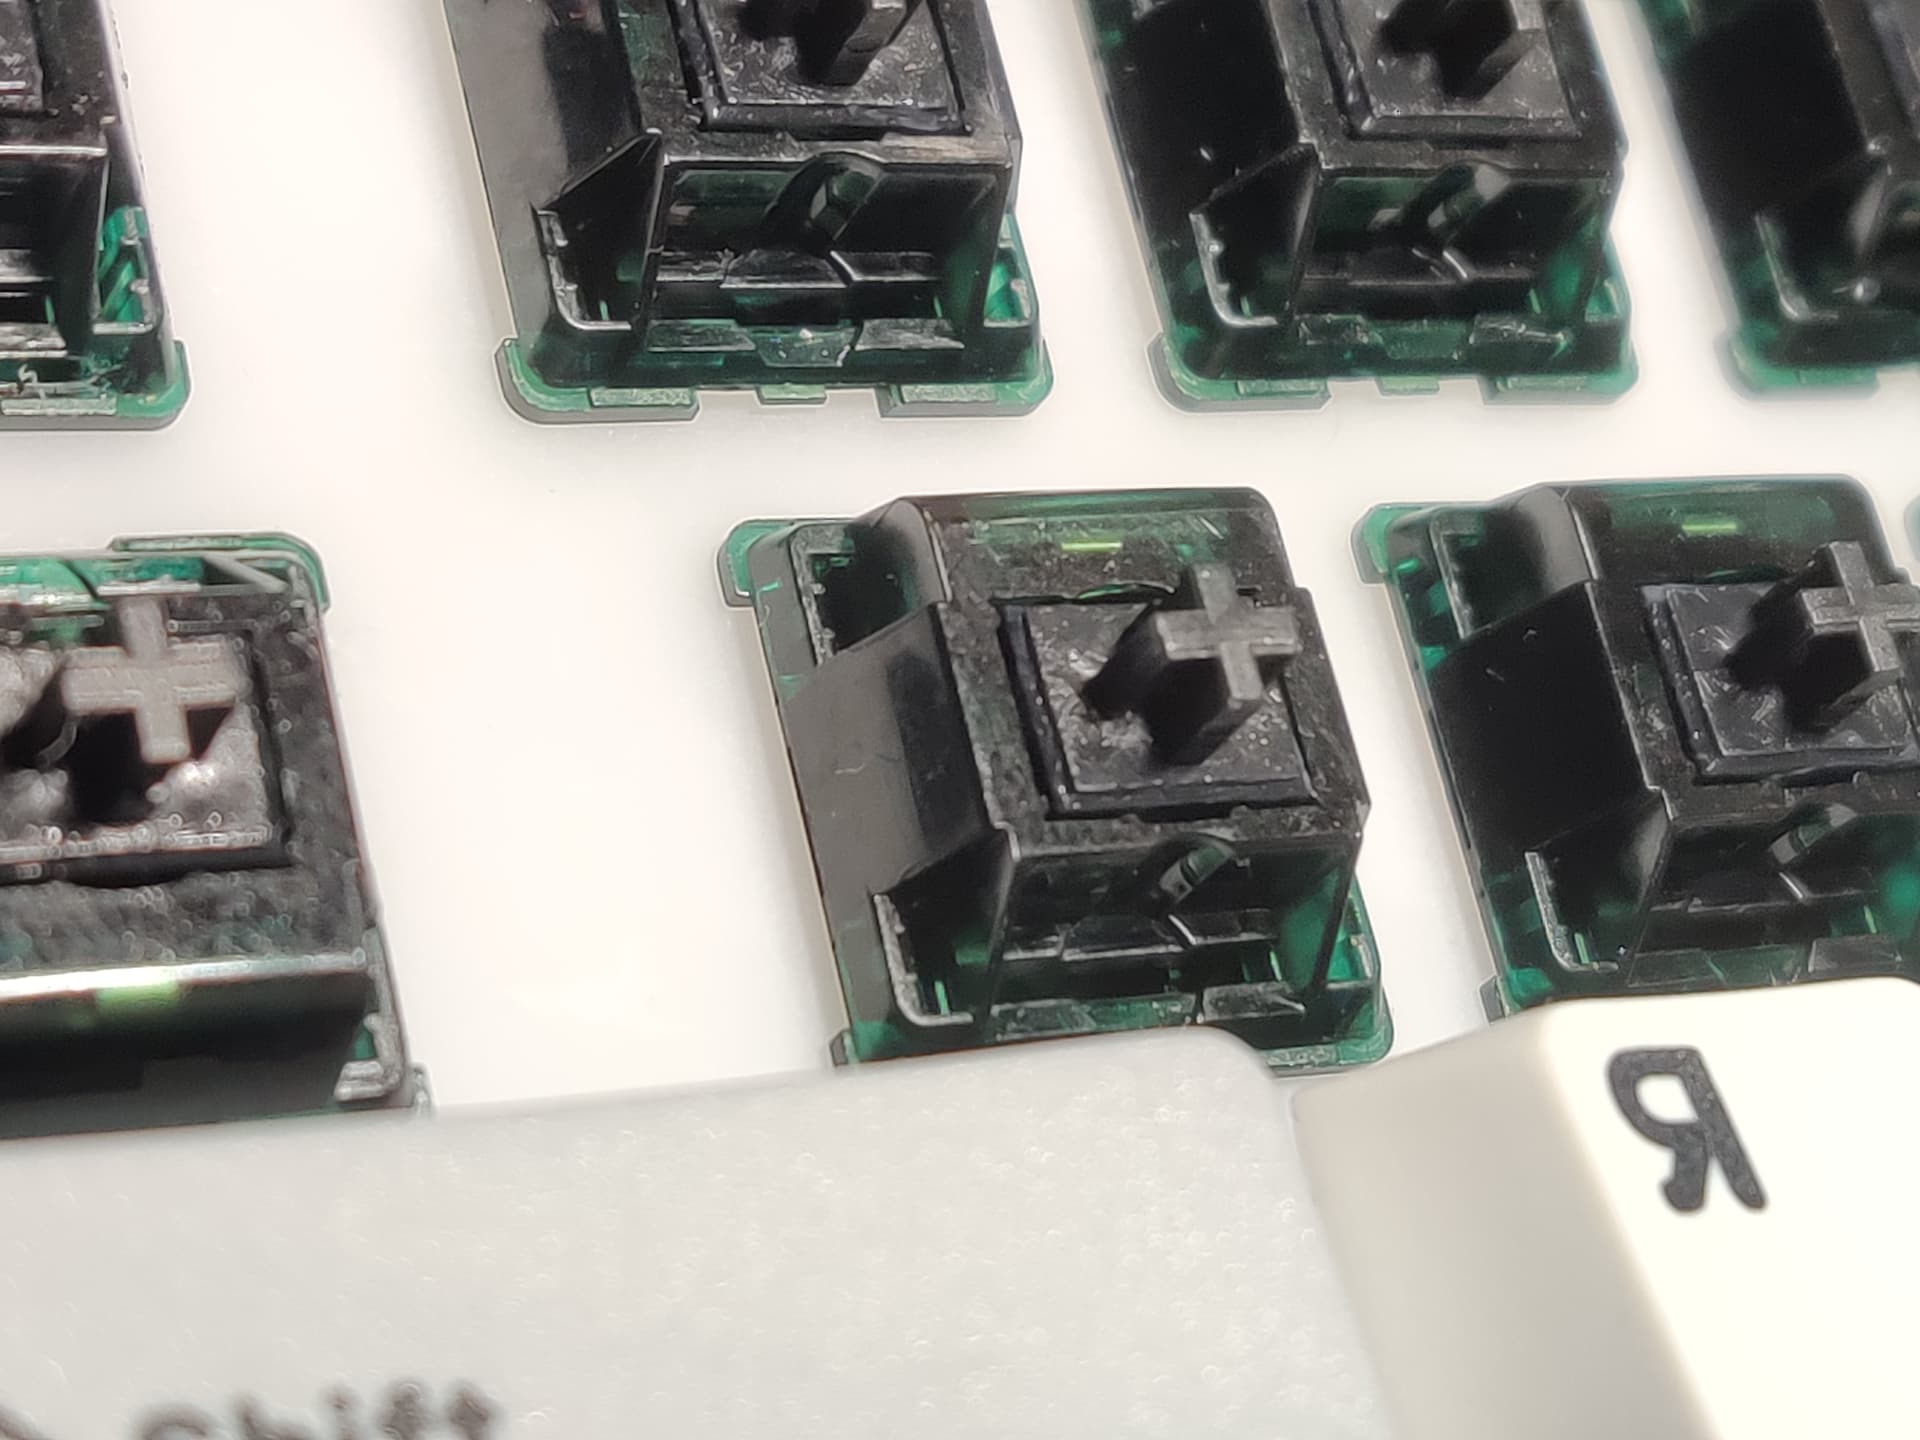
Decided to put MOYU Hardess.
Since there are still Poseidons from this studio on the other keyboard. And I like them so much that I don’t want to change. And their motivator for creation, Epsilon switches are without lubrication and modifications on “Alice”.
The case is very rigid, film gaskets are not needed. They already have grease on them, but as always, they need to be re-lubricated. I don’t like the stock sound. Better after lubrication.
There is no vobla body, BUT there is a wobble stem.
Sufficiently stable in quality switches, by pressing and sound. All 65 that have been lubricated do not have strong extraneous sounds or different friction when pressed.
I replaced the stabilizer on the keycap space.
There was a stabilizer TX version 2. I installed TX version 3.
It seems like the old TX norms were and there was no ratling and the pressure was stable. Stable for TX, since I don’t like the wobble that is on these stabilizers.
And here I caught a chip, a feature, a bug.)
While I was changing different assemblies on the keyboard, I often changed the space keycap. But since there was no strong ratling on the sound. I thought the stabilizer and brace were in good condition.
It turned out not. When I pull out the old TX v2 and checked its shackle. She was crooked everywhere. Although when I put it initially it was perfectly straight.
More and more I want a keyboard with a split spacebar. 
7 Likes
What Band-aids are those?
Removing the pcb and just push the switches out of the plate usually works better.
1 Like
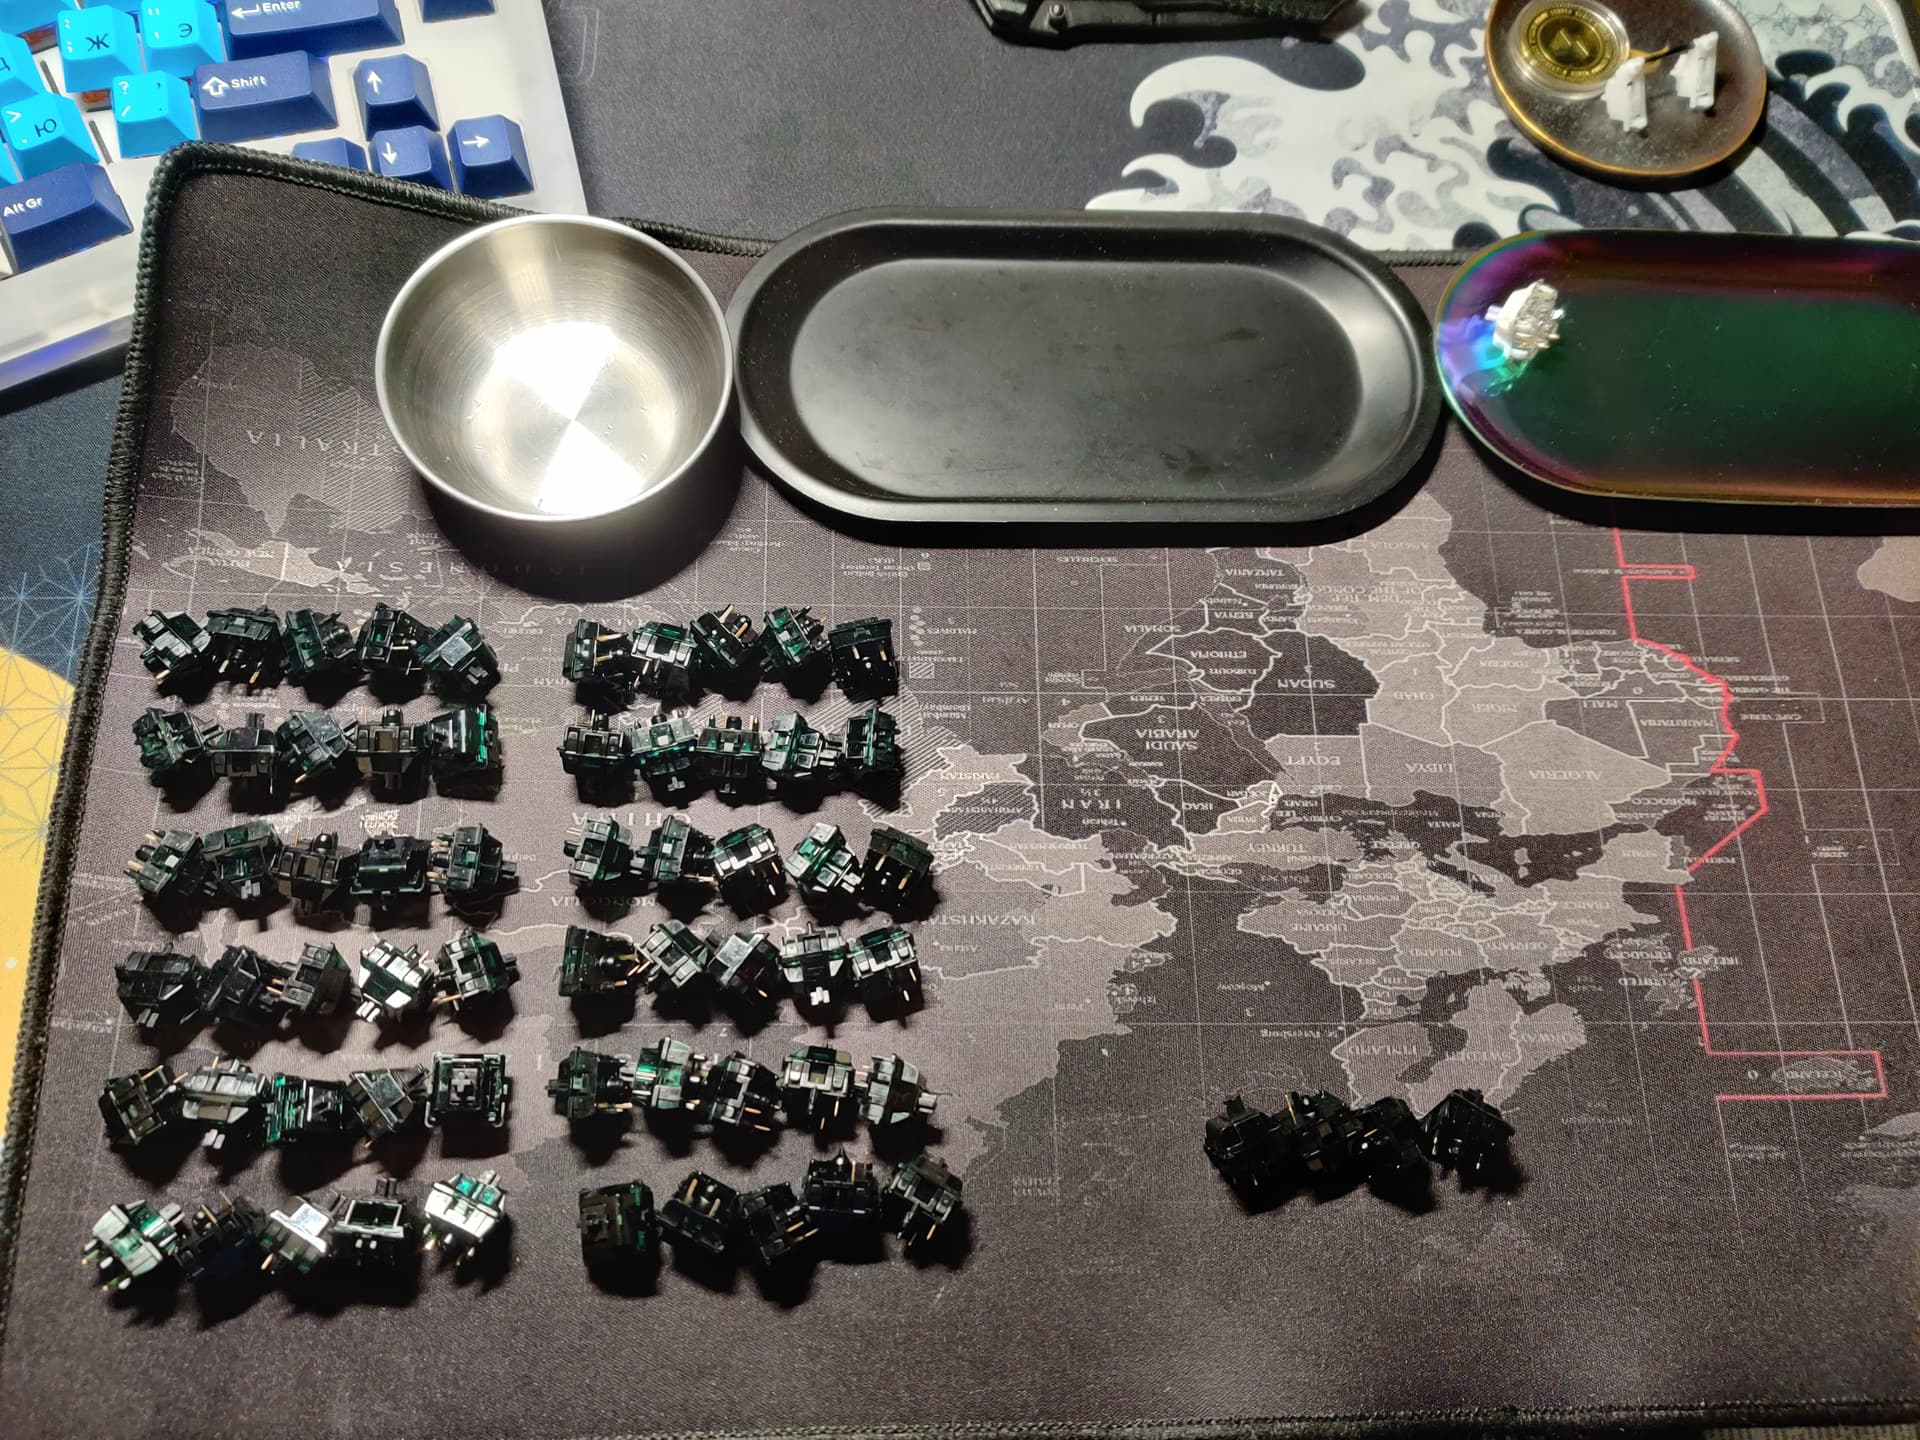
I always pull out switches on a completely disassembled keyboard.
Because it’s easier and because inserting new ones is also better.
But there are such switches in which the bottom is like that. Plus plate and board. All the stars aligned at once.
That is, the switch on the bare PSB is inserted and sits very tight. Holes for 5 pins are narrow.
And the plate has cutouts in it end-to-end, and the switch snaps into place there tightly.
Plus the keyboard is brand new.
On my already old kbd d60 hkhkb, the switches can be pulled out with your fingers even indiscriminately.
Because I assembled 300 assemblies on it.
It was there that I learned what a hot swap sockets resource is.
Several places lost contact with the switch. Lost contacts.
It is necessary to bend the metal ends of the bodice a little to the side on the switch so that there is contact.
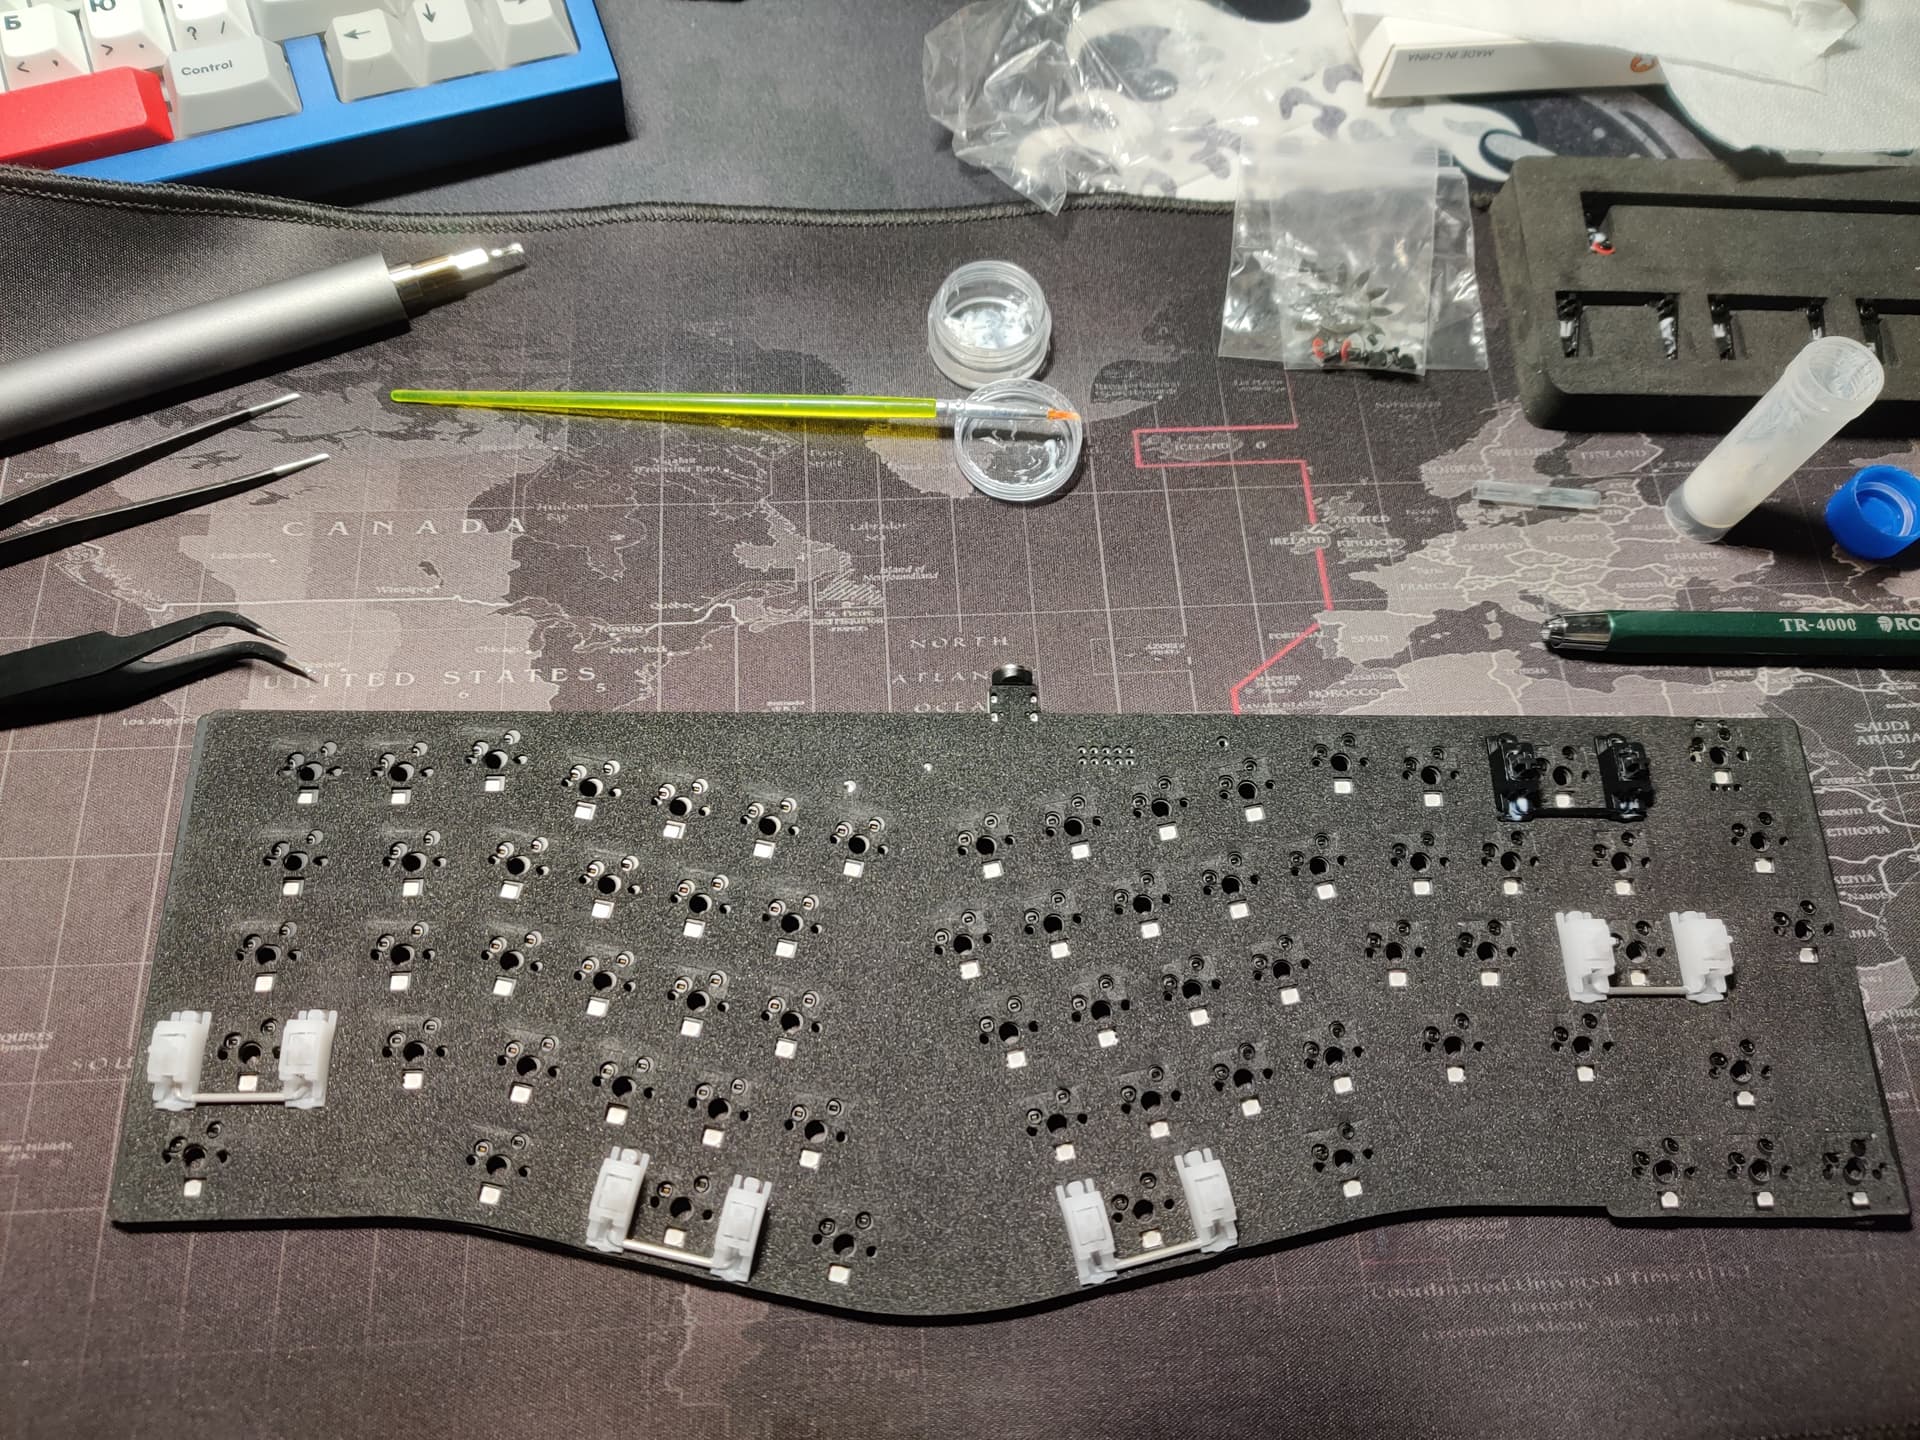
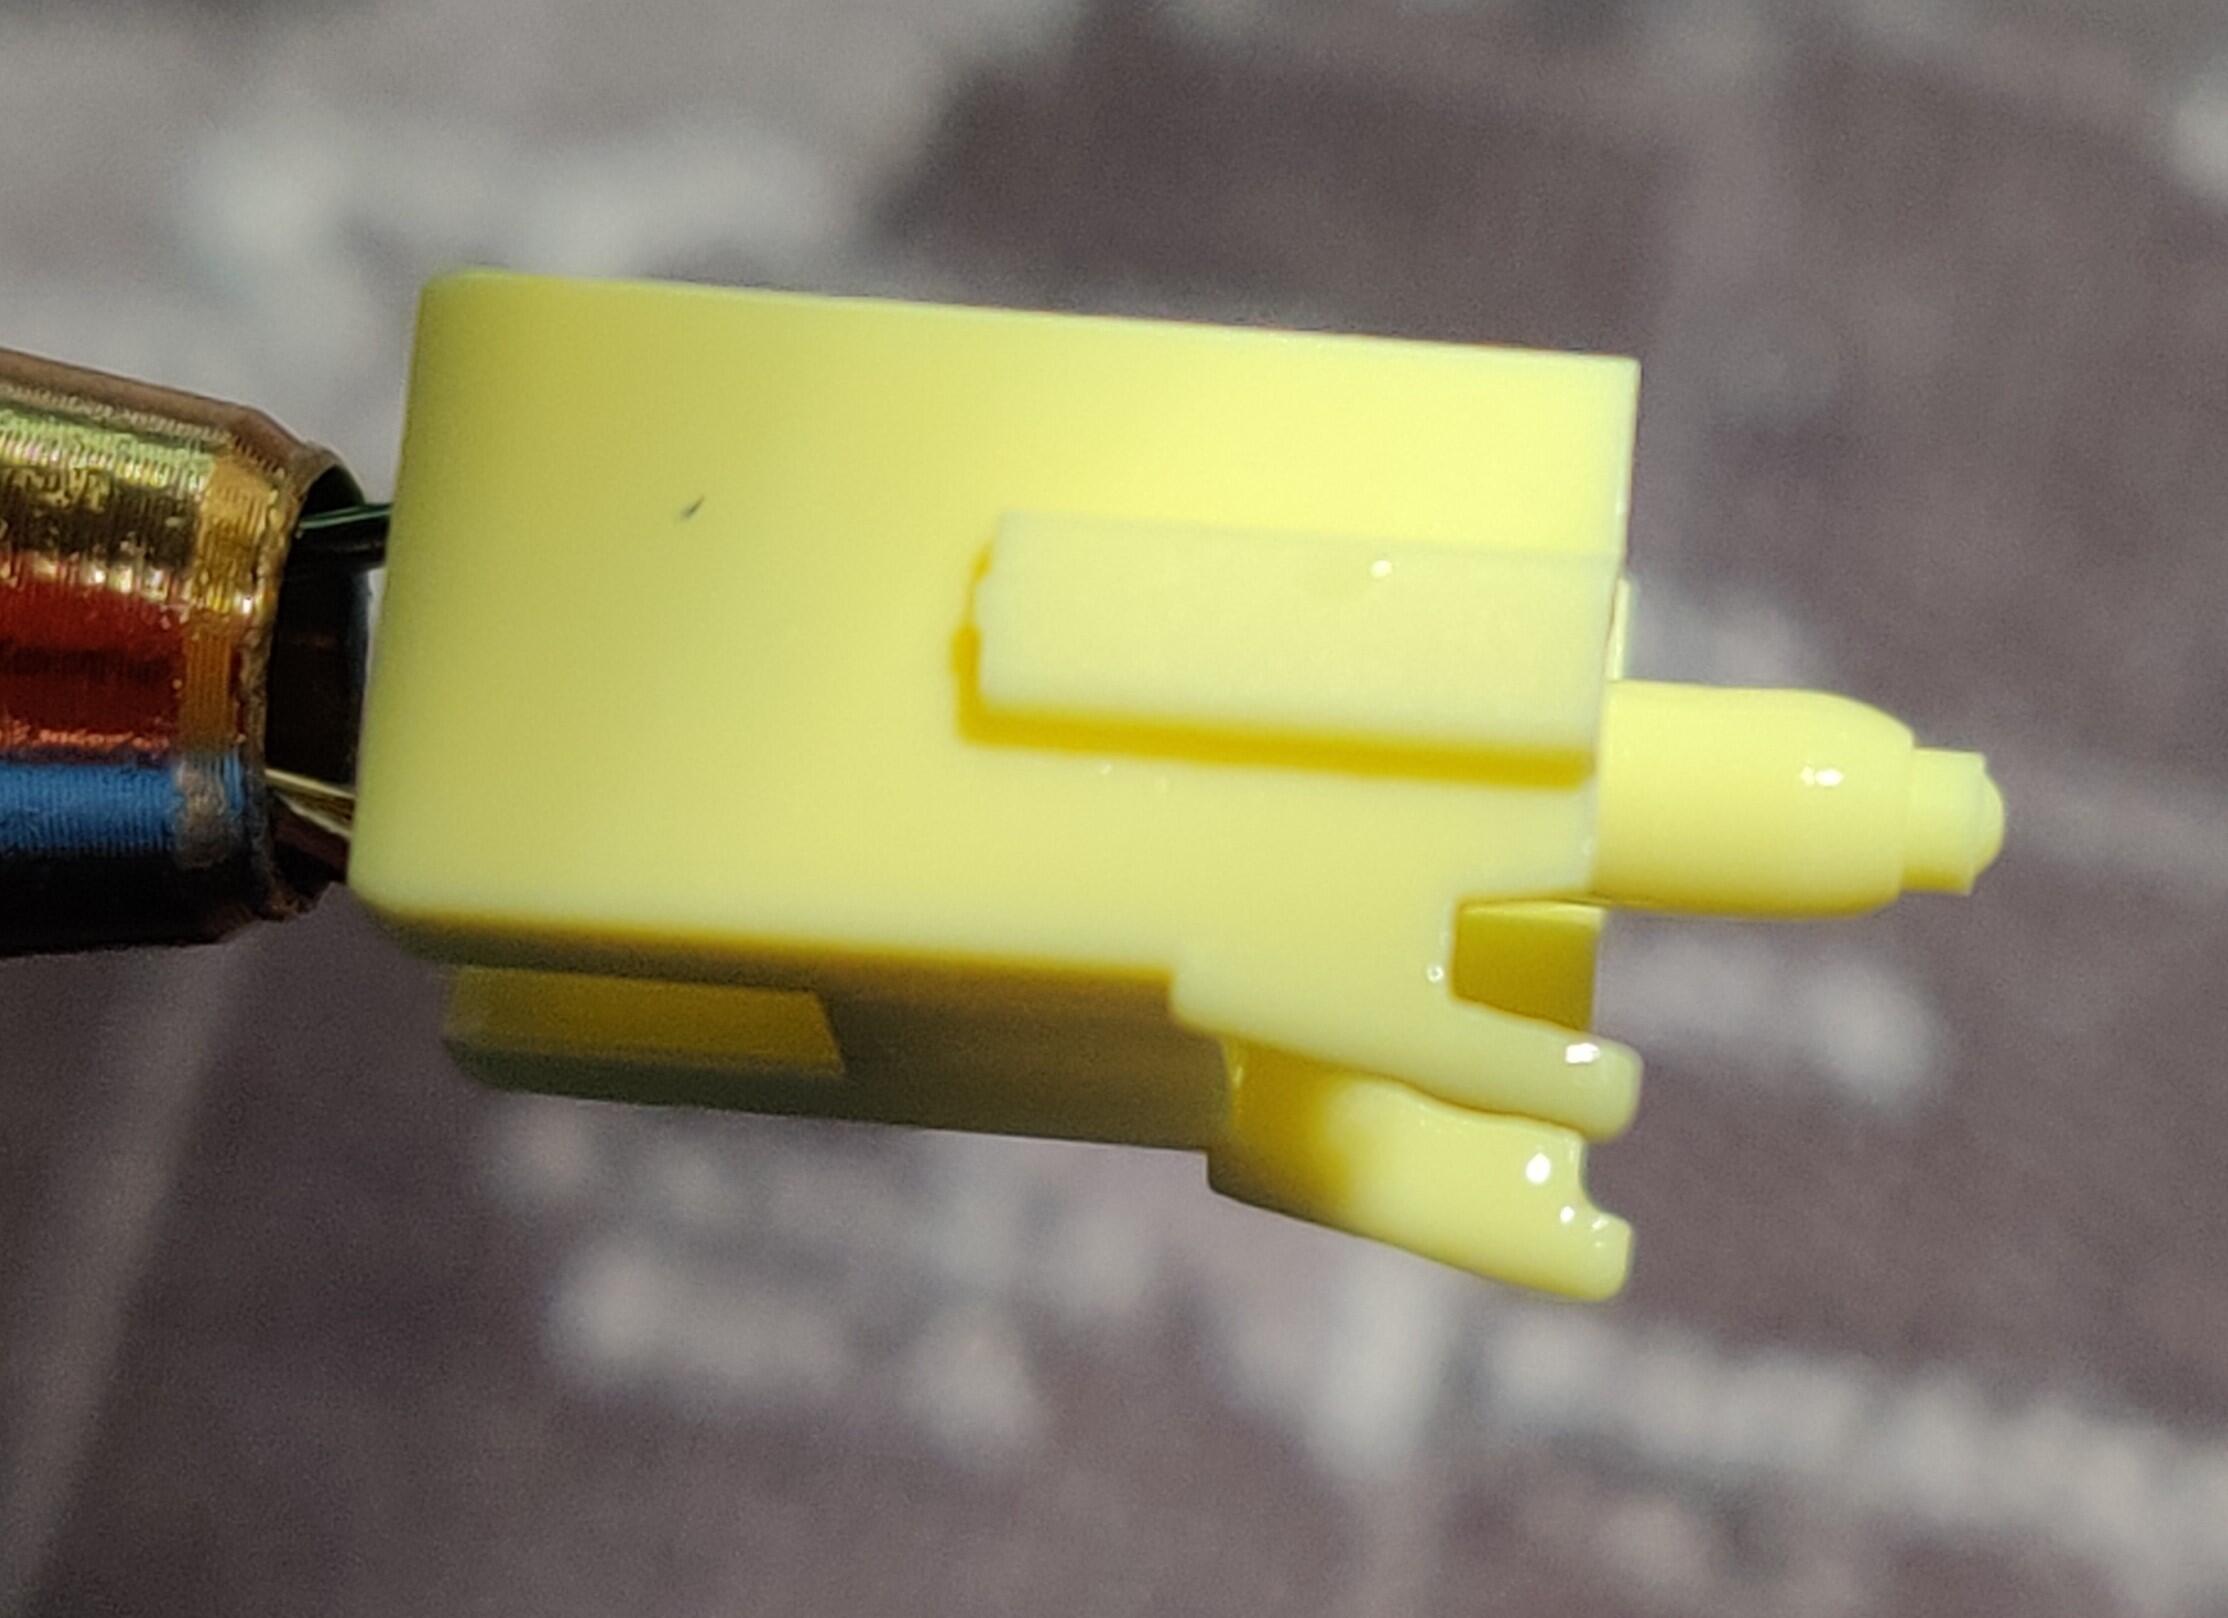
Had time to solder my Leyden Jar PCB to the Brand New Model-F F77:
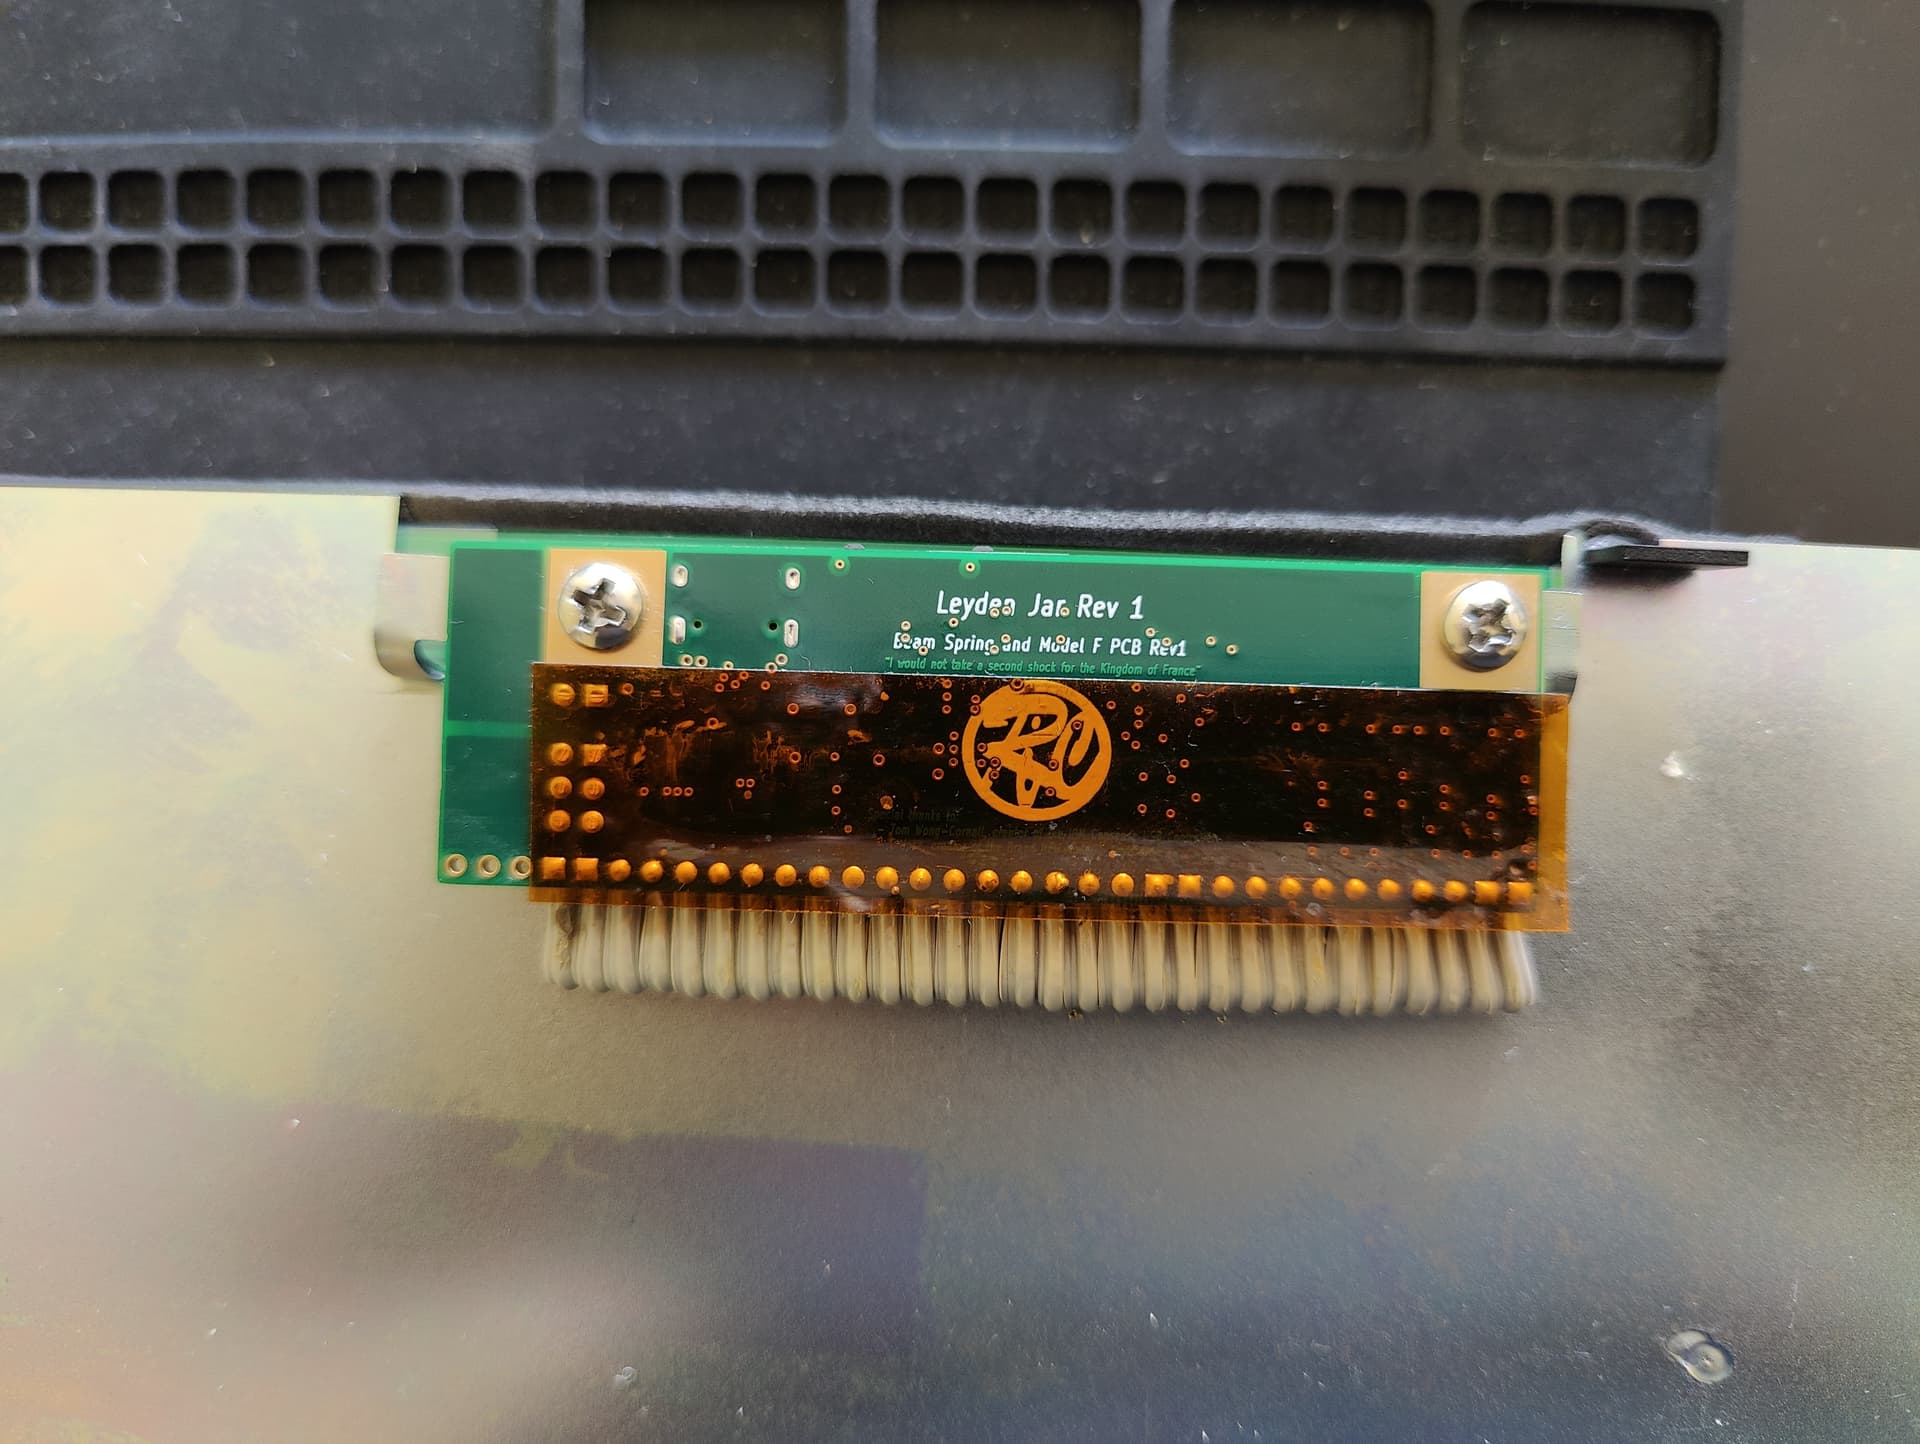
Had to desolder the official controller first, the wires are super stiff and a pain to desolder: had cut/separate the individual wires to better pull them out of the holes.
Now is time to check how the Leyden Jar PCB performs 
9 Likes
That looks really tough to solder. Good job.
3 Likes
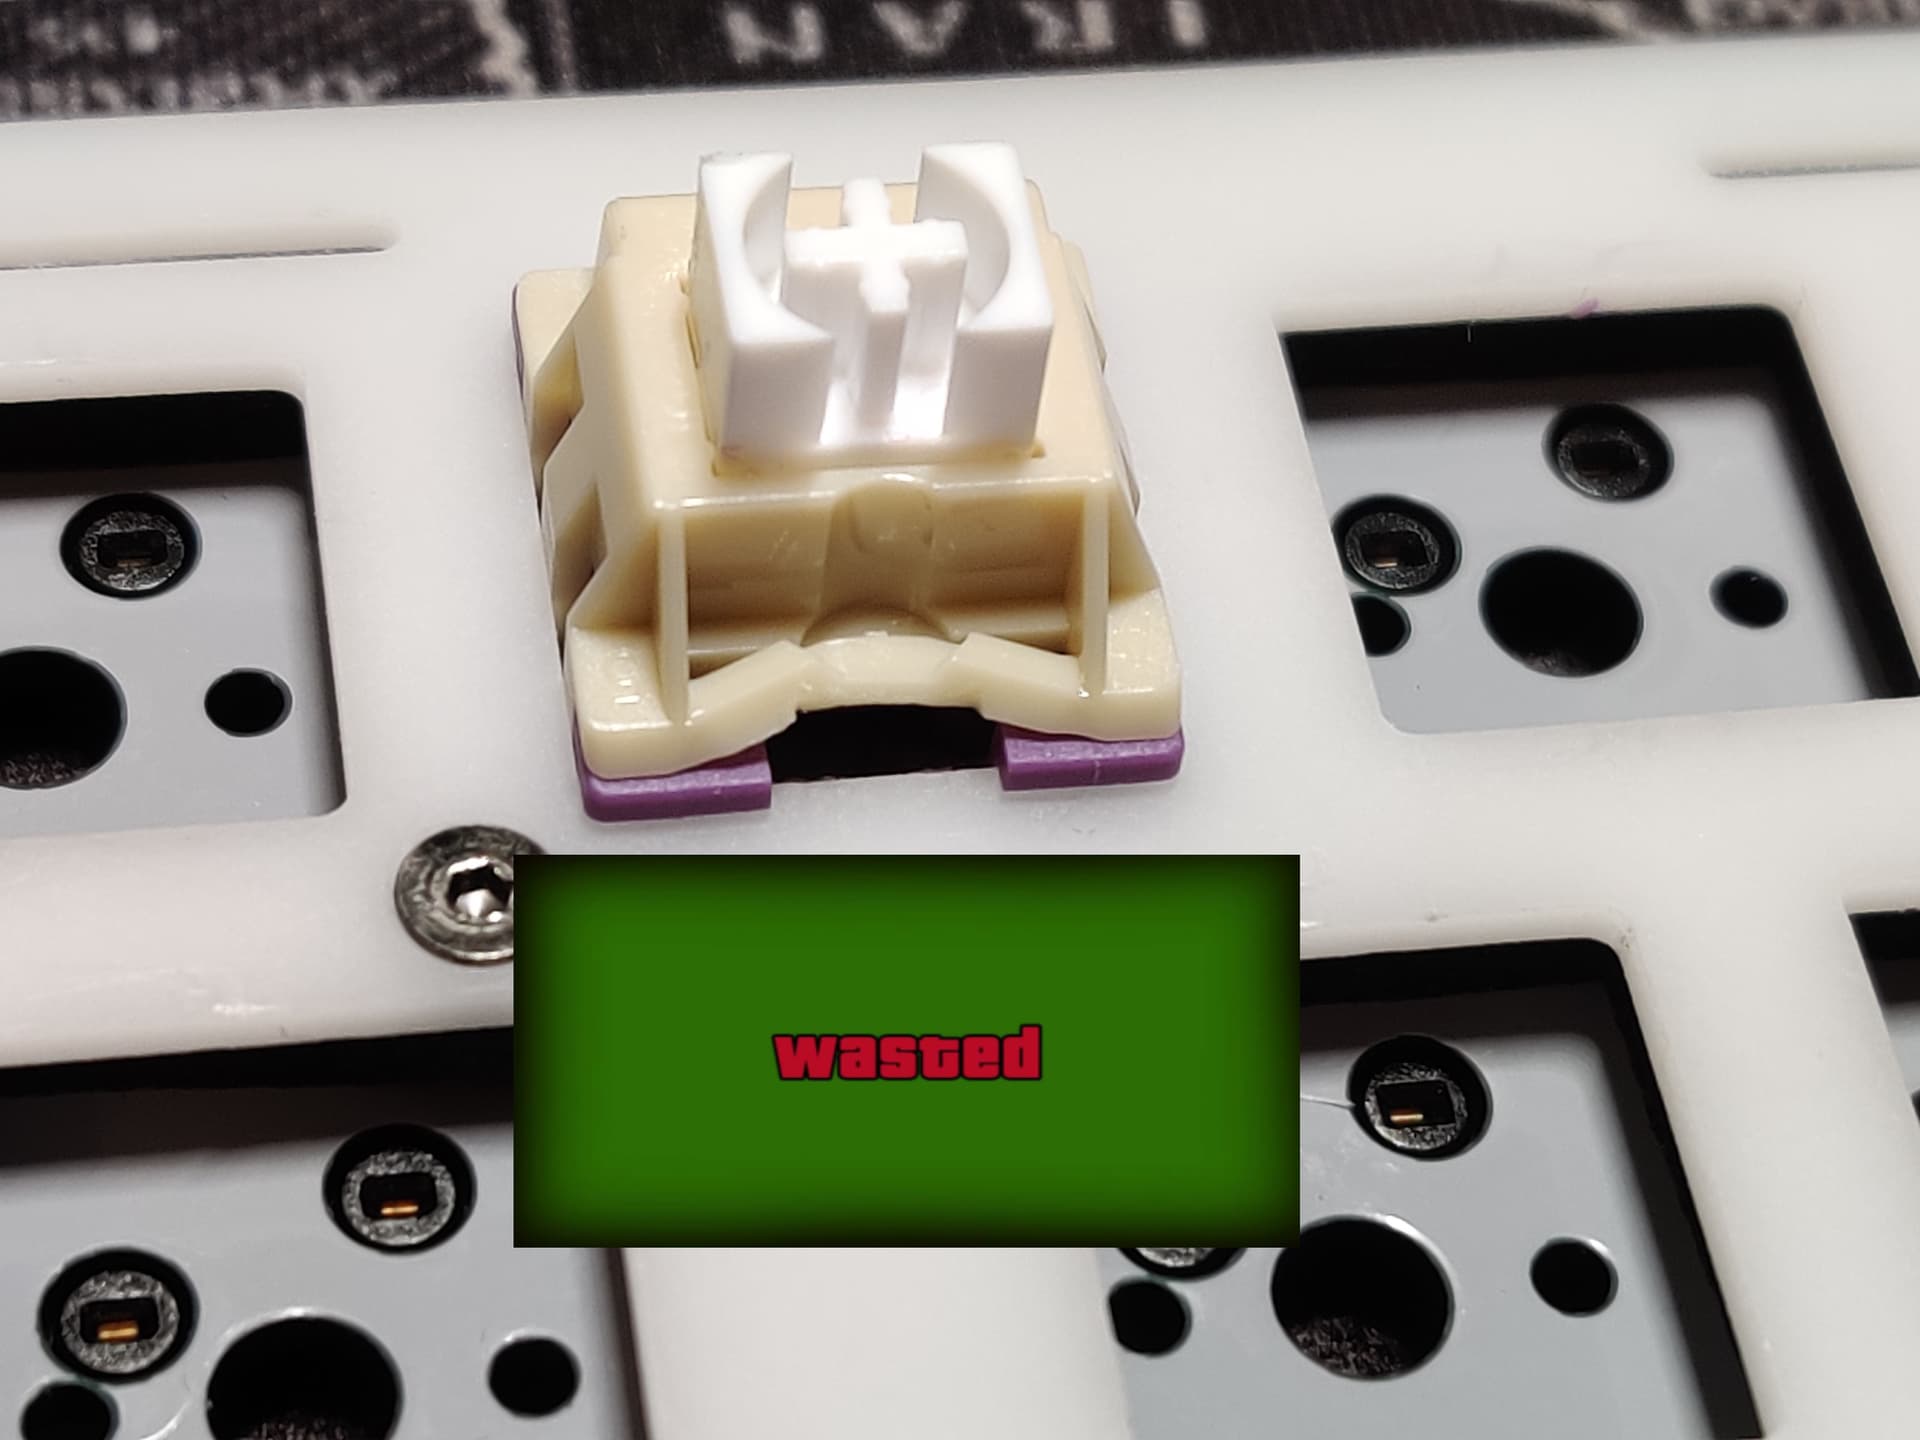
Those little guys are Band-Aid Tru-Stays. However, I haven’t yet found any stab mod that rivals having exceptionally straight wires/bars.
1 Like
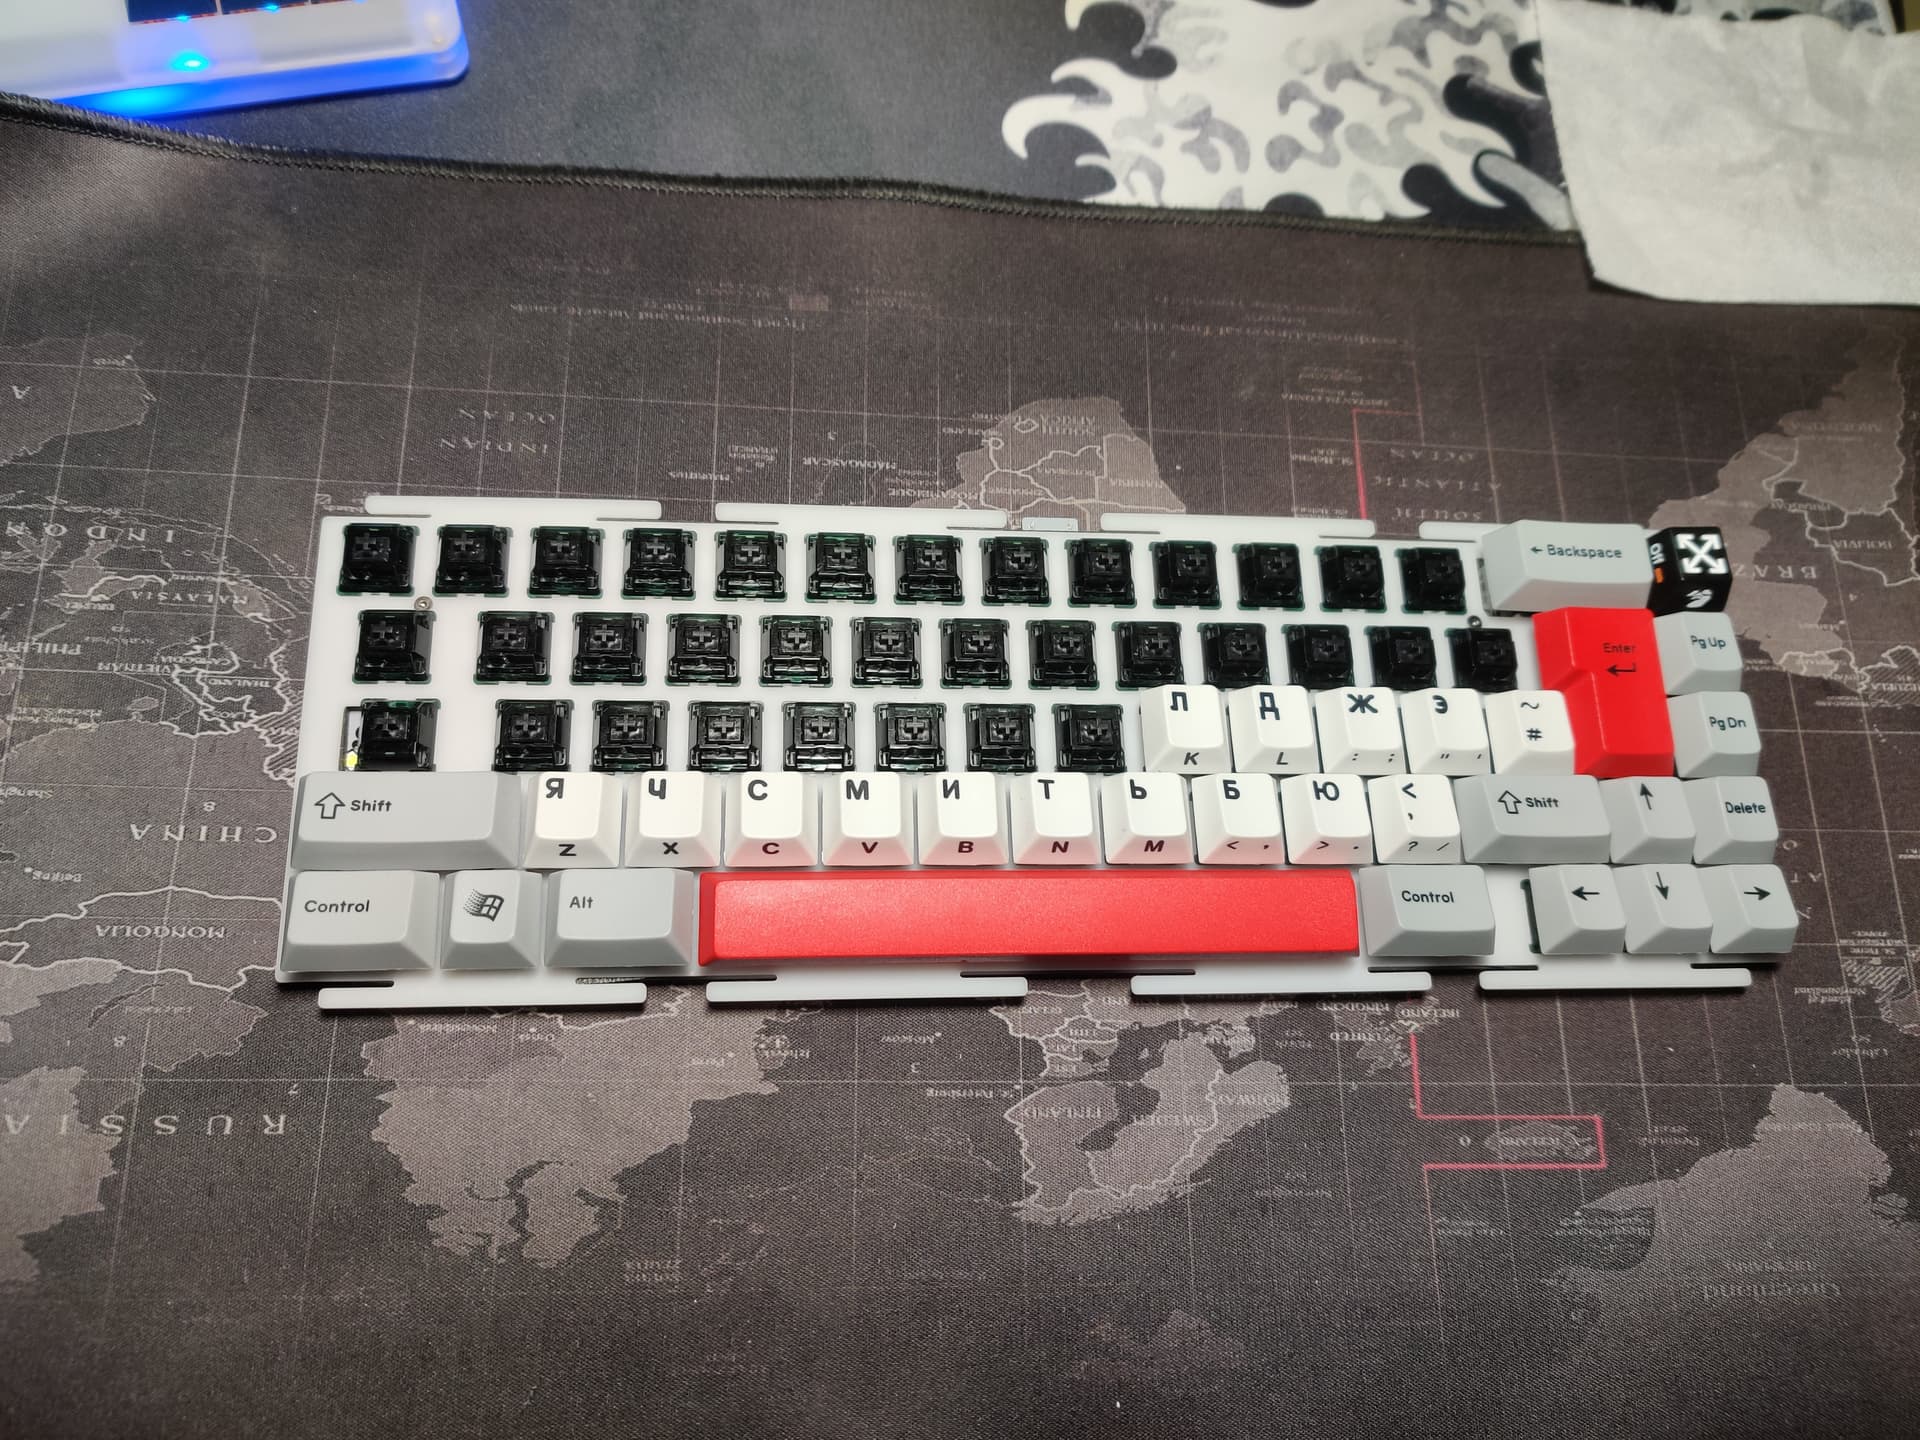
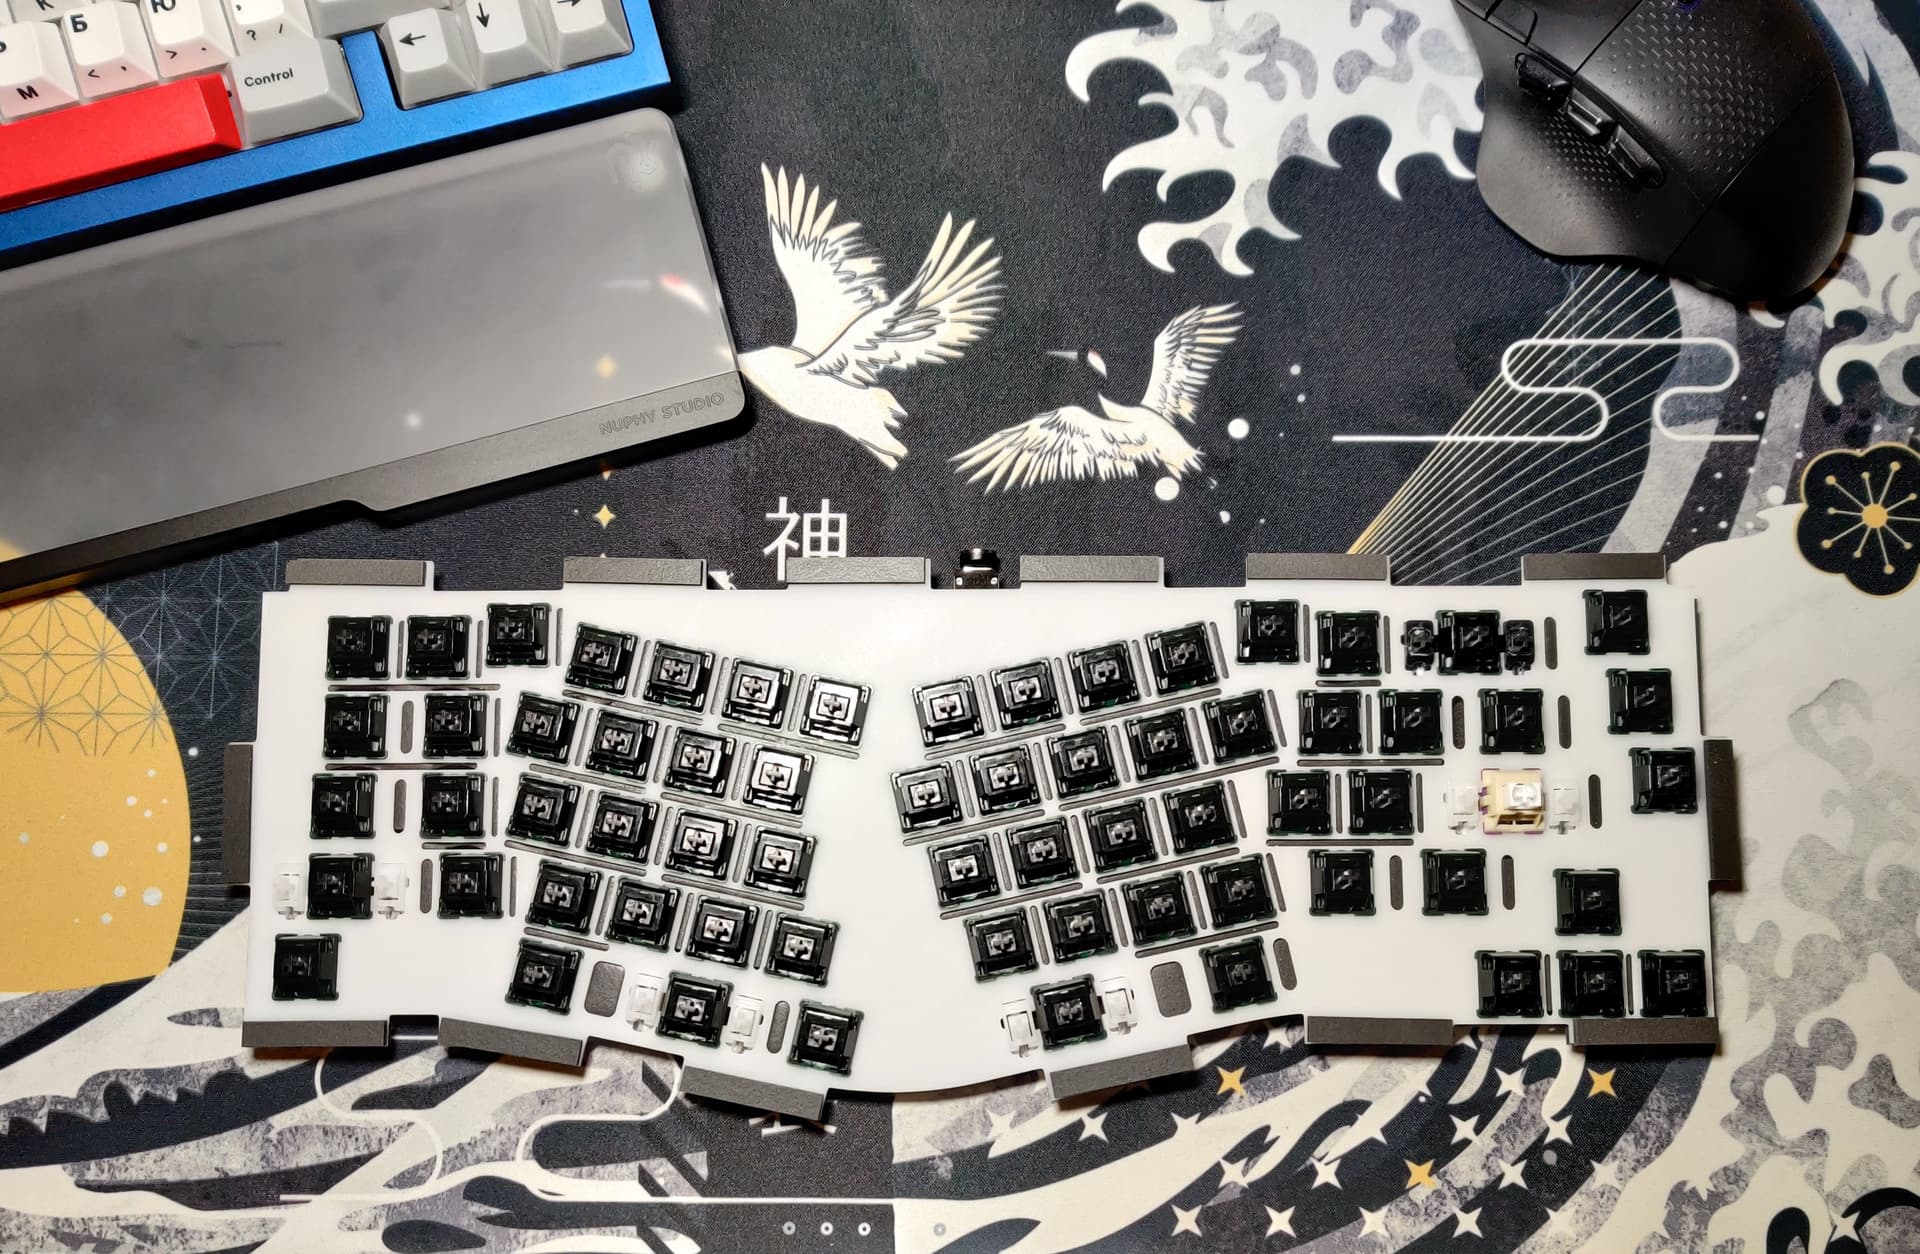
Working on the Maja, which thus far proves more difficult to build right than the U80. I also ordered two sets of Serika Geos and black spacebar kit for it. ![]()

6 Likes
I still have to build my Maja (assuming you’re working on the v2?). Have any tips/tricks/things to avoid suggestions before I get started? I was surprised/disappointed there isn’t a printed build guide.
Yes, it’s a v2. There’s a video tutorial on YT. When you get to work on the stabs, assemble one pair and then assemble the keyboard to test it, you might be surprised how different it sounds on the plate and then within the case, so get one right, then move on with the rest. Being gasket mount, even if you use a brass plate like I do (the default one wasn’t available), the sound can get quite muted. On my Rama, I used C3s with Holee and lube, and other than the spacebar (which needs work) the stabs sound amazing.
While assembling the gasket foam, I realized (with the help of Discord) that instead of applying it to the plate, it’s better* to apply it to the case, which decouples it from the plate, so you can change the plate easily later, without having to get more gasket foam (you get enough for one plate + 4 spares) and without having to reapply it, which is time-consuming. Not only that, the gasket foam pieces are slightly longer than the plate notches they are supposed to be applied on, but if you apply them to the case instead, it fits fine because it was pre-cut to the case’s notch measurement and not the plate. *It’s preference. Having it on the plate has some benefits when aligning the plate.
Lastly, I can’t really recommend KBDFans stabs. I bought a kit to use on the Maja and instead of testing one pair of stabs, I prepped all of them with lube and then assembled them just to find out it has a serious wire balancing issue or maybe a really bad stem and housing tolerance. The key would twist up and down when pressing on it, which was unacceptable, so I replaced them with C3s, but a C3 kit only comes with 4x2U, so now my build is stuck until the extra wires I ordered will arrive. I thought I could just pick a 2U wire from the KBDFans kit, but apparently, their wire is a tiny bit shorter than C3’s.
1 Like
Thanks for your quick response! Finally getting around to replying in detail. The YT build guide looks pretty decent, but I do worry that I can’t download/print the guide to keep with the case if I ever need it.
That is great to know! I recently built the Vega 65 where it was recommended to put the gaskets on the plate because they were perfectly fitted to that plate, but I do wonder if I should have devoted a bit more time to put them on the case if I want to swap out the plate easier. I’m honestly very happy with the Vega’s aluminum plate, so it’s less of an issue and more of a future-proofing sort of thing.
I ordered the brass plate for the Maja v2 as well, but I’ve heard good things about the PC plate, so I think swapping this one is more likely at some point.
Hah! I did the exact same thing with thinking the Durock v2 set I had included five 2U stabs, not four. Went to build it right after I received it and realized I had to put it back in the box for a bit (and then got distracted with other boards). If you ever need them, I found that Prime Keyboards sells 2U Durock v2 stabs as standalone items, so I was able to pick up a few 2Us for the Maja without having to pay extra for 6.25/7u wires. Glad to hear the C3s + mods are working well for you!
1 Like
Finally lubed my KTT Strawberries today with 205g0. Currently breaking them in to spread the lube around. Might be a top contender for favorite linear.
7 Likes
Decided to pull out Epsilon’s switches from Alice. Since they are stock there, I want to re-lubricate them in the future and install them on tiger80 or qk65.
And instead of them, put MOYU Hardess for verification.
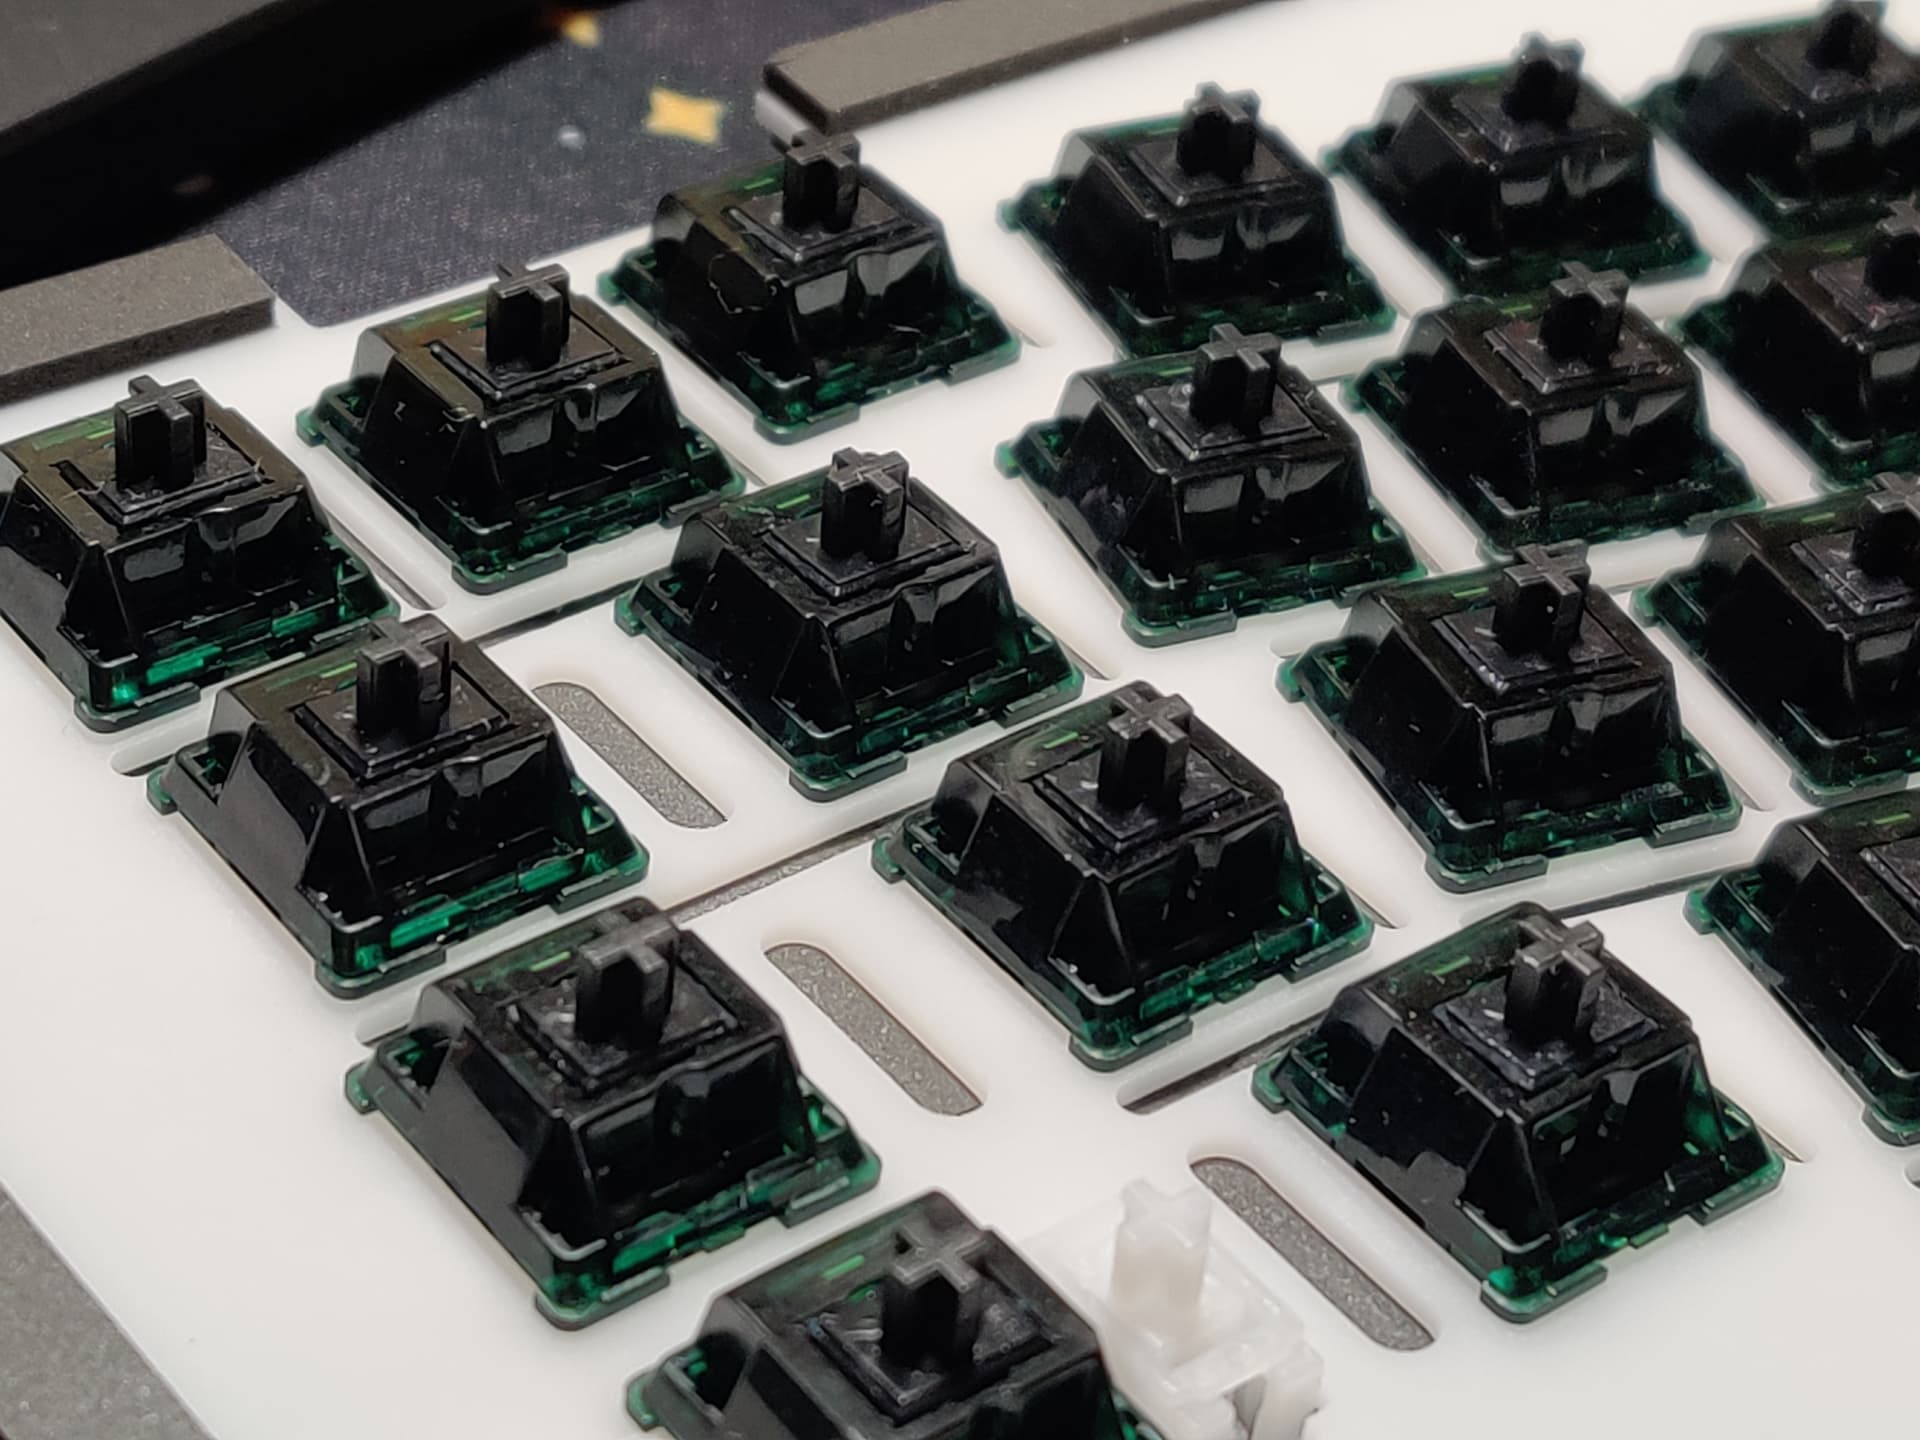
And put JWICK Ginger on the freed qk65.
But they are completely clones of the onion Wuque. And I already put onion switches.
I decided to check, and if you put a larger spring. The stock Wuque is easy for me.

They were lubricated at the factory. I just didn’t look where I should.
They smeared only the tips that touch the leaf.
3 Likes
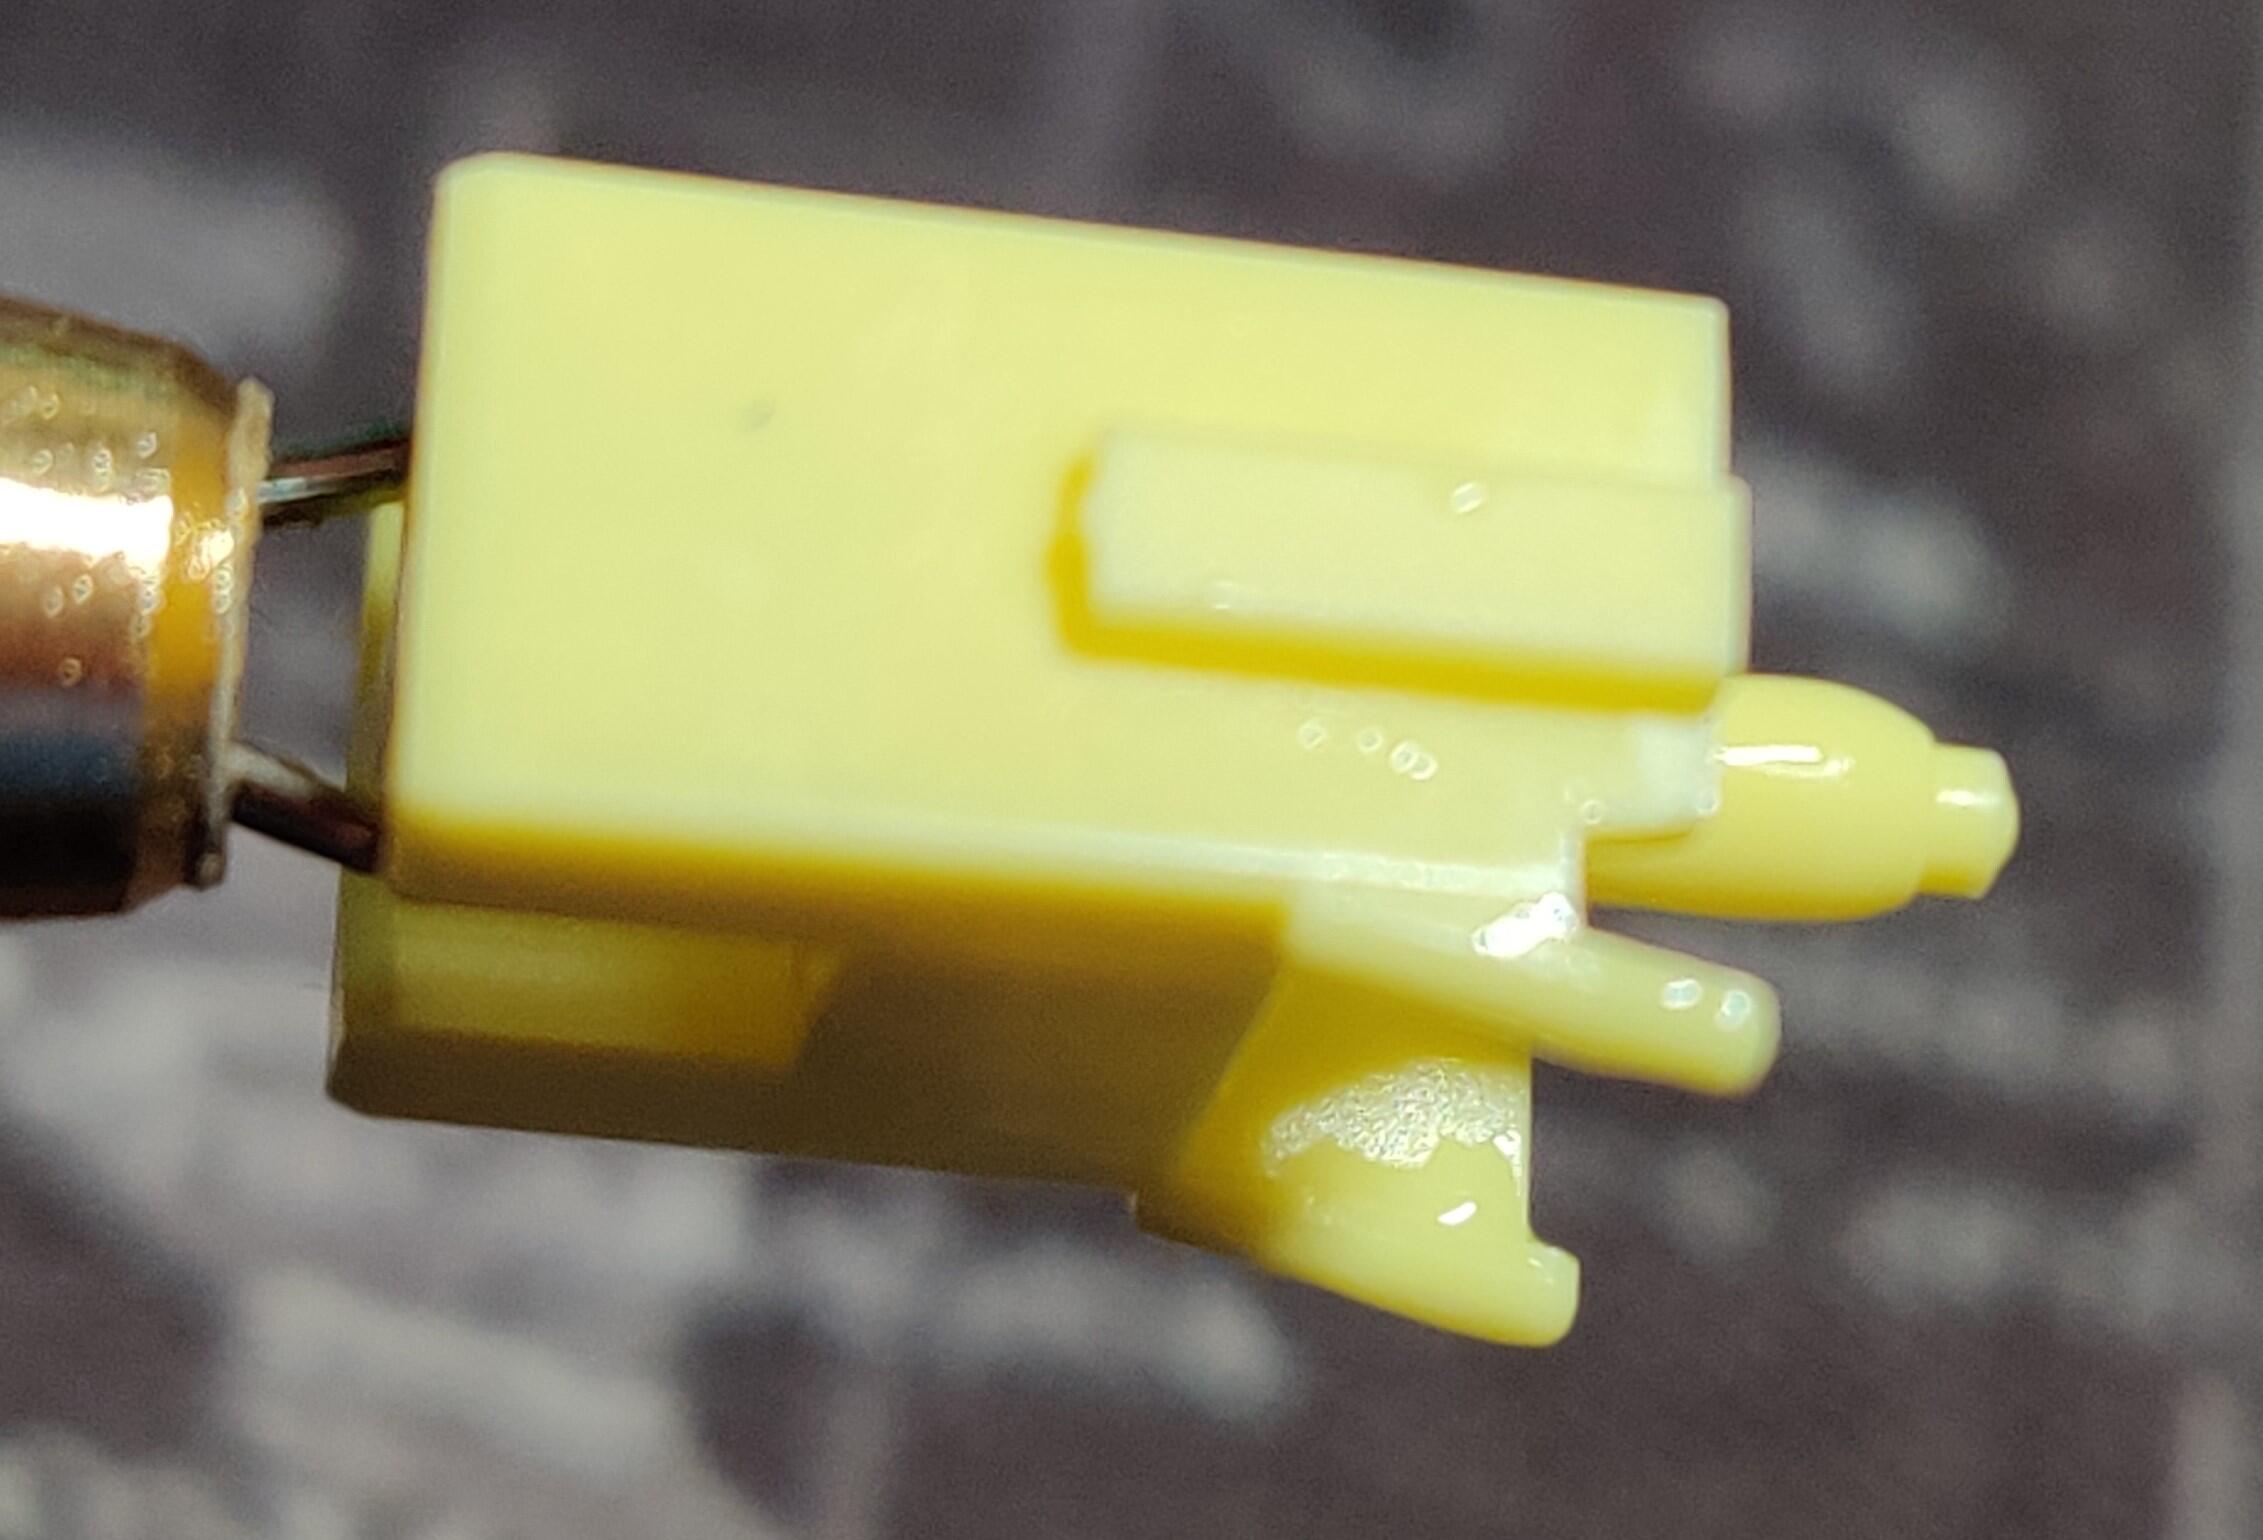
I snagged this electrically buggered 2014 Razer BlackWidow for only ~$5. I plan on making a QMK compatible replacement PCB for it:
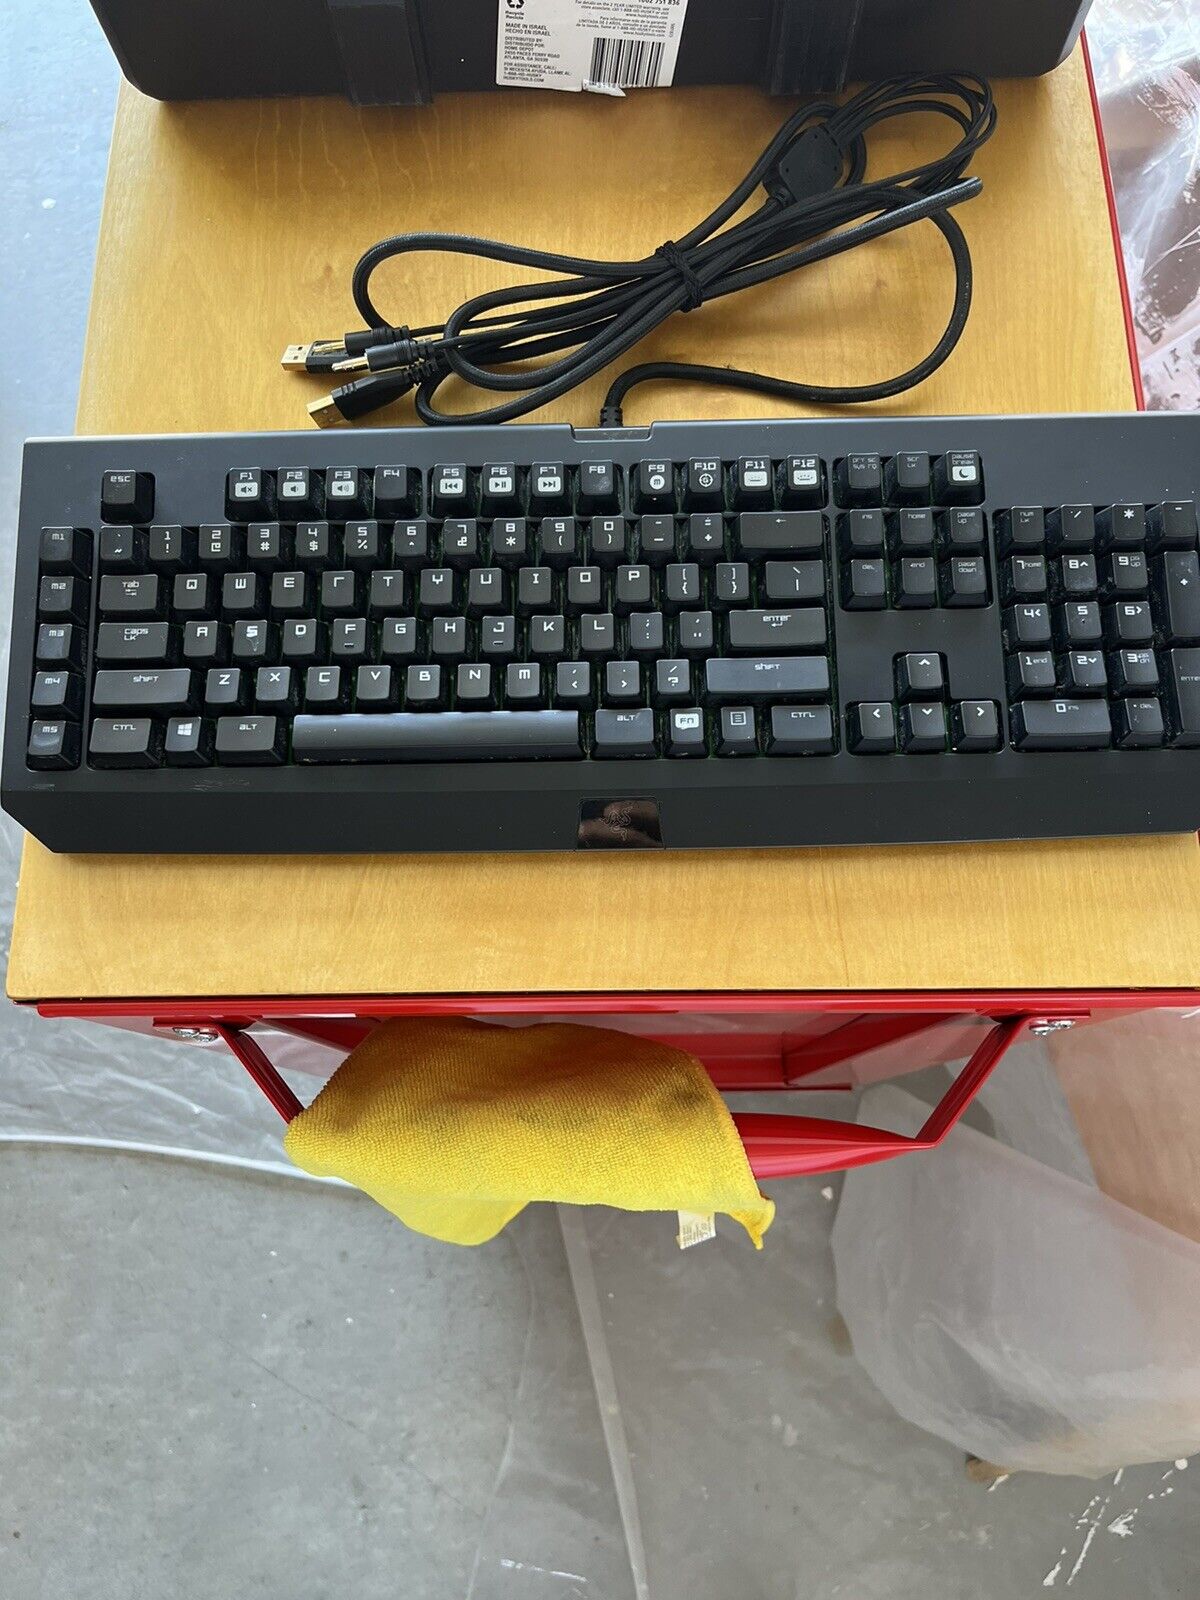
8 Likes
Cool project, yet again!
3 Likes